Source: https://blog.csdn.net/Powerful_Fy
What is reverse proxy?
1. Two servers A and B belong to the same internal network segment, but A is not connected to the external network, B is connected to the external network, and client C has only the external network. 2. If C wants to access A through B, it needs to do reverse proxy on server B. 3. Client c communicates with server B through the external network, and server B forwards the request of client C through the internal network to communicate with server A.
Test scenario:
Server A intranet IP address: 192.168.234.128 deployed bbs website in the previous article Server B internal IP: 192.168.234.130 external IP: 192.168.111.128 Client C Internet IP: 192.168.111.101
Demand:
Client C can access bbs website of server A
1. Test the communication between client C and server B through the Internet:
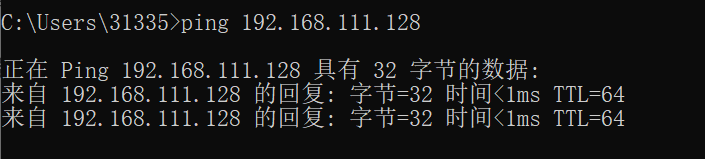
#Client C and server B can communicate through the Internet
2. Create and edit the nginx virtual host configuration file of server B:
[root@centos02 ~]# vi /etc/nginx/conf.d/nginx_proxy.conf
Add the following:
server
{
        listen 80;
        server_name test.bbs.com;

        location /
         {
            proxy_pass http://192.168.234.128;
            proxy_set_header Host $host;
            proxy_set_header X-Real-IP $remote_addr;
            proxy_set_header X-Forwarded-For $proxy_add_x_forwarded_for;
         }
}
server_name: bbs website domain name of server A (virtual host $host) Proxy pass http: IP address of server A proxy_set_header: proxy source IP and client IP of visiting website (if not configured, the source IP of nginx access log of server A will all be the IP address of server B)
3. Access the bbs website of server A from client C:
Modify the Windows system C:\Windows\System32\drivers\etc\hosts file:
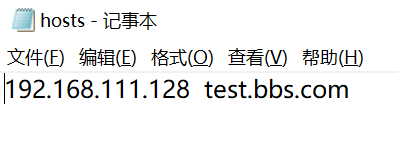
#Because the domain name test.bbs.com of BBS website of server A is A custom domain name, you need to modify the hosts file in client C to make the browser visit the test.bbs.com website to point to the external network address of server B.
Client C opens a browser to visit test.bbs.com:
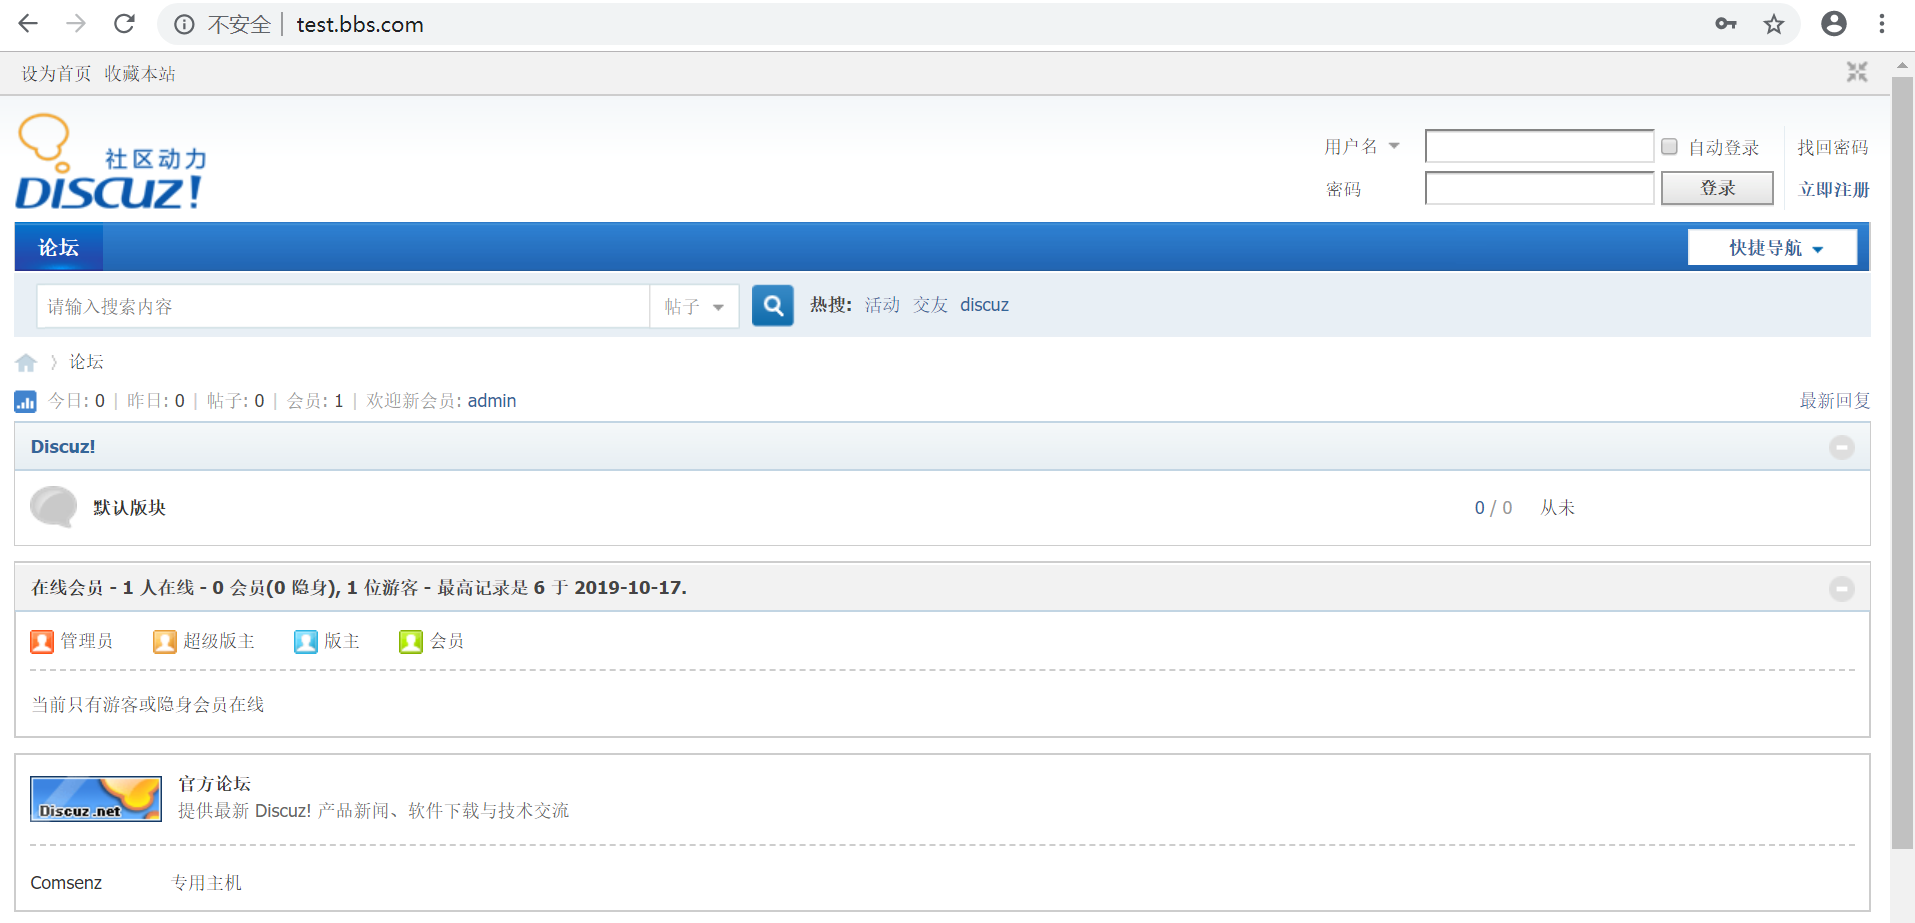
#Successfully opened bbs website page, nginx reverse agent configuration completed
4. View the nginx access log of server A:
[root@linux nginx]# tail -1  access.log
192.168.234.130 - - [17/Oct/2019:16:43:29 +0800] "GET /favicon.ico HTTP/1.0" 200 5558 "http://test.bbs.com/" "Mozilla/5.0 (Windows NT 10.0; Win64; x64) AppleWebKit/537.36 (KHTML, like Gecko) Chrome/77.0.3865.75 Safari/537.36" "192.168.111.1"
#Source: IP192.168.234.130, real IP: 192.168.111.1
Supplement:
Because the client C and server B under test belong to the same intranet, the real IP shows the gateway of 192.168.111.0/24 network segment. For demonstration, the network segments of client C and server B are virtual to form an external network. Therefore, two internal network segments that are not supposed to be understood can also be configured with nginx reverse proxy through this method.
What is load balancing?
When a domain name points to multiple web servers, a nginx load balancing server is added. Through nginx load balancing, requests from the client can be sent to each web server in a balanced way to avoid the unbalanced situation that a single server is overloaded and the rest servers are idle.
Configure nginx load balancing:
To create a new profile on a nginx machine:
[root@centos02 ~]# vi /etc/nginx/conf.d/test.conf
Add the following:
upstream test
    {
        ip_hash;
        server 192.168.0.10:80 weight=100;
        server 192.168.10.10:80;
    }
    server
    {
        listen 80;
        server_name www.test.com;
        location /
        {
            proxy_pass http://test;
            proxy_set_header Host $host;
            proxy_set_header X-Real-IP $remote_addr;
            proxy_set_header X-Forwarded-For $proxy_add_x_forwarded_for;
        }
    }
upstream: load balancing configuration apelearn: a custom name, used for the proxy {} pass reference in server {} ip_hash: send all the requests of the same client to the same server (if not, it may appear that the client just logged in the website, click other sub pages and prompt to log in) Server: web server address Weight: define the weight (range 0-100), and the load balancing server will give priority to sending the request to the weight important web server. Server name: domain name of the website Proxy? Pass: refers to the name of the upstream definition
Verify nginx configuration and reload:
[root@centos02 ~]# nginx -t
nginx: the configuration file /etc/nginx/nginx.conf syntax is ok
nginx: configuration file /etc/nginx/nginx.conf test is successful
[root@centos02 ~]# nginx -s reload
Next, modify the client hosts file to point the tested domain name www.test.com to the IP address of the tested nginx load balancing machine, and then visit www.test.com.
nginx configures SSL certificate to access the website through https protocol:
SSL certificate application website:
1.https://www.wosign.com/ 2.https://freessl.cn/ (free)
#After generation through browser, certificate file needs to be created on the server
To create a certificate file:
[root@linux ~]# mkdir /etc/nginx/ssl
[root@linux ~]# cd !$
cd /etc/nginx/ssl
[root@linux ssl]# touch ca
[root@linux ssl]# touch test.crt
[root@linux ssl]# touch test.key
#Add the content of the corresponding certificate provided by the certificate application website to the Ca /. CRT /. Key file.
Edit nginx profile:
[root@linux ~]# vi /etc/nginx/conf.d/bbs.conf
Add the following:
listen       443 ssl;
server_name  test.bbs.com;
ssl on;
ssl_certificate /etc/nginx/ssl/test.crt;     #Define. crt file path
ssl_certificate_key /etc/nginx/ssl/test.key;   #Define. key file path
ssl_protocols TLSv1 TLSv1.1 TLSv1.2;
Verify configuration and reload nginx:
[root@linux ~]# nginx -t
nginx: the configuration file /etc/nginx/nginx.conf syntax is ok
nginx: configuration file /etc/nginx/nginx.conf test is successful
[root@linux ~]# nginx -s reload
#Next, visit the website address bar to display HTTPS.
curl verification method:
curl -k -H "host:test.bbs.com" https://192.168.234.128/index.php
#host: domain name, https:// webserver IP, the output result is the website page label information, which means success.