preface
I've been learning something new recently. The tutorial is mainly used in Linux. For me, who has never been in contact with Linux system before, it's also an opportunity to master Linux system. This is a note about installing OpenCV under Linux.
Linux system
In fact, this choice is also very simple. There are still many introductions about Ubuntu, so I directly downloaded Ubuntu 20.04 3. It is installed in the virtual machine. The virtual machine I use is Virtual Box.
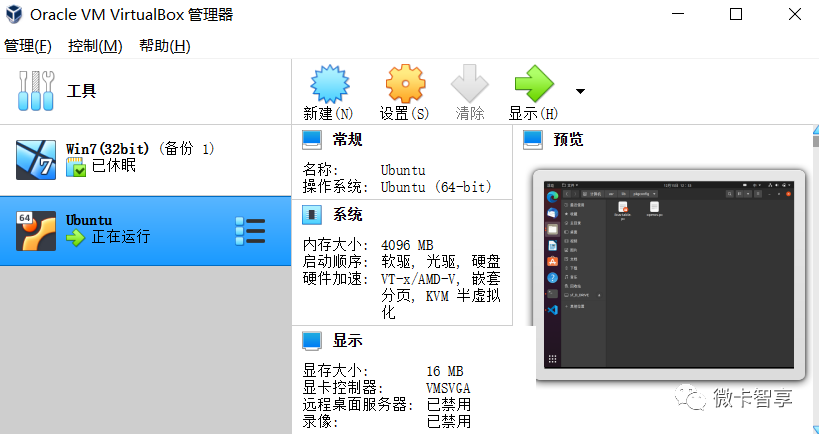
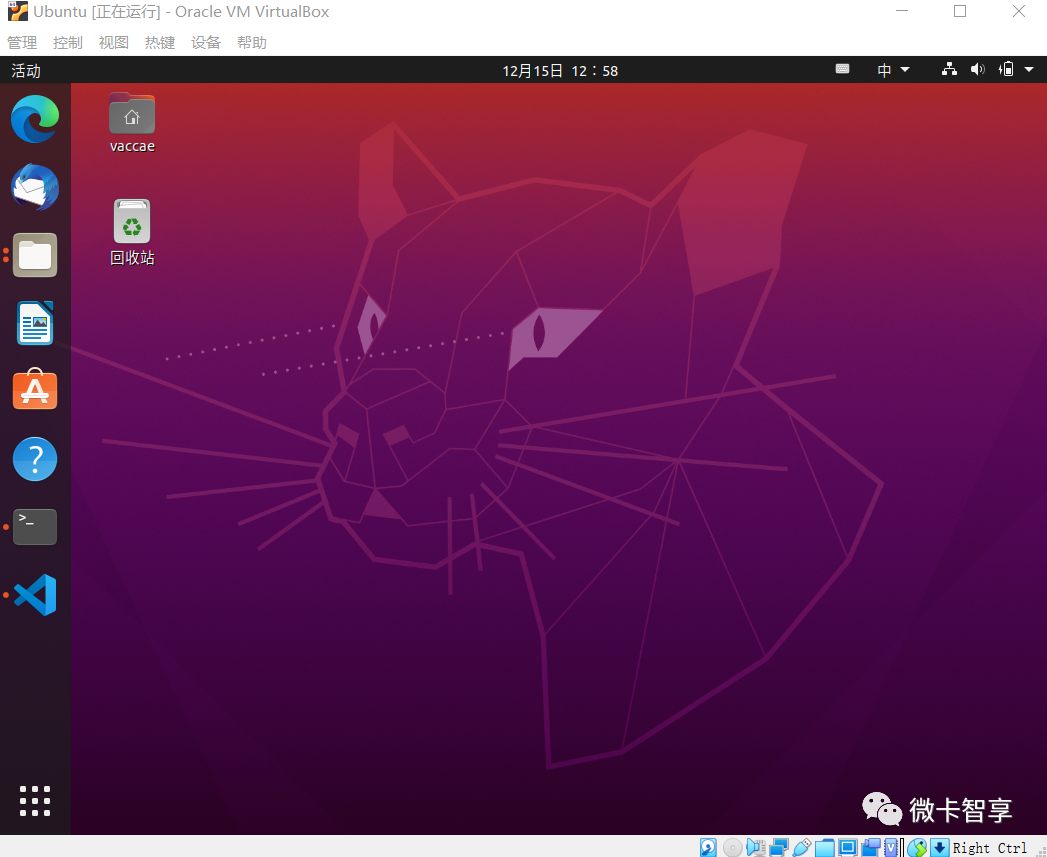
After the installation, the visual interface is installed. Since many operations can be operated with the mouse, the following commands are commonly used for me in the past two days:
--Install package
sudo apt install Package name

--Delete soft
sudo apt remove Software name

--Upgrade software
sudo apt upgrade

--Modify permissions
sudo chmod 777 File or folder name

--Create a file, which is not very useful. It is mainly installed VSCode After that, it is usually used to build a new one
touch file name

--Establish link
ln -s source dist  --Soft link
ln source dist --Hard link

--Other images cd  mkdir ls ll These query commands are basically useless to me in the visual interface. If I only use the command line, of course, I should master them
Installed software
1. VSCode
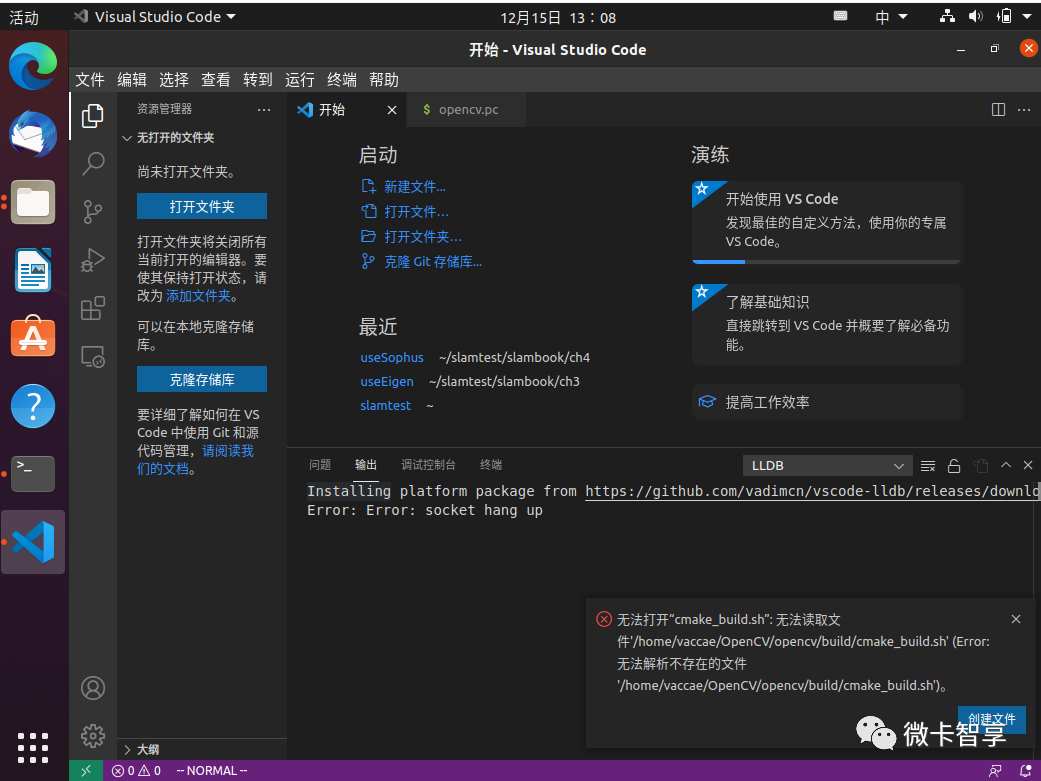
Needless to say, this is used for file creation and C + + compilation. One is lightweight, and there are really many plug-ins.
2.Edge browser
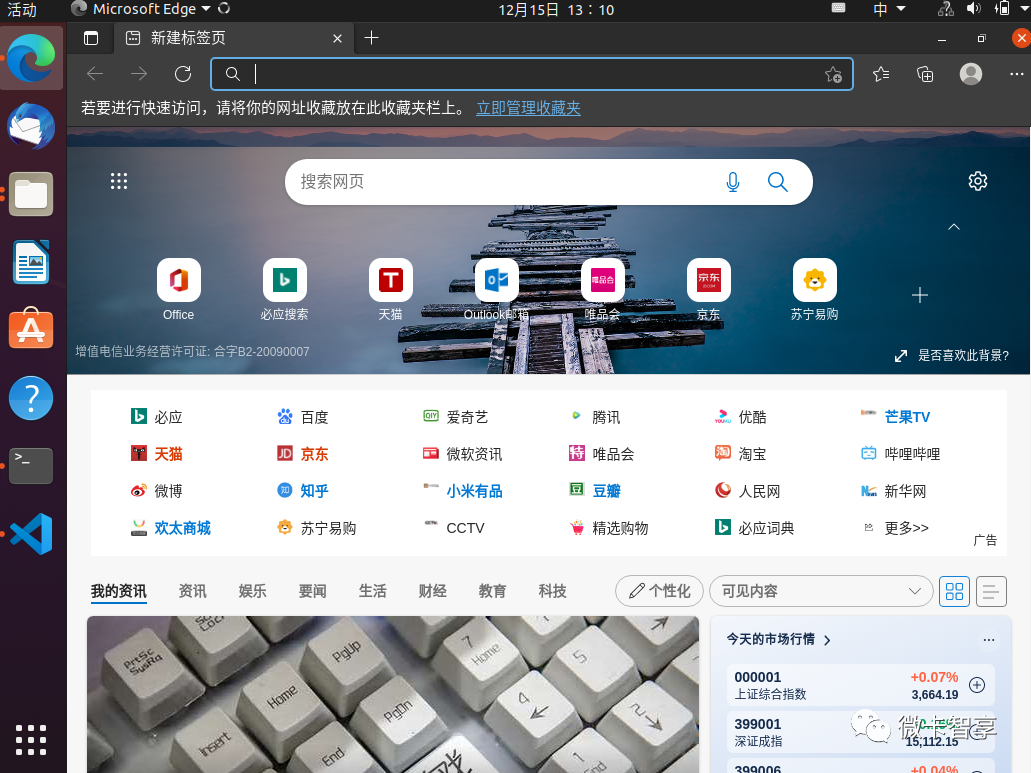
Edge cannot be used without it under Windows, so Linux is also installed, and the original FireFox is not used.
3.Fcitx five strokes
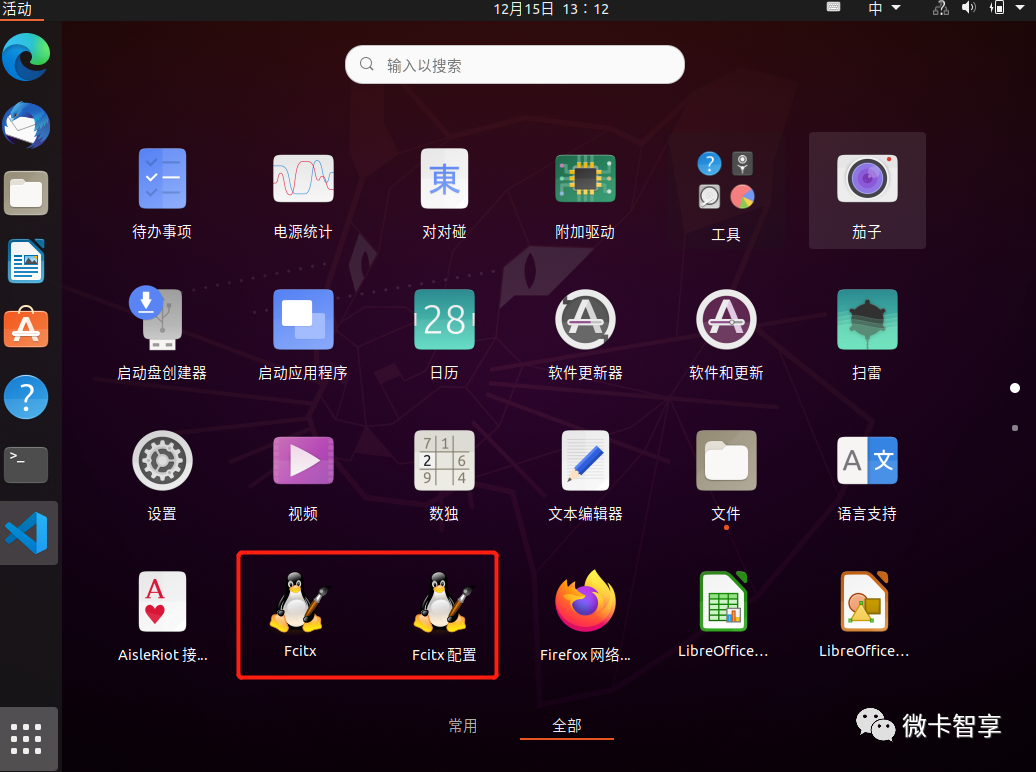
This is purely for personal reasons. Pinyin is basically not good at typing. Usually, computers and mobile phones are all five strokes of typing, so Baidu also asked how to install five strokes in Linux and use them under the setting.
OpenCV installation
Back to the point, I also installed OpenCV under Linux according to the tutorial. The problems I encountered during the installation are recorded here as notes.
01 download dependency
#!/bin/bash
sudo apt install build-essential
sudo apt install cmake git libgtk2.0-dev pkg-config libavcodec-dev libavformat-dev libswscale-dev
sudo apt install python-dev python-numpy libtbb2 libtbb-dev libjpeg-dev libpng-dev libtiff-dev libjasper-dev libdc1394-22-dev
sudo apt install libavcodec-dev libavformat-dev libswscale-dev libv4l-dev liblapacke-dev
sudo apt install libxvidcore-dev libx264-dev
sudo apt install libatlas-base-dev gfortran
sudo apt install ffmpeg
The above is the software to be installed. Open VSCode, create a new file, copy the above content, and then save it to the home directory called download sh
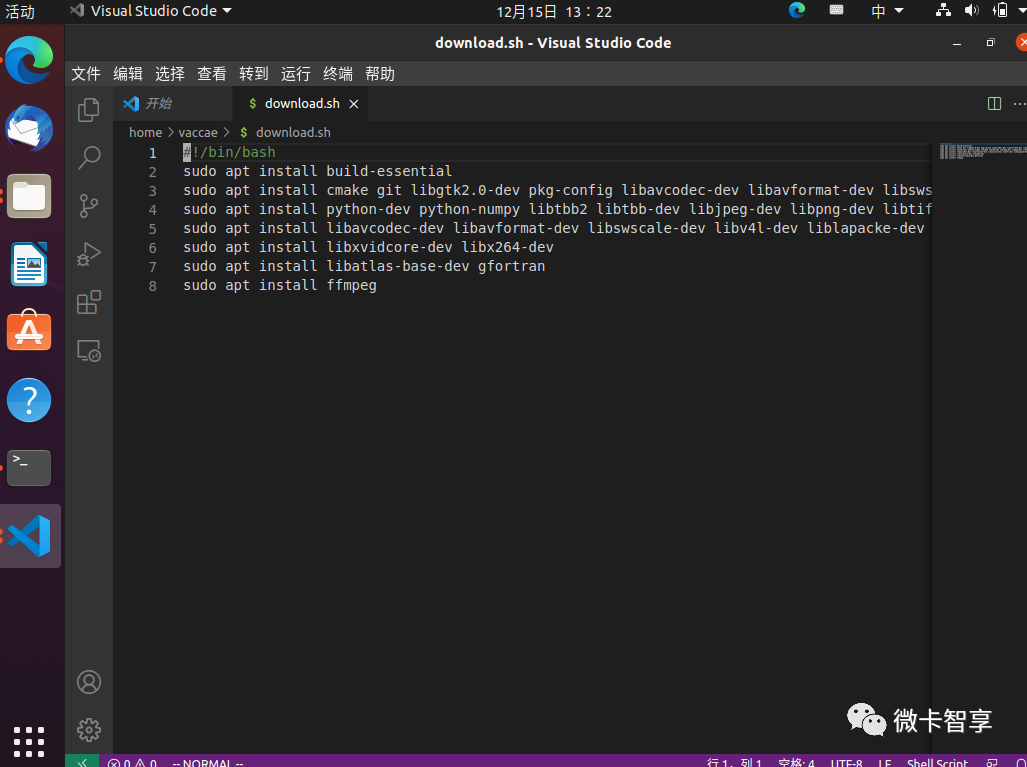
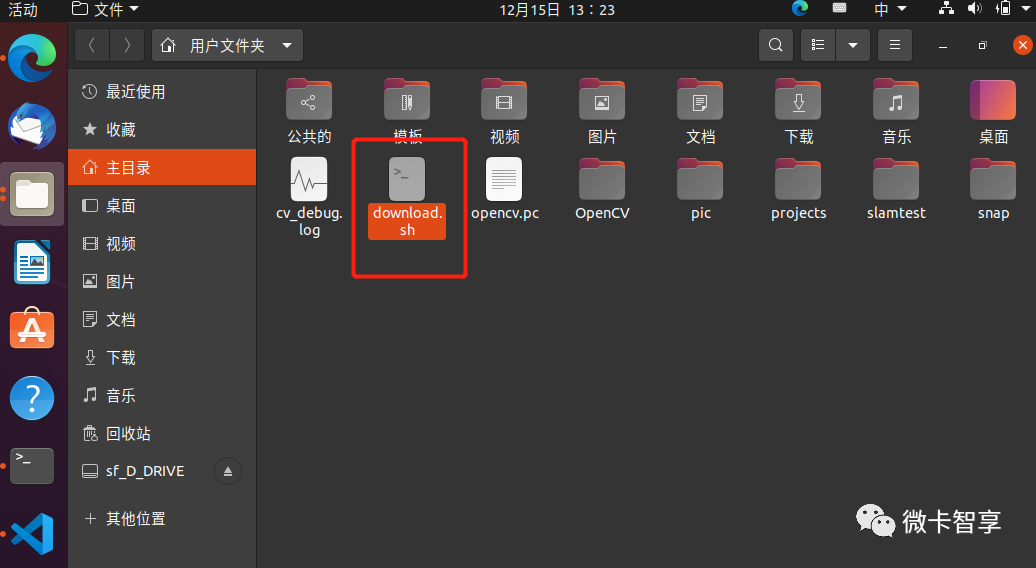
Click the mouse or key in the current directory to open the terminal, and then modify download SH, and then execute
sudo chmod 777 ./download.sh
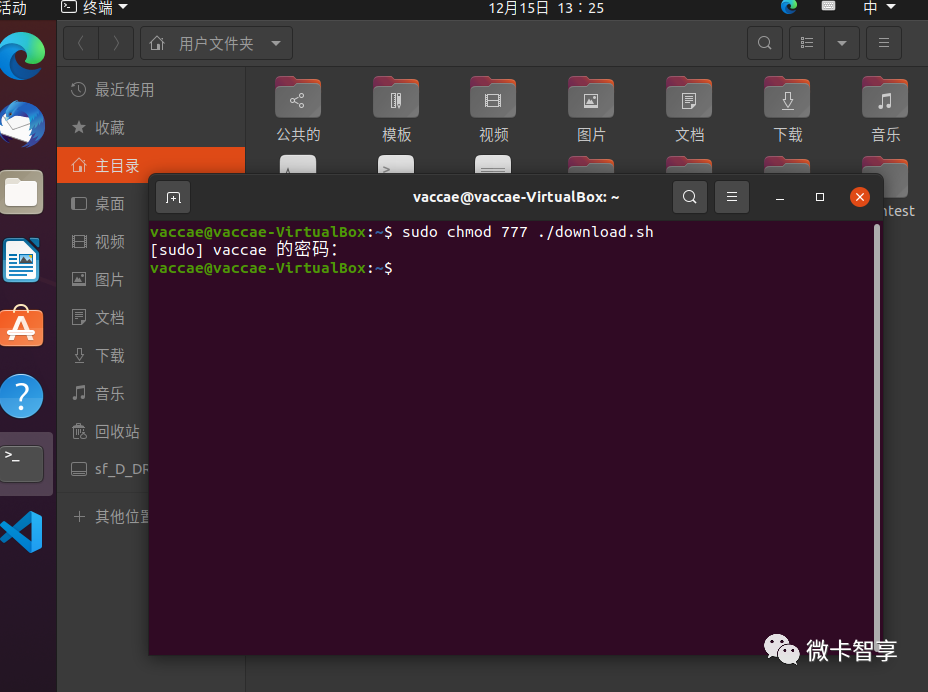
Then input directly/ download.sh run the installation dependency and wait for the end.
02 download OpenCV source code
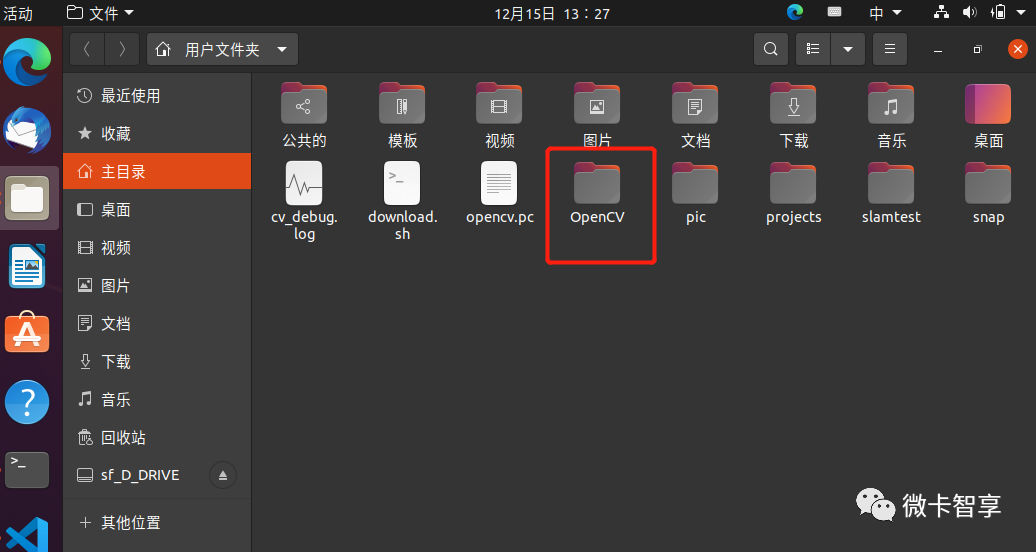
Create an OpenCV folder in the current directory, click it, right-click it, and then select open on the terminal.
#Download source code statement
git clone https://github.com/opencv/opencv.git
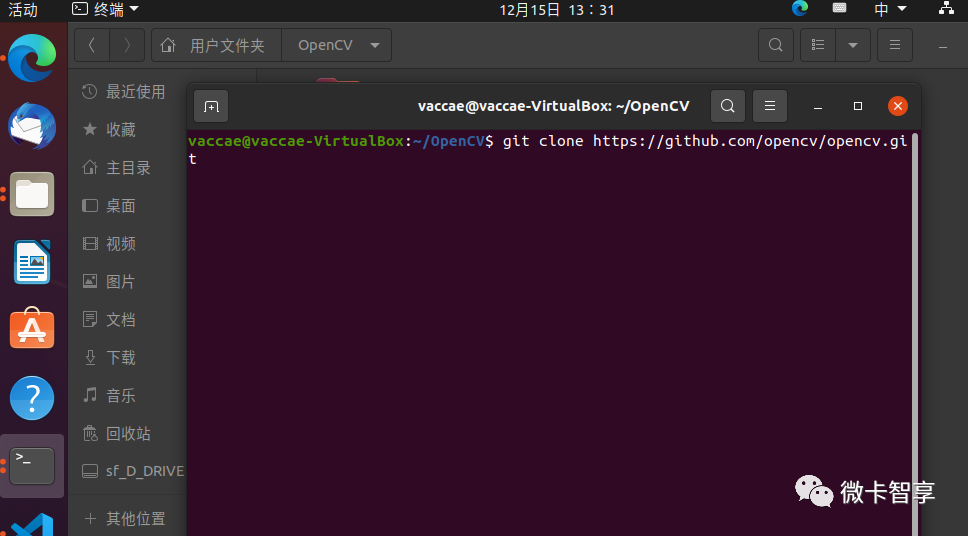
It should be that you need to visit foreign websites to download. After a long wait, the source code is downloaded successfully
03 installing OpenCV
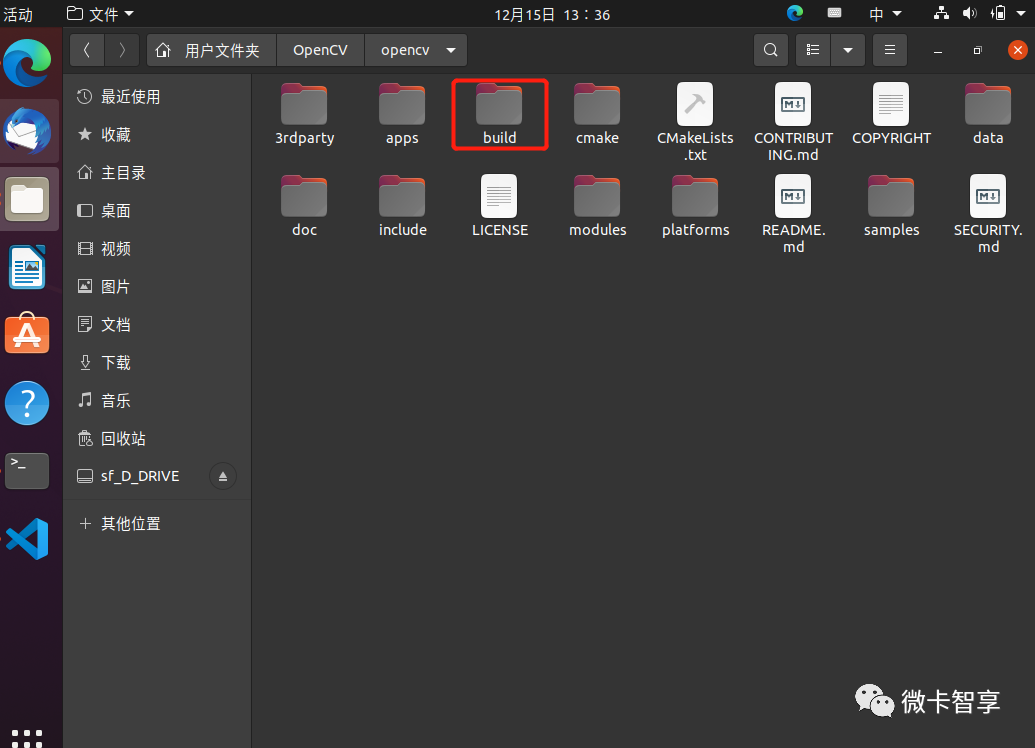
After entering the source code downloaded by opencv, create a build folder in it. After entering, right-click the mouse to open it on the terminal and enter
cmake -D CMAKE_BUILD_TYPE=Release -D CMAKE_INSTALL_PREFIX=/usr/local -D OPENCV_GENERATE_PKGCONFIG=ON ..

make -j8

sudo make install
Configure the include path of OpenCV
After the installation, the hpp files of OpenCV are in / usr/local/include/opencv4/opencv2. You need to modify the soft link
ln -s /usr/local/include/opencv4/opencv2/ /usr/include/opencv2/
After configuration, you can see the opencv2 folder under usr/include
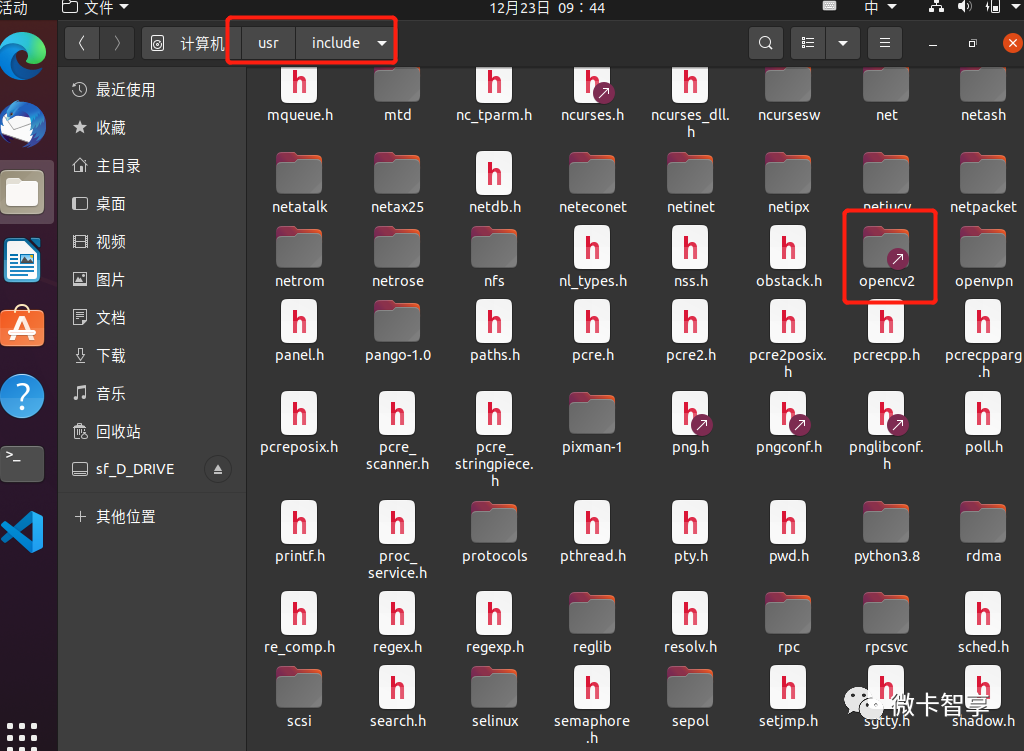
OpenCV4.pc processing
Before installation, I read several articles about this place. Note that opencv should be added to cmake_ GENERATE_ Pkgconfig = on, otherwise it will be painful without PKG config support. And opencv4.0 will not appear in build PC files.
Compiled several times and didn't see opencv4 under the build folder The PC file has never had a clue. Later, it was found inadvertently in the UNIX install folder under the build folder
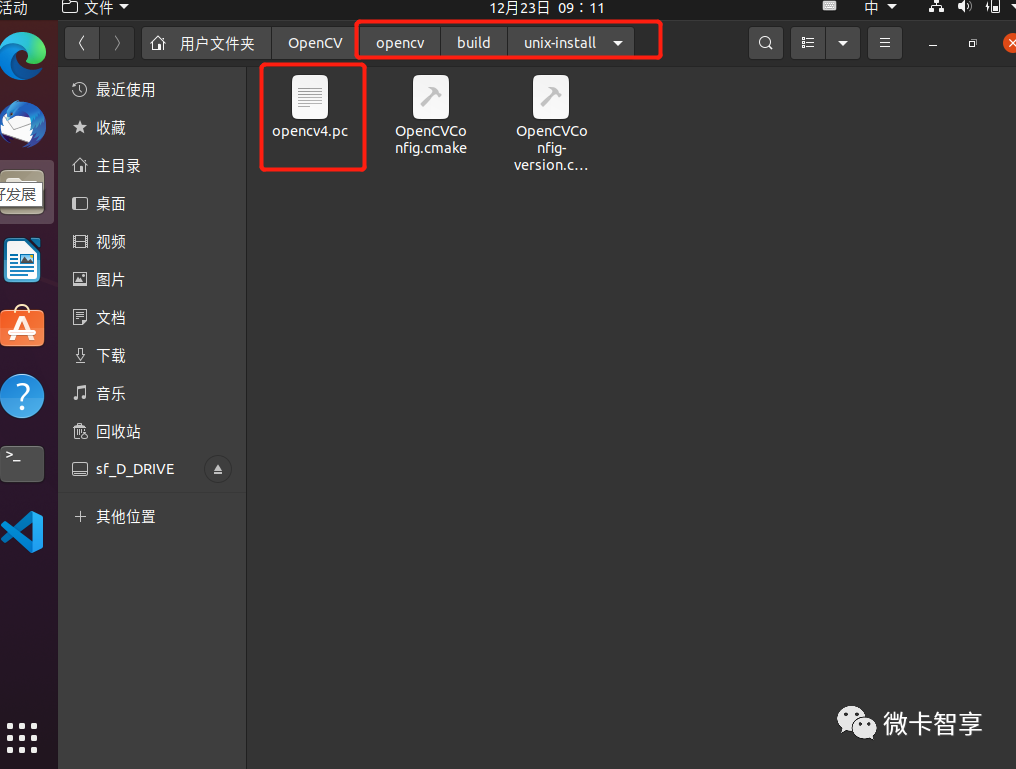
Found opencv4 Copy this file to the directory / usr/local/lib/pkgconfig. If you are prompted with permission problems, you can open the terminal input in the directory / usr/local/lib
sudo chmod 777 pkgconfig
Open opencv4 PC files mainly look at includedir. We have modified the link path above, so there is no need to make any modification here
# Package Information for pkg-config

prefix=/usr/local
exec_prefix=${prefix}
libdir=${exec_prefix}/lib
includedir=${prefix}/include/opencv2

Name: OpenCV
Description: Open Source Computer Vision Library
Version: 4.5.4
Libs: -L${exec_prefix}/lib -lopencv_gapi -lopencv_highgui -lopencv_ml -lopencv_objdetect -lopencv_photo -lopencv_stitching -lopencv_video -lopencv_calib3d -lopencv_features2d -lopencv_dnn -lopencv_flann -lopencv_videoio -lopencv_imgcodecs -lopencv_imgproc -lopencv_core
Libs.private: -ldl -lm -lpthread -lrt
Cflags: -I${includedir}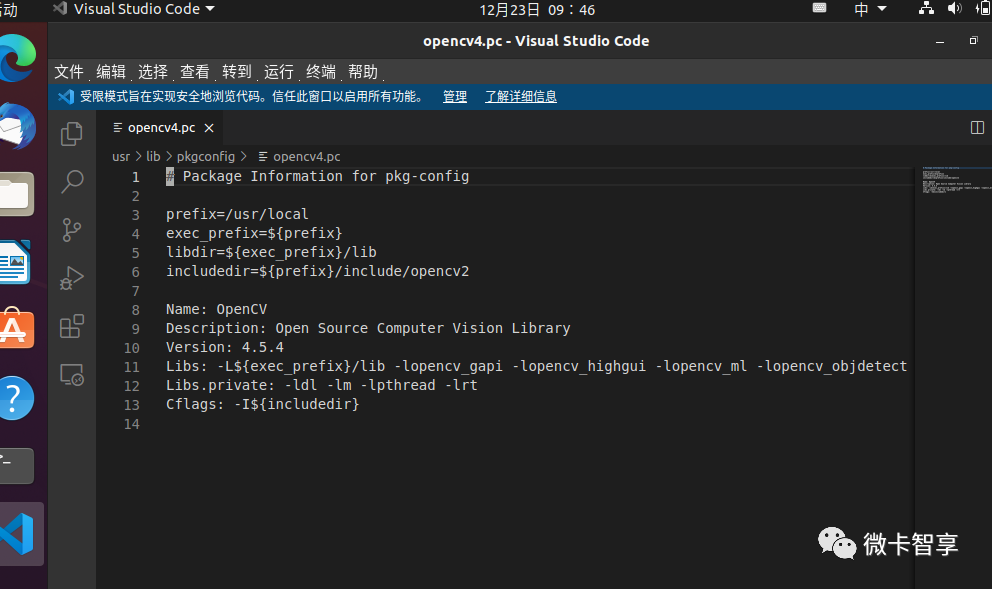
Check whether the header file can be found in the system
 pkg-config --cflags opencv4
 pkg-config --libs opencv4
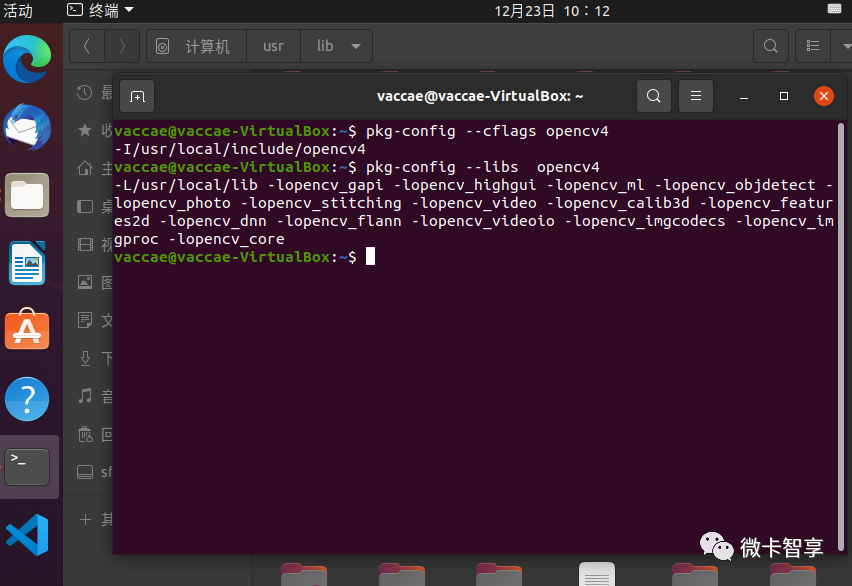
Configuration environment
After the above steps are completed, in / etc / LD so. You can see OpenCV. In the directory of conf.d Conf file
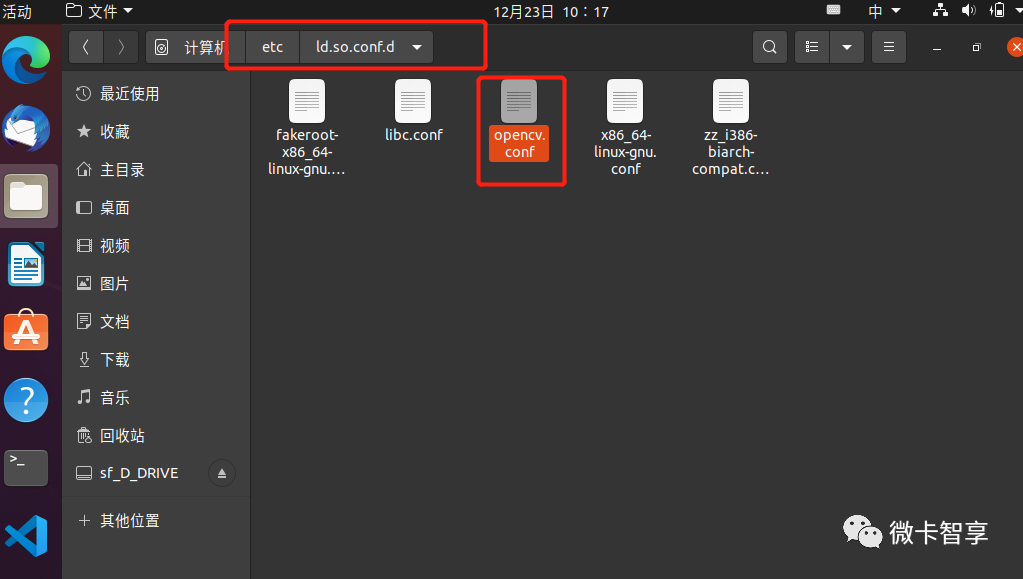
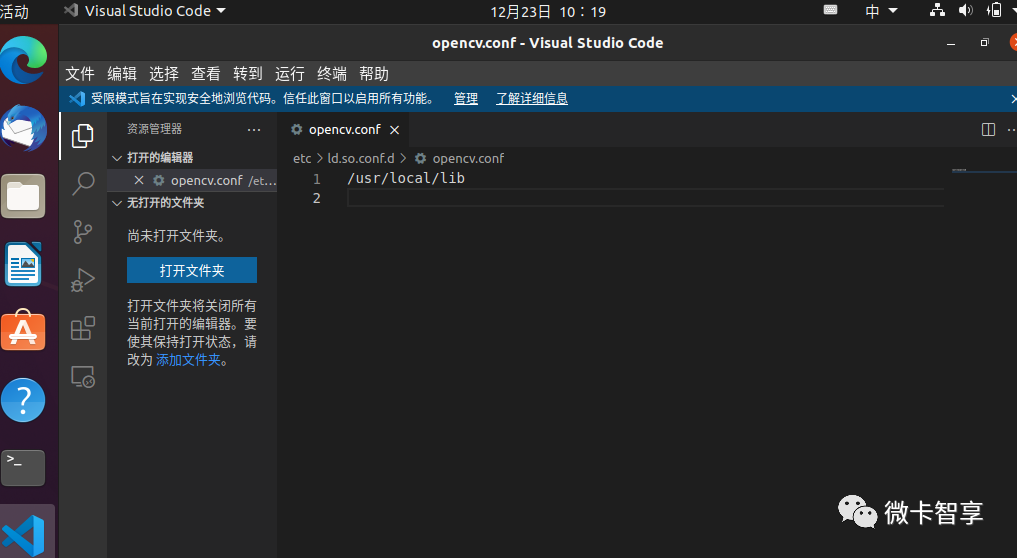
After opening with VSCode, it is blank. At this time, we need to add content
#In OpenCV Add content to conf:
/usr/local/lib
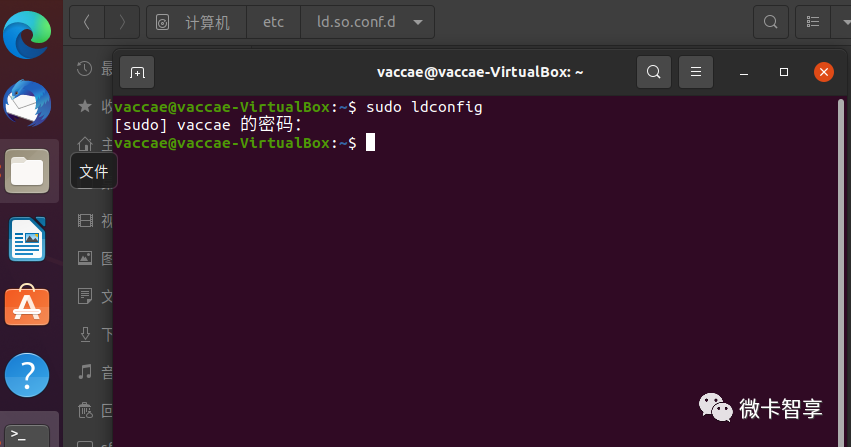
Then execute the effective command
sudo ldconfig
Modify / etc / bash bashrc
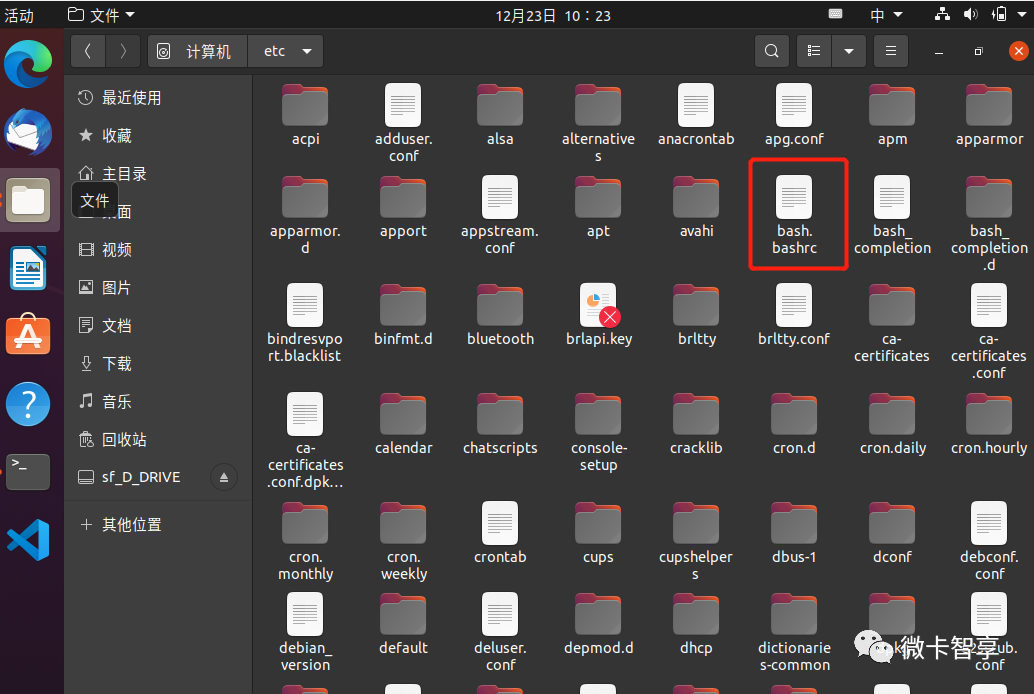
In bash Add at the end of bashrc file
export PKG_CONFIG_PATH=$PKG_CONFIG_PATH:/usr/local/lib/pkgconfig
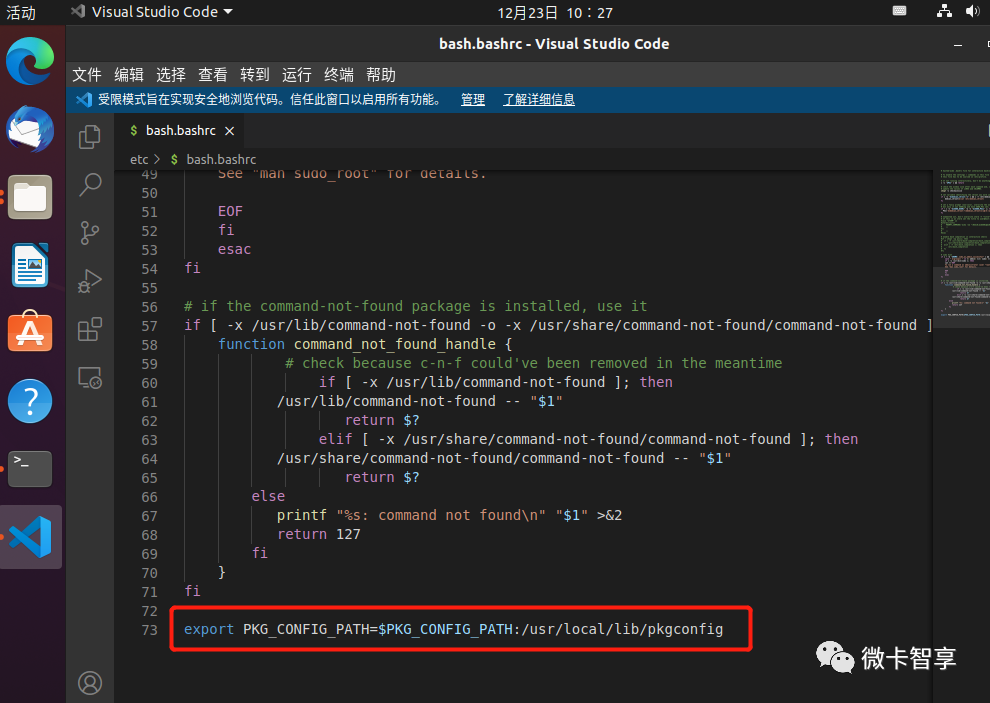
Next, execute the update command
source /etc/bash.bashrc
sudo updatedb
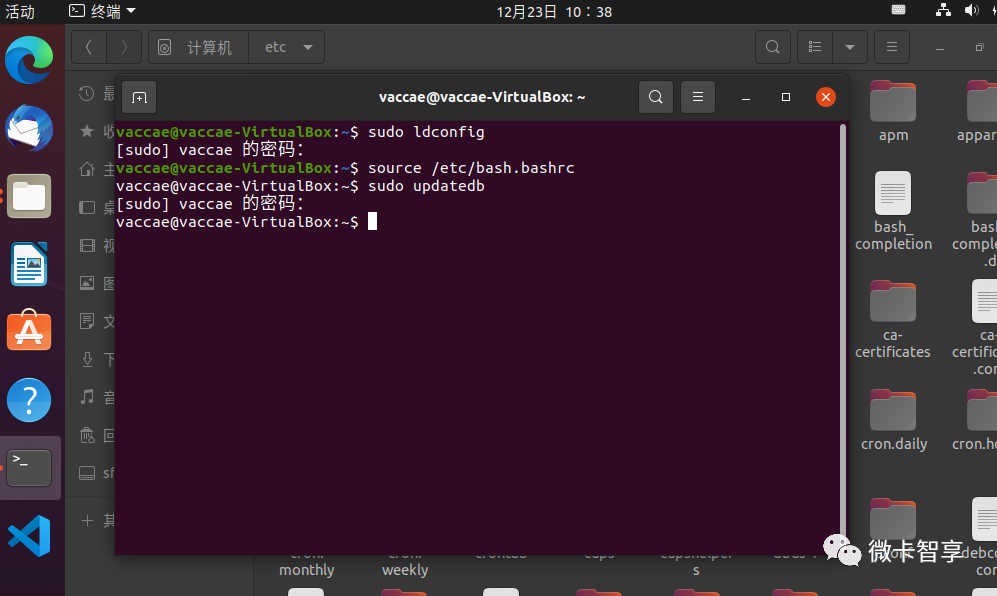
After completing the above, the installation and configuration of OpenCV is completed.
03 simple Demo
After installation, make a simple Demo to test whether it can run.
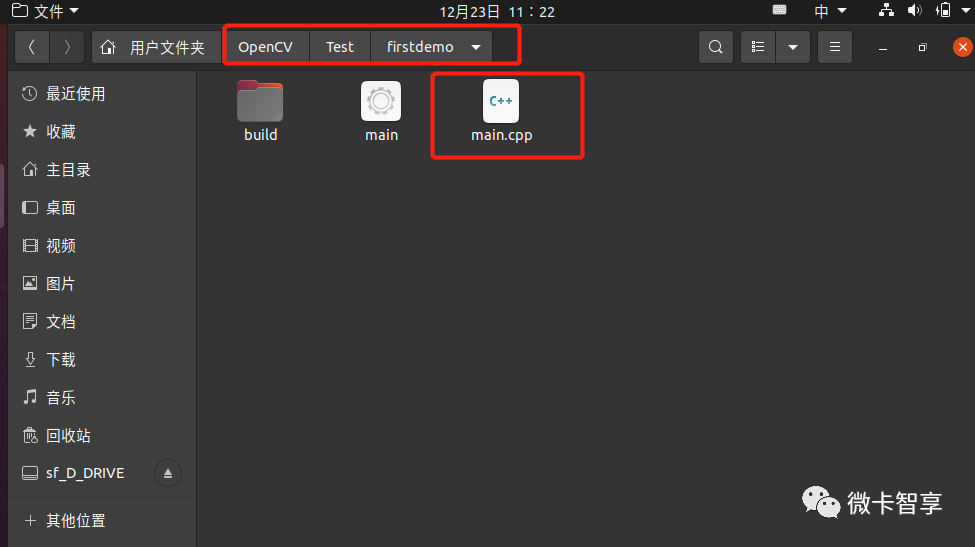
Under OpenCV/Test/firstdemo, a main Cpp file
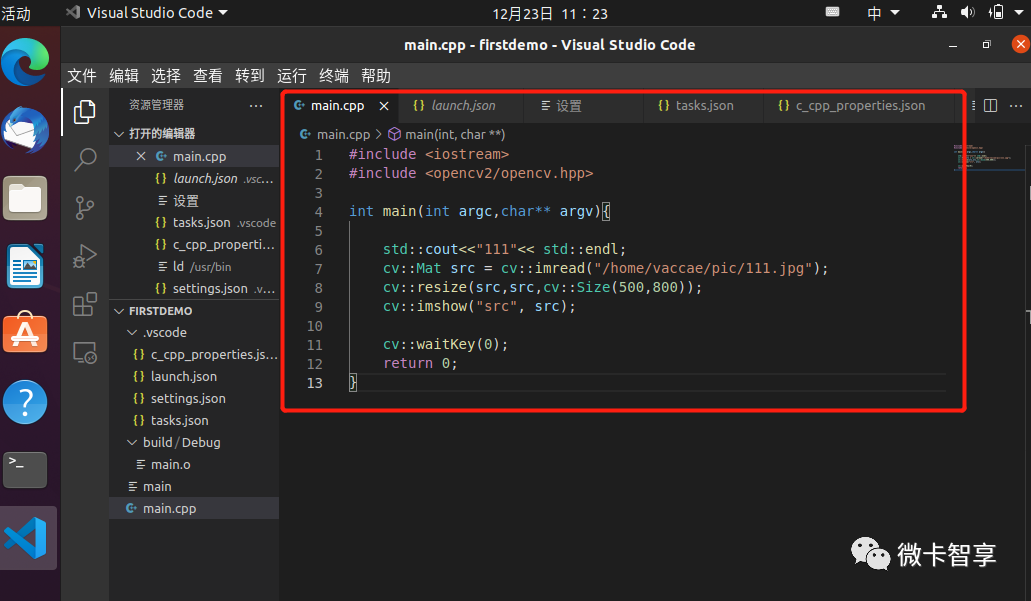
#include <iostream>
#include <opencv2/opencv.hpp>

int main(int argc,char** argv){

    std::cout<<"111"<< std::endl;
    cv::Mat src = cv::imread("/home/vaccae/pic/111.jpg");
    cv::resize(src,src,cv::Size(500,800));
    cv::imshow("src", src);

    cv::waitKey(0);
    return 0;
}
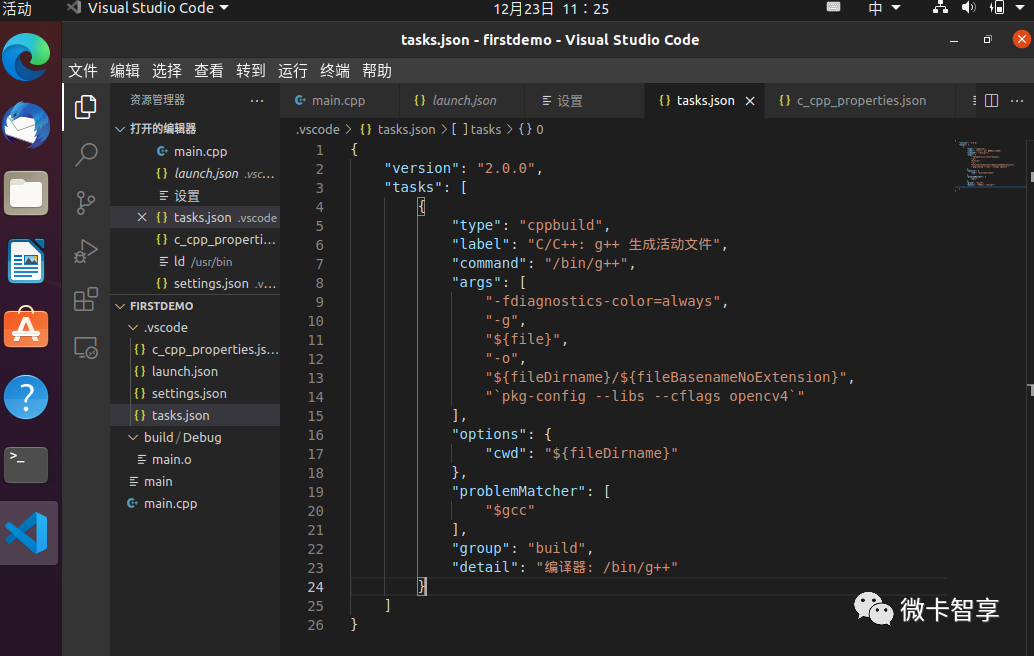
Add a configuration task on the terminal to generate a task JSON file
a key
Because PKG config has been configured in OpenCV, the most important sentence here is "` PKG config -- LIBS -- cflags OpenCV4 `", and a single quotation mark should be added to the double quotation marks.
{
  "version": "2.0.0",
  "tasks": [
    {
      "type": "cppbuild",
      "label": "C/C++: g++ Generate active file",
      "command": "/bin/g++",
      "args": [
        "-fdiagnostics-color=always",
        "-g",
        "${file}",
        "-o",
        "${fileDirname}/${fileBasenameNoExtension}",
        "`pkg-config --libs --cflags opencv4`"
      ],
      "options": {
        "cwd": "${fileDirname}"
      },
      "problemMatcher": [
        "$gcc"
      ],
      "group": "build",
      "detail": "compiler: /bin/g++"
    }
  ]
}
Then press Ctrl+Shift+P to find C + + edit configuration and generate c_cpp_properties.json file
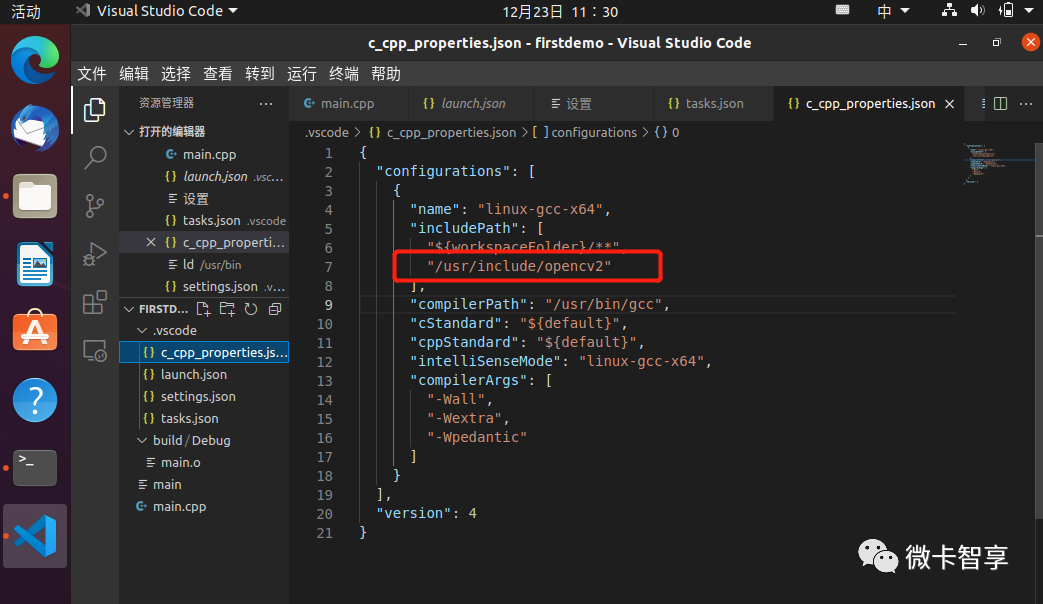
In the directory of includePath, add the header file directory of OpenCV / usr/include/opencv2 we linked earlier
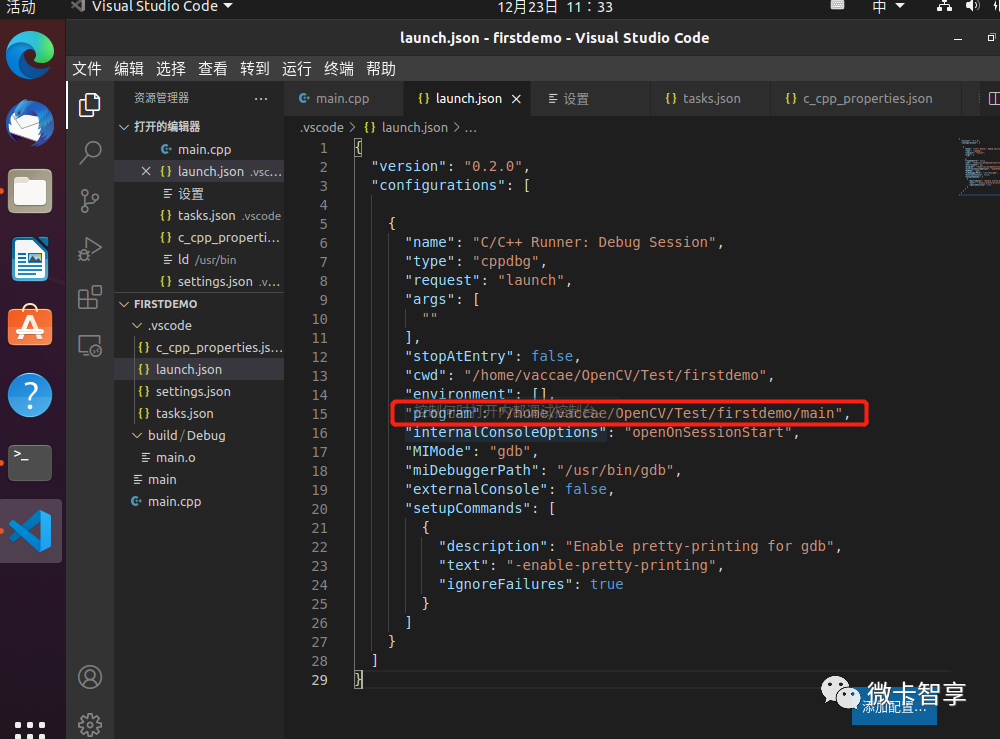
launch. The JSON debugging file is mainly used to modify the path of the program. The default generated specified directory is in Build/Debug/Output under the working directory. Here, we can change the generated configuration path.
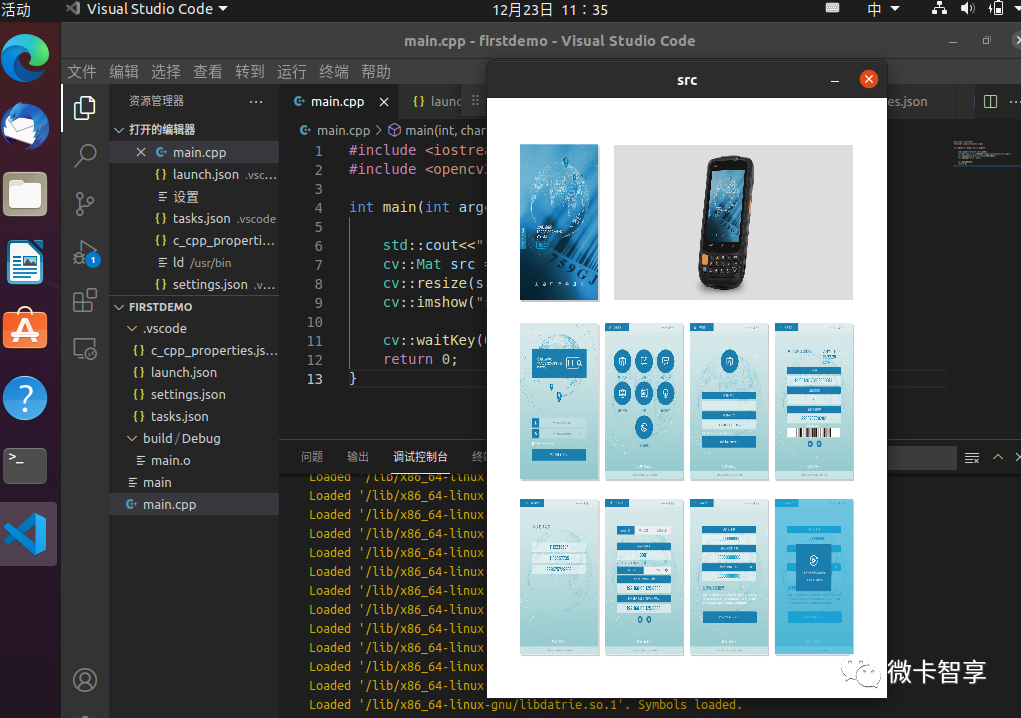
Realization effect
