1, Preparation link
Under development, no open source project, the details are inconvenient to show, only for Development notes.
Environmental Science:
python3.8
django4.0
Mysql
compiler:
pycharm
sqlyog
Preliminary preparation:
Notes on website development - (Introduction to django)
2, Front end html file
 <form action="/now/userInfor/"  method="post"  >
                                            {% csrf_token %}
                                            <input type="hidden" name="id" value="{{user.id}}"/>

                                            <input name="name" class="form-control required" placeholder="full name" data-placement="top" type="text" >
                                            <input name="phone" class="form-control email" placeholder="Telephone" type="text" >
                                            <input name="address" class="form-control email" placeholder="address" type="text">
                                            <textarea name="message" class="form-control" placeholder="Personal profile" rows="3" ></textarea>
                                            <button type="submit" class="btn btn-success" value="submit" >preservation</button>

                                            {% if x == "Saved successfully" %}
                                            <script>
                                                alert("{{x}}");
                                                window.location.href="/"
                                            </script>
                                            {% endif %}
                                            {% if x == "Save failed" %}
                                            <script>
                                                alert("{{x}}");
                                                window.location.href="/"
                                            </script>
                                            {% endif %}


                                        </form><!--/#contact-form-->
(knowledge points) notes:
{% csrf_token %}:
When get ting a form page, the server will also return a string of random characters to the front end when returning the page. When submitting a post, the server will verify this string of characters to ensure that the user submits the data in the form page returned by the server and prevent someone from submitting data to a url through, for example, jquery script. It is a verification mechanism for data submission.
action="/now/userInfor/" method="post"
action :
The required action attribute specifies where to send the form data when the form is submitted.
ps: action is usually written in reverse parsing, but not in this way.
method
The method attribute specifies how to send the form data (the form data is sent to the page specified by the action attribute).
Form data can be sent as URL variable (method = "get") or HTTP post (method = "post").
<input type="hidden" name="id" value="{{user.id}}"/>
Hidden: hidden type, not displayed at the front end. When you view the source code when accessing the front-end page, you can find that the id value is obtained as the id value of the current account in the database, so that the primary key is used when storing the database_ id for storage.
3, Modles py
class UserInfor(models.Model):

    inforname=models.CharField(max_length=64)
    inforphone=models.CharField(max_length=64)
    infoaddress=models.CharField(max_length=64)
    infomessage=models.CharField(max_length=500)
Here, a user's personal information table is established, with id as the primary key corresponding to the account. (empty table)

Actions required to create a database:
① , write Modles
Generate migration file
python manage.py makemigrations
② , perform the migration
python manage.py migrate
After the migration is completed, an empty table is generated.
Screenshot:

4, Routing configuration
path('userInfor/', views.userInfor),
5, View py
Consider two situations:
① , no user information database was created for the new user
UserInfor.objects.get(id=int(oid))
In this case, if the same id cannot be matched, use objects Create to create a new dataset.
② , old users need to modify the user information of the account
Take the id number as the primary key and match the same data row for modification.
How to get the front-end form: POST.
def userInfor(req):
    if req.method=="POST":
        oid =req.POST['id']   #Get id
        try:
            #if(UserInfor.objects.get(id=)):
            oo=UserInfor.objects.get(id=int(oid))
            oo.inforname=req.POST["name"]
            oo.inforphone=req.POST["phone"]
            oo.infoaddress=req.POST["address"]
            oo.infomessage=req.POST["message"]
            oo.save()
        except:
            u=req.POST.get("name",None)
            s=req.POST.get("phone",None)
            e=req.POST.get("address",None)
            q=req.POST.get("message",None)
            models.UserInfor.objects.create(
                    inforname=u,
                    inforphone=s,
                    infoaddress=e,
                    infomessage=q,
                    id=oid,
                )
        #How to insert data into a table
        # name=req.POST["name"]
        # phone=req.POST.get("phone",None)
        # address=req.POST.get("address",None)
        # models.UserInfor.objects.create(inforname = name,inforphone=phone,infoaddress=address,id=oo)
        # print(oid)
        # u=req.POST.get("name",None)
        # s=req.POST.get("phone",None)
        # e=req.POST.get("address",None)
        # info={"username":u,"sex":e,"email":e}
        # models.UserInfor.objects.create(**info)
        #fail
        # models.UserInfor.objects.create(
        #         inforname=u,
        #         inforphone=s,
        #         infoaddress=e,
        # )
        x="Saved successfully"
        return render(req, "personindex.html",{"x":x})
    else:
        x="Save failed"
        return render(req, "personindex.html",{"x":x})
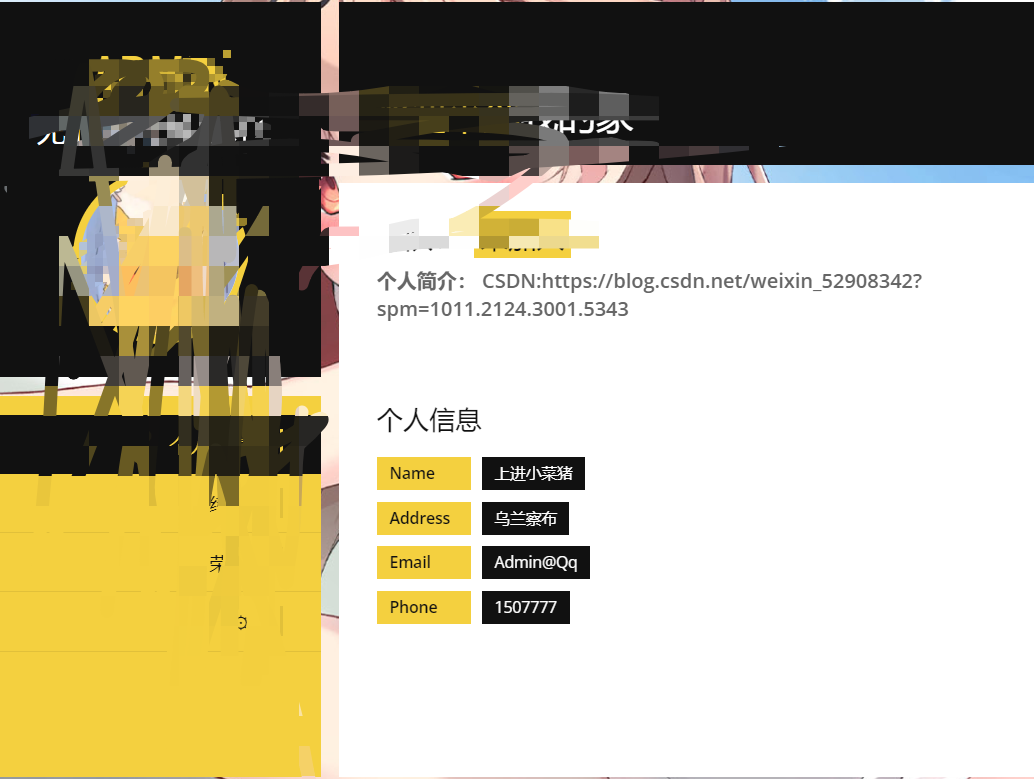
5, Effect display

There is no open source project, and the details are inconvenient to record.