Earlier, we talked about the detailed tutorial of downloading and installing anaconda. Now we begin to learn numpy, which is the most important basic package for python numerical calculation.
anaconda and pycharm are two different systems, so we need to distinguish them.
Anaconda installation module
First, how to install relevant modules?
In pycharm, the first mock exam is installed in a cmd module, and the module is installed in PIP console. The module is installed in PIP.
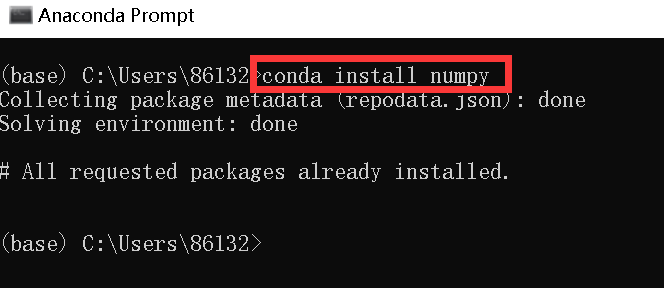
However, in anaconda, we should find anaconda prompt under Anaconda in the start menu, and type the command conda install module name to install the module.
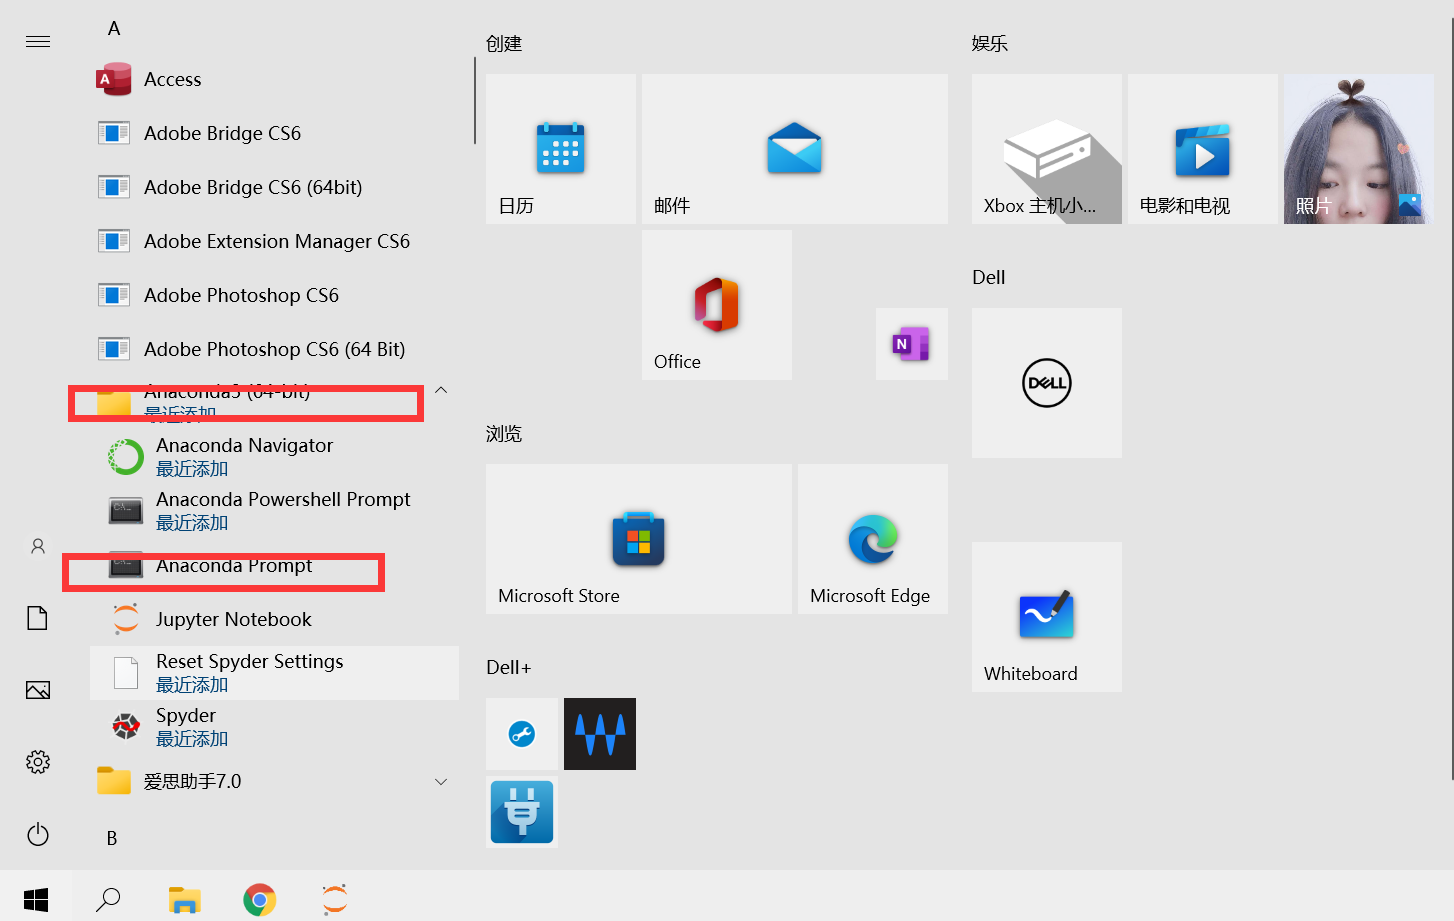
Since my has been installed, the following information is displayed. If you are prompted to upgrade, click y.
Using Jupiter notebook
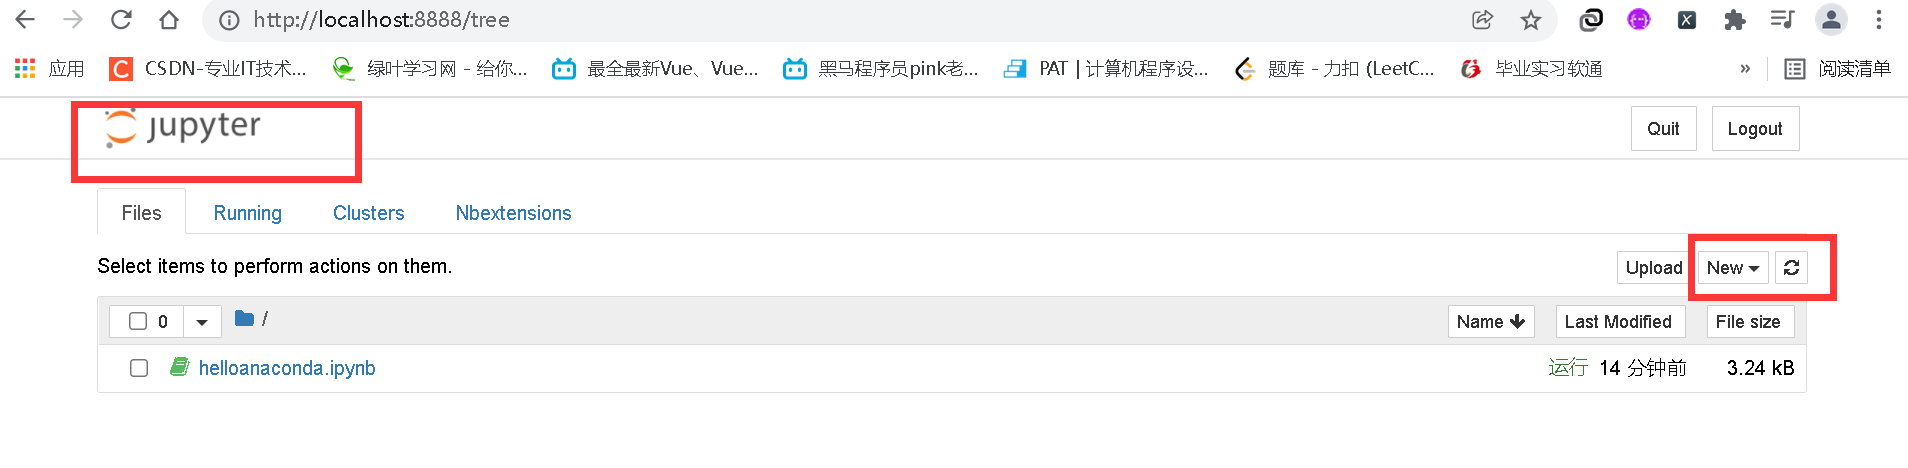
First, find the Jupiter notebook under anaconda in the start menu, click enter, and it will automatically jump to the corresponding page.

After jumping to the main page, we can create a new Python 3 file here.
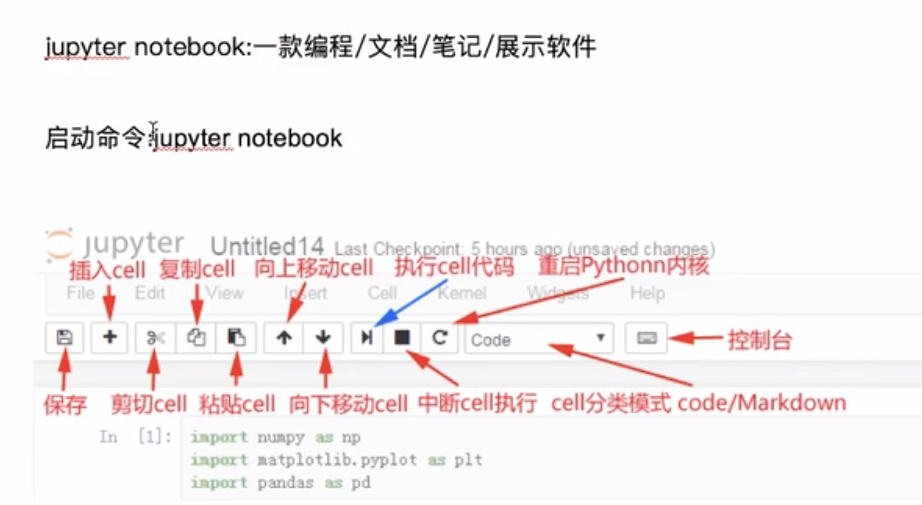
The interface related buttons and their meanings are shown in the figure.
Numpy
First, let's look at a few examples.
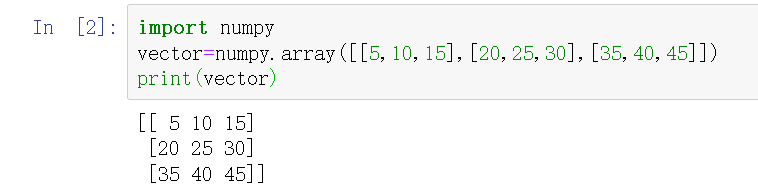
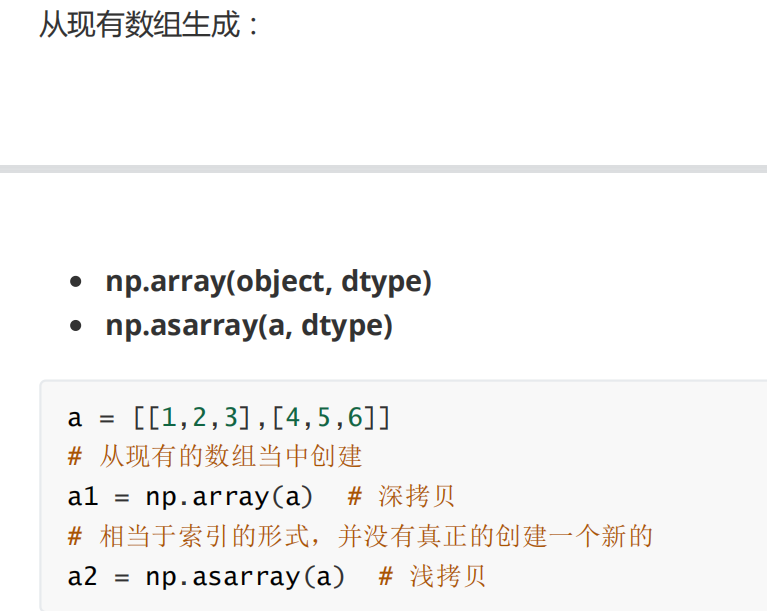
import numpy
vector=numpy.array([[5,10,15],[20,25,30],[35,40,45]])
print(vector)
Numpy is called here Array () method to generate a two-dimensional array. Note that there is a [] outside the whole parameter, and then each [] inside represents a line. Note the format.
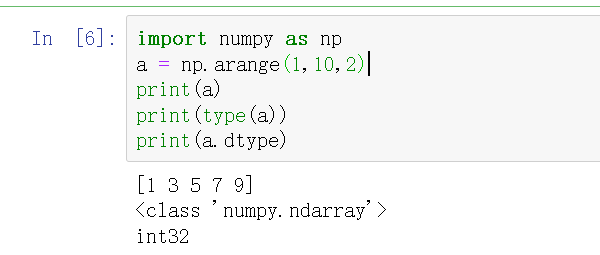
import numpy as np
a = np.arange(1,10,2)
print(a)
print(type(a))
print(a.dtype)
np. The range usage in range and python is similar. Here, type(a) is the type of output a, a is the darray type, dtype is the attribute of the darray object, and a.dtype is the data type stored in output a.
import numpy as np
b = np.array(range(1,6),dtype='float32')
print(b)
print(type(b))
print(b.dtype)
We can pass in parameters in the function and set dtype.

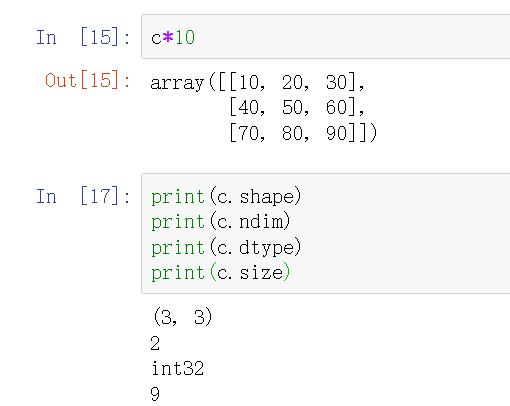
c = np.arange(1,10).reshape(3,3)
c
We can call the reshape (row, column) method to change the shape of the ndarray object.
When printing, you can directly use the variable name, but it can only be in the last line. If you want to print data in a non last line, you still need print (variable name).

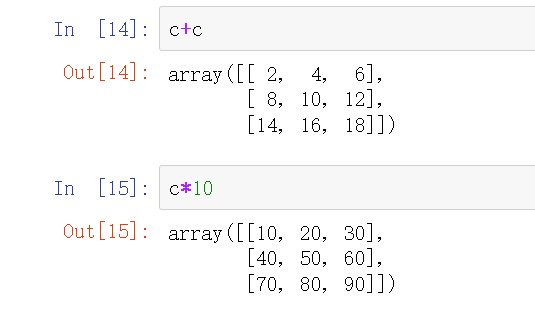
You can also operate on the matrix, as follows!
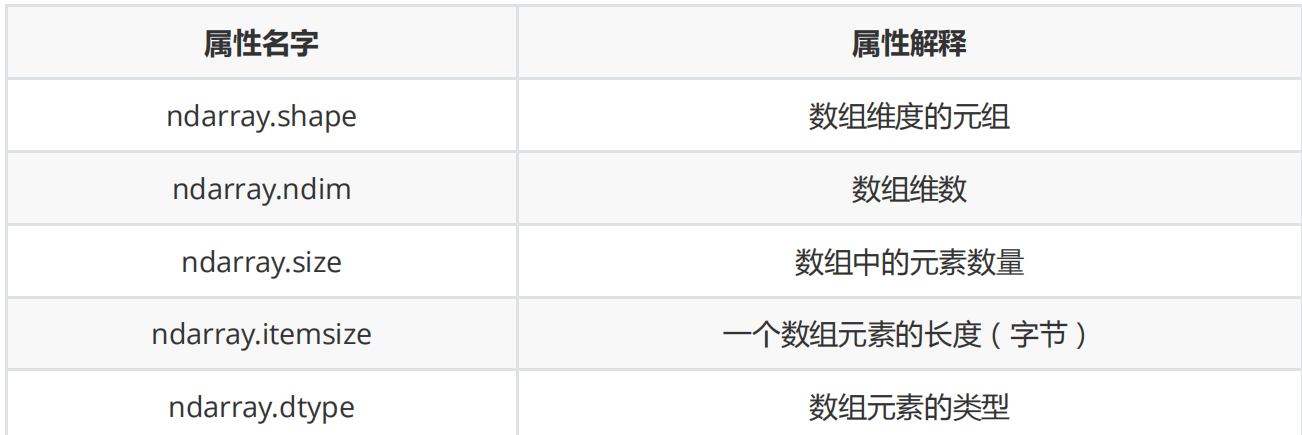
Numpy property
Combined with the above examples, I must have a little understanding of Numpy. The following list lists the relevant properties of Numpy, where ndarray is the Numpy object we created!
Numpy method
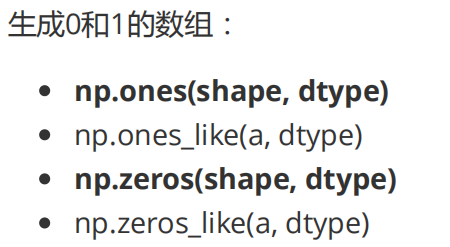
The demonstration is as follows:
# Create an object with all 1. The first parameter is the shape of the object (number of rows and columns). The second parameter can specify the data type
d = np.ones((3,3),dtype=np.float16)
d

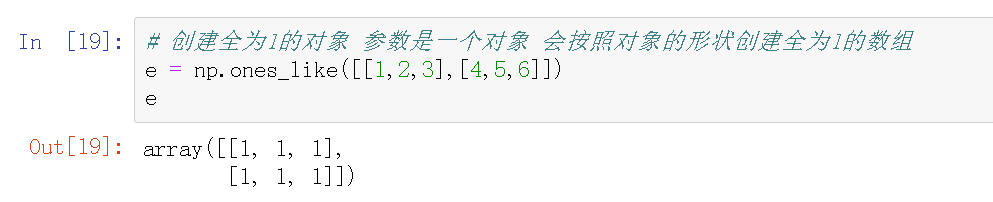
# Create an object with all 1. The parameter is an object. An array with all 1 will be created according to the shape of the object
e = np.ones_like([[1,2,3],[4,5,6]])
e
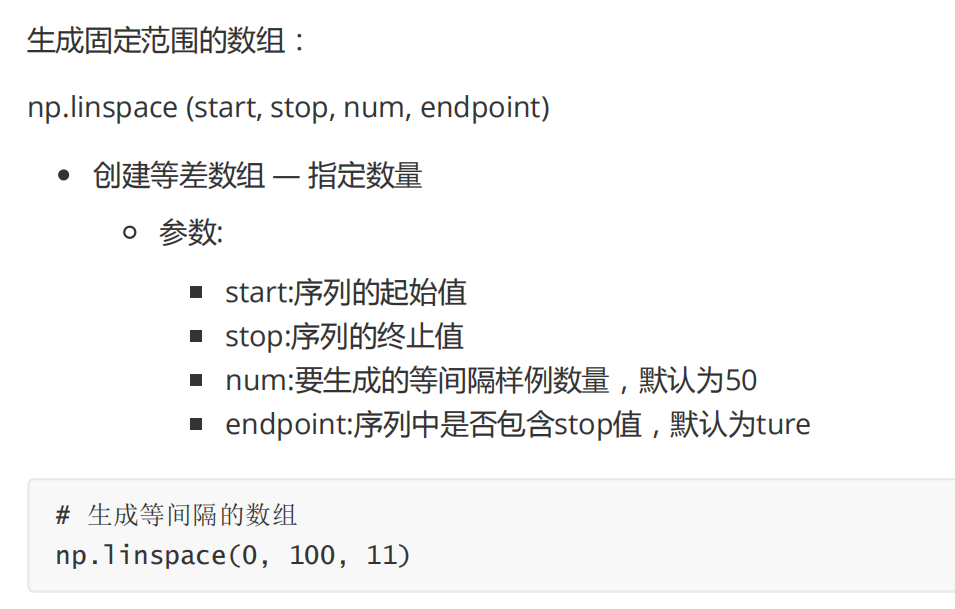
Create an equal difference array, including stop by default.
Create a random array using NP Random, due to many problems, just check it.
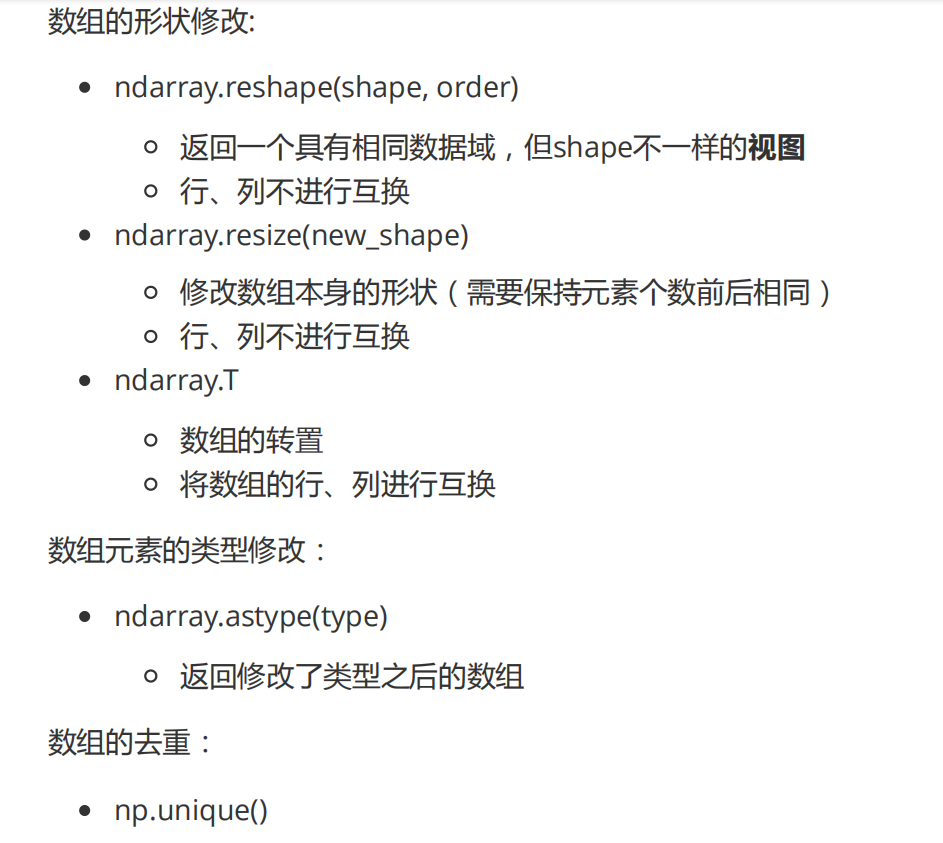
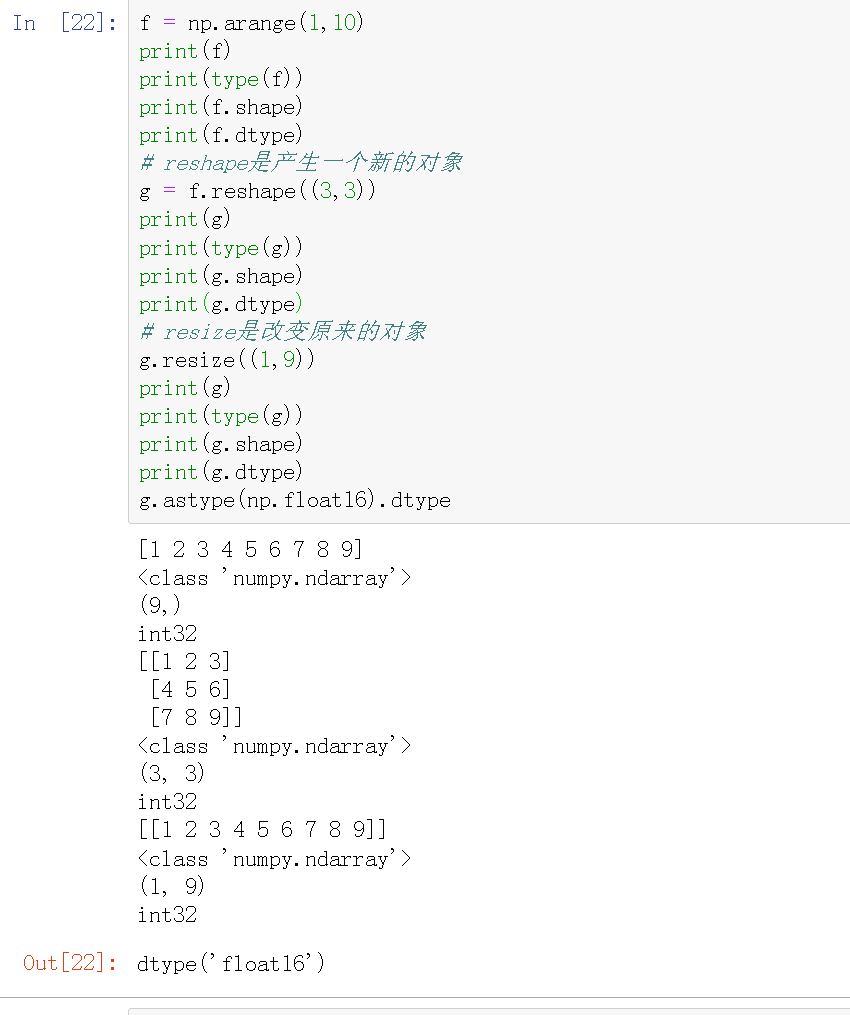
The change type and shape are as follows:
f = np.arange(1,10)
print(f)
print(type(f))
print(f.shape)
print(f.dtype)
# reshape is to generate a new object
g = f.reshape((3,3))
print(g)
print(type(g))
print(g.shape)
print(g.dtype)
# resize is to change the original object
g.resize((1,9))
print(g)
print(type(g))
print(g.shape)
print(g.dtype)
g.astype(np.float16).dtype
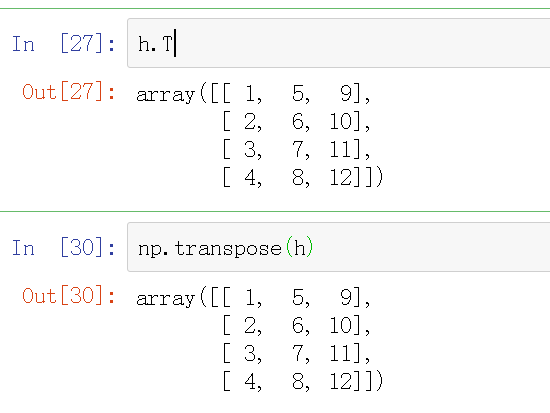
Matrix transpose can use ndarray T or NP transpose(ndarray).
Inverse matrix:

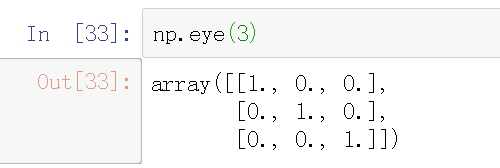
Identity matrix:
Dot product: i and j represent two matrices.
np.dot(i,j)
i @ j
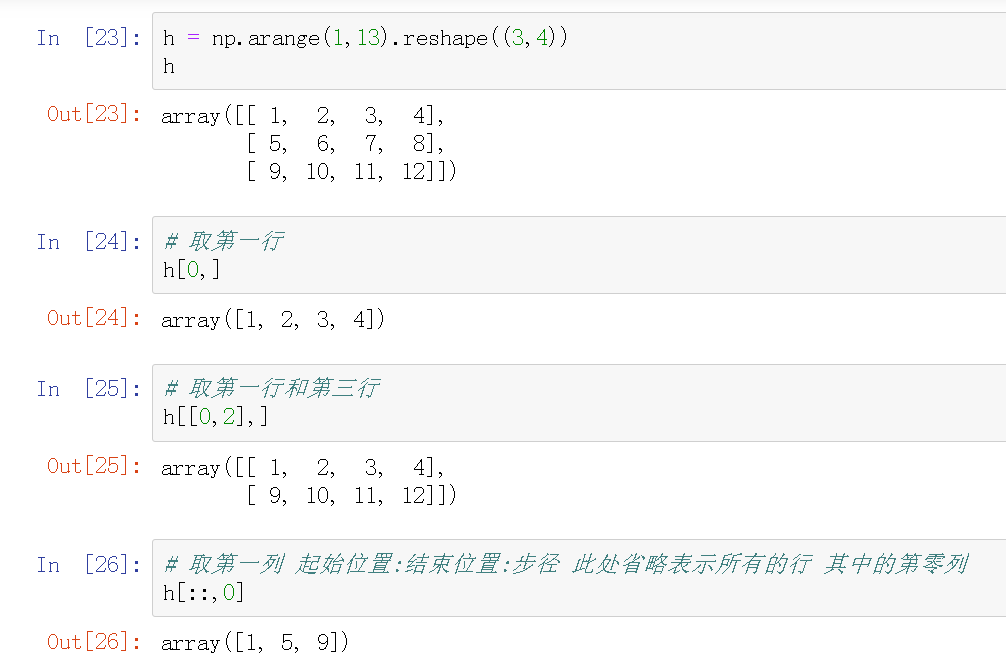
Indexing and slicing

Note that the comma can be omitted after and not before.
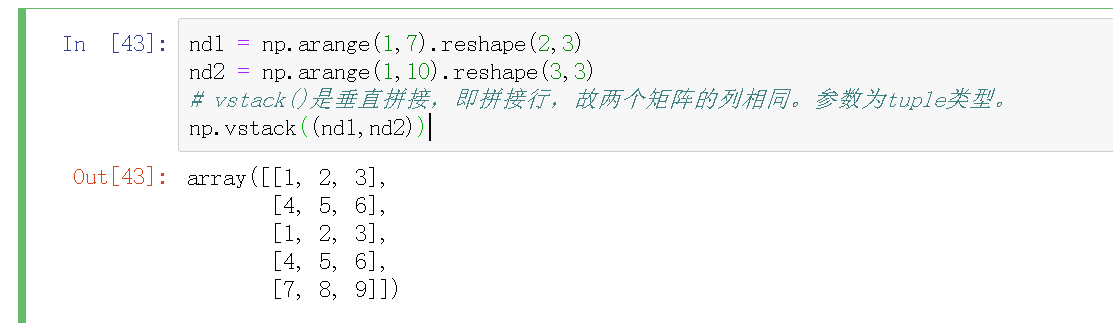
Matrix splicing
nd1 = np.arange(1,7).reshape(2,3)
nd2 = np.arange(1,10).reshape(3,3)
# vstack() is vertical splicing, that is, splicing rows, so the columns of the two matrices are the same. Parameter is tuple type.
np.vstack((nd1,nd2))
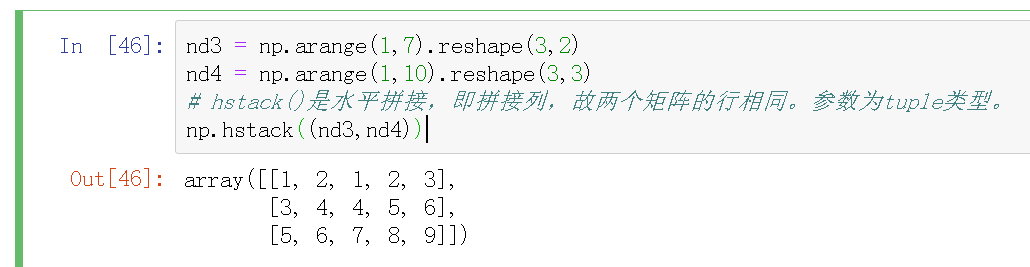
nd3 = np.arange(1,7).reshape(3,2)
nd4 = np.arange(1,10).reshape(3,3)
# hstack() is horizontal splicing, that is, splicing columns, so the rows of the two matrices are the same. Parameter is tuple type.
np.hstack((nd3,nd4))
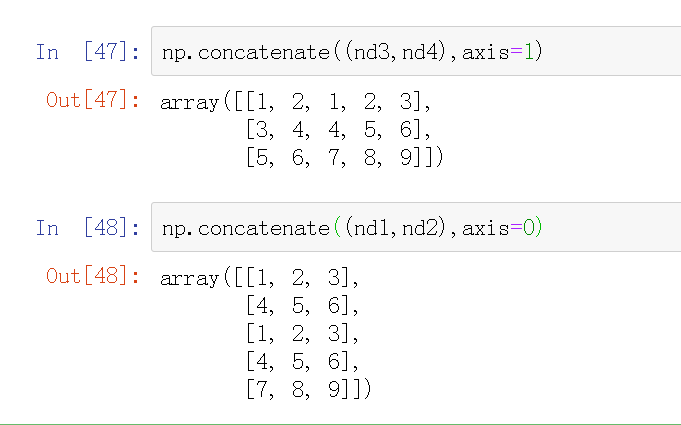
np.concatenate((nd3,nd4),axis=1)
np.concatenate((nd1,nd2),axis=0)
Axis refers to the axis. For the two-dimensional array in numpy, axis has 0 axis and 1 axis. 0 means that the row changes and the column remains unchanged, and 1 means that the column changes and the row remains unchanged.
Ding Dong! end!