target
In this chapter, you will learn
- Nonlocal mean denoising algorithm for removing noise in image
- Learn different functions
theory
In the previous chapters, we have seen many image smoothing techniques, such as Gaussian blur, median blur, etc., which can eliminate a small amount of noise to some extent. In these techniques, a small neighborhood is taken around the pixel, and some operations are carried out, such as Gaussian weighted average (Gaussian blur), median of value (median blur), etc. to replace the central element. In short, noise removal at a pixel is local to its neighborhood.
Noise has a property. It is generally considered that noise is a random variable with zero mean. Consider a noisy pixel, p = p 0 + n p=p_0+n p=p0 + n, where p 0 p_0 p0 is the true value of the pixel, and N is the noise in the pixel. A large number of identical pixel values (e.g., n) can be obtained from different images and their average value p can be calculated. Ideally, since the average value of noise is zero, it should be obtained p = p 0 p = p_0 p=p0.
This can be verified through simple settings. Fix the static camera at a certain position for a few seconds, which will provide many frames or many images of the same scene. Then write a piece of code to find the average value of all frames in the video. Compare the final result with the result of the first frame, and you will see that the noise is reduced. Unfortunately, this simple method is not robust to camera and scene motion.
The above idea is simple. You need a set of similar images to average the noise. Considering a small window in the image (such as 5x5 window), it is likely that the same image block may be located in other positions in the image. Use these similar patches together and find their average value. Refer to the following example image:
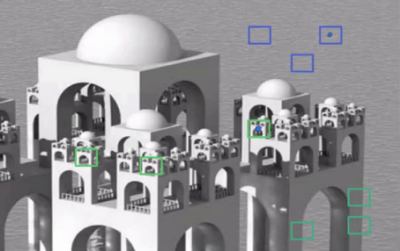
The blue image block in the image looks very similar, and the green image block in the image looks very similar. Therefore, the process is: first obtain a pixel, obtain a small window around it, search for similar windows in the image, average all windows, and then replace the pixel with the obtained results. This method is * * non local means denoising) * *. Compared with the fuzzy technology seen before, this method takes more time, but the effect is very good. More information and online demonstrations are available See here.
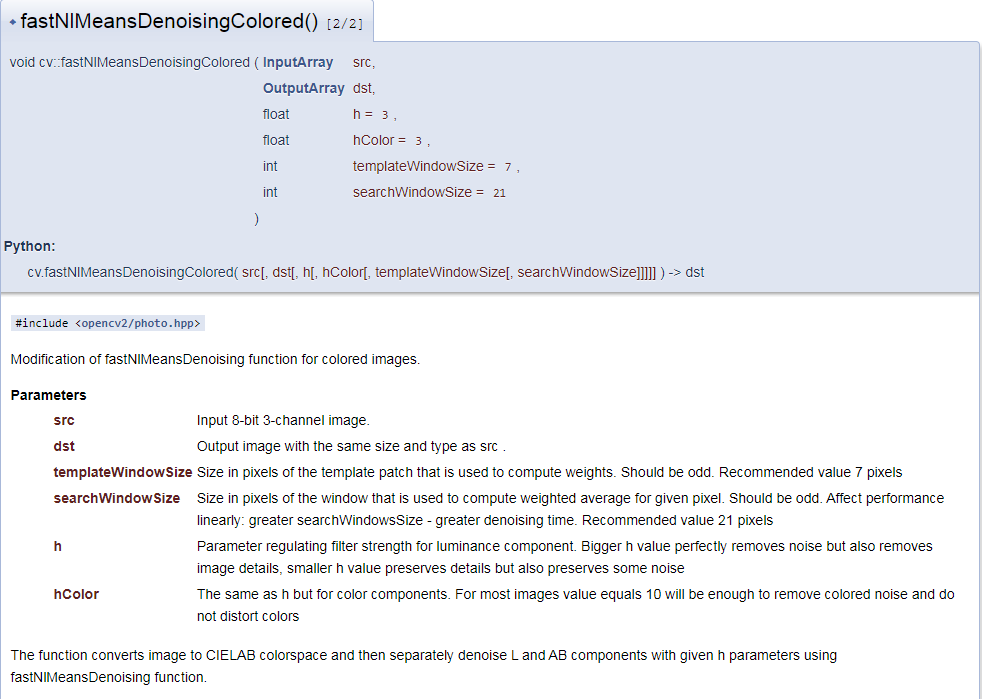
For the color image, the image will be converted to CIELAB color space, and then the L and AB components will be denoised respectively
Image denoising in OpenCV
OpenCV provides four variants of this method:
-
cv2.fastNlMeansDenoising() -Process a single gray image
-
cv2.fastNlMeansDenoisingColored() -Processing color images
-
cv2.fastNlMeansDenoisingMulti() -Process image sequences (grayscale images) captured in a short time
-
cv2.fastNlMeansDenoisingColoredMulti() -Same as above, but for color images
Common parameters are:
-
h: Parameters that determine the strength of the filter. A higher H value can better eliminate noise, but it can also eliminate image detail (it can be set to 10)
-
hForColorComponents: same as h, but only for color images (usually the same as H)
-
templateWindowSize: should be odd (7 is recommended)
-
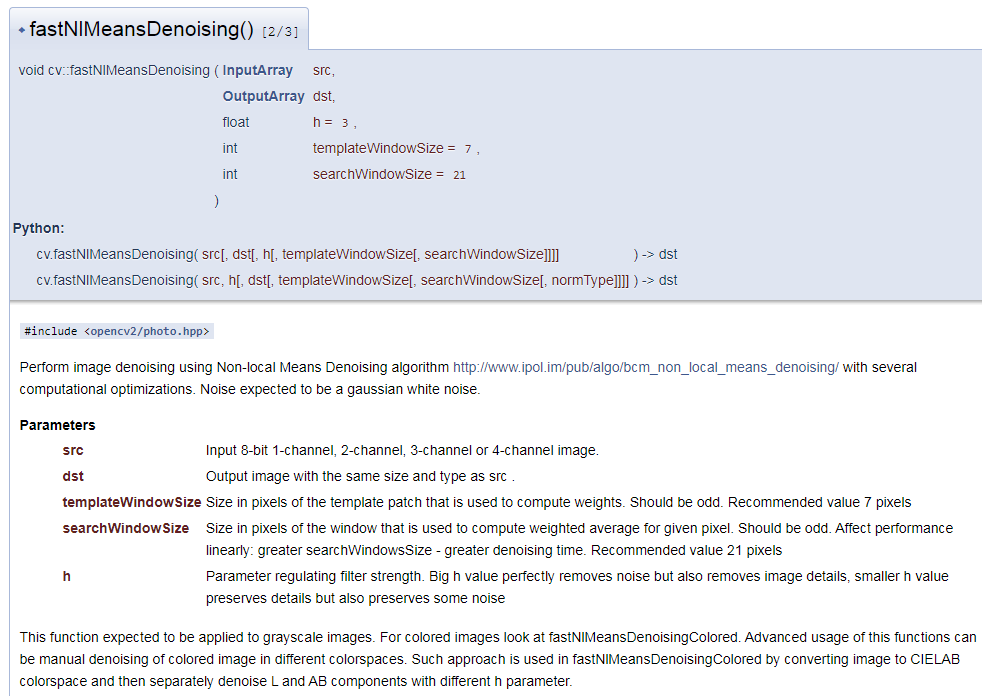
searchWindowSize: should be odd (recommended to be set to 21)
example
cv2.fastNlMeansDenoising()
Processing grayscale image
import cv2
import numpy as np
from matplotlib import pyplot as plt

img = cv2.imread('die.png', 0)
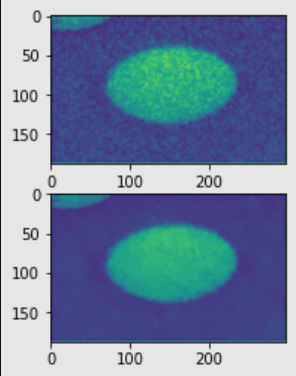
dst = cv2.fastNlMeansDenoising(img, None, 10, 7, 21)
plt.subplot(211)
plt.imshow(img)
plt.subplot(212)
plt.imshow(dst)
plt.show()
cv2.fastNlMeansDenoisingColored()
Process color map
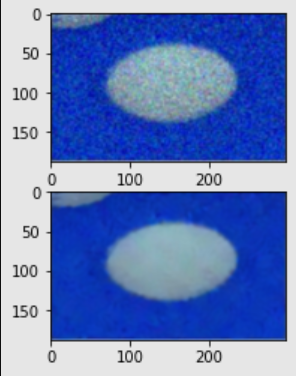
As mentioned above, it is used to eliminate noise in color images (the noise may be Gaussian). See the following example:
# Color map

import cv2
import numpy as np
from matplotlib import pyplot as plt

img = cv2.imread('die.png')
img = cv2.cvtColor(img, cv2.COLOR_RGB2BGR)  # rgb into bgr
dst = cv2.fastNlMeansDenoisingColored(img, None, 10, 10, 7, 21)
plt.subplot(211)
plt.imshow(img)
plt.subplot(212)
plt.imshow(dst)
plt.show()
cv2.fastNlMeansDenoisingMulti()
Processing gray image sequences captured in a short time
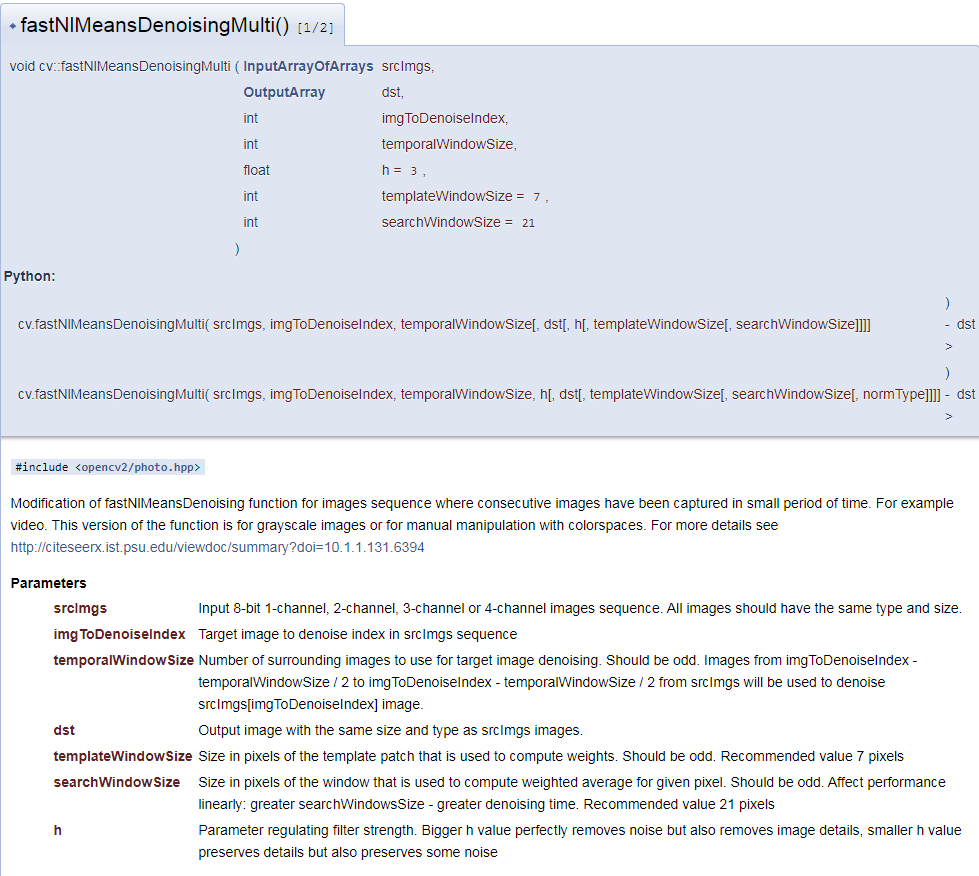
The same method will be applied to the video:
- The first parameter is srcImgs, a list of noise frames with the same type and size
- The second parameter is imgToDenoiseIndex, which specifies the frame to be denoised. To do this, pass the index of the frame in the input list
- The third parameter is temporalWindowSize, which specifies the number of nearby frames to be used for noise reduction. It should be set to an odd number. A total of temporalWindowSize frames are used, where the central frame is the frame to be denoised. For example, pass a list of 5 frames as input, so that i m g T o D e n o i s e I n d e x = 2 imgToDenoiseIndex =2 imgToDenoiseIndex=2,$temporalWindowSize =3 $. Then frame-1, frame-2 and frame-3 are used to denoise frame-2
example
# Continuous grayscale image
import cv2
import numpy as np
from matplotlib import pyplot as plt

cap = cv2.VideoCapture('vtest.avi')

# create a list of first 5 frames
img = [cap.read()[1] for i in range(5)]

# convert all to grayscale
gray = [cv2.cvtColor(i, cv2.COLOR_BGR2GRAY) for i in img]

# convet all to float64
gray = [np.float64(i) for i in gray]

# create a noise of variance 25
noise = np.random.randn(*gray[1].shape)*10

# Add this noise to images
noisy = [i+noise for i in gray]

# Convert back to uint8
noisy = [np.uint8(np.clip(i, 0, 255)) for i in noisy]

# Denoise 3rd frame considering all the 5 frames
dst = cv2.fastNlMeansDenoisingMulti(noisy, 2, 5, None, 7, 21, 35)

plt.subplot(311)
plt.imshow(gray[2],'gray')
plt.subplot(312)
plt.imshow(noisy[2],'gray')
plt.subplot(313)
plt.imshow(dst,'gray')
plt.show()
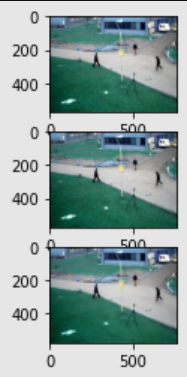
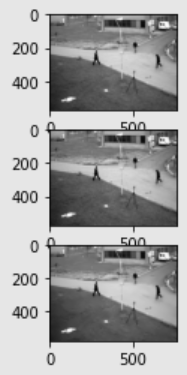
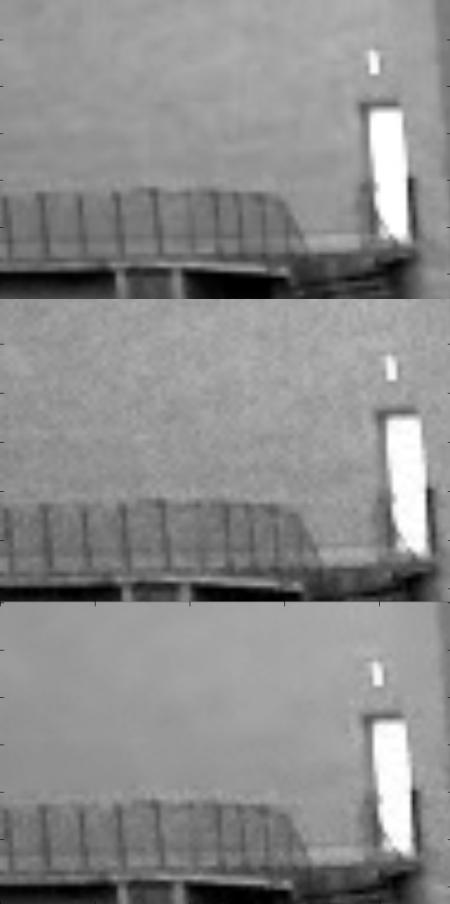
Computing takes a lot of time. As a result, the first image is the original frame, the second is the noise frame, and the third is the denoised image.
Zoom in on the details:
cv2.fastNlMeansDenoisingColoredMulti()
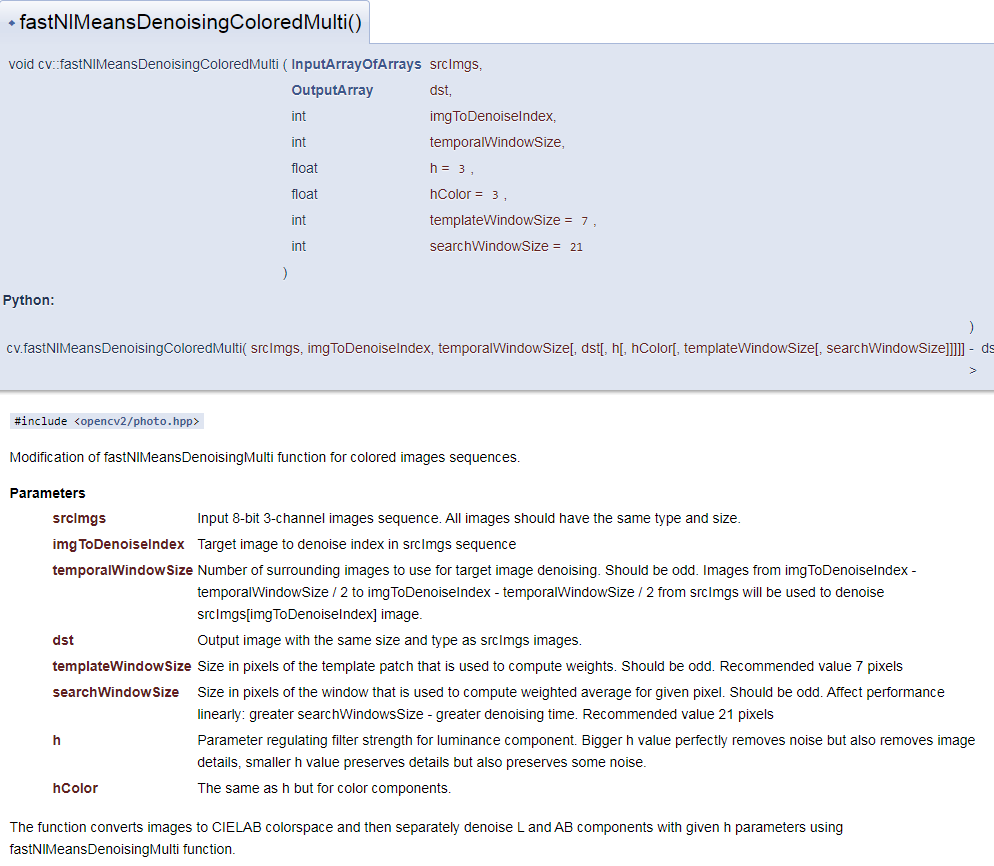
Process color image sequences captured in a short time
# Continuous color map
import cv2
import numpy as np
from matplotlib import pyplot as plt

cap = cv2.VideoCapture('vtest.avi')

# create a list of first 5 frames
img = [cap.read()[1] for i in range(5)]

# convet all to float64
img_64 = [np.float64(i) for i in img]

# create a noise of variance 25
noise = np.random.randn(*img_64[1].shape)*10

# Add this noise to images
noisy = [i+noise for i in img_64]

# Convert back to uint8
noisy = [np.uint8(np.clip(i, 0, 255)) for i in noisy]

# Denoise 3rd frame considering all the 5 frames
dst = cv2.fastNlMeansDenoisingColoredMulti(noisy, 2, 5, None, 7, 21, 35)

plt.subplot(311)
plt.imshow(img[2])
plt.subplot(312)
plt.imshow(noisy[2])
plt.subplot(313)
plt.imshow(dst)
plt.show()
