1, Install JAVA
Java 1.0 is required to install ElasticSearch in CentOS 8.0, execute the command java -version to view the Java version installed in the current system
openjdk version "1.8.0_212"
OpenJDK Runtime Environment (build 1.8.0_212-b04)
OpenJDK 64-Bit Server VM (build 25.212-b04, mixed mode)
If java is not installed or the version is inconsistent, you can install it through the following command:
yum install java-1.8.0-openjdk* -y
 perhaps
yum -y install java
2, Install MongoDB 3.6
Official documents require MongoDB version to be greater than or equal to 3.6, so we install version 3.6
1. Create warehouse
vi /etc/yum.repos.d/mongodb-org-3.6.repo
2. Copy the following contents into the above file, save and exit
[mongodb-org-3.6]
name=MongoDB Repository
baseurl=https://repo.mongodb.org/yum/redhat/$releasever/mongodb-org/3.6/x86_64/
gpgcheck=1
enabled=1
gpgkey=https://www.mongodb.org/static/pgp/server-3.6.asc
3. Install mongodb using Yum command
yum install -y mongodb-org
4. Create data directory
mkdir -p /data/mongodb/data /data/mongodb/logs
chown mongod.mongod /data/mongodb/data /data/mongodb/logs -R
#mongod is used by default, so you need to modify the directory permissions
5. Modify the configuration file
vi /etc/mongod.conf
# for documentation of all options, see:
# http://docs.mongodb.org/manual/reference/configuration-options/
# where to write logging data.
systemLog:
destination: file
logAppend: true
path: /data/mongodb/logs/mongod.log #Modify to the directory just created
# Where and how to store data.
storage:
dbPath: /data/mongodb/data #Modify to the directory just created
journal:
enabled: true
# engine:
# mmapv1:
# wiredTiger:
# how the process runs
processManagement:
fork: true # fork and run in background
pidFilePath: /data/mongodb/logs/mongod.pid # location of pidfile
timeZoneInfo: /usr/share/zoneinfo
# network interfaces
net:
port: 27017
bindIp: 127.0.0.1 # Listen to local interface only, comment to listen on all interfaces.
#security:
# authorization: enabled #This is to turn on the verification function, turn it off temporarily, and then turn it on for verification after the root user is created
#operationProfiling:
#replication:
#sharding:
## Enterprise-Only Options
#auditLog:
#snmp:
6. Start MongoDB
mongod -f /etc/mongod.conf
7. Check whether the service is started
ps -ef | grep mongod
3, Install elasticsearch6 7 (method 1)
1. Download elasticsearch
Download from official website: https://www.elastic.co/cn/downloads/past-releases#elasticsearch Select the 6.7 version of tar GZ compressed package. (the official document requires the elasticsearch version to be greater than or equal to 5.6 and less than 7)
-
2. Upload to the server
After downloading, use the rz command to upload the compressed package to the / opt path. -
3. Decompression
tar -zvxf elasticsearch-6.7.0.tar.gz
- 4. Create user
useradd  es
chown  -R  es:es /opt/elasticsearch-6.7.0/
Because elasticsearch cannot be started with the root account, the following error messages will be generated if it is started with the root account, so it is necessary to create a new user to start.
[WARN ][o.e.b.ElasticsearchUncaughtExceptionHandler] [] uncaught exception in thread [main]
org.elasticsearch.bootstrap.StartupException: java.lang.RuntimeException: can not run elasticsearch as root
5. Start elasticsearch
Elasticsearch does not need any additional configuration, just start it. Switch to the es user and switch to the directory of / opt/elasticsearch-6.7.0 to start:
su es
cd  elasticsearch-6.7.0/
bin/elasticsearch
6. Verify whether the service is started successfully
curl http://127.0.0.1:9200
Execute the above command, and the text similar to this will be returned, indicating that the service has been started successfully.
curl http://127.0.0.1:9200
{
  "name" : "fb4g6X_",
  "cluster_name" : "elasticsearch",
  "cluster_uuid" : "Xp4GK80NRa6aikptBRTe0Q",
  "version" : {
    "number" : "6.7.0",
    "build_flavor" : "default",
    "build_type" : "tar",
    "build_hash" : "8453f77",
    "build_date" : "2019-03-21T15:32:29.844721Z",
    "build_snapshot" : false,
    "lucene_version" : "7.7.0",
    "minimum_wire_compatibility_version" : "5.6.0",
    "minimum_index_compatibility_version" : "5.0.0"
  },
  "tagline" : "You Know, for Search"
}
3, Install elasticsearch6 7 (method 2)
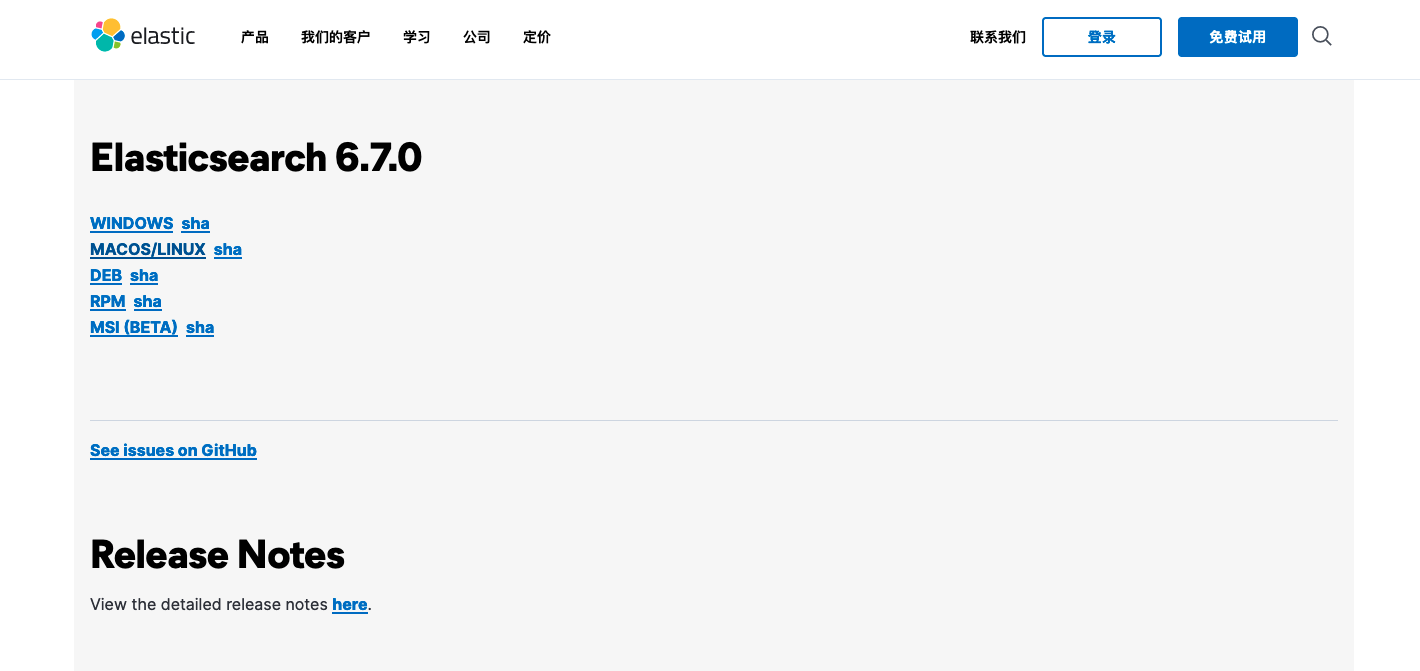
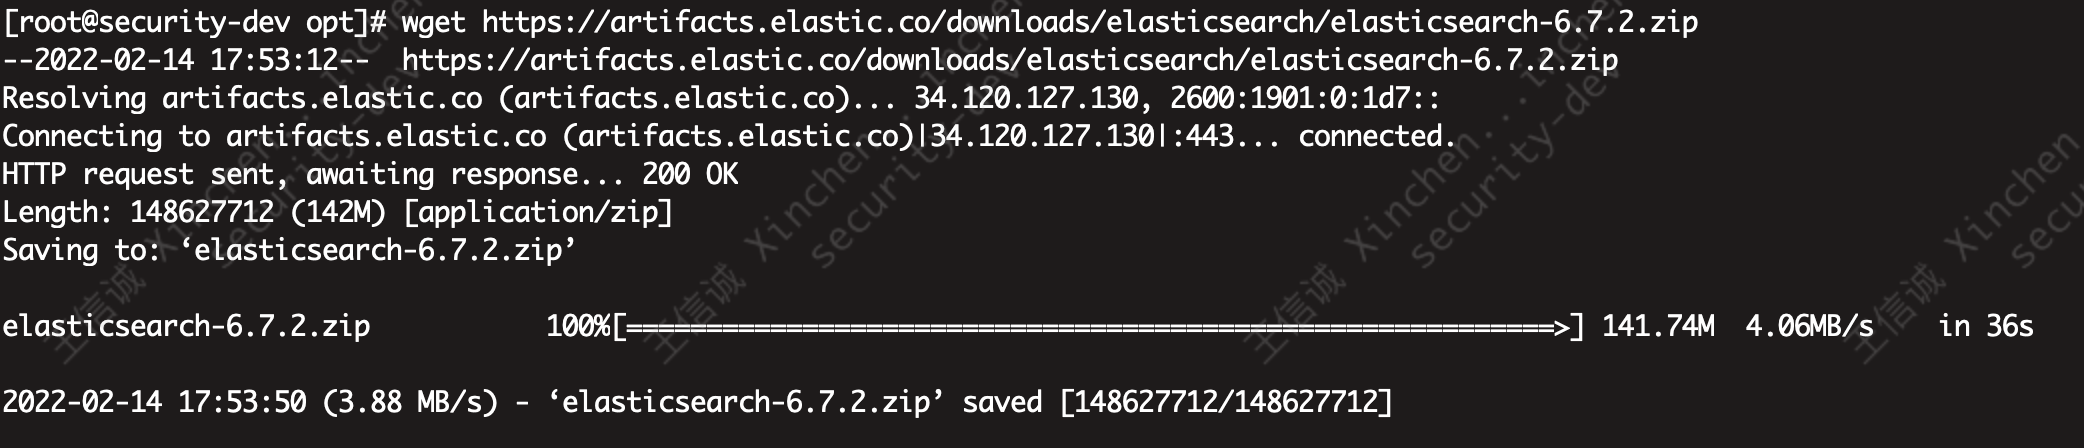
1. Download elasticsearch
Enter the official website to download
Install Elasticsearch with .zip or .tar.gz | Elasticsearch Guide [6.7] | Elastic
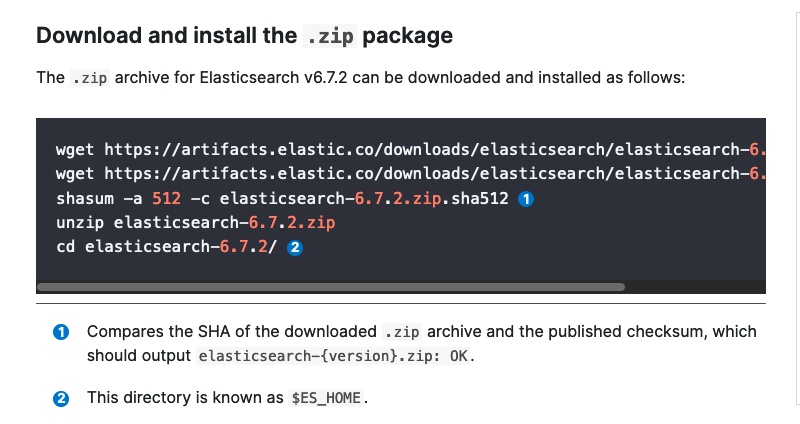
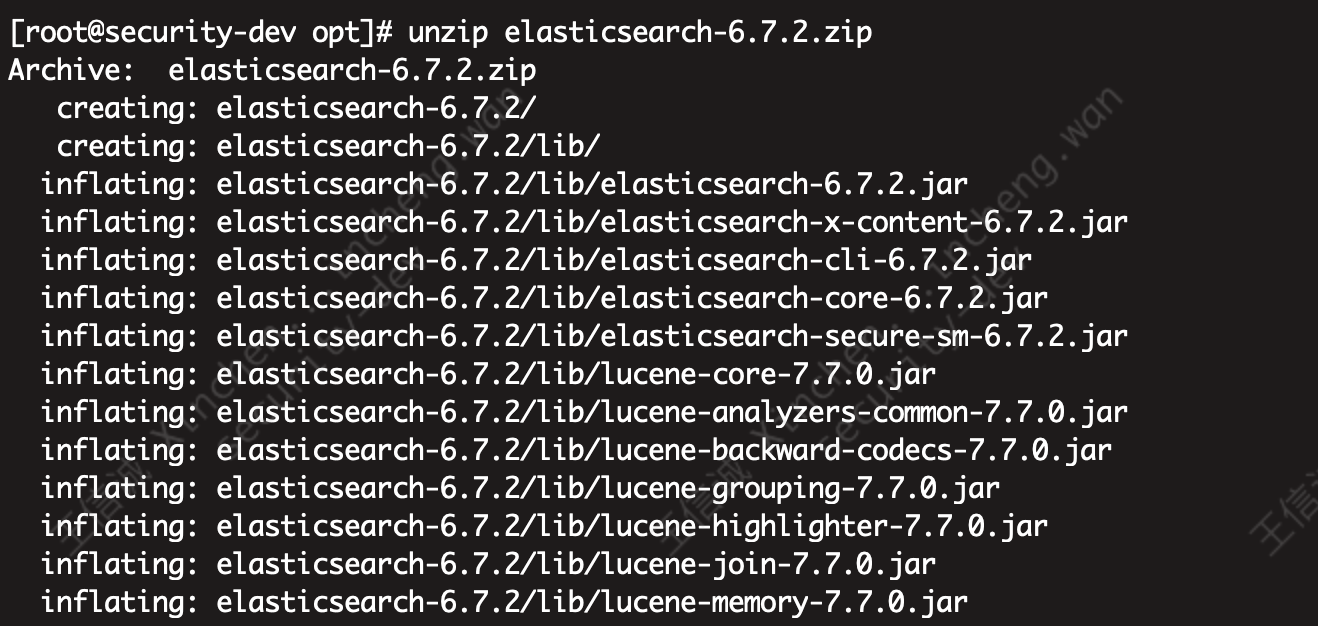
2. Decompress the compressed package
unzip elasticsearch-6.7.2.zip
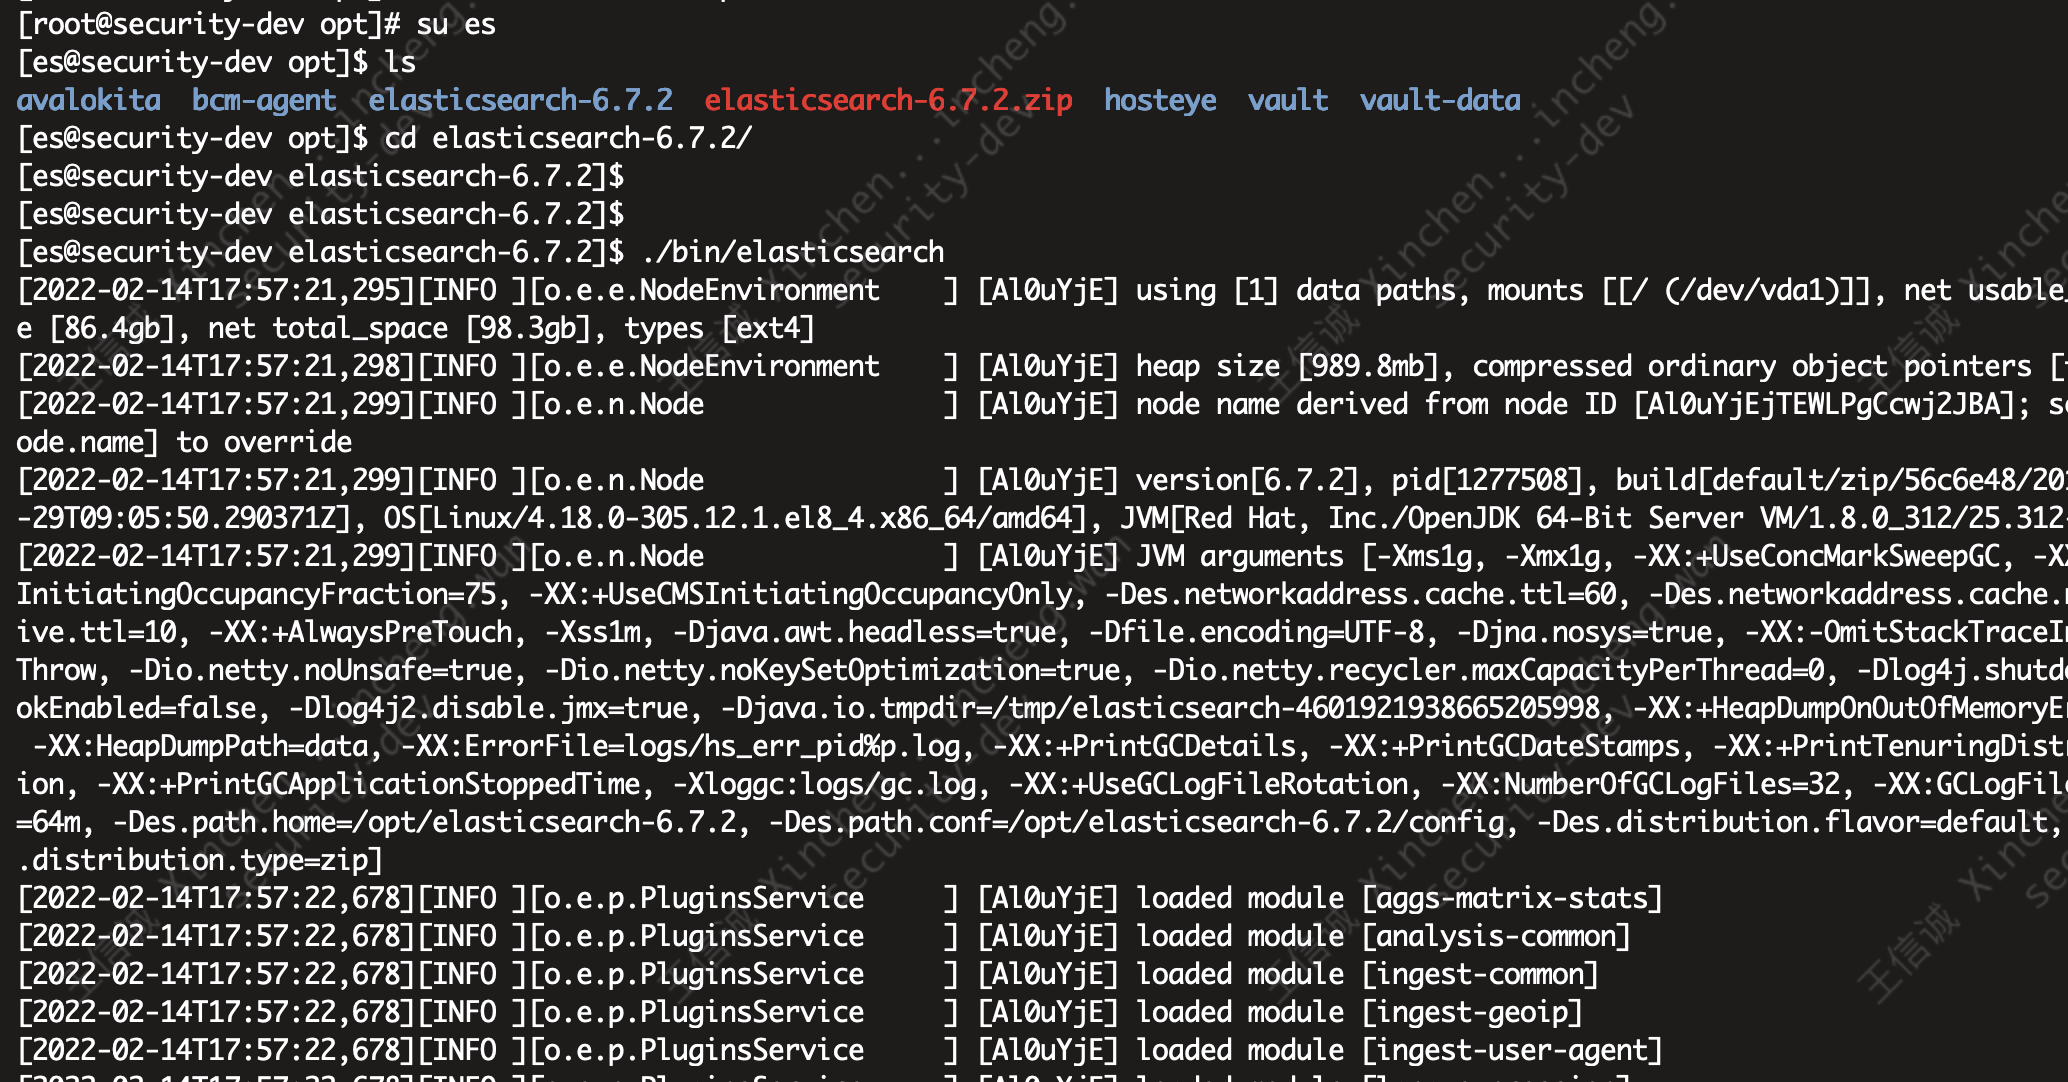
3. Create user
useradd  es
chown  -R  es:es /opt/elasticsearch-6.7.2/
4. Start elasticsearch
Elasticsearch does not need any additional configuration, just start it. Switch to the es user and switch to the directory of / opt/elasticsearch-6.7.2 to start:
su es
cd  elasticsearch-6.7.2/
bin/elasticsearch
 (optional) store the background running log to es log
nohup ./bin/elasticsearch 2>&1 > es.log &
6. Verify whether the service is started successfully
curl http://127.0.0.1:9200
Execute the above command, and the text similar to this will be returned, indicating that the service has been started successfully.
curl http://127.0.0.1:9200
{
  "name" : "fb4g6X_",
  "cluster_name" : "elasticsearch",
  "cluster_uuid" : "Xp4GK80NRa6aikptBRTe0Q",
  "version" : {
    "number" : "6.7.0",
    "build_flavor" : "default",
    "build_type" : "tar",
    "build_hash" : "8453f77",
    "build_date" : "2019-03-21T15:32:29.844721Z",
    "build_snapshot" : false,
    "lucene_version" : "7.7.0",
    "minimum_wire_compatibility_version" : "5.6.0",
    "minimum_index_compatibility_version" : "5.0.0"
  },
  "tagline" : "You Know, for Search"
}
4, Download and start OpenRASP service
Introduction - OpenRASP official document - Open Source adaptive security products https://rasp.baidu.com/doc/ 1. Download OpenRASP and unzip it to the opt directory.
Fast access - OpenRASP official document - Open Source adaptive security products
Select your own version file
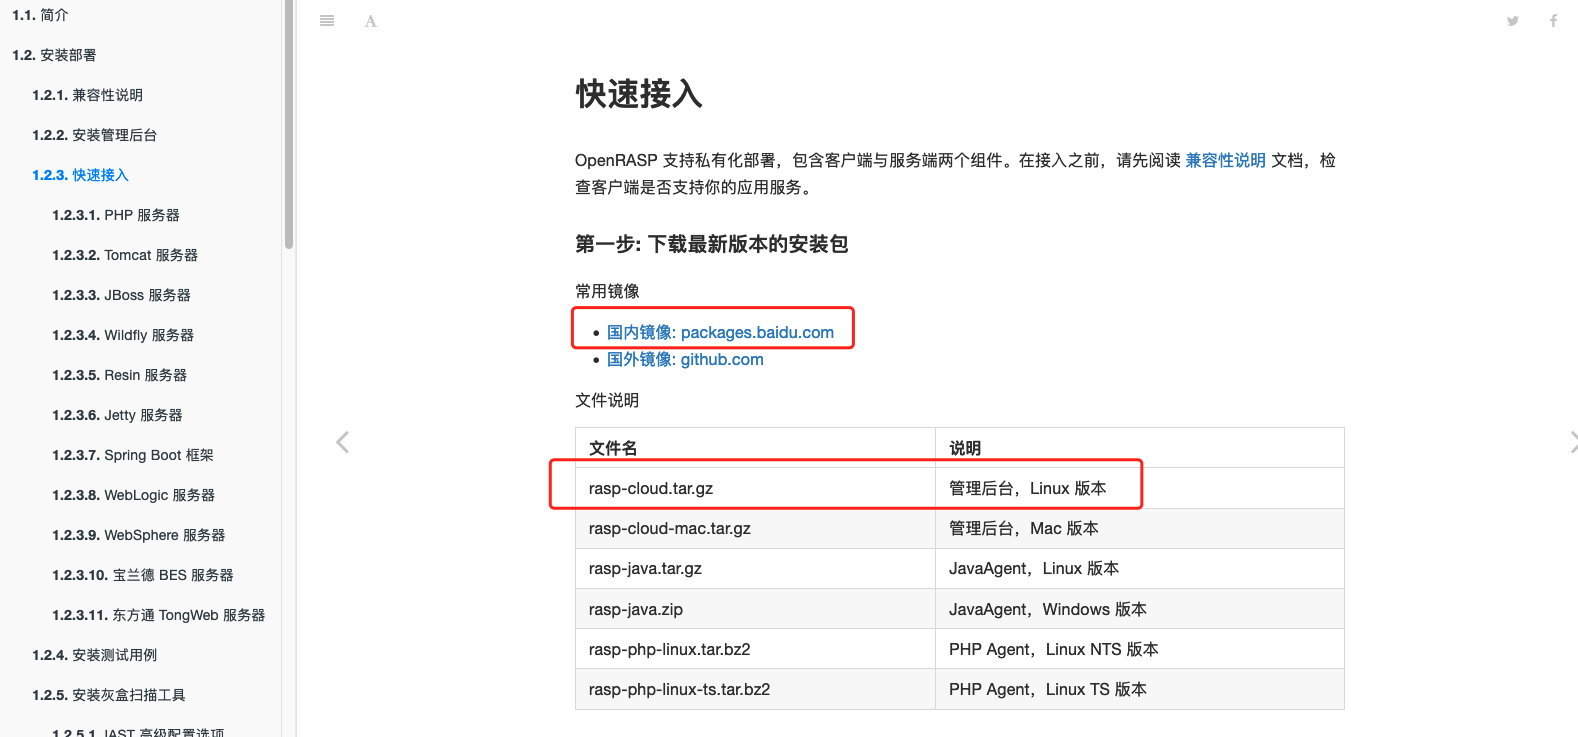
Copy file links directly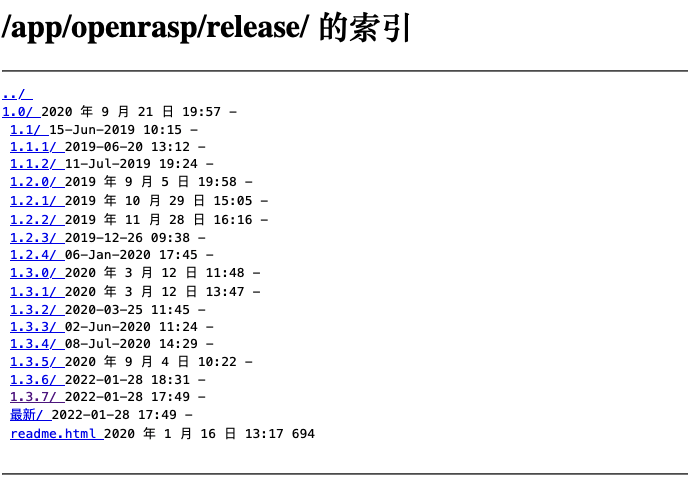
2. Download rasp cloud
wget https://packages.baidu.com/app/openrasp/release/1.3.7/rasp-cloud.tar.gz
3. Unzip rasp
tar -zvxf rasp-cloud.tar.gz
4. Edit / conf / APP Conf file to correct the addresses of ElasticSearch and MongoDB servers. If both servers are installed locally and use the default port, skip this step:
cd rasp-cloud-2022-01-28/
vim /conf/app.conf
[prod]
EsAddr = http://127.0.0.1:9200
EsUser =
EsPwd =
MongoDBAddr = 127.0.0.1:27017
MongoDBUser =
MongoDBPwd =
5. Execute the following commands in the terminal to start the background server:
[root@test rasp-cloud-2019-07-18]# ./rasp-cloud -d
/data/rasp-cloud-2019-07-18/
2019/07/18 23:44:48 args: []
2019/07/18 23:44:48 start successfully, for details please check the log in 'logs/api/agent-cloud.log'
6. Open in browser http://your-ip:8086 , but the web interface is not accessible. Check logs / API / agent cloud according to the prompt Log. The log shows that the service is normal.
[root@test rasp-cloud-2019-07-18]# cat logs/api/agent-cloud.log
2019/07/18 23:25:55.387 [I] [environment.go:67]  ===== start type: default =====
2019/07/18 23:25:55.390 [E] [mongo.go:51]  [30002] failed to find MongoDB server: : no reachable servers
2019/07/18 23:44:48.844 [I] [environment.go:67]  ===== start type: default =====
2019/07/18 23:44:48.846 [I] [mongo.go:57]  MongoDB version: 3.6.13
2019/07/18 23:44:48.872 [I] [es.go:56]  ES version: 6.7.0
2019/07/18 23:44:49.014 [I] [es.go:126]  put es template: report-data-template
2019/07/18 23:44:49.045 [I] [es.go:126]  put es template: error-alarm-template
2019/07/18 23:44:49.108 [I] [es.go:126]  put es template: attack-alarm-template
Test and view the local access, and the display is normal
[root@test rasp-cloud-2019-07-18]# curl http://127.0.0.1:8086
<!doctype html><html><head><meta charset=UTF-8><meta name=description content="OpenRASP Management background"><meta name=author content=c0debreak><meta name=robots content=noindex><meta name=viewport content="width=device-width,user-scalable=no,initial-scale=1,maximum-scale=1,minimum-scale=1"><meta http-equiv=X-UA-Compatible content="ie=edge"><link rel=icon href=./favicon.ico type=image/x-icon><link rel="shortcut icon" type=image/x-icon href=/static/favicon.ico><title>Management background - OpenRASP - Open source adaptive security protection</title><link href=/static/plugins/font-awesome-4.7.0/css/font-awesome.min.css rel=stylesheet><link href=/static/gfonts/main.css rel=stylesheet><link href=/static/plugins/charts-c3/plugin.css rel=stylesheet><link href=/static/css/app.55611cc7abe6d4911c43a8ec5550dfdd.css rel=stylesheet></head><body class=""><div id=app></div><script type=text/javascript src=/static/js/manifest.2ae2e69a05c33dfc65f8.js></script><script type=text/javascript src=/static/js/vendor.51cbec5bbc7181337bf4.js></script><script type=text/javascript src=/static/js/app.122d023e2cca64b89e23.js></script></body></html>
It may be a firewall problem. Check the firewall settings and open port 8086
iptables -I INPUT -p tcp --dport 8086 -j ACCEPT
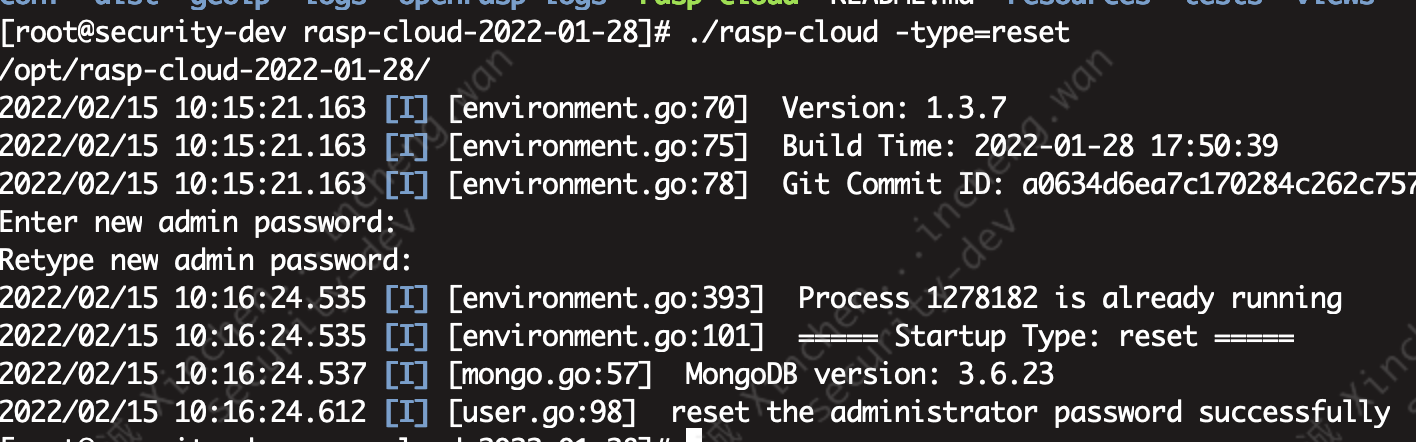
A password error has occurred (setting a new password)
./rasp-cloud -type=reset