- Webpack Chinese document address: https://webpack.docschina.org/configuration/dev-server/
1. Foundation use:
Step 1: create the default packaging entry file -- src/index.js
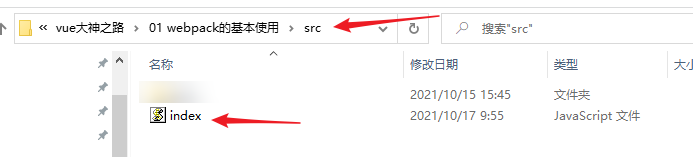
Step 2: import the file to be imported into index.js to participate in packaging
- Simple example: if you need to add css styles to. html files, you need to import the created css files into the portal file (index.js) to participate in the yarn build, and then you can reference your css styles in. html files
Step 3: execute the build command in package.json and the webpack package command
The build command in package.json -- is the following string of debugging code:
"scripts": {
    "build":"webpack"
  }
Picture example (those who don't understand can see this picture):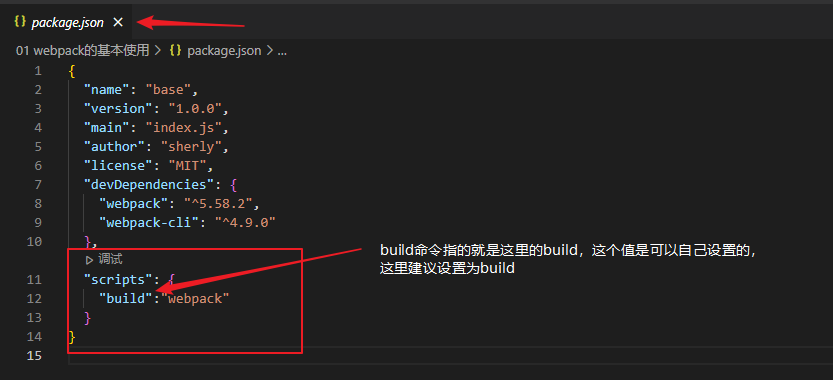
Step 4: output the packing result of dist / main.js by default
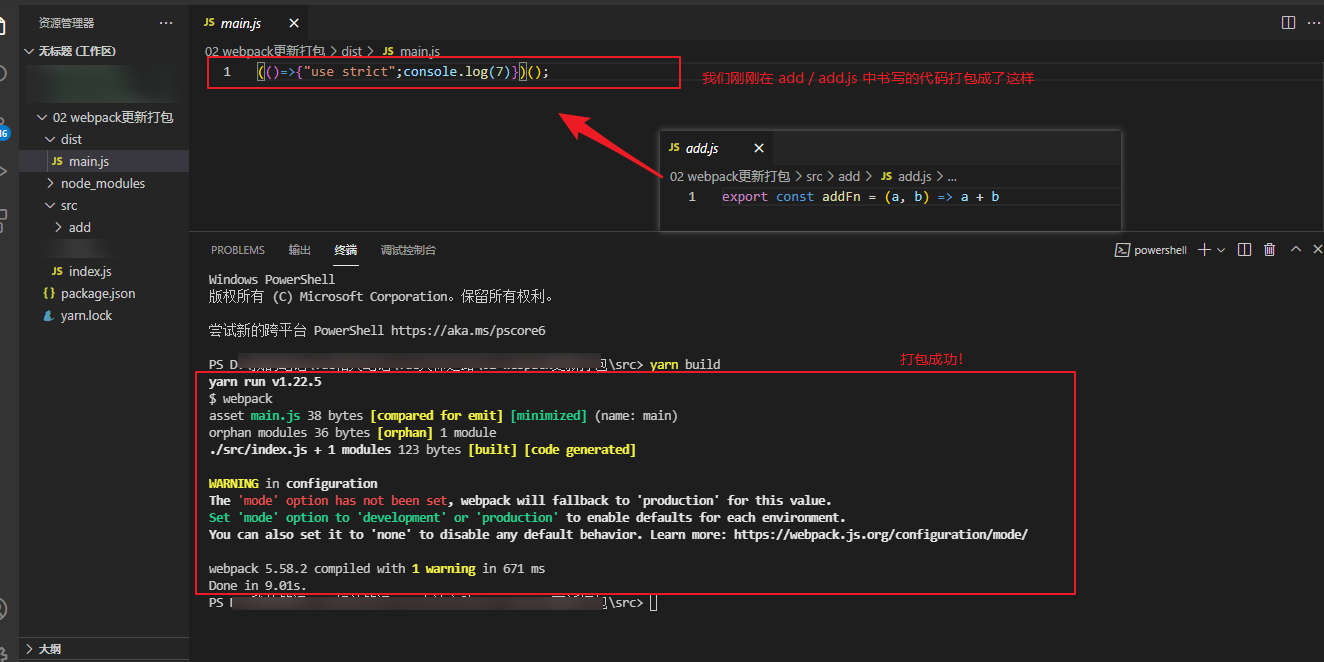
Run the yarn build command to package a dist/ / main.js file for us; (our packaged code is in dist folder)
2. Update packaging (i.e. repackaging)
- If we update our files, we need to use the update package
Step 1: create an add folder under the src folder
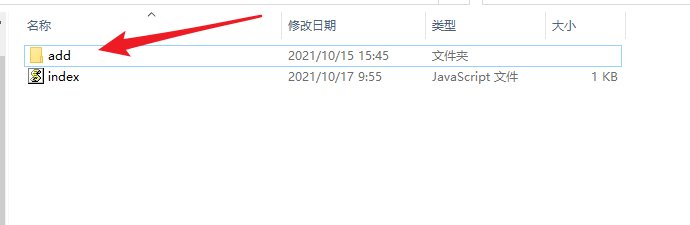
Step 2: write the code you want to add in add / add.js
Step 3: import add.js into the index.js entry file
// index.js file
import { addFn } from './add/add'
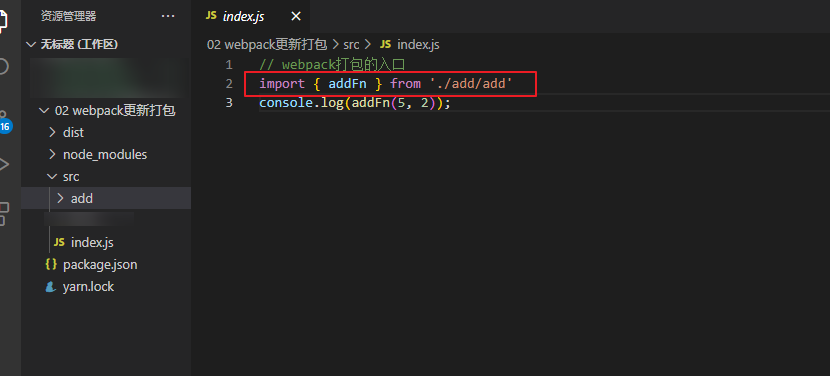
Step 4: execute the webpack packaging command at the entrance to view the results
3. Change inlet outlet
Goal: tell webpack where to start packaging and where to output after packaging
Default entry: '. / src/index.js'
Default exit: '. / dist/main.js'
Step 1: webpack configuration - webpack.config.js
1. Create the webpack.config.js file at the side-by-side of the src folder
2. Fill in the configuration item in webpack.config.js
const path = require("path")

module.exports = {
    entry: "./src/main.js", // entrance
    output: {
        path: path.join(__dirname, "dist"), // Exit path
        filename: "bundle.js" // Export file name
    }
}
Step 3: execute the webpack packaging command at the entrance to view the result -- yarn build
4.webpack plug-in -- automatically generate html files
Objective: the html webpack plugin plug-in enables the webpack to generate html files after packaging and automatically import the packaged js
Step 1: create the src side-by-side folder pulish / index.html
Handwritten the basic skeleton of HTML in the index.html file
Step 2: download the plug-in that automatically generates html
yarn add html-webpack-plugin -D // Directly copy this string of code to download the plug-in
Step 3: configure webpack.config.js
// Introduce a plug-in for automatically generating html
const HtmlWebpackPlugin = require('html-webpack-plugin')

module.exports = {
    // ... omit other code
    plugins: [
        new HtmlWebpackPlugin({
            template: './public/index.html' // Based on this, the packaged html file is generated
        })
    ]
}
5.webpack plug-in -- processing css files
Target: loaders loader, which allows webpack to process other types of files and package them into js
Explanation: since webpack only knows. js and. json files by default, we need to import. css files into. js files for packaging
Step 1: create a new file: '. / src/css/index.css'
Step 2: install dependency
yarn add style-loader css-loader -D
Step 3: configure webpack.config.js
const HtmlWebpackPlugin = require('html-webpack-plugin')

module.exports = {
    // ... other codes
    module: {
        rules: [ // loader rules
          {
            test: /\.css$/, // Match all css files
            // Run from right to left in the use array
            // First, use css loader to enable webpack to recognize the contents of css files and package them
            // Then use style loader to insert css into dom
            use: [ "style-loader", "css-loader"]
          }
        ]
    }
}
Step 4: write the style you need in the css file
Step 5: import the css file into the entry file (index.js)
import "./css/index.css"
Step 6: execute the webpack package command at the entrance to view the result -- yarn build
6.webpack plug-in -- processing less files
Just like handling css files, you need to install one more plug-in to handle less files-- less-loader
Step 1: create a new file: '. / src/less/index.less
Step 2: install dependency
yarn add less less-loader -D
Step 3: configure webpack.config.js
module: {
  rules: [ // loader rules
    // ... omit other
    {
    	test: /\.less$/,
    	// Use less loader to let webpack process less files, and use less to translate less code into css content
        use: [ "style-loader", "css-loader", 'less-loader']
    }
  ]
}
Step 4: write the style you need in the less file
Step 5: import the less file into the entry file (index.js)
import "./less/index.less"
Step 6: execute the webpack package command at the entrance to view the result -- yarn build
7.webpack plug-in -- loader -- processing picture files
Step 1: create a new folder: 'src/assets' -- put pictures
Step 2: Configure webpack.config.jsbuzhou
!!! Here is a note:
-------If you are a webpack 5 version-- It can be directly configured in the rules of webpack.config.js -
{
    // Configuration of picture files (webpack5 version only)
    test: /\.(png|jpg|gif|jpeg)$/i,
    type: 'asset' // After matching the above files, webpack will package them as static processing
    // If you set the assets mode,
    // If it is less than 8kb, transfer the picture to base64 and package it into js
}
-------If you are webpack4 or earlier -- you need to install relevant plug-ins before configuring
1. Download dependent packages-- url-loader And file loader
yarn add url-loader file-loader -D
2.webpack.config.js configuration
{
  test: /\.(png|jpg|gif|jpeg)$/i,
  use: [
    {
      loader: 'url-loader', // Match the file and try to convert the base64 string into js
      // Configure limit,   Over 8k,   No transfer, file loader copy, random name, output file
      options: {
        limit: 8 * 1024,
      },
    },
  ],
}
Step 3: in css/less/index.less - use the small picture as the background
Code example:
body{
    background: url(../assets/logo_small.png) no-repeat center;
}
Step 4: in src/main.js - insert the large image into the created img tag and add it to the body for display
Code example:
// Import picture - use
import imgUrl from './assets/1.gif'  // Introduce a picture
const theImg = document.createElement("img")  // Create an img tag using the native js method
theImg.src = imgUrl  // Add a picture to the src attribute of img
document.body.appendChild(theImg) // Insert the img tag into the body tag
Step 5: execute the webpack packaging command at the entrance to view the results
8.webpack plug-in -- loader -- processing font files
Objective: using the asset module technology, the asset/resource is directly output to the dist directory
Step 1: create a new folder: 'src/assets/fonts' -- put the font file
Step 2: configure webpack.config.js
!!! Here is also a note:
------If you are a webpack5 version -- refer to this code
{ // webpack5 does not recognize these files internally by default, so it can be directly output as a static resource
    test: /\.(eot|svg|ttf|woff|woff2)$/,
    type: 'asset/resource',
    generator: {
    	filename: 'font/[name].[hash:6][ext]'
    }
}
------If you are webpack 4 and earlier -- Refer to this code
 { // Handle Font Icon parsing
     test: /\.(eot|svg|ttf|woff|woff2)$/,
         use: [
             {
                 loader: 'url-loader',
                 options: {
                     limit: 2 * 1024,
                     // The file name of the configuration output
                     name: '[name].[ext]',
                     // File directory for configuration output
                     outputPath: "fonts/"
                 }
             }
         ]
 }
Step 3: introduce iconfont.css into src/main.js
// Import font icon file
import './assets/fonts/iconfont.css'
Step 4: use font icon style in publish/index.html
<i class="iconfont icon-weixin"></i>
Step 5: execute the webpack packaging command at the entrance to view the result -- yarn build
9.webpack plug-in -- loader -- handling high version js syntax
Objective: let webpack degrade the js code of higher version and package it
- Why do we deal with higher-order grammar?
- High version js code (e.g. arrow function) is packed and directly entered into the js file intact. In case of some low version browsers, an error will be reported. The low version cannot recognize such arrow function. A plug-in needs to automatically help us downgrade so that the low version browser can recognize it
- The reason is that only modular compatibility processing is built into webpack by default ` import export`
- babel introduction = > used to handle the compatibility of high version js syntax [babel official website]( https://www.babeljs.cn/ )
Let's take the following steps to downgrade the code:
Step 1: install package
yarn add -D babel-loader @babel/core @babel/preset-env
Step 2: configure the webpack.config.js file
module: {
  rules: [
    {
        test: /\.js$/,
        exclude: /(node_modules|bower_components)/,
        use: {
            loader: 'babel-loader',
            options: {
                presets: ['@babel/preset-env'] // Default: transcoding rules (originally preset in bable development environment)
            }
        }
    }
  ]
}
Step 3: use the arrow function in index.js (higher version js)
// Advanced Grammar
const fn = () => {
  console.log("Hello babel");
}
console.log(fn) // fn must be printed here, and fn() cannot be called, otherwise webpack will be reduced to a hello babel / unused code will not be compiled
// When there is no babel integration, it is directly packaged into lib/bundle.js as is
// When there is babel integration, it will be translated into ordinary functions and packaged in lib/bundle.js
Step 4: after packaging, observe dist/build.js -- it is converted into an ordinary function, which is the function of babel degradation translation
10. Automatic refresh of webpack dev server
Objective: start the local service, update the modified code in real time, package * * change code * * into memory, and then directly provide port and web page access
Step 1: download package
yarn add webpack-dev-server -D
After downloading:
1. Webpack dev server configuration-- Add server configuration in webpack.config.js
module.exports = {
    // ... other configurations
    devServer: {
      port: 3000 // Port number
    }
}
Refer to here for more configurations: https://webpack.docschina.org/configuration/dev-server/#devserverafter
Step 2: configure custom commands -- add them under package.json file
scripts: {
	"build": "webpack",
	"serve": "webpack serve"
}
Step 3: run the command - start the webpack development server
yarn serve
#Or npm run serve
<!-- This article mainly explains the operation process of webpack in detail, just for understanding. vue used in actual development does not need to install these plug-ins by hand -- >
Hand code is not easy. You can ask questions below