This blog post will be released in Nuggets community first!
preface
Don't say anything. Let's see the renderings first
Originally, I was going to get the model trained on the experimental platform yesterday. As a result, when I got up in the morning, I found that I didn't know why. Maybe there were many people using it. My cloud device was disconnected, so I hung up after 37 rounds of training. There's no way. I have to train again, think about training more times, and then
No accident, hang up again, mad, people.
No way, I can only take yesterday's model. The recognition rate of this is only 62.4%. In fact, I still have the idea to do the graffiti identification, but this data set is too large. The network has been built. Later, you can take the trained model and combine it with the demo made by mediapipe. It's really not good. Take this ciarf10 and make some data sets by yourself. You can also classify graffiti. There's no way, The complex neural network model is difficult to train. Without equipment, GTX1650 can't stand it. You have to train a VGG for several days, so you can only play with it.
environment
I use django3 here two
It uses a test project I often use (there are ready-made ones directly)
Then it is written directly using html css js.
Project structure
I created this directly in the original test project. That's it.
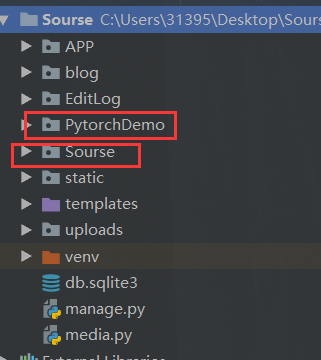
Our code is in this APP.
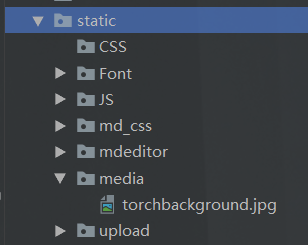
Of course, there is a background picture used here
There's nothing else. That's basically it.
front end
Now on our front-end code
This is just two pages
Picture upload
<!DOCTYPE html>
<html lang="en">
<head>
    <meta charset="UTF-8">
    <title>Image recognition Demo</title>
</head>

<style>
    .center {

        margin: 0 auto;
        width: 80%;
        border: 5px solid #18a0ec;
        transition: all 0.9s;
        border-radius: 10px;
        background-image:url("/static/media/torchbackground.jpg") ;
        background-repeat: no-repeat;
        background-size: cover;
        -webkit-background-size: cover;
        -o-background-size: cover;
        background-position: center 0;


    }
    .centerin{
        width: 500px;
        height: 500px;
        margin: 0 auto;
        padding: 10%;

        border-radius: 10px;
    }

        button {
        margin-left: 80%;
        width: 20%;
        height: 35px;
        border-width: 0px;
        border-radius: 3px;
        background: #1E90FF;
        cursor: pointer;
        outline: none;
        font-family: Microsoft YaHei;
        color: white;
        font-size: 17px;
    }
    #info{
        width: 500px;
        /*   This center */
        margin: 0 auto;
        background: #9becff;
        border-radius: 10px;
    }
    #info:hover {
      box-shadow: 0px 15px 30px rgba(0, 0, 0, 0.4);
      margin-top: 5px;
}

    .tips{

      text-align:center;
      color:#fff;
      text-shadow: #1e88e1 5px 5px 5px;
}
</style>

<body>
<div class="center">
    <div class="centerin">

        <div id="info">
              <p class="tips" style="margin: 0 auto;">
                    book Demo Is based on CIARF10 The 10 classification models constructed by the model and the official data set can be identified
                    {Plane, bicycle,Birds, kittens, puppies, deer, frogs, ponies, boats, trucks}
                    @Huterox
              </p>
        </div>
        <br>
        <br>
        <form action="{% url 'torch:hello' %}" enctype="multipart/form-data" method="POST">
            <div style="background-color:#9becff; width: 100%; height: 300px;">
                <img src="" id="showimg">
            </div>
            <br>

            <input id="file" onchange="changepic(this)" type="file" name="pic"
                   style="height: 70px; display:inline-block;width: 50%;">
            <button style="height: 40px;position: relative; margin-left: 29%;">determine</button>
        </form>

    </div>

</div>
</body>
<script>
    function changepic() {
        var reads = new FileReader();
        f = document.getElementById('file').files[0];
        reads.readAsDataURL(f);
        reads.onload = function (e) {
            var showing = document.getElementById('showimg');
            var userpic = document.getElementById('userpic');
            showing.src = this.result;
            showing.style.height = "300px";
            showing.style.width = "100%";
        };
    }
</script>

</html>
The results show that
<!DOCTYPE html>
<html lang="en">
<head>
    <meta charset="UTF-8">
    <title>Answear</title>
</head>
<style>

.show {
  margin: 100px auto;
  width: 80%;

  border: 5px solid #18a0ec;
  transition: all 0.9s;
  border-radius: 10px;


}

.show:hover {
  box-shadow: 0px 15px 30px rgba(0, 0, 0, 0.4);
  margin-top: 90px;
}
.tips{

  text-align:center;
  font: 50px helvetica,arial,sans-serif;
  color:#fff;
  text-shadow: #1e88e1 5px 5px 5px;
}


</style>
<body>
 <div >
    <div class="show">
      <p class="tips">
        {{ answear }}
      </p>
    </div>
  </div>
</body>
</html>
back-end
There's nothing to say about this. If you configure the environment, you can do it
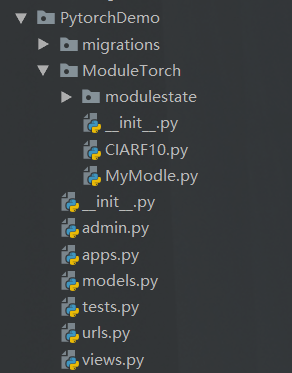
Model deployment
Here is the definition of our model and model call.
# coding=utf-8

from torch import nn

from torch.nn import Conv2d, MaxPool2d, Flatten, Linear, Sequential


class MyModule(nn.Module):

    def __init__(self):
        super().__init__()

        self.model = Sequential(
            Conv2d(3, 32, kernel_size=(5, 5), padding=2),
            MaxPool2d(2),
            Conv2d(32, 32, (5, 5), padding=2),
            MaxPool2d(2),
            Conv2d(32, 64, (5, 5), padding=2),
            MaxPool2d(2),
            Flatten(),
            Linear(1024, 64),
            Linear(64, 10)

        )

    def forward(self,x):
        x = self.model(x)

        return x
Model call

# coding=utf-8
from PIL import Image
import torchvision
import torch
from PytorchDemo.ModuleTorch.MyModle import MyModule

def recognize_img(Image):

    compose = torchvision.transforms.Compose([
        torchvision.transforms.Resize((32, 32)),
        torchvision.transforms.ToTensor()
    ])


    module_path = "PytorchDemo/ModuleTorch/modulestate/mymodule_500.pth"
    image = compose(Image)
    module = MyModule()
    module.load_state_dict(torch.load(module_path))

    image = torch.reshape(image, (1, 3, 32, 32))

    module.eval()
    with torch.no_grad():
        out = module(image)

        return out.argmax(1).item()
route
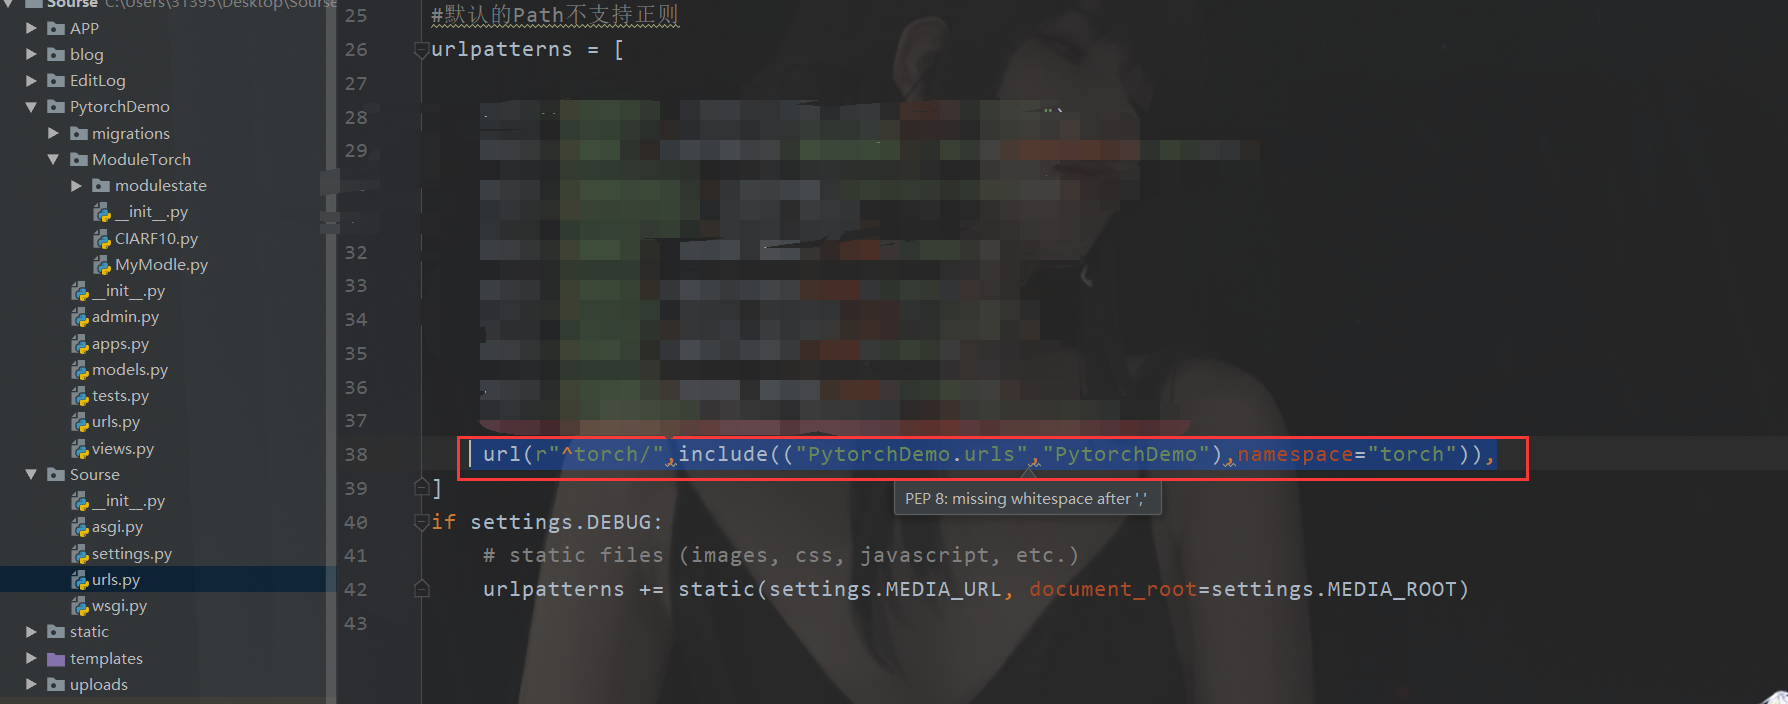
Main route
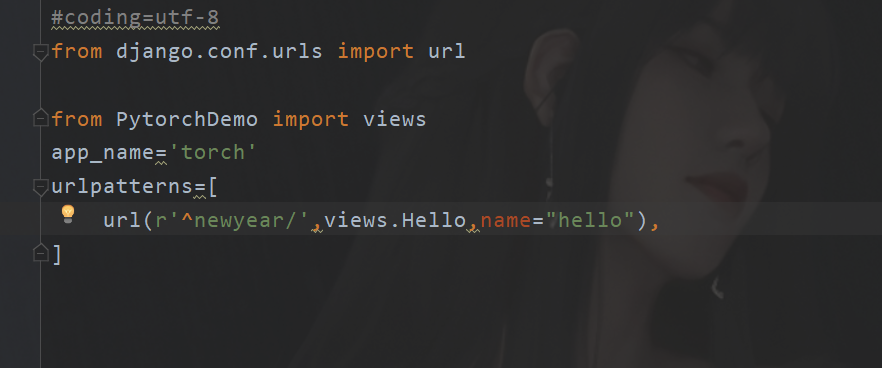
Sub routing
Business code
There are explanations for this
#coding = utf-8
from django.http import HttpResponse
from django.shortcuts import render
import asyncio

# Create your views here.
from django.views.decorators.clickjacking import xframe_options_sameorigin
from django.views.decorators.csrf import csrf_exempt
from PIL import Image
from PytorchDemo.ModuleTorch.CIARF10 import recognize_img

async def UseCIARF10(request,image):
    # {plane, bicycle, bird, kitten, dog, deer, frog, pony, boat, truck}
    #Yes, I changed this view from the old demo. Later I remembered that it was an operation intensive task. Asynchronous synchronization is no different~
    Things = {0:"aircraft",1:"Bicycle",2:"Bird",3:"kitten",4:"fawn",
              5:"puppy",6:"frog",7:"pony",8:"ship",9:"truck"
              }

    out = recognize_img(image)

    out = Things.get(out,"No Answear")
    print(out)
    Data = {
        "answear": "Answear maybe:{}".format(out)
    }
    return Data


@csrf_exempt
@xframe_options_sameorigin
def Hello(request):
    if(request.method=="GET"):
        return render(request,"Show.html")

    elif(request.method=="POST"):
        image = request.FILES.get('pic')
        if(image):
            image = Image.open(image)


            loop = asyncio.new_event_loop()
            asyncio.set_event_loop(loop) #Set event loop

            try:
                res = loop.run_until_complete(UseCIARF10(request,image))
            finally:
                loop.close()

            return render(request, "Answear.html",context=res)

        else:
            return render(request, "Show.html")


    return HttpResponse("NO Power")
It is worth mentioning that in django3 X supports asynchrony, but it is generally synchronous for a view. sync view optimizes the system. When the current view encounters IO operations, it can be switched to provide computing power for other users. After that, a return returns data.
summary
After getting the model, the deployment is still very simple. Later, cooperate with uwsgc Nginx online deployment. Then I found some interesting things in Django that I hadn't found before. Finally, I wish you a happy New Year ~ the year of the tiger