Notes on pinyougou project (11)
SpringBoot
introduce
springboot is a back-end full stack framework (excluding page technology) produced by spring organization
Role: advocate zero configuration, do not need to integrate the framework structure, write business code directly, improve personnel utilization and development efficiency for enterprises.
Disadvantages: springboot is only suitable for small projects
Small example (1)
1, Create a normal project for maven
2, Introduce dependency and configure spring boot starter parent as parent project
<parent>
    <groupId>org.springframework.boot</groupId>
    <artifactId>spring-boot-starter-parent</artifactId>
    <version>1.4.0.RELEASE</version>
</parent>

<dependencies>
    <dependency>
        <groupId>org.springframework.boot</groupId>
        <artifactId>spring-boot-starter-web</artifactId>
    </dependency>
</dependencies>
3, Create the package structure and create a startup class in the upper package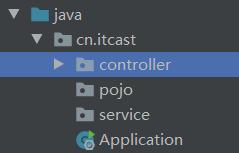
4, Start class writing
package cn.itcast;

import org.springframework.boot.SpringApplication;
import org.springframework.boot.autoconfigure.SpringBootApplication;

/**
 * Startup class
 */
@SpringBootApplication
public class Application {
    public static void main(String[] args) {
        //Start the tomcat plug-in in the current project and run the current project
        SpringApplication.run(Application.class,args);
    }
}
5, Write a controller to test
@RestController
@RequestMapping("/test")
public class TestController {

    @RequestMapping("/hello")
    public String hello(){
        return "helloWorld";
    }
}
6, Run the main method of the startup class to start the project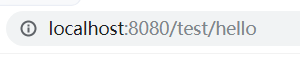

Small examples (2)
1, Modify tomcat boot port
In the resources directory, create application.properties Document and add
server.port=8081
2, Read properties file properties
Inject the property Environment and use getProperty("property name")
url=123456
@RestController
@RequestMapping("/test")
public class TestController {

    @Autowired
    private Environment env;

    @RequestMapping("/hello")
    public String hello(){
        String url = env.getProperty("url");
        return "helloWorld"+url;
    }
}
3, Hot deployment
No need to restart tomcat after modifying the code
Note: idea does not take effect, eclipse takes effect
<dependency>
    <groupId>org.springframework.boot</groupId>
    <artifactId>spring-boot-devtools</artifactId>
</dependency>
Integration of springboot and activemq
1, Add coordinates
<dependency>
    <groupId>org.springframework.boot</groupId>
    <artifactId>spring-boot-starter-activemq</artifactId>
</dependency>
2, Configure avtivemq server
stay application.properties If not, the default message server is used
spring.activemq.broker-url=tcp://192.168.200.128:61616
3, Write message sender
@RestController
@RequestMapping("/testJms")
public class TestJms {
    @Autowired
    private JmsMessagingTemplate jmsMessagingTemplate;

    @RequestMapping("/send")
    public void send(String text){
        //Send message to message server
        //Parameter 1: specify queue name
        //Parameter 2: what to send
        jmsMessagingTemplate.convertAndSend("itcast", text);
    }

}
4, Receiver who wrote the message
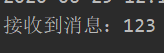
@Component
public class Consumer {

    /**
     * Define a listener to listen to messages sent from the message server
     * destination Is the queue from which the message is received
     * @param text
     */
    @JmsListener(destination="itcast")
    public void readMessage(String text){
        System.out.println("Message received:"+text);
    }

}
5, Sending and receiving messages
Ali greater than
1, Register alicloud account, application template and signature
2, Add a sub account and use the id and password of the sub account
3, SMS flow chart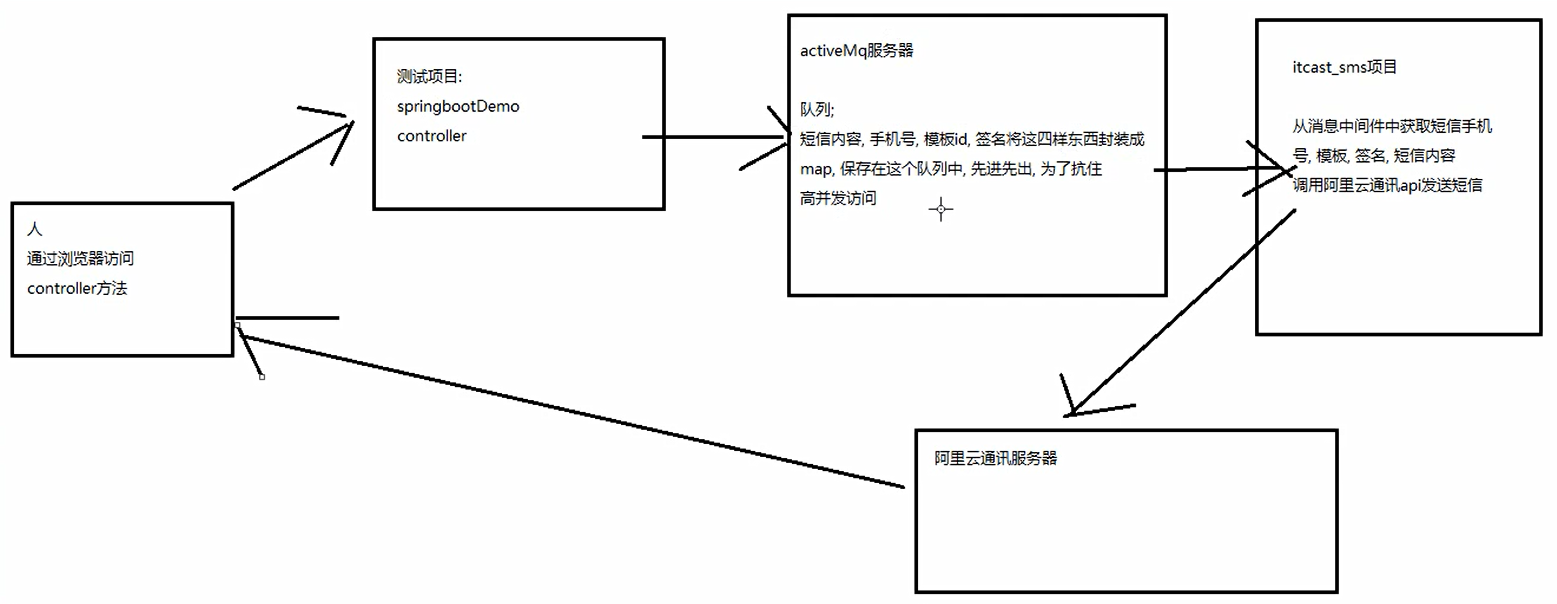
4, Add SMS tool class
@Component
public class SmsUtil {
    //Product Name: cloud communication short message API product, developers do not need to replace it
    static final String product = "Dysmsapi";
    //Product domain name, developers do not need to replace
    static final String domain = "dysmsapi.aliyuncs.com";

    @Autowired
    private Environment env;

    // TODO here needs to be replaced by the developer's own AK (found on Alibaba cloud access console)

    /**
     * Send SMS
     * @param mobile cell-phone number
     * @param template_code Template No
     * @param sign_name autograph
     * @param param parameter
     * @return
     * @throws ClientException
     */
    public SendSmsResponse sendSms(String mobile,String template_code,String sign_name,String param) throws ClientException {

        String accessKeyId =env.getProperty("accessKeyId");
        String accessKeySecret = env.getProperty("accessKeySecret");

        //Self adjusting timeout
        System.setProperty("sun.net.client.defaultConnectTimeout", "10000");
        System.setProperty("sun.net.client.defaultReadTimeout", "10000");

        //Initialization of acsClient, region ization is not supported
        IClientProfile profile = DefaultProfile.getProfile("cn-hangzhou", accessKeyId, accessKeySecret);
        DefaultProfile.addEndpoint("cn-hangzhou", "cn-hangzhou", product, domain);
        IAcsClient acsClient = new DefaultAcsClient(profile);

        //Assembly request object - please refer to console - document for details
        SendSmsRequest request = new SendSmsRequest();
        //Required: mobile number to be sent
        request.setPhoneNumbers(mobile);
        //Required: SMS signature - can be found in SMS console
        request.setSignName(sign_name);
        //Required: SMS template - can be found in SMS console
        request.setTemplateCode(template_code);
        //Optional: the variables in the template replace the JSON string. For example, when the template content is "Dear ${name}, and your verification code is ${code}", the value here is
        request.setTemplateParam(param);

        //Optional - uplink SMS extension code (for users without special needs, please ignore this field)
        //request.setSmsUpExtendCode("90997");

        //Optional: outId is the extended field provided to the business party, and this value is finally brought back to the caller in the SMS receipt message
        request.setOutId("yourOutId");

        //hint an exception may be thrown here. Pay attention to catch
        SendSmsResponse sendSmsResponse = acsClient.getAcsResponse(request);

        return sendSmsResponse;
    }

}
5, Use the message server to listen for messages
@Component
public class SmsListener {
    @Autowired
    private SmsUtil smsUtil;

    @JmsListener(destination="sms")
    public void sendSms(Map<String,String> map){
        try {
            SendSmsResponse response = smsUtil.sendSms(
                    map.get("mobile"),
                    map.get("template_code"),
                    map.get("sign_name"),
                    map.get("param")  );
            System.out.println("Code=" + response.getCode());
            System.out.println("Message=" + response.getMessage());
            System.out.println("RequestId=" + response.getRequestId());
            System.out.println("BizId=" + response.getBizId());
        } catch (ClientException e) {
            e.printStackTrace();
        }
    }

}
6, Send message
Send mobile phone number, template code, signature name and verification code respectively
@RequestMapping("/sendSms")
    public void sendSms(){
        Map map=new HashMap();
        map.put("mobile", "cell-phone number");
        map.put("template_code", "Template id");
        map.put("sign_name", "Signature name");
        map.put("param", "{\"code\":\"123456\"}");
        jmsMessagingTemplate.convertAndSend("sms",map);

    }