pixi tile wizard demo (I)
introduction
This article is a demo of parallax scrolling and collision detection and a problem encountered when learning pixi tile wizard.
catalogue
-
1.1 Creation method
1.2 difference
1.3 Offset value
1. Tile Wizard
1.1 creation method
How to create pixi tile sprites:
// First kind
new PIXI.extras.TilingSprite(texture, width, height);

// Second
new PIXI.extras.TilingSprite.from(source, width, height);
1.2 differences
First:
Texture via Pixi Loader. shared. Get the picture texture from resources.
let bgSpr = new PIXI.extras.TilingSprite(PIXI.Loader.shared.resources['bg'].texture, app.renderer.width, app.renderer.height);
Second:
source can be imported directly through the url path.
let bgSpr = new PIXI.extras.TilingSprite.from('./img/bg.jpg', app.renderer.width, app.renderer.height);
Note that width height refers to the range value of tiling. It is not set. The default value is 100px.
1.3 offset value
tilePosition:
tilePosition.set(x, y) and positions The difference between set (x, y) and the former is to move the tiled sprite texture, while the latter moves the position of the tiled sprite.
Specific usage:
Update the tileposition in the ticker game loop X value.
app.ticker.add(() => {
  bgSpr.tilePosition.x -= -1;
});
1.4 texture offset code
let app = new PIXI.Application({widht: app.renderer.width, height: app.renderer.height});

document.body.appendChild(app.view);

PIXI.Loader.shared.add('bg', './img/bg.jpg');

PIXI.Loader.shared.load(() => {
  setup();
});

function setup () {
  let bgSpr = new PIXI.extras,TilingSprite(PIXI.Loader.shared.resources['bg'].texture, app.renderer.width, app.renderer.height);

  app.stage.addChild(bgSpr);

  app.ticker.add(() => {
  	bgSpr.tilePosition.x -= 1;
	});
};
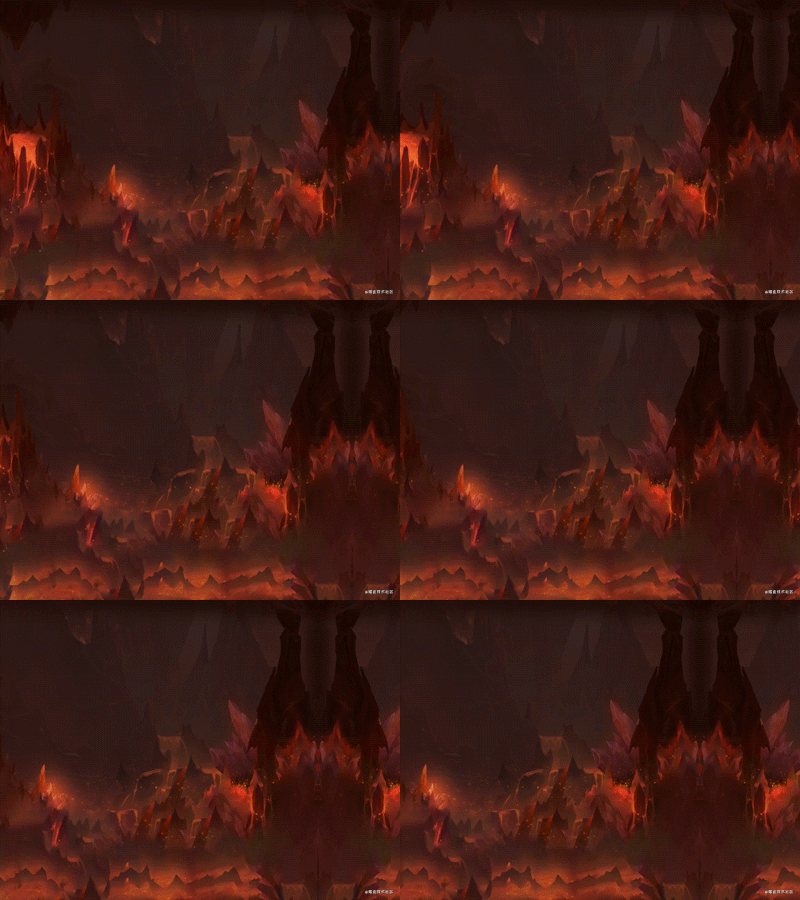
Renderings (random materials):

2. Parallax scrolling
Tile sprite is generally used to create a seamless rolling background. Above, we have realized the offset of tile sprite. What is parallax rolling?
cocos document: parallax scrolling refers to the stereo motion effect formed by moving multi-layer background at different speeds. For example, in the Super Mario game, the movement of the character's ground and the background sky is a parallax scroll.
That is, you need two tile sprites and then offset them at different speeds in the game loop.
let prospectSpr = new PIXI.extras.TilingSprite(PIXI.Loader.shared.resources['prospect'].texture, app.renderer.width, 437);

app.stage.addChild(prospectSpr);

app.ticker.add(() => {
  prospectSpr.tilePosition.x -= 3;
})
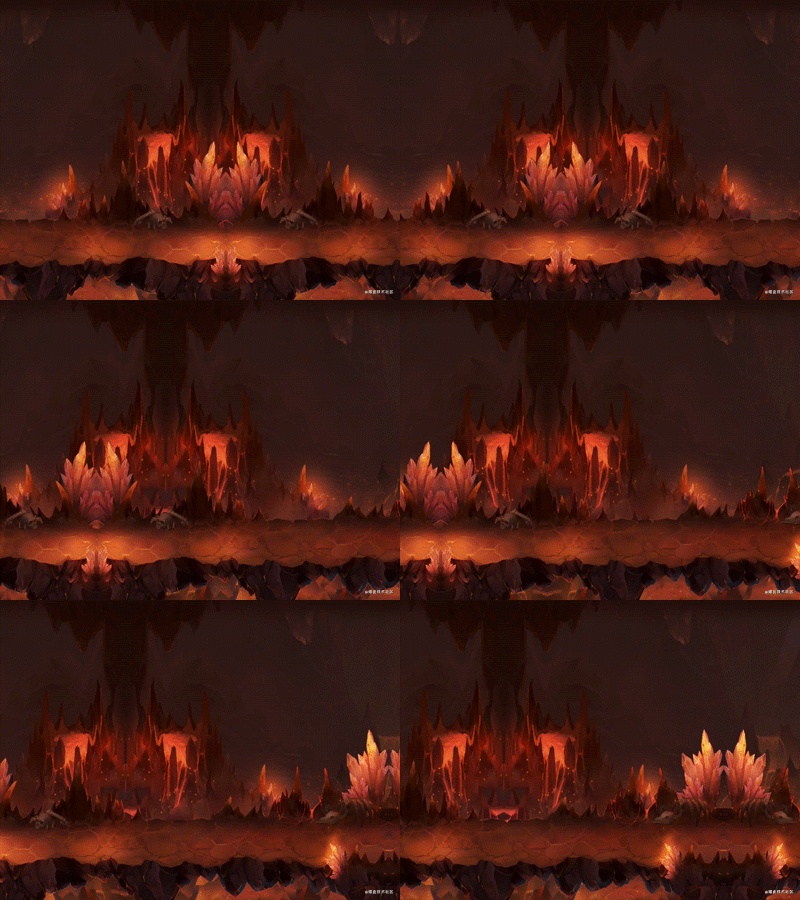
design sketch:

Such a parallax scrolling is realized. The speed of the background layer is 1 and the speed of the foreground layer is 3.
2.1 texture accuracy deviation
In the process of learning, we also encountered a pit, that is, the definition of the sprite will become worse each time we offset one cycle. After multiple cycles, the sprite will become a mosaic:
Note: this will not happen when the browser simulates the mobile terminal, but the following will happen on the mobile terminal.
At first, I thought it was a problem with the game loop method, and then I changed the plug-in. The above situation still occurred in the trial results. I found a similar situation on google:
Probably the problem is that the tiling wizard has accuracy problems over time.
Solutions are also proposed:
prospectSpr.tilePosition.x %= PIXI.Loader.shared.resources['prospect'].texture.width;
ticker code is as follows:
app.ticker.add(() => {
  prospectSpr.tilePosition.x -= 3;
  prospectSpr.tilePosition.x %= PIXI.Loader.shared.resources['prospect'].texture.width;
})
3. Collision detection
The principle of collision detection in web pages is to calculate whether two rectangles collide through X and Y coordinates, that is, to judge whether they overlap.
For collision detection methods, refer to the in the PIXI tutorial collision detection , there is also an easy-to-use plug-in Bump.js Its use is very simple:
b.hit(sprite1, sprite2); // Returns a boolean type. true is collision.

b.hit(sprite1, sprite2, true); // The third parameter is true and will not overlap during collision.

b.hit(sprite1, sprite2, true, true); // The fourth parameter is true, and the first sprite will bounce during collision
Detailed tutorial go to: Bump.js tutorial.
Knowing the principle is actually very simple. Just set the center point of the sprite and judge whether the X and Y axes of the two sprites overlap. The following is a relatively simple collision detection I implemented:
function bump (spr1, spr2) {
  spr1.anchor.set(0.5, 1); // Set sprite center point location
  spr2.anchor.set(0.5, 1);

  if (spr1.x - spr2.x < spr2.width && spr1.x - spr2.x > -spr2.width) {
    // Meet x position conditions
    return spr1.y - spr2.y === 0? true : false; // Return if y conditions are met
  } else {
    return false;
  }
}
Then just judge whether the return is true or false.
New code:
PIXI.Loader.shared
  .add('role', './img/sprite1_0.png')
  .add('monster', './img/blob.png');

let role = new PIXI.Sprite(PIXI.Loader.shared.resources['role'].texture);
let monster = new PIXI.Sprite(PIXI.Loader.shared.resources['monster'].texture);
let isBump = null;

role.anchor.set(0.5, 1);
monster.anchor.set(0.5, 1);

role.scale.set(1.5, 1.5);
monster.scale.set(3, 3);

role.position.set(300, app.renderer.height - 180);
monster.position.set(1500, app.renderer.height - 180);

app.stage.addChild(role, monster);

app.ticker.add(() => {
  monster.x -= 3;
  bump(role, monster) && console.log('collision');
});

function bump (spr1, spr2) {
  spr1.anchor.set(0.5, 1); // Set sprite center point location
  spr2.anchor.set(0.5, 1);

  if (spr1.x - spr2.x < spr2.width && spr1.x - spr2.x > -spr2.width) {
    // Meet x position conditions
    return spr1.y - spr2.y === 0? true : false; // Return if y conditions are met
  } else {
    return false;
  }
}
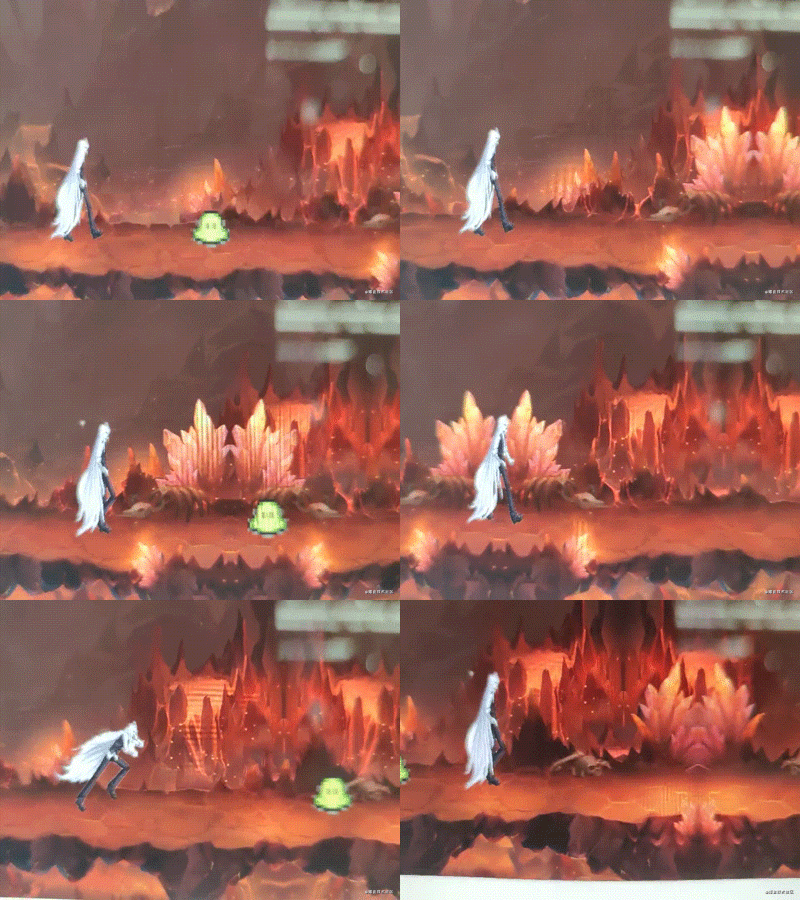
design sketch:

4,demo
The above main functions are almost the same. With the action and interaction of characters, a demo similar to Parkour will come out. The following code also uses a plug-in to replace the action pictures of characters smoothie.js Tutorial go
function setup () {
  // background
  let bgSpr = new PIXI.extras.TilingSprite(PIXI.Loader.shared.resources['bg'].texture, app.renderer.width, app.renderer.height);
  // prospect
  let prospectSpr = new PIXI.extras.TilingSprite(PIXI.Loader.shared.resources['prospect'].texture, 1600, 437);
  // character
  let role = new PIXI.Sprite(PIXI.Loader.shared.resources['role'].texture);
  // monster
  let monster = new PIXI.Sprite(PIXI.Loader.shared.resources['monster'].texture);

  let roleSmoothie = null; // Character animation
  let monsterSmoothie = null; // Monster animation
  let prospectSmoothie = null; // Foreground animation
  let isBump = null; // Jumping state

  let roleSprGoIndex = 0; // Walking action picture subscript
  let roleSprRunIndex = 0; // Running action picture subscript
  let roleSprJumpIndex = 0; // Jump action picture subscript
  let roleSprInverIndex = 0; // Inverted action picture subscript

  let prospectSpeed = 3; // Foreground speed

  let isAction = true; // Action state

  // Center point
  prospectSpr.anchor.set(0, 1);
  role.anchor.set(0.5, 1);
  monster.anchor.set(0.5, 1);

  // Scale
  role.scale.set(1.5, 1.5);
  monster.scale.set(3, 3);

  // position
  role.position.set(300, app.renderer.height - 180);
  monster.position.set(1500, app.renderer.height - 180);
  prospectSpr.y = app.renderer.height;

  // Add to stage
  app.stage.addChild(bgSpr, prospectSpr, role, monster);

  // translation
  function translate (spr, num) {
    spr.tilePosition.x -= num;
    spr.tilePosition.x %= PIXI.Loader.shared.resources['prospect'].texture.width;
  };

  // Monster movement
  function monsterTranslate (spr, num, x) {
    spr.position.x -= num;
    spr.position.x < -x && (spr.position.x = 1600);
  };

  // go
  function go () {
    role.texture = PIXI.Loader.shared.resources[config.go[roleSprGoIndex]].texture;
    roleSprGoIndex < 6? roleSprGoIndex++ : roleSprGoIndex = 0;
  };

  // run
  function run () {
    role.texture = PIXI.Loader.shared.resources[config.run[roleSprRunIndex]].texture;
    if (roleSprRunIndex < 6) {
      roleSprRunIndex++;
    } else {
      roleSprRunIndex = 0;
      roleSmoothie.update = go.bind(this);
    }
  }

  // jump
  function jump () {
    role.texture = PIXI.Loader.shared.resources[config.jump[roleSprJumpIndex]].texture;
    if (roleSprJumpIndex < 5) {
      roleSprJumpIndex++;
      role.position.y -= 30;
      isAction = false;
    } else {
      roleSprJumpIndex = 0;
      role.position.y = 570;
      isAction = true;
      roleSmoothie.update = go.bind(this);
    }
  }

  // inverted
  function inverted (num) {
    role.texture = PIXI.Loader.shared.resources[config.inverted[roleSprInverIndex]].texture;
    if (roleSprInverIndex < num) {
      roleSprInverIndex++;
      isAction = false;
    } else if (num === 6) {
      isAction = true;
    } else {
      roleSprInverIndex = 0;
      isAction = true;
      roleSmoothie.update = go.bind(this);
    }
  }
  // Character movement
  roleSmoothie = new Smoothie({
    engine: PIXI,
    renderer: app.renderer,
    root: app.stage,
    fps: 8,
    update: go.bind(this)
  });
  roleSmoothie.start();

  // Monster movement
  monsterSmoothie = new Smoothie({
    engine: PIXI,
    renderer: app.renderer,
    root: app.stage,
    update: monsterTranslate.bind(this, monster, 7, 100)
  });
  monsterSmoothie.start();

  // Foreground movement
  prospectSmoothie = new Smoothie({
    engine: PIXI,
    renderer: app.renderer,
    root: app.stage,
    update: translate.bind(this, prospectSpr, 3)
  });
  prospectSmoothie.start();

  // Keyboard press event
  $(document).keydown((e) => {
    if (!isAction) return;
    e.keyCode === 38 && (roleSmoothie.update = jump.bind(this), prospectSmoothie.update = translate.bind(this, prospectSpr, 4));
    e.keyCode === 39 && (roleSmoothie.update = run.bind(this), prospectSmoothie.update = translate.bind(this, prospectSpr, 6));
  });

  // Keyboard lift
  $(document).keyup((e) => {
    prospectSmoothie.update = translate.bind(this, prospectSpr, 3);
  });

  app.ticker.add(() => {
    bgSpr.tilePosition.x -= 1;
    bgSpr.tilePosition.x %= PIXI.Loader.shared.resources['bg'].texture.width;
    bump(role, monster) && (roleSmoothie.update = inverted.bind(this, 3));
  });

  // collision
  function bump (spr1, spr2) {
    spr1.anchor.set(0.5, 1);
    spr2.anchor.set(0.5, 1);
    if (spr1.x - spr2.x < spr2.width && spr1.x - spr2.x > -spr2.width) {
      return spr1.y - spr2.y === 0? true : false;
    } else {
      return false;
    }
  };
}
Project link: demo
5. Summary
Learning knowledge still needs practice. From practice, we can see that there are many problems not found in the text tutorial. For example, the accuracy problem of tile wizard will occur over time. I didn't know this problem would occur before the demo, and it won't occur on the pc browser. Making a demo by learning a knowledge point can not only consolidate this knowledge point, but also extend to other knowledge points, such as collision detection, Sprite map texture switching, game cycle and so on. With the preliminary demo prototype, you can add other functions at will, such as blood volume, score, scene transformation, column obstacles above, etc. such a simple little game is even out.
6. Learn more
Original link: pixi tile wizard demo (I)
WeChat search official account: DigitMagic magic number Lab