Dear, Hello, I'm "front-end Xiaoxin", 😇 He has been engaged in front-end development and Android development for a long time, is keen on technology, and goes farther and farther on the road of programming
At the internal knowledge sharing meeting of the team on the 18th yesterday, my colleagues shared in detail the recent enterprise micro robots for team engineering, mainly because we spend a lot of time dealing with Merge or looking for a colleague Merge every day. In order to optimize this time, our colleagues use NodeJs development services to connect the internally used worker bee platform and enterprise micro platform, Automatically send and remind the corresponding colleagues to conduct code review. When the review is passed, actively notify the initiator to complete the merger.
So what do I want to do?
I wrote an article before [Serverless version] enterprise micro cluster robot development , it is mainly through taking the initiative to pull the request regularly to analyze and then notify the enterprise micro robot. This time, I want to use Tencent cloud function as a service to get through the message notification from Github to enterprise micro, which further expands our understanding of cloud function. Let's do it.
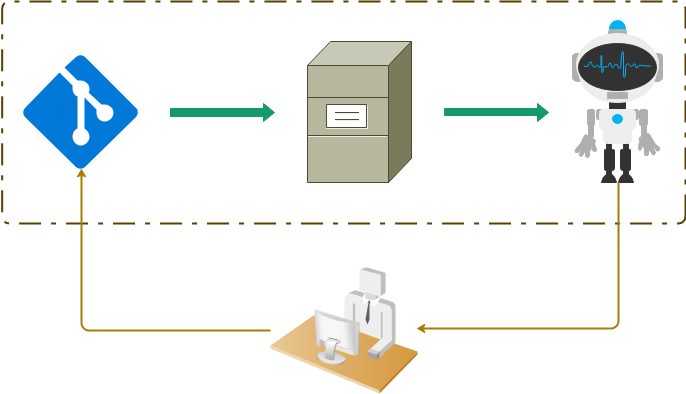
In this case, we need to prepare to create GitHub demonstration project, Tencent cloud function and an enterprise micro robot. When a user adds a comment, we can notify the managers of the enterprise micro group.
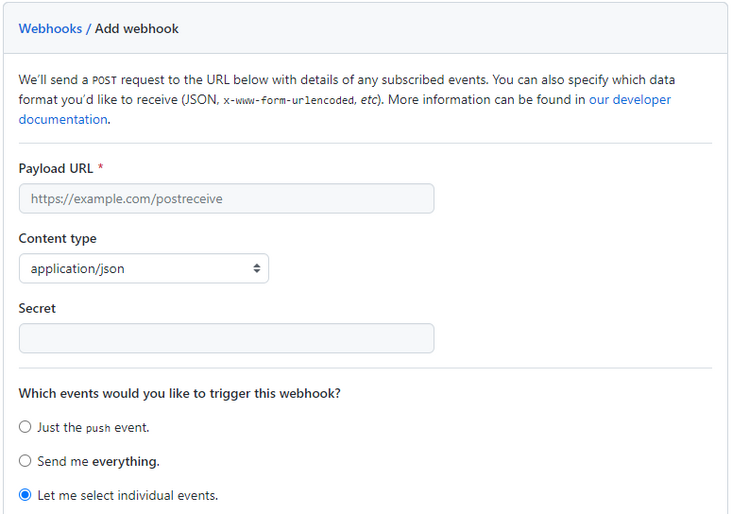
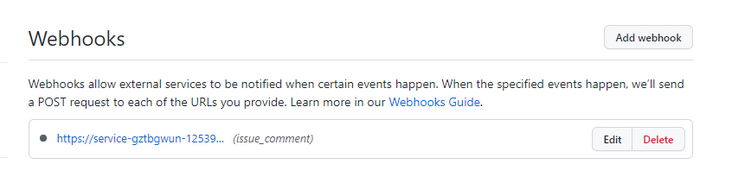
Configure Webhooks for the demo project:
The Github project in the demonstration is created by itself without any requirements. Webhook allows us to send POST requests to our pre configured url interface when a specified event occurs.
- Menu location: demo project / Settings/Webhooks;
- Click Add webhook to start configuration;
Configuration information includes:
- The requested address can be configured after the cloud function is created;
- Content format: select the most common Json data transmission;
- Security key: configure a random key through tool The generation length is 32 bits, which will be used when the cloud function verifies the data;
- Select events: check Let me select individual events Select Issue comments.
Event document: [webhook events and payloads] ()
Develop cloud functions:
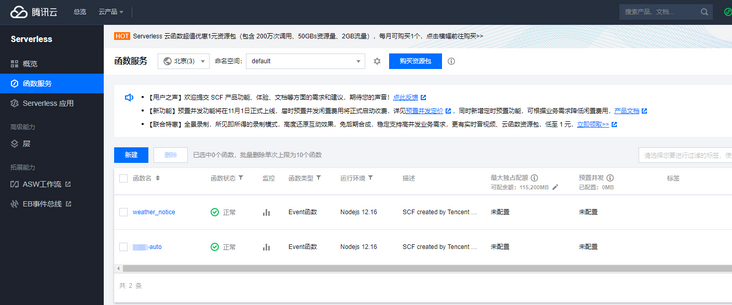
Create cloud function:
This time, in order to save time, we create cloud functions based on the template, select the Express framework template, and specify the function name as [GitHub webhook issues comments] to distinguish it from its existing functions.

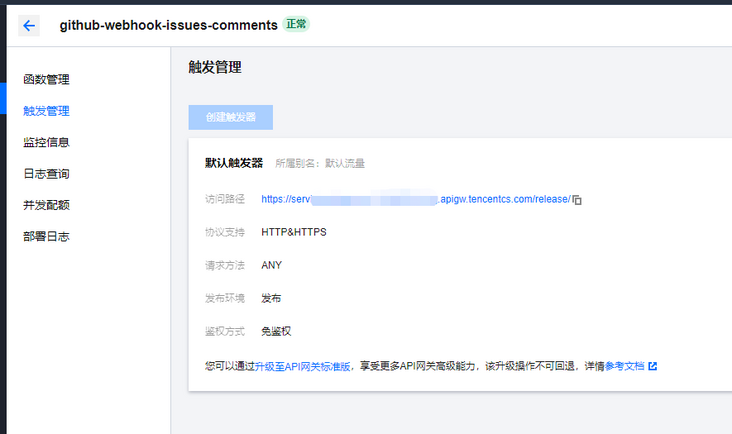
Test service connectivity:
After creation, you can switch to the trigger management menu to see the access path of the service. The default template has created the default page route, / logo route, / user route, / user/:id route, / 404 route and / 500 route in advance. We can all access and try the effect, In addition to keeping the default route origin to check whether the service is normal, other routes can be deleted.
When you open the home page and see "welcome to the Express.js application Tencent cloud Serverless provides services for you", it means that the service has been started normally.
Configure / Webhook Routing:
- Our scheduled route is / Webhook, the request is received by POST, and the received content format is JSON. At this time, we can go to GitHub's Webhook to fill in the information.
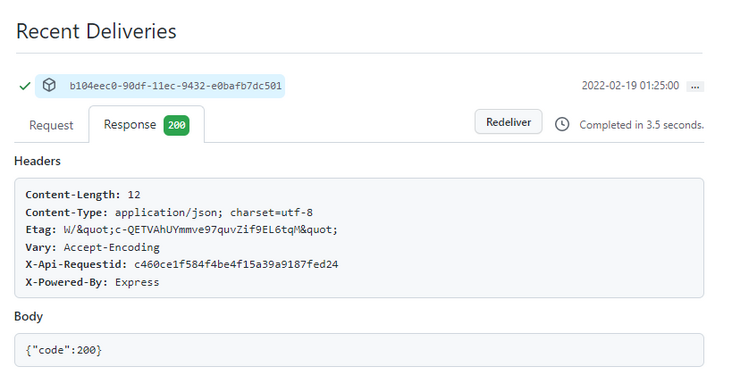
Add / webhook routes through the cloud editor. The specific implementation will not be done for the time being. We want to verify the connectivity by submitting Issues in Github.
app.post(`/webhook`, (req, res) => {
  res.send({code: 200});
});
To view the request log on Github:
Implement / Webhook Routing:
- For the convenience of debugging (local), we'd better download the cloud code and write it in the local VSCode. After pulling the code, we can use nodemon/ app. JS starts the service. The default port of the service is 9000 and cannot be modified in the cloud function. This needs special attention;
Remember the security key we configured for Webhook in Github? In order to ensure the security of the data, we need to use the same key in the cloud function to verify the validity of the data( GitHub document).
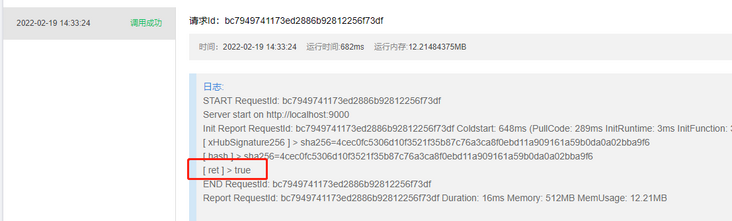
app.post(`/webhook`, (req, res) => {
  const signature = req.headers["x-hub-signature-256"];
  if (signature) {
    const payload = req.body;
    const ret = verify(signature, payload);
    // Output verification structure
    console.log("[ ret ] >", ret);
  }
  res.send({ code: 200 });
});
const crypto = require("crypto"); const SECRET_TOKEN = ""; function sign(data) { return `sha256=${crypto .createHmac("sha256", SECRET_TOKEN) .update(JSON.stringify(data)) .digest("hex")}`; } module.exports = { verify: (signature, data) => { const sig = Buffer.from(signature); const signed = Buffer.from(sign(data)); if (sig.length !== signed.length) { return false; } return crypto.timingSafeEqual(sig, signed); }, };explain:
- Because encryption and decryption are rarely done, the 16 bit secret key set at the beginning makes the two encryption results different and takes a long time. Therefore, pay attention to the need to set at least 32-bit secret key. You can explain it to XD who knows this 😘.
- The secret key is recommended to be stored in the environment variable of the server, and it is forbidden to store it directly in the code.
By reference Github documentation To determine the fields that we need to assemble information below. I will not explain the fields if I put the code below. For more field contents, you can query the document:
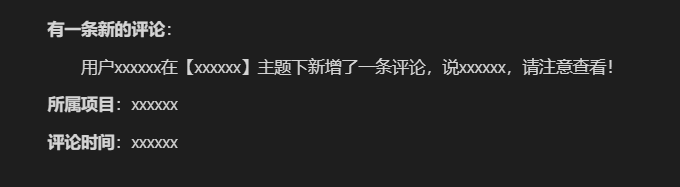
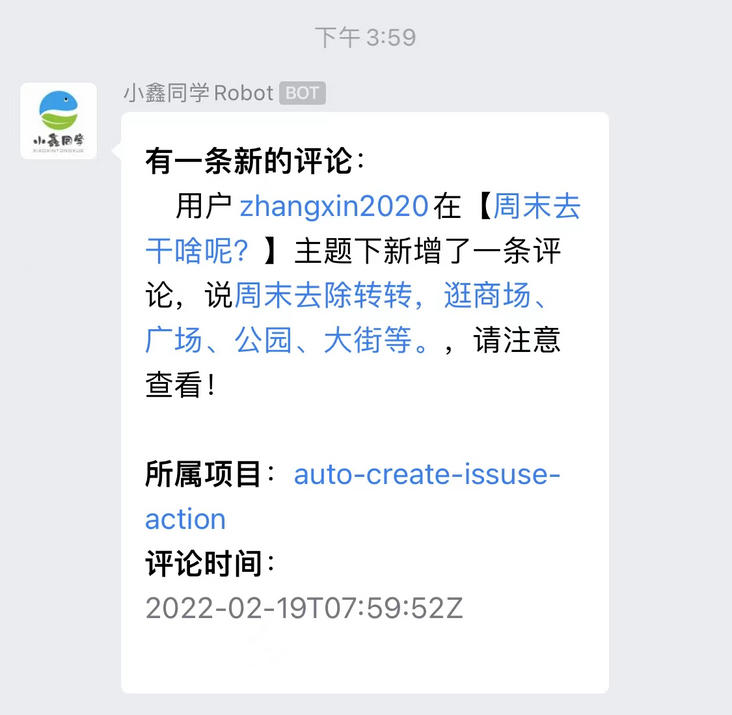
packaging: (issue, comment, repository, sender) => {
    return `
**There's a new comment**: \n
    user[${sender.login}](${sender.html_url})In[[${issue.title}](${issue.html_url})]A new comment was added under the theme[${comment.body}](${comment.html_url}),Please pay attention to check!\n\n
**Project**: <font color="info">[${repository.name}](${repository.html_url})</font>\n
**Comment time**: <font color="comment">${comment.updated_at}</font>\n
    `;
},
Re transform the / webhook route to support sending messages to enterprise micro robots. Please see the previous article for the configuration and sending of enterprise micro robots [Serverless version] enterprise micro cluster robot development , the source code is lost. You can leave a message if you need the cloud Code:
if (verify(signature, payload)) {
  const { action, issue, comment, repository, sender } = payload;
  if (action === "created") {
    const content = packaging(issue, comment, repository, sender);
    notice.requestMDNotice(config.ENTERPRISE_WECHAT_ROBOT_WEB_HOOK, {
      content,
    });
  }
}
We can receive the following card information in the enterprise micro enterprise:
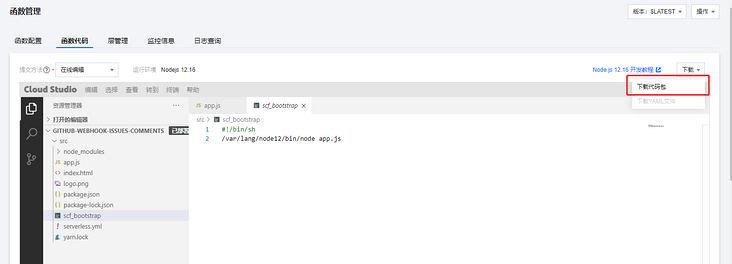
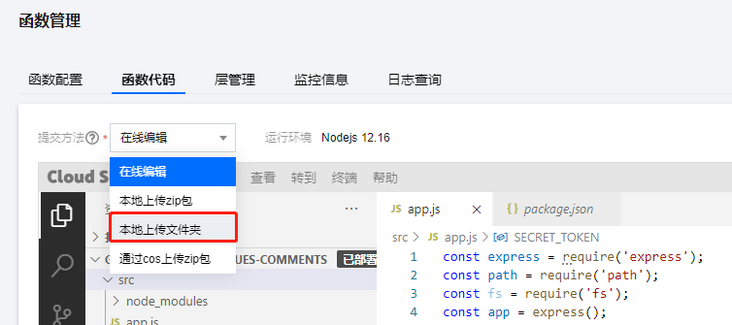
Steps to synchronize local code to the cloud:
Select the local code root folder:
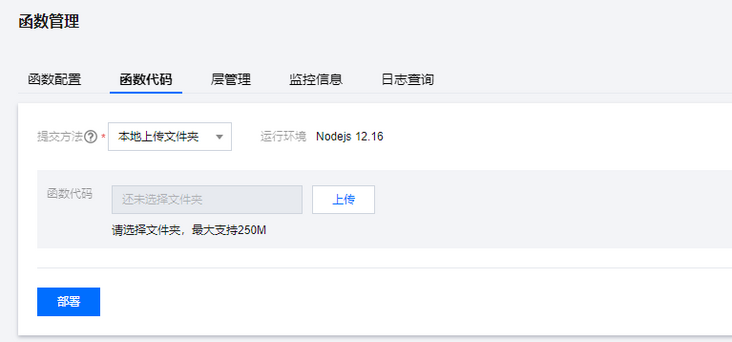
Click deploy to start uploading:
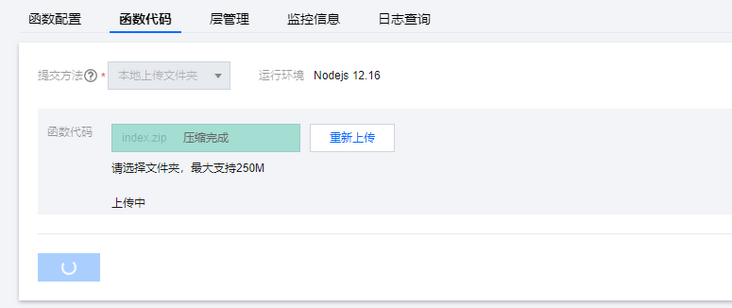
Code deployment uploading:
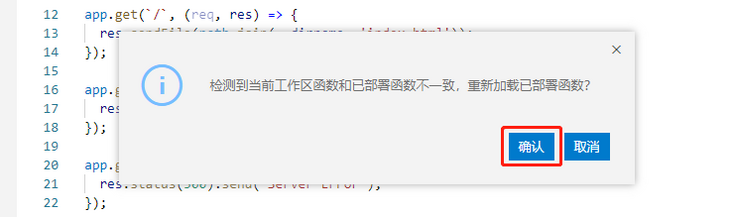
Inconsistency with the current deployment is detected and needs to be republished:
After Github creates issue, you can query the correct feedback through the cloud log:
Summary:
We monitor the issue comment event by configuring WebHook on Github. When the event occurs, we will send the message in a fixed format to the Tencent cloud function we created. After verifying the legitimacy of the data, we will parse the message, assemble the card and forward it to the enterprise robot. Hmac256 encryption, which is rarely used, was encountered in the development. The longest delay was caused by the insufficient length of the secret key. I wonder if the cloud function development in this article is clear? 🤔
Welcome to my official account, "front-end little Xin", and push the original technical article for the first time.