1. Definition of post class
A blog post should contain the most basic fields: title, author, publication time, summary, content, reference (reference can be written into the content). From the simplest point of view, first write the fields as English title, author, timestamp, summary, content. Of course, a database table must have a primary key id. as a database model class in Flask, it must inherit db.Model .
 1 from . import db
 2 from datetime import datetime
 3
 4 class Post(db.Model):
 5     __tablename__ = 'posts'
 6     id = db.Column(db.Integer, primary_key=True)
 7     title = db.Column(db.String(64), index=True)
 8     summary = db.Column(db.Text, index=True)
 9     content = db.Column(db.Text)
10     timestamp = db.Column(db.DateTime, index=True, default=datetime.utcnow)
11     author_id = db.Column(db.Integer, db.ForeignKey('users.id'))
After the Post class is defined, we can use the flash WTF form module to render to the front end. Here we need to define a PostForm class for front-end data collection. When the data is submitted, the view function edit Post class will write the data submitted by the user into the database.
PostForm class:
 1 # -*- coding:utf-8 -*-
 2 from flask_wtf import FlaskForm
 3 from wtforms import StringField, SubmitField, TextAreaField
 4 from wtforms.validators import DataRequired, Length
 5
 6 # Article form
 7 class PostForm(FlaskForm):
 8     title = StringField('Article title', validators=[DataRequired(), Length(0, 64)])
 9     summary = TextAreaField('abstract', validators=[DataRequired()])
10     content = TextAreaField('Leave your mark', validators=[DataRequired()])
11     submit = SubmitField('Submit')
The next step is to pass the form into the front-end template in the view function for rendering. Before that, you need to define the route that the view function uses for external user access.
Edit post view function:
 1 # -*- coding:utf-8 -*-
 2 # Import necessary modules
 3 from flask import render_template,redirect, url_for, flash
 4 from . import main
 5 from ..auth.forms import PostForm
 6 from .. import db
 7 from ..models import Post
 8 from flask_login import current_user, login_required
 9 from ..models import Permission
10
11 # View functions for blogging
12 @main.route('/edit-post', methods=['GET', 'POST'])
13 @login_required
14 def edit_post():
15     if not current_user.is_authenticated:
16         return redirect(url_for('main.index'))
17     form = PostForm()
18     if current_user.can(Permission.WRITE) and form.validate_on_submit():
19         post = Post(title=form.title.data, summary=form.summary.data, content=form.content.data, author=current_user._get_current_object())
20         db.session.add(post)
21         db.session.commit()
22         return redirect(url_for('main.post', id=post.id))
23     return render_template('edit-post.html', form=form)
After the view function is written, the next step is to deal with edit-post.html Template, because Jinja2 supports template inheritance, edit-post.html By inheritance base.html Templates to improve the layout. Here, we use the open source project editormd, use markdown syntax to write articles, and preview the effect of the articles in time.
edit-post.html Template:
 1 {% extends 'base.html' %}
 2
 3 {% block title %}Cloud transmission nest-write an article{% endblock %}
 4
 5 {% block styles %}
 6 {{ super() }}
 7 <link rel="stylesheet" href="{{ url_for('static',filename='editormd/css/editormd.css') }}"/>
 8 {% endblock styles %}
 9
10 {% block page_content %}
11 <div class="row">
12     <h1 class="text-center">Editing articles, writing mind</h1>
13
14     <form method="POST">
15         {{ form.hidden_tag() }}
16         <div style="float: right; margin-bottom: 5px;">{{ form.submit(class="btn btn-success") }}</div>
17         <div class="form-group">
18             <h4>{{ form.title.label }}</h4>
19             {{ form.title(class="form-control", style="font-size:24px; height:48px") }}
20         </div>
21         <div class="form-group">
22             <h4>{{ form.summary.label }}</h4>
23             {{ form.summary(style="height:100px; width:100%; resize:none; font-size:20px;", class="form-control") }}
24         </div>
25         <div class="form-group">
26             <h4>{{ form.content.label }}</h4>
27             <div id="editormd" class="form-control">
28                 {{ form.content(style="display:none;") }}
29             </div>
30         </div>
31     </form>
32 </div>
33 {% endblock %}
34
35 {% block scripts %}
36 {{ super() }}
37 <script src="{{ url_for('static',filename='editormd/editormd.min.js') }}"></script>
38 <script type="text/javascript">
39     //Initialize editor
40     var testEditor;
41     $(function () {
42         testEditor = editormd("editormd", {
43             width: "100%",
44             height: 740,
45             path: '/static/editormd/lib/',
46             theme: "",
47             previewTheme: "",
48             editorTheme: "pastel-on-dark",
49             markdown: "",
50             codeFold: true,
51             saveHTMLToTextarea: true,    // preservation HTML reach Textarea
52             searchReplace: true,
53             htmlDecode: "style,script,iframe|on*",            // open HTML Label resolution. For security, it is not enabled by default
54             emoji: true,
55             taskList: true,
56             tocm: true,         // Using [TOCM]
57             tex: true,                   // Open scientific formula TeX Language support, off by default
58             flowChart: true,             // Turn on flowchart support and turn it off by default
59             sequenceDiagram: true,       // Opening sequence/Sequence diagram support, closed by default,
60             imageUpload: true,
61             imageFormats: ["jpg", "jpeg", "gif", "png", "bmp", "webp"],
62             imageUploadURL: "/Center/RichTextUpload",
63             onload: function () {
64                 //Do something
65             }
66         });
67     });
68     //Get editor content
69     var blogcontent = encodeURIComponent(testEditor.getMarkdown());
70 </script>
71 {{ pagedown.include_pagedown() }}
72 {% endblock scripts %}
The most general page effect is as follows, mmm... Good!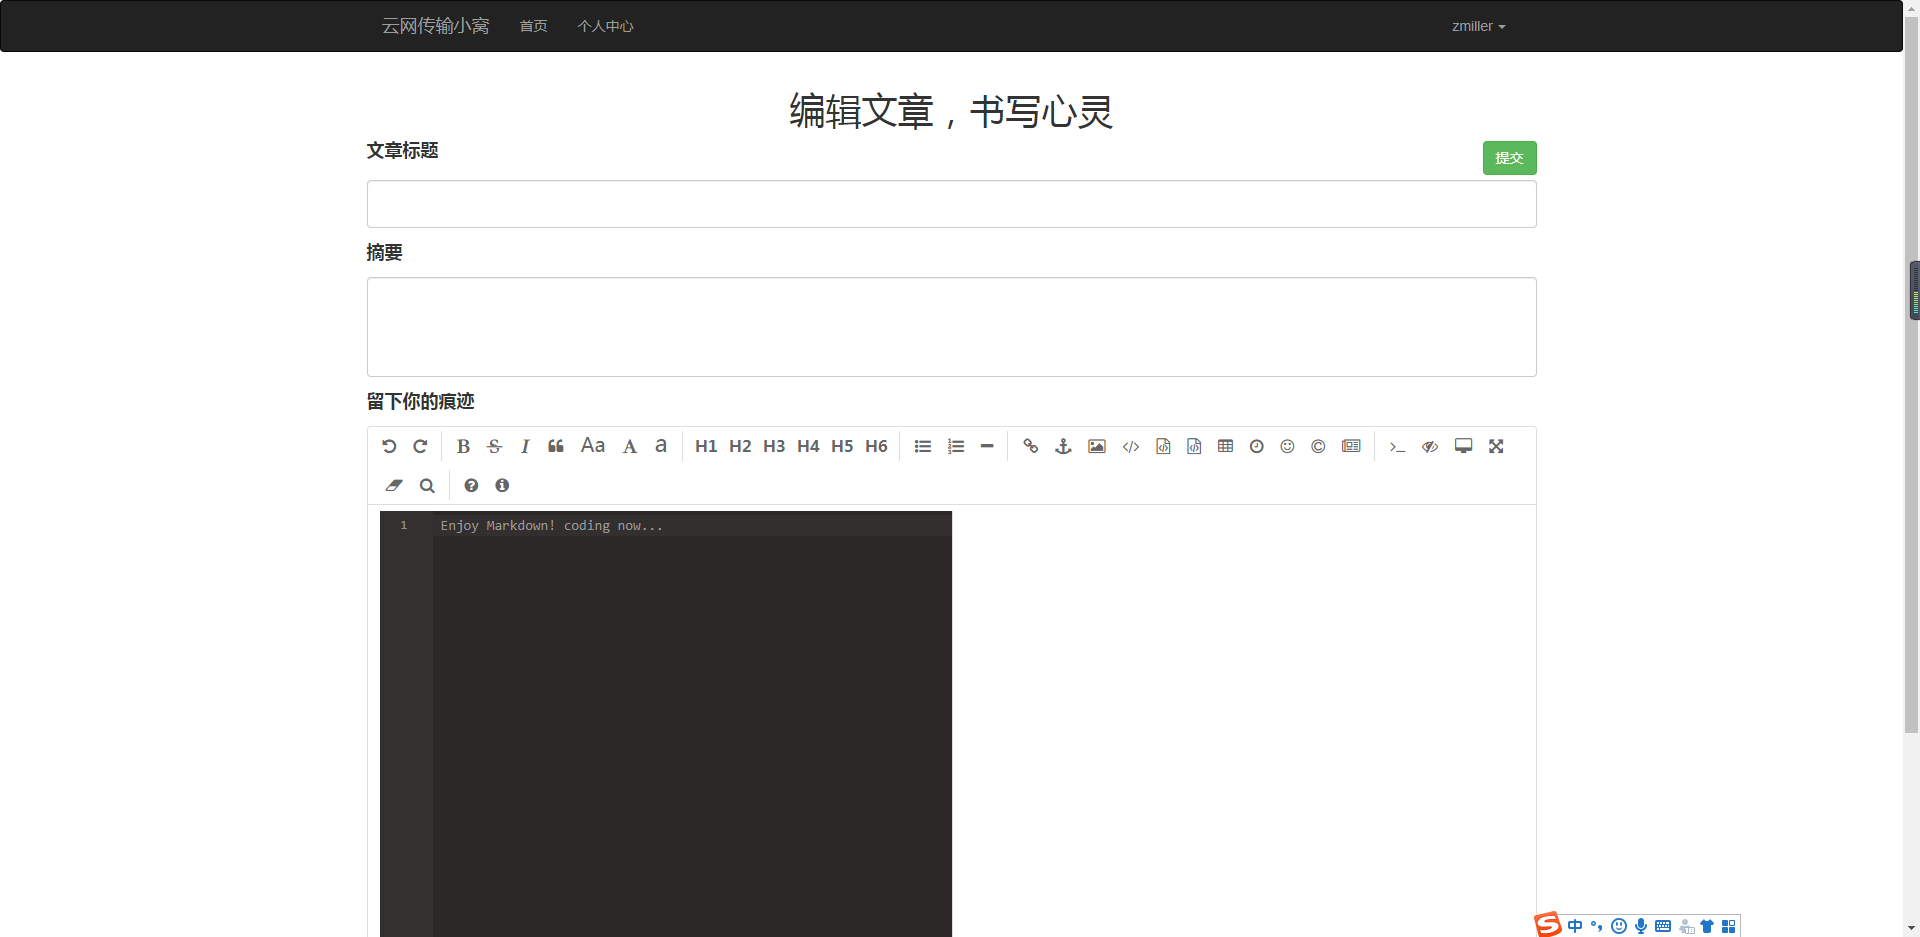
Finally, let's test and write a small article to see the effect. After the article is submitted, in fact, I just save the content of md in the database without processing. When users view the details of the article, they will read the md data from the database. The front-end editormd open source project will render according to the content of md, and its effect is the same as that of writing a chapter.
2. Summary
- Keep going!