catalogue
- 🌲 preface
- ☀️ Environmental preparation
- ❤️ GBase 8a MPP Cluster installation
- The master node uploads the installation media
- Extract the installation package from the master node
- Distribution profile
- Configure environment variables
- Modify the master node installation profile
- The master node executes the installation command
- Check cluster status
- Request and import authorization
- Start cluster service on all nodes
- The master node sets the partition information
- database initialized
- Create library table
- ❄️ Cluster uninstall
🌲 preface
Recently participated in Training in GBase database training camp , during the learning process, GBase 8a MPP Cluster cluster environment needs to be installed and deployed. This time, only records are made for reference. Official installation tutorial: E01 GBase 8a MPP Cluster V95 installation and uninstallation
☀️ Environmental preparation
node | operating system | IP address | Memory | gbase version |
|---|---|---|---|---|
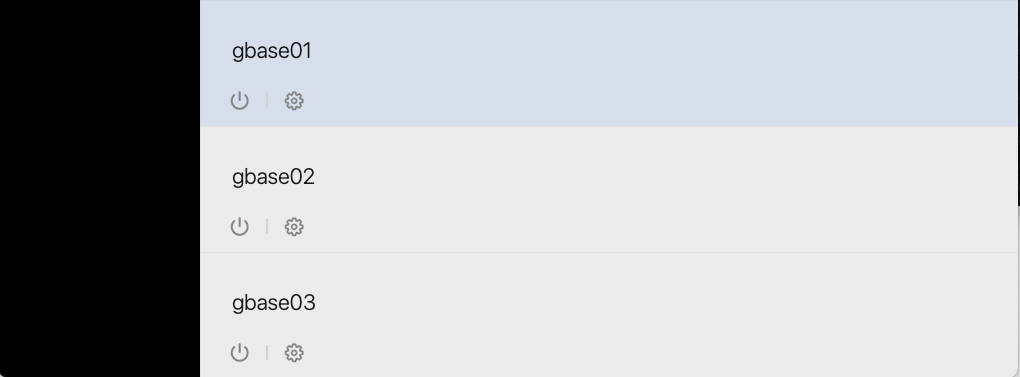
gbase01 | redhat7.3 | 10.211.55.100 | 2G | RHEL7.3-x86_64-9.5.2.39 |
gbase02 | redhat7.3 | 10.211.55.101 | 2G | RHEL7.3-x86_64-9.5.2.39 |
gbase03 | redhat7.3 | 10.211.55.102 | 2G | RHEL7.3-x86_64-9.5.2.39 |
📢 Note: because the official installation package version is redhat7 3 version, so the operating system of other versions cannot be selected; When installing the system, it is recommended to check the "development tool" option in "server with GUI" in "software selection".
Installation media Download
[Baidu cloud disk link]: https://pan.baidu.com/s/1cI7tIdyCojMku2yjhrWDlw [extraction code]: ckrf
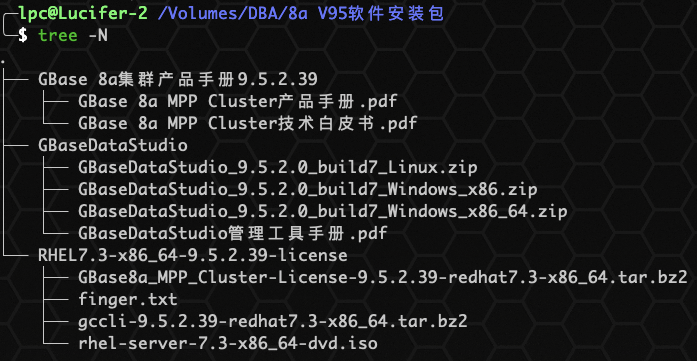
Installation media include:
☆ GBase 8a cluster product manual 9.5.2.39 GBase 8a cluster product manual ☆ GBaseDataStudio GBase 8a cluster graphical tool - Enterprise Manager GBaseDataStudio ☆ RHEL7.3-x86_64-9.5.2.39-license GBase 8a cluster product installation package and linux client
Operating system installation
First create and install one gbase01 as the master node, and then clone the other two (gbase02 and gbase03) as the data nodes.
The virtual machine software can be VMWare, Vbox, Parallels, etc.
📢 Note: after cloning, the host name and network IP address of each machine need to be configured separately.
Preparation before installation
📢 The following operations are required for all three hosts! The screenshot shows only the master node.
1. Turn off firewall
systemctl stop firewalld.service
systemctl disable firewalld.service

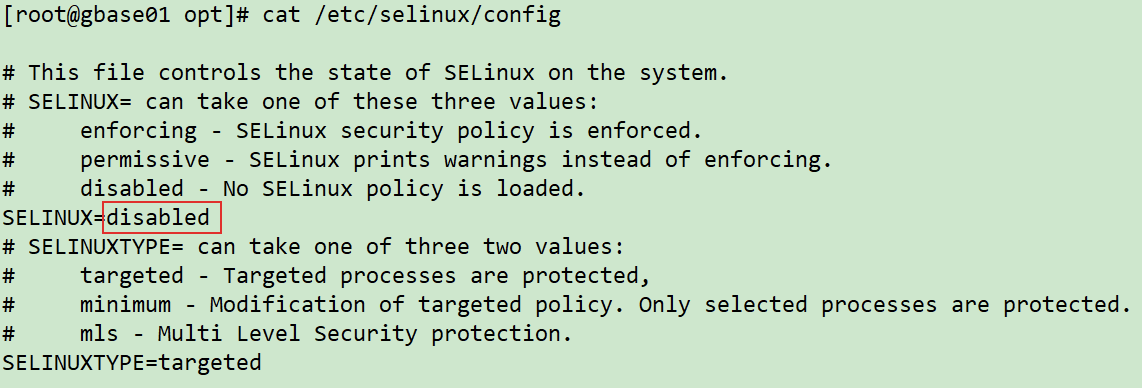
2. Disable Selinux
After shutting down Selinux, you need to restart the host to take effect. Here, setenforce0 is used to take effect temporarily.
/usr/sbin/setenforce 0
sed -i 's/SELINUX=enforcing/SELINUX=disabled/g' /etc/selinux/config
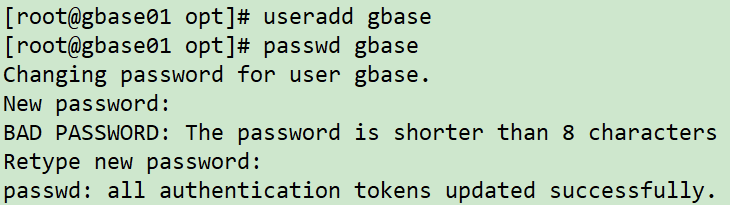
3. Create gbase user
useradd gbase
echo gbase | passwd --stdin gbase
4. Create directory and authorize
mkdir -p /opt/gbase
chown gbase:gbase /opt/gbase
chown gbase:gbase /tmp

5. Restart the host
reboot
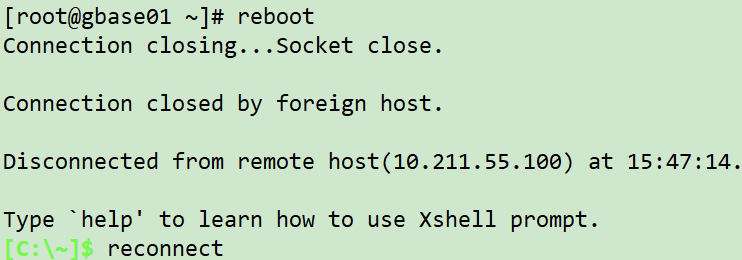
It is not necessary. It is recommended to restart three nodes for installation.
❤️ GBase 8a MPP Cluster installation
Ensure that the above environments have been configured and the network IP settings are correct, and then you can officially start the installation.
The master node uploads the installation media
The primary node of this article is 10.211.55.100, so upload the installation media to the primary node / opt directory.

Upload media can be uploaded through ftp tool.
Extract the installation package from the master node
cd /opt
tar xfj GBase8a_MPP_Cluster-License-9.5.2.39-redhat7.3-x86_64.tar.bz2

After the decompression is successful, a gcinstall directory will be added to the / opt directory.
Distribution profile
The three hosts here need to configure environment variables, so the configuration file setsysenv. Needs to be copied Py to the / opt directory of the three hosts.
cp gcinstall/SetSysEnv.py /opt
scp /opt/gcinstall/SetSysEnv.py 10.211.55.101:/opt
scp /opt/gcinstall/SetSysEnv.py 10.211.55.102:/opt
📢 Note: the above commands only need to be distributed on the master node.
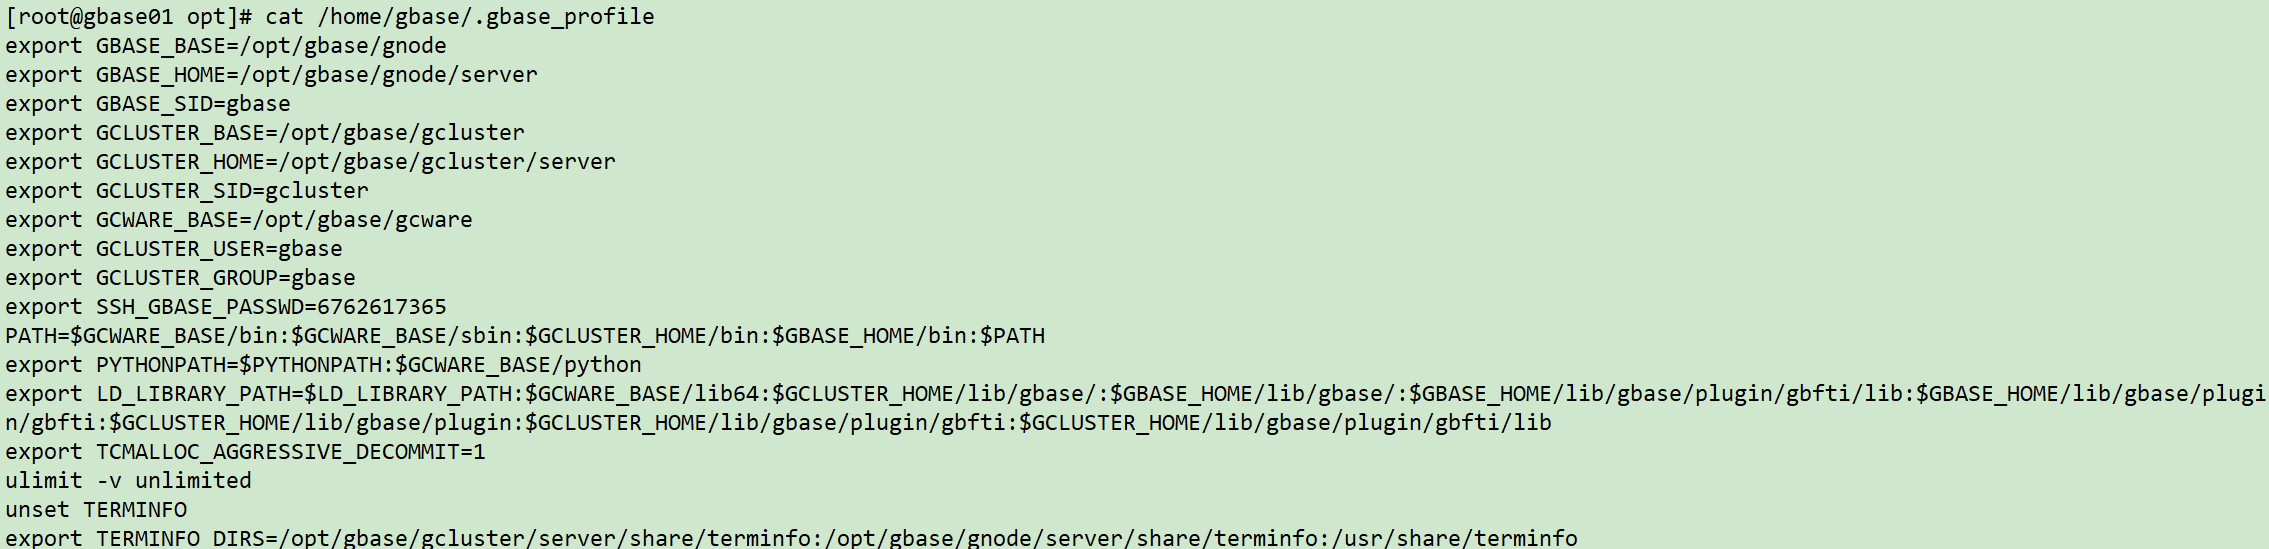
Configure environment variables
The following commands are required for each node:
cd /opt
python SetSysEnv.py --dbaUser=gbase --installPrefix=/opt/gbase --cgroup

Modify the master node installation profile
su - gbase
cd /opt/gcinstall/
vi demo.options

The amendments are as follows:
installPrefix= /opt/gbase
coordinateHost = 10.211.55.100,10.211.55.101,10.211.55.102
coordinateHostNodeID = 100,101,102
dataHost = 10.211.55.100,10.211.55.101,10.211.55.102
#existCoordinateHost =
#existDataHost =
dbaUser = gbase
dbaGroup = gbase
dbaPwd = 'gbase'
rootPwd = 'gbase'
#rootPwdFile = rootPwd.json
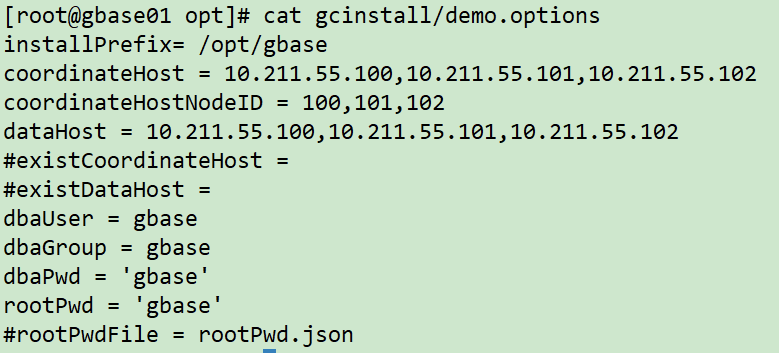
📢 Note: the IP address is modified according to the actual environment. dbaPwd is the password of gbase account and rootPwd is the password of root account.
The master node executes the installation command
You only need to execute the installation command on the master node.
cd /opt/gcinstall
./gcinstall.py --silent=demo.options

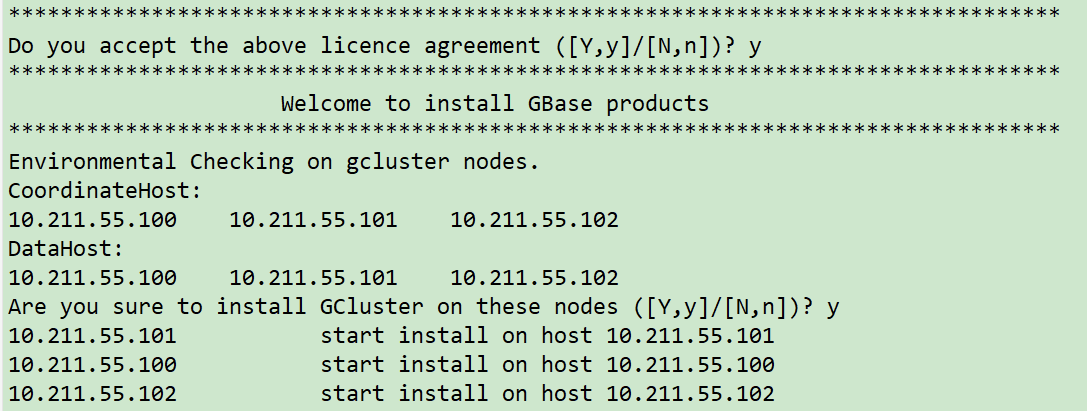
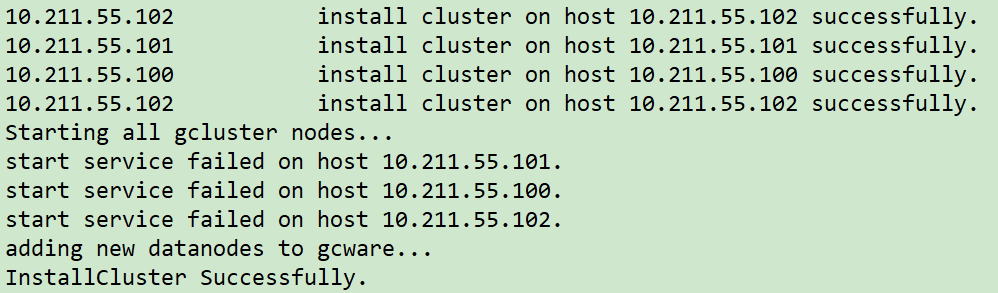
The screenshot only captures the important part, and the rest is too much and will not be displayed.
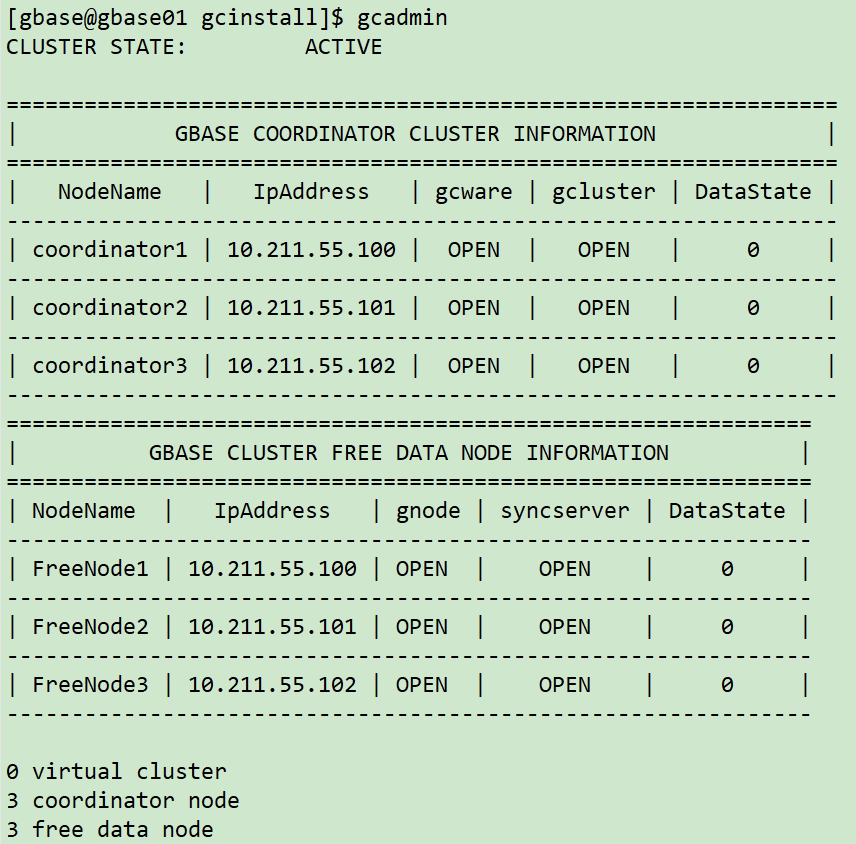
Check cluster status
Under gbase user, open a new window or manually validate the environment variable:
source ~/.bash_profile
gcadmin
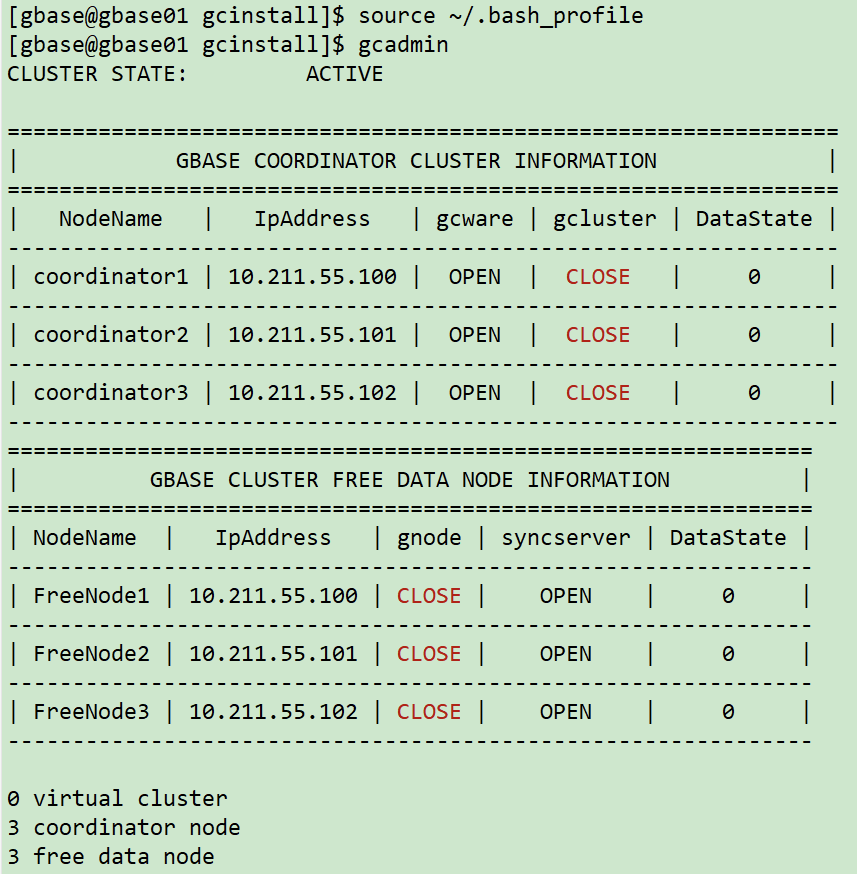
📢 It can be seen that the cluster status and node status are closed at this time because there is no registered License authorization, which is a normal phenomenon.
Request and import authorization
① Export the fingerprint information of each node of the cluster
Enter the / opt/gcinstall directory and execute the export fingerprint command. The IP and password are modified according to the actual situation:
cd /opt/gcinstall
./gethostsid -n 10.211.55.100,10.211.55.101,10.211.55.102 -u root -p gbase -f /tmp/finger.txt

② Mail request authorization
- Email: license@gbase.cn ; CC to shenliping@gbase.cn ;
- The attachment is the fingerprint information file finger txt;
- Email Title: GBase 8a MPP Cluster v95 license application
- Message body:
Customer name: Trainee company name
 entry name: 2021 year X Monthly certification training
 applicant: Fill in your name
 Reason for application: Training and learning
 term of validity: 3 Months
 Operating system name and version: Red Hat Enterprise Linux Server release 7.3 (Maipo)
8a Cluster version: GBase8a_MPP_Cluster-License-9.5.2.39-redhat7.3-x86_64.tar.bz2
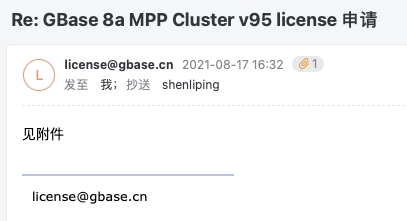
The processing time of authorization application is 9:00, 13:30 and 17:30 on working days. After receiving the authorization file (20210817-08.lic), students upload it to / tmp of the master node.
③ Master node import authorization
cd /opt/gcinstall
./License -n 10.211.55.100,10.211.55.101,10.211.55.102 -f /tmp/20210817-08.lic -u gbase -p gbase

④ Check authorization
cd /opt/gcinstall
./chkLicense -n 10.211.55.100,10.211.55.101,10.211.55.102 -u gbase -p gbase
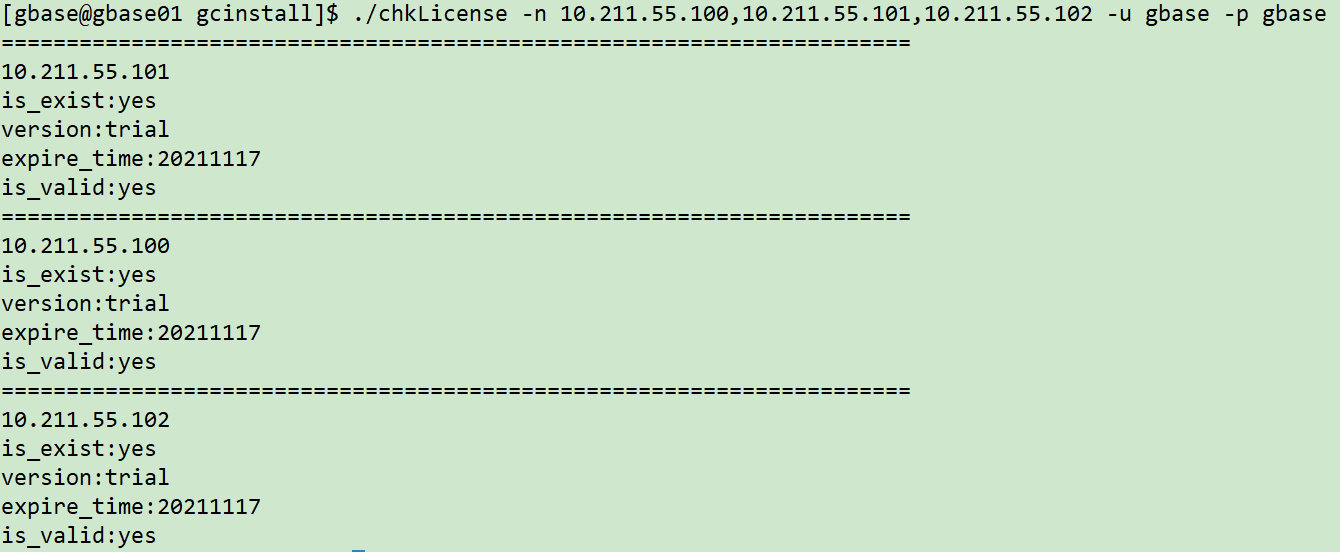
You can see that all three nodes have been authorized successfully.
Description of License status:
- is_exist is used to identify whether the license file exists: yes means it exists, no means it does not exist;
- Version is used to identify the license type: trial is the trial version and business is the commercial version;
- expire_time is used to identify the expiration date of the trial license. It will be displayed only when the trial license is detected;
- is_valid is used to identify whether the license is valid: yes means the license is valid, and no means the license is invalid;
📢 Note: the validity period of the license is 3 months. If the validity period of the license is not exceeded and the CPU, memory, network card and other machine configurations have not been changed, they can be reused. After the virtual machine system is reinstalled, you need to apply again.
Start cluster service on all nodes
su - gbase
gcluster_services all start
gcadmin
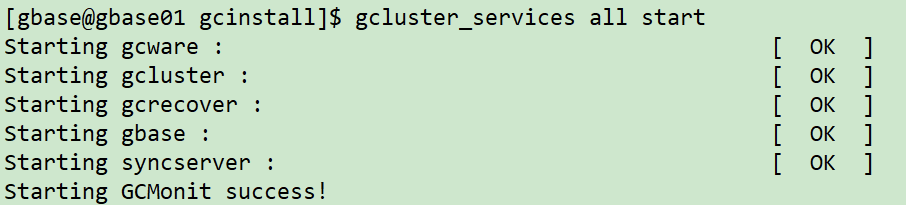
Confirm that the cluster status is OPEN and the operation is normal.
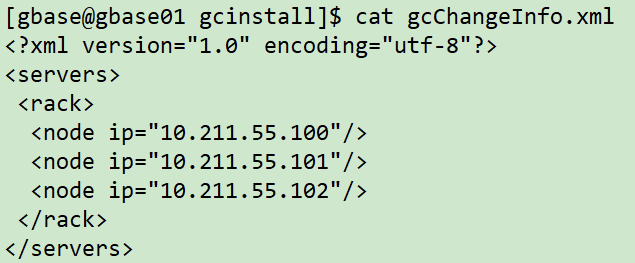
The master node sets the partition information
gcadmin distribution gcChangeInfo.xml p 2 d 1 pattern 1

After execution, gcchangeinfo.exe will be generated in the / opt/gcinstall directory XML file:
Check the cluster status again:
gcadmin
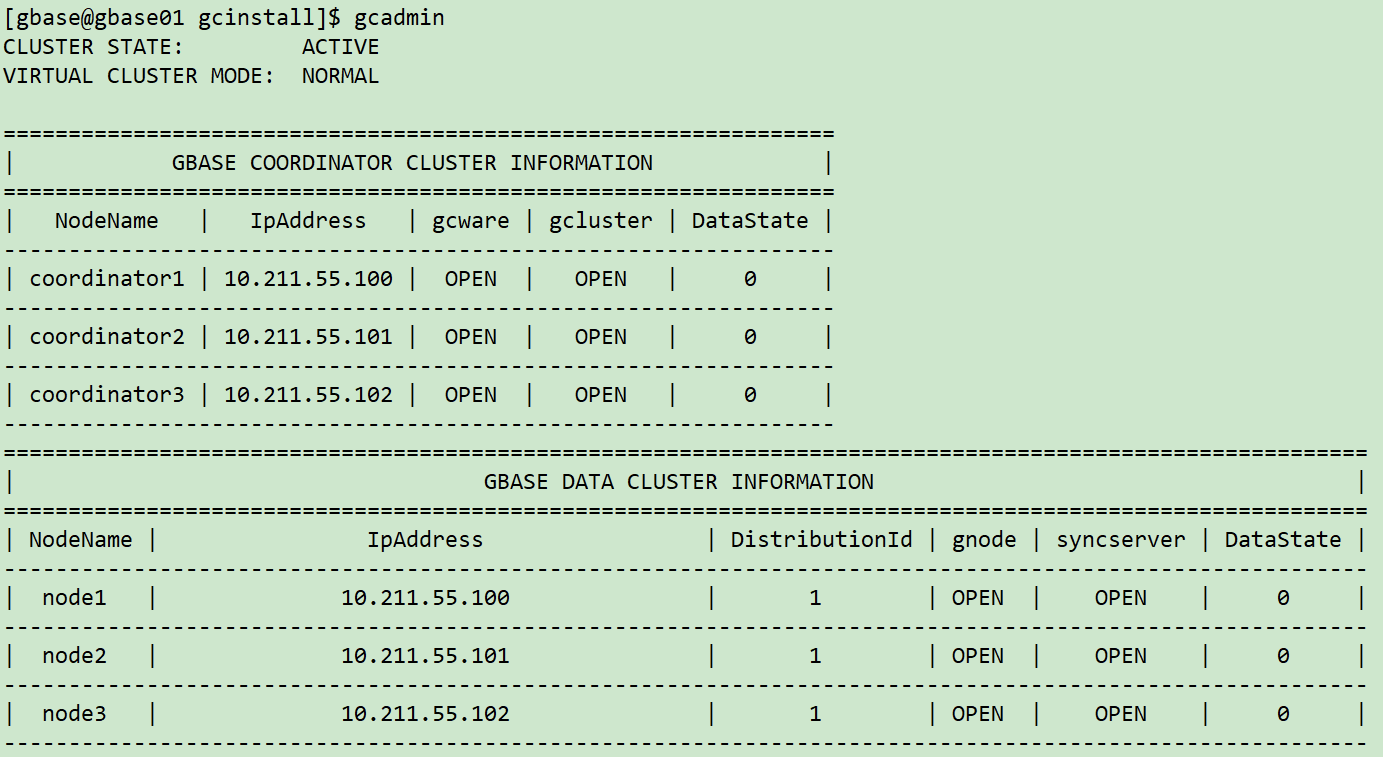
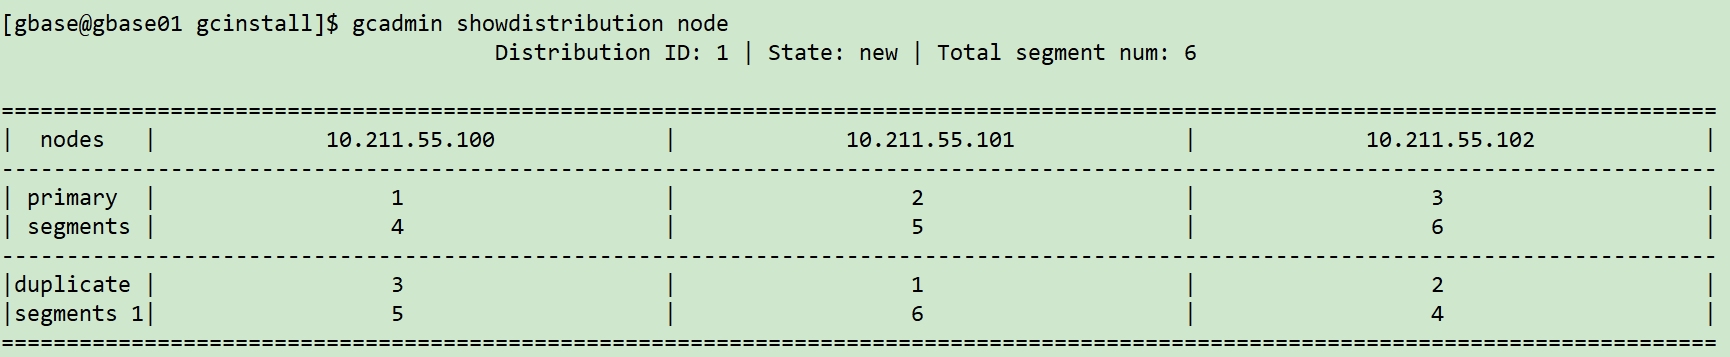
gcadmin showdistribution node
database initialized
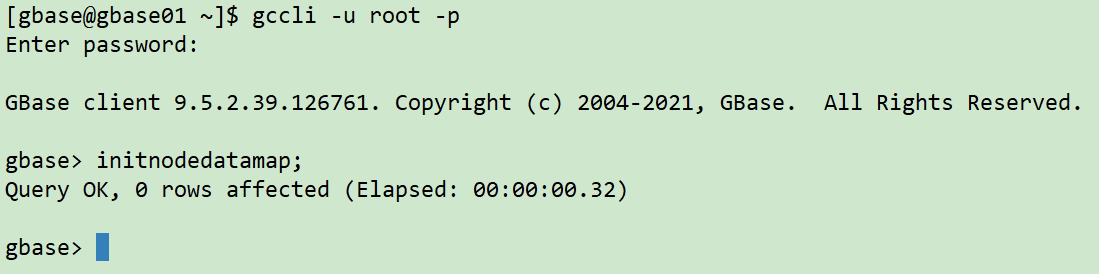
Execute the following command on the management node (the database root password is empty by default)
gccli -u root -p
 If the password is empty, enter directly
initnodedatamap;
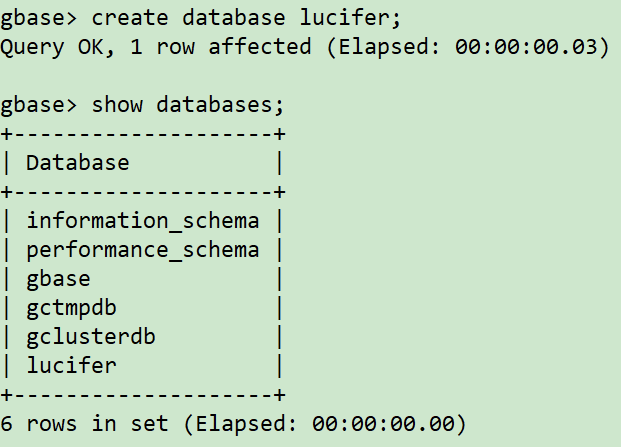
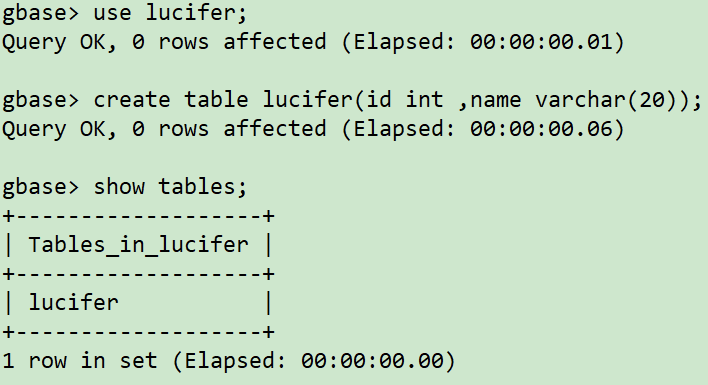
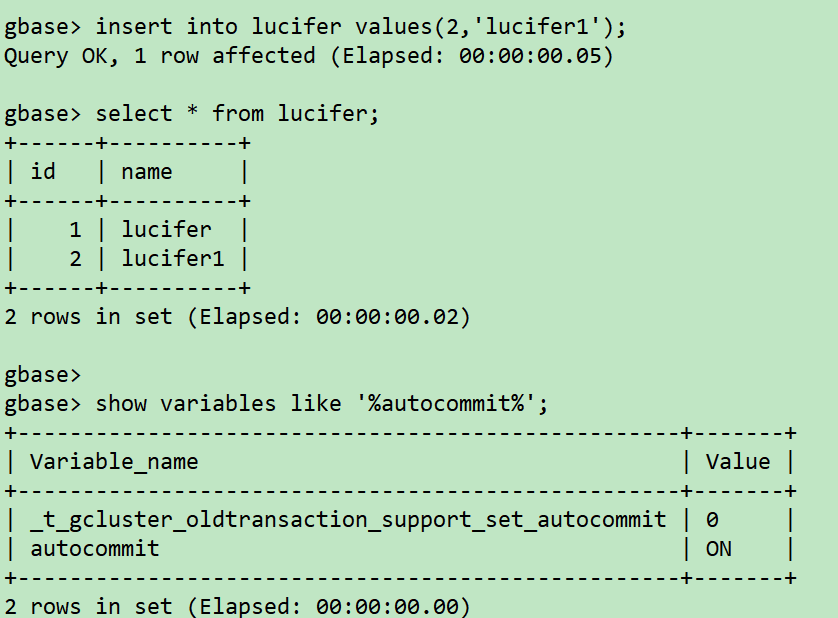
Create library table
create database lucifer;
show database;
user lucifer;
create table lucifer(id int ,name varchar(20));
show tables;
insert into lucifer values(1,'lucifer');
select * from lucifer;
❄️ Cluster uninstall
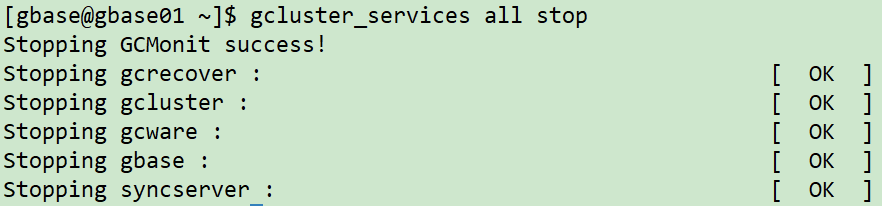
Turn off all cluster services
All 3 hosts need to execute the shutdown command:
gcluster_services all stop
The master node executes the uninstall command
cd /opt/gcinstall
./unInstall.py --silent=demo.options
I have to learn here, so I won't uninstall the demo 😓!