preface
This blog post mainly wants to connect the basic processes and key points of front-end and back-end development and server deployment. It does not involve very deep things in the development content and technology used, but although the sparrow has all the small and five internal organs, it is completely convenient for students who are not very familiar with some aspects to get started quickly.
- Applicable population: front-end development, back-end development, server operation and maintenance
- Development language: Java, JavaScript
- Development framework: StringBoot, vue2 0
- Server deployment: Linux, Docker, Nginx
1, Backend project development and deployment
We quickly develop and deploy the simplest say hello project to provide a back-end API interface.
The function of this interface is very simple. It returns hello, {msg} content according to the passed parameter msg.
1. Back end development
- Java code
SayHelloMain.java
@SpringBootApplication
public class SayHelloMain
{
    public static void main( String[] args )
    {
        SpringApplication.run(SayHelloMain.class, args);
    }
}
SayHelloController.java
@RestController
public class SayHelloController {
    @GetMapping("/say-hello")
    public Object sayHello(String msg) {
        Map<String, Object> result = new LinkedHashMap<>(3, 0.95F);
        result.put("code", "0000");
        result.put("data", "hello, " + msg);
        return result;
    }
}
- configuration file
application.yml
server:
  port: 80
  servlet:
    context-path: /test
pom.xml
<?xml version="1.0" encoding="UTF-8"?>

<project xmlns="http://maven.apache.org/POM/4.0.0" xmlns:xsi="http://www.w3.org/2001/XMLSchema-instance"
  xsi:schemaLocation="http://maven.apache.org/POM/4.0.0 http://maven.apache.org/xsd/maven-4.0.0.xsd">
  <modelVersion>4.0.0</modelVersion>

  <groupId>ace.gjh</groupId>
  <artifactId>api-say-hello</artifactId>
  <version>1.0-SNAPSHOT</version>

  <name>api-say-hello</name>

  <parent>
    <groupId>org.springframework.boot</groupId>
    <artifactId>spring-boot-starter-parent</artifactId>
    <version>2.3.1.RELEASE</version>
  </parent>

  <properties>
    <project.build.sourceEncoding>UTF-8</project.build.sourceEncoding>
    <maven.compiler.source>1.8</maven.compiler.source>
    <maven.compiler.target>1.8</maven.compiler.target>
  </properties>

  <dependencies>

    <!-- SpringBoot web -->
    <dependency>
      <groupId>org.springframework.boot</groupId>
      <artifactId>spring-boot-starter-web</artifactId>
    </dependency>

    <dependency>
      <groupId>junit</groupId>
      <artifactId>junit</artifactId>
      <version>4.12</version>
      <scope>test</scope>
    </dependency>
  </dependencies>

  <build>
    <plugins>
      <plugin>
        <groupId>org.springframework.boot</groupId>
        <artifactId>spring-boot-maven-plugin</artifactId>
      </plugin>
    </plugins>
  </build>

</project>
- Interface call example
GET http://localhost/test/say-hello?msg=world
Response:
{
    "code": "0000",
    "data": "hello, world"
}
2. Back end deployment
After the backend project is compiled and packaged, the generated file api-say-hello-1.0-snapshot jar
2.1 making docker image
Dockerfile script:
FROM lapierre/java-alpine:8
MAINTAINER ACE_GJH
ENV WORK_DIR /opt/deploy/say-hello
RUN mkdir -p $WORK_DIR
WORKDIR $WORK_DIR
ENV JAR_NAME api-say-hello-1.0-SNAPSHOT.jar
COPY ./$JAR_NAME $WORK_DIR
EXPOSE 80
ENV JAVA_OPT="-Xmx32m -Xms32m -Xmn16g"
CMD java $JAVA_OPT -jar $JAR_NAME
Run the docker image build command:
docker build -t say-hello:v1.0 .
2.2 start docker container
docker run --name say-hello -d say-hello:v1.0
Note that no port of the server is mapped when the container is started, so it cannot be accessed through the external port of the server, but only between containers.
2, nginx deployment
Nginx is the focus of this deployment. The back-end service has been deployed, and nginx is responsible for the reverse proxy of the back-end API and the release of the front-end project.
1. nginx configuration
- Get the ip address of the back-end service
Here, "say hello" refers to the name of the backend service container just deployed. In this step, you can query the ip address of the back-end container on the docker network, so that the nginx container can access the back-end services through the docker network.
docker inspect say-hello | grep '"IPAddress"'
- Writing nginx configuration files
Only one virtual service can be established in the configuration file. The / api matching rule of location can determine whether to access the back-end service, and nginx will intercept the uri behind the / api and redirect it to the real back-end service.
nginx.conf
# User group
user nginx;
# The working process can be set to the number of CPU cores by default
worker_processes auto;
# Error log storage directory
error_log /var/log/nginx/error.log;
# pid file storage location
pid /run/nginx.pid;
# Load module configuration file
include /usr/share/nginx/modules/*.conf;
# Maximum number of concurrent connections per worker process (IO multiplexing)
events {
    worker_connections 1024;
}

# http protocol
http {
    # File extension and type mapping table
    include   mime.types;
    # Default file type: byte stream
    default_type  application/octet-stream;
    # Enable gzip compression
    gzip on;
    gzip_min_length 1k;
    gzip_buffers    4 16k;
    gzip_http_version 1.0;
    gzip_comp_level 6;
    gzip_types text/plain text/css text/javascript application/json application/javascript application/x-javascript application/xml;
    gzip_vary on;

    # Establish virtual service
    server {
        listen 80;
        server_name  localhost;

        # Match the url of the back-end API for reverse proxy
        location /api {
            rewrite ^/api/(.*)$ /$1 break; #Get the uri after / api for redirection
            proxy_pass http://172.17.0.2:80/; #  Actual backend service address
        }
    }

}
2. Start nginx container
docker run --name nginx -d -p 18080:80 -v $(pwd)/deploy/log:/var/log/nginx -v $(pwd)/deploy/nginx.conf:/etc/nginx/nginx.conf nginx:1.21.4
Access effect:
GET http://192.168.56.101:18080/api/test/say-hello?msg=gjh
{
    "code": "0000",
    "data": "hello, gjh"
}
3, Front end project development and deployment
The blogger is the first time to develop the front-end project, so the front-end development part is recorded in detail. I hope the front-end students can make more corrections.
1. Front end development
1.1 pulling vue basic frame
Follow the npm method of this tutorial to install: Rookie tutorial: Vue JS installation
npm -v
npm install -g cnpm --registry=https://registry.npmmirror.com
# Global installation Vue cli
$ cnpm install --global vue-cli
# Initialize new project
$ vue init webpack show-hello

 Project name show-hello
? Project description a test project
? Author ACE_GJH
? Vue build standalone
? Install vue-router? Yes
? Use ESLint to lint your code? Yes
? Pick an ESLint preset Standard
? Set up unit tests Yes
? Pick a test runner karma
? Setup e2e tests with Nightwatch? Yes
? Should we run `npm install` for you after the project has been created? (recommended) no
cd show-hello
cnpm install
cnpm run dev
Browser access http://localhost:8080/ You can see the vue classic logo
1.2 configuring vue agents
Because it is a front-end and back-end separation project, you need to configure the back-end service agent to prevent cross domain problems.
I use vue2 In version 0, the agent is configured as follows:
In config / index The proxyTable attribute is found in the. JS file. The modification is as follows
    proxyTable: {
      '/api': {
        target: 'http://192.168.56.101:18080',
        changeOrigin: true,
        pathRewrite: {
          // Note that this will be / API / test / say hello? msg=China
          // Replace with http://192.168.56.101:18080/api/test/say-hello?msg=China
          '^/api': '/api'
        }
      }
    }
The purpose of this step is to resolve the uri at the beginning of / api in the axios request, which host address to access, and replace / api in the original uri with / api as a new uri to access the real host.
1.3 configuring axios
- Installing axios
cnpm install axios
- Introducing axios
In main JS to declare axios as a global variable
import axios from 'axios'
Vue.prototype.$axios = axios
1.4 development components
- Project directory
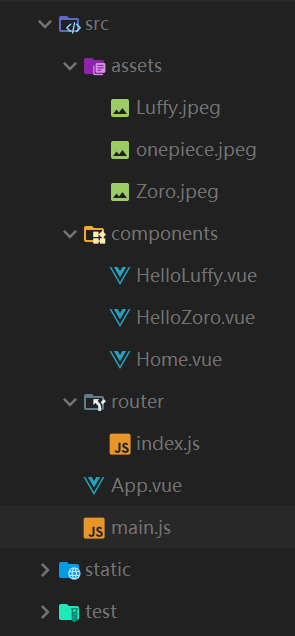
- Main components
App.vue
<template>
  <div id="app">
    <div id="btn">
      <router-link to="/"><button>home page</button></router-link>
      <router-link to="/luffy"><button>Monkey D Luffy</button></router-link>
      <router-link to="/zoro"><button>Sauron</button></router-link>
    </div>
    <router-view></router-view>
  </div>
</template>

<script>
export default {
  name: 'App'
}
</script>

<style>
#app {
  font-family: 'Avenir', Helvetica, Arial, sans-serif;
  -webkit-font-smoothing: antialiased;
  -moz-osx-font-smoothing: grayscale;
  text-align: center;
  color: #2c3e50;
  margin-top: 60px;
}
#btn {
  text-align: center;
  margin-bottom: 50px;
}
#btn button {
  width: 80px;
  margin-left: 10px;
  margin-right: 10px;
}
</style>
- Home page component
Home.vue
<template>
  <div class="hello">
    <img src="../assets/onepiece.jpeg">
    <h1>{{ msg }}</h1>
  </div>
</template>

<script>
export default {
  name: 'Home',
  data: function () {
    return {
      msg: 'Welcome to the age of great navigation!'
    }
  }
}
</script>
- Other components
HelloLuffy
<template>
  <div class="hello">
    <img src="../assets/Luffy.jpeg">
    <h1>{{ msg }}</h1>
  </div>
</template>

<script>
export default {
  name: 'HelloLuffy',
  data: function () {
    return {
      msg: null
    }
  },
  created () {
    this.getMsg()
  },
  methods: {
    getMsg () {
      return this.$axios.get('/api/test/say-hello?msg=Luffy')
        .then(response => {
          console.log('response', response)
          this.msg = response.data.data
        })
    }
  }
}

</script>

<!-- Add "scoped" attribute to limit CSS to this component only -->
<style scoped>
h1, h2 {
  font-weight: normal;
}
ul {
  list-style-type: none;
  padding: 0;
}
li {
  display: inline-block;
  margin: 0 10px;
}
a {
  color: #42b983;
}
div img {
  width: 200px;
  height:200px;
}
</style>
HelloZoro.vue
<template>
  <div class="hello">
    <img src="../assets/Zoro.jpeg">
    <h1>{{ msg }}</h1>
  </div>
</template>

<script>
export default {
  name: 'HelloZoro',
  data: function () {
    return {
      msg: null
    }
  },
  created () {
    this.getMsg()
  },
  methods: {
    getMsg () {
      return this.$axios.get('/api/test/say-hello?msg=Zoro')
        .then(response => {
          console.log('response', response)
          this.msg = response.data.data
        })
    }
  }
}

</script>

<!-- Add "scoped" attribute to limit CSS to this component only -->
<style scoped>
h1, h2 {
  font-weight: normal;
}
ul {
  list-style-type: none;
  padding: 0;
}
li {
  display: inline-block;
  margin: 0 10px;
}
a {
  color: #42b983;
}
div img {
  width: 200px;
  height:200px;
}
</style>
1.5 configuring routing
router/index.js
import Vue from 'vue'
import Router from 'vue-router'
import Home from '@/components/Home'
import HelloLuffy from '@/components/HelloLuffy'
import HelloZoro from '@/components/HelloZoro'

Vue.use(Router)

export default new Router({
  routes: [
    {
      path: '/',
      name: 'home',
      component: Home
    },
    {
      path: '/luffy',
      name: 'luffy',
      component: HelloLuffy
    },
    {
      path: '/zoro',
      name: 'zoro',
      component: HelloZoro
    }
  ]
})
2. Front end deployment
2.1 packaged items
cnpm run build
2.2 modify nginx configuration on the server
This step adds the / opt/nginx/frontend directory in the container as the root directory of the front-end project
    # Establish virtual service
    server {
        listen 80;
        server_name  localhost;

        # Front end project access
        location / {
            # Define the root directory location of the front-end project;
            root /opt/nginx/frontend;
            index index.html;
            error_page 404 /index.html;
        }

        # Match the url of the back-end API for reverse proxy
        location /api {
            rewrite ^/api/(.*)$ /$1 break; #Get the uri after / api for redirection
            proxy_pass http://172.17.0.2:80/; #  Actual backend service address
        }
    }
2.3 modify nginx container startup command
This step adds a parameter to mount the front-end root directory / opt/nginx/frontend in the container to the server/ deploy/frontend directory. When starting, pay attention to stop and delete the containers started before.
docker run --name nginx -d -p 18080:80 -v $(pwd)/deploy/frontend:/opt/nginx/frontend -v $(pwd)/deploy/log:/var/log/nginx -v $(pwd)/deploy/nginx.conf:/etc/nginx/nginx.conf nginx:1.21.4
2.4 deploying front-end projects
Copy all files in the packed dist folder to the directory of the project root directory at the front end of the mapping container.
frontend/
├── index.html
└── static
    ├── css
    ├── img
    └── js
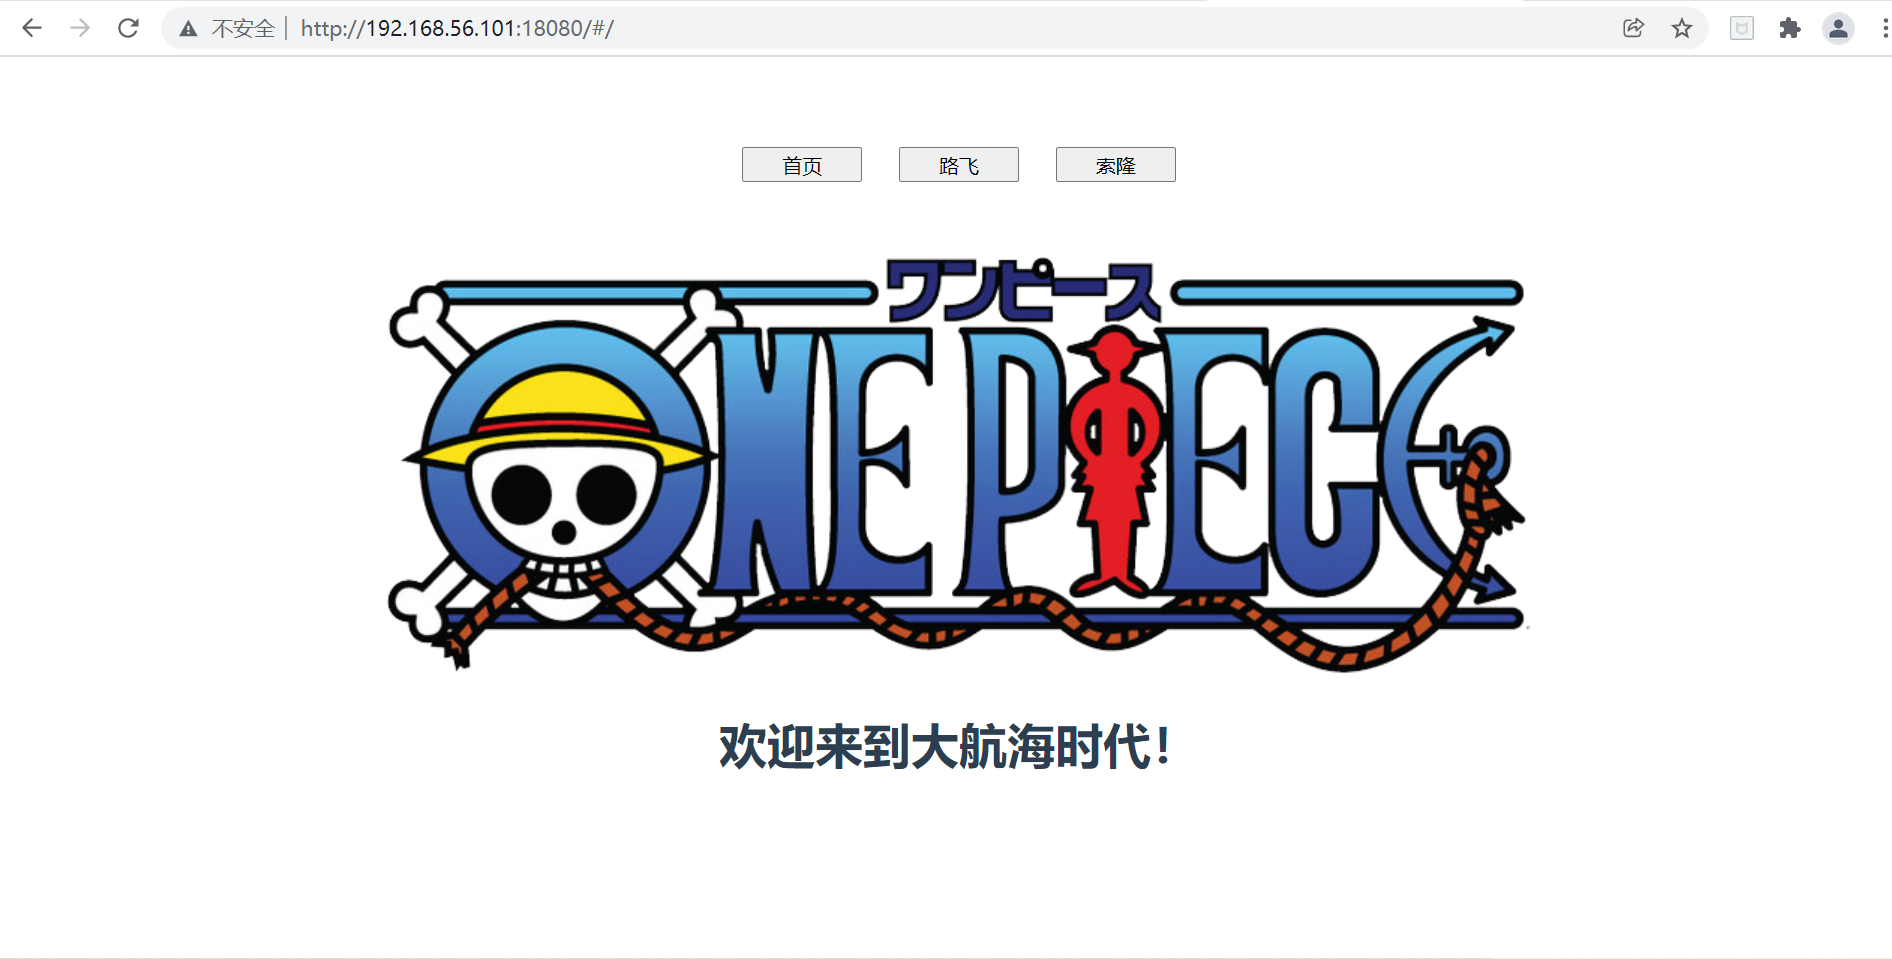
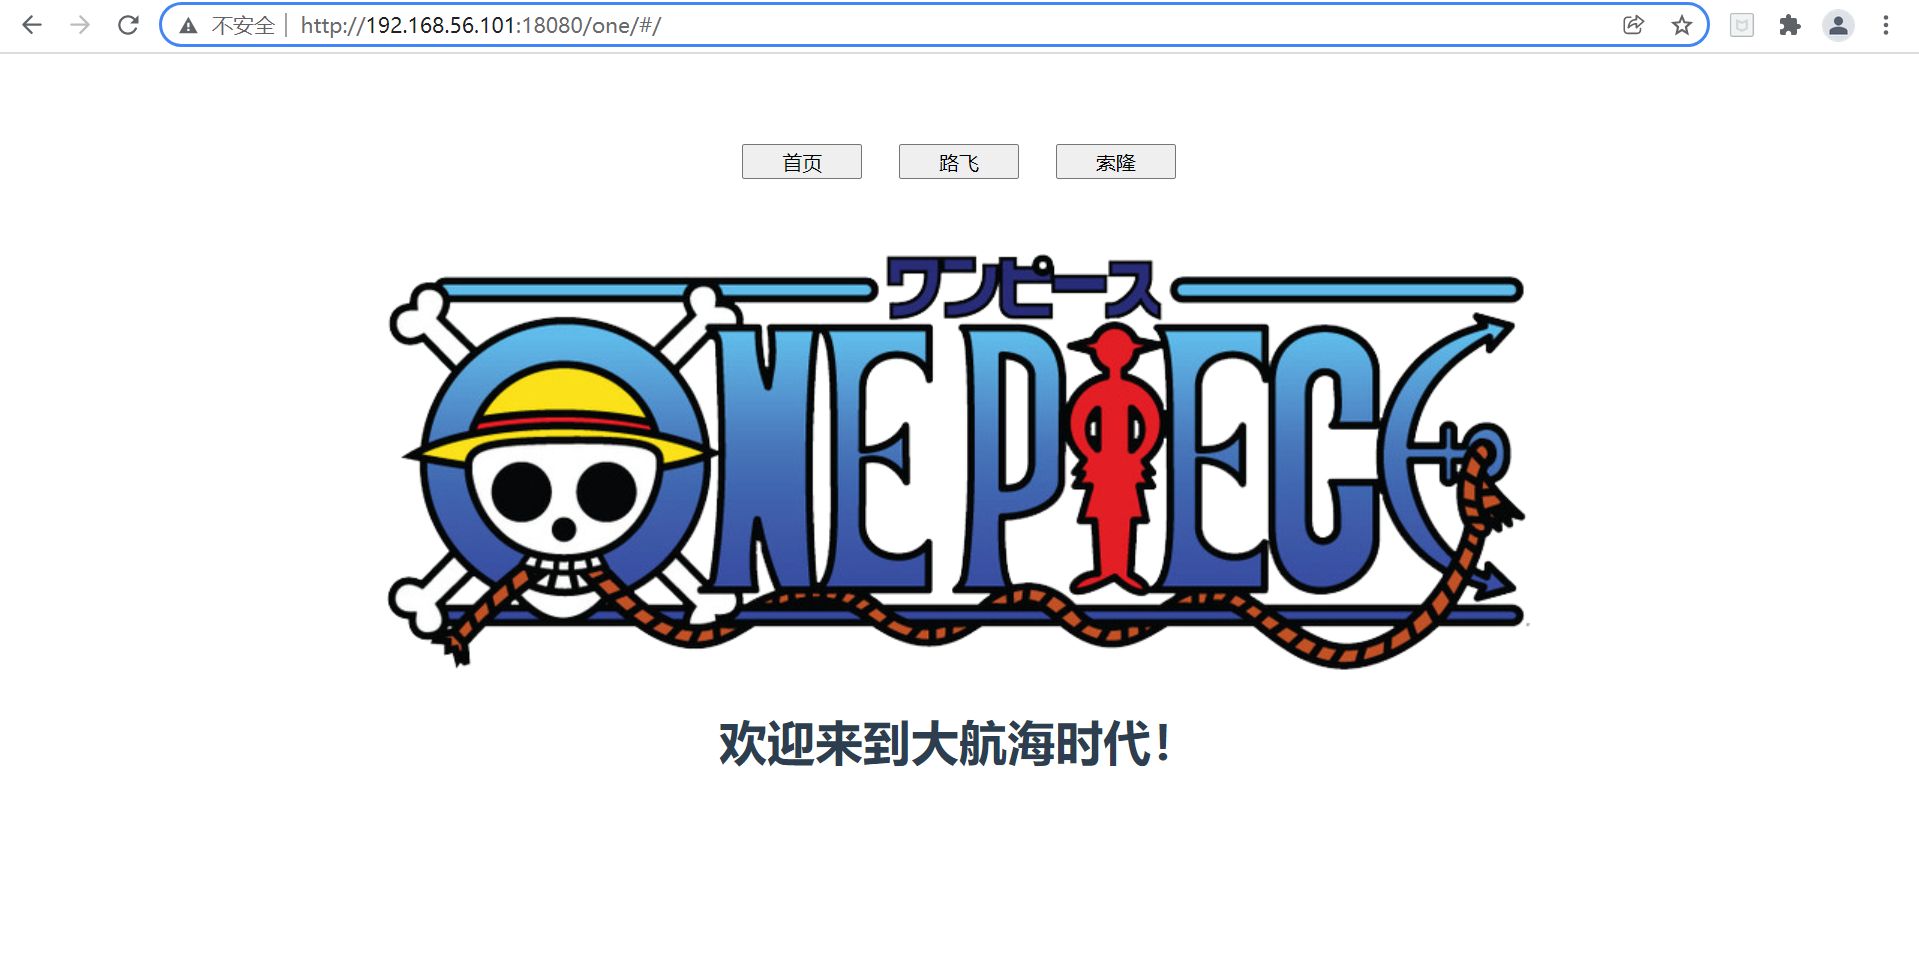
3. Page effect
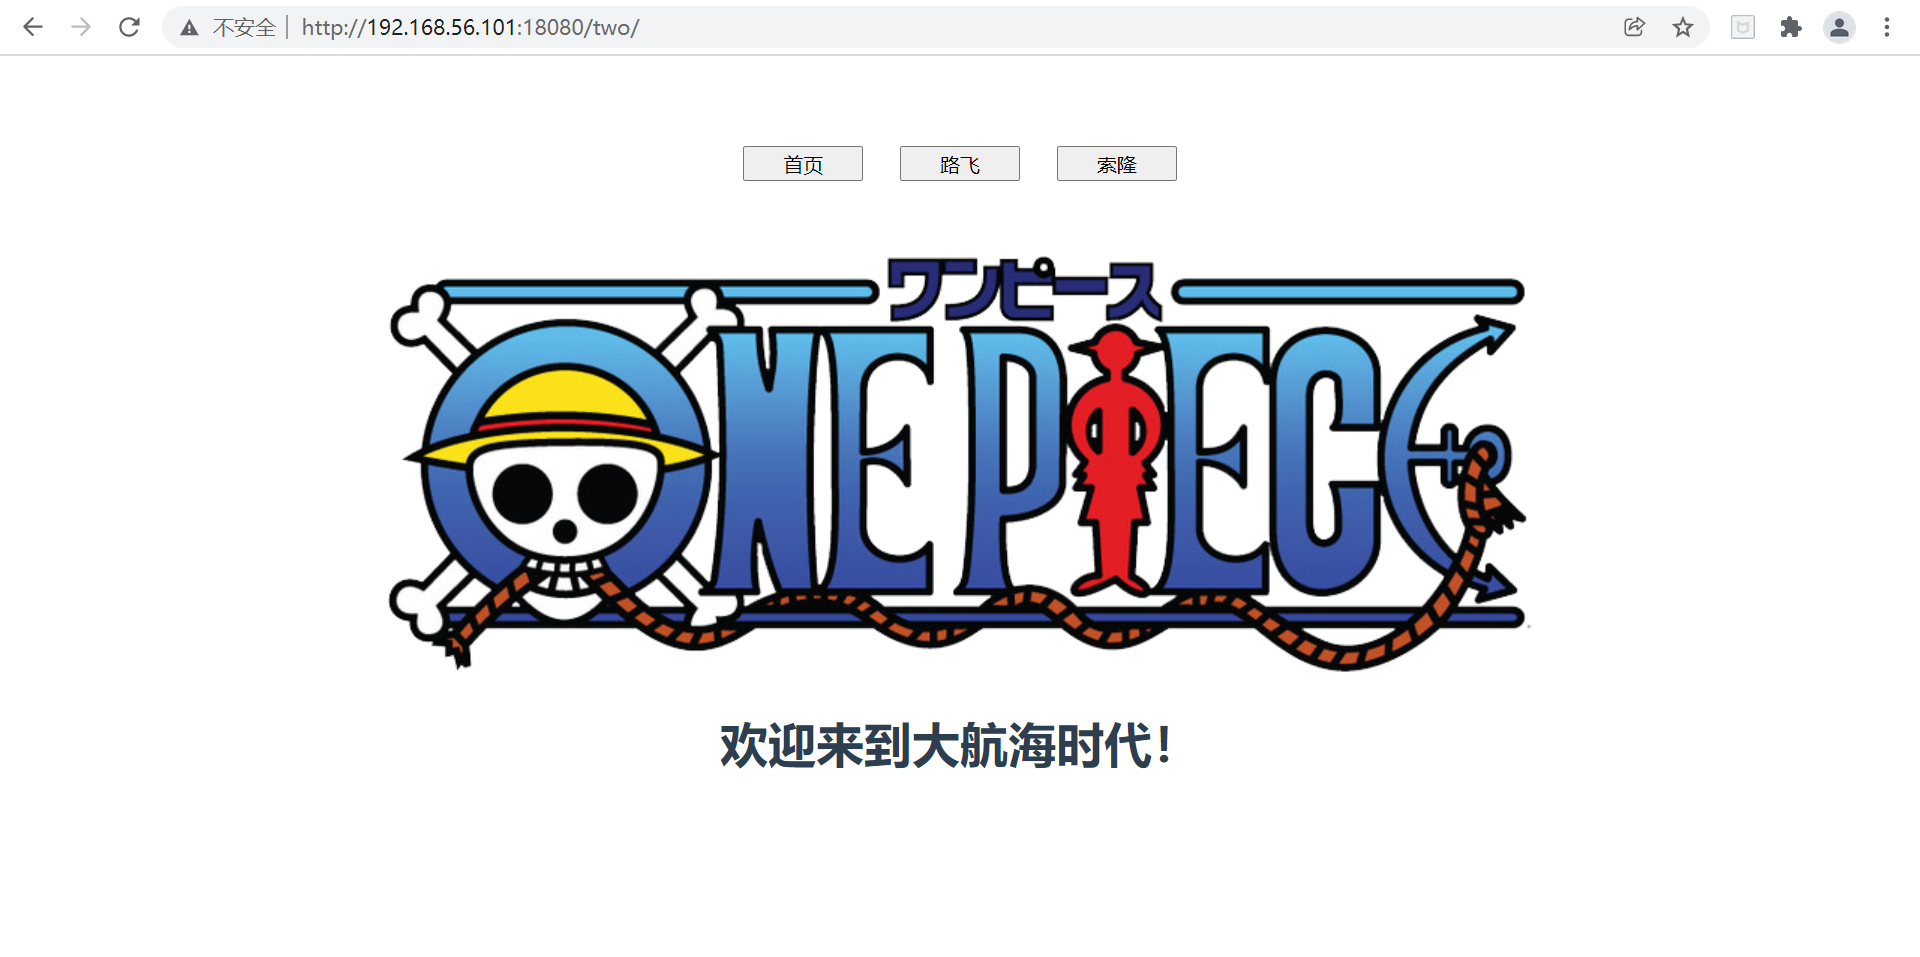
- home page
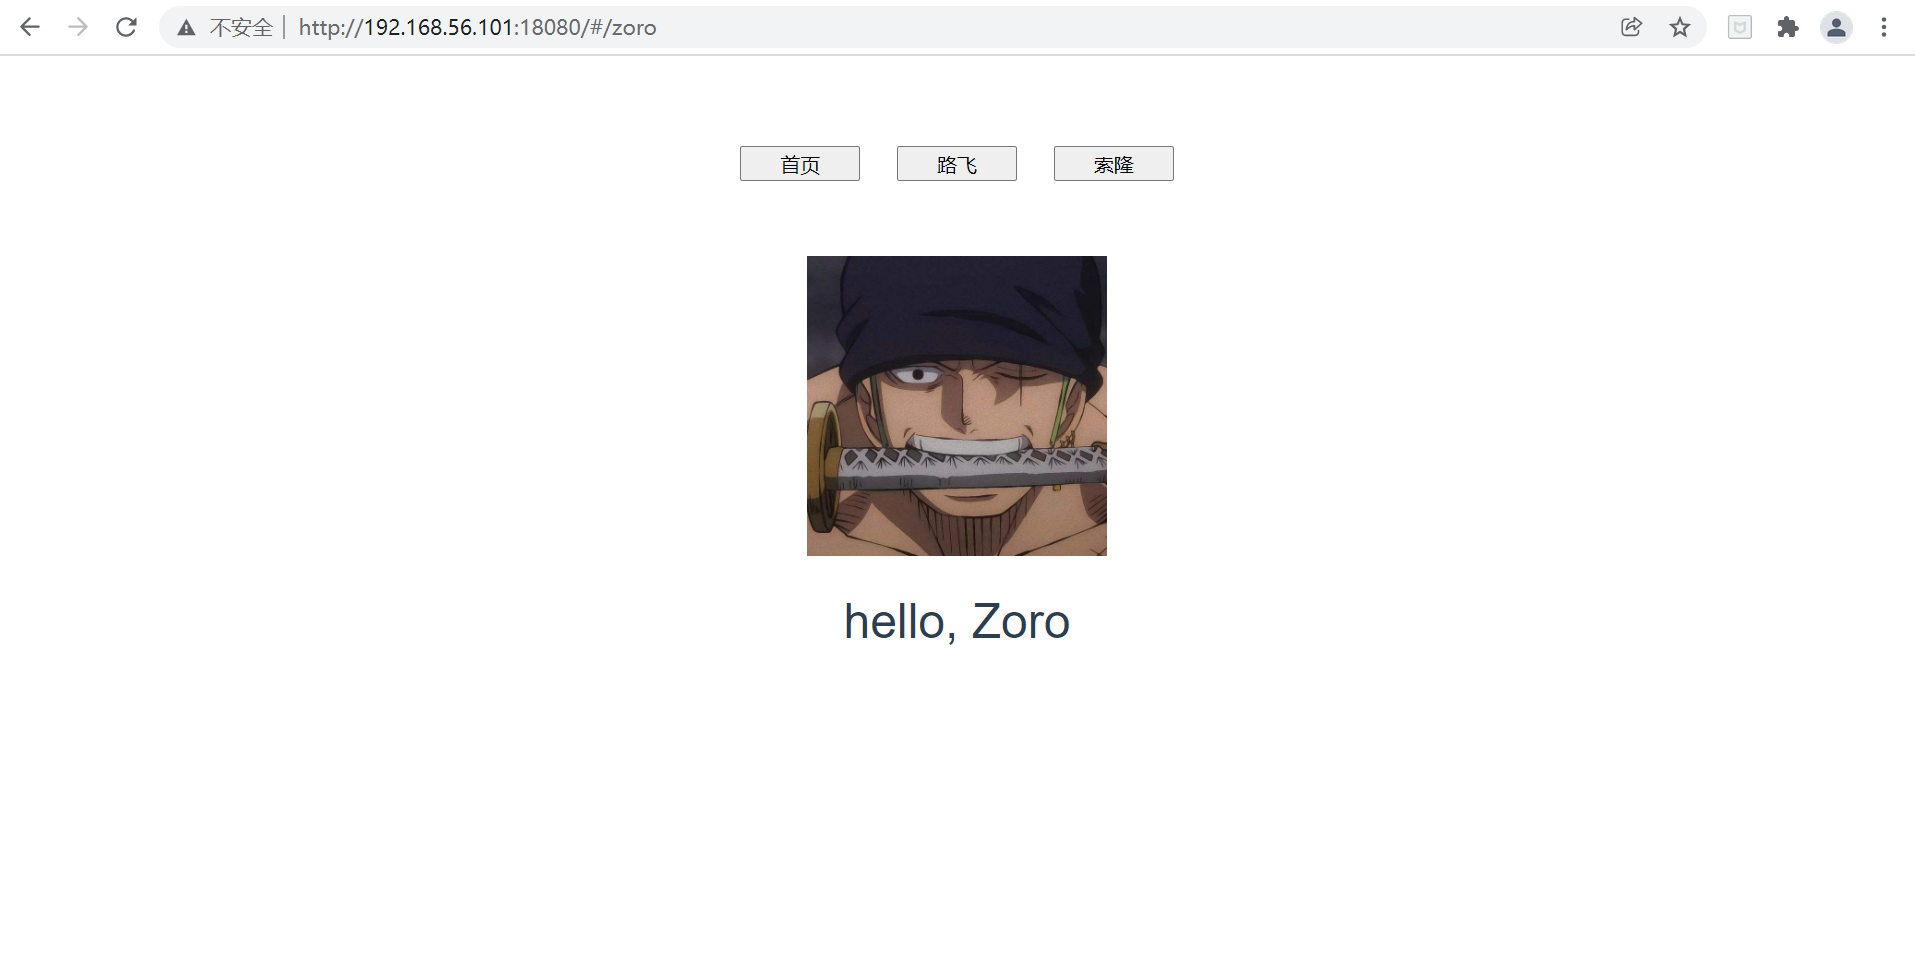
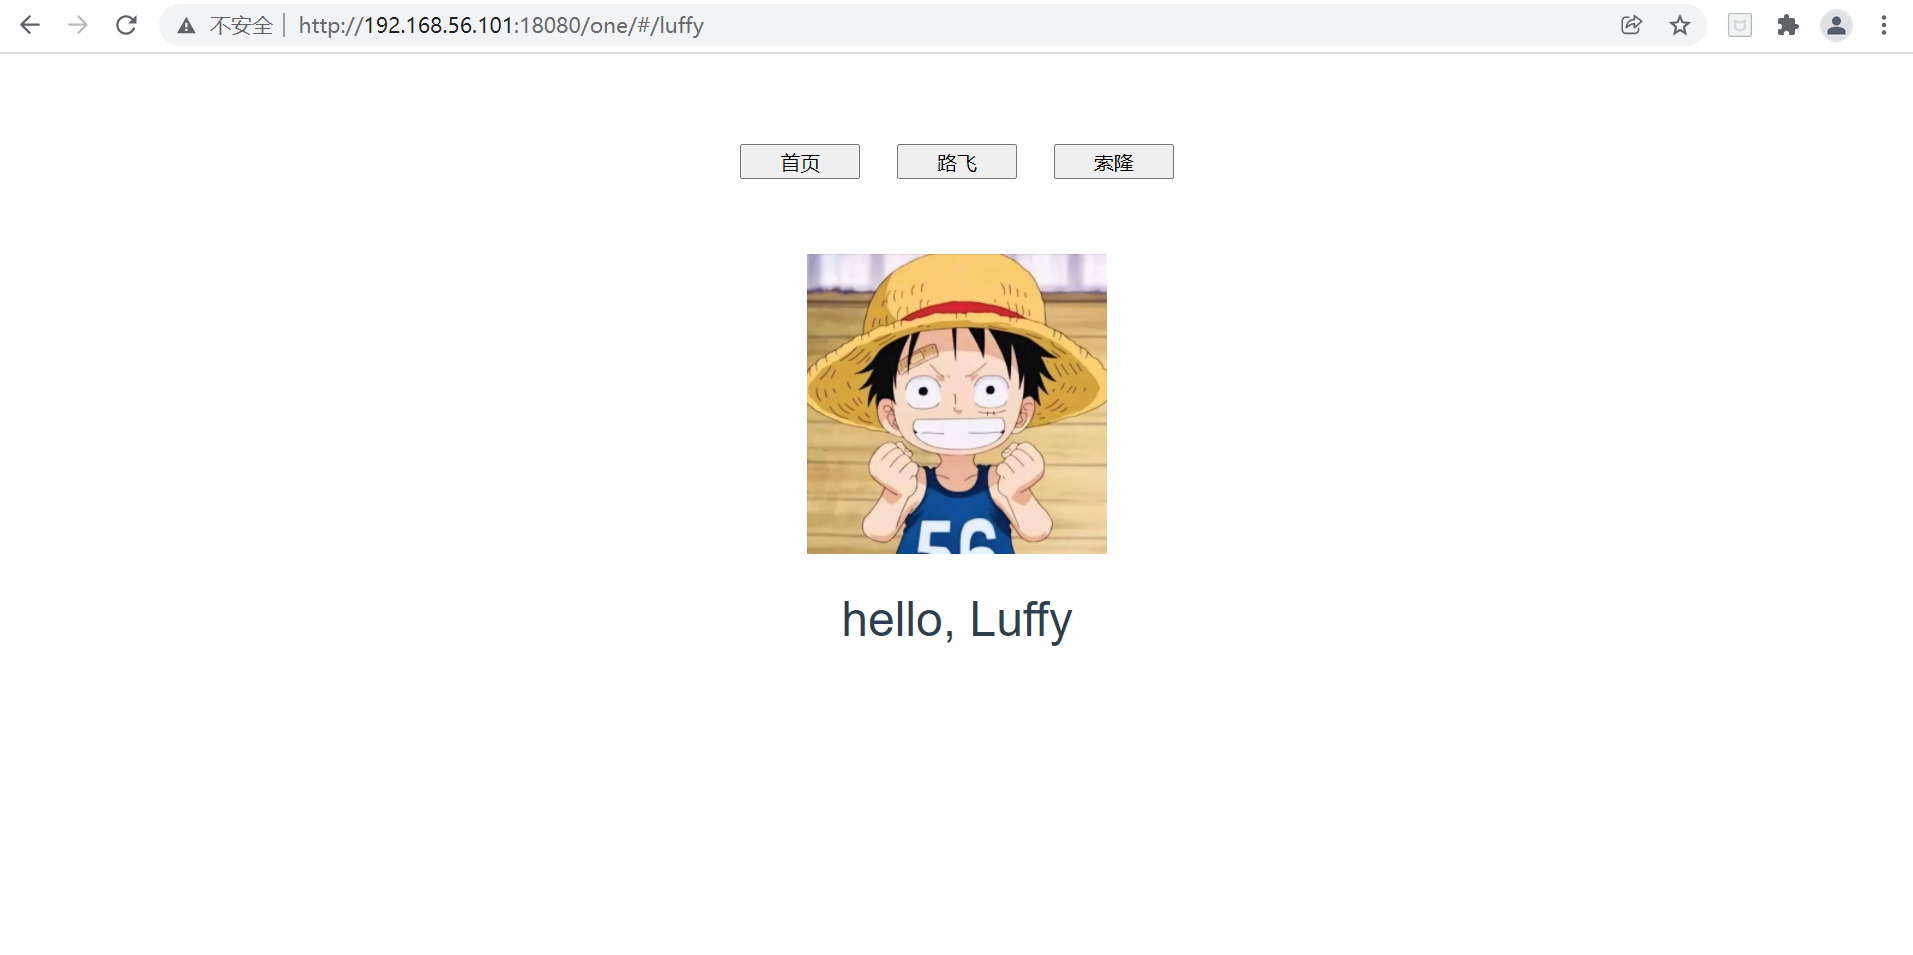
- Switch to other pages
Click the "Luffy" button to jump to the Luffy page.

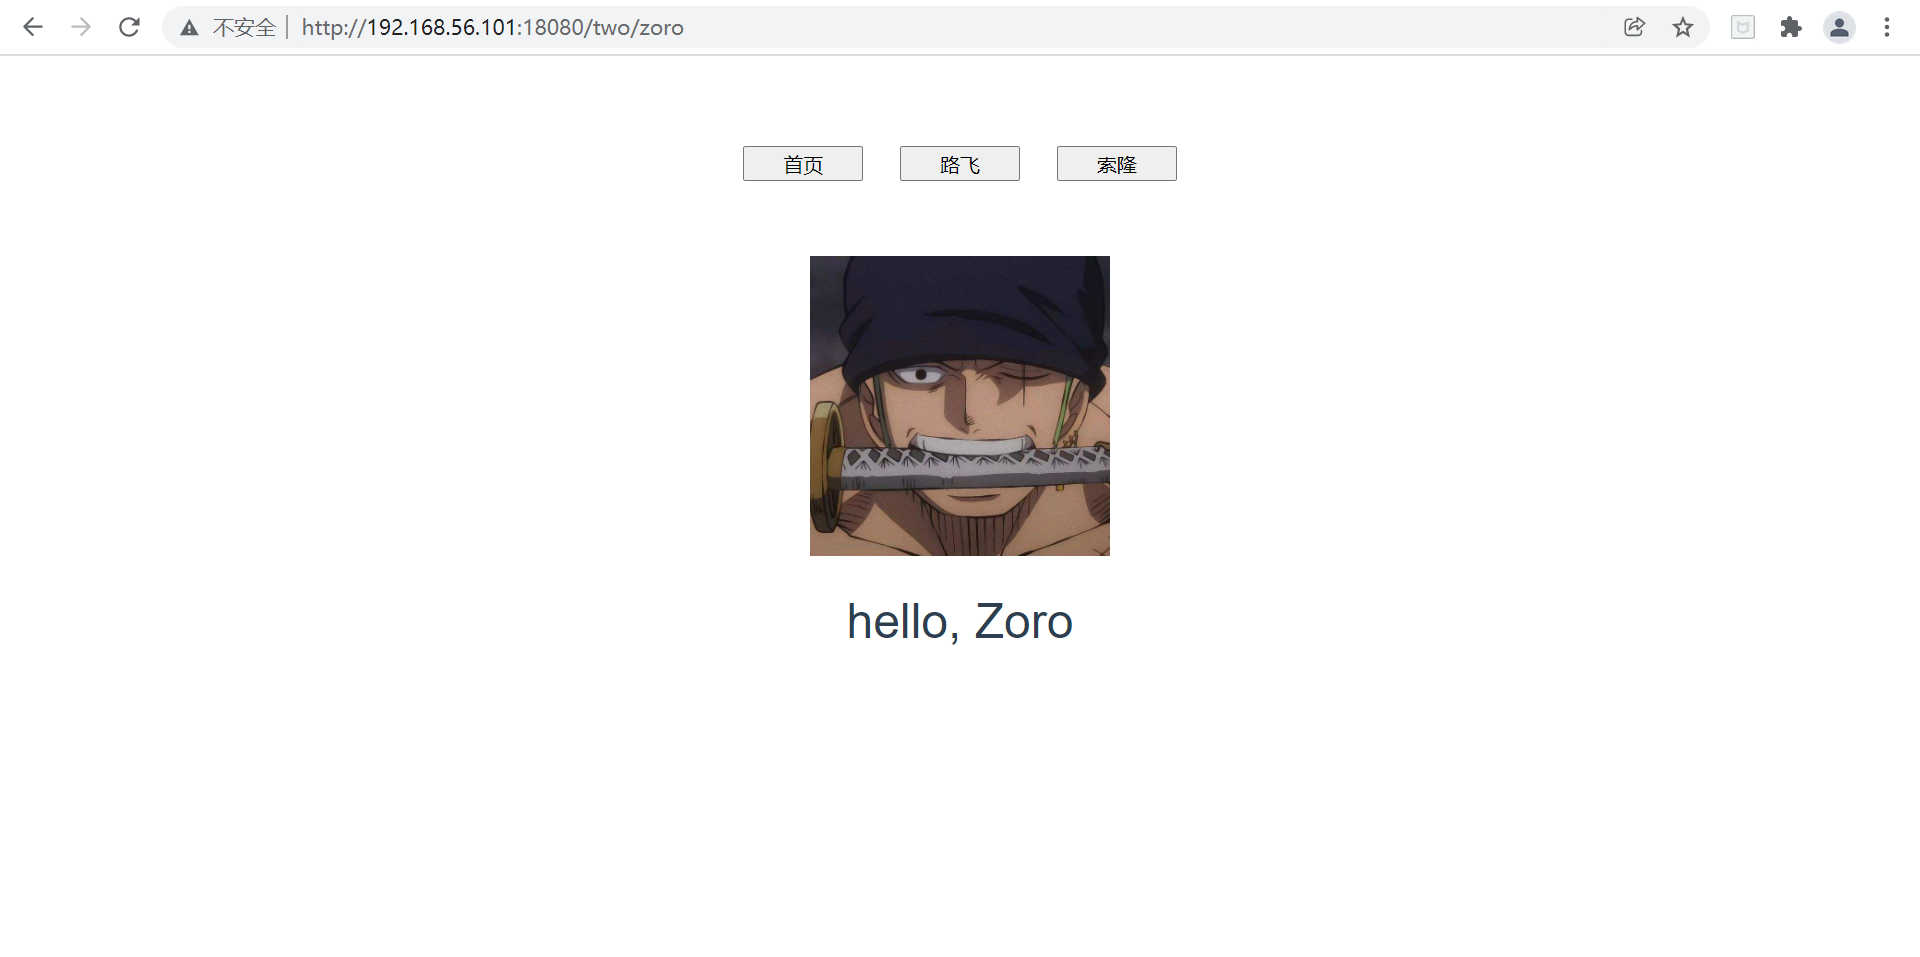
Click the "Solon" button to jump to the Solon page.
4, Upgrade: how to deploy multiple front-end projects?
1. Problem analysis
As we saw earlier, there is only one index in the root directory of the front-end project HTML and static, if we follow this deployment method, when we access through IP + port number, we can only access one front-end project. If we need to deploy multiple front-end projects, we also need to add ports and nginx configurations. Can we access different items by prefixing URIs?
The answer is yes. We can synchronize "fiddling" between the request url and the server project file path to ensure that the url path requested by the front end is consistent with the actual file path. For example, for the project one, the original static resource url was / static/css/xxx. Now there is a layer of file directory one on the server, so the current static resource url can be changed to / one/static/css/xxx.
frontend/
└── one
    ├── index.html
    └── static
        ├── css
        ├── img
        └── js
2. Problem solving
The solution only needs to modify three places on the basis of the previous one.
Suppose the uri access prefix of project 1 is / one.
2.1 modifying resource paths for front-end projects
In config / index JS, change the assetsPublicPath property from / to / one /, and note that there is "/" after "one".
Explain: the request path prefix of static resources is spliced by assetsPublicPath+assetsSubDirectory. The default is / static, but now it has become / one/static.
2.2 create a new subdirectory from the root directory
You need to create a one folder under the root directory of the front-end project. Previously, frontend was equivalent to the packaged dist folder. Now frontend is equivalent to the parent directory of dist.
Previous Directory:
frontend/
├── index.html
└── static
    ├── css
    ├── img
    └── js
Current directory:
frontend/
└── one
    ├── index.html
    └── static
        ├── css
        ├── img
        └── js
2.3 access url
Previous access url: http://192.168.56.101:18080
Current access url: http://192.168.56.101:18080/one/ Yes, there is a /, which is determined by nginx's location matching and conversion rules, otherwise there will be problems.
It's OK to jump to the page:
3. Add: does the routing mode have an impact?
The default hash mode is used in our front-end projects. Will it be affected if we change to history mode? Let's try it together.
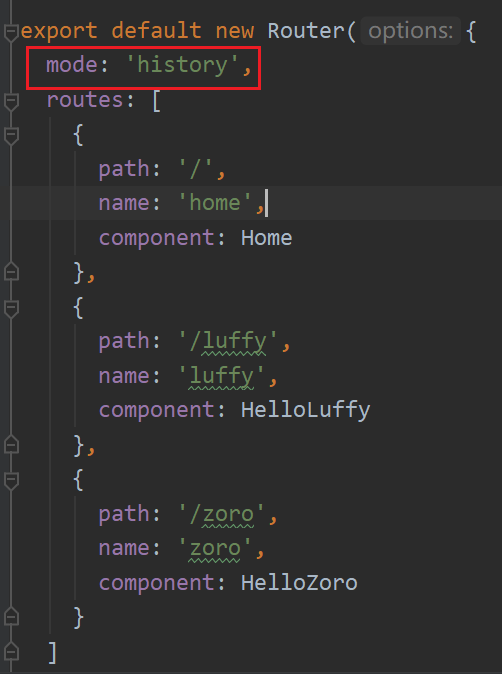
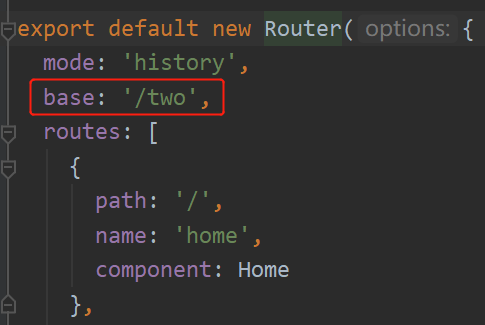
3.1 modify routing mode
In router / index JS.
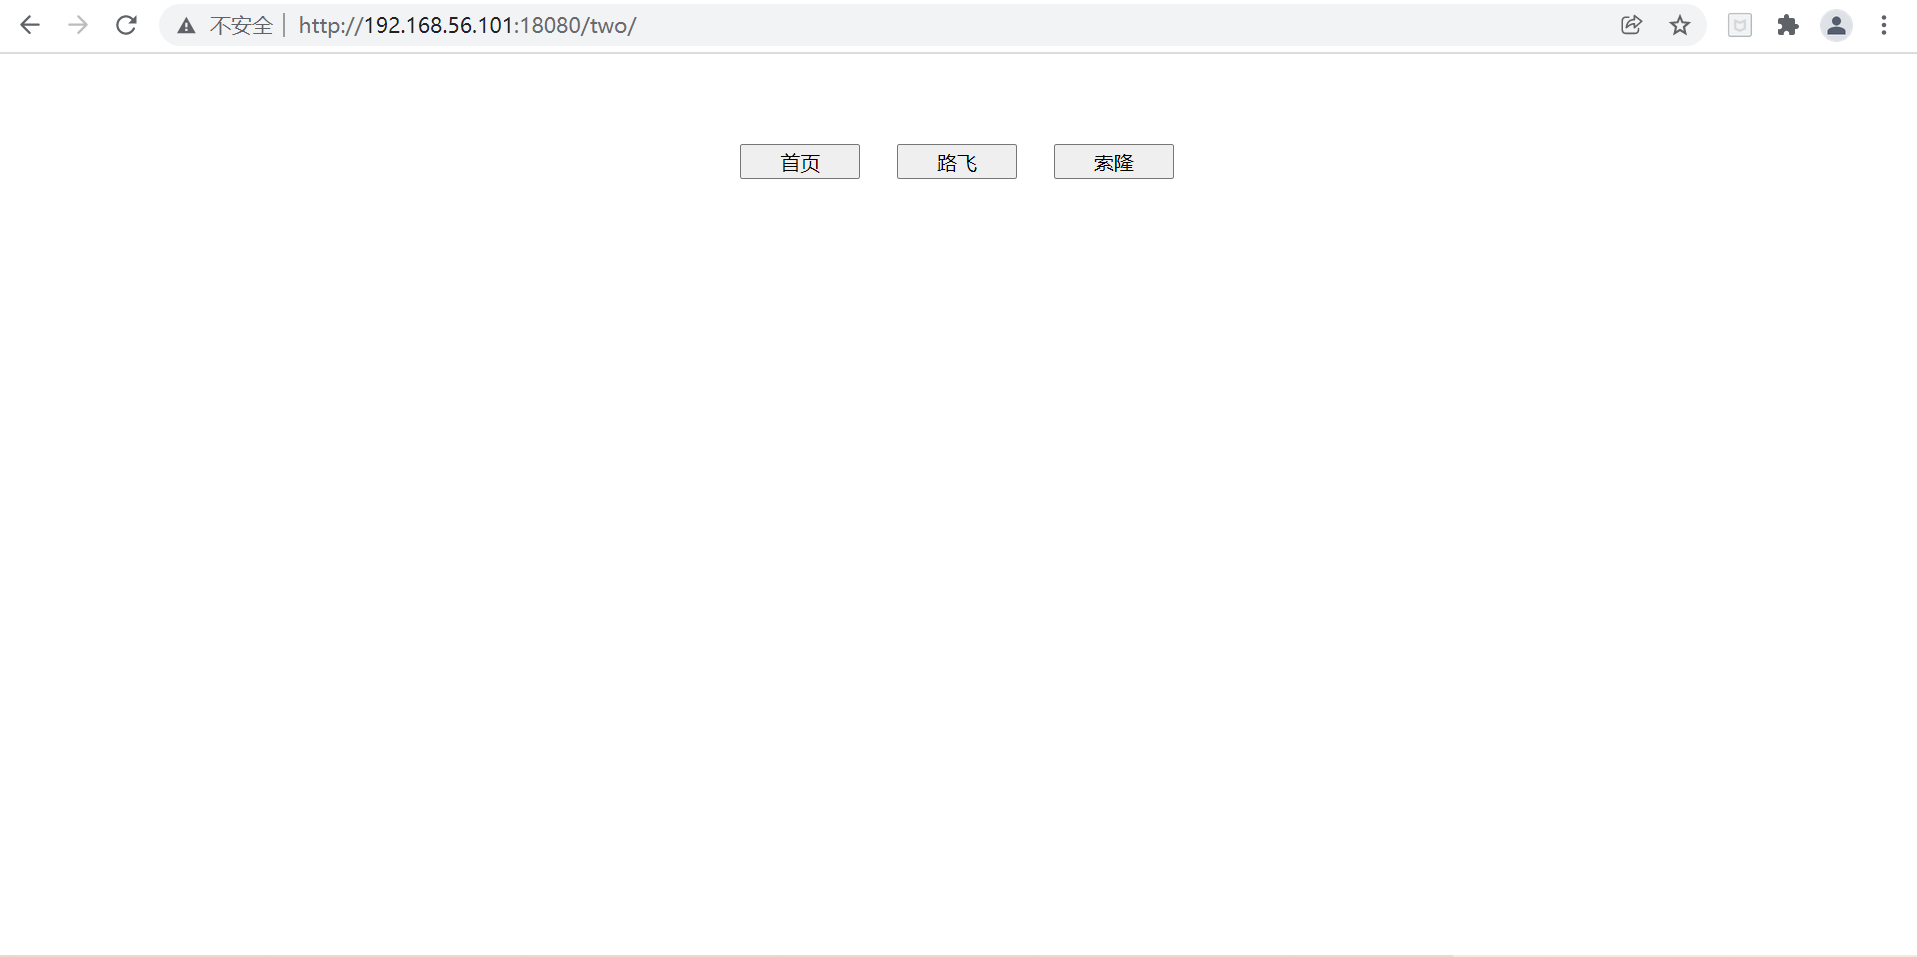
3.2 deployment testing
The project of history mode is packaged and deployed to the server as project 2 for access.
Sure enough, there was no display except for the three buttons.
3.3 solution
I put the mouse pointer on the "Luffy" button, and I saw its jump address in the lower left corner of the browser:

Compared with the hash mode, the history mode removes / # /, but there is less / two in front of the jump address, so it should be very simple to solve this problem.
Add base request prefix to the route:
Access again after deployment:
Click the "Luffy" button to jump to the page:

Click the "Solon" button to jump to the page:
Perfect!
Summary
Through this development and deployment, the use of front-end Vue and back-end SpringBoot framework, nginx configuration and docker container deployment are connected in series. It also studies how to deploy multiple front-end projects on one port through the cooperation of front-end projects and nginx. At the same time, we also see the difference between hash and history routing modes.
The development and deployment process of this time is also full of harvest, which is the so-called "no one can do everything in the day, no contribution will be made to the sea".