💗 Before starting 💗
Before starting, install the required module pyautogui, which can send virtual keys and mouse clicks to Windows.
pip install -i https://pypi.douban.com/simple pyautogui
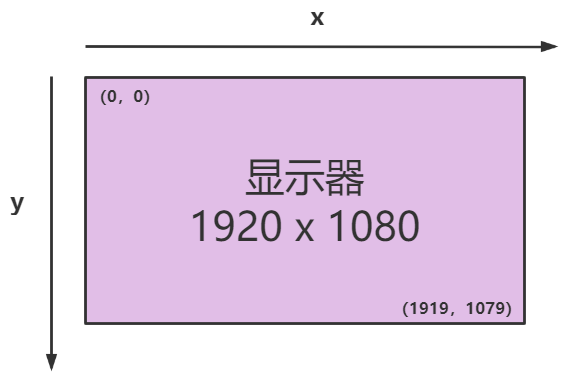
one ️⃣ View screen size

pyautogui.size() can obtain the number of pixels (integer) of the width and height of the screen.
>>> pyautogui.size()
Size(width=1920, height=1080)
# You can also save the width and height directly. X, y = pyautogui size()
two ️⃣ Gets the current mouse position
Function returns the tuple of X and Y coordinates of the current position. If the parameters of X and y are set, the returned result will be overwritten.
>>> pyautogui.position(x=None, y=None)
Point(x=1437, y=817)
three ️⃣ Check whether the specified coordinates are on the screen
To check whether the X and Y coordinates are on the screen, pass them (supporting two integers, lists and tuples) to the onScreen() function. If they are within the boundary of the screen, return True, otherwise return False.
>>> pyautogui.size()
(1920, 1080)
>>> pyautogui.onScreen(1920, 1080)
False
>>> pyautogui.onScreen(1919, 1079)
True
four ️⃣ Set pause time
Using PyAutoGUI The pause variable sets the number of seconds to pause. For example, set PyAutoGUI After pause = 1, each PyAutoGUI function call will wait for one second after executing the action.
>>> pyautogui.PAUSE = 1
five ️⃣ Move mouse
Move the mouse to the specified position.
pyautogui.moveTo(x=None, y=None, duration=0.0) # move the mouse to the specified position
pyautogui.move(xOffset=None, yOffset=None, duration=0.0) # in PyAutoGUI 1.0, move replaces moveRel, but moveRel can also be used
pyautogui.moveTo(200, 300, duration=0.5)   # Move to coordinates (200300)
pyautogui.move(200, 300, duration=0.5)     # Move 200 right and 300 down from the current mouse position
Main parameters:
x/xOffset: X-axis coordinate. The value in moveTo() is 0 or positive integer value. The value in move()/moveRel() can be negative, which means moving to the left with the current position
y/yOffset: Y-axis coordinate. The value in moveTo() is 0 or positive integer value. The value in move()/moveRel() can be negative, which means moving upward at the current position
duration: the time it takes to move to the specified coordinates. The default value is 0, representing immediate completion. The unit is s
six ️⃣ Mouse click
Use click() to complete the mouse click operation.
>>> pyautogui.click(x=None, y=None, clicks=1, interval=0.0, button=PRIMARY, duration=0.0)
Main parameters:
x: X-axis coordinate, the default is None, that is, the current X-axis coordinate
y: Y-axis coordinates, the default is None, that is, the current Y-axis coordinates (Note: X and y-axis coordinates can only be specified at the same time, not only one)
Clicks: the number of mouse clicks. The default is 1
interval: int or floating-point number, indicating the number of seconds to wait between clicks. The default value is 0.0, indicating that there is no pause between clicks
button: optional LEFT, MIDDLE, RIGHT, PRIMARY or SECONDARY. Its default value is PRIMARY
Duration: if X and Y values are specified and the coordinates are not the current position of the mouse, the duration parameter can take effect. It indicates the time spent moving to the specified coordinates. The default value is 0, which means moving immediately.
💬 Other click operations:
pyautogui.mouseDown()    # Press the mouse button (left button)
pyautogui.mouseUp()      # Release the mouse button (left button)
seven ️⃣ Mouse drag
Press and hold a mouse button to drag.
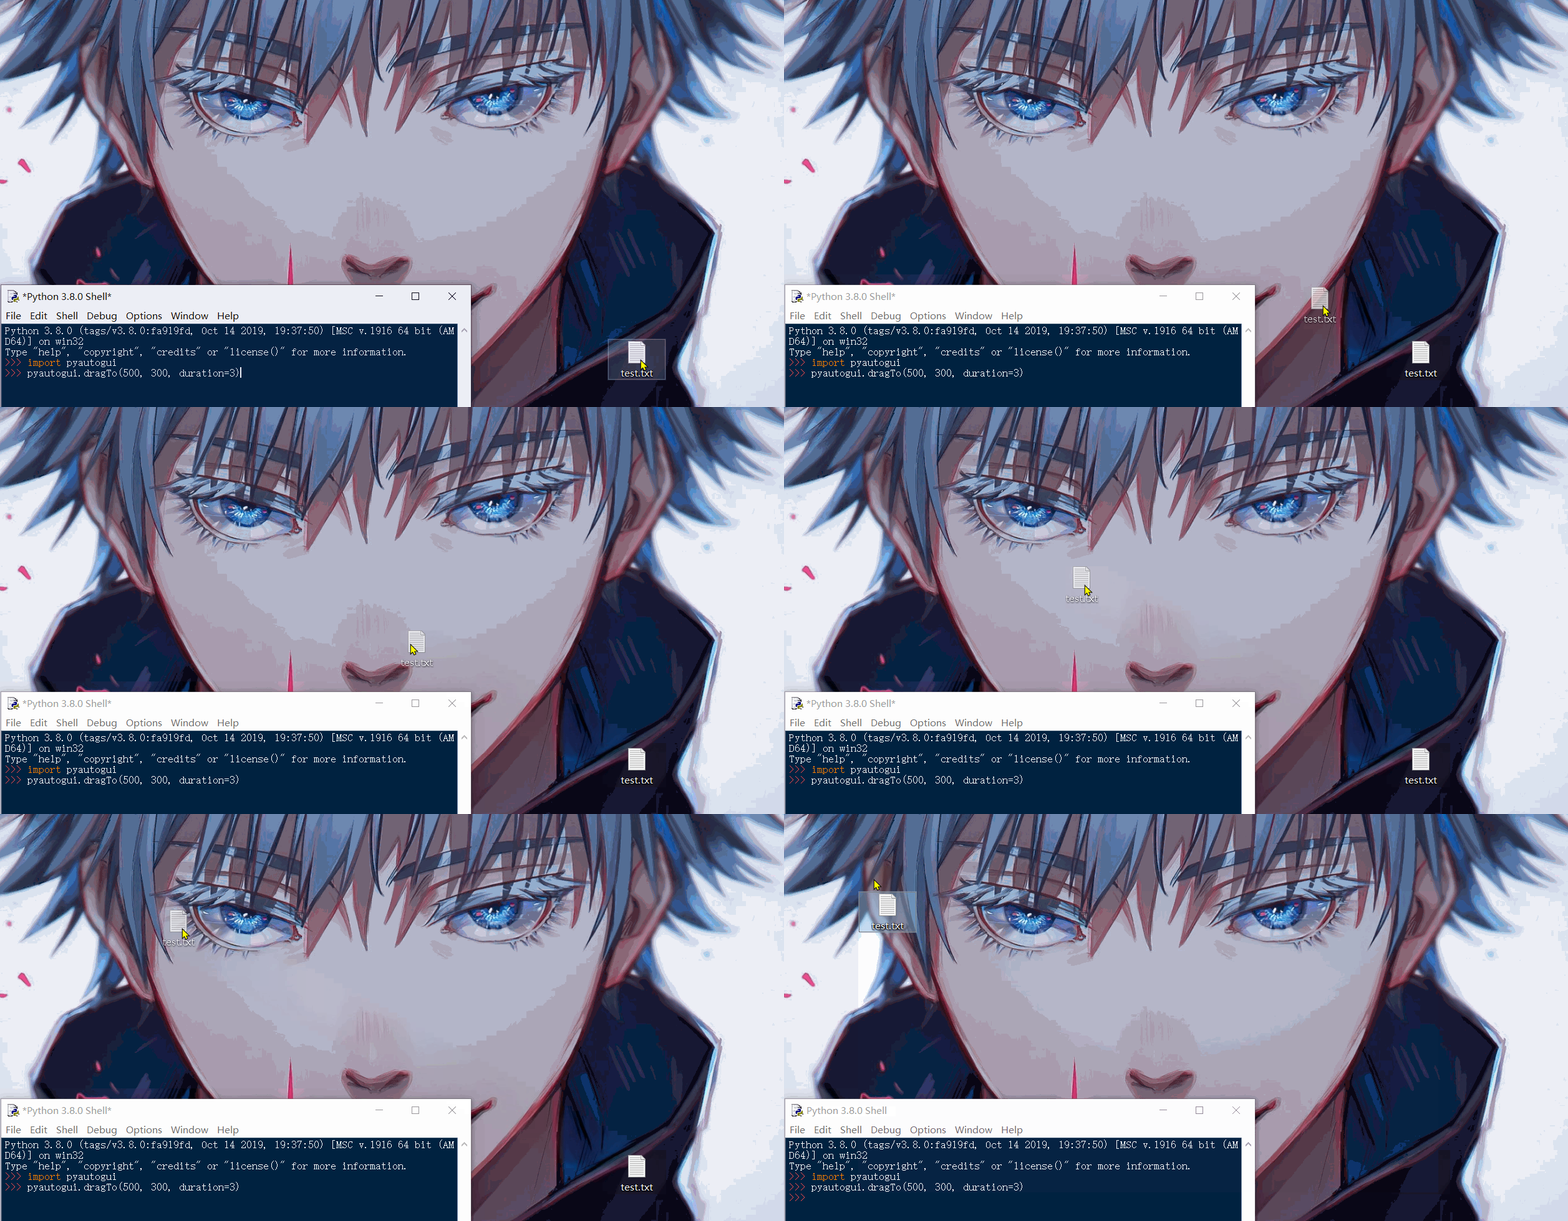
pyautogui.dragTo(x=None, y=None, duration=0.0, button=PRIMARY)     # Drag the mouse to the specified position

pyautogui.drag(xOffset=0, yOffset=0, duration=0.0, button=PRIMARY)    # Drag the mouse to a point on the screen relative to the current position.
Main parameters:
x. y/xOffset, yOffset: X and y indicate where the mouse event occurs. If None, the current mouse position is used. If it is a floating-point value, it is rounded. If it is outside the screen boundary, the event occurs at the edge of the screen.
Duration: if X and Y values are specified and the coordinates are not the current position of the mouse, the duration parameter can take effect. It indicates the time spent moving to the specified coordinates. The default value is 0, which means moving immediately.
button: optional LEFT, MIDDLE, RIGHT, PRIMARY or SECONDARY. Its default value is PRIMARY
▶️ Example:

eight ️⃣ Mouse scrolling
Vertical scrolling may have different effects on different platforms.
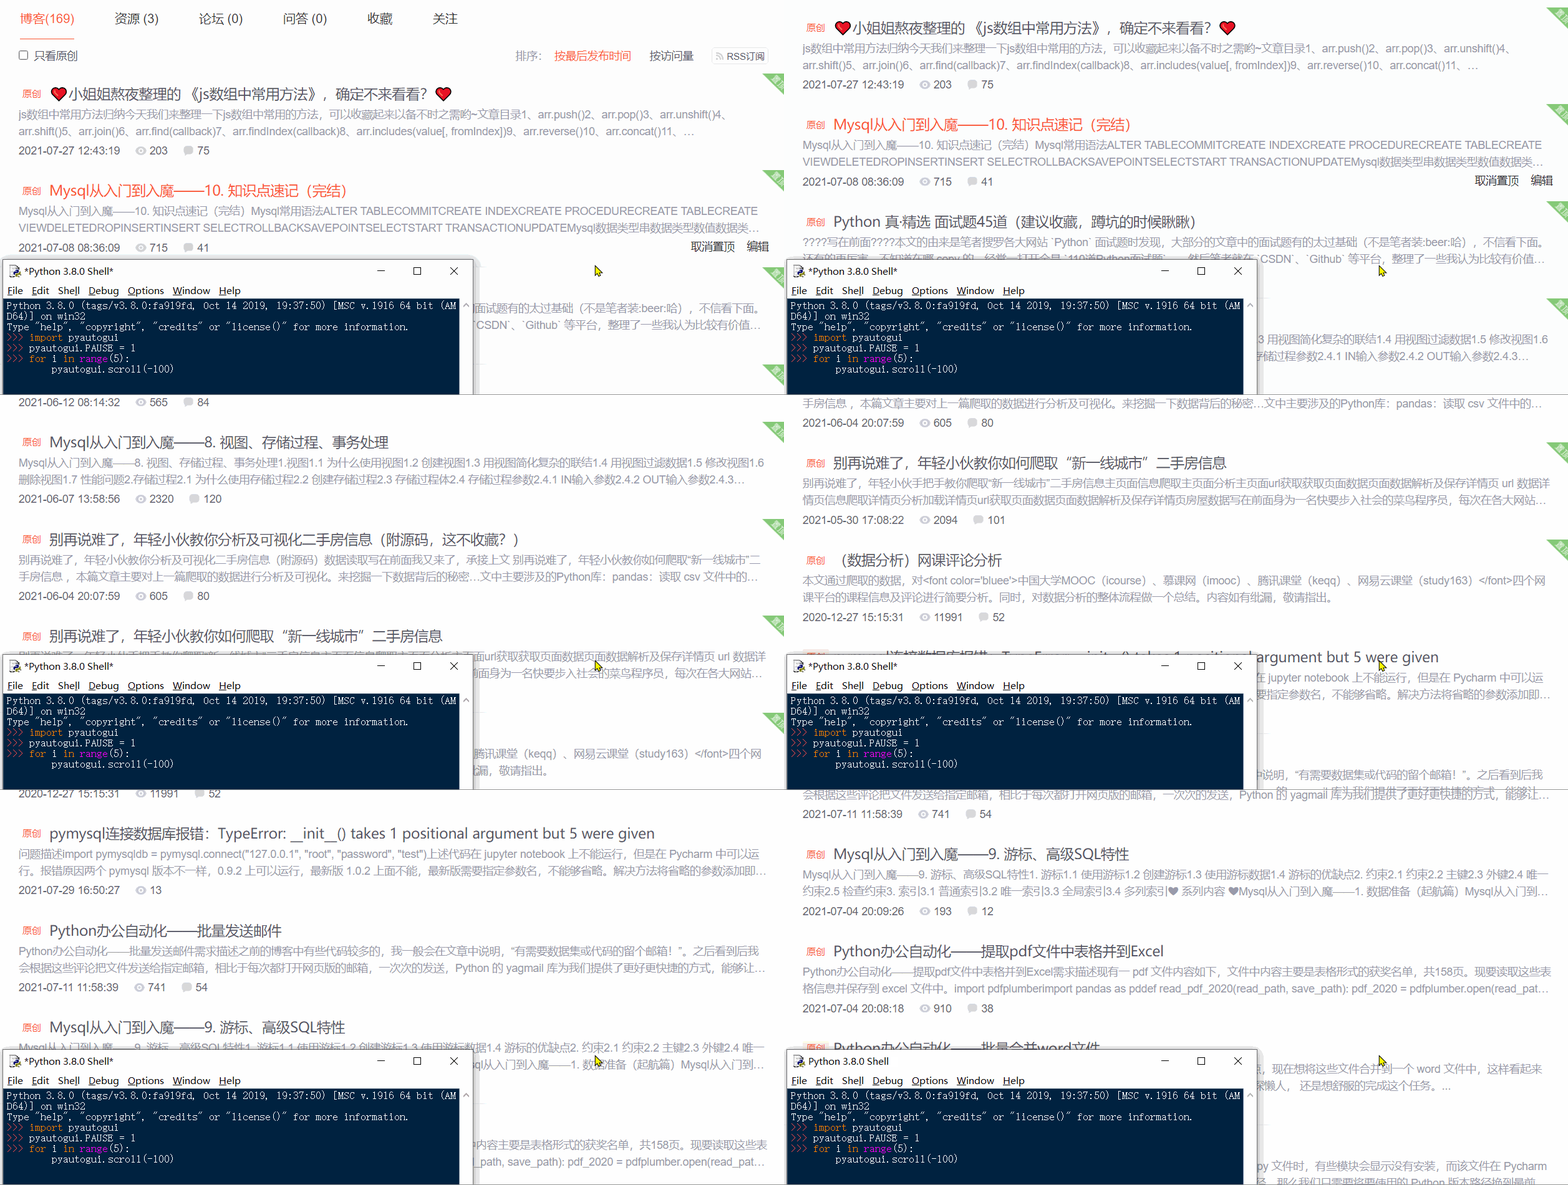
>>> pyautogui.scroll(100)   # Scroll up 100
>>> pyautogui.scroll(-100)  # Scroll down 100
>>> pyautogui.scroll(100, x=200, y=200)  # Move to 200 and perform scrolling
Scroll horizontally (for OS X and Linux platforms).
>>> pyautogui.hscroll(100)   # Scroll right 100
>>> pyautogui.hscroll(-100)   # Scroll left 100
▶️ Example:

Put it here for the time being. If it feels good, ❤ Remember to order a praise!!! ❤
