Content of this article
- Use of Elves
- Use of Rect Class
- Realize the movement and rotation of a tank
Effect demonstration
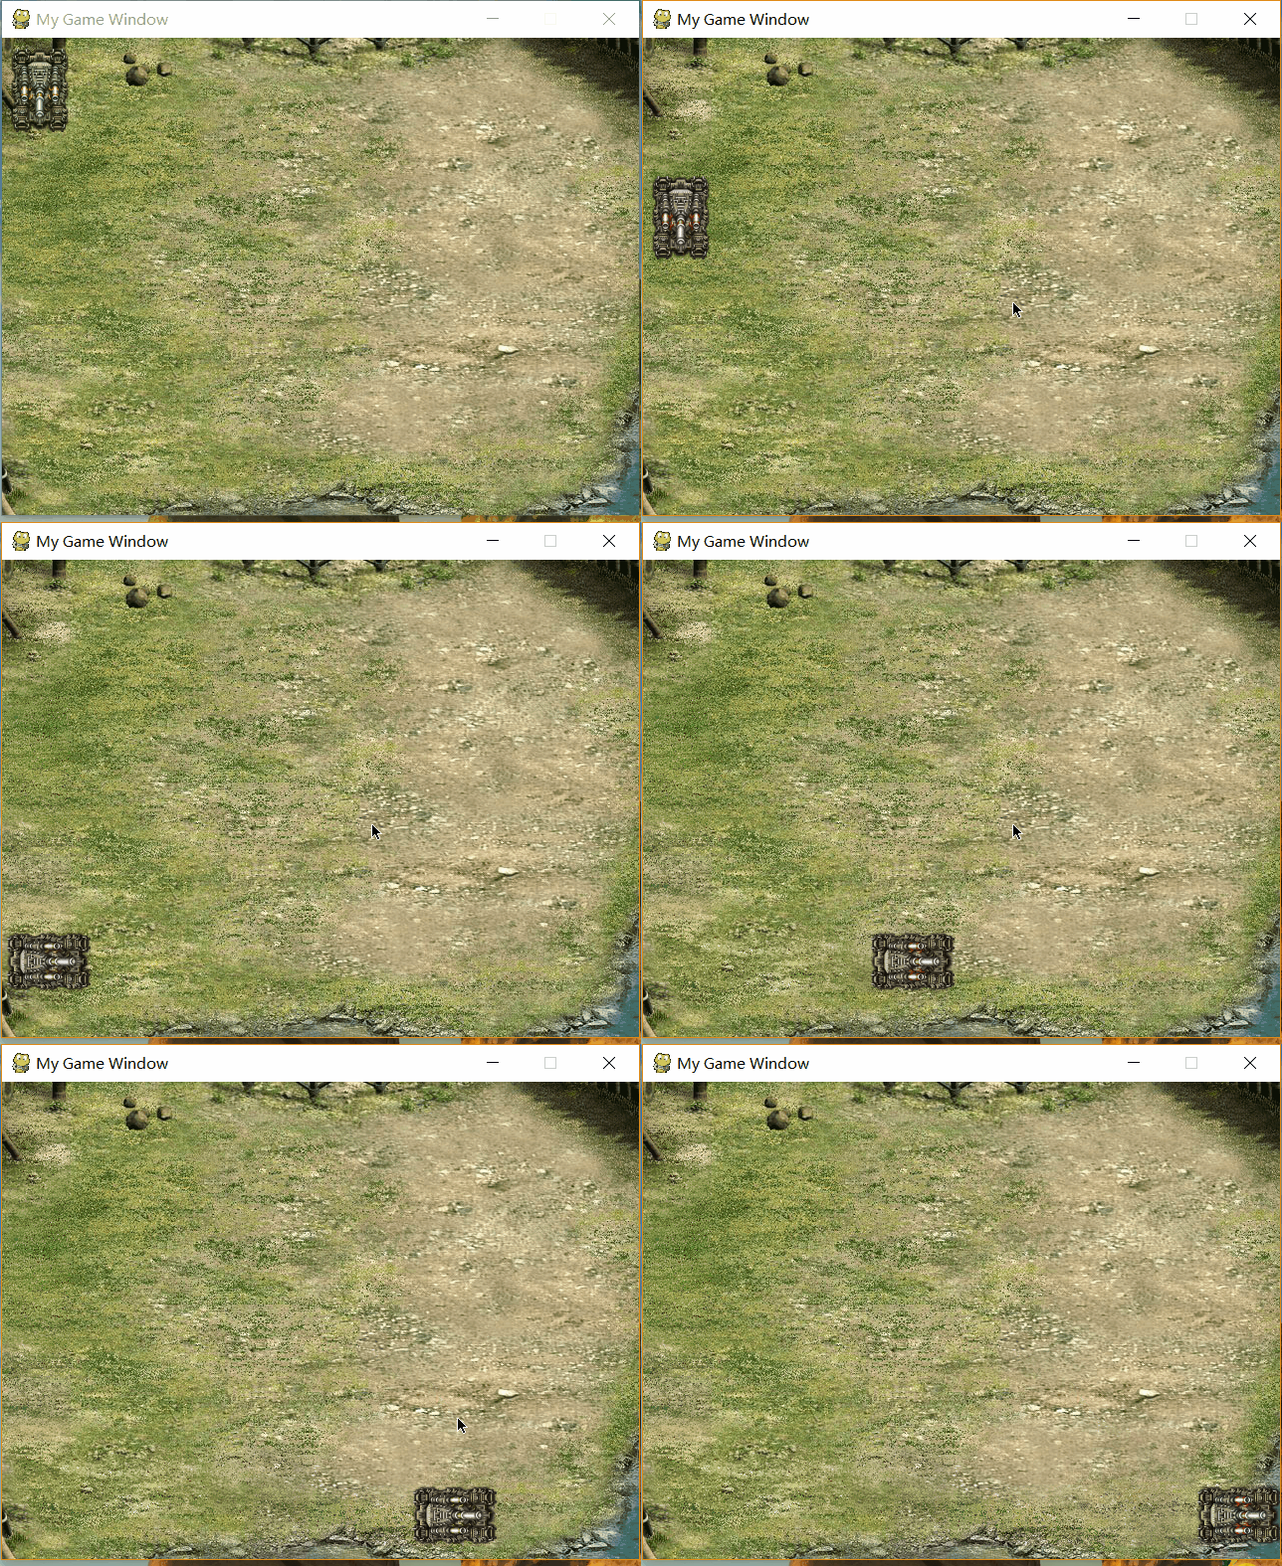
Add a static tank
We already know how to create a game window, set up background pictures, and let the game program respond to keyboards and mice. Then we need to add an elf to the game. Elves are a concept in the game development, such as a tank, a tree, a bullet can be an elf.
pgame.sprite provides a basic sprite class, which includes image and location rect. It can only move a picture. When we want more functions, such as animation, we need to inherit Sprite and write our own code. In this study, we prepared three pictures, one tank fuselage and two gun barrels.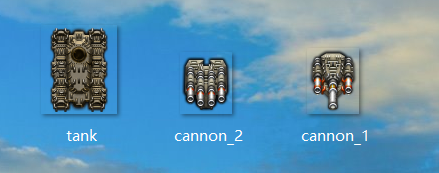
First, we can add the prepared material to the game project by dragging, copying and pasting.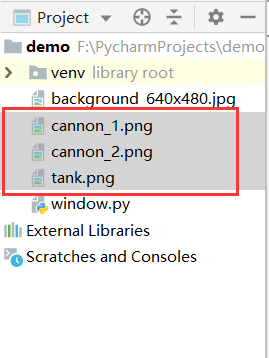
After importing the resources, we began to write the code formally. First, we create a Surface object to store our first resource file, the same operation as adding background, as follows:
tank_image = pygame.image.load('tank.png').convert() #Create tanks
Next, we inherit the Sprite class and create a HeroTank class, so that we can further expand the function, first look at the specific code:
class HeroTank(pygame.sprite.Sprite):
    def __init__(self):
        pygame.sprite.Sprite.__init__(self)								#Initialize Sprite class constructor
        self.tank_image = tank_image								 	#Initialization of Tank Pictures
        self.tank_rect = self.tank_image.get_rect()            			#Getting fuselage rect object

    def display(self,screen):
        screen.blit(self.tank_image, self.tank_rect)					#screen draws pictures of tank fuselage on rect of tank fuselage
Now, it has only one constructor and one real function. Then we use the HeroTank class to create an object and call the displaying method of this class to display the tank fuselage. The complete program is as follows:
# Import module
import pygame
from pygame.locals import *
from sys import exit

# Initialization section
pygame.init()

# Setting up Game Window
screen = pygame.display.set_mode((640,480))
pygame.display.set_caption("My Game Window")
background = pygame.image.load("background_640x480.jpg").convert()

# Tank Elves
tank_image = pygame.image.load('tank.png').convert_alpha()		#Use convert_alpha() to retain transparent information, not convert()

class HeroTank(pygame.sprite.Sprite):
    def __init__(self):
        pygame.sprite.Sprite.__init__(self)
        self.tank_image = tank_image
        self.tank_rect = self.tank_image.get_rect()

    def display(self,screen):
        screen.blit(self.tank_image, self.tank_rect)

my_tank = HeroTank()

while True:
    for event in pygame.event.get():
        if event.type == QUIT:
            exit()

    screen.blit(background, (0, 0))
    my_tank.display(screen)
    pygame.display.update()
Because in the object, we did not specify the rect position of the generated tank fuselage image, so the default is (0, 0). When we fill the tank image on rect, it defaults to the top left corner of srceen. The program runs as follows: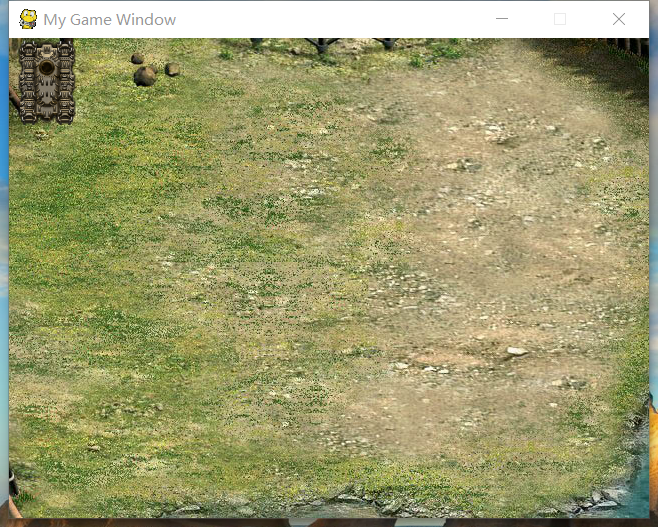
We added the tank's fuselage smoothly, and then we added the barrel. Its logic is similar. The following is the specific code:
# Import module
import pygame
from pygame.locals import *
from sys import exit

# Initialization section
pygame.init()

# Setting up Game Window
screen = pygame.display.set_mode((640,480))
pygame.display.set_caption("My Game Window")
background = pygame.image.load("background_640x480.jpg").convert()

# Tank Elves
tank_image = pygame.image.load('tank.png').convert_alpha()
cannon1_image = pygame.image.load('cannon_1.png').convert_alpha()

class HeroTank(pygame.sprite.Sprite):
    def __init__(self):
        pygame.sprite.Sprite.__init__(self)
        self.tank_image = tank_image
        self.cannon1_image = cannon1_image
        self.tank_rect = self.tank_image.get_rect()
        self.cannon1_rect = self.cannon1_image.get_rect()

    def display(self,screen):
        screen.blit(self.tank_image, self.tank_rect)
        self.cannon1_rect.center = self.tank_rect.center #The barrel center point is consistent with the tank pilot rect center point.
        screen.blit(self.cannon1_image, self.cannon1_rect)

my_tank = HeroTank()

while True:
    for event in pygame.event.get():
        if event.type == QUIT:
            exit()

    screen.blit(background, (0, 0))
    my_tank.display(screen)
    pygame.display.update()
Here we add the assignment statement of rect central point in the display() function, because if not, the barrel painting will also be in the upper left corner of the program, so it looks like the barrel is out of place. The program runs as follows: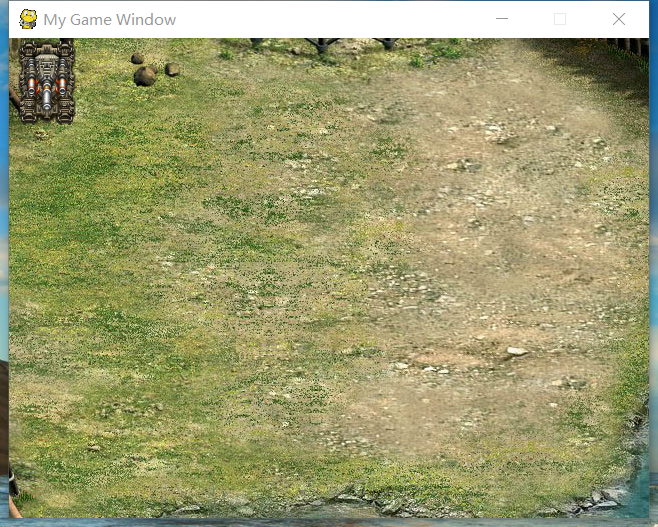
Mobile tank
We have created an elf class, and we have a preliminary understanding of surface and rect objects. Then we control the movement of tanks by manipulating rect objects. First, we add four methods to control the movement of tanks from top to bottom. The code of the specific class is as follows. (Here, we use different keyboard acquisition methods from the previous section, personal control of it.) Experience feels better:
# Import module
import pygame
from pygame.locals import *
from sys import exit

# Initialization section
pygame.init()

# Setting up Game Window
screen = pygame.display.set_mode((640,480))
pygame.display.set_caption("My Game Window")
background = pygame.image.load("background_640x480.jpg").convert()

# Tank Elves
tank_image = pygame.image.load('tank.png').convert_alpha()
cannon1_image = pygame.image.load('cannon_1.png').convert_alpha()

class HeroTank(pygame.sprite.Sprite):
    def __init__(self):
        pygame.sprite.Sprite.__init__(self)
        self.tank_image = tank_image
        self.cannon1_image = cannon1_image
        self.tank_rect = self.tank_image.get_rect()
        self.cannon1_rect = self.cannon1_image.get_rect()
        self.speed = 1;												#Pixels moved at a time

    def moveLeft(self):
        if self.tank_rect.left > 0:									#Display the range of rect so that the player's tank does not move out of the screen
            self.tank_rect.x -= self.speed
    def moveRight(self):
        elif self.tank_rect.right < 640:
            self.tank_rect.x += self.speed
    def moveUp(self):
        elif self.tank_rect.top > 0:
            self.tank_rect.y -= self.speed
    def moveDown(self):
        elif self.tank_rect.bottom < 480:
            self.tank_rect.y += self.speed

    def display(self,screen):
        screen.blit(self.tank_image, self.tank_rect)
        self.cannon1_rect.center = self.tank_rect.center
        screen.blit(self.cannon1_image, self.cannon1_rect)

my_tank = HeroTank()

while True:
    for event in pygame.event.get():
        if event.type == QUIT:
            exit()
    key_press = pygame.key.get_pressed()
    if key_press[K_w]:
        my_tank.moveUp()
    elif key_press[K_s]:
        my_tank.moveDown()
    elif key_press[K_a]:
        my_tank.moveLeft()
    elif key_press[K_d]:
        my_tank.moveRight()

    screen.blit(background, (0, 0))
    my_tank.display(screen)
    pygame.display.update()
Controlling Game Rate-Setting Frame Rate
When we run the program, we will find that the tank can move, but the speed is too fast, because although we only move one pixel at a time, but we move too many times in a second, here we use frames to control the speed of the whole game. If we can control the program refresh 30 times in one second, then our tank will only move 30 pixels in one second. It's a bit slow, but it looks much more controllable. We implement it using the following functions
framerate = pygame.time.Clock()        #Instantiate a middle object
framerate .tick(30)								#The control cycle is 30 frames per second
The clock.tick(30) function works to control the game rate. When the time difference between this function and the last function is less than 1/30 seconds, we wait and then run. We need to put the function in the main loop. Then we adjusted the moving speed of the tank slightly, that is, the speed variable in the example, to achieve a good effect (the changes are small, so the complete code is posted together with the next part):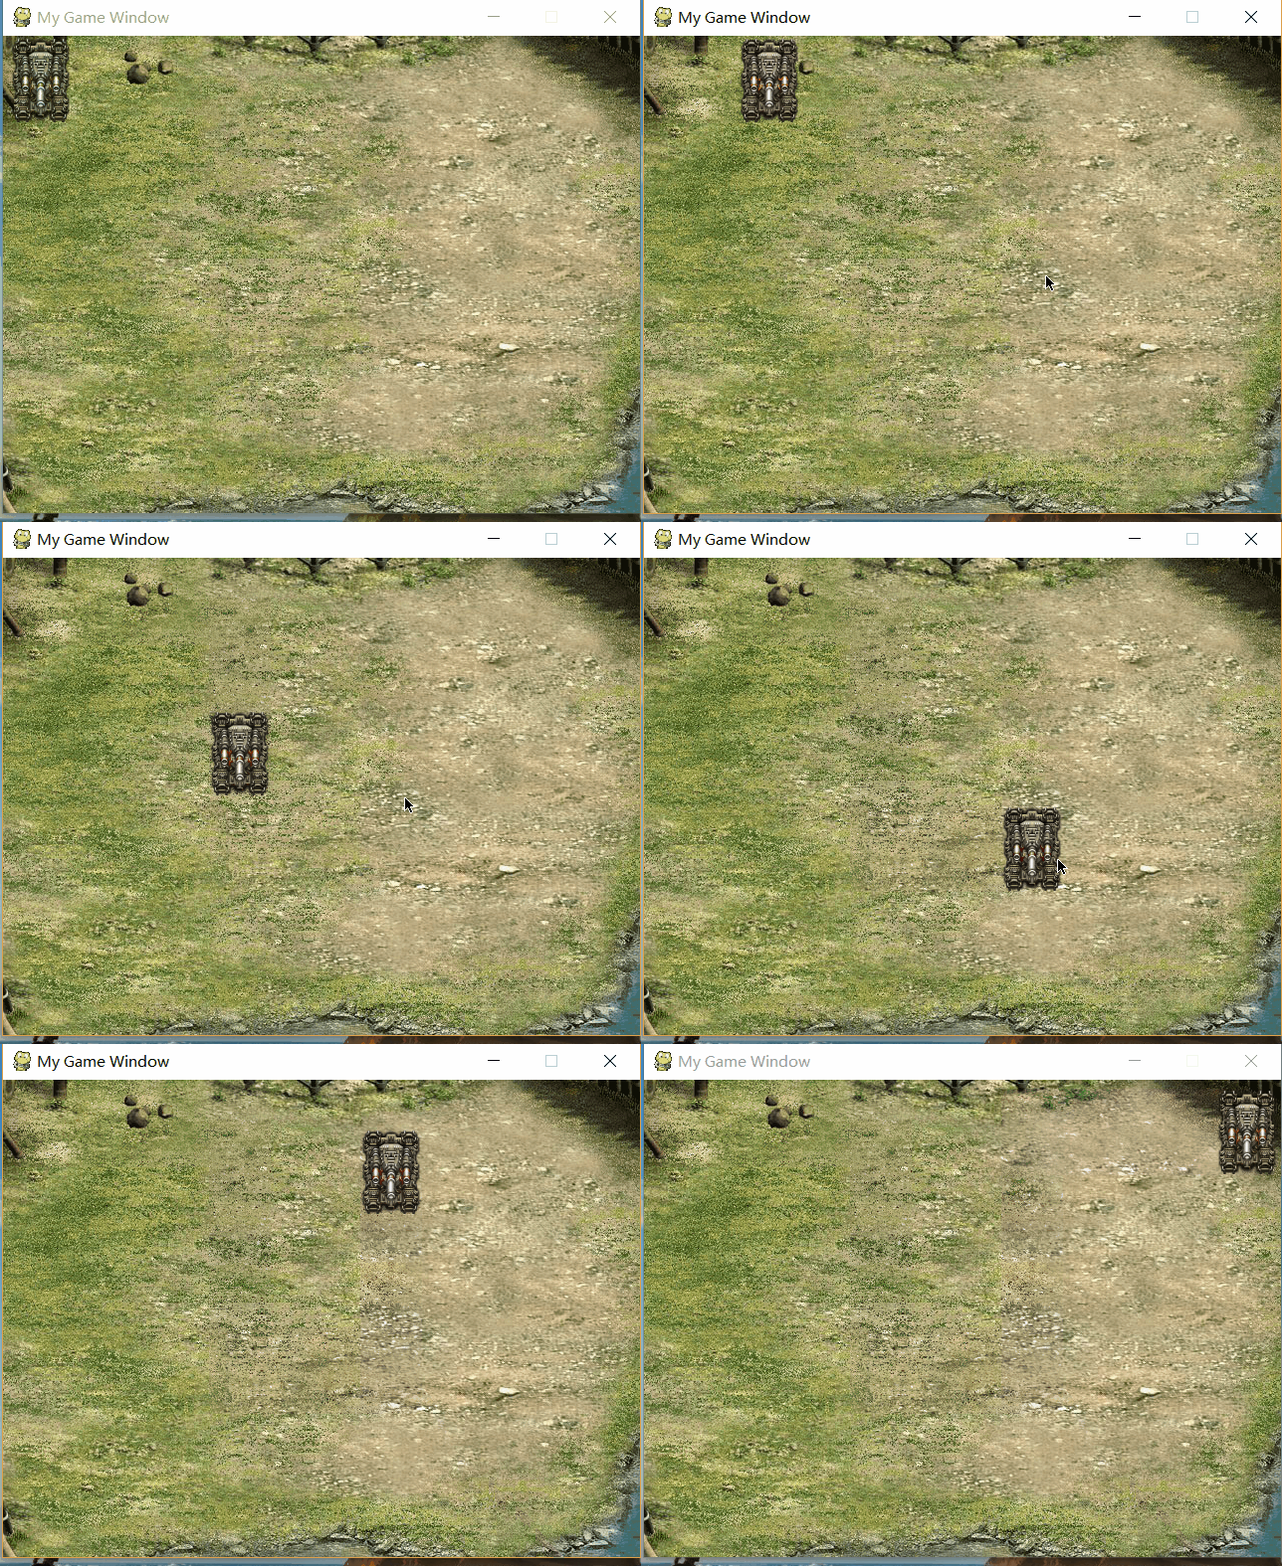
Maybe you think he's still a little fast. I set speed to 8, which is 8 pixels at a time. Thirty times a second, a map of 480 pixels wide can only be moved in less than two seconds (because our tanks have width). Of course, the speed adjustment is simple. Now there is another problem. The tank moves in translation like a McNam wheel, which is not in line with the actual situation. Next, we will solve this problem.
Rotary Tank Elves
We can do this by rotating Rect:
pygame.transform.rotate(image,angle)
The first parameter of transform.rotate() is image, and the second parameter is angle. After selection, a new object is returned. In programming, we will use this new object. Because we now have tanks moving up and down, so our image has four angles, 0, 90, 180, 270. We have added a new function to our tank class so that we can better control the selection:
def rotate(self,angle):
    self.tank_image = pygame.transform.rotate(tank_image, angle)  # Select and generate a new object
    self.rect = self.image.get_rect(center=self.rect.center)      #Update rect, otherwise it wobbles when rotated
As explained here, when we rotate the image, its rect will change, so we need to read the rect of the rotated image, and we read it with the center of the original image as the current center, otherwise it will be generated by default in the upper left corner. This will cause if you update rect, the tank will reset the initial point as soon as you rotate.
For an understanding of rotation, you can refer to this blog: pygame Notes-9 Picture Rotation and Boundary Rebound Bloggers and good analysis, not to mention here. Now take a look at the complete procedure:
# Import module
import pygame
from pygame.locals import *
from sys import exit

# Initialization section
pygame.init()

# Setting up Game Window
screen = pygame.display.set_mode((640,480))
pygame.display.set_caption("My Game Window")
background = pygame.image.load("background_640x480.jpg").convert()

# Tank Elves
tank_image = pygame.image.load('tank.png').convert_alpha()
cannon1_image = pygame.image.load('cannon_1.png').convert_alpha()

class HeroTank(pygame.sprite.Sprite):
    def __init__(self):
        pygame.sprite.Sprite.__init__(self)
        self.tank_image = tank_image
        self.cannon1_image = cannon1_image
        self.tank_rect = self.tank_image.get_rect()
        self.cannon1_rect = self.cannon1_image.get_rect()
        self.speed = 8

    def moveLeft(self):
        if self.tank_rect.left > 0:
            self.tank_rect.x -= self.speed
        self.rotate(270)

    def moveRight(self):
        if self.tank_rect.right < 640:
            self.tank_rect.x += self.speed
        self.rotate(90)

    def moveUp(self):
        if self.tank_rect.top > 0:
            self.tank_rect.y -= self.speed
        self.rotate(180)

    def moveDown(self):
        if self.tank_rect.bottom < 480:
            self.tank_rect.y += self.speed
        self.rotate(0)

    def rotate(self, angle):
        # Select fuselage
        self.tank_image = pygame.transform.rotate(tank_image, angle)
        self.tank_rect = self.tank_image.get_rect(center=self.tank_rect.center)
        # Revolving barrel
        self.cannon1_image = pygame.transform.rotate(cannon1_image, angle)
        self.cannon1_rect = self.cannon1_image.get_rect(center=self.cannon1_rect.center)

    def display(self, screen):
        screen.blit(self.tank_image, self.tank_rect)
        self.cannon1_rect.center = self.tank_rect.center
        screen.blit(self.cannon1_image, self.cannon1_rect)


my_tank = HeroTank()
framerate = pygame.time.Clock()

while True:
    framerate .tick(30)
    for event in pygame.event.get():
        if event.type == QUIT:
            exit()
    key_press = pygame.key.get_pressed()
    if key_press[K_w]:
        my_tank.moveUp()
    elif key_press[K_s]:
        my_tank.moveDown()
    elif key_press[K_a]:
        my_tank.moveLeft()
    elif key_press[K_d]:
        my_tank.moveRight()
    screen.blit(background, (0, 0))
    my_tank.display(screen)
    pygame.display.update()
Running the program, we get the effect of the beginning of the article. We also have a barrel material that is not used. Here we can switch the barrel as an additional exercise by pressing a keyboard button.
The following is the download address of the entire project, including the code and image resources: