There are many different Web frameworks under Python. The common ones are Django, Flask,Torand,. Django is the most representative of the heavyweight players. Many successful websites and apps are based on Django. Django adopts the framework mode of MVC, namely model M, view V and controller C.
1, Preparation: django and database installation
There are some preparations for creating django items. 1. Install Python 3.7 and configure to environment variables. 2. Install django and execute the following command pip install django on the command line. 3. Install database PIP install mysqlclient PIP install pilot
(Note: 1. If there is a similar "."..... The error of pip install --upgrade pip ", execute the following command to upgrade PIP as prompted: pip install --upgrade pip
2. If there is an error in pip install mysqlclient, download the database. Manually install and execute the command pip install mysqlclient-1.4.4-cp37-cp37m-win_amd64.whl)
Two. Create django project netBarManageSys
Take creating an Internet bar management system as an example.
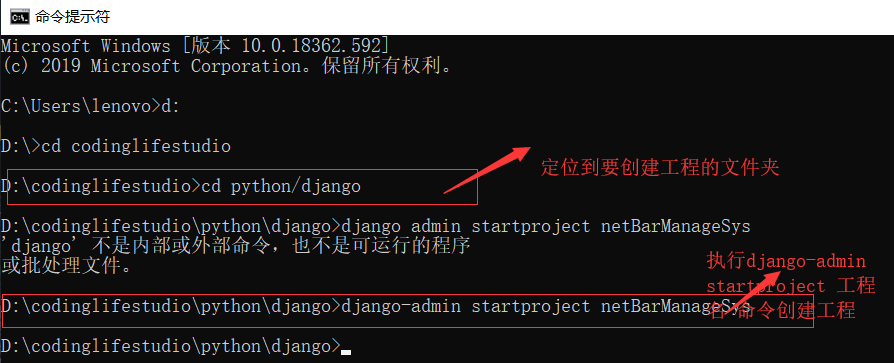
1. Open cmd command line
2. Navigate to the folder where you want to create the project
3. Execute the command Django admin startproject netbarmanagesys
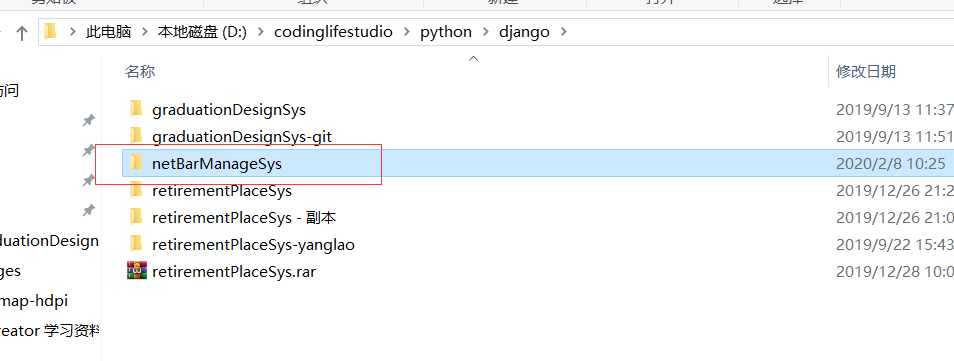
After executing the above three commands, you can see that a netBarManageSys folder has been created in the directory location we specified
Directory structure description under netBarManageSys folder
- netBarManageSys: container for the project.
- manage.py: a practical command-line tool that allows you to interact with the Django project in various ways.
- Netbarmanagesys / _init_.py: an empty file that tells Python that the directory is a Python package.
- netBarManageSys/settings.py: settings / configuration of the Django project.
- netBarManageSys/urls.py: URL declaration of the Django project; a Django driven web site "directory".
- netBarManageSys/wsgi.py: an entry to a WSGI compliant Web server to run your project.
Enter the netBarManageSys path from the command line and start the server python manage.py runserver
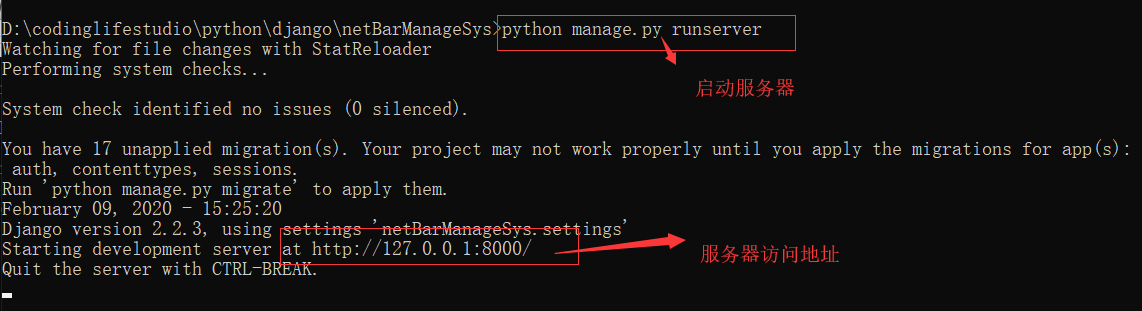
0.0.0.0 allows other computers to connect to the development server. 8000 is the port number. If not specified, the port number defaults to 8000.
Enter http://127.0.0.1:8000/ in the browser, and the result is as follows:
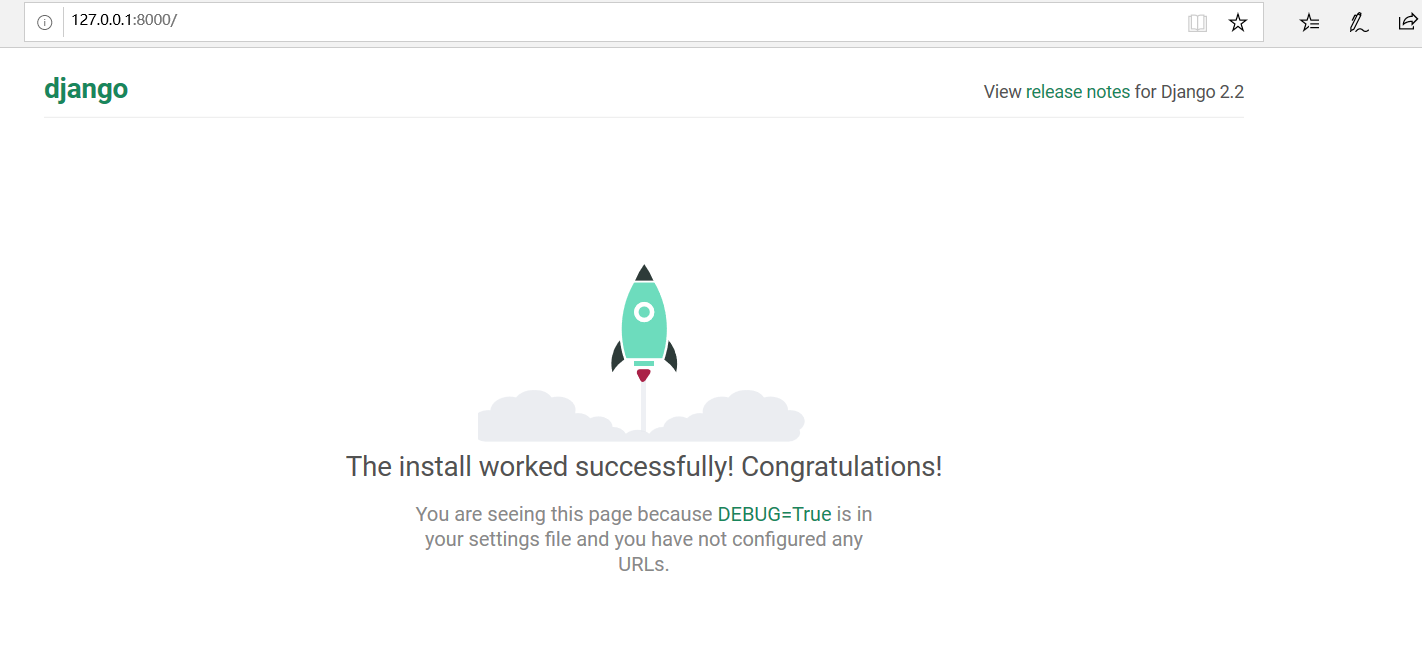
This is an empty server with nothing. We need to improve its view (and web interface display), data model (data structure), and some functional logic jump.
III. enrich the contents of the project
3.1 Model
3.1.1 database configuration
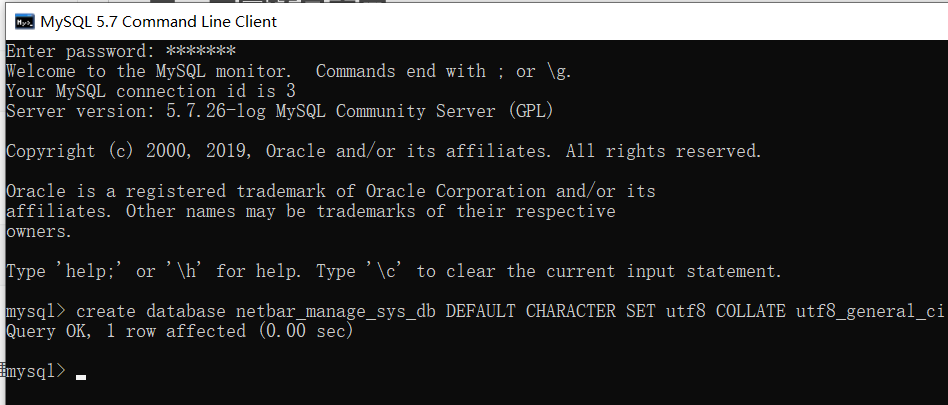
Create the database, pay attention to the coding format, enter the mysql command line, execute the following create database netbar ﹣ manage ﹣ sys ﹣ DB default character set utf8 collate utf8 ﹣ general ﹣ Ci
Find the DATABASES configuration item in the settings.py file of the project, and change its information to:
DATABASES = {
'default': {
'ENGINE': 'django.db.backends.sqlite3',
# 'NAME': os.path.join(BASE_DIR, 'db.sqlite3'),
'NAME': 'netbar_manage_sys_db',
'HOST':'localhost',
'PORT':'3306',
'USER':'root',
'PASSWORD':'root123',
}
}
It contains the database name and user information, which are the same as the corresponding database and user settings in MySQL. According to this setting, Django connects with the corresponding databases and users in MySQL.
3.1.2 define data model
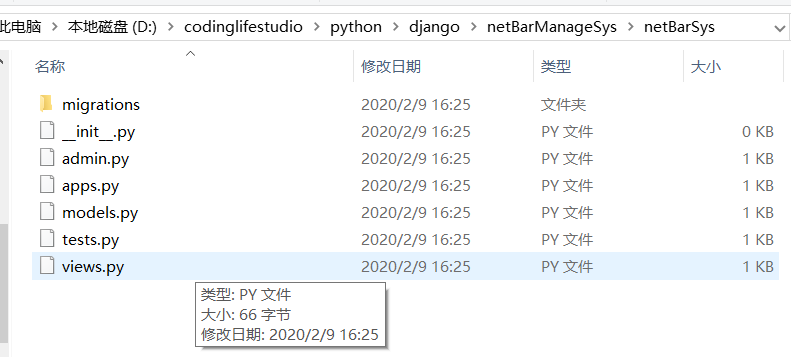
Django states that if you want to use the model, you have to create an app. Use the startapp command to create an app called netBarSys:

The directory structure is as follows
Configure the app we created in the setting file. This step is very important, otherwise there will be problems in synchronizing the database later
INSTALLED_APPS = [
'django.contrib.admin',
'django.contrib.auth',
'django.contrib.contenttypes',
'django.contrib.sessions',
'django.contrib.messages',
'django.contrib.staticfiles',
'netBarSys',#Our own defined app
]
Open the mdels.py file and add the data model we need.
Add user data model and user information data model according to functional requirements
class Users(models.Model):
usertype = models.IntegerField(default=0)#0-customer, 1-administrator
name = models.CharField(max_length=50)
password = models
class UserInfos(models.Model):
user= models.OneToOneField(Users, on_delete=models.CASCADE)
loginintime=models.DateTimeField('login in time')#login time
lastLogouttime=models.DateTimeField('last login out time')#Last logout time
onlinetime=models.IntegerField(default=0)#Online time unit minute, when the value exceeds 240, forced offline
state=models.IntegerField(default=0)#Customer status 0-off line normal,1-online normal 2 force off line
fee=models.IntegerField(default=0)#Cost
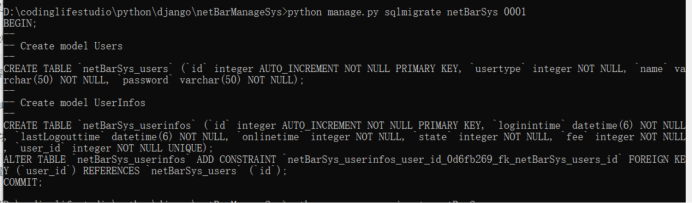
Synchronize database, run in order on the command line
python manage.py makemigrations
python manage.py sqlmigrate netBarSys 0001
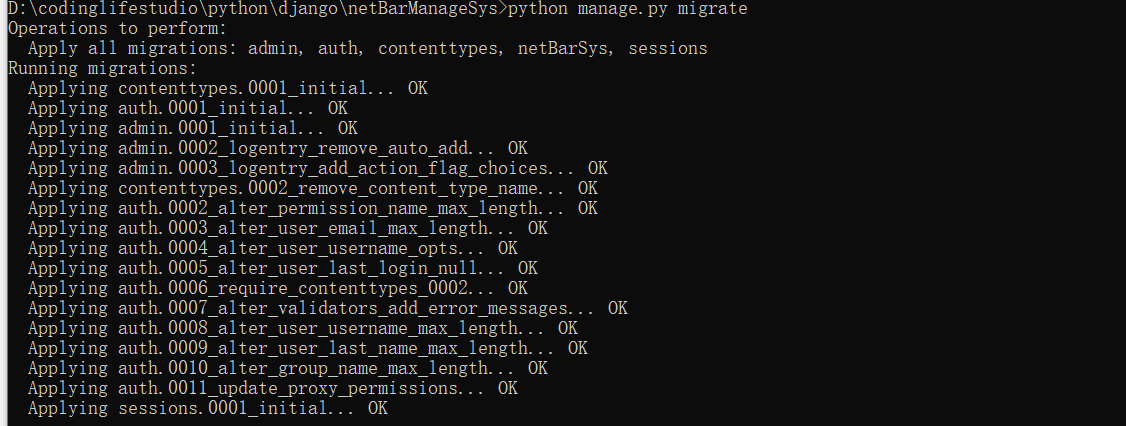
python manage.py migrate
Create administrator account
To create an administrator account, an administrator cannot register. Enter the graduationDesignSys path from the command line, and execute the following commands in turn
python manage.py shell
>>> from netBarSys.models import Users
>>> from netBarSys.models import UserInfos
>>> admin=Users(usertype=1,name='admin01',password='123456')
>>> admin.save()
3.2 template and View
In django, views respond to WEB requests
The view receives the reqeust object as the first parameter, which contains the requested information
View is a Python function defined in views.py
Templates are basically specially formatted HTML text that outputs dynamic values, supporting simple logical structures such as loops. When a view is going to return an HTML document, it usually specifies a template, provides it with the information it needs to display, and renders the result using the template in the response.
Create the templates directory in the netBarSys directory, which will store our template files. The definition base file contains some general display settings, and other html files inherit from it. The content of html file is another content. I won't go into details here, just intercept some important codes
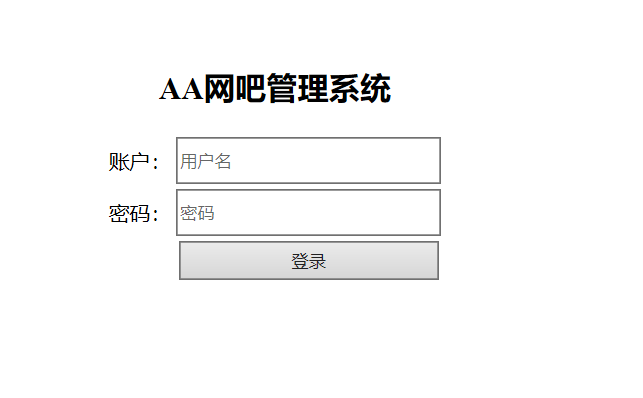
Login file code:
<!DOCTYPE html>
<html lang="en">
<head>
<meta charset="UTF-8">
<title>homepage</title>
<!-- Use CSS Style to control div layout -->
<style type="text/css">
/*Define global div layout*/
#content{
width: 100%;
height: 800px;
margin:200px auto;
}
html,body{text-align:center}
input,select{height:30px; width:200px; vertical-align:left;}
</style>
</head>
<body>
<div id=content>
<h2>AA Internet bar management system</h2>
<div>
{% for message in messages %}
<div class='alert alert-{{message.tags}}' style="color:coral">{{ message }}</div>
{% endfor %}
</div>
<form action="{% url 'index' %}" method="post" name='login'>{% csrf_token %}
<table align="center">
<tr>
<td>Account:</td>
<td><input type="text" id="id_username" name="username" placeholder="User name" autofocus required /></td>
</tr>
<tr>
<td>Password:</td>
<td><input type="password" id="id_password" placeholder="Password" name="password" required /></td>
</tr>
<tr>
<td></td>
<td>
<input type="submit" value="Sign in" >
</td>
</tr>
</table>
</form>
</div>
</body>
</html>
Create view function to realize login function
In netBarSys/views.py
def index(request):
if request.method == 'POST':
name = request.POST['username']
password = request.POST['password']
#Query whether the user is in the database
print("%s,%s,%d"%(name,password))
if Users.objects.filter(name=name).exists():
user=Users.objects.get(name=name)
print("%s,%s,%d" % (user.name,user.password,user.usertype))
print(user.password+",%d" % user.usertype)
if user.password==password:
request.session['is_login'] = 'true'
request.session['username'] = 'username',
if user.usertype==1:
response=render(request, 'homepage_a.html')#Skip to administrator Homepage
else:
response=render(request, 'homepage.html')#Jump to the customer homepage interface
#set cookie
response.set_cookie('username', user.name)
return response
else:
messages.add_message(request,messages.ERROR,'Wrong user password or identity type')
return render(request, 'index.html')
else:
messages.add_message(request,messages.ERROR,'user does not exist')
return render(request, 'index.html')
return render(request, 'index.html')
Add the new view to the lib.urls module
urlpatterns = [
path('admin/', admin.site.urls),
path('index/', views.index, name='index'),
]
Display style:
Enter the account and password of the administrator just created and log in as shown below:
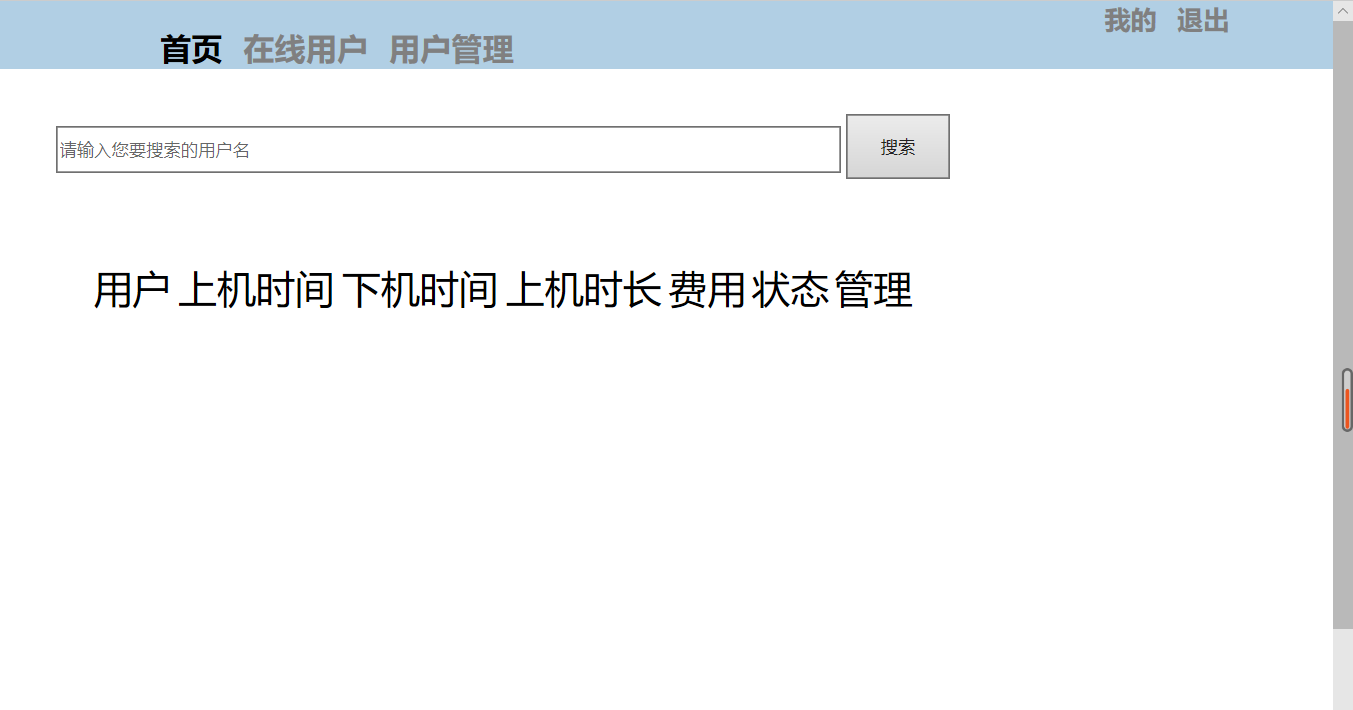
Other functions use the same method (1. Create template (write html file), 2. Implement view function, 3. Add new view to lib.urls module.) To achieve
Reference document https://www.runoob.com/django/django-first-app.html
https://www.shiyanlou.com/courses/1127
https://blog.csdn.net/codeksy/article/details/51141154
https://www.jb51.net/article/165607.htm

