Python graphical interface design (wxFormBuilder)
1, Introduction
Wxpyron is a graphical interface design module of Python. We can use this module to realize the design of graphical interface. Wxpyron is a python wrapper wxWidgets (written in C + +) and a popular cross platform GUI toolkit. Developed by Robin Dunn and Harri Pasanen, wxpthon is used as a python extension module.
Like wxWidgets, wxPython is also a free software. It can be downloaded from the official website: http://wxpython.org. You can download the binary and source code of the corresponding operating system platform of wxpthon on this website.
The main modules in the wxPython API include a core module. It consists of the wxObject class, which is all classes of the underlying API. The control module contains all the components used in GUI application development. For example, wx.Button, wx.StaticText (similar to a label), wx.TextCtrl (editable text control), etc.
wxPython's API has a GDI (graphics device interface) module. This is a set of drawing classes used in assemblies. Such as font, color, brush and so on are part of it. All container window classes are defined by the Windows module.
The official website of wxPython also hosts the Phoenix Project - a newly implemented wxPython for Python 3. *. It focuses on improving speed, maintainability and scalability. The project started in 2012 and is still in the testing stage.
2, Install wxPython and wxFormBuilder
1. Install wxPython
When installing wxpthon, we can directly use the command line to pip. Here is a wxpthon tutorial:
1. Official website:
https://wxpython.org/pages/overview/
2. Tutorial:
https://www.yiibai.com/wxpython/
http://www.vue5.com/wxpython/wxpython_gui_builder_tools.html
Interested readers can read it. Here, we mainly hope to use wxforbuilder to realize the design of graphical interface.
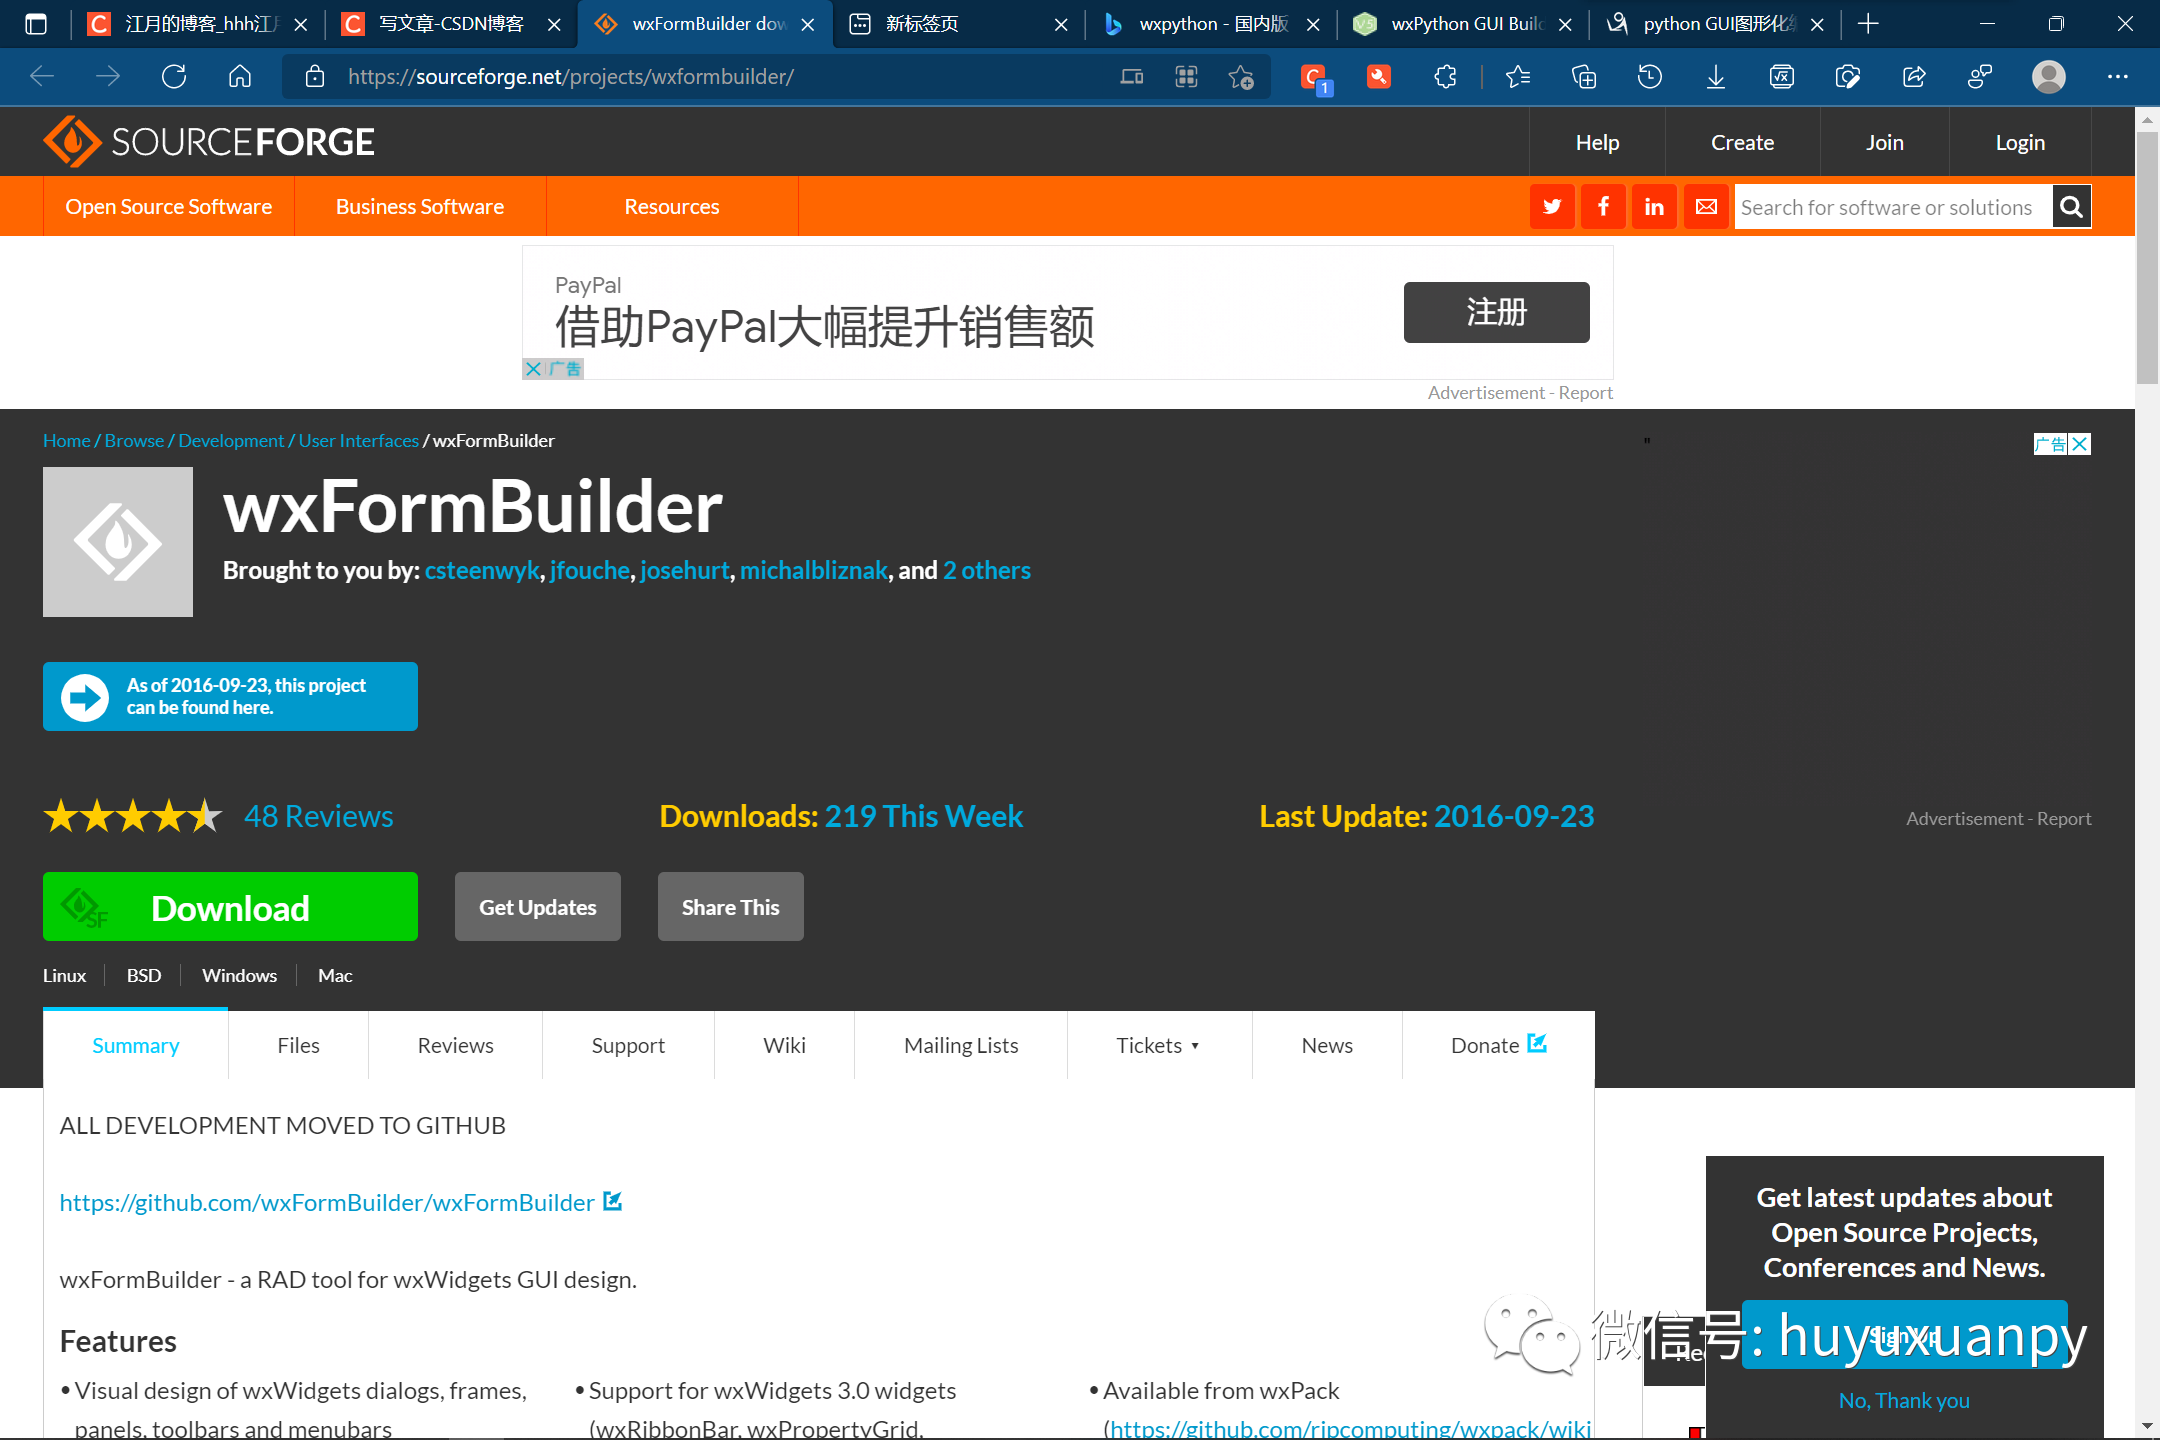
2. Install wxFormBuilder
First, you can download it through the link shown below:
https://sourceforge.net/projects/wxformbuilder/
3, Start the first design
1. Select language:
2. Create window
We directly click the button to add a window:
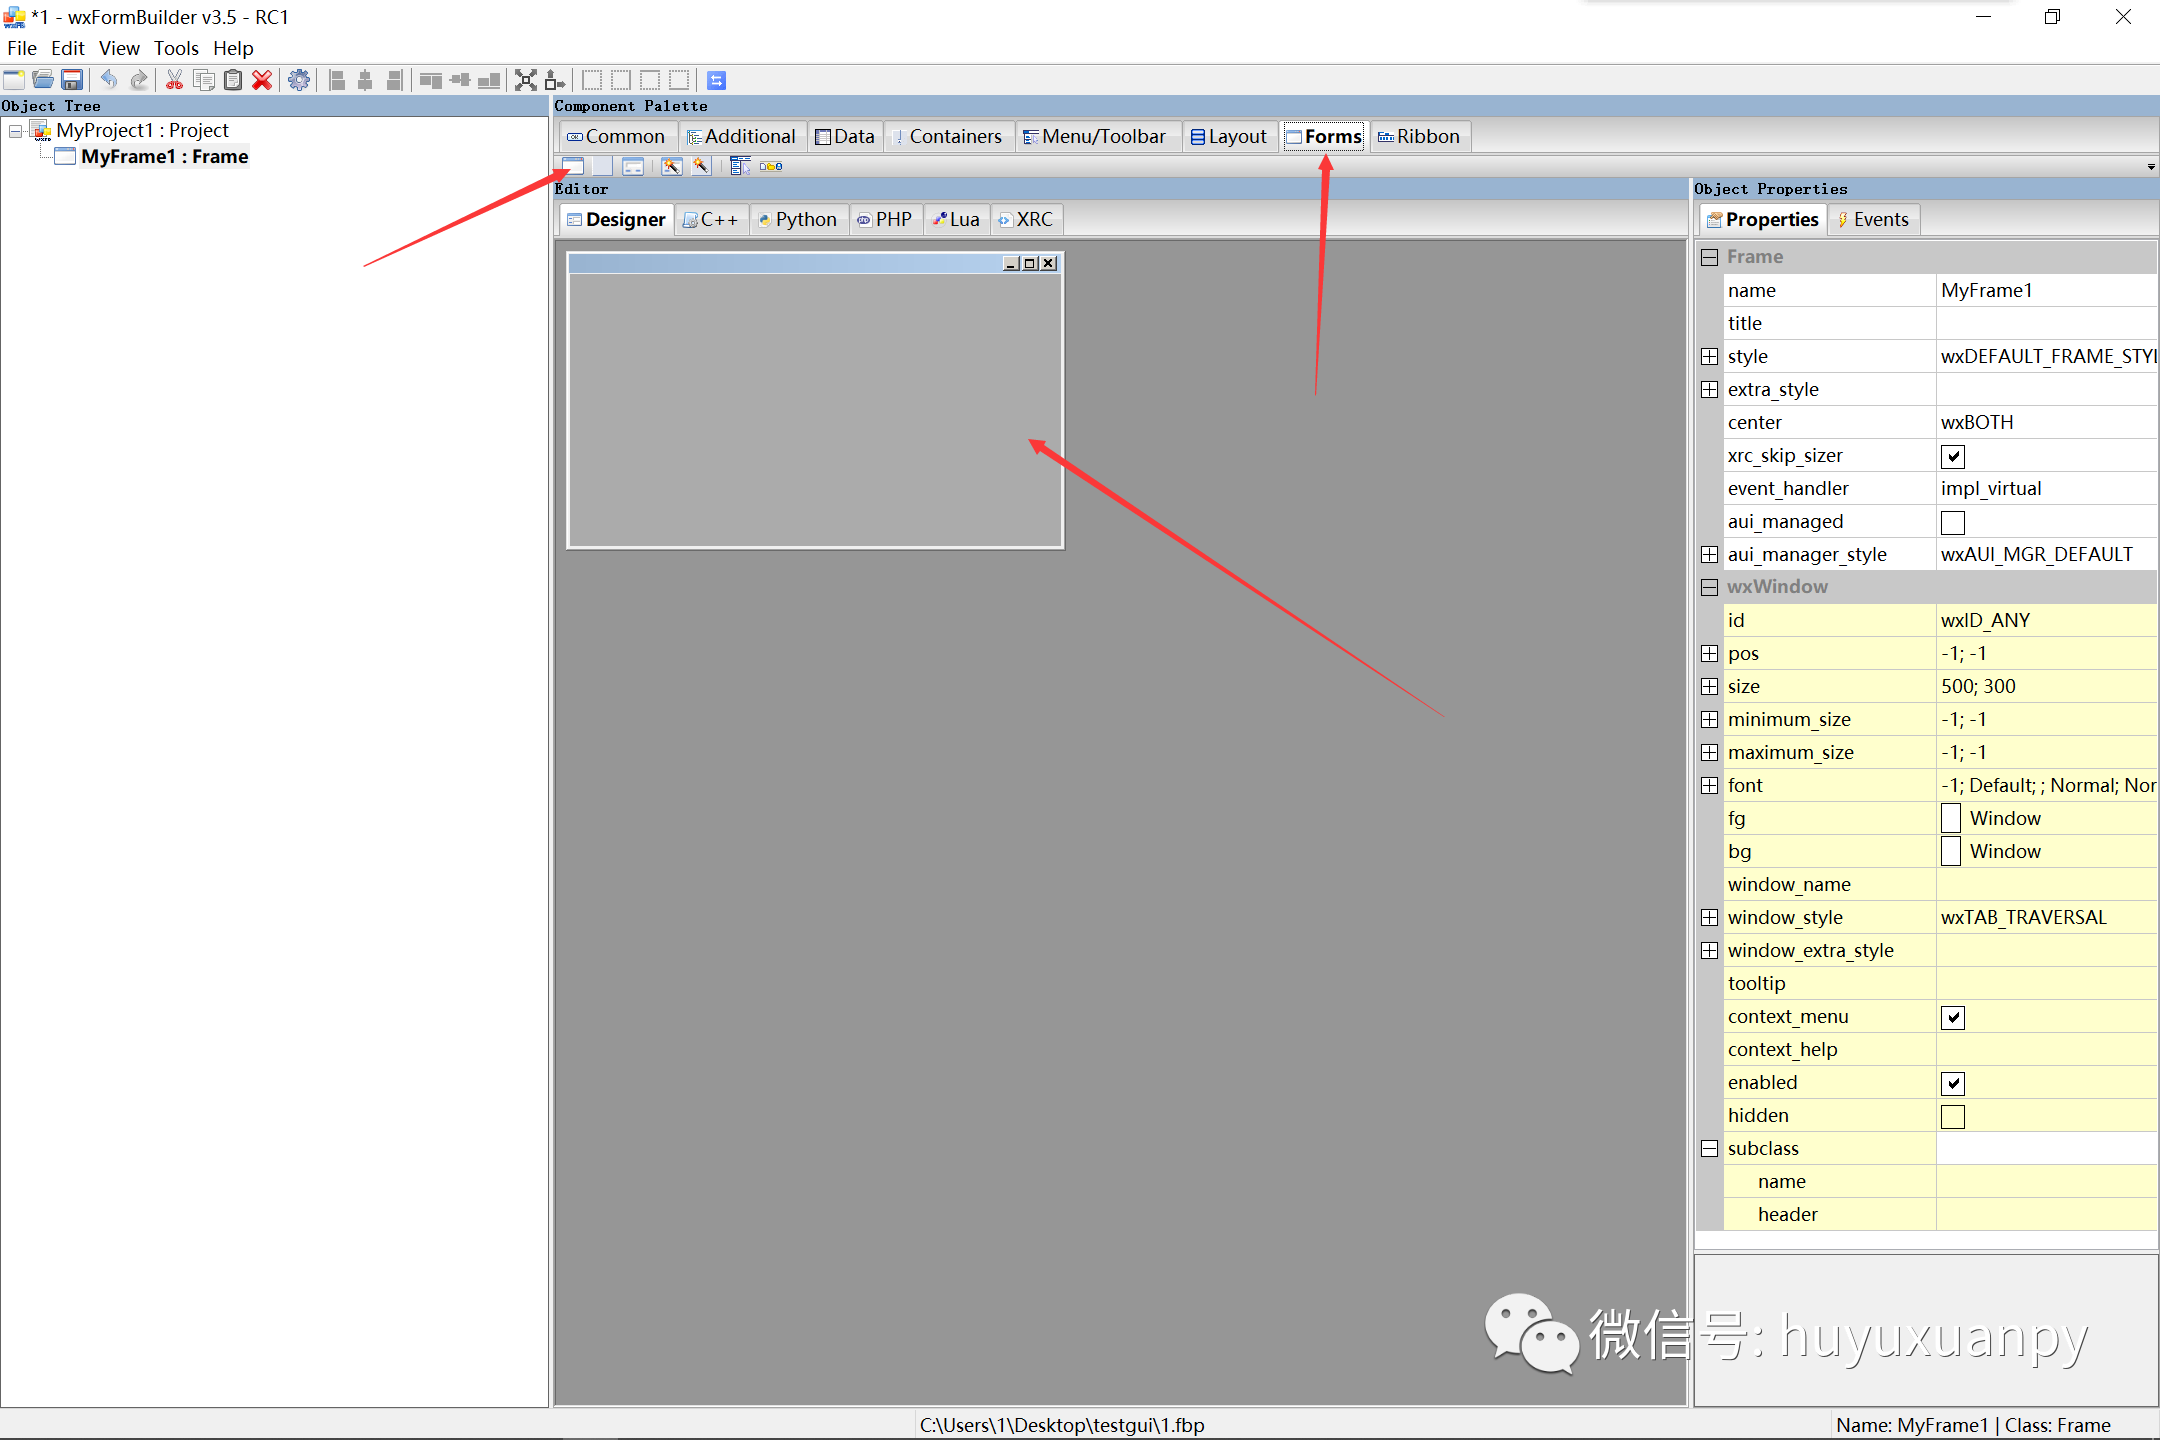
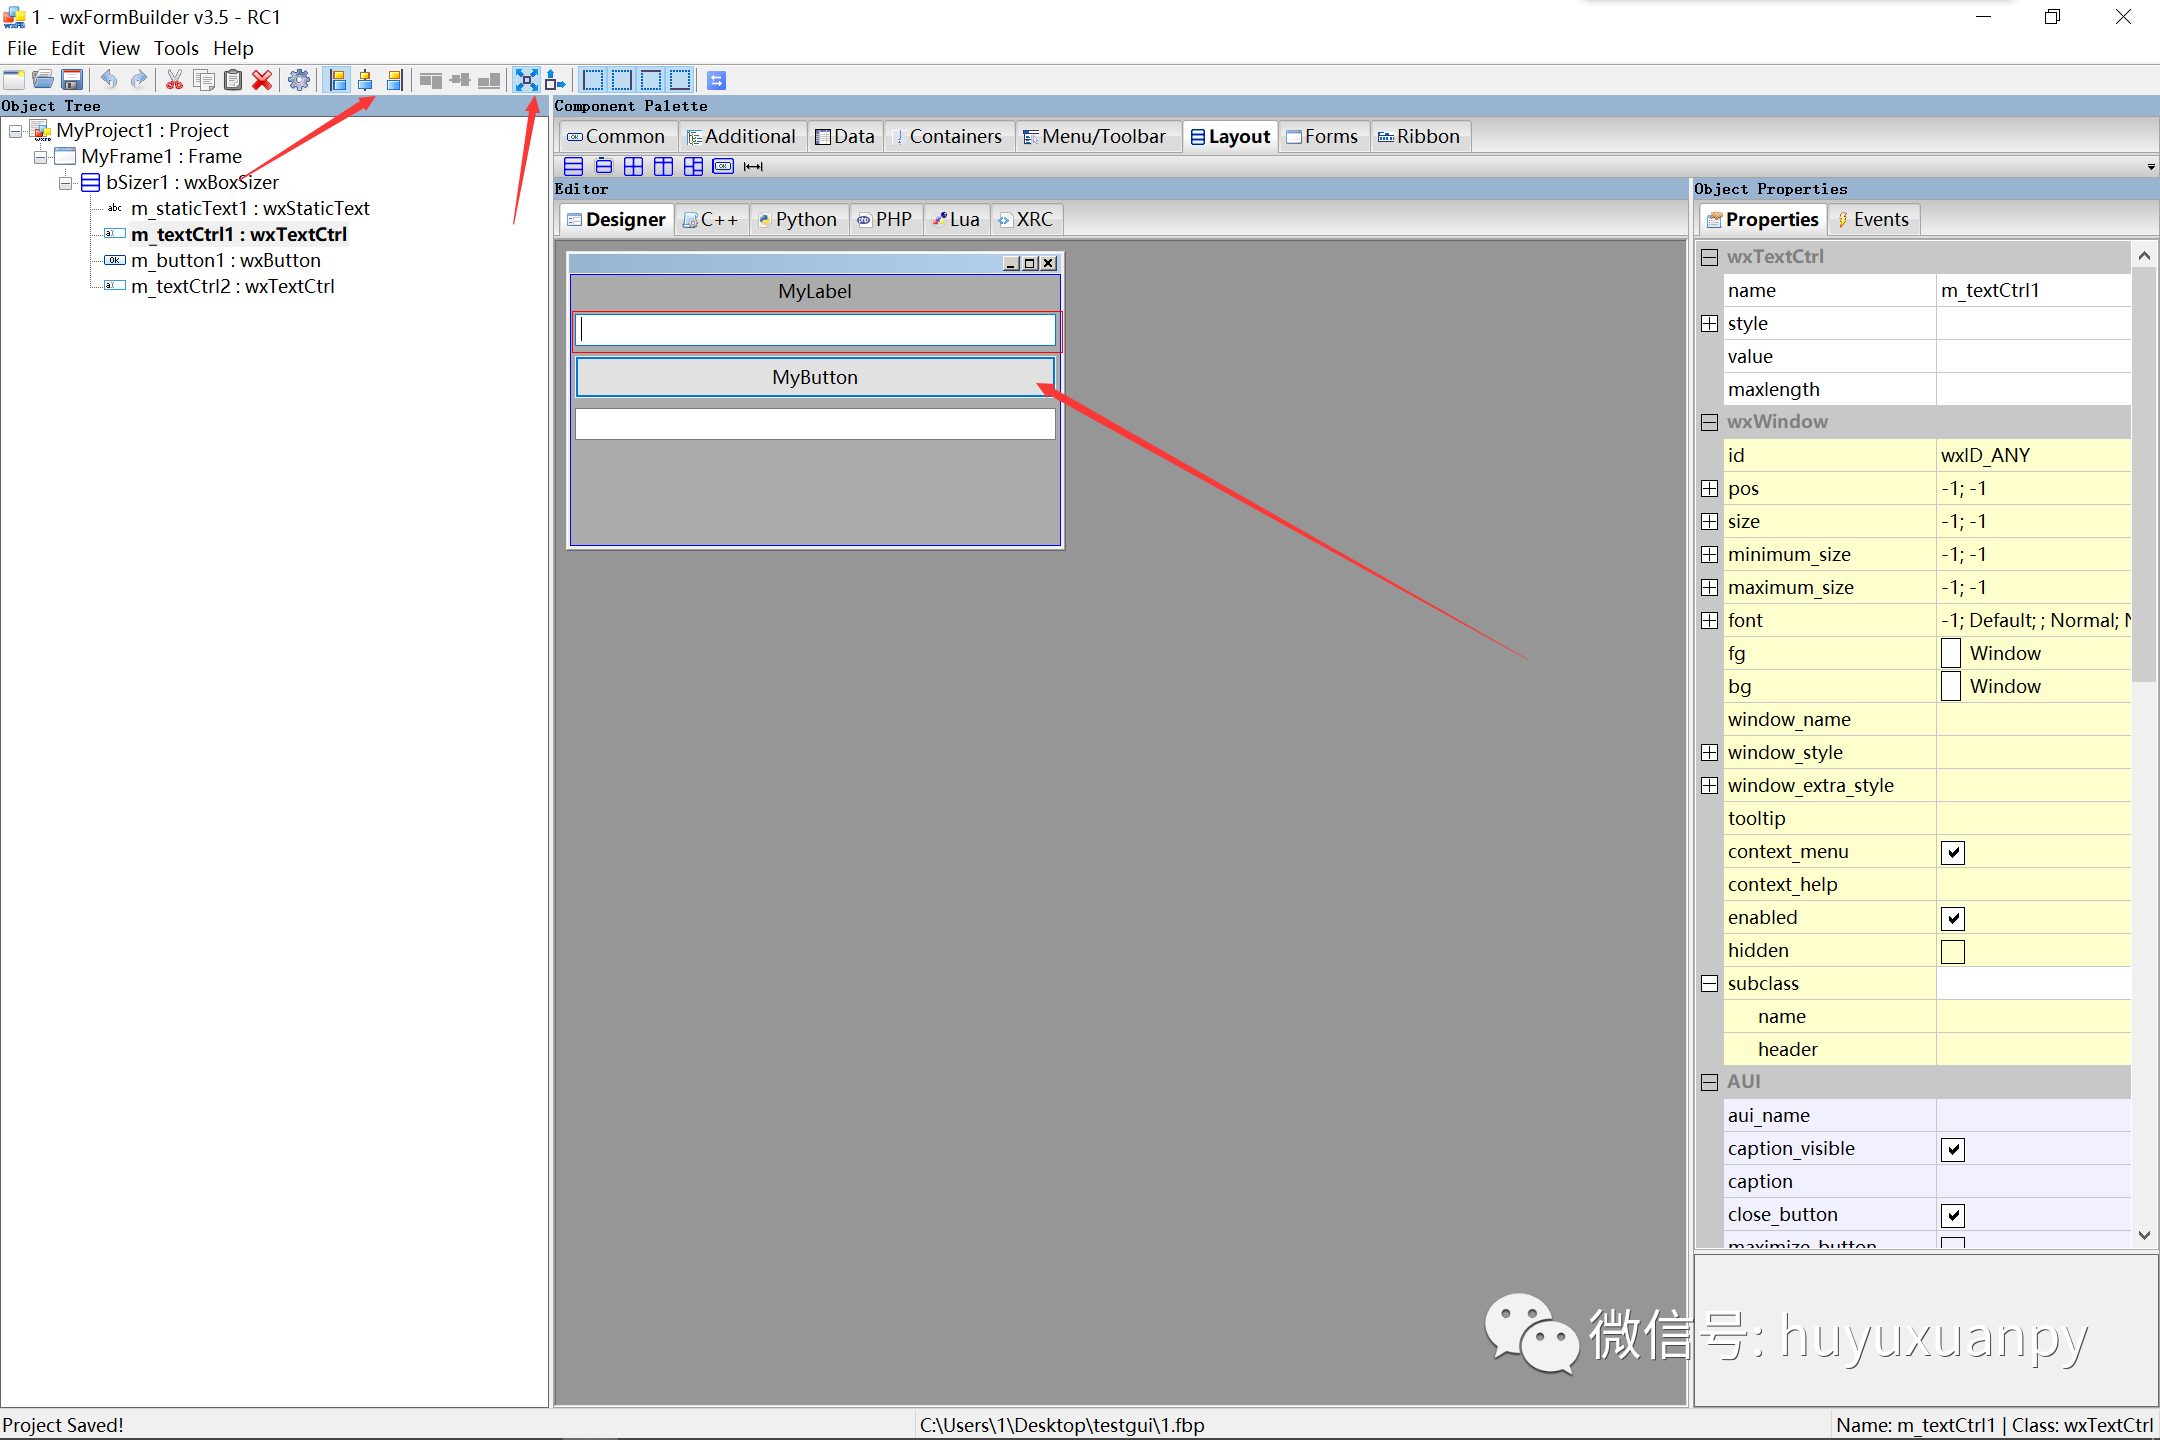
3. Add form
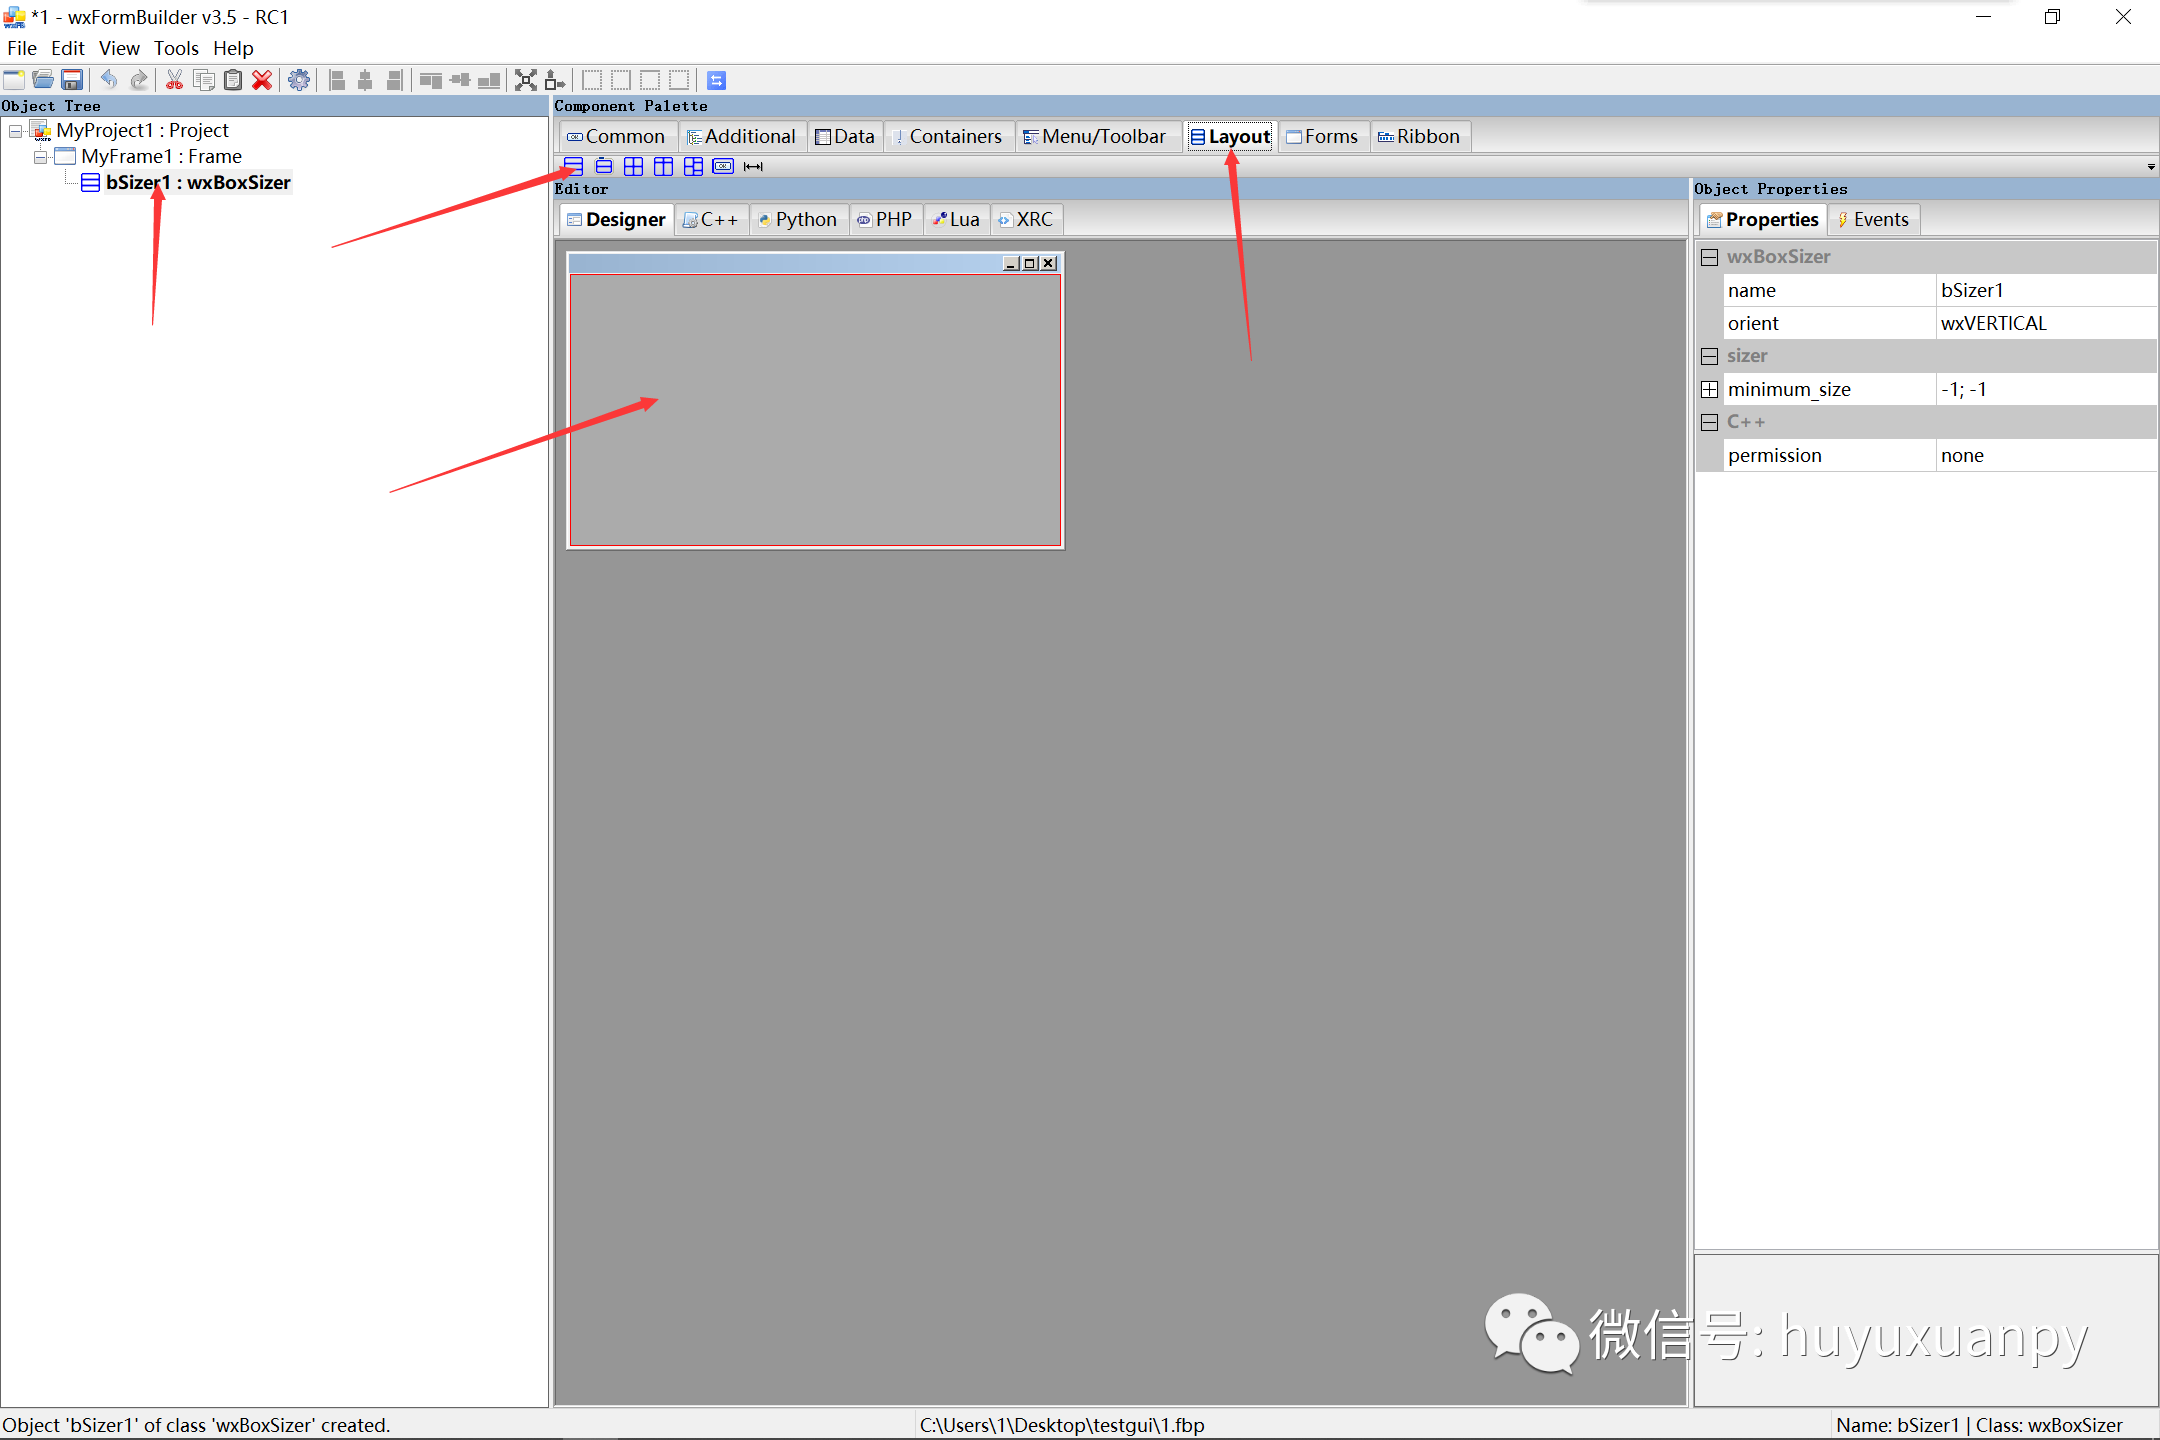
4. Add element
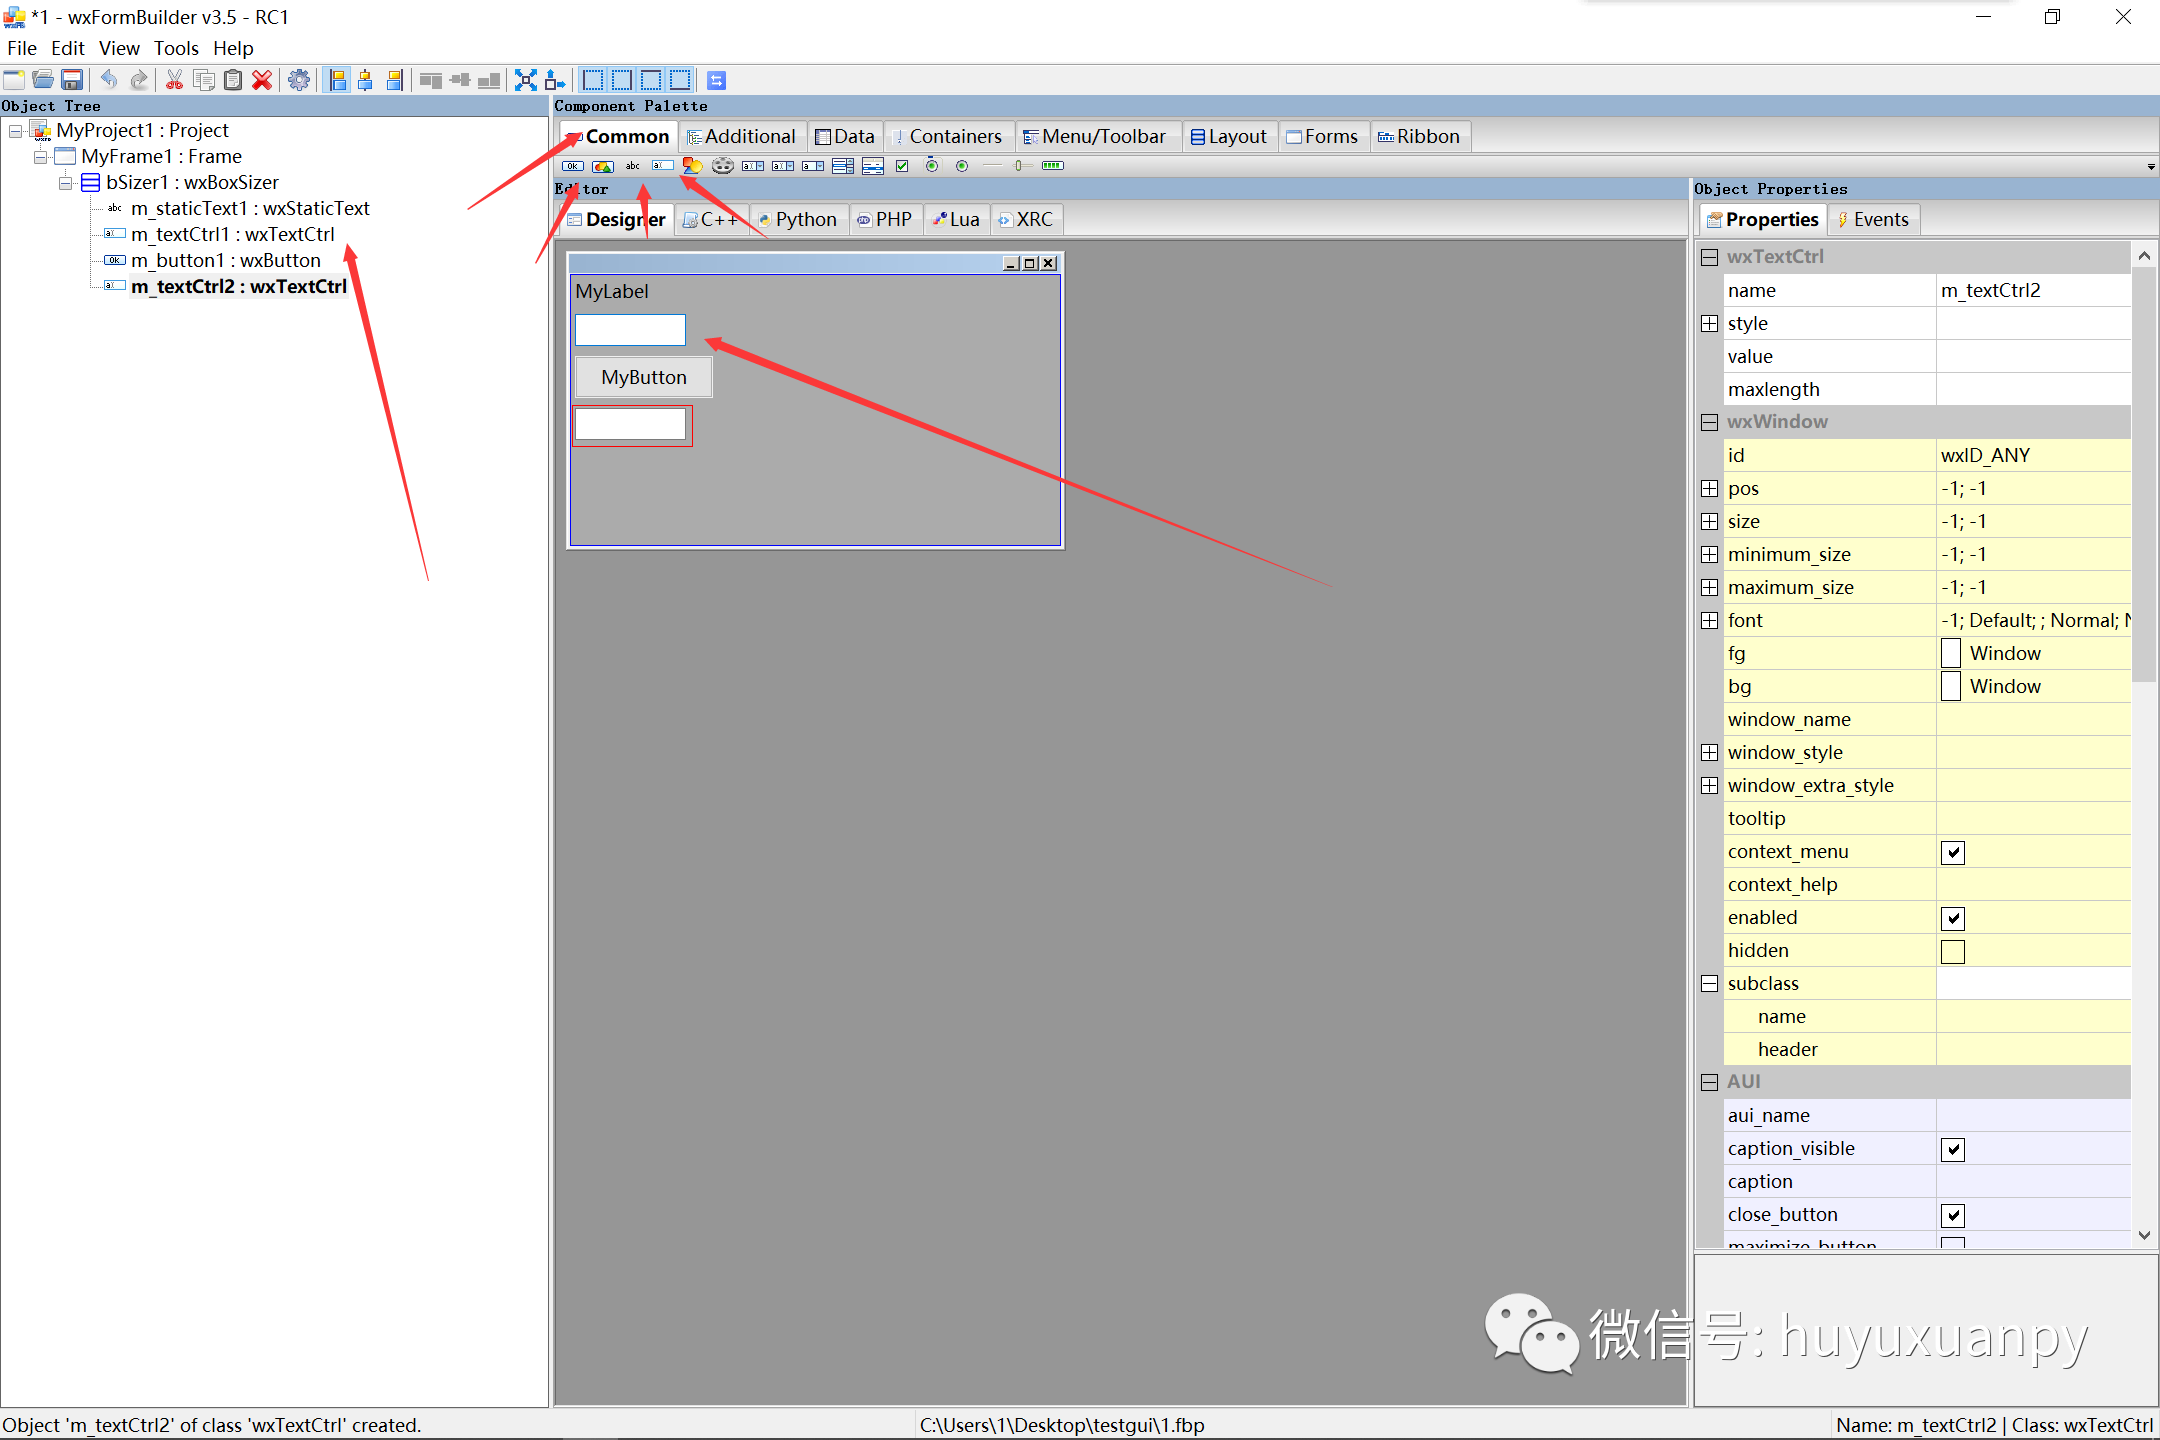
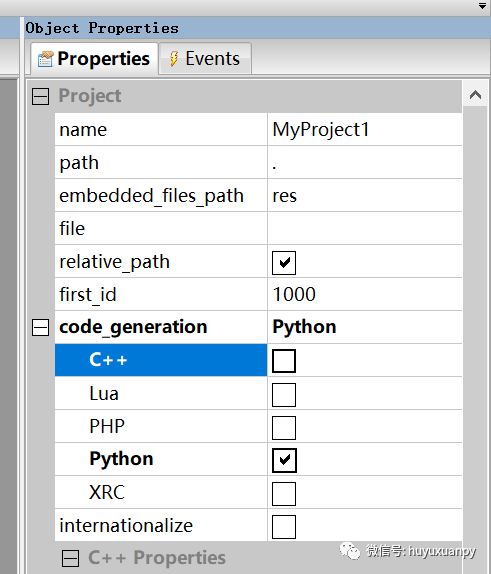
5. Set properties
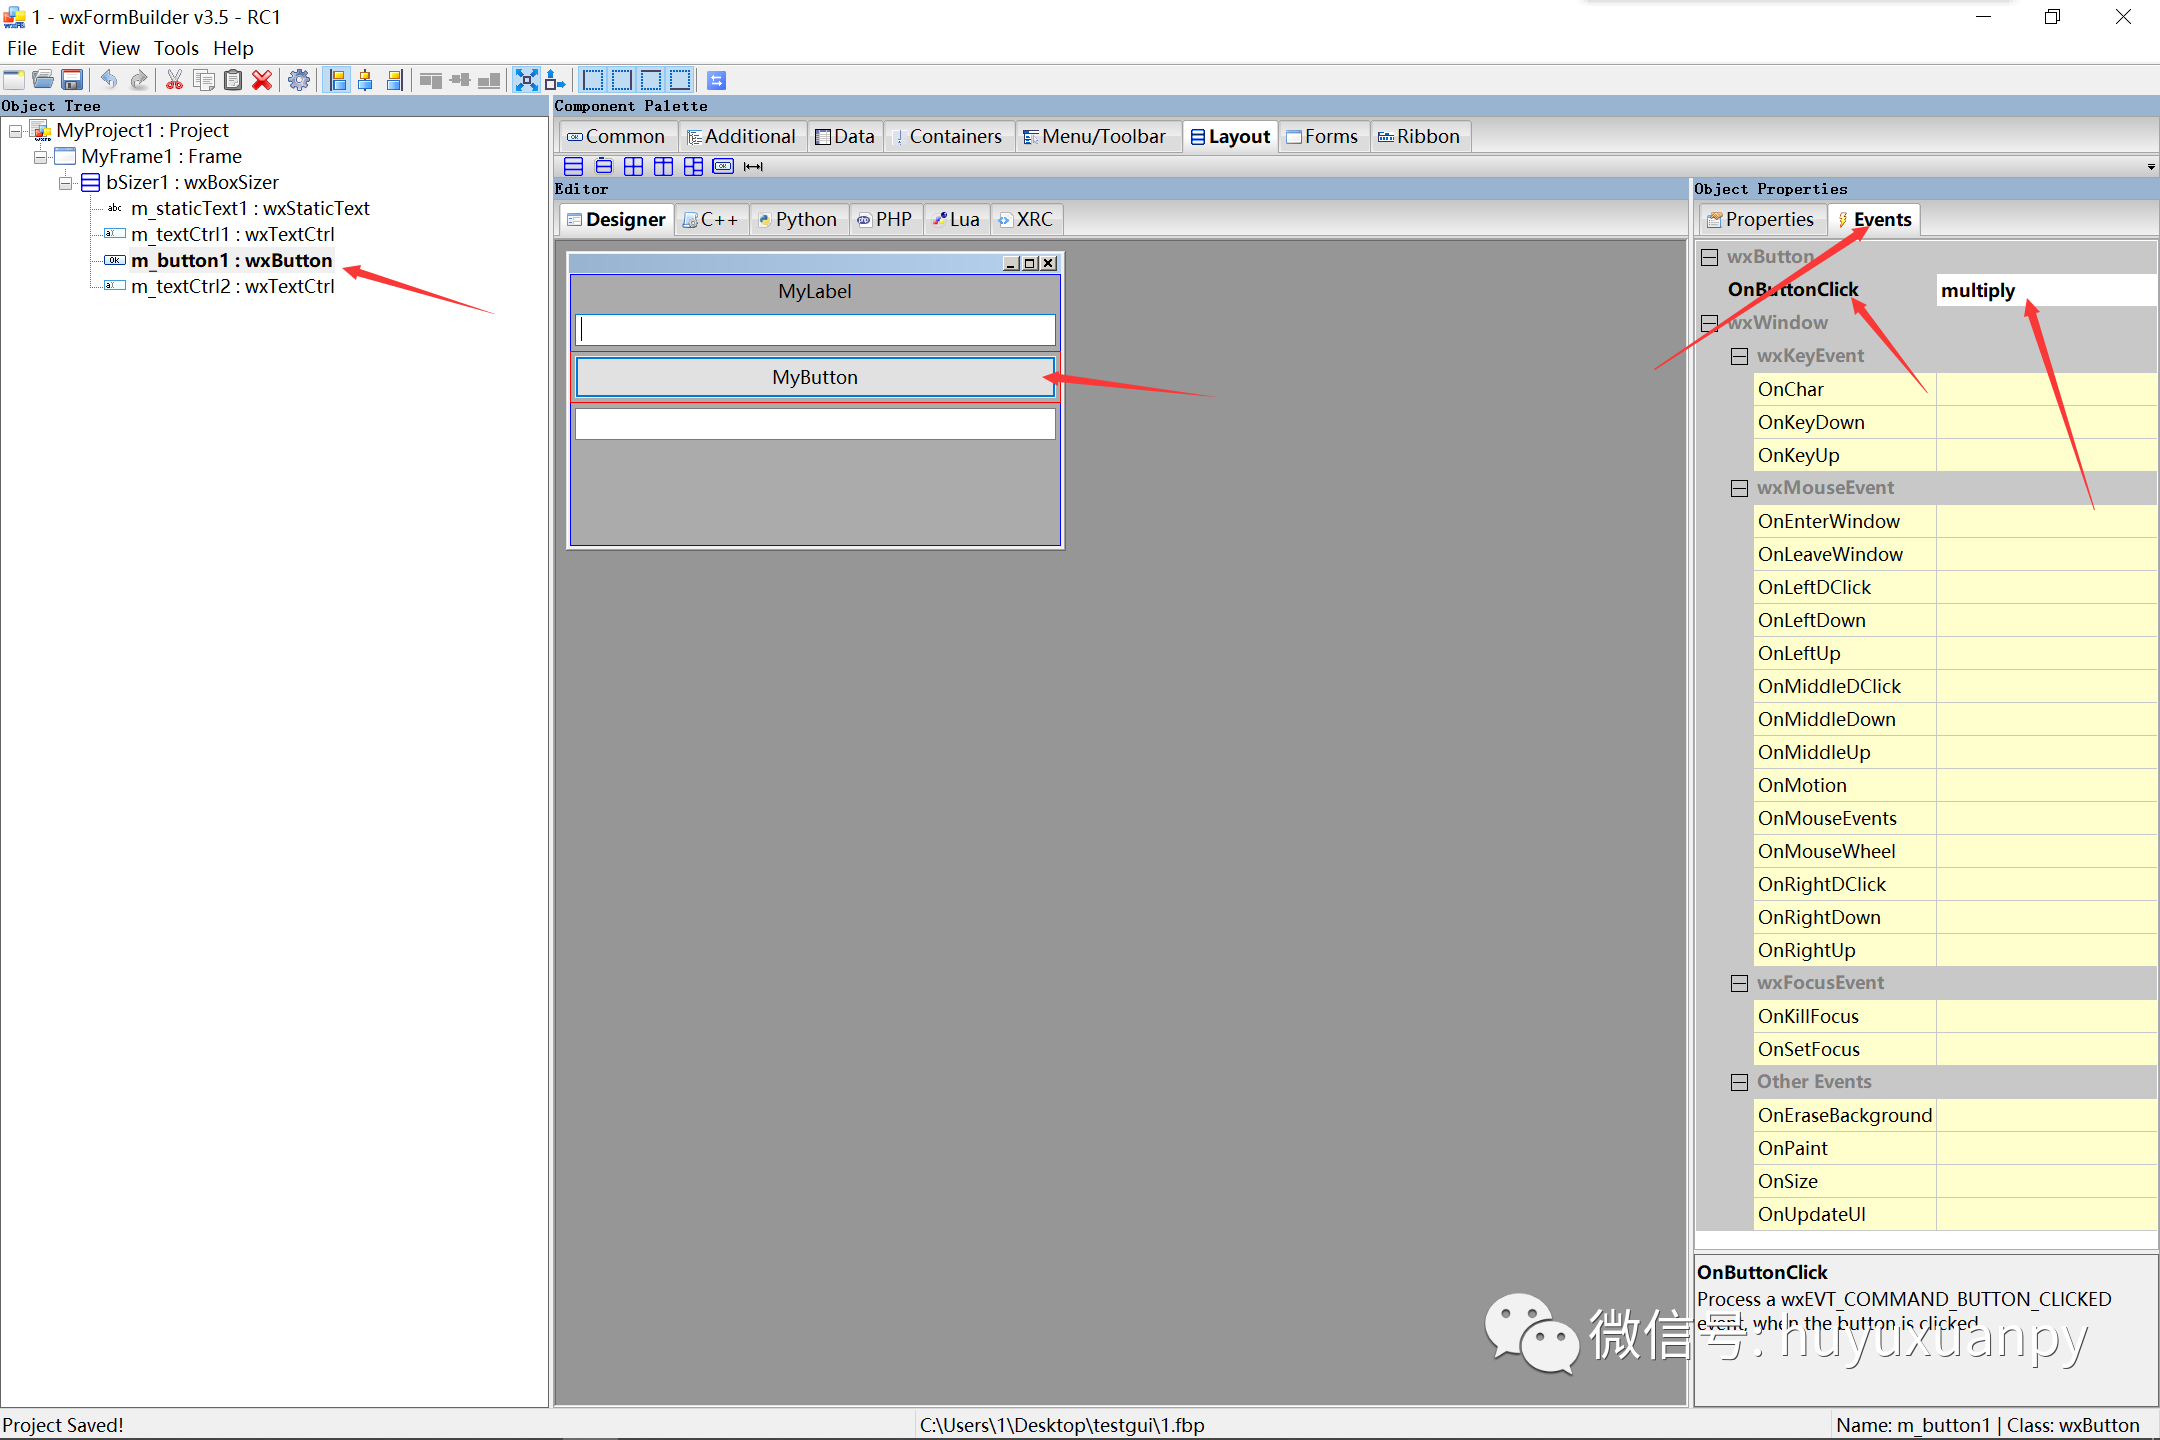
6. Function binding button
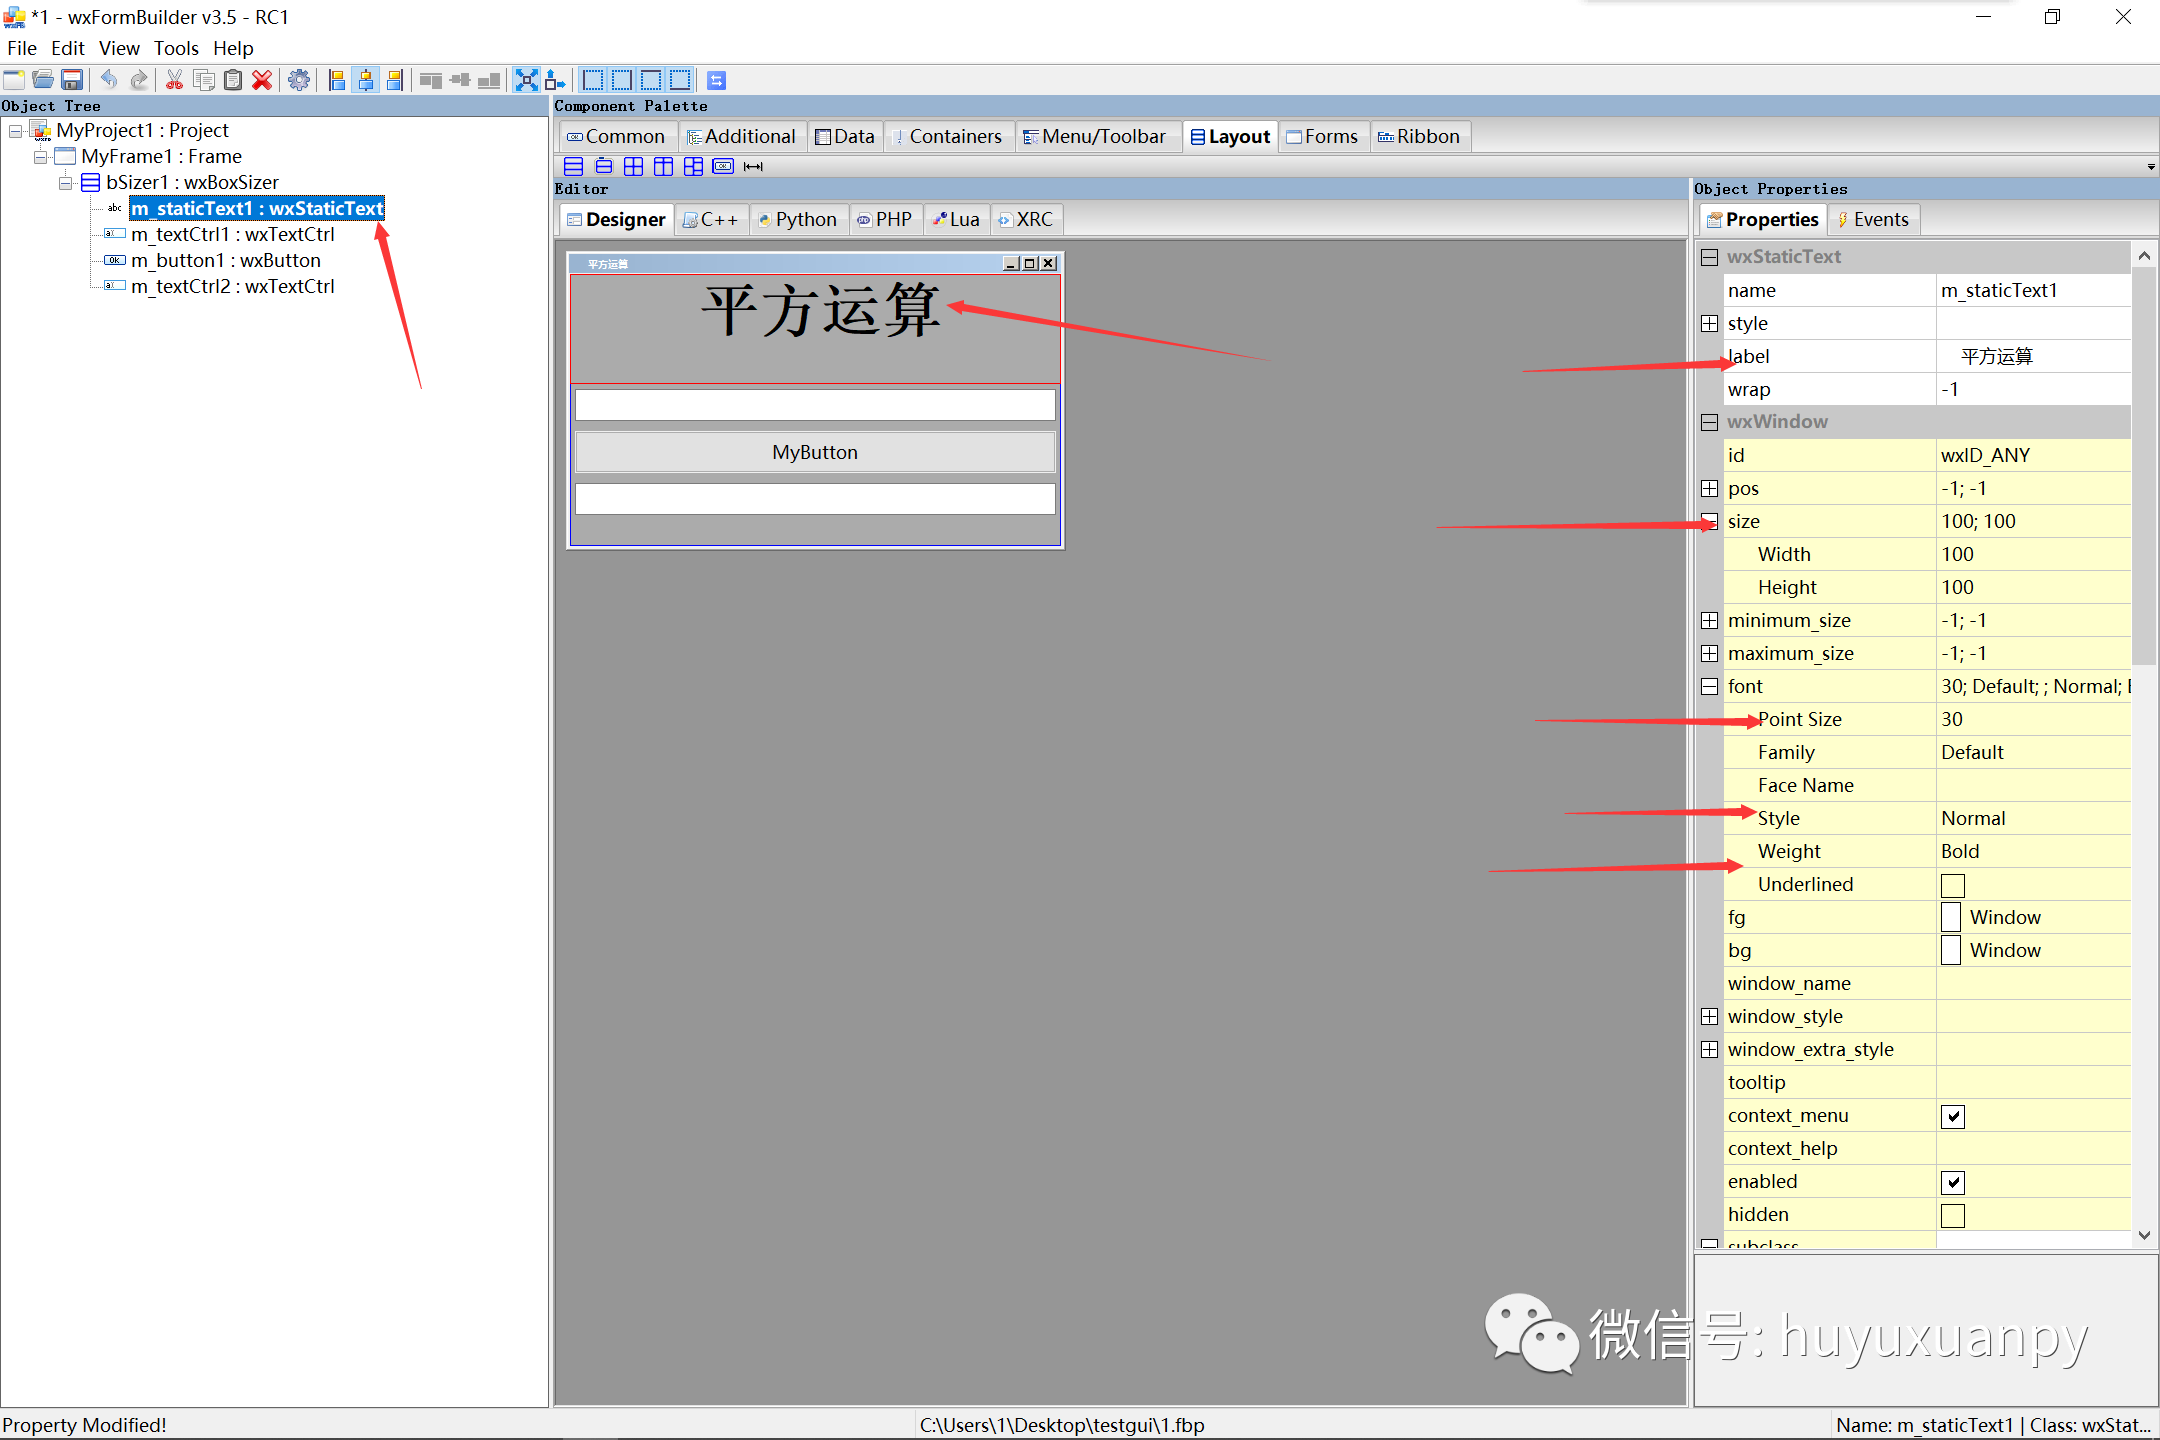
7. Modify style
8. Get code

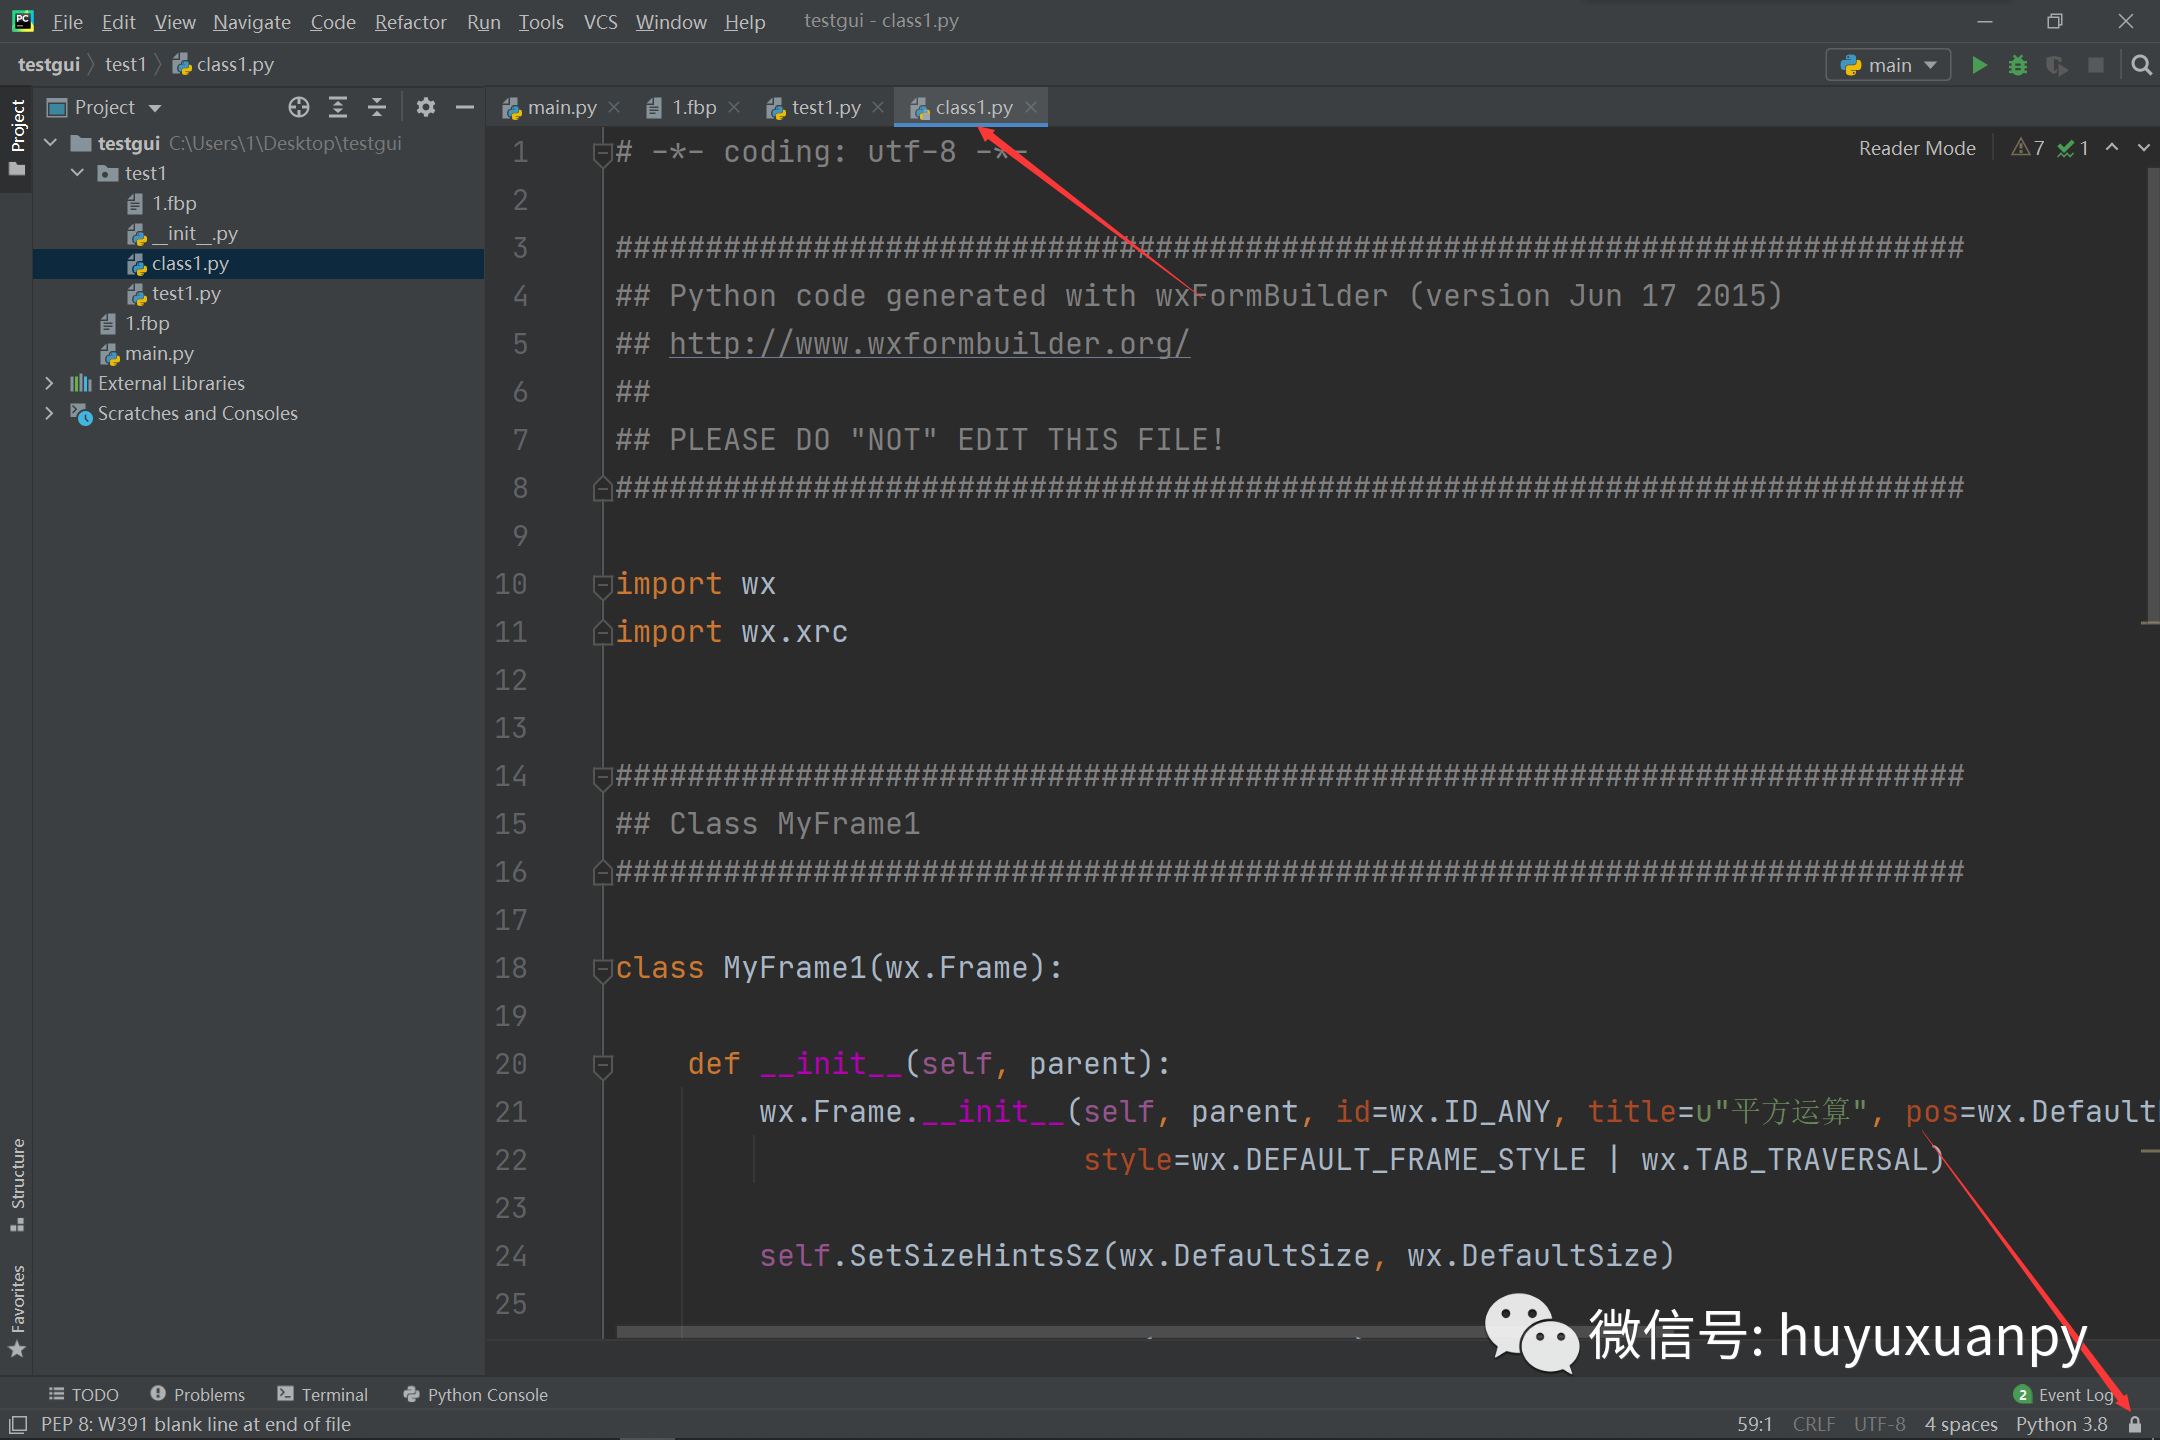
9. Writing code to a Python file
# -*- coding: utf-8 -*-

###########################################################################
## Python code generated with wxFormBuilder (version Jun 17 2015)
## http://www.wxformbuilder.org/
##
## PLEASE DO "NOT" EDIT THIS FILE!
###########################################################################

import wx
import wx.xrc


###########################################################################
## Class Test1
###########################################################################

class MyFrame1(wx.Frame):

    def __init__(self, parent):
        wx.Frame.__init__(self, parent, id=wx.ID_ANY, title=u"Test1", pos=wx.DefaultPosition, size=wx.Size(1090, 709),
                          style=wx.DEFAULT_FRAME_STYLE | wx.TAB_TRAVERSAL)

        self.SetSizeHintsSz(wx.DefaultSize, wx.DefaultSize)

        bSizer5 = wx.BoxSizer(wx.VERTICAL)

        self.Test = wx.StaticText(self, wx.ID_ANY, u"Test", wx.DefaultPosition, wx.DefaultSize, 0)
        self.Test.Wrap(-1)
        bSizer5.Add(self.Test, 0, wx.ALL | wx.ALIGN_CENTER_HORIZONTAL, 5)

        self.m_textCtrl1 = wx.TextCtrl(self, wx.ID_ANY, wx.EmptyString, wx.DefaultPosition, wx.DefaultSize, 0)
        bSizer5.Add(self.m_textCtrl1, 0, wx.ALL | wx.EXPAND, 5)

        self.m_button1 = wx.Button(self, wx.ID_ANY, u"MyButton", wx.DefaultPosition, wx.DefaultSize, 0)
        bSizer5.Add(self.m_button1, 0, wx.ALL | wx.EXPAND, 5)

        self.m_textCtrl2 = wx.TextCtrl(self, wx.ID_ANY, wx.EmptyString, wx.DefaultPosition, wx.DefaultSize, 0)
        bSizer5.Add(self.m_textCtrl2, 0, wx.ALL | wx.EXPAND, 5)

        self.SetSizer(bSizer5)
        self.Layout()

        self.Centre(wx.BOTH)

        # Connect Events
        self.m_button1.Bind(wx.EVT_BUTTON, self.multiply)

    def __del__(self):
        pass

    # Virtual event handlers, overide them in your derived class
    def multiply(self, event):
        event.Skip()
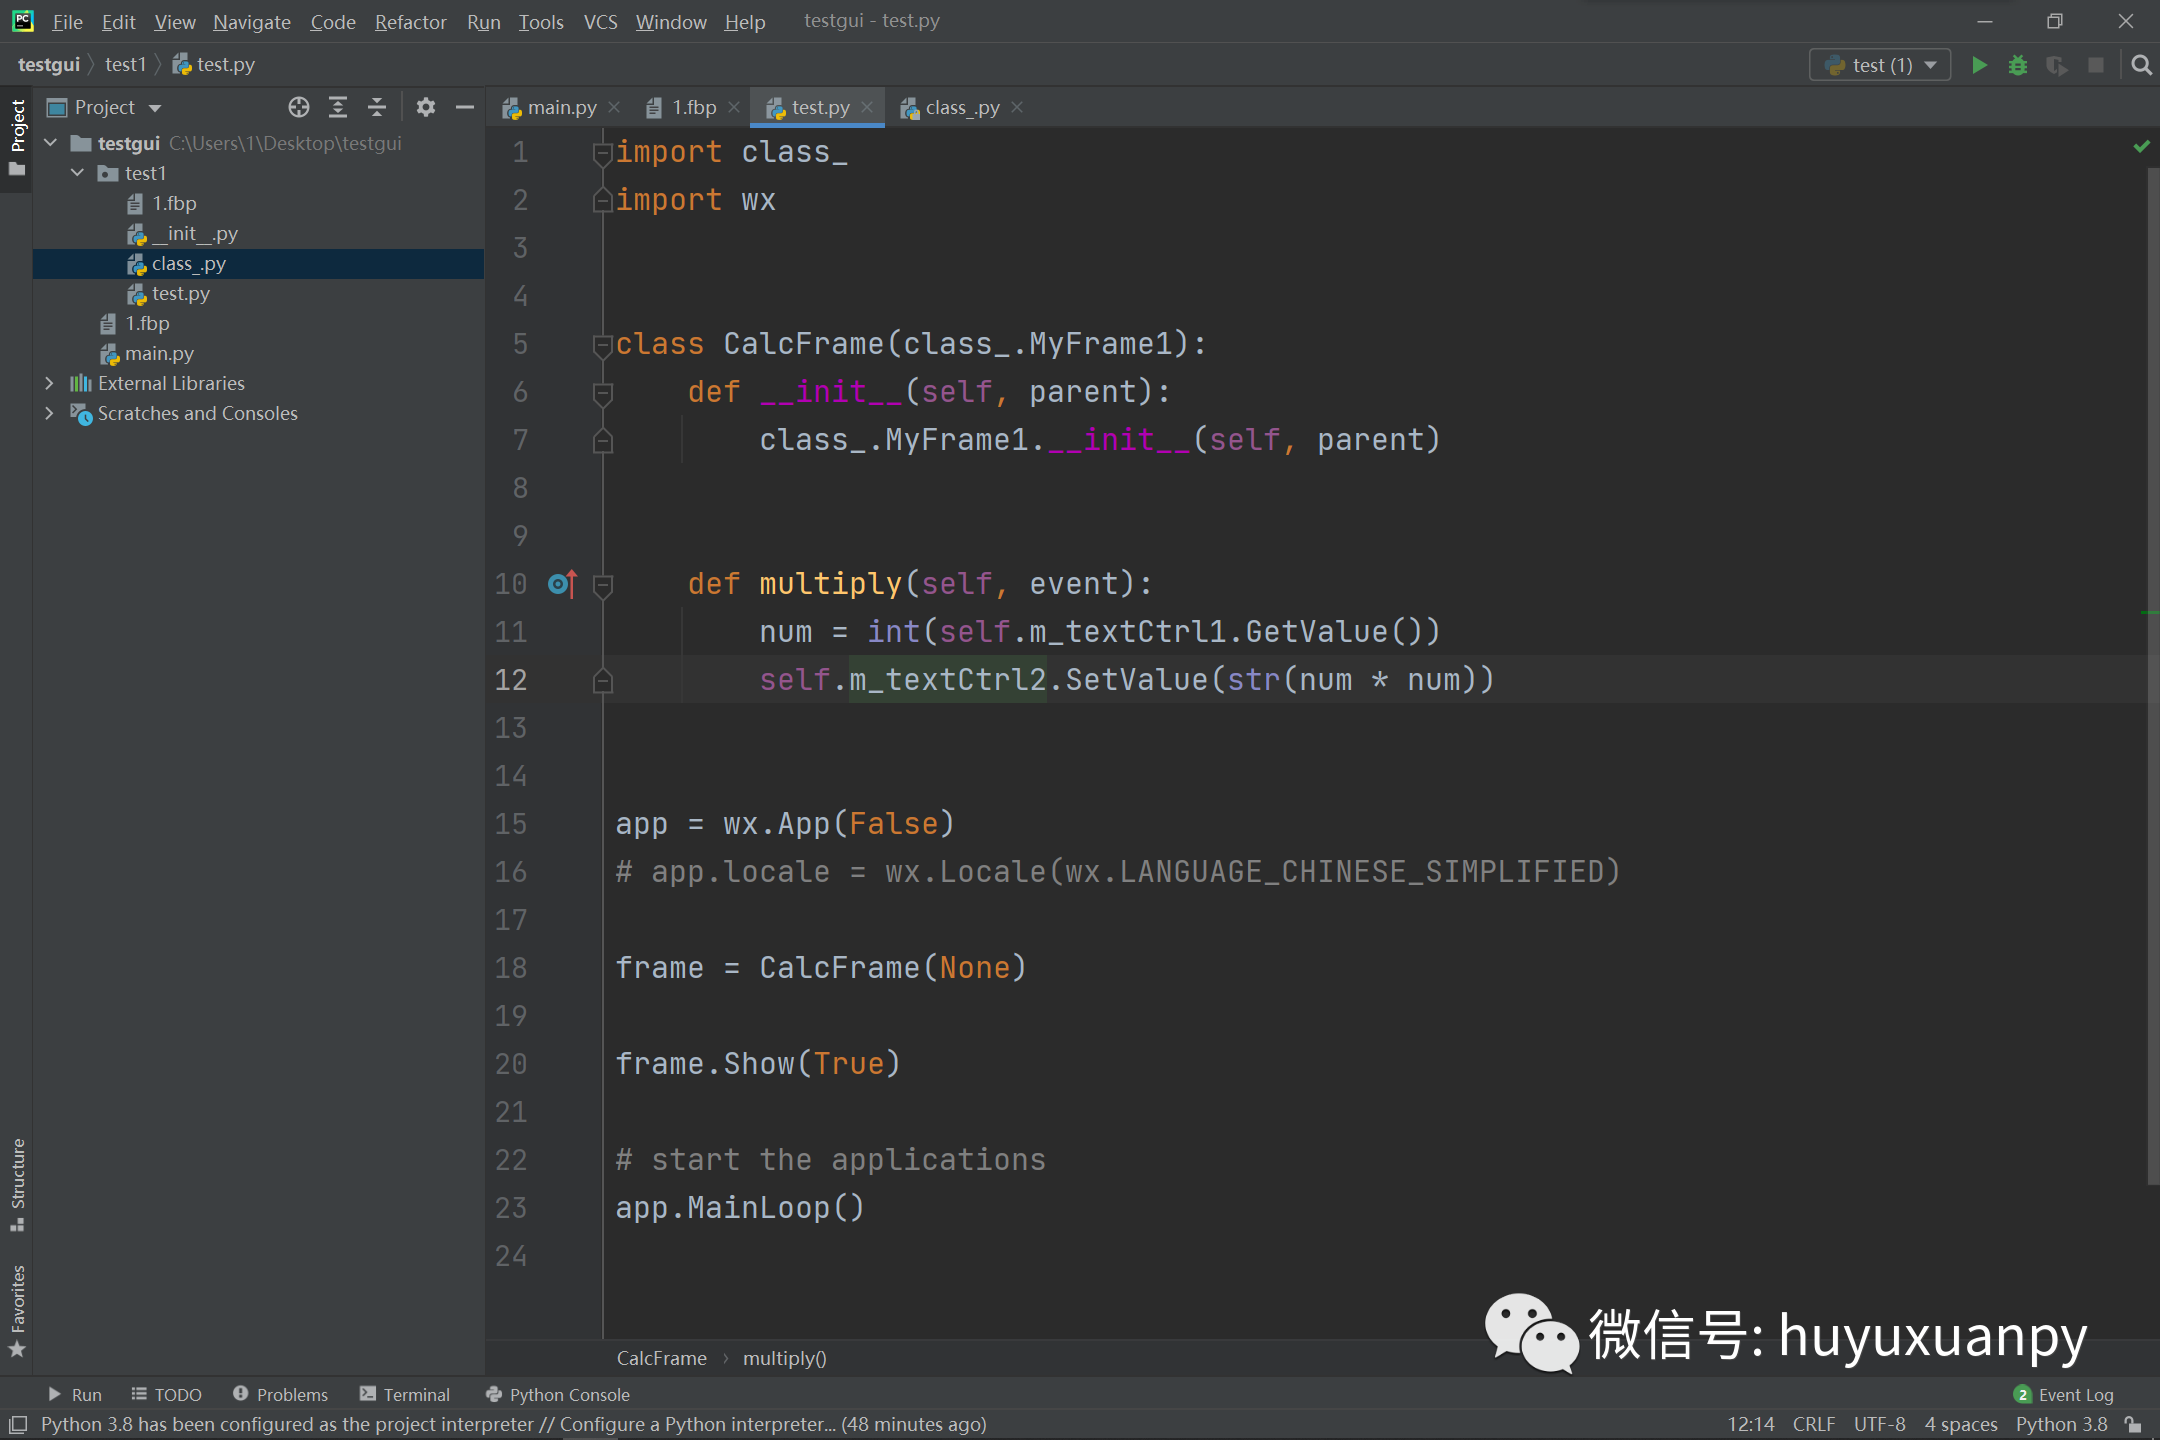
10. Call module
import class_
import wx


class CalcFrame(class_.MyFrame1):
    def __init__(self, parent):
        class_.MyFrame1.__init__(self, parent)


    def multiply(self, event):
        num = int(self.m_textCtrl1.GetValue())
        self.m_textCtrl2.SetValue(str(num * num))


app = wx.App(False)
# app.locale = wx.Locale(wx.LANGUAGE_CHINESE_SIMPLIFIED)

frame = CalcFrame(None)

frame.Show(True)

# start the applications
app.MainLoop()
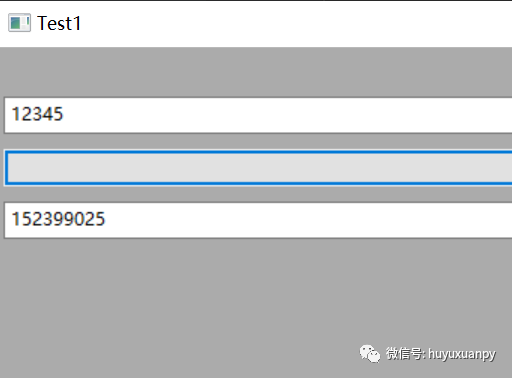
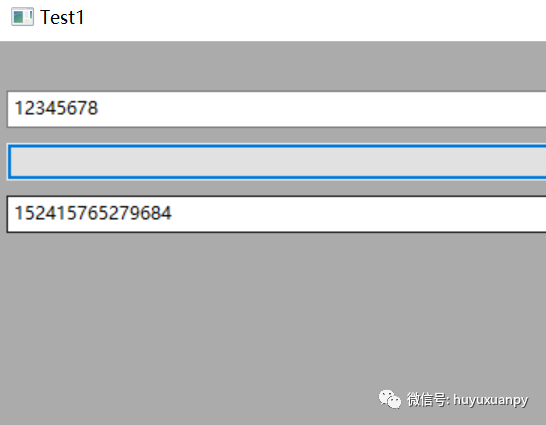
11. Operation and results
Because we adjusted the style a little bit during the actual operation, what is presented here is different from the previous one, but we adjusted it again later. I think everyone will adjust it.

Operation I:
Operation II:
The above is a simple case of Gui design using wxPython (wxFormBuilder). I hope it will be of some help to you.
Finally, thank you for your reading and support.
Thank you.