Previous:
Python learning notes (6) -- game project (1)
Python learning notes (VII) -- game project (2)
Spaceship shooting
Update class
Now add shooting function to the ship
The bullet will travel up the screen and disappear when it reaches the upper edge of the screen.
First, we need to update settings Py, in__ init__ () store the value required by the new class Bullet at the end:
class Settings():
    """A class that stores all the settings of alien invasion"""
    def __init__(self):
        """Initialize game settings"""
        # screen setting
        self.screen_width = 1200
        self.screen_height = 800
        self.bg_color = (230, 230, 230)

        # Spacecraft settings
        self.ship_speed_factor = 1.5

        # Bullet setting
        self.bullet_speed_factor = 1
        self.bullet_wodth = 3
        self.bullet_height = 15
        self.bullet_color = 60,60,60
This will create a dark gray bullet 3 pixels wide and 15 pixels high. Its flight speed is slightly lower than that of the spacecraft.
Let's create a file that stores the Bullet class Py, the first half of which is as follows:
import  pygame
from pygame.sprite import  Sprite

class Bullet(Sprite):
    """A class that manages bullets fired by spacecraft"""

    def __init__(self, ai_settings, screen, ship):
        """Create a bullet object where the ship is located"""
        super(Bullet, self).__init__()
        self.screen = screen

        # Create a rectangle representing the bullet at (0, 0) and set the correct position
        self.rect = pygame.Rect(0, 0, ai_settings.bullet_width,
                                ai_settings.bullet_height)
        self.rect.centerx = ship.rect.centerx
        self.rect.top = ship.rect.top
        # Stores the bullet position in decimal places
        self.y = float(self.rect.y)

        self.color = ai_settings.bullet_color
        self.speed_factor = ai_settings.bullet_speed_factor
The Bullet class inherits from the module pyGame Sprite class imported from sprite. By using sprites, you can combine the images in the game
Close the element group, and then operate all elements in the group at the same time. To create a bullet instance, you need to__ init__ () delivery
ai_settings, screen and ship instances, and super() is also called to inherit Sprite.
We created the bullet attribute rect. Bullets are not image-based, so we have to use pyGame The Rect () class creates a rectangle starting with a blank space.. When creating an instance of this class, you must provide the x and y coordinates of the upper left corner of the rectangle, as well as the width and height of the rectangle. We created this rectangle at (0, 0), but the next two lines of code moved it to the correct position, because the initial position of the bullet depends on the current position of the ship. The width and height of the bullet are from ai_settings.
We set the centerx of the bullet to the rect of the ship centerx. The bullet should be shot from the top of the ship, so we set the top attribute of rect representing the bullet to the top attribute of rect of the ship to make the bullet look like it was shot from the ship.
We store the bullet's y coordinate as a small value so that we can fine tune the bullet's speed. We store the bullet's color and speed settings in self Color and self speed_ In factor.
Let's go to bullet Py is supplemented with two methods update() and draw_bullet():
    def update(self):
        """Move the bullet up"""
        # Update the decimal value representing the bullet position
        self.y -= self.speed_factor
        # Update the position of rect representing the bullet
        self.rect.y = self.y

    def draw_bullet(self):
        """Draw bullets on the screen"""
        pygame.drwa.rect(self.screen, self.color, self.rect)
The method update() manages the location of the bullet. After firing, the bullet moves upward in the screen, which means that the Y coordinate will continue to decrease. Therefore, in order to update the bullet position, we start from self Subtract self from y speed_ The value of the factor.
We will be self rect. Y is set to self The value of Y. Attribute speed_factor allows us to adjust the behavior of the game by increasing the speed of bullets as the game progresses or as needed. After the bullet is fired, its x coordinate remains unchanged, so the bullet will go up vertically along a straight line.
After defining the Bullet class and the necessary settings, you can write code to shoot a Bullet every time the player presses the spacebar.
First, we will be in alien_ invasion. Create a group in py to store all valid bullets so that you can
Manage all bullets fired. This group will be pyGame sprite. An instance of group class; pygame.sprite.
The Group class is similar to a list, but provides additional functionality to help develop games. In the main loop, we will use this Group
Draw bullets on the screen and update the position of each bullet:
import pygame
from settings import Settings
from ship import Ship
import game_functions as gf
from pygame.sprite import Group
def run_game():
    # Initialize the game and create a screen object, settings and pygame
    pygame.init()
    # setting class
    ai_settings = Settings()

    screen = pygame.display.set_mode(
        (ai_settings.screen_width, ai_settings.screen_height))
    pygame.display.set_caption("Aline Invasion")

    # Create a spaceship
    ship = Ship(ai_settings, screen)

    # Create a group for storing bullets
    bullets = Group()

    # Game main loop
    while True:
        gf.check_events(ai_settings, screen, ship, bullets)
        ship.update()
        bullets.update()
        gf.update_screen(ai_settings, screen, ship,bullets)
run_game()
We imported pyGame Group class in sprite. Then a group instance is created and named bullets
We passed bullets to check_events() and update_screen(). In check_ In events (), you need to handle bullets when the player presses the spacebar; And in update_ In screen (), you need to update the bullets to be drawn on the screen.
FireStarter
In game_functions.py, we need to modify check_keydown_events() to fire a bullet when the player presses the spacebar.
import sys
import pygame
from bullet import Bullet


def check_keydown_events(event, ai_settings, screen, ship, bullets):
    """Response key"""
    if event.key == pygame.K_RIGHT:
        # Modify movement parameters
        ship.moving_right = True
    elif event.key == pygame.K_LEFT:
        ship.moving_left = True
    elif event.key == pygame.K_SPACE:
        new_bullet = Bullet(ai_settings, screen, ship)
        bullets.add(new_bullet)
        # Create a bullet and add it to the group bullets

def check_keyup_events(event, ship):
    """Response release"""
    if event.key == pygame.K_RIGHT:
        ship.moving_right = False
    elif event.key == pygame.K_LEFT:
        ship.moving_left = False

def check_events(ai_settings, screen, ship, bullets):
    # Respond to keyboard and mouse events
    for event in pygame.event.get():
        if event.type == pygame.QUIT:
            sys.exit()
        elif event.type == pygame.KEYDOWN:
            check_keydown_events(event, ai_settings, screen, ship, bullets)

        elif event.type == pygame.KEYUP:
            check_keyup_events(event, ship)

def update_screen(ai_settings,screen,ship, bullets):
    # Redraw the screen each time you cycle
    screen.fill(ai_settings.bg_color)

    # Redraw all bullets behind ships and aliens
    for bullet in bullets.sprites():
        bullet.draw_bullet()

    ship.blitme()  # Redraw the ship

    # Make recently drawn screens visible
    pygame.display.flip()
The above is game_functions.py file.
Marshalling bulltes passed to check_keydown_events(), when the player presses the spacebar, create a new Bullet (a Bullet instance named new_bullet) and add it to the grouping bullets with the method add(), code bullets Add (new_bullet) stores the new Bullet in the group bullets.
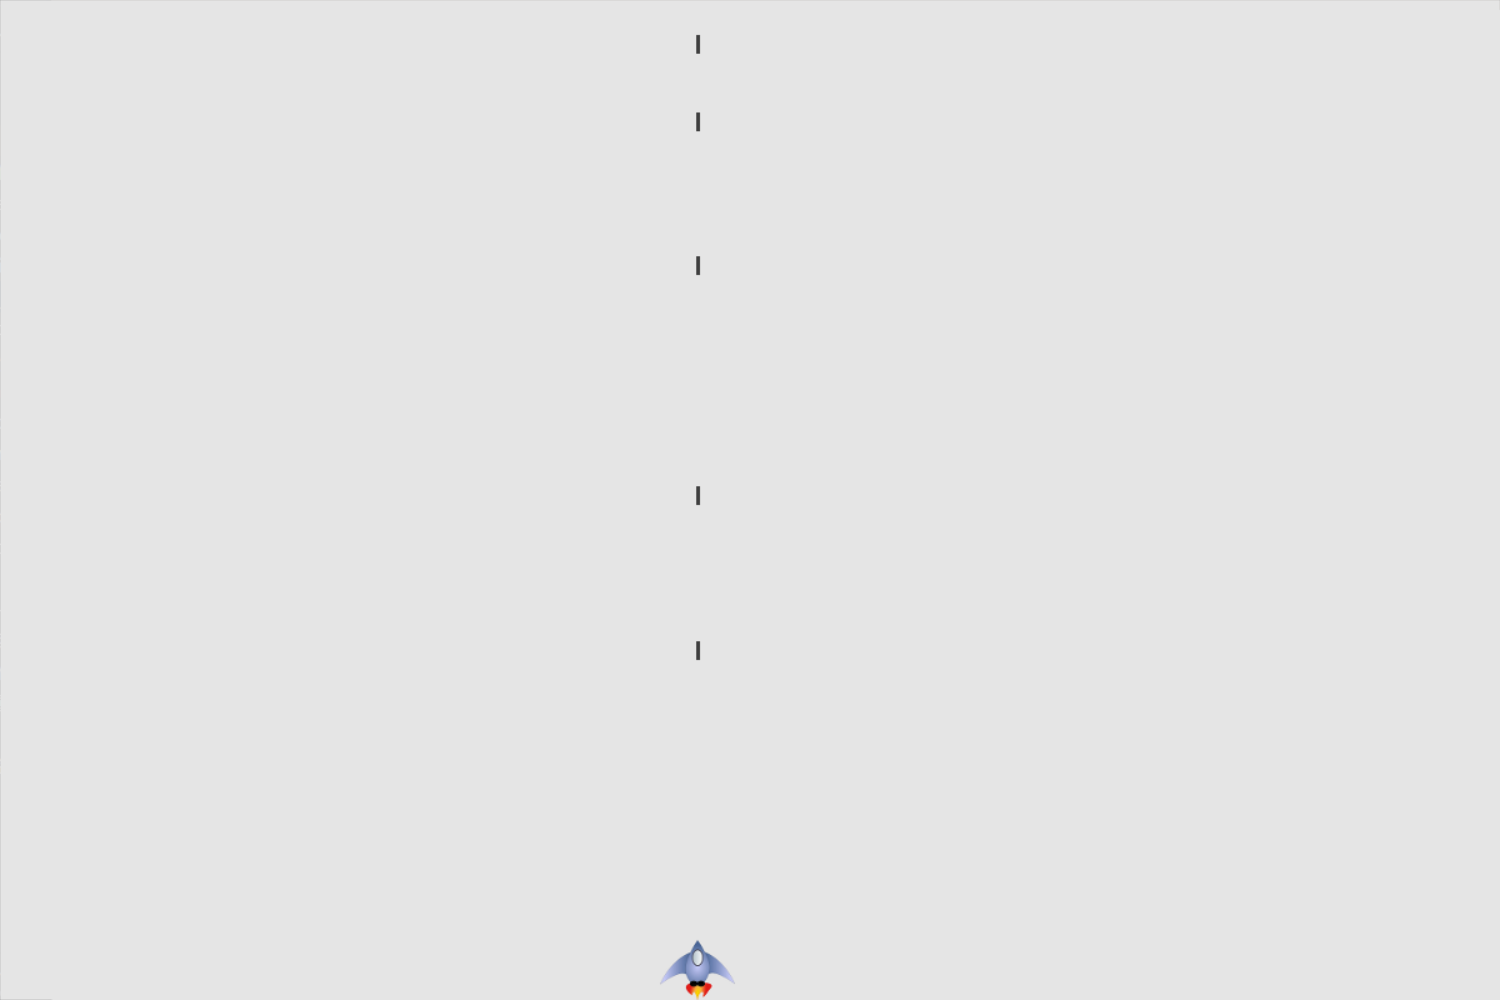
Operation results:
See the blog in the next section for details.