PIL(Python Image Library)
PIL(Python Image Library) is a free image processing toolkit provided by Python ware. Because of its powerful functions, it is already the de facto image processing standard library of Python platform.
PIL is very powerful and provides many image processing functions, such as changing image size, rotating image, image format conversion, color field space conversion, image enhancement, histogram processing, interpolation and filtering, etc.
Since PIL only supports Python 2.7, the community created a compatible version based on PIL called Pillow , supports the latest Python 3 x. Pilot supports all related functions of PIL, so in Python 3 In x environment, pilot can be used instead of PIL.
Installation deployment
Install and deploy directly using pip:
$ pip install pillow
Image manipulation
Sample code
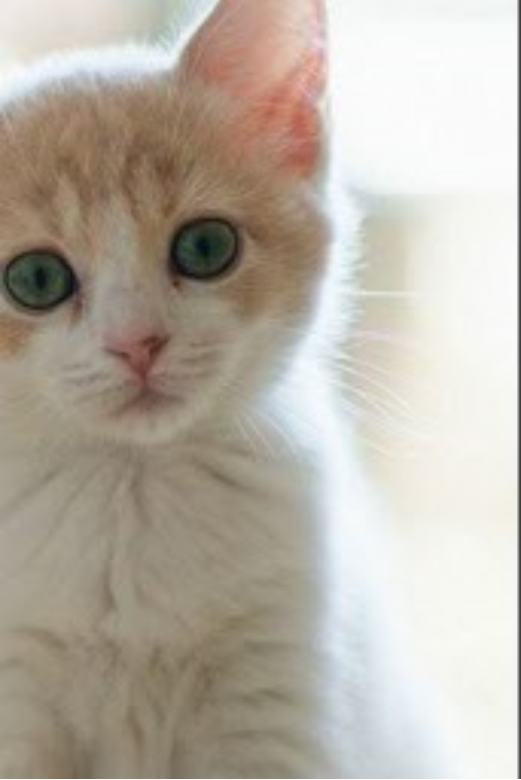
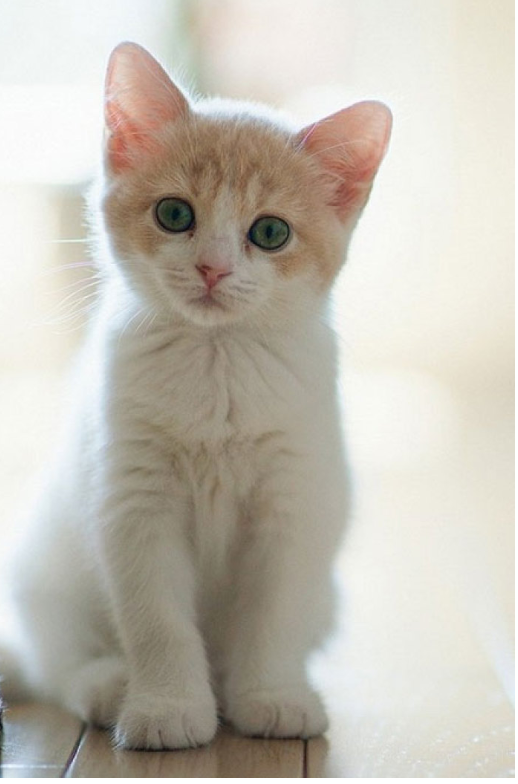
from PIL import Image
im = Image.open("./data/cat.jpg")
im.show()
# Save in gif format
im.save("./data/cat.gif", "GIF")
# Crop picture, upper left point coordinate (300100), lower right point coordinate (800700)
rect = 300,100,800,700
im.crop(rect).show()
# Add filter effect
im.filter(ImageFilter.CONTOUR).show()
# Flip left and right
im.transpose(Image.FLIP_LEFT_RIGHT).show()
# Rotate 180 °
im.rotate(180).show()
# 8. Operation pixel
for x in range(300, 400):
for y in range(100, 200):
im.putpixel((x, y), (255, 0, 0))
im.show()
# Picture zoom 50%
print("im.width: %d, im.height:%d" % (im.width, im.height))
im.thumbnail((im.width/10, im.height/10))
print("im.thumbnail.width: %d, im.thumbnail.height:%d" %(im.width, im.height))
im.show()
# create picture
img2 = Image.new("RGBA", (640, 480), (0, 255, 0))
img2.show()
img2.save("./data/newImage.png","PNG")
Operation results
1. Cutting

2. Fuzzy
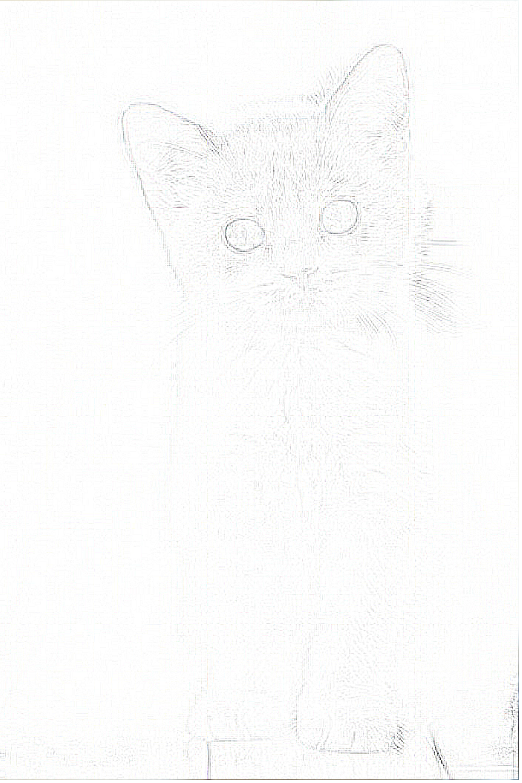
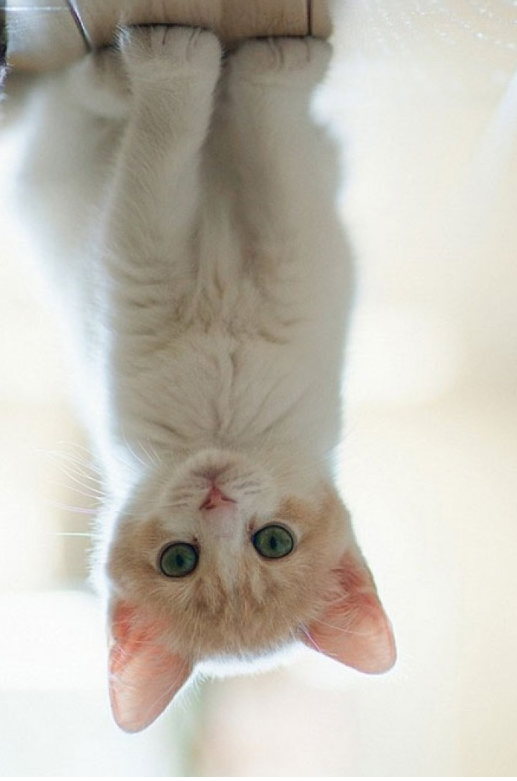
3. Reverse
4. Rotate 180 °
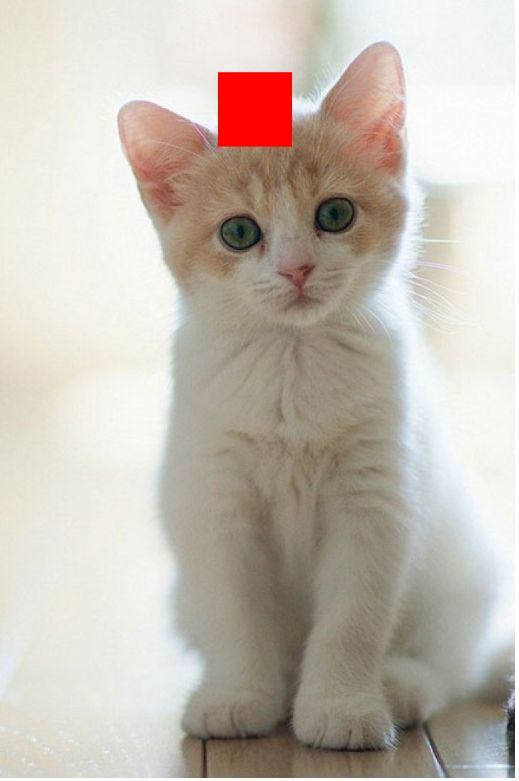
5. Modify local pixels
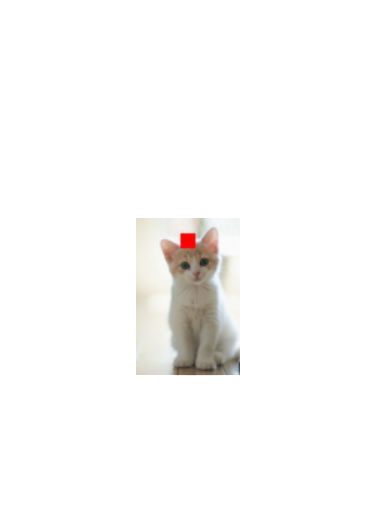
6. thumbnail
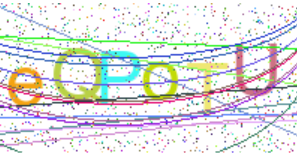
Generate verification code
Scenario description
In order to ensure security during login verification, users are generally required to enter relevant picture verification codes. Next, we use the pilot library to generate the login verification code. The basic process of generating verification code is as follows:
- Create a new picture
- Draw login code characters: generate random N characters and draw them on the picture with the specified font. When drawing, by adding the y coordinate of the character to a certain random number, the position of the character is irregular.
- Draw random interference points: draw some interference points with random color on the login code picture
- Draw random interference line: including 8 straight lines and 8 curves
- Save picture
Sample code
from PIL import Image, ImageDraw, ImageFont
from random import choice, randint, randrange
import string

# Candidate character set, upper and lower case letters + numbers
chrs = string.ascii_letters + string.digits


def rand_chars(length):
  """
  return length Random string
  """
  result = ''.join(choice(chrs) for _ in range(length))
  return result

def rand_color():
  """
  Set random color
  """
  r = randint(0, 255)
  g = randint(0, 255)
  b = randint(0, 255)
  return (r, g, b)

def draw_rand_line(num, size, draw):
    """
    Draw random interference line
    """
    # Draw random interference lines, which are set to 8 here
    for i in range(num):
        start = (0, randrange(size[1]))
        end = (size[0], randrange(size[1]))
        draw.line([start, end], fill=rand_color(), width=1)

    # Draw a random arc
    for i in range(8):
        start = (-50, -50) # The starting position looks like an arc only when it is outside
        end = (size[0]+10, randint(0, size[1]+10))
        draw.arc(start+end, 0, 360, fill=rand_color())

def draw_rand_point(size, draw):
    """
    Draw random interference points
    """
    for i in range(int(size[0]*size[1]*0.07)): # Interference pixels with 7% density
        draw.point((randrange(size[0]), randrange(size[1])), fill=rand_color()) # The range of range is left open and right closed

def verify_code(size, chrNumber, bgcolor=(255, 255, 255)):
    """
    Define the picture size, verification code length and background color
    """
    # Create a blank image
    image = Image.new('RGB', size, bgcolor)

    # Create drawing objects
    draw = ImageDraw.Draw(image)

    # Create font object
    font = ImageFont.truetype('c:\\windows\\fonts\\Arial.ttf', 48) # Select a system font

    # Generate and calculate the width and height of random characters
    text = rand_chars(chrNumber)
    width, height = draw.textsize(text, font)

    # Draw string
    x_start = 5
    char_w = width // chrNumber - 2 # calculates the width of each character
    for i in range(chrNumber):
        position = (x_start, (size[1]-height)//2+randint(-10, 10)) # character coordinate, Y coordinate floating up and down
        draw.text(xy=position, text=text[i], font=font, fill=rand_color()) # Draw function
        x_start += char_w + 1

    image.show()


    # Draw interference pixels with random colors and random positions
    draw_rand_point(size, draw)
    image.show()

    # Draw interference line
    draw_rand_line(8, size, draw)
    image.show()

    # Save picture
    image.save('Veri_code.jpg')

if __name__ == "__main__":
    # load_image()
    verify_code((200, 100), 6, (255, 255, 255))
Operation results
Picture 1: draw 6 characters with random colors

Picture 2: adding random interference points
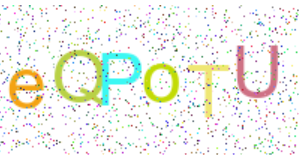
Picture 3: adding random interference lines