1. New Construction
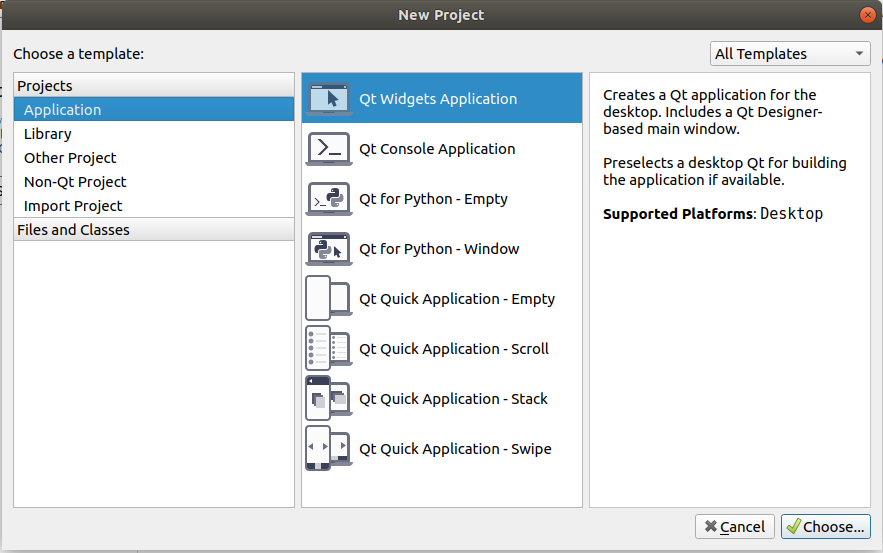
Select New Project - > Application - > Qt Widgets Application - > Choose in the Welcom interface
Enter the project name Name, and select the project storage path, click Next. The next page continues to click Next (as the default project path, you decide not to check).

Select Base class as Qwidget, enter Class name (custom), uncheck Generate form (no ui file added), click Next, and then click Finish, the project will be created.

2. Introduction of Project Documents
2.1 main.cpp
#include "mywidget.h"
/*
 * QApplication For application classes
 * Qt The header file does not have. h. The first two letters are capitalized.
 * Qt The class name is the same as the header file name
 */
#include <QApplication>

int main(int argc, char *argv[])
{
    // An application has objects with only one application class
    // Here a is the application class object
    QApplication a(argc, argv);

    // myWidget was created when the project was created and inherited from QWidge
    // QWidget is a window base class
    myWidget w;

    // Windows create default hides that need to be displayed artificially
    w.show();

    // Amount to:
    // a.exec();
    // return 0;
    // The exec() function is to keep the program executing and waiting for events to happen.
    return a.exec();
}
The whole framework of main file is as follows:
#include <QApplication>

int main(int argc, char *argv[])
{
    QApplication a(argc, argv);

    // Code

    return a.exec();
}
2.2 mywidget.h
#ifndef MYWIDGET_H
#define MYWIDGET_H

#include <QWidget>

// Create a class myWidget that inherits from QWidget
class myWidget : public QWidget
{
    Q_OBJECT  // Signal and slot need not be annotated.

public:
    myWidget(QWidget *parent = 0);  // Constructor: Automatically executes when creating objects
    ~myWidget();  // Attribute function
};

#endif  // MYWIDGET_H
2. 3 HelloWorld.pro
#-------------------------------------------------
#
# Project created by QtCreator 2019-08-06T15:06:28
#
#-------------------------------------------------
# use#Note line

# Add required modules
QT       += core gui

# If the current version is higher than Qt4, add widgets module
greaterThan(QT_MAJOR_VERSION, 4): QT += widgets

# HelloWorld is the name of the generated executable file
TARGET = HelloWorld

# Make the type of makefile as an application
TEMPLATE = app

# The following define makes your compiler emit warnings if you use
# any feature of Qt which has been marked as deprecated (the exact warnings
# depend on your compiler). Please consult the documentation of the
# deprecated API in order to know how to port your code away from it.
DEFINES += QT_DEPRECATED_WARNINGS

# You can also make your code fail to compile if you use deprecated APIs.
# In order to do so, uncomment the following line.
# You can also select to disable deprecated APIs only up to a certain version of Qt.
#DEFINES += QT_DISABLE_DEPRECATED_BEFORE=0x060000    # disables all the APIs deprecated before Qt 6.0.0

CONFIG += c++11

# Source program files included in the project
SOURCES += \
        main.cpp \
        mywidget.cpp

# Header files included in the project
HEADERS += \
        mywidget.h

# Default rules for deployment.
qnx: target.path = /tmp/$${TARGET}/bin
else: unix:!android: target.path = /opt/$${TARGET}/bin
!isEmpty(target.path): INSTALLS += target
3. Running program
Use the Ctrl + R shortcut key, or click on the R UN icon in the lower left corner:
After running, a blank window named HelloWorld will be displayed.
4. The first Hello World program
(Complete procedures will be provided at the end of this article)
4.1 New blank window
Now let's create another blank project and write a Hello World program from scratch.
Click File - > New File or Project, or use the shortcut key Ctrl + N. This time we choose Other Project - > Empty qmake - > Choose.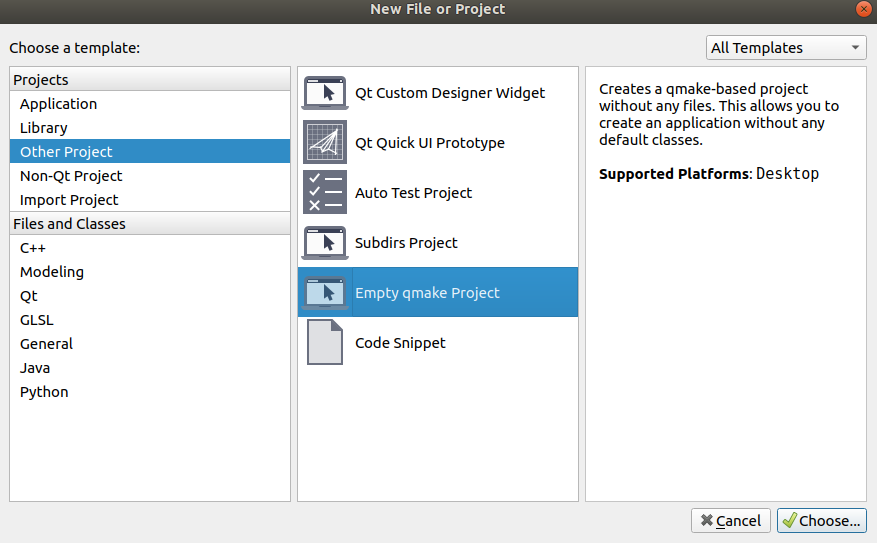
Then enter the project name, select the project storage path, and then all the way Next, Finish.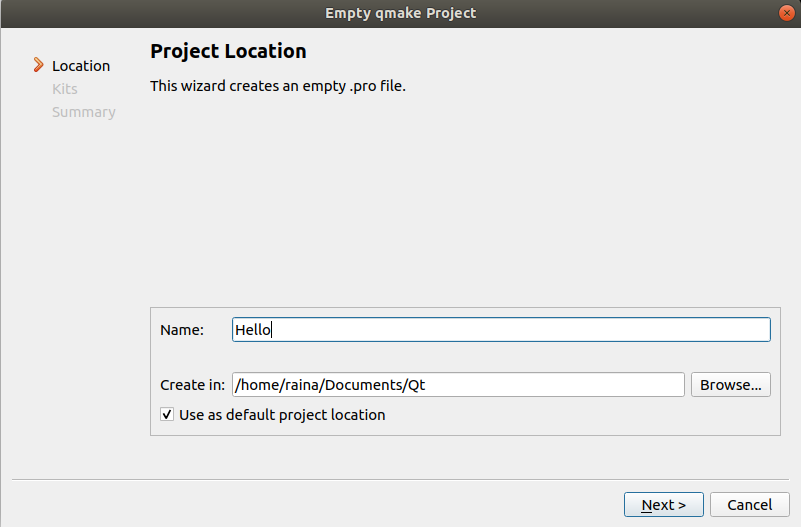
The newly generated project has only one empty Hello.pro file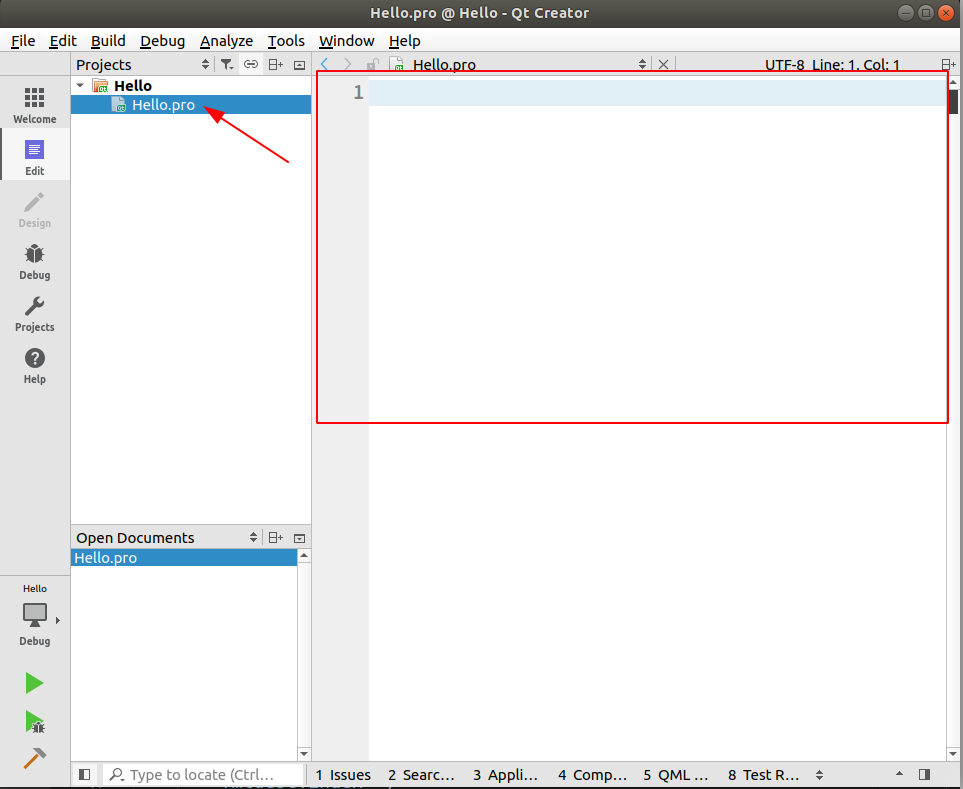
Firstly, add the graphical interface module in Hello.pro and input:
Qt += widgets
After that, add a main.cpp file, right-click the Hello folder - > Add New - > C++ - > C+ + Source File - > Choose
Name: main.cpp, save path Path by default, then click Next.
Then click Finish.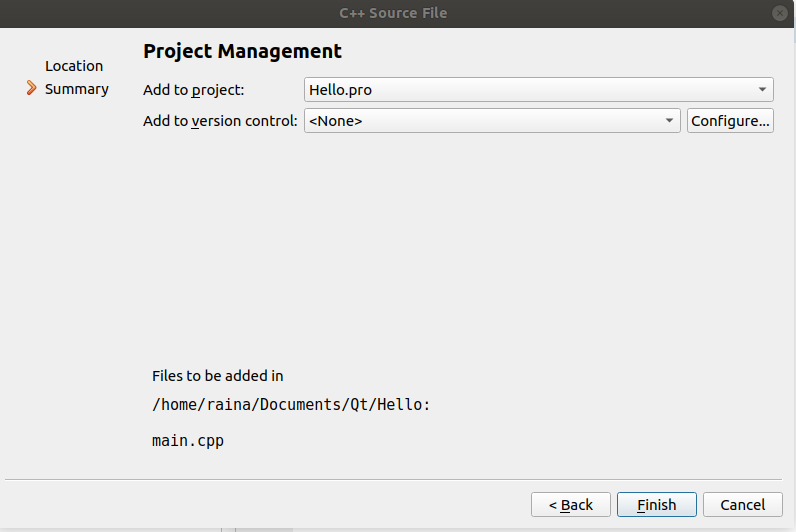
main.cpp was added to the project.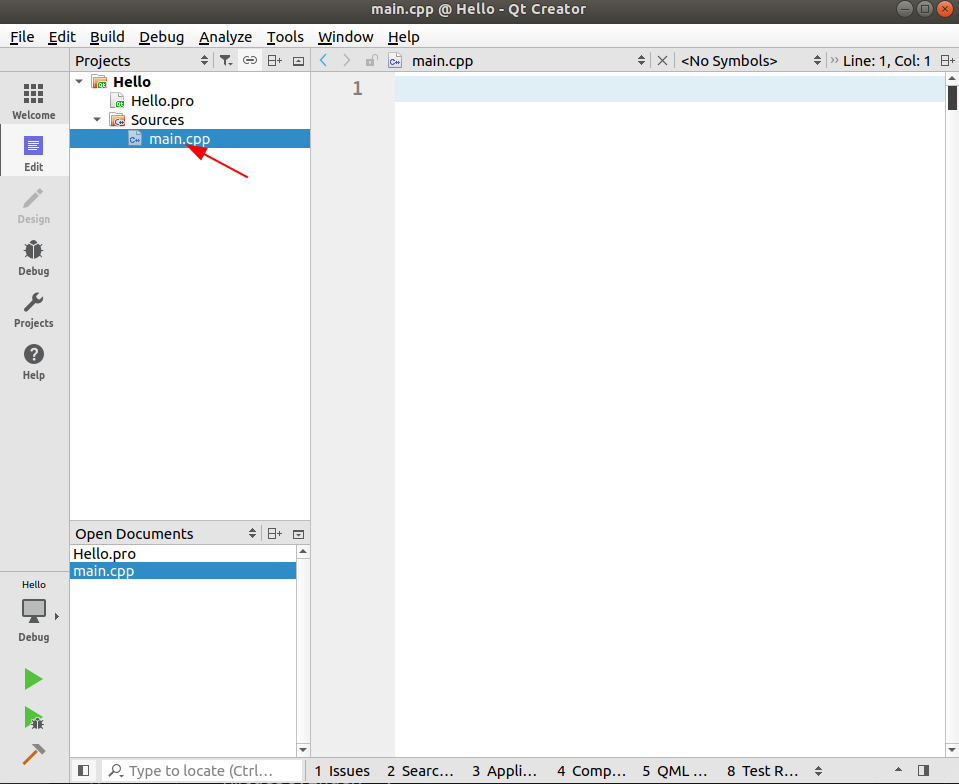
In the mian.cpp file, first add the framework mentioned above:
#include <QApplication>

int main(int argc, char *argv[])
{
    QApplication a(argc, argv);

    return a.exec();
}
After that, we need to create a window.
#include <QApplication>
#Include <QWidget>// Add the header file of window control

int main(int argc, char *argv[])
{
    QApplication a(argc, argv);

    QWidget w;  // Create a window object
    w.show();  // Display window

    return a.exec();
}
Now that Ctrl + R runs, a blank window appears.
4.2 The title of the window needs to be changed
Set the window title by setWindows Title ():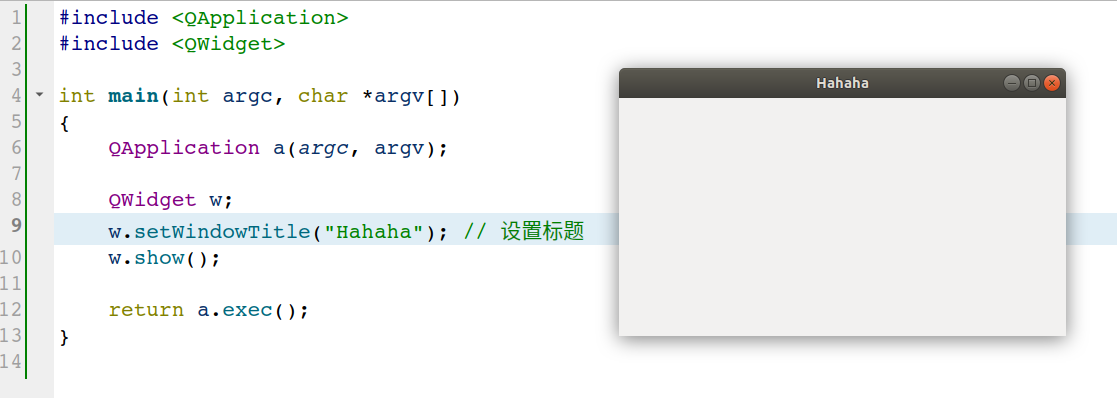
4.3 Add Button
In the same steps as creating a window, first add the header file, then create the object, and set the properties:
#include <QApplication>
#include <QWidget>
#include <QPushButton>

int main(int argc, char *argv[])
{
    QApplication a(argc, argv);

    QWidget w;
    w.setWindowTitle("Hahaha");
    w.show();

    QPushButton b;  // Create button objects
    b.setText("Click");  // Setting button content

    return a.exec();
}
After running, it was found that there was no button, so it should also be displayed artificially.
b.show(); // Display button b
Run again and the button appears:
But the button is not displayed in our window, but the button itself is a window, which is not the effect we want.
In Qt, objects and objects are independent (windows and buttons are independent here), but if an object is assigned a parent object, the object will be displayed on the parent object (if the window is the parent object of the button, the button will be displayed on the window). There are two ways to specify the parent object: (1) setParent; (2) SetParent ) Pass parameters through the constructor. If the parent object is specified, the child object will be automatically displayed after the parent object is displayed.
Now let's rewrite the button program:
#include <QApplication>
#include <QWidget>
#include <QPushButton>

int main(int argc, char *argv[])
{
    QApplication a(argc, argv);

    QWidget w;
    w.setWindowTitle("Hello World");

    QPushButton b;
    b.setText("Click");
    b.setParent(&w);

    w.show();
    return a.exec();
}
The button appears in our window: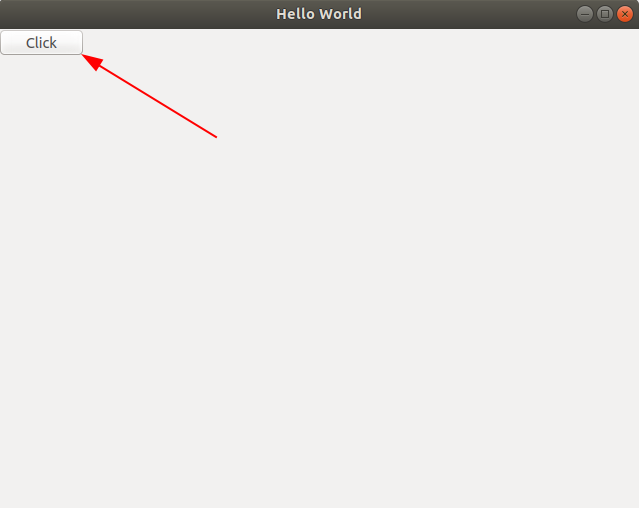
Set the button position by move():
b.move(100, 100);

appendix
main.cpp
#include <QApplication>
#include <QWidget>
#include <QPushButton>

int main(int argc, char *argv[])
{
    QApplication a(argc, argv);

    QWidget w;
    w.setWindowTitle("Hello World");

    QPushButton b;
    b.setText("Click");
    b.setParent(&w);
    b.move(100, 100);

    w.show();
    return a.exec();
}
Hello.pro
Qt += widgets

# The following two lines are added automatically
SOURCES += \
    main.cpp