1, What is rabbit MQ
Among the mainstream MQ message queues, Kafka and RabbitMQ are mainly specific. RabbitMQ message queue is based on AMQP
The protocol of AMQP is mainly oriented to message, queue, routing and publish / subscribe. At the same time, AMQP is in reliability
And security. AMQP protocol is mainly used in enterprise level fields for data consistency, stability,
The scenario with high reliability requirements also shows that RabbitMQ message queue middleware also has this feature, but
Compared with the performance of Kafka messages, it is more lossy in terms of performance and high throughput. RabbitMQ is specifically an open source Message Queuing service
It is mainly implemented based on AMQP protocol and written in Erlang language (which is mainly used in the field of router development and programming).
2, RabbitMQ setup
2.1 Erlang installation
To https://github.com/erlang/otp/releases/download/OTP-23.3.4.10/otp_src_23.3.4.10.tar.gz
Download the installation package at the address of and unzip it after successful downloading. The specific operations are as follows:
tar zxvf otp_src_23.0.tar.gz  -C /usr/local/src/
#After decompression, it is displayed as follows
[root@centos-master ~]# cd /usr/local/src/
[root@centos-master src]# ls
otp_src_23.0
After successful decompression, compile and install. The command used for installation is make & make install, as follows:
#Third party libraries need to be installed before compilation
yum -y install ncurses-devel
#Enter OTP_ src_ Under the directory of 23.0, start compiling and installing, as follows
./configure --prefix=/usr/local/erlang
make && make install

#Configure erlang environment
export ERLANG_HOME=/usr/local/erlang
export PATH=$PATH:$ERLANG_HOME/bin:

#Verify the environment of erl
[root@centos-master ~]# erl
Erlang/OTP 23 [erts-11.0] [source] [64-bit] [smp:2:2] [ds:2:2:10] [async-threads:1]

Eshell V11.0  (abort with ^G)
1> io:format("Hello World")
Note: the above mainly shows the installation process of Erlang environment and verifying whether the environment has been built.
2.2. Installing RabbitMQ
After downloading the installation package, the next step is to unzip and start specific services. Special instructions are needed here. RabbitMQ is used
The port is 5672 and the port used by the console service is 15672, so these two ports cannot be occupied.
[root@centos-master mq]# xz -d rabbitmq-server-generic-unix-3.8.6.tar.xz
[root@centos-master mq]# ls
otp_src_23.0.tar.gz  rabbitmq-server-generic-unix-3.8.6.tar
[root@centos-master mq] tar xvf rabbitmq-server-generic-unix-3.8.6.tar  -C /usr/local/
#Modify name
mv rabbitmq_server-3.8.6/ rabbitmq
Next, we will demonstrate the service started by the service and verify whether the service is started, as follows:
[root@centos-master sbin]# ./rabbitmq-server  start
Configuring logger redirection

  ##  ##      RabbitMQ 3.8.6
  ##  ##
  ##########  Copyright (c) 2007-2020 VMware, Inc. or its affiliates.
  ######  ##
  ##########  Licensed under the MPL 2.0. Website: https://rabbitmq.com

  Doc guides: https://rabbitmq.com/documentation.html
  Support:    https://rabbitmq.com/contact.html
  Tutorials:  https://rabbitmq.com/getstarted.html
  Monitoring: https://rabbitmq.com/monitoring.html

  Logs: /usr/local/rabbitmq/var/log/rabbitmq/rabbit@centos-master.log
        /usr/local/rabbitmq/var/log/rabbitmq/rabbit@centos-master_upgrade.log

  Config file(s): (none)

  Starting broker... completed with 0 plugins.

#Background startup mode
sbin/rabbitmq-server start  -detached
#View the monitored port information
[root@centos-master ~]# lsof -i:5672
COMMAND    PID USER   FD   TYPE DEVICE SIZE/OFF NODE NAME
beam.smp 11970 root   96u  IPv6  66897      0t0  TCP *:amqp (LISTEN)
Note: as can be seen above, our service has been started successfully.
2.3. Create an account
First, RabbitMQ has a default user. The default user is guest/guest. You can create a new console account, but it is not created
The user must also have an administrator's account. The specific operations are as follows:
[root@centos-master sbin]# rabbitmqctl add_user wuya java
Adding user "wuya" ...
[root@centos-master sbin]# rabbitmqctl set_user_tags wuya  administrator
Setting tags for user "wuya" to [administrator] ...

#After the user is created successfully, you need to give specific operation permissions
[root@centos-master sbin]# rabbitmqctl set_permissions -p / wuya  ".*" ".*" ".*"
Setting permissions for user "wuya" in vhost "/" ...
2.4. Enable WEB console
Next, we enable the WEB console of RabbitMQ. Generally, we use the console for O & M management and maintenance, and
To view the message, start the WEB console. The specific operations are as follows:
[root@centos-master sbin]# rabbitmq-plugins enable rabbitmq_management
Enabling plugins on node rabbit@centos-master:
rabbitmq_management
The following plugins have been configured:
rabbitmq_management
rabbitmq_management_agent
rabbitmq_web_dispatch
Applying plugin configuration to rabbit@centos-master...
The following plugins have been enabled:
rabbitmq_management
rabbitmq_management_agent
rabbitmq_web_dispatch

started 3 plugins.
Down visit http://101.**.***84:15672/ Access the WEB console, as shown below:
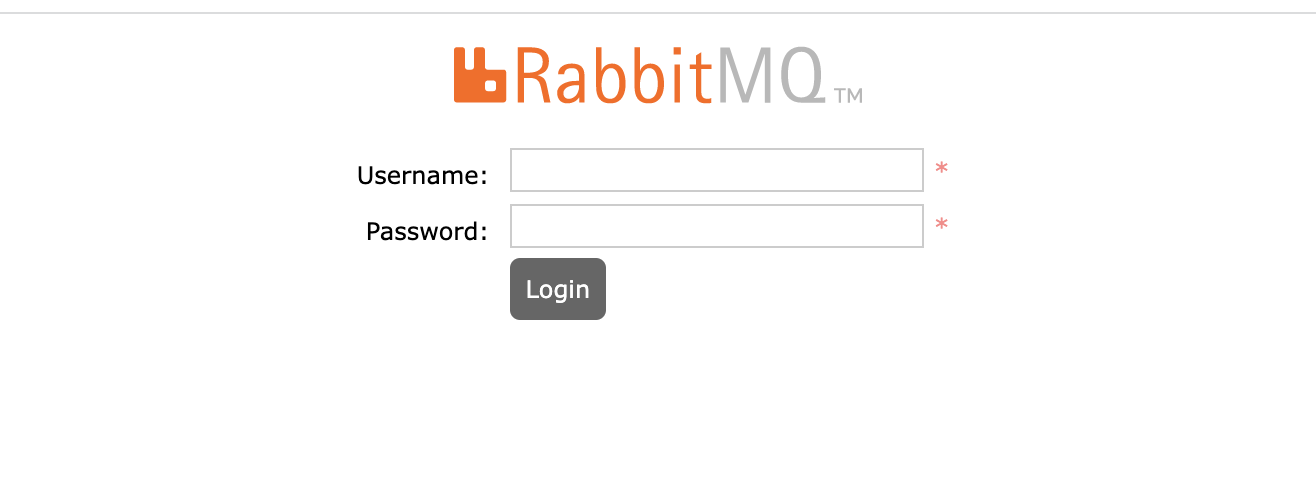
Next, use the user just created to log in. After logging in, the main interface will be displayed as follows:
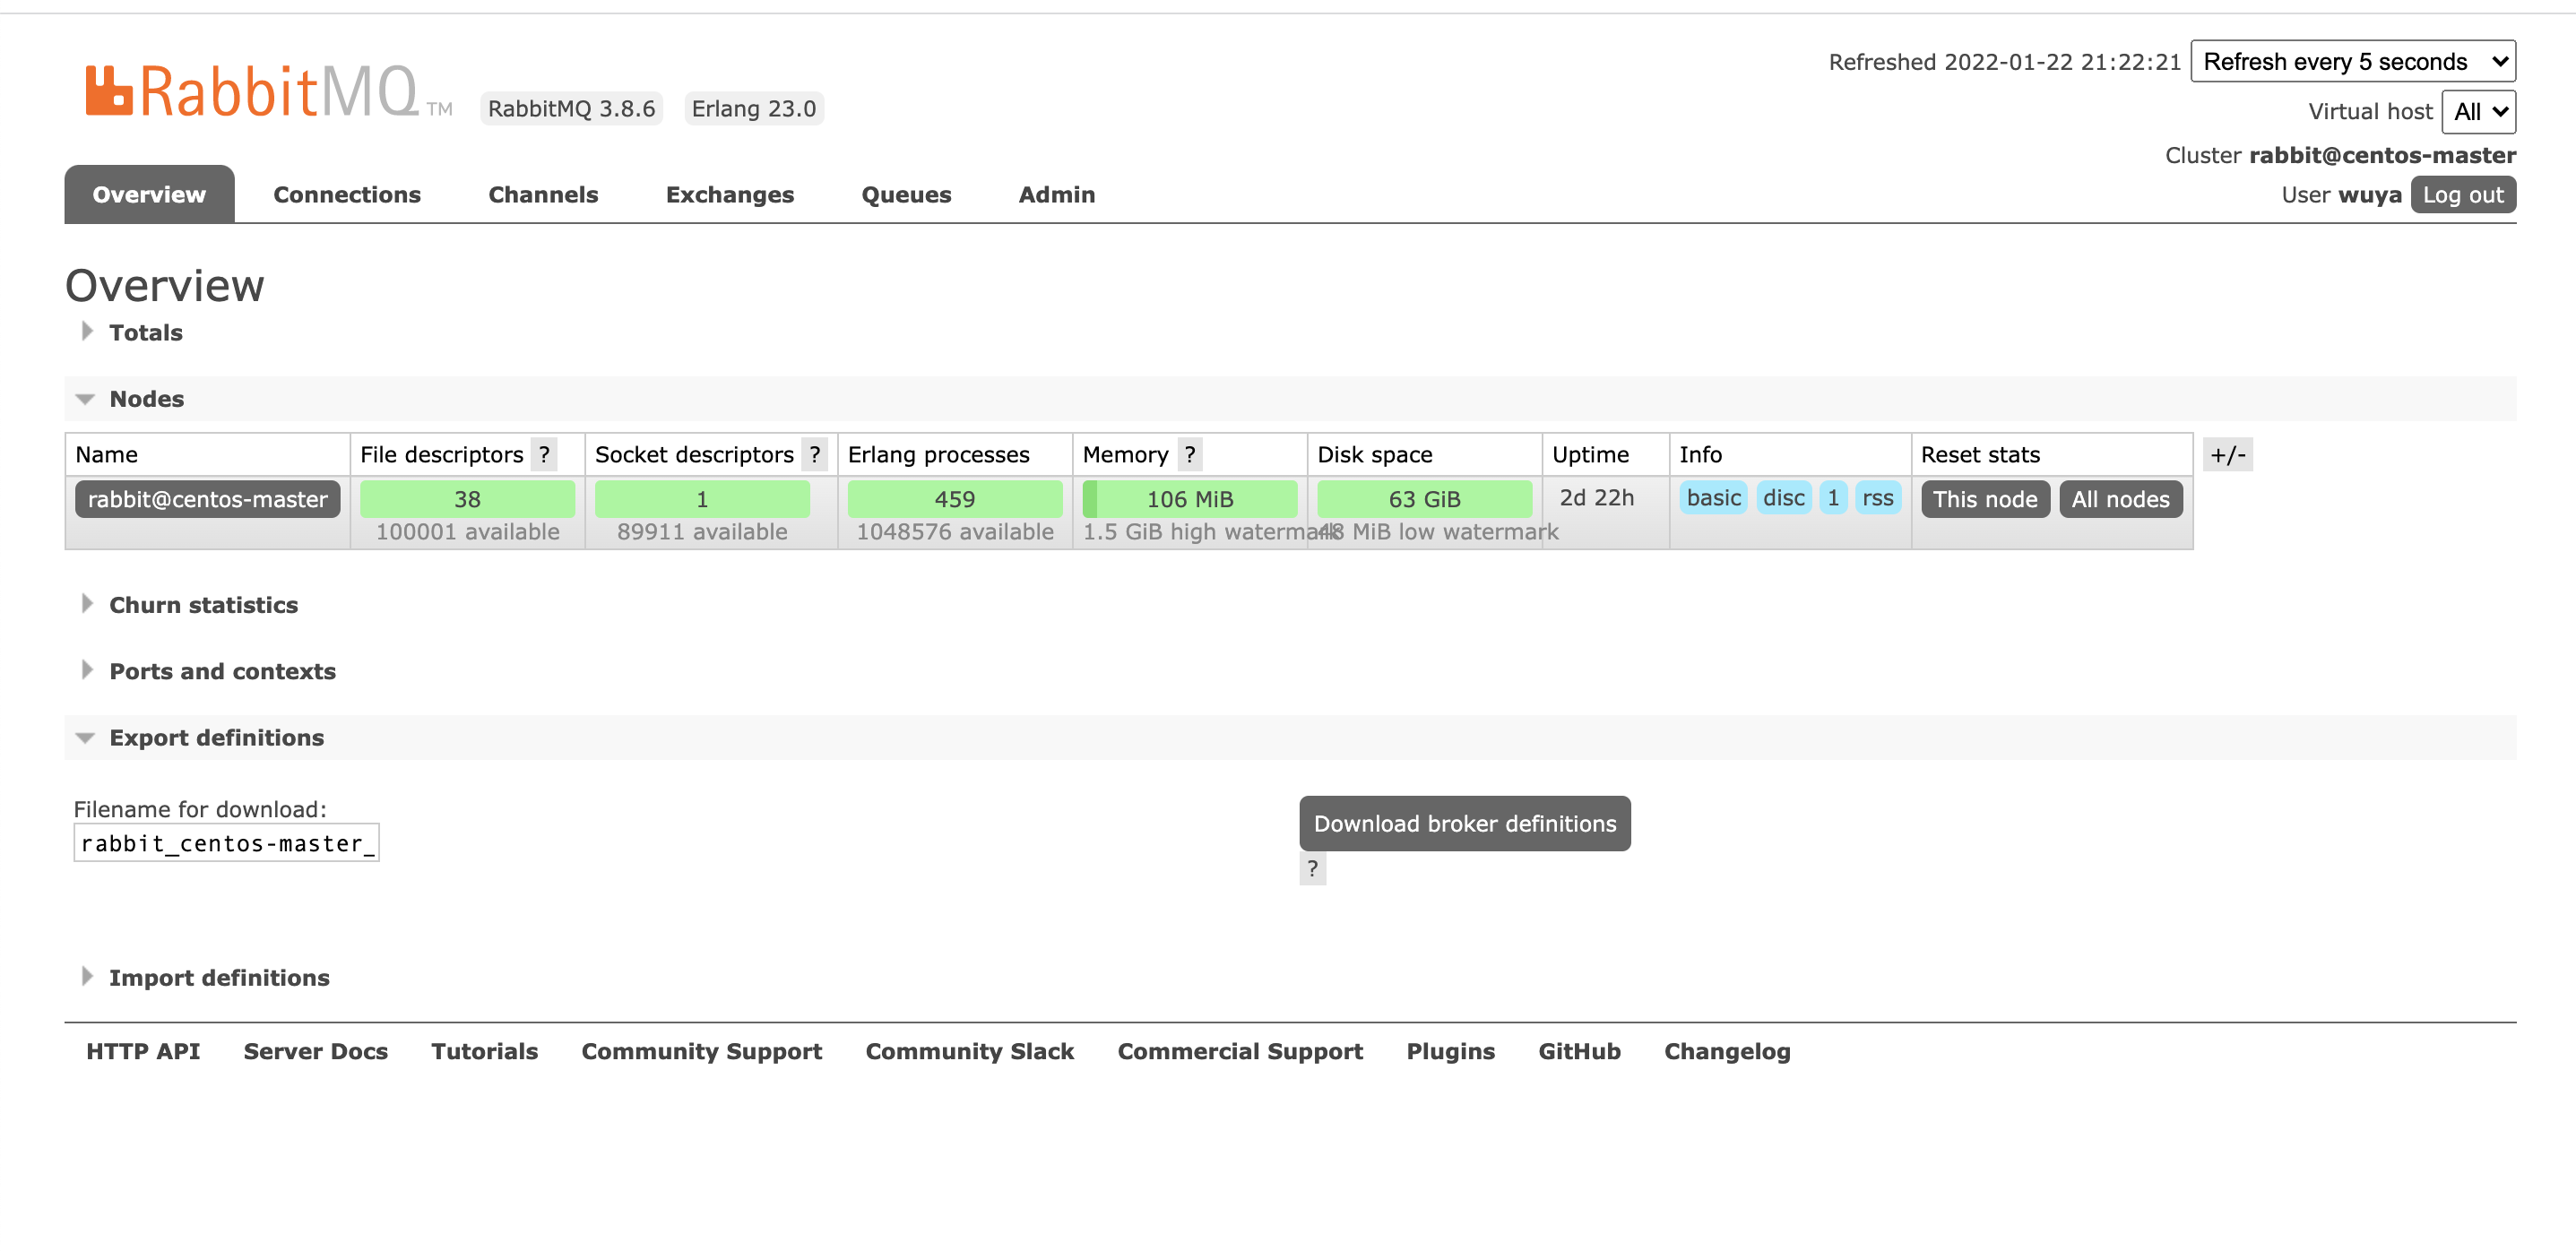
As shown above, the environment of our RabbitMQ message queue server has been set up. Thank you for your reading. It will be updated continuously in the future.