Pico | raspberry pie Laboratory (nxez.com) Download the desired image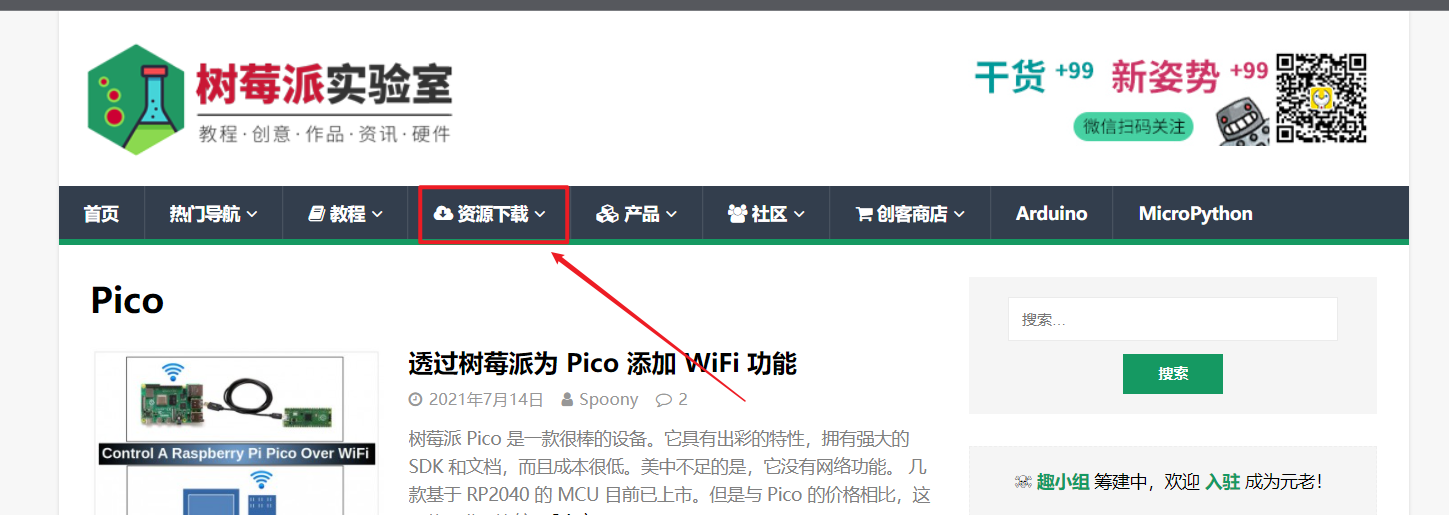
The website is still very good, and there are some tutorials to facilitate query and learning
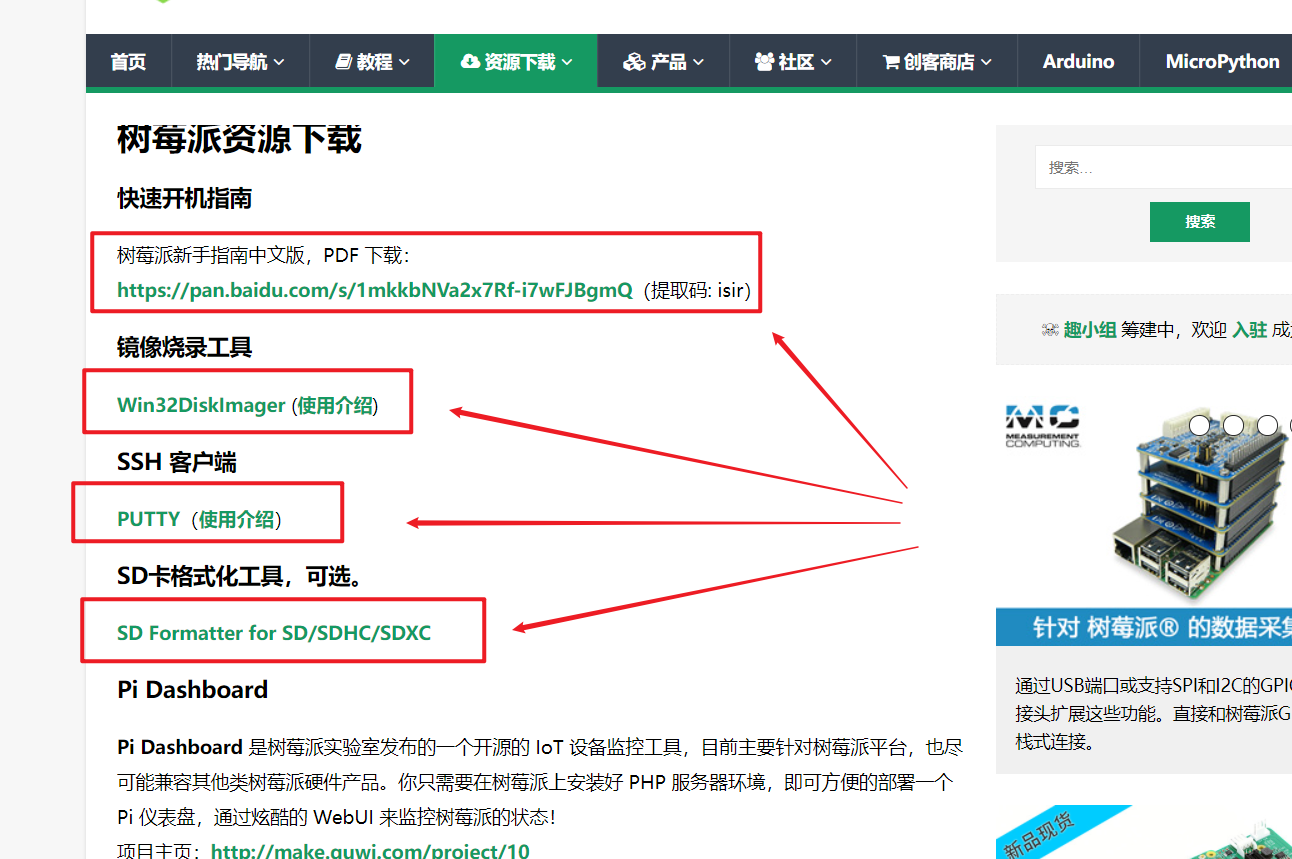
Relevant tools are provided on the page, which can be downloaded easily. Of course, I still use the old tools, which are easy to use. I don't want to change hhh


First, find an sd card larger than 8G. Here we recommend a 16 or 32G card. Generally, this card looks like 1G a dollar. It's almost the same. It's basically no problem to use.
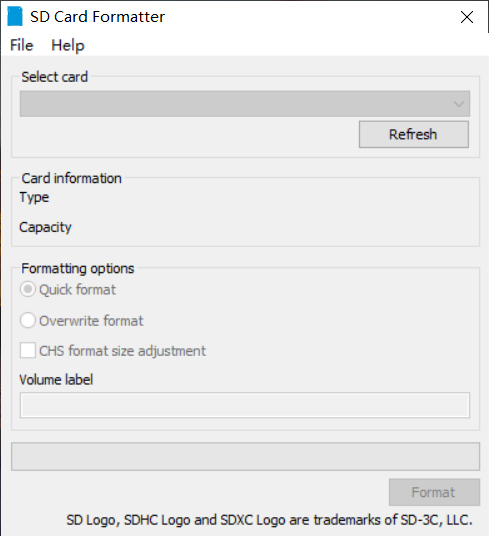
- Format the card using the sd # card # formatter tool
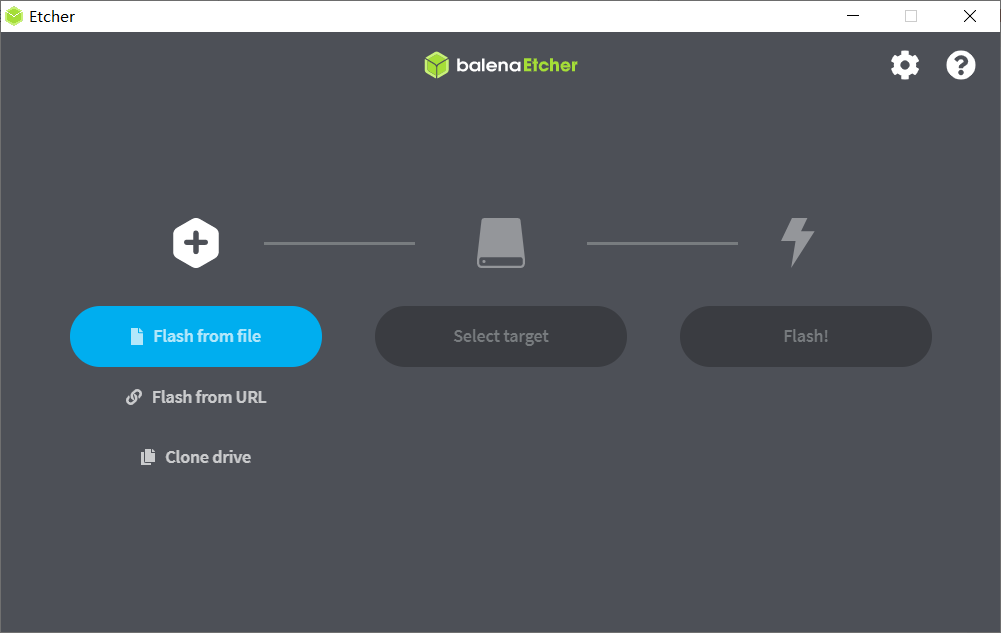
- Burn the downloaded image using the balenaEtcher tool
- Preparation for setting vnc remote login
Open the boot folder on the computer and the sd card will appear after burning
New file (no suffix)
ssh
Create a new wifi setting file. You can select your own hotspot or router. The file name is as follows
wpa_supplicant.conf
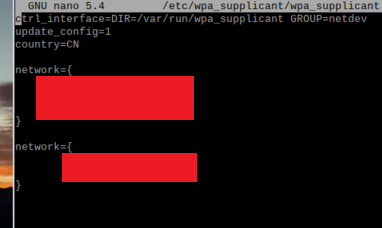
Edit the network configuration. See the Chinese section below for details
country=CN
ctrl_interface=DIR=/var/run/wpa_supplicant GROUP=netdev
update_config=1
network={
 ssid="WiFi name"
 psk="password"
 priority=1
}

network={
 ssid="the second WiFi name"
 psk="Second password"
 priority=2 The higher the number, the higher the priority, and the connection priority
}
- ssh login for basic settings
Scan tool found raspberry pie
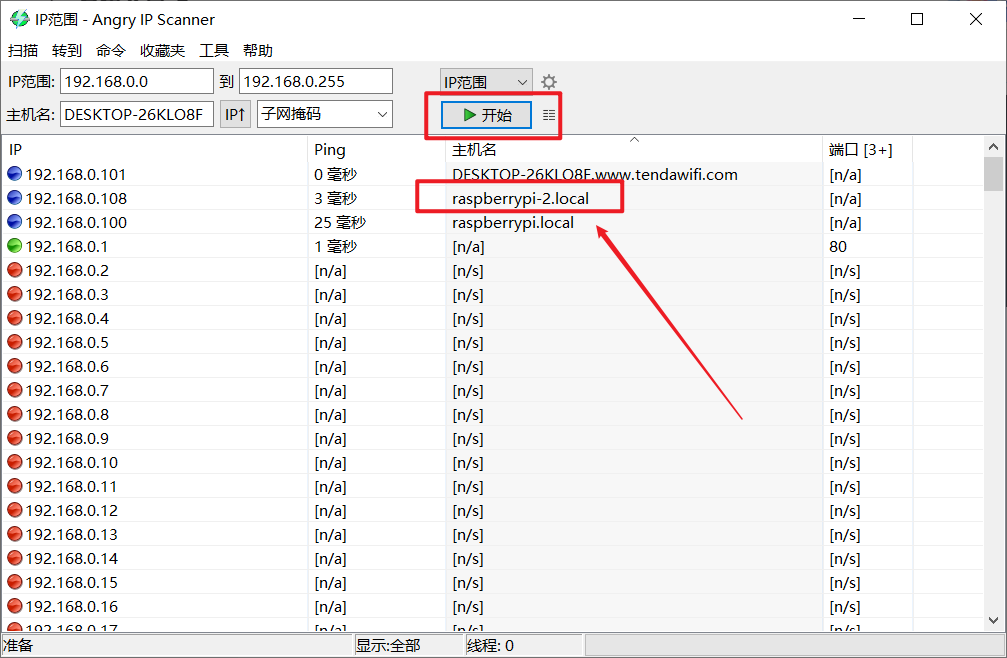
Sorry, there are two here. Just find the one we need
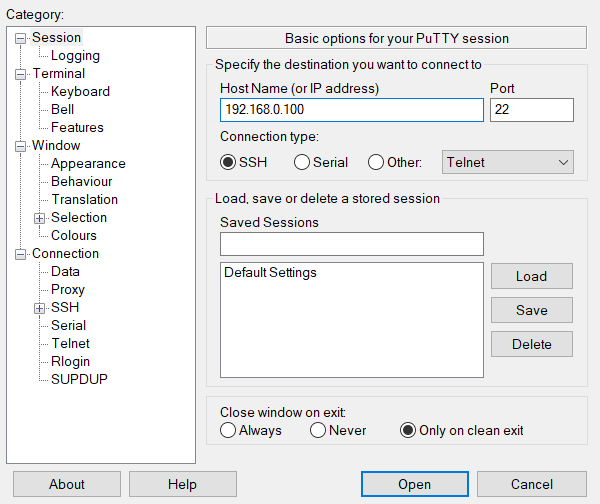
Enter the account and password to log in
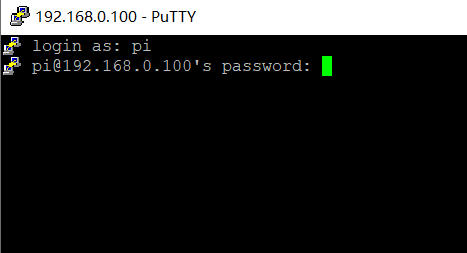
Default account and password of official system
pi
raspberry
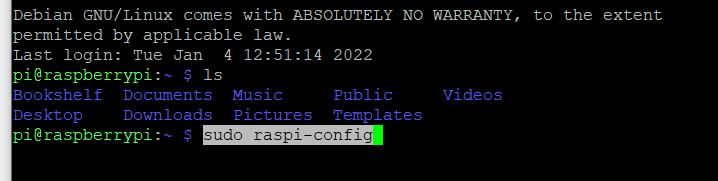
Next, configure vnc
sudo raspi-config
Right click here to copy
Option 3
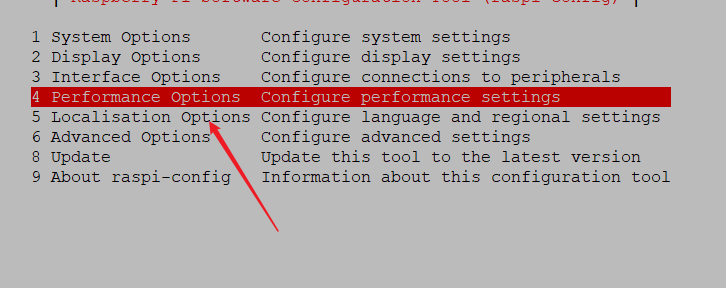
Press Tab to enter the selection and return button below
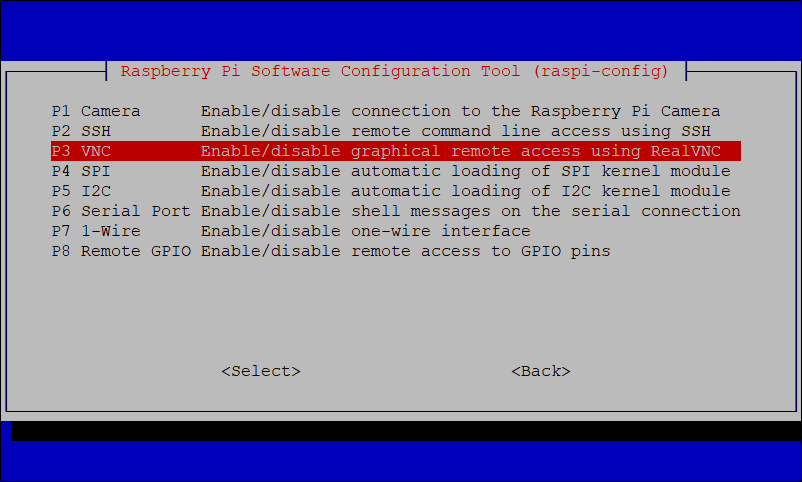
Select the vnc option and enable it, and then exit
- Remote login using vnc
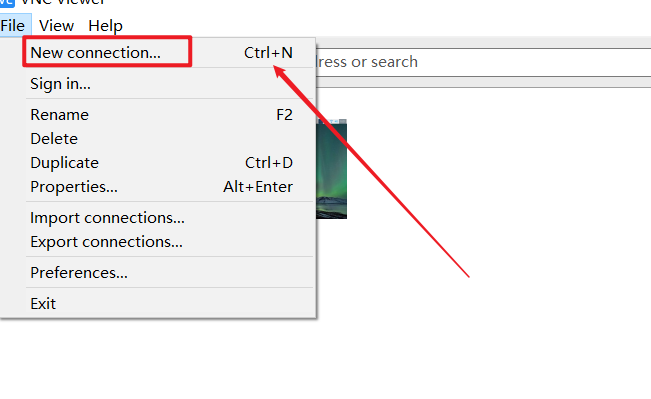
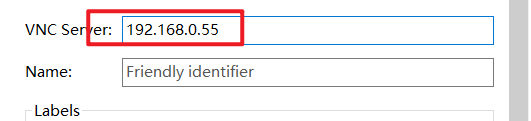
vnc create a new connection
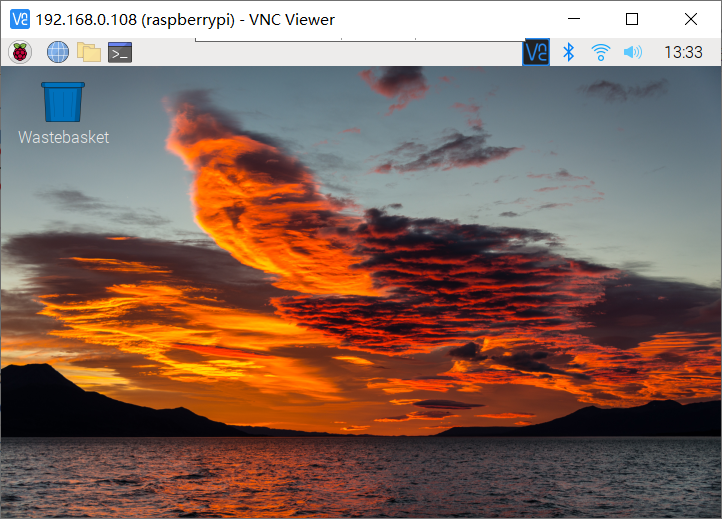
Still, you can connect by entering the ip address, and then you can enter the password to enter the desktop.
Then we change the source, which is a necessary operation. Changing the software source is convenient for us to use other functions normally
To change the source of raspberry pie, you need to replace the software source and system source. The first step is to back up these two sources (you can skip them and generally won't use them again)
sudo cp /etc/apt/sources.list /etc/apt/sources.list.bak
sudo cp /etc/apt/sources.list.d/raspi.list /etc/apt/sources.list.d/raspi.list.bak
Then update the software source and enter (as is the vim editor)
sudo nano /etc/apt/sources.list
Use # notes to the original content and replace with the following
deb http://mirrors.tuna.tsinghua.edu.cn/raspbian/raspbian/ buster main non-free contrib
deb-src http://mirrors.tuna.tsinghua.edu.cn/raspbian/raspbian/ buster main non-free contrib
Then press ctrl+x and y save to exit
Update system source, enter
sudo nano /etc/apt/sources.list.d/raspi.list
Use # notes to the original content and replace with the following
deb http://mirrors.ustc.edu.cn/archive.raspberrypi.org/debian/ stretch main ui
Then press ctrl+x and y save to exit
Later update
sudo apt-get update
sudo apt-get upgrade
Wait until the final update is complete
Let's set the static ip address
Because we may often have to change locations to use raspberry pie, such as dormitory use, laboratory use, sometimes mobile phone hotspots, and sometimes other routers, which will lead to our raspberry pie ip address is not fixed, so it is very troublesome to modify it every time. Therefore, I suggest using fixed ip here. Here are some of my learning records.
Enter, check the hotspots we set before, and add the possible wifi and password
sudo nano /etc/wpa_supplicant/wpa_supplicant.conf
Enter after exit
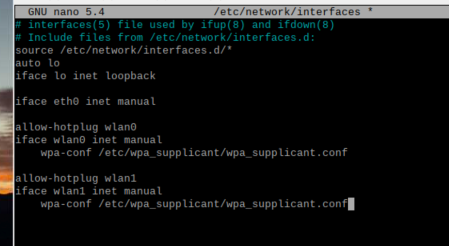
sudo nano /etc/network/interfaces
The following content is added later, which probably means to log in automatically using the previous WIFI password
auto lo
iface lo inet loopback

iface eth0 inet manual

allow-hotplug wlan0
iface wlan0 inet manual
    wpa-conf /etc/wpa_supplicant/wpa_supplicant.conf

allow-hotplug wlan1
iface wlan1 inet manual
    wpa-conf /etc/wpa_supplicant/wpa_supplicant.conf
As shown in the figure below
Enter after
sudo nano /etc/dhcpcd.conf
Add the following code at the end
interface wlan0
arping 192.168.0.1


profile 192.168.0.1
static ip_address=192.168.0.55/24
static routers=192.168.0.1
static domain_name_servers=114.114.114.114
It can be seen that when connecting 192.168.0.1, our ip address is 192.168.0.55
Restart and try to see if there is any change. Enter
sudo reboot
Let's test it with ip scanning tool
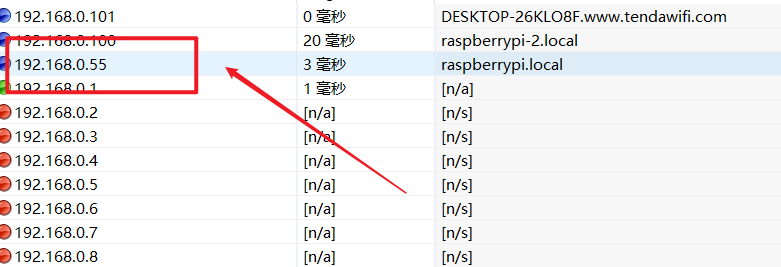
Sure enough, it's 192.168.0.55. That's it. Log in with vnc and enter normally.
In addition, what do you think of the host name
1. Use the ip scanning tool. The green one is
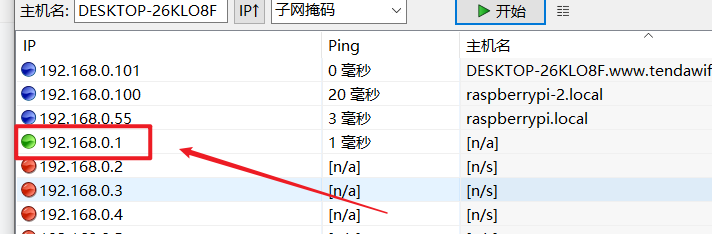
2. Computer view network here
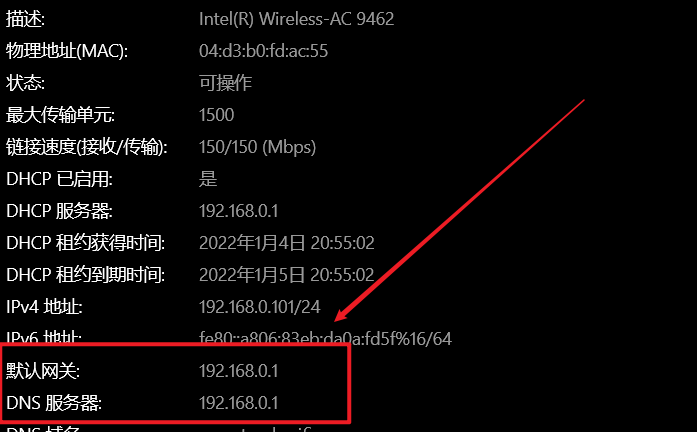
Then, when setting the static ip, you can't set it at will. You can only change the last digit

Because this is in the same LAN, otherwise it will not be in this LAN, and the device will certainly not be found. It is modified to 192.168.0+xxx.