React-Native brings new horizons to the front-end. You can use the web development language javascript to implement Native development (ios/android). Now the front-end can do more.
The Use of Reaction-Navigation
Reaction-native uses navigators to implement native routing functions, but the official website is too brief, the only entry document pointed out is English.
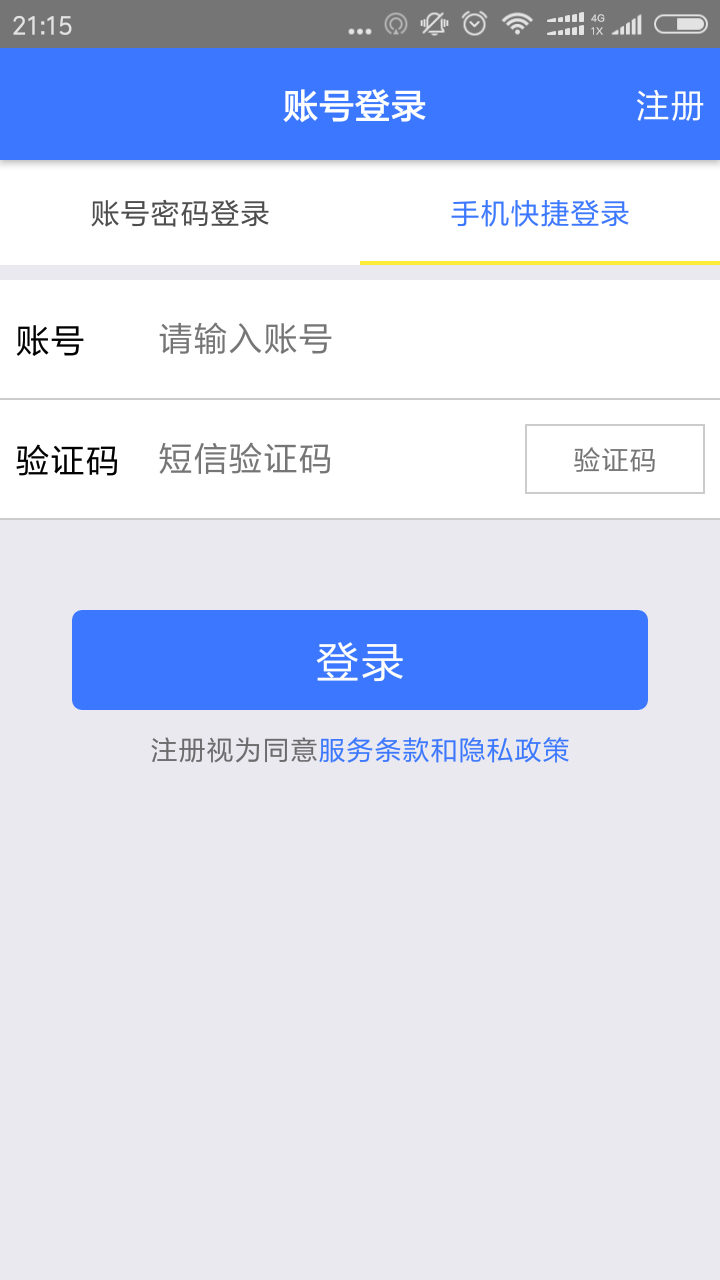
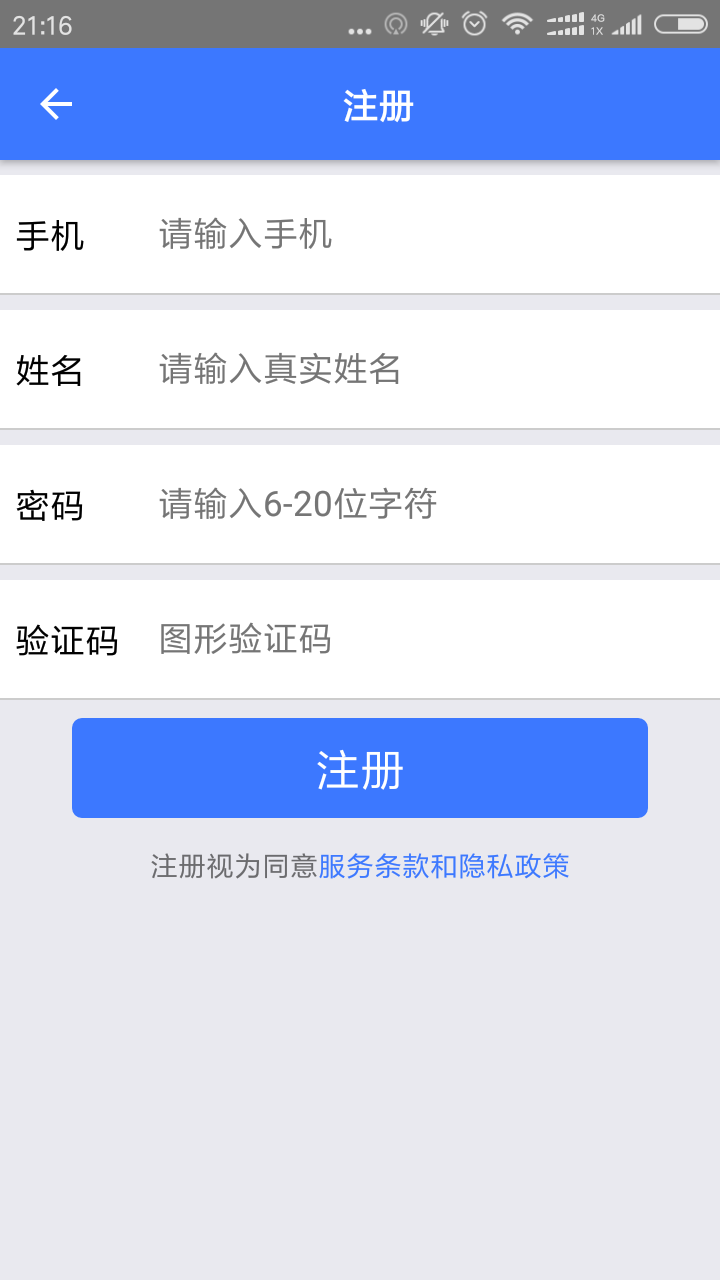
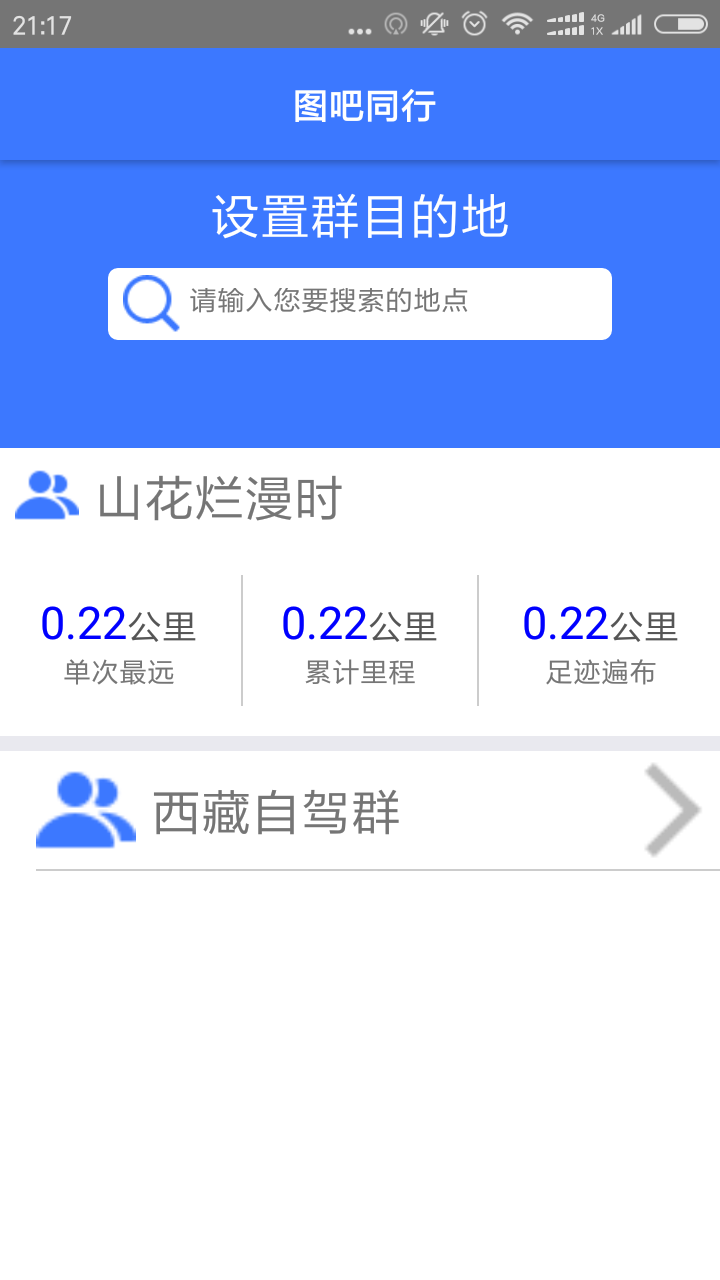
Effect Diagram

Basic knowledge
Let's start with a review of the basic knowledge of react-navigation, using only a few common points in our project.
First, react-navigation is introduced.
It's the same way that other modules are introduced. First download the corresponding dependency packages.
npm install --save react-navigationIntroduce where it is used in the project.
import { StackNavigator,TabNavigator } from "react-navigation";Finally, the routing configuration is carried out:
/**
 * @App: Simple routing configuration in my project
 */
const MyApp = TabNavigator({
    Login:{
        screen:LoginScreen
   },
    OtherLogin:{
        screen:OtherLoginScreen
    }
},{
    tabBarOptions:{

        inactiveTintColor: '#000',
        activeTintColor: Env.color.mainColor,
        style:{
            backgroundColor:"#fff",
        },
        labelStyle:{
            fontSize: Env.screen.baseFontSize * 30
        }
    }
});
/**
 * Note: App is a routing configuration, and the parameter of StackNavigator is an object. The attributes of this object represent routing, and the values of attributes represent the interface corresponding to routing, or another routing configuration (MyApp is not an interface, but a TabNavigator).
 */
var App = StackNavigator({
    Login:{screen:MyApp},
    Register:{screen:RegisterScreen},
    Home: {
        screen:HomeScreen
    },
    Search: {
        screen:SearchScreen
    },
    SearchResult:{
        screen:SearchResultScreen
    },
    WatchMap:{
        screen:WatchMapScreen
    },
    Destination:{
        screen:DestinationScreen
    },
    SetPage:{
        screen:SetPageScreen
    },
    ChatPage:{
        screen:ChatPageScreen
    }
},{
    headerStyle:{
        height:0
    },
});
Second, how react-navigation's'Tab Navigator'and'Stack Navigator' are used
Stack Navigator: Form a routing similar to the data structure of the'stack'. When a new interface is added, we push into a screen. If we exit, we use pop () to step back to the top-level routing.
Simple demo example:
import React from 'react';
import {
  AppRegistry,
  Text,
} from 'react-native';
import { StackNavigator } from 'react-navigation';

class HomeScreen extends React.Component {
  static navigationOptions = {
    title: 'Welcome',
  };
  render() {
    return <Text>Hello, Navigation!</Text>;
  }
}

const SimpleApp = StackNavigator({
  Home: { screen: HomeScreen },
});

AppRegistry.registerComponent('SimpleApp', () => SimpleApp);
TabNavigator: Similarly, it can also be used for such a simple configuration
import { TabNavigator } from "react-navigation";
//Interface 1
class RecentChatsScreen extends React.Component {
  render() {
    return <Text>List of recent chats</Text>
  }
}
//Interface 2
class AllContactsScreen extends React.Component {
  render() {
    return <Text>List of all contacts</Text>
  }
}
/**
 *@info:The following configuration. Formed a tab interface, can be clicked switching effect.
**/

const MainScreenNavigator = TabNavigator({
  Recent: { screen: RecentChatsScreen },
  All: { screen: AllContactsScreen },
});
Thirdly, config is the basic configuration.
For a basic tab switch, the style itself is important and is configured in navigation Options.
//Project examples
export default class LoginScreen extends Component{
    constructor(props){
        super(props);
        _this = this;
    }
   //In a Screen, here is the basic configuration, where title is the top title of your navigator, headerRight represents what is on the right side of your navigation, headerStyle represents navigation style, headerTitleStyle represents navigation Title style.
   //If your screen is a tab page, you also need to set a tabBar Label, which represents
    static navigationOptions = {
        title:"Account login",
        headerRight:<TouchableOpacity onPress={()=>{
            _this.props.navigation.navigate('Register')
        }}><Text style={[estyle.font_base,estyle.font_color_white,estyle.marginRight]}>register</Text></TouchableOpacity>,
        headerTintColor: Env.color.baseColor,

        headerStyle:{
            backgroundColor: Env.color.mainColor,
        },
        headerTitleStyle:{
            paddingLeft:Env.screen.baseFontSize * 250,
        },
        tabBarLabel:"Account password login",
    };

    render(){
        let _this = this;
        return (
            <View style={[estyle.fx1,estyle.paddingTop]}>
                <InputComponent them="Mobile phone" prompt="Please enter mobile phone"/>
                <InputComponent them="Password" prompt="Please input a password"/>
                <View style={[estyle.hegithLittle,estyle.clumnCenter,estyle.marginRight,{alignItems:'flex-end'}]}>
                    <Text style={[estyle.font_note,estyle.font_color_note]}>Forget the password</Text>
                </View>

                <View style={[estyle.hegithBase,estyle.rowCenter]}>
                    <BtnComponent style={[{width:Env.screen.width * 0.8,height:Env.screen.baseFontSize * 100}]} />
                </View>
            </View>
        )
    }
}
Sometimes, you can configure the navigation style of the tab interface, and you can configure the basic configuration in the Tab Navigator:
const MyApp = TabNavigator({
    Login:{
        screen:LoginScreen
   },
    OtherLogin:{
        screen:OtherLoginScreen
    }
},{
    //This is the key configuration, inactive represents the non-current display interface, active represents the current display interface, style represents the basic style, label Style represents a tab interface font related settings.
    tabBarOptions:{

        inactiveTintColor: '#000',
        activeTintColor: Env.color.mainColor,
        style:{
            backgroundColor:"#fff",
        },
        labelStyle:{
            fontSize: Env.screen.baseFontSize * 30
        }
    }
});
This is a basic configuration. If you need to study it carefully, my project github address
https://github.com/liwudi/we_travel_native.git
Introduction to Navigator's Official Website:
https://reactnavigation.org/docs/intro/