1 problem background
Biometric technology is widely used in government, military, banking, social welfare, e-commerce, security and defense and other fields. With the further maturity of technology and the improvement of social recognition, face recognition technology included in biometric technology will be applied in more fields, such as:
1. Enterprise and residential safety and management.
2. E-passport and ID card.
3. Public security, justice and criminal investigation.
4. Self service.
5. Information security.
In this experiment, the following contents will be completed:
1 face, eye and smile recognition with Harr cascade classifier of opencv
2. Train your own cascade classifier. Refer to the official website for the training process: https://docs.opencv.org/2.4/doc/user_guide/ug_traincascade.html
2 environment configuration
2.1 installing opencv
activate tf2
pip install opencv-pytho
2.2 testing
After successful installation, it can be tested in TF2 (tensorflow 2.0) environment

3 face detection
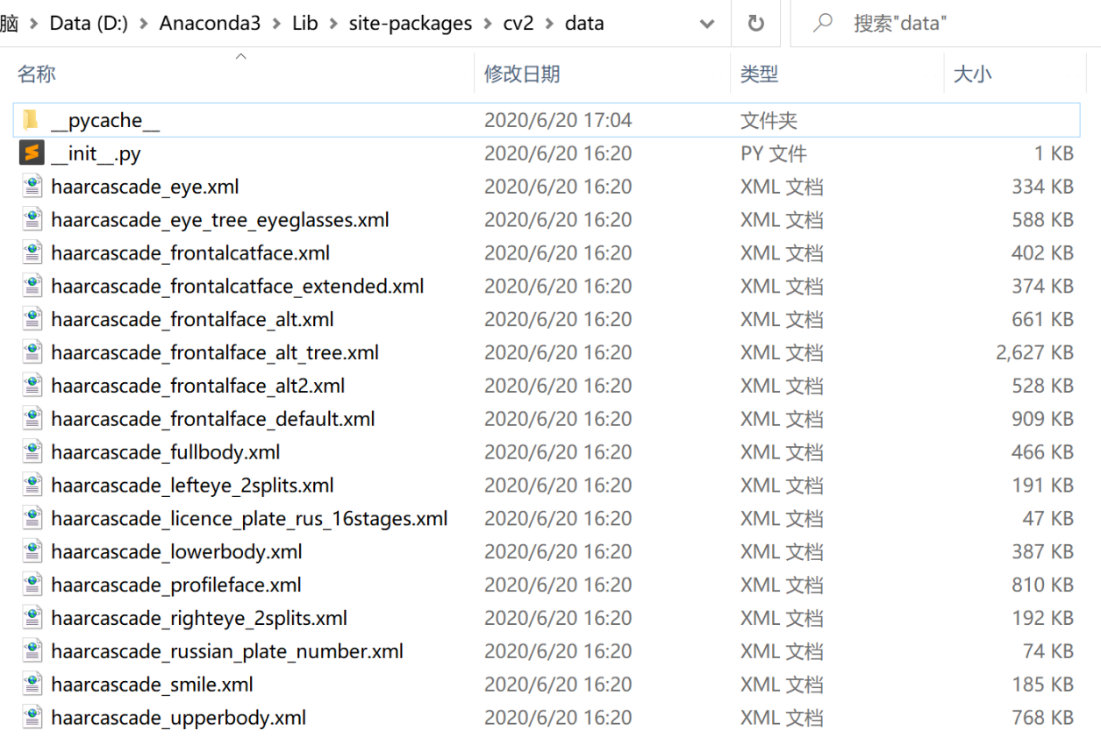
You can see the recognition model of opencv as follows:
3.1 static picture detection
eg.py:
# Import opencv Python
import cv2

# Read in a picture. The path of the picture is in quotation marks. You need to set it manually
img = cv2.imread('dogs.jpg')

# Import face cascade classifier engine, ' xml 'file contains the trained face features
face_engine = cv2.CascadeClassifier('dog_cascade.xml')
# The face cascade classifier engine is used for face recognition. The returned faces are the face coordinate list, 1.3 is the magnification, and 5 is the number of repeated recognition
faces = face_engine.detectMultiScale(img,scaleFactor=1.3,minNeighbors=5)

# For each face, do the following
for (x,y,w,h) in faces:
    # Draw the face frame, blue (BGR color system), and the brush width is 2
    img = cv2.rectangle(img,(x,y),(x+w,y+h),(0,255,0),2)

# Display the renderings in the "img2" window
cv2.imshow('img2',img)
# Monitor any key on the keyboard. If there is a key, exit and close the window, and save the picture as output jpg
cv2.waitKey(0)
cv2.destroyAllWindows()
cv2.imwrite('output.jpg',img)
Test input:

Test output:

3.2 dynamic camera detection
import cv2
face_cascade = cv2.CascadeClassifier(cv2.data.haarcascades+'haarcascade_frontalface_default.xml')
eye_cascade = cv2.CascadeClassifier(cv2.data.haarcascades+'haarcascade_eye.xml')
smile_cascade = cv2.CascadeClassifier(cv2.data.haarcascades+'haarcascade_smile.xml')
# Call camera
cap = cv2.VideoCapture(0)
while(True):
    # Get the picture taken by the camera
    ret, frame = cap.read()
    faces = face_cascade.detectMultiScale(frame, 1.3, 2)
    img = frame
    for (x,y,w,h) in faces:
        img = cv2.rectangle(img,(x,y),(x+w,y+h),(255,0,0),2)
        face_area = img[y:y+h, x:x+w]
        ## Human eye detection
        eyes = eye_cascade.detectMultiScale(face_area,1.3,10)
        for (ex,ey,ew,eh) in eyes:
            cv2.rectangle(face_area,(ex,ey),(ex+ew,ey+eh),(0,255,0),1)
        ## Smile detection
        smiles = smile_cascade.detectMultiScale(face_area,scaleFactor= 1.16,minNeighbors=65,minSize=(25, 25),flags=cv2.CASCADE_SCALE_IMAGE)
        for (ex,ey,ew,eh) in smiles:
            cv2.rectangle(face_area,(ex,ey),(ex+ew,ey+eh),(0,0,255),1)
            cv2.putText(img,'Smile',(x,y-7), 3, 1.2, (0, 0, 255), 2, cv2.LINE_AA)
    # Real time display effect picture
    cv2.imshow('frame2',img)
    # Monitor keyboard actions every 5 milliseconds
    if cv2.waitKey(5) & 0xFF == ord('q'):
        break
cap.release()
cv2.destroyAllWindows()
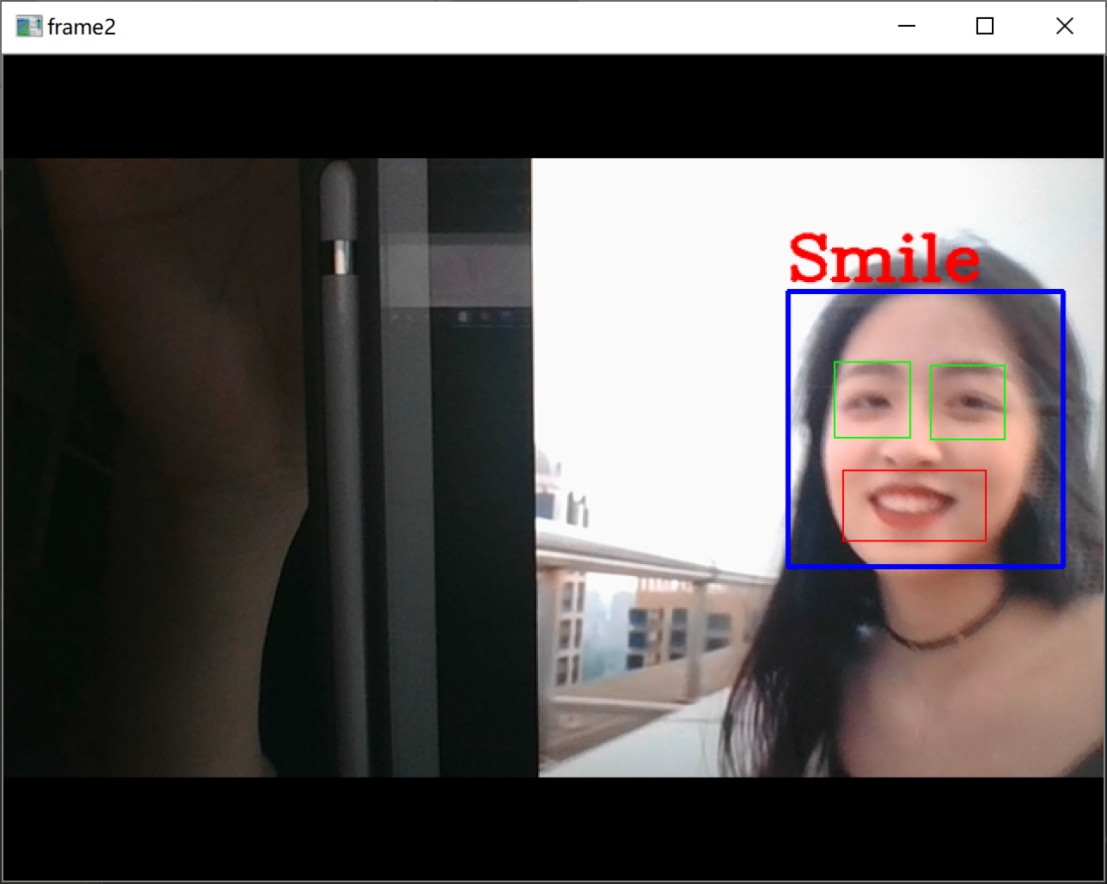
Test results:
4 create your own cascade classifier - dog face detection
4.1 collect and process samples
Collect positive and negative samples
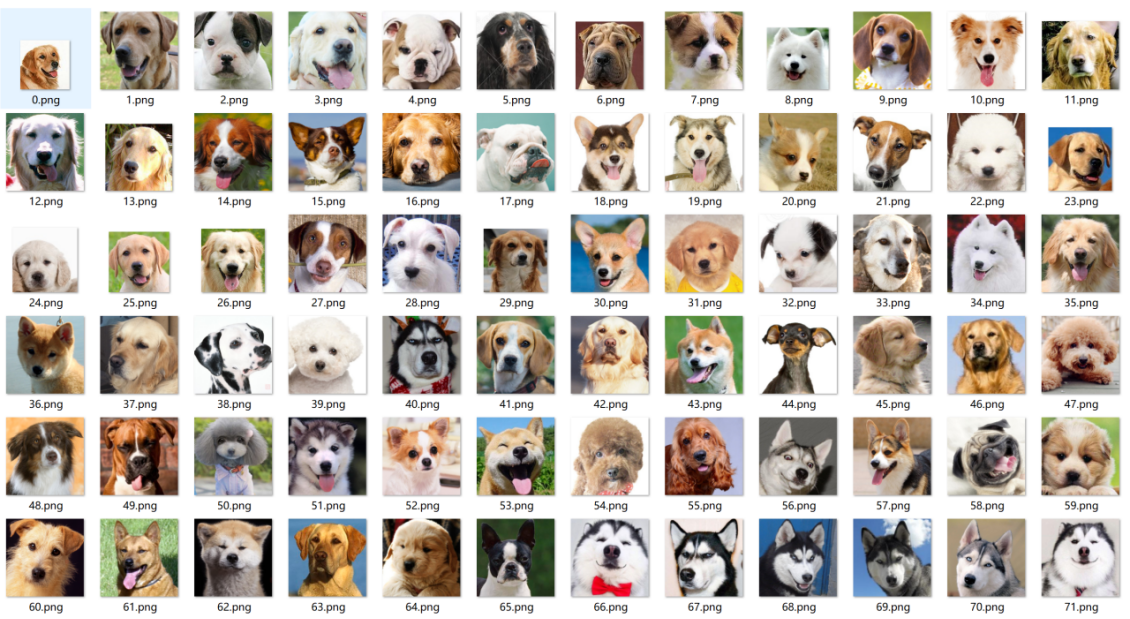
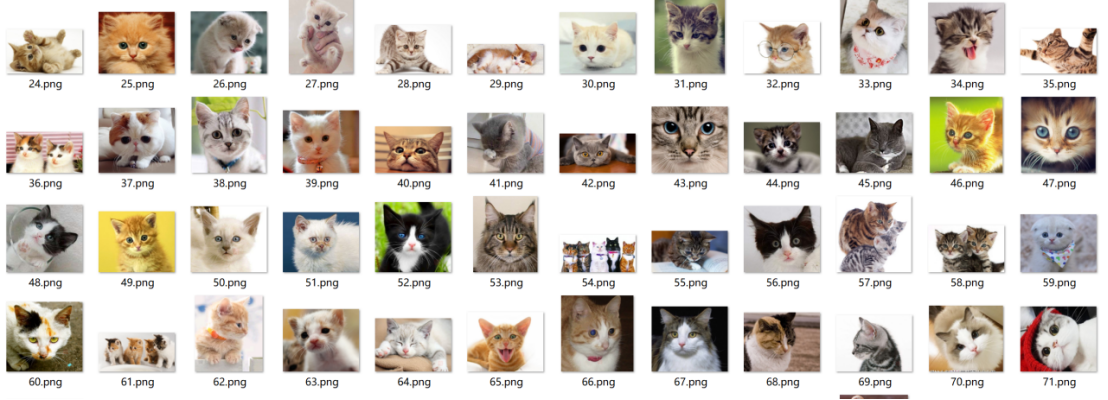
About the collection of positive samples, I collected 100 positive samples, and the photos were downloaded from Baidu and Bing. As for negative samples, as long as they do not contain positive sample pictures, 300 pictures are collected here, including pictures of cats and faces, scenes without dogs and so on.
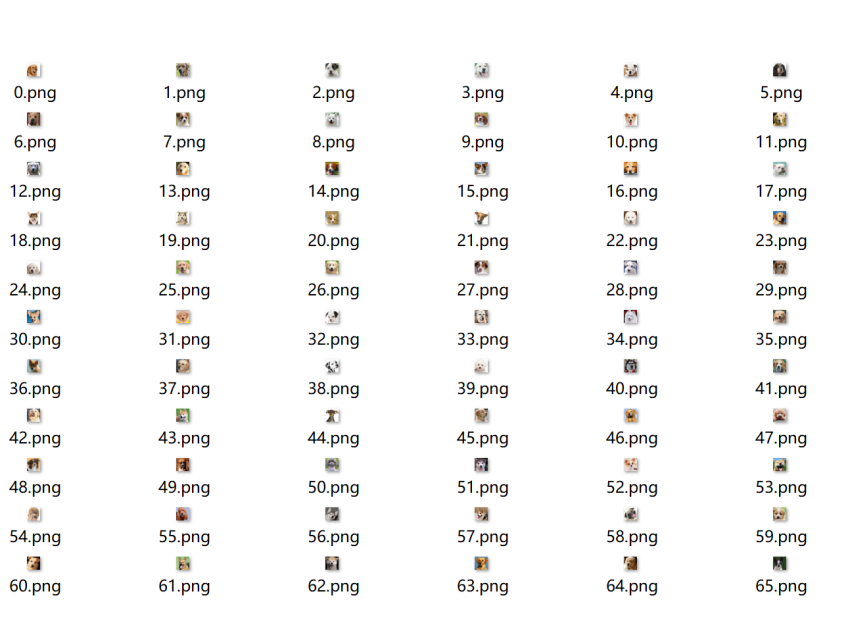
In rename_resize_images.py program for batch processing of photos: renaming, size reduction. According to the official recommendation of OpenCV, the positive sample is 20 pixels x 20 pixels.
Positive sample:
Reduced size positive sample:
Negative sample:
Sample processing
Negative samples do not need to be adjusted except for gray scale, and the resolution is free.
Put the positive samples, that is, the pictures of dogs, in the pos folder and the negative pictures in the neg folder.
Then create a positive and negative sample directory in the following format:
< absolute path 1 0 0 W H > where w=20 h=20


When using, you can change the rootdir, that is, modify the file path. The file path is the directory where your positive sample is saved or the directory where your negative sample is saved. The following is the program generated by the positive sample pos.txt:
#!/usr/bin env python
import os
rootdir = 'pos\\'
files = os.listdir(rootdir)
name = os.path.split(files[0])
with open(rootdir+'pos.txt','w+') as f:
    for file in files:
        name = os.path.split(file)
        if name[1]=='pos.txt':
            continue
        print file
        f.write("pos\\"+name[1]+' '+'1 0 0 20 20\n'
The following is to generate a negative sample NEG Txt program:
#!/usr/bin env python
import os
rootdir = 'neg\\'
files = os.listdir(rootdir)
name = os.path.split(files[0])
with open(rootdir+'neg.dat','w+') as f:
    for file in files:
        name = os.path.split(file)
        if name[1]=='neg.txt':
            continue
        print file
        f.write("neg\\"+name[1]+'\n')
Generate positive samples pos.dat and NEG After DAT, the folder will contain positive samples and negative samples, as well as pos.dat NEG Move the dat file to the opencv\build\x64\vc12\bin \ directory.
4.2 creating vectors
pop.txt is the positive vector directory file of the previous step
num is the number of positive samples,
w is width h is height
pos.vec is the name of the generated positive vector file
cd pos.txt Directory
opencv_createsamples -info pos.txt -num 100 -w 20 -h 20 -vec pos.ve
4.3 training classifier
opencv_ Meanings of the createsamples parameters:
-data: Specifies the folder where the training results are saved
-vec: specify positive sample set
-bg: specify the description folder of the negative sample
-numPos: Specifies the number of positive samples participating in training at each level
-numNeg: Specifies the number of negative samples participating in training at each level (which can be greater than the total number of negative sample pictures)
-numStage: training level
-w: Positive sample width
-h: Positive sample height
mkdir data
$ opencv_traincascade -data data -vec pos.vec -bg neg.txt -numPos 85 -numNeg 400 -numStage 15 -w 20 -h 20
When the running is finished, open data to see the trained classifier:

5 test classifier
5.1 static picture detection
Modify the face recognition test and replace the model with cascade xml
import os
import cv2
# Test picture
imgName = "dogs.jpg"
xmlFileName = "cascade.xml"
if not (os.path.exists(imgName) and os.path.exists(xmlFileName)):
    print("The picture or detector file does not exist")
# Test whether the trained detector is available
windowName = "object detect"
img = cv2.imread(imgName)
gray = cv2.cvtColor(img,cv2.COLOR_BGR2GRAY)
cascade = cv2.CascadeClassifier(xmlFileName)

rects = cascade.detectMultiScale(gray)
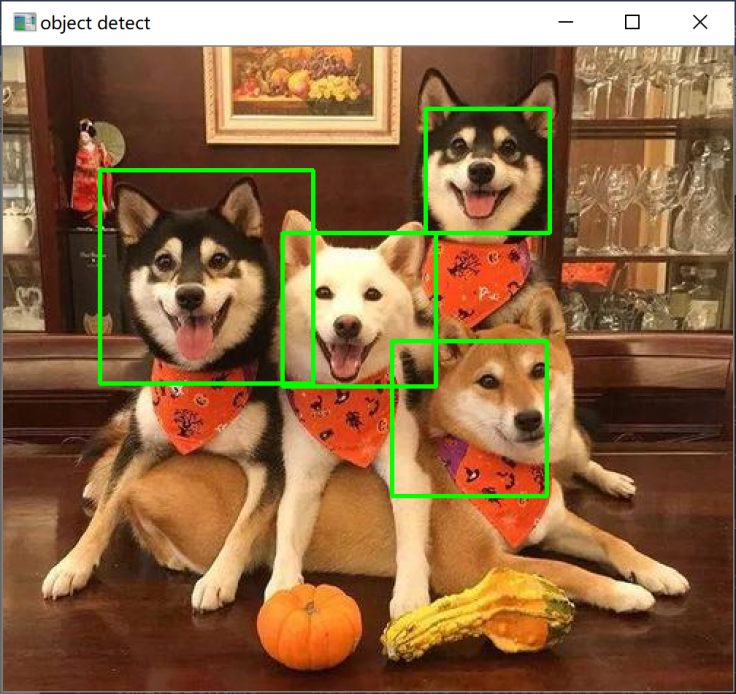
if len(rects) > 0:
    print('========================Detected%d Goals===============================' % (len(rects)))
else:
    print('Nothing detected')

for x, y, width, height in rects:
    cv2.rectangle(img, (x, y), (x + width, y + height),(0, 255, 0),2)

# Display the renderings in the "img2" window
cv2.imshow('img2',img)
# Monitor any key on the keyboard. If there is a key, exit and close the window, and save the picture as output jpg
cv2.waitKey(0)
cv2.destroyAllWindows()
cv2.imwrite('output.jpg',img
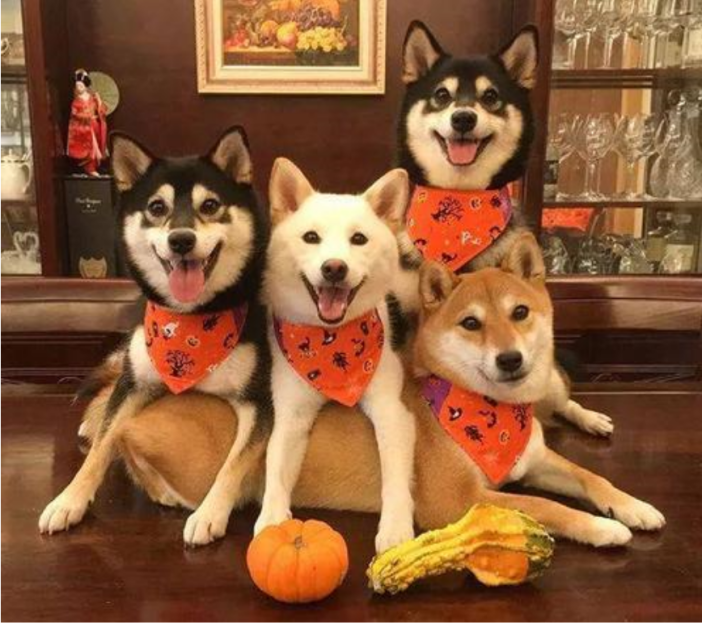
Test image:
Test results:

5.2 dynamic camera detection
import cv2
face_cascade = cv2.CascadeClassifier('cascade.xml')
# Call camera
cap = cv2.VideoCapture(0)
while(True):
    # Get the picture taken by the camera
    ret, frame = cap.read()
    faces = face_cascade.detectMultiScale(frame, 1.3, 5)
    img = frame
    for (x,y,w,h) in faces:
        img = cv2.rectangle(img,(x,y),(x+w,y+h),(255,0,0),2)
    # Real time display effect picture
    cv2.imshow('frame2',img)
    # Monitor keyboard actions every 5 milliseconds
    if cv2.waitKey(5) & 0xFF == ord('q'):
        break
# Finally, close all windows
cap.release()
cv2.destroyAllWindows()
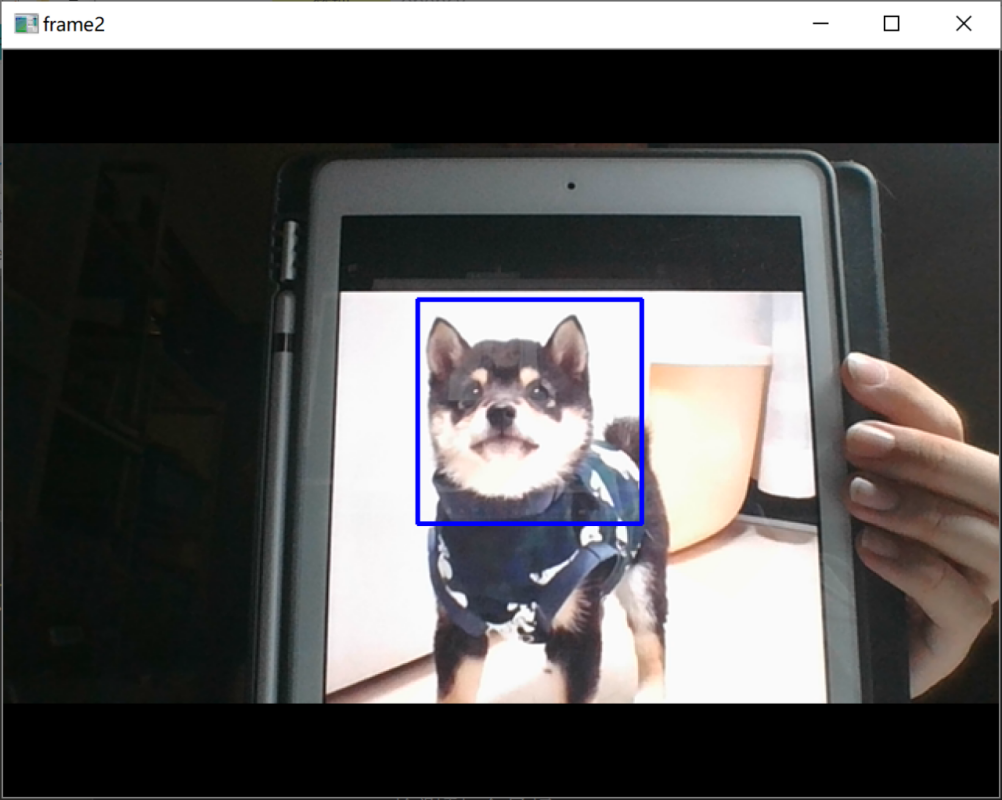
Test results:
6 problems and Solutions
Unrecognized conditions occur during the process and need to be adjusted

1.3 in (scale factor)
7 experimental summary
Through this experiment, we tested the face detection related model of opencv, and created our own simple dog face detection model. Many bug s were encountered in environment construction, version compatibility, model construction and other problems, but they were finally solved.
The model obtained in this experiment is only the detection of the dog's face, not identification, that is, it can only frame the position of the face, and can not judge the dog's name, breed and other information.