We will often mention BI system (Business Intelligence), which is an important data entry and exit to help data and enterprises to obtain data reports and make strategic decisions. We are familiar with FineBI and Microsoft's powerBI, but the cost of using them is not low, the client is needed for authorization, and the configuration of using them is quite tedious. What I bring to you today is a data tool of open source pure Web page.
enclosed:
Meow's blog: w-blog.cn
Official Git address of Redash: https://github.com/getredash/redash
Official Redash document: https://redash.io/help/
PS: the current latest version is V8. There are some strange problems when upgrading from the lower version to the higher version. Please make a backup and upgrade
1, redash introduction
As a software engineer, the most important thing is that the product constantly requests to pull this kind of data, or to put forward a pile of data reports. There is no technical content in writing CURD all the time. Repetitive things should be solved by tools, or even by products themselves. I have also been looking for tools to solve the data output problem of the whole company's R & D, and an inadvertent opportunity to discover the open-source component of redish. Of course, choosing Redash has its own advantages.
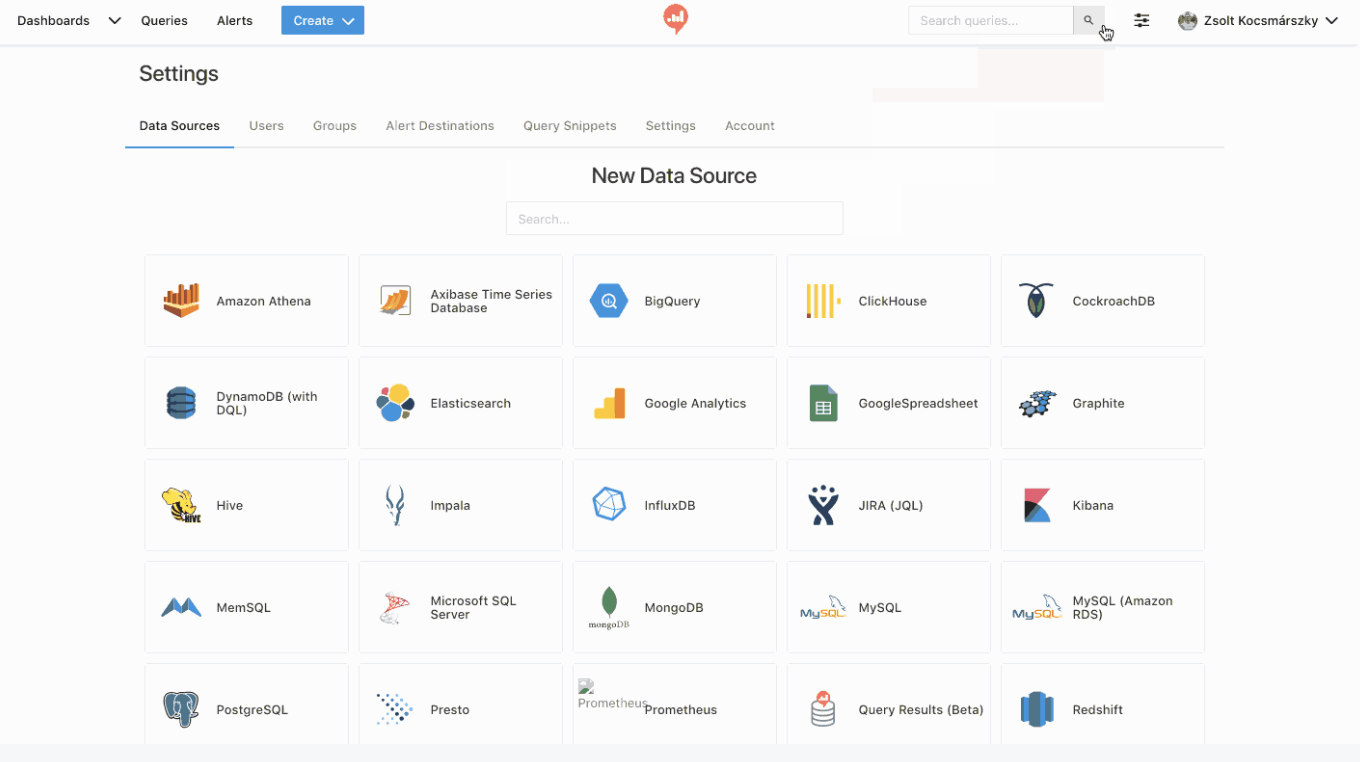
The most important thing for a BI is the types of data sources it supports. Redash supports more than 35 data sources, which can meet almost all scenarios:
- Mainstream MySQL, PostgreSQL, MongoDB, SQL Server, etc
- Big data databases Hive, Impala, Presto, etc
- New databases ClickHouse, CockroachDB, InfluxDB, etc
- Custom Python scripts, URL requests, etc

Redash consists of two parts:
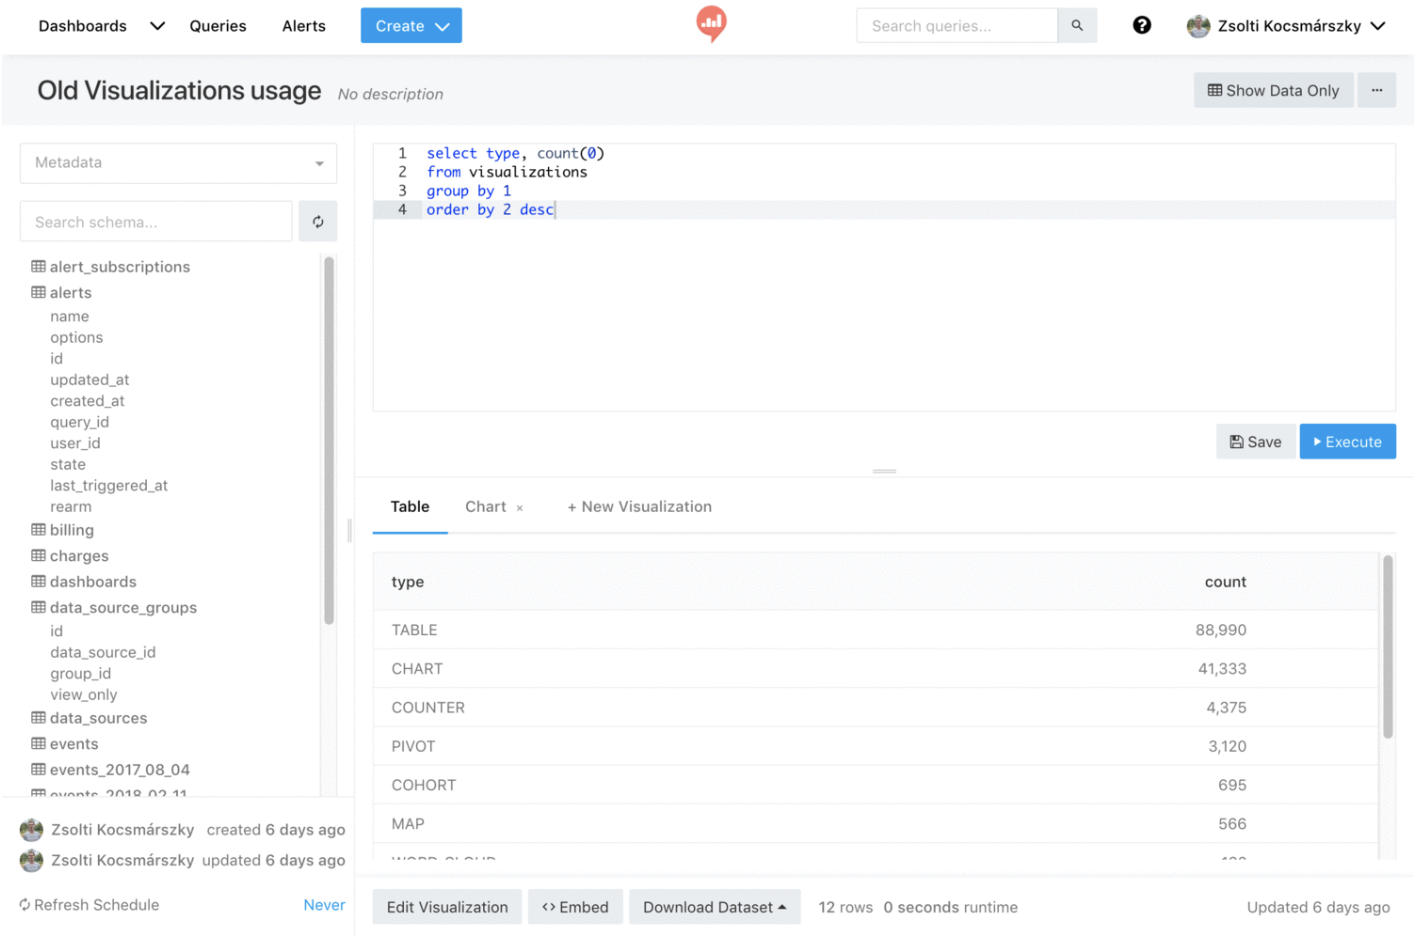
Query Editor: consider using JS Fiddle for SQL queries. By sharing datasets and generating queries for data, you can share data in your organization in an open way. This way, everyone can see not only the result data set, but also the process of generating it. You can also branch it out and generate new data sets and gain new insights.

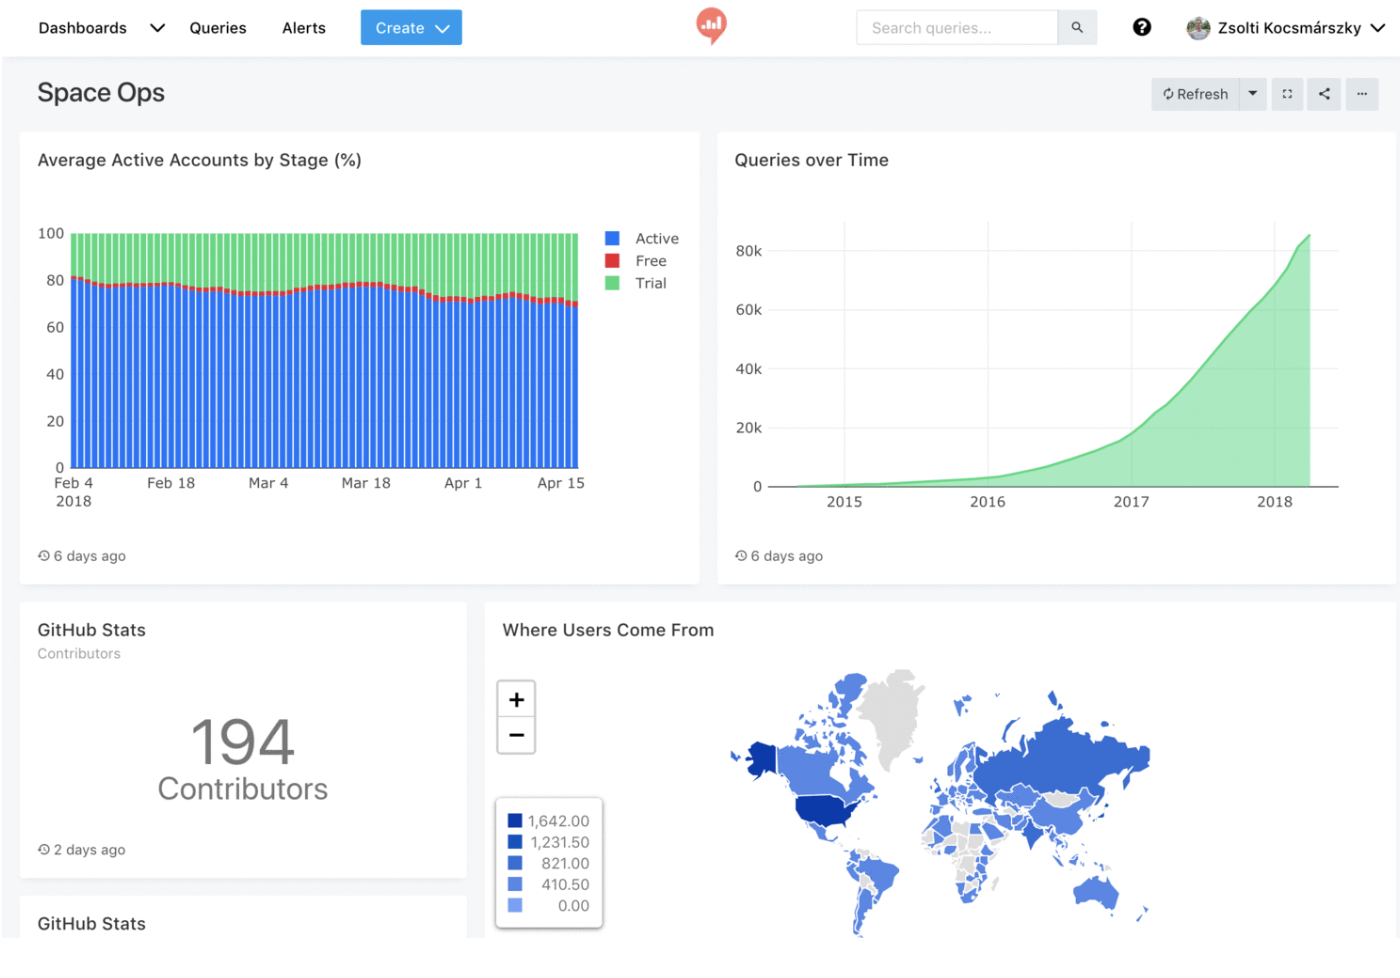
Visualization and Dashboards: once you have a dataset, you can create different visualization files from it, and then combine multiple visualization files into one dashboard. Currently, Redash supports charts, PivotTables, queues and more.

2, redash installation
If ubuntu is installed completely, run the official command directly:
git clone https://github.com/getredash/setup.git
cd setup
// Step 1 install docker
// Step 2 create database mapping directory
// Step 3 create basic profile
// Step 4 install docker composer to initialize the database, and run repash
./setup.sh
I usually use ubuntu less, and centos is the main system. According to the official installation mode, I have compiled a set of tutorials that can be installed with docker. If docker and docker composer are ready, please refer to my previous articles:
mkdir redashsetup
cd redashsetup/
// Create database mapping directory and base profile
vim redashenv.sh

#!/usr/bin/env bash
# This script setups dockerized Redash on Ubuntu 18.04.
set -eu

mkdir /opt/redash
mkdir /opt/redash/postgres-data

REDASH_BASE_PATH=/opt/redash
    if [[ -e $REDASH_BASE_PATH/env ]]; then
        rm $REDASH_BASE_PATH/env
        touch $REDASH_BASE_PATH/env
    fi

COOKIE_SECRET=$(pwgen -1s 32)
SECRET_KEY=$(pwgen -1s 32)
POSTGRES_PASSWORD=$(pwgen -1s 32)
REDASH_DATABASE_URL="postgresql://postgres:${POSTGRES_PASSWORD}@postgres/postgres"

echo "PYTHONUNBUFFERED=0" >> $REDASH_BASE_PATH/env
echo "REDASH_LOG_LEVEL=INFO" >> $REDASH_BASE_PATH/env
echo "REDASH_REDIS_URL=redis://redis:6379/0" >> $REDASH_BASE_PATH/env
echo "POSTGRES_PASSWORD=$POSTGRES_PASSWORD" >> $REDASH_BASE_PATH/env
echo "REDASH_COOKIE_SECRET=$COOKIE_SECRET" >> $REDASH_BASE_PATH/env
echo "REDASH_SECRET_KEY=$SECRET_KEY" >> $REDASH_BASE_PATH/env
echo "REDASH_DATABASE_URL=$REDASH_DATABASE_URL" >> $REDASH_BASE_PATH/env

chmod -R 777 redashenv.sh
./redashenv.sh
cat /opt/redash/env

PYTHONUNBUFFERED=0
REDASH_LOG_LEVEL=INFO
REDASH_REDIS_URL=redis://redis:6379/0
POSTGRES_PASSWORD=XjGVGggWXHIRyOP5bOaVsPQ8AKunVsuX
REDASH_COOKIE_SECRET=9hihbX7BTziWKO7kolldC486QFoo5aU2
REDASH_SECRET_KEY=tyS5wWdp8l4gq2YPw9sbrnJwaKbVdeEp
REDASH_DATABASE_URL=postgresql://postgres:XjGVGggWXHIRyOP5bOaVsPQ8AKunVsuX@postgres/postgres
If you need to use mail related functions, such as user invitation, password reset, alarm triggering and other functions, you need to add the following configuration:
vim /opt/redash/env

REDASH_MAIL_SERVER (default: localhost)
REDASH_MAIL_PORT (default: 25)
REDASH_MAIL_USE_TLS (default: false)
REDASH_MAIL_USE_SSL (default: false)
REDASH_MAIL_USERNAME (default: None)
REDASH_MAIL_PASSWORD (default: None)
REDASH_MAIL_DEFAULT_SENDER (Email address to send from)
version: "2"
services:
  server:
    image: redash/redash:8.0.0.b32245
    depends_on:
      - postgres
      - redis
    environment:
      PYTHONUNBUFFERED: 0
      REDASH_LOG_LEVEL: "INFO"
      REDASH_REDIS_URL: "redis://redis:6379/0"
      REDASH_DATABASE_URL: "postgresql://postgres@postgres/postgres"
      REDASH_RATELIMIT_ENABLED: "false"
      REDASH_WEB_WORKERS: 4
    restart: always
    command: server
    ports:
      - "5000:5000"
  scheduler:
    image: redash/redash:8.0.0.b32245
    depends_on:
      - postgres
      - redis
    environment:
      PYTHONUNBUFFERED: 0
      REDASH_LOG_LEVEL: "INFO"
      REDASH_REDIS_URL: "redis://redis:6379/0"
      REDASH_DATABASE_URL: "postgresql://postgres@postgres/postgres"
      REDASH_RATELIMIT_ENABLED: "false"
      QUEUES: "celery"
      WORKERS_COUNT: 1
    restart: always
    command: scheduler
  scheduled_worker:
    image: redash/redash:8.0.0.b32245
    depends_on:
      - postgres
      - redis
    environment:
      PYTHONUNBUFFERED: 0
      REDASH_LOG_LEVEL: "INFO"
      REDASH_REDIS_URL: "redis://redis:6379/0"
      REDASH_DATABASE_URL: "postgresql://postgres@postgres/postgres"
      REDASH_RATELIMIT_ENABLED: "false"
      QUEUES: "scheduled_queries,schemas"
      WORKERS_COUNT: 1
    restart: always
    command: worker
  adhoc_worker:
    image: redash/redash:8.0.0.b32245
    depends_on:
      - postgres
      - redis
    environment:
      PYTHONUNBUFFERED: 0
      REDASH_LOG_LEVEL: "INFO"
      REDASH_REDIS_URL: "redis://redis:6379/0"
      REDASH_DATABASE_URL: "postgresql://postgres@postgres/postgres"
      REDASH_RATELIMIT_ENABLED: "false"
      QUEUES: "queries"
      WORKERS_COUNT: 2
    restart: always
    command: worker
  redis:
    image: redis:5.0-alpine
    restart: always
  postgres:
    image: postgres:9.6-alpine
    env_file: /opt/redash/env
    volumes:
      - /opt/redash/postgres-data:/var/lib/postgresql/data
    restart: always
  nginx:
    image: redash/nginx:latest
    ports:
      - "8880:80"
    depends_on:
      - server
    links:
      - server:redash
    restart: always
Initialize database dependency:
docker-compose run --rm server create_db
Creating network "data_default" with the default driver
Creating data_redis_1    ... done
Creating data_postgres_1 ... done
[2019-10-31 04:43:15,422][PID:1][INFO][alembic.runtime.migration] Context impl PostgresqlImpl.
[2019-10-31 04:43:15,422][PID:1][INFO][alembic.runtime.migration] Will assume transactional DDL.
[2019-10-31 04:43:15,437][PID:1][INFO][alembic.runtime.migration] Running stamp_revision  -> e5c7a4e2df4d
Start redash:
docker-compose up -d
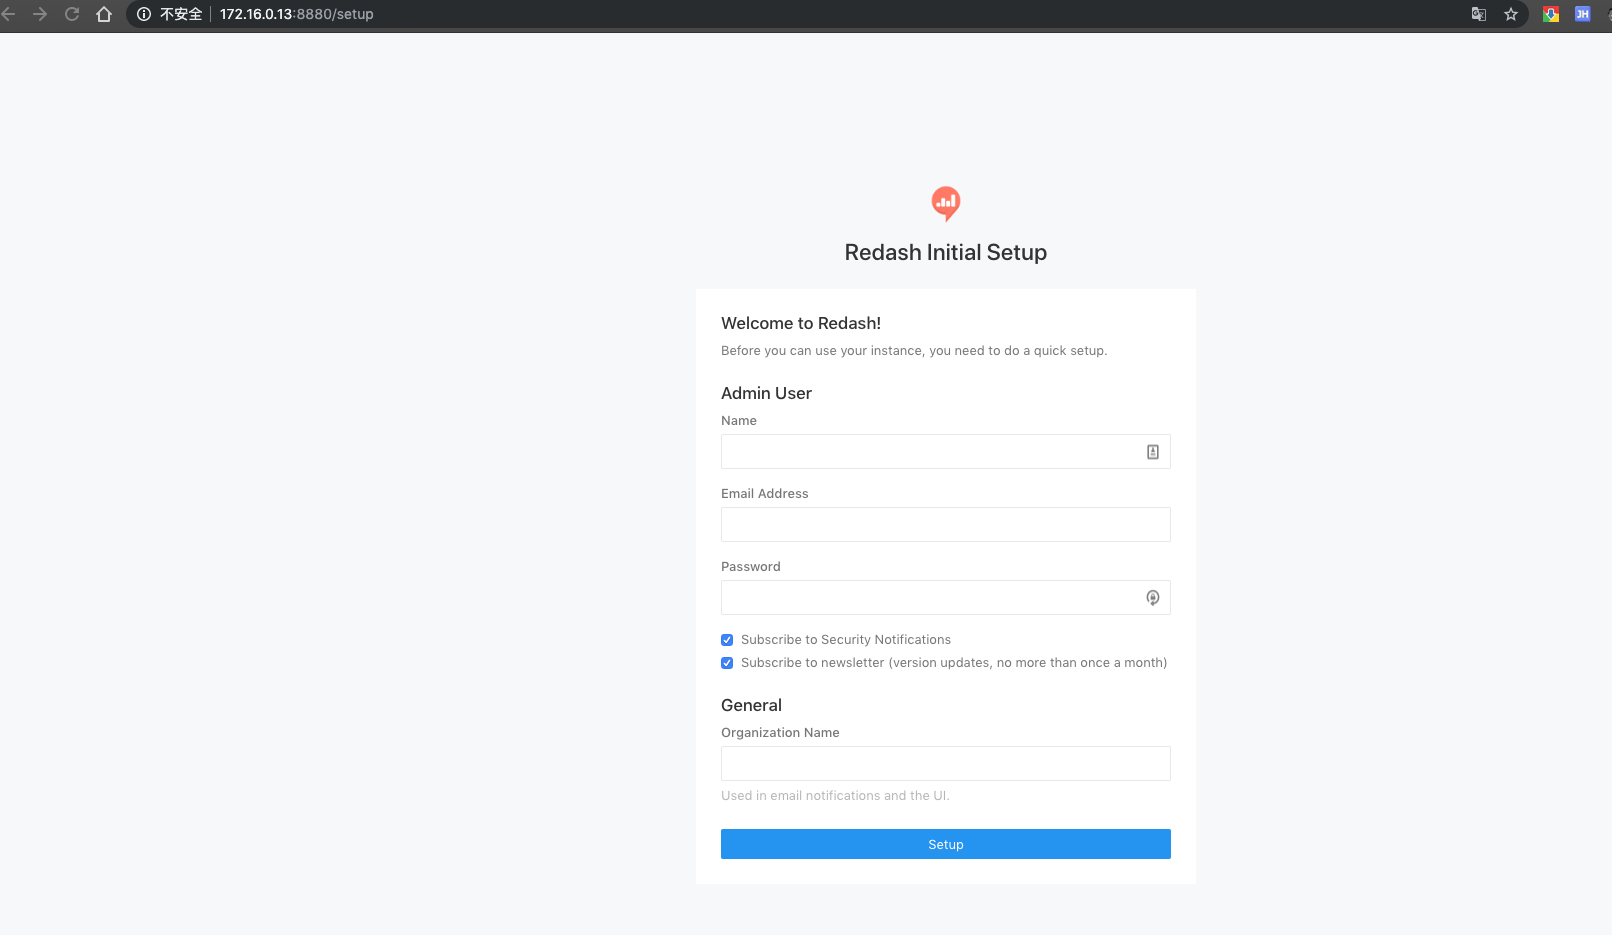
You can access it through the 8880 port of nginx. Next, you can configure the user name and password of the administrator account to start using:

Some suggestions on use
- One user, one account, not mix accounts
- Use grouping function to give corresponding permissions, and distinguish permissions according to business
- Read only account is used for database configuration to avoid obtaining high database authority from BI system
- The account number of the database only gives the single database permission, or even gives the single table permission to control the data, so as to control the granularity of the data as much as possible
- Mail alarm can be used for configured mail, and abnormal data can be detected and alarmed
This article is based on the platform of blog one article multiple sending OpenWrite release!