Remix experience
The article is based on Remix official website starts quickly Experience and translate. So the content is the same as that on the official website.
- Create project
- Your first route
- Loading Data
- A little refactoring
- Pull data from data source
- Dynamic routing parameters
- Create blog posts
- Root routing
- Submit Form
Create project
Initialize a new Remix project
npx create-remix@latest
# Select Remix App Server
cd [Your own named project directory]
npm run dev
 Copy code
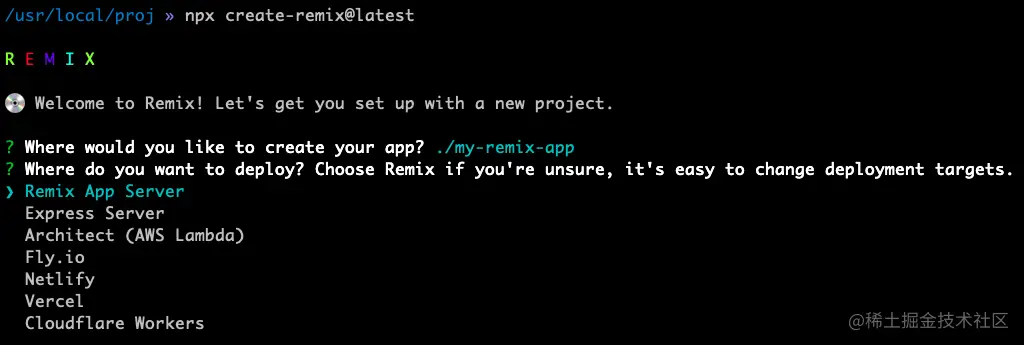
Note that Remix App Server is selected here
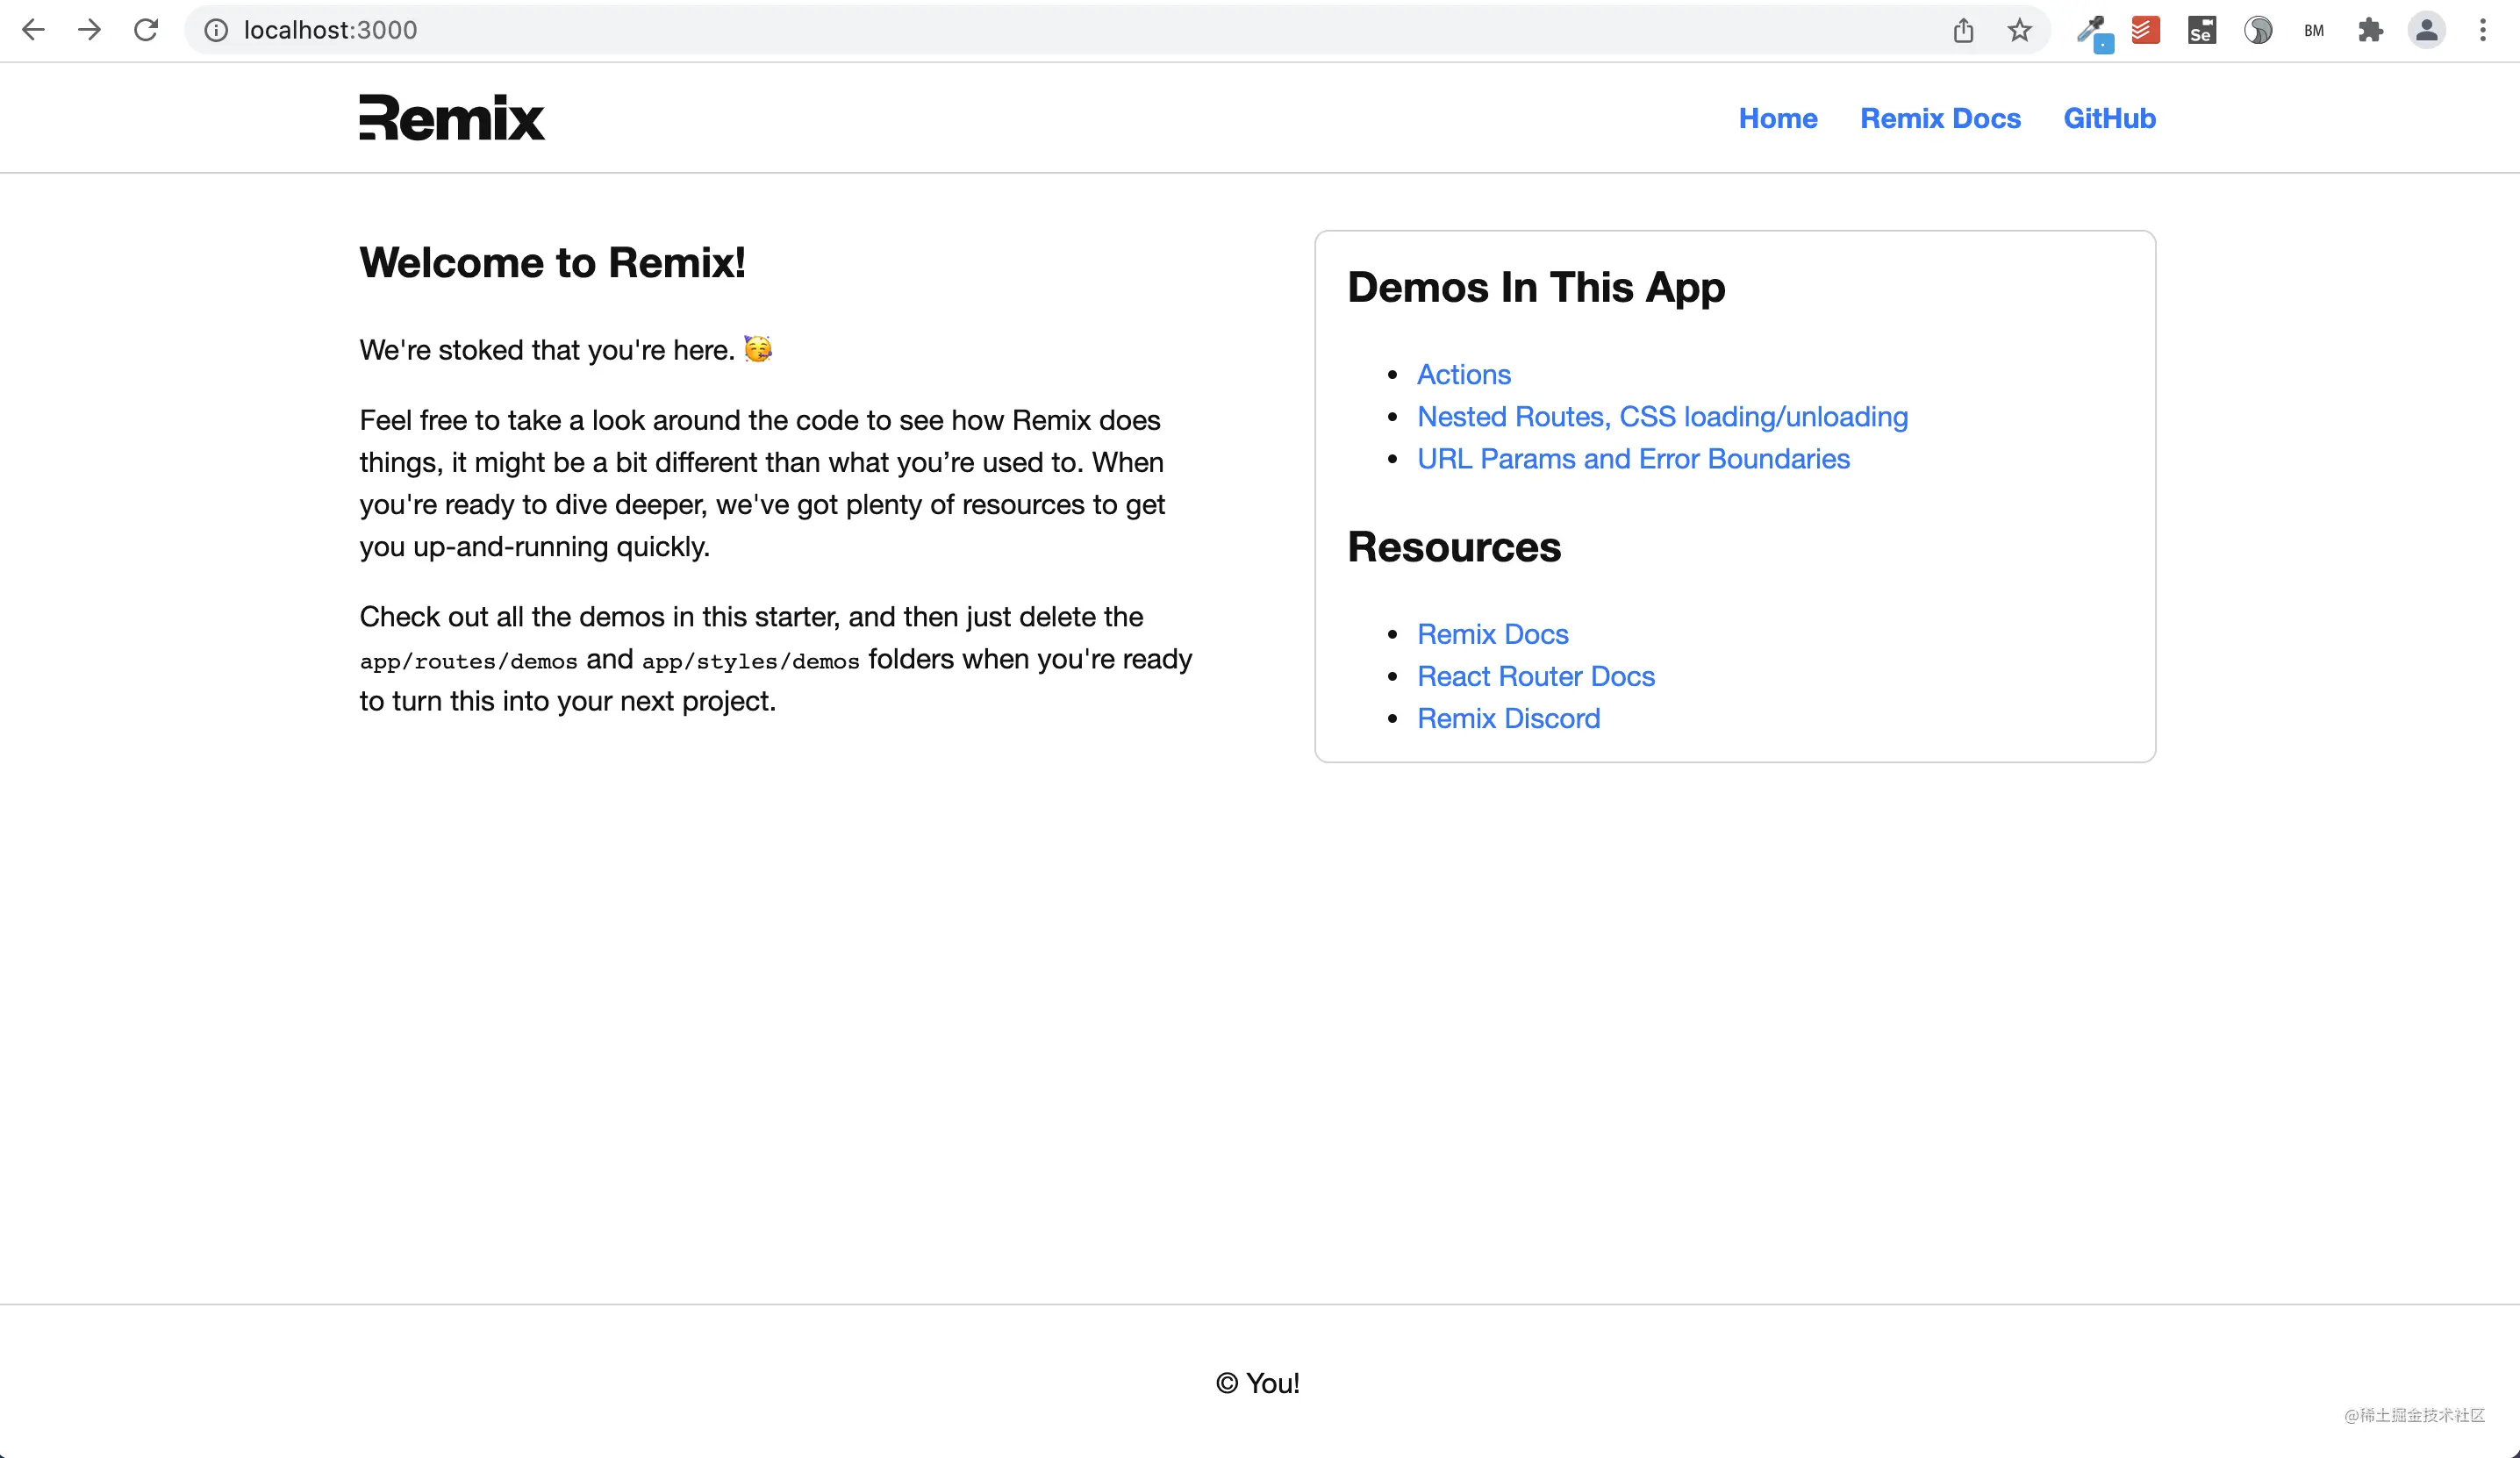
Run npx create-remix@latest Then, select Remix App Server, development language TypeScript, and then run npm install. You can then wait for the dependent package to download. After the dependent package is downloaded, the browser opens http://localhost:3000 , you can see the following interface:
Your first route
We will add a new route / posts. Before that, we need to create a Link to jump to this route.
First, open app / root Tsx, find < link to = "/" > Home < / link >, and create a new link to / posts next to it
Add a link to jump to the article
<li>
  <Link to="/posts">Posts</Link>
</li>
Copy code
At this point, if we click this link in the page, we will see a 404 page. Because we haven't added a route yet. Then let's add this route:
Create a new file: APP / routes / posts / index tsx
Routing files are placed under routes. A file represents a route. We can also directly create a posts JSX file, but if there will be routes such as Article Details in the future, we may create a route similar to post - detail Tsx routes or nested routes are not easy to manage. So we can create an index in the posts folder Tsx is used as the route entry under the current folder, just like index HTML as an entry file.
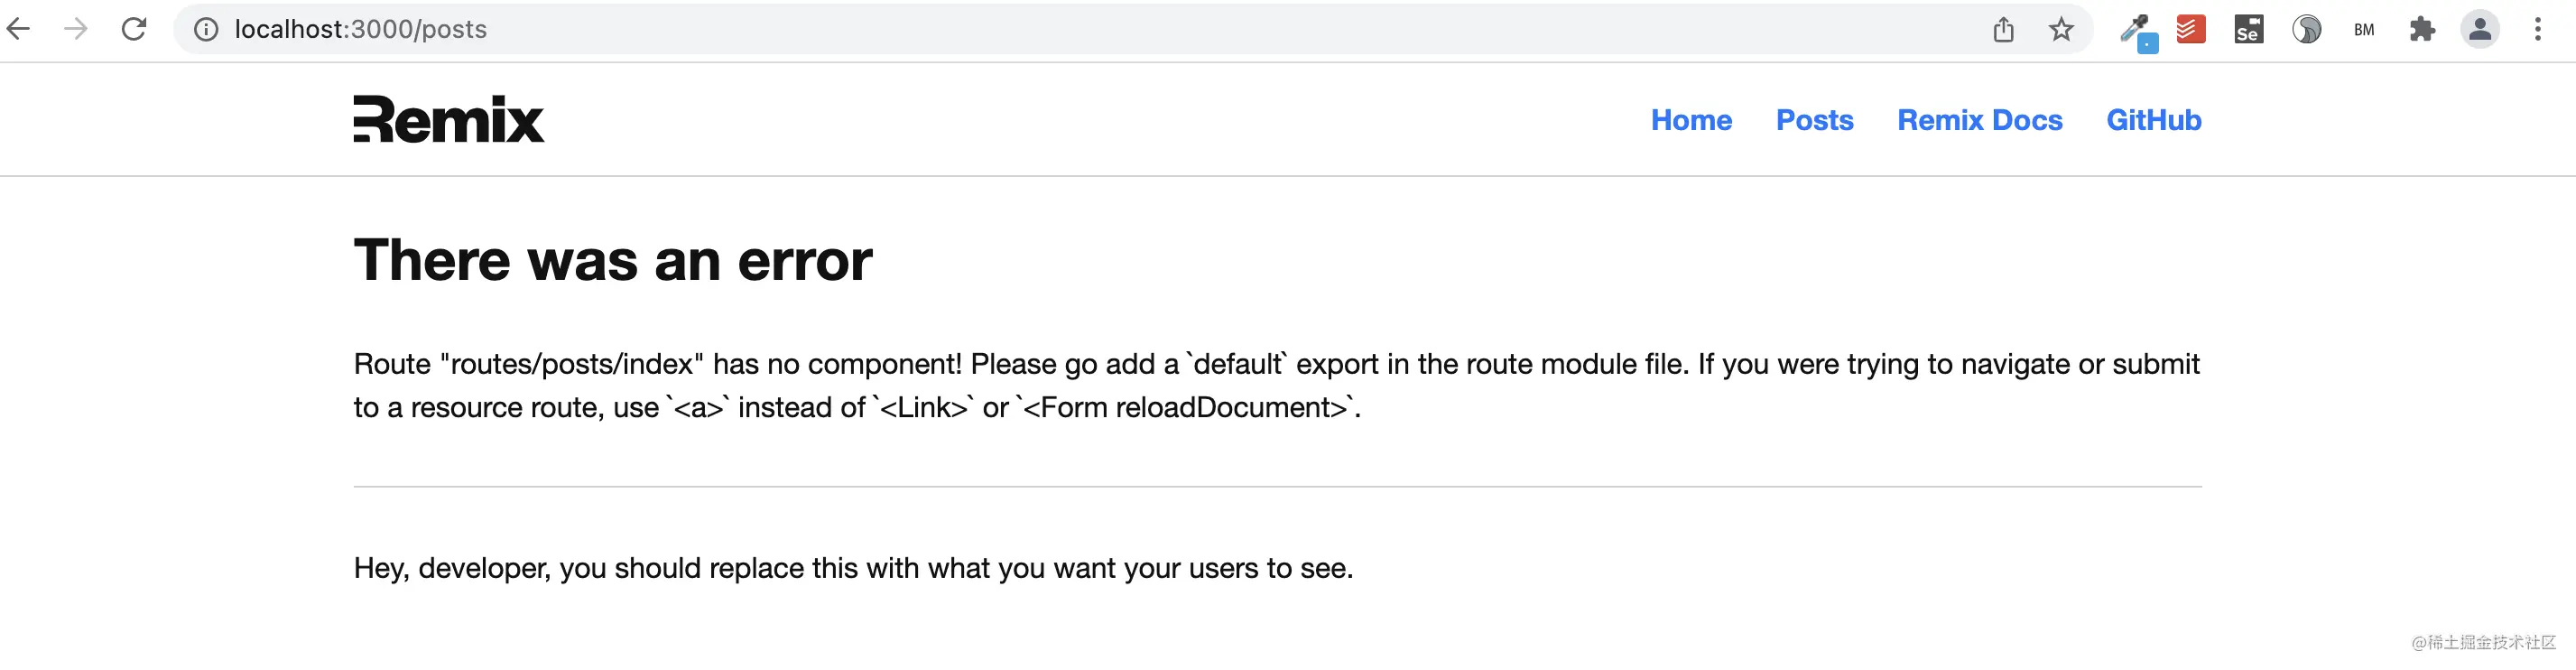
When visiting this link, we will see the following page. Because we haven't added any components yet.
Create blog post page component
export default function Posts() {
  return (
    <div>
      <h1>Posts</h1>
    </div>
  );
}
Copy code
After adding the above code, when we click the Posts link again, we can see that Posts has been rendered in the page.

Load data
Data loading is built into Remix.
In traditional web projects, the API for obtaining data is separated from the front-end component for rendering data. In remix, the front-end component is our API routing. Of course, if the API interface for obtaining data is provided through other services, the routing layer in Remix can also be used as the front-end data rendering controller. Next, we will set some data for our component.
Add useLoaderData for posts route
import { useLoaderData } from "remix";

export const loader = () => {
  return [
    {
      slug: "my-first-post",
      title: "My First Post"
    },
    {
      slug: "90s-mixtape",
      title: "A Mixtape I Made Just For You"
    }
  ];
};

export default function Posts() {
  const posts = useLoaderData();
  console.log(posts);
  return (
    <div>
      <h1>Posts</h1>
    </div>
  );
}
Copy code
Loaders is the API of the current component and has been encapsulated by useLoaderData. If you open both the browser console and the background console, you will find that posts are printed in the log. This is because Remix renders the page on the server and sends the html to the browser for display. At the same time, it will also inject and input log data in the front end.
Add links to the article list
  <ul>
    {posts.map(post => (
      <li key={post.slug}>
        <Link to={post.slug}>{post.title}</Link>
      </li>
    ))}
  </ul>
Copy code
Remember to introduce Link in the header of the file. At this time, TypeScript will report an error. We add some types to solve the problem of error reporting.
import { Link, useLoaderData } from "remix";

type Post = {
  slug: string;
  title: string;
};

export const loader = () => {
  const posts: Post[] = [
    {
      slug: "my-first-post",
      title: "My First Post"
    },
    {
      slug: "90s-mixtape",
      title: "A Mixtape I Made Just For You"
    }
  ];
  return posts;
};

export default function Posts() {
  const posts = useLoaderData<Post[]>();
  return (
    <div>
      <h1>Posts</h1>
      <ul>
        {posts.map(post => (
          <li key={post.slug}>
            <Link to={post.slug}>{post.title}</Link>
          </li>
        ))}
      </ul>
    </div>
  );
}
Copy code
A little refactoring
Based on past experience, it is best to create a module to deal with specific scenarios. In our example, it will involve reading blogs and adding blogs. Let's start creating them. Create a getPosts method and export it in our post module.
// Create a post file: APP / post ts
 Copy code
export type Post = {
  slug: string;
  title: string;
};

export function getPosts() {
  const posts: Post[] = [
    {
      slug: "my-first-post",
      title: "My First Post"
    },
    {
      slug: "90s-mixtape",
      title: "A Mixtape I Made Just For You"
    }
  ];
  return posts;
}
Copy code
Modify the posts route. Use our Post module in routing
// posts/index.jsx
import { Link, useLoaderData } from "remix";
import { getPosts } from "~/post";
import type { Post } from "~/post";

export const loader = () => {
  return getPosts();
};

// ...
Copy code
Pull data from data source
In the actual project, we will choose the data storage method according to the actual needs. You will choose to use appropriate databases, such as Postgres, fanadb and supabase. However, in this experience, we will use the file system.
Create the posts folder in the project root directory and create some blog posts in MarkDown format in the folder
mkdir posts

touch posts/my-first-post.md
touch posts/90s-mixtape.md

Copy code
Put some content in these md files at will. However, make sure that there is a front matter attribute with title.
Modify the getPosts method to read the contents from the file system
We will use a node module:
npm add front-matter
 Copy code
Modify the app/posts file as follows:
import path from "path";
import fs from "fs/promises";
import parseFrontMatter from "front-matter";

export type Post = {
  slug: string;
  title: string;
};

// relative to the server output not the source!
const postsPath = path.join(__dirname, "..", "posts");

export async function getPosts() {
  const dir = await fs.readdir(postsPath);
  return Promise.all(
    dir.map(async filename => {
      const file = await fs.readFile(
        path.join(postsPath, filename)
      );
      const { attributes } = parseFrontMatter(
        file.toString()
      );
      return {
        slug: filename.replace(/\.md$/, ""),
        title: attributes.title
      };
    })
  );
}
Copy code
At this time, TypeScript should report an error. Let's solve the mistake.
Because we get the content by reading the file, the type check does not know what type of data is in it. So we need to run-time check. We will introduce invariant to help us deal with this problem more easily.
app/post. The contents of the TS file are as follows:
import path from "path";
import fs from "fs/promises";
import parseFrontMatter from "front-matter";
import invariant from "tiny-invariant";

export type Post = {
  slug: string;
  title: string;
};

export type PostMarkdownAttributes = {
  title: string;
};

const postsPath = path.join(__dirname, "..", "posts");

function isValidPostAttributes(
  attributes: any
): attributes is PostMarkdownAttributes {
  return attributes?.title;
}

export async function getPosts() {
  const dir = await fs.readdir(postsPath);
  return Promise.all(
    dir.map(async filename => {
      const file = await fs.readFile(
        path.join(postsPath, filename)
      );
      const { attributes } = parseFrontMatter(
        file.toString()
      );
      invariant(
        isValidPostAttributes(attributes),
        `${filename} has bad meta data!`
      );
      return {
        slug: filename.replace(/\.md$/, ""),
        title: attributes.title
      };
    })
  );
}
Copy code
Even if we don't use TS, we will want to know where the error is reported by using invariant. We'll visit again at this time http://localhost:3000/posts We can see the list of articles read from the file system. You are free to add other articles to observe the changes of data.
Dynamic routing parameters
Next, let's create a route to access specific articles. We want the following routes to take effect:
/posts/my-first-post
/posts/90s-mix-cdr
 Copy code
We don't have to create a route for each article. Instead, it is processed in the url through dynamic routing identification. Remix parses and passes dynamic parameters to the route.
Create a dynamic routing file: APP / routes / posts / $slug tsx
export default function PostSlug() {
  return (
    <div>
      <h1>Some Post</h1>
    </div>
  );
}
Copy code
Add a loader access parameter
import { useLoaderData } from "remix";

export const loader = async ({ params }) => {
  return params.slug;
};

export default function PostSlug() {
  const slug = useLoaderData();
  return (
    <div>
      <h1>Some Post: {slug}</h1>
    </div>
  );
}
Copy code
The value after the $symbol on the route will be used as the key value in the loader parameter params. Add some type checks for TypeScript:
import { useLoaderData } from "remix";
import type { LoaderFunction } from "remix";

export const loader: LoaderFunction = async ({
  params
}) => {
  return params.slug;
};
Copy code
Next, let's read the content of the article from the file system.
Add the getPost method in the post module
// ...
export async function getPost(slug: string) {
  const filepath = path.join(postsPath, slug + ".md");
  const file = await fs.readFile(filepath);
  const { attributes } = parseFrontMatter(file.toString());
  invariant(
    isValidPostAttributes(attributes),
    `Post ${filepath} is missing attributes`
  );
  return { slug, title: attributes.title };
}
Copy code
Use the new getPost method in routing
// routes/posts/$slug.tsx
import { useLoaderData } from "remix";
import type { LoaderFunction } from "remix";
import { getPost } from "~/post";
import invariant from "tiny-invariant";

export const loader: LoaderFunction = async ({
  params
}) => {
  invariant(params.slug, "expected params.slug");
  return getPost(params.slug);
};

export default function PostSlug() {
  const post = useLoaderData();
  return (
    <div>
      <h1>{post.title}</h1>
    </div>
  );
}
Copy code
Since the parameters in params are not necessarily values and may not be slug s, we still use invariant for error judgment. At the same time, it can also prevent TS from reporting errors.
We use marked to parse the markdown.
npm add marked
# if using typescript (if typescript is used, the following packages need to be installed)
npm add @types/marked
 Copy code
Render HTML in route
// ...
export default function PostSlug() {
  const post = useLoaderData();
  return (
    <div dangerouslySetInnerHTML={{ __html: post.html }} />
  );
}
Copy code
At this point, we can sprinkle flowers and open champagne to celebrate. We have our own blog!
Create blog posts
The above blog system has been developed and can be deployed. But our best way is to store the blog post data in the database, so that we don't have to modify the system. So we need an entry to create an article, and we will use the form submission.
Create an admin route
touch app/routes/admin.tsx
 Copy code
import { Link, useLoaderData } from "remix";
import { getPosts } from "~/post";
import type { Post } from "~/post";

export const loader = () => {
  return getPosts();
};

export default function Admin() {
  const posts = useLoaderData<Post[]>();
  return (
    <div className="admin">
      <nav>
        <h1>Admin</h1>
        <ul>
          {posts.map(post => (
            <li key={post.slug}>
              <Link to={`/posts/${post.slug}`}>
                {post.title}
              </Link>
            </li>
          ))}
        </ul>
      </nav>
      <main>...</main>
    </div>
  );
}
Copy code
In addition to adding some additional html structures, you will find admin Most of the content in TSX is copied from the posts route. We will make some style changes next.
Create an admin CSS style file
touch app/styles/admin.css
 Copy code
.admin {
  display: flex;
}

.admin > nav {
  padding-right: 2rem;
}

.admin > main {
  flex: 1;
  border-left: solid 1px #ccc;
  padding-left: 2rem;
}

em {
  color: red;
}
Copy code
Associate style files in admin routes
import { Link, useLoaderData } from "remix";
import { getPosts } from "~/post";
import type { Post } from "~/post";
import adminStyles from "~/styles/admin.css";

export const links = () => {
  return [{ rel: "stylesheet", href: adminStyles }];
};

// ...
Copy code
Preview the admin route. The effect is as follows:
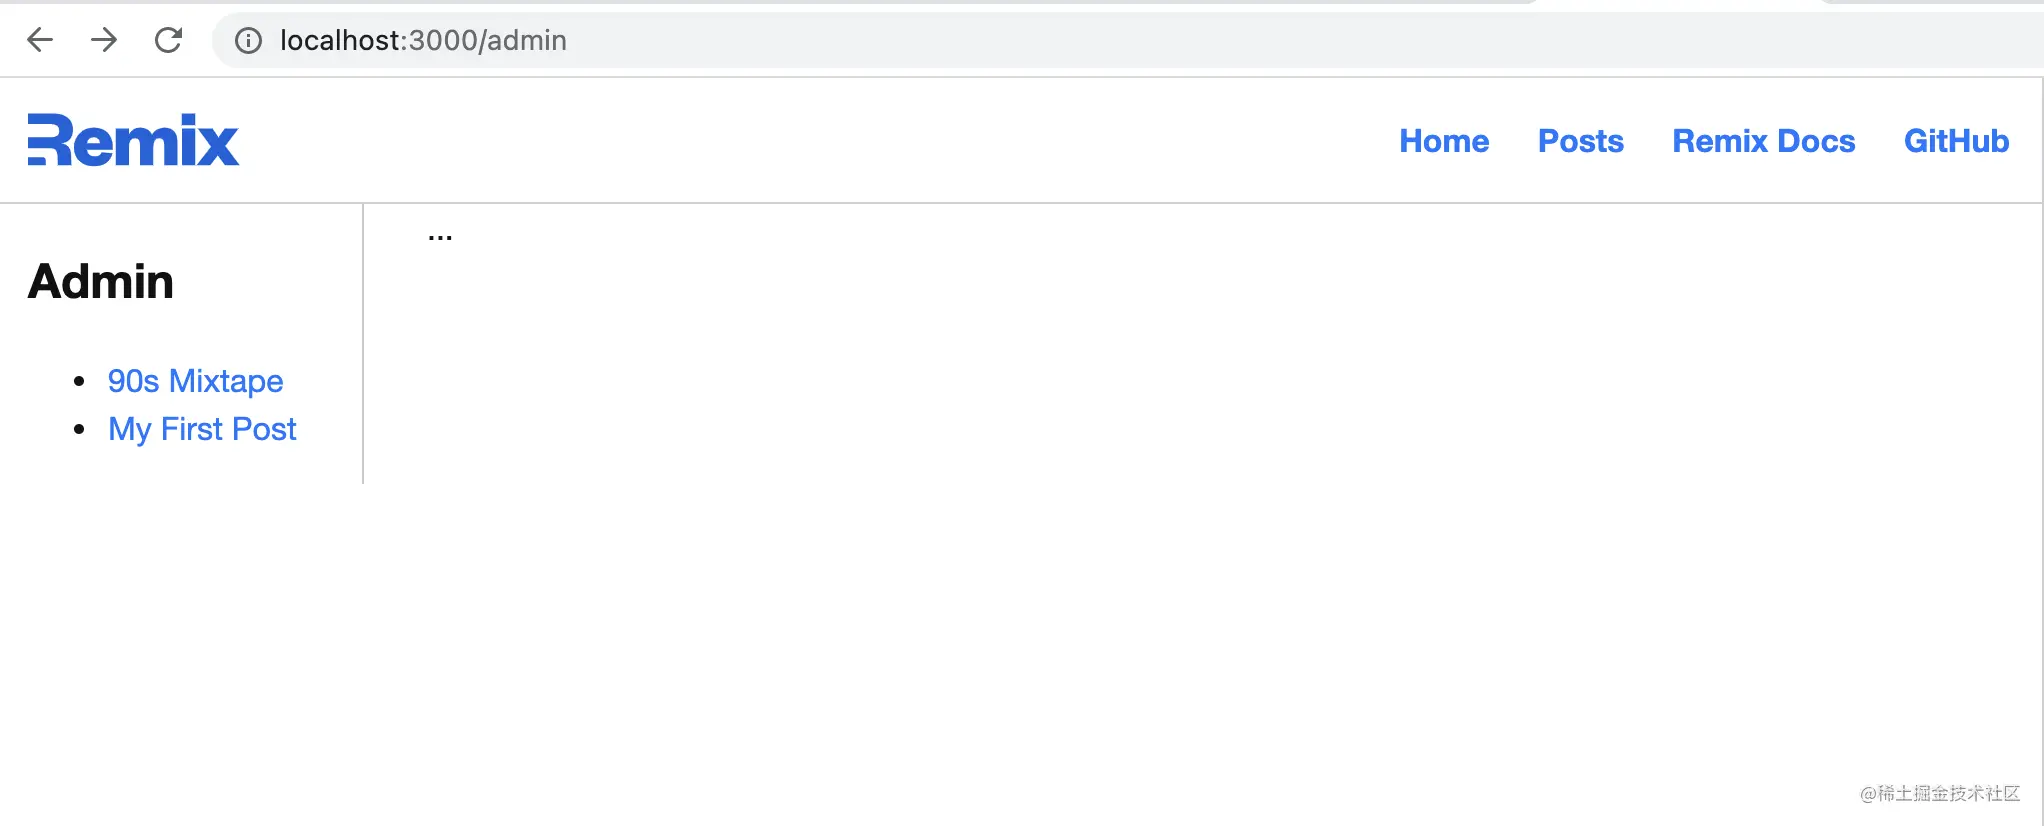
Each route can export a links method that returns the link array. We use {rel: "stylesheet", href: adminStyles} instead of < link rel = "stylesheet" href = "..." / >. This allows Remix to merge the already rendered route collection and render it in < links / > at the top of the page. Now we can see a page with a list of articles on the left and a booth on the right. You can access it manually http://localhost:3000/admin This route.
Root routes (Index Routes)
Let's create an index route for admin. We will introduce the use of nested routing.
Create a folder for the sub routes of admin route, and create an index tsx
mkdir app/routes/admin
touch app/routes/admin/index.tsx
 Copy code
import { Link } from "remix";

export default function AdminIndex() {
  return (
    <p>
      <Link to="new">Create a New Post</Link>
    </p>
  );
}
Copy code
At this time, if we refresh the browser, we can't see the content just created. Each route under app/routes/admin / will be displayed in app/routes/admin. When their routes match Rendered in TSX. You have to control how to display these matching routes in admin.
Add an outlet in the admin page
// admin.tsx

import { Outlet, Link, useLoaderData } from "remix";

//...
export default function Admin() {
  const posts = useLoaderData<Post[]>();
  return (
    <div className="admin">
      <nav>
        <h1>Admin</h1>
        <ul>
          {posts.map(post => (
            <li key={post.slug}>
              <Link to={`/posts/${post.slug}`}>
                {post.title}
              </Link>
            </li>
          ))}
        </ul>
      </nav>
      <main>
        <Outlet />
      </main>
    </div>
  );
}
Copy code
When the URL matches the path of the parent route, index routes will be rendered to the outlet. Next, let's add the / admin/new route and click Create a New Post to see what happens.
Create app / routes / admin / new Tsx routing
touch app/routes/admin/new.tsx
 Copy code
export default function NewPost() {
  return <h2>New Post</h2>;
}
Copy code
When we click < link to = "new" > create a new post < / link >, we will find that the route has been routed to admin/new, and the content has also changed. The content except admin/new is rendered in the outlet.
Form submission (Actions)
Next, we will do a big thing to create a form in the new route to submit new blog posts.
Add a form in the new route
import { Form } from "remix";

export default function NewPost() {
  return (
    <Form method="post">
      <p>
        <label>
          Post Title: <input type="text" name="title" />
        </label>
      </p>
      <p>
        <label>
          Post Slug: <input type="text" name="slug" />
        </label>
      </p>
      <p>
        <label htmlFor="markdown">Markdown:</label>
        <br />
        <textarea id="markdown" rows={20} name="markdown" />
      </p>
      <p>
        <button type="submit">Create Post</button>
      </p>
    </Form>
  );
}
Copy code
This is no different from the submission form we wrote before. Let's post Create the necessary code to submit an article in the TS module.
In APP / post Add the createPost method anywhere in TS
// ...
export async function createPost(post) {
  const md = `---\ntitle: ${post.title}\n---\n\n${post.markdown}`;
  await fs.writeFile(
    path.join(postsPath, post.slug + ".md"),
    md
  );
  return getPost(post.slug);
}
Copy code
Calling createPost method in action of new routing
import { redirect, Form } from "remix";
import { createPost } from "~/post";

export const action = async ({ request }) => {
  const formData = await request.formData();

  const title = formData.get("title");
  const slug = formData.get("slug");
  const markdown = formData.get("markdown");

  await createPost({ title, slug, markdown });

  return redirect("/admin");
};

export default function NewPost() {
  // ...
}
Copy code
Resolve TS error reporting:
// app/post.ts
type NewPost = {
  title: string;
  slug: string;
  markdown: string;
};

export async function createPost(post: NewPost) {
  const md = `---\ntitle: ${post.title}\n---\n\n${post.markdown}`;
  await fs.writeFile(
    path.join(postsPath, post.slug + ".md"),
    md
  );
  return getPost(post.slug);
}

//...
Copy code
import { Form, redirect } from "remix";
import type { ActionFunction } from "remix";
import { createPost } from "~/post";
export const action: ActionFunction = async ({
request
}) => {
const formData = await request.formData();
const title = formData.get("title");
const slug = formData.get("slug");
const markdown = formData.get("markdown");
await createPost({ title, slug, markdown });
return redirect("/admin");
};
Copy codeWhether we use TS or not, there will be a problem submitting when users do not enter form fields. Before we submit the form, let's add some checks.
Verify whether the form contains the data we need. If the verification fails, an error message will be returned
//...
export const action: ActionFunction = async ({
  request
}) => {
  const formData = await request.formData();

  const title = formData.get("title");
  const slug = formData.get("slug");
  const markdown = formData.get("markdown");

  const errors = {};
  if (!title) errors.title = true;
  if (!slug) errors.slug = true;
  if (!markdown) errors.markdown = true;

  if (Object.keys(errors).length) {
    return errors;
  }

  await createPost({ title, slug, markdown });

  return redirect("/admin");
};
Copy code
Note that we do not return the redirect message at this time. Instead, an error message is returned. In the component, this information can be accessed through useActionData. It is very similar to useLoaderData. However, only the data is obtained through action after the form is submitted.
Add verification information display on UI
import {
  useActionData,
  Form,
  redirect,
  ActionFunction
} from "remix";

// ...

export default function NewPost() {
  const errors = useActionData();

  return (
    <Form method="post">
      <p>
        <label>
          Post Title:{" "}
          {errors?.title && <em>Title is required</em>}
          <input type="text" name="title" />
        </label>
      </p>
      <p>
        <label>
          Post Slug:{" "}
          {errors?.slug && <em>Slug is required</em>}
          <input type="text" name="slug" />
        </label>
      </p>
      <p>
        <label htmlFor="markdown">Markdown:</label>{" "}
        {errors?.markdown && <em>Markdown is required</em>}
        <br />
        <textarea rows={20} name="markdown" />
      </p>
      <p>
        <button type="submit">Create Post</button>
      </p>
    </Form>
  );
}
Copy code
The interesting thing is: when JavaScript is disabled in the developer tool, try again. Because Remix is built based on HTTP and HTML, the program can still work well in the browser after we disable JavaScript. This is not the point. When we slow down the processing of data, we add some loading UI to the form.
Slow down our action through a simulated delay
// ...
export const action: ActionFunction = async ({
  request
}) => {
  await new Promise(res => setTimeout(res, 1000));

  const formData = await request.formData();

  const title = formData.get("title");
  const slug = formData.get("slug");
  const markdown = formData.get("markdown");
  // ...
};
//...
Copy code
Add UI in load through useTransition
import {
  useTransition,
  useActionData,
  Form,
  redirect
} from "remix";

// ...

export default function NewPost() {
  const errors = useActionData();
  const transition = useTransition();

  return (
    <Form method="post">
      {/* ... */}

      <p>
        <button type="submit">
          {transition.submission
            ? "Creating..."
            : "Create Post"}
        </button>
      </p>
    </Form>
  );
}
Copy code
Now users can have a good experience without JavaScript support.