The project address is attached at the end of the article.
1. New projects
Execute the following commands in the console (provided that the react-native development environment has been built):
react-native init XieCheng // XieCheng is the project name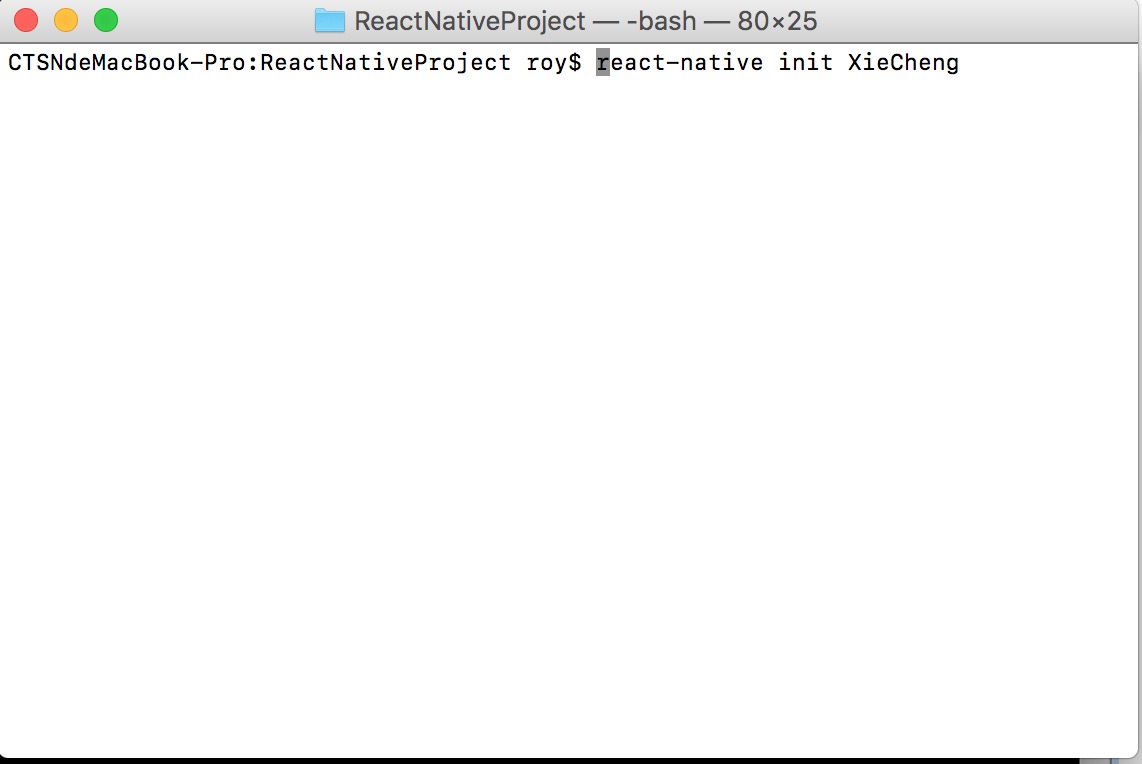
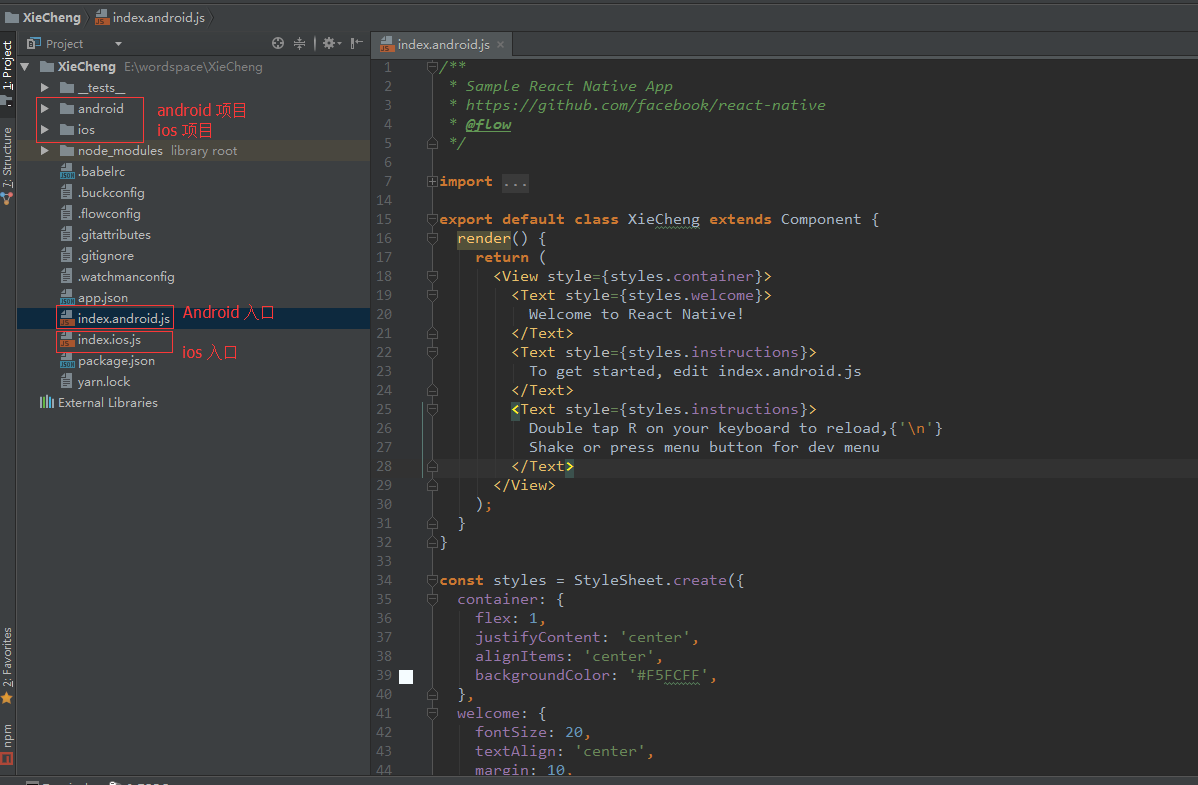
2. Open new projects
Here we use webStrom to open the project
3. Running Projects
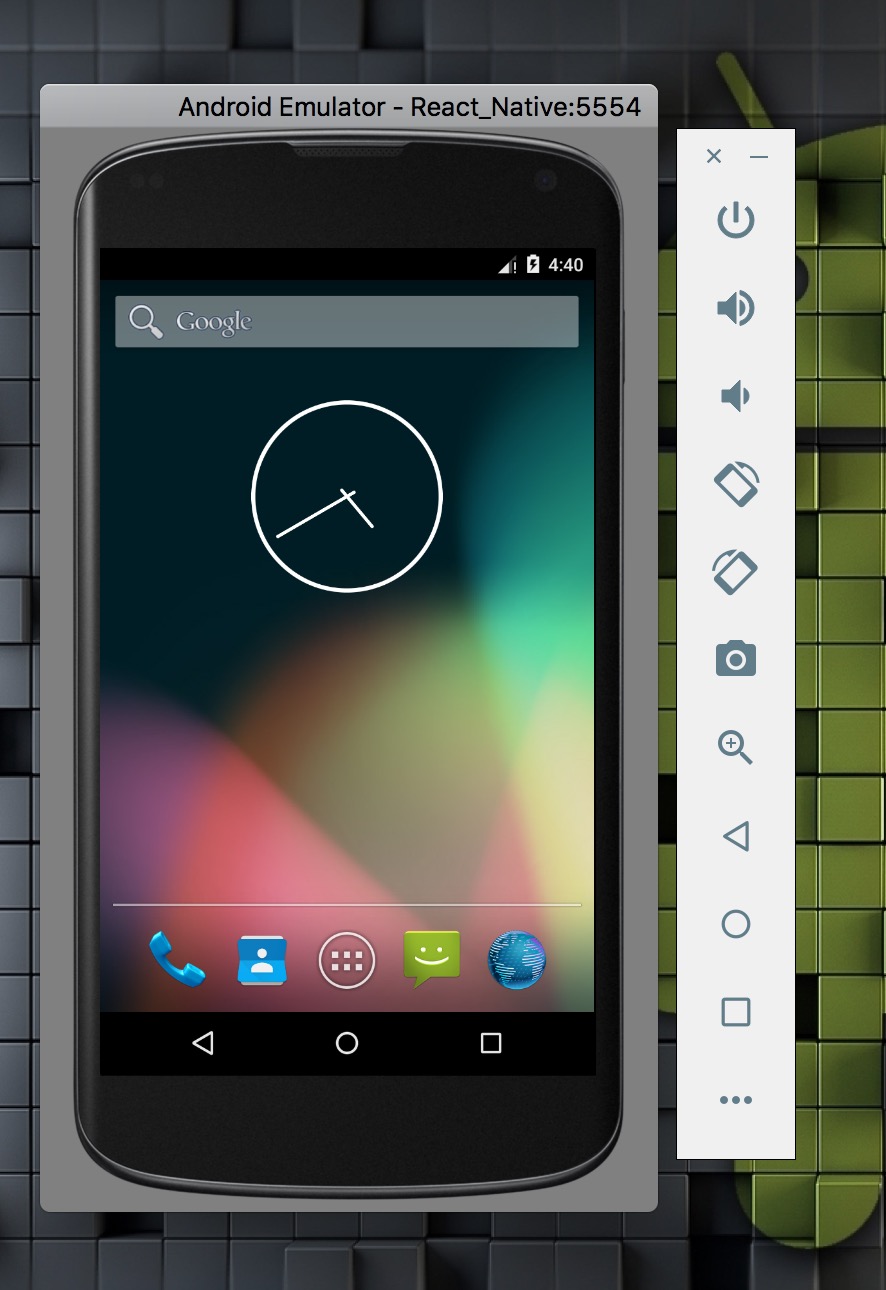
1. Start the simulator on the computer first
Here's a 5.0 simulator
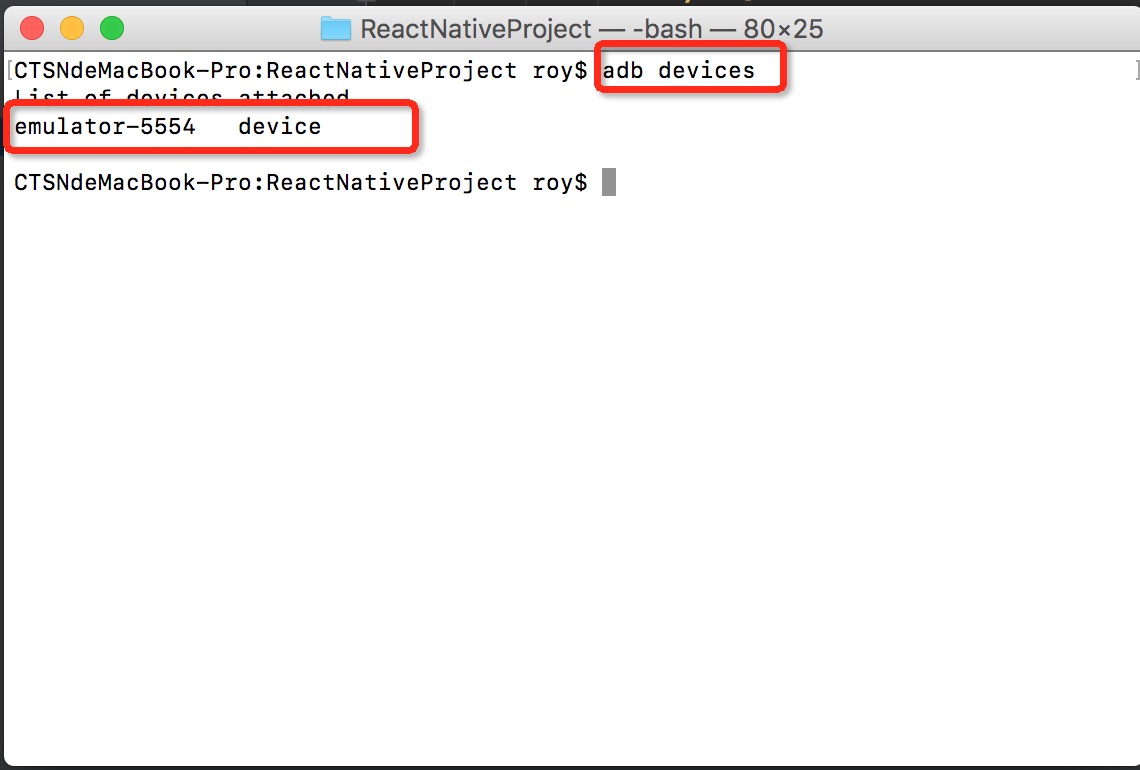
2. Check whether adb is connected to simulator
The development environment variables of android should be matched before using adb
3. Start Packaging Services
In the console, enter the root directory of the project and execute:
react-native start 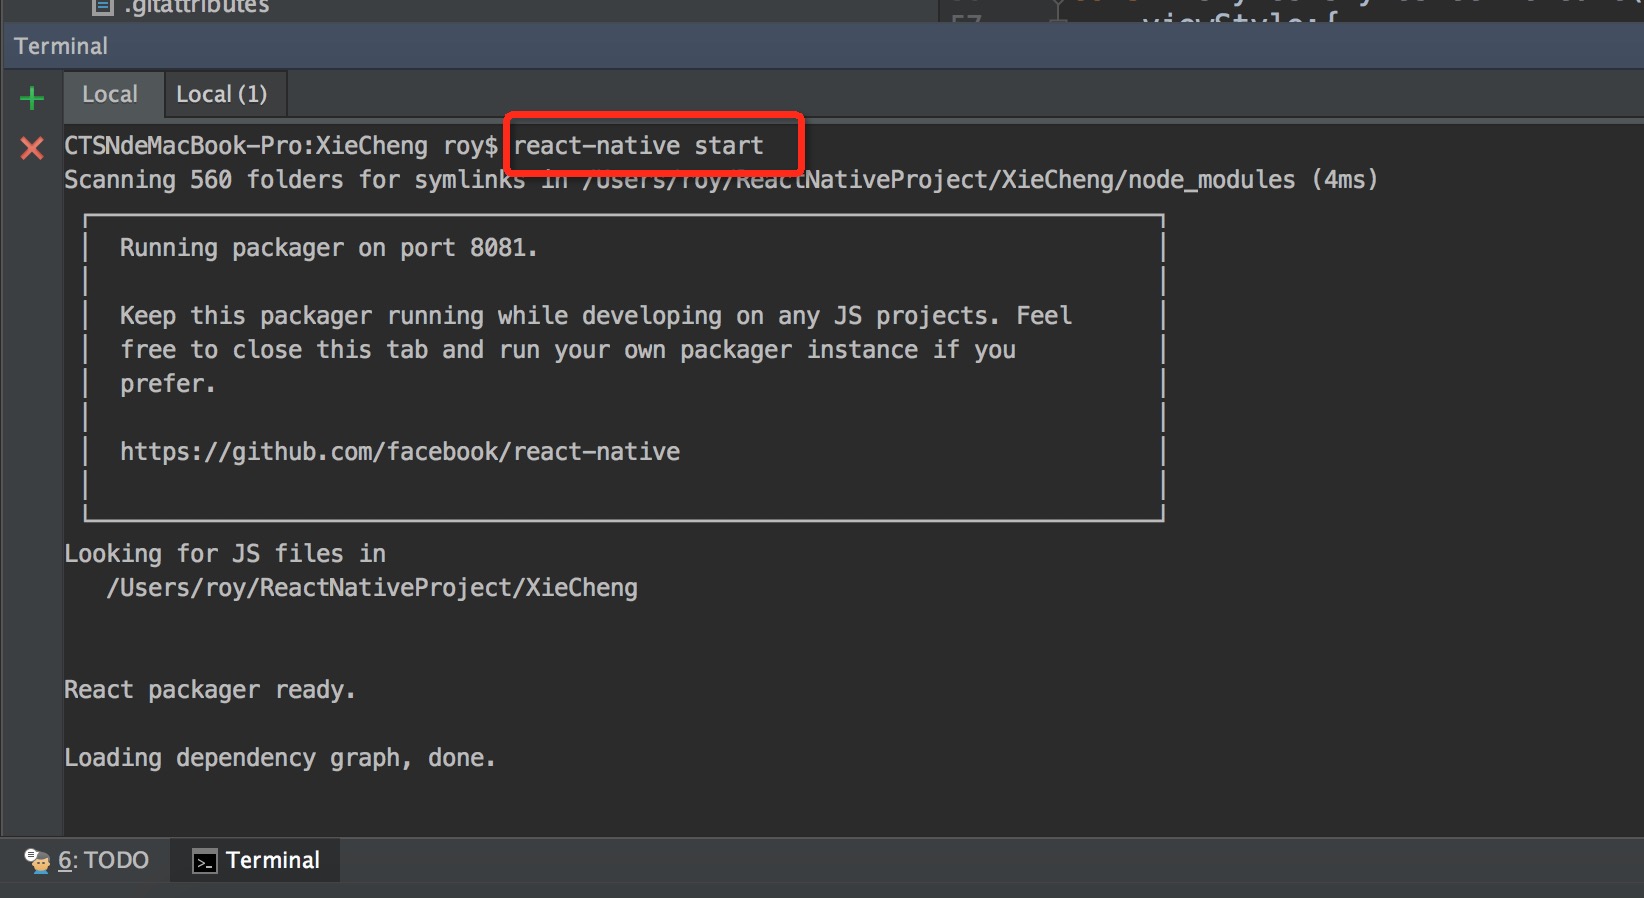
4. Run the XieCheng project
react-native run-android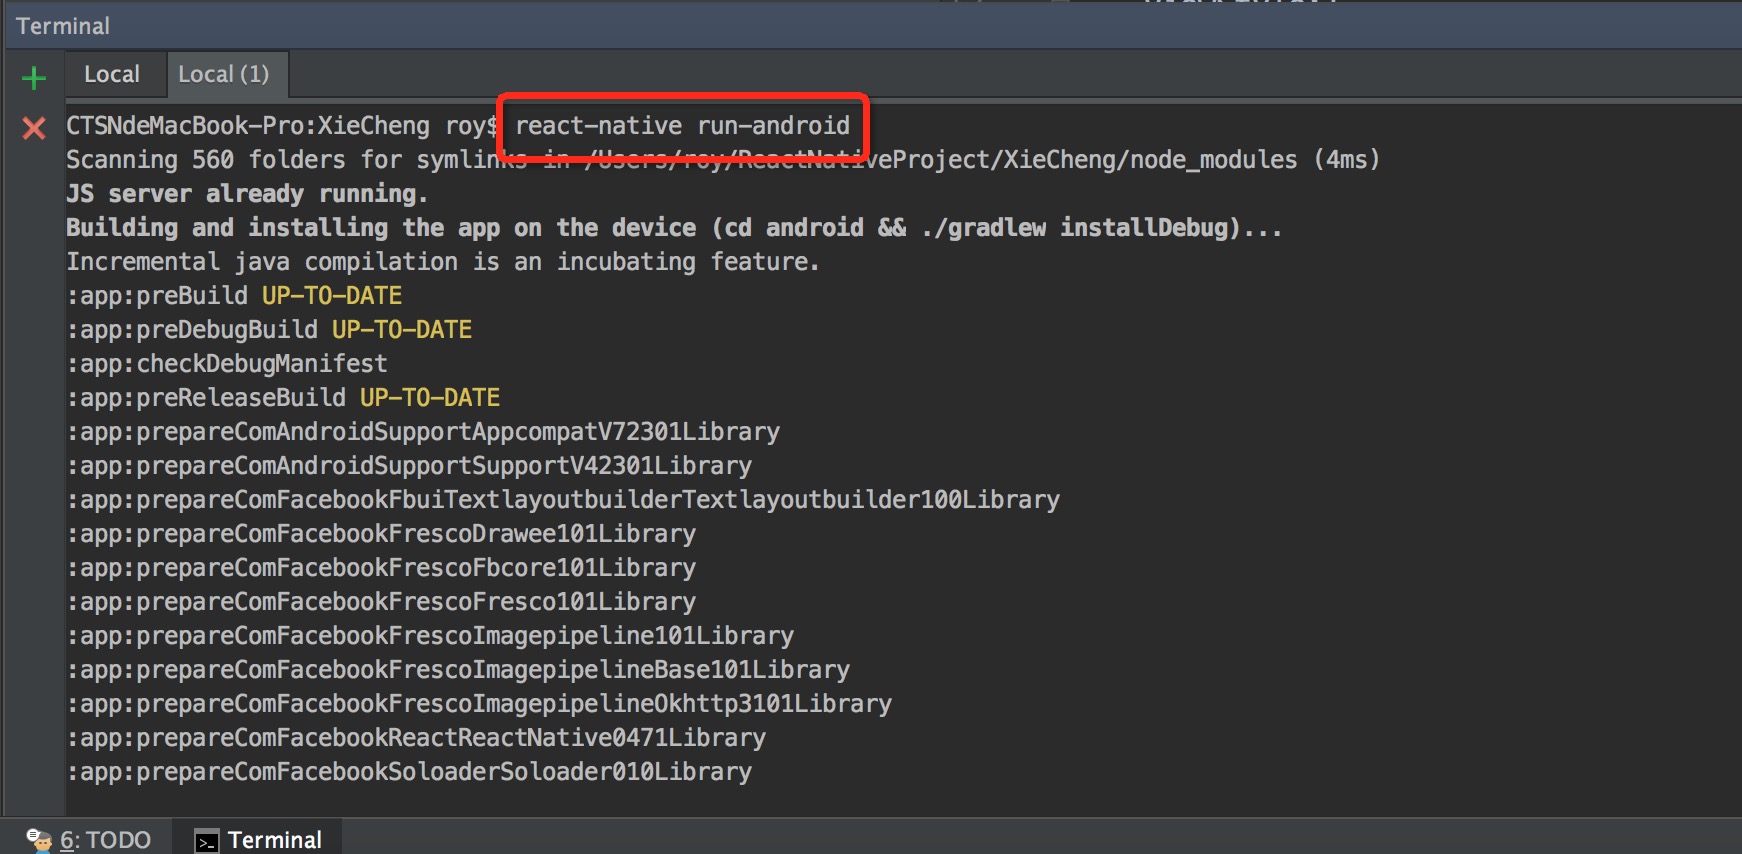
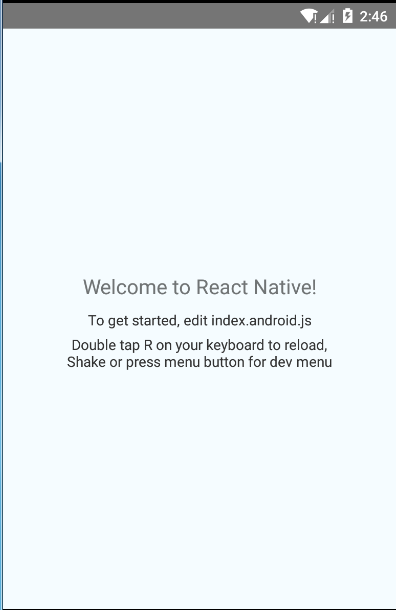
Post-implementation effects:
4. Building the framework of the project
1. Building Project Structure
Each module corresponds to a directory and stores its components separately.
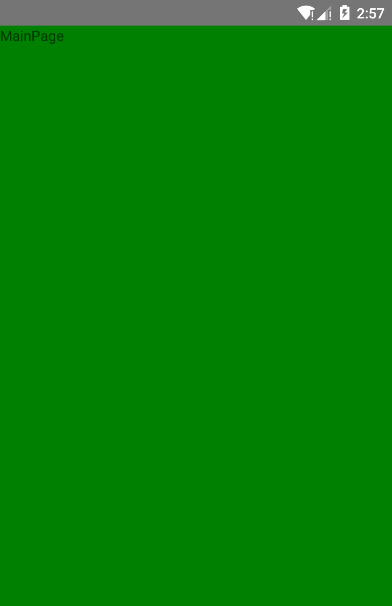
Create a new MainPage component as the home page of the application
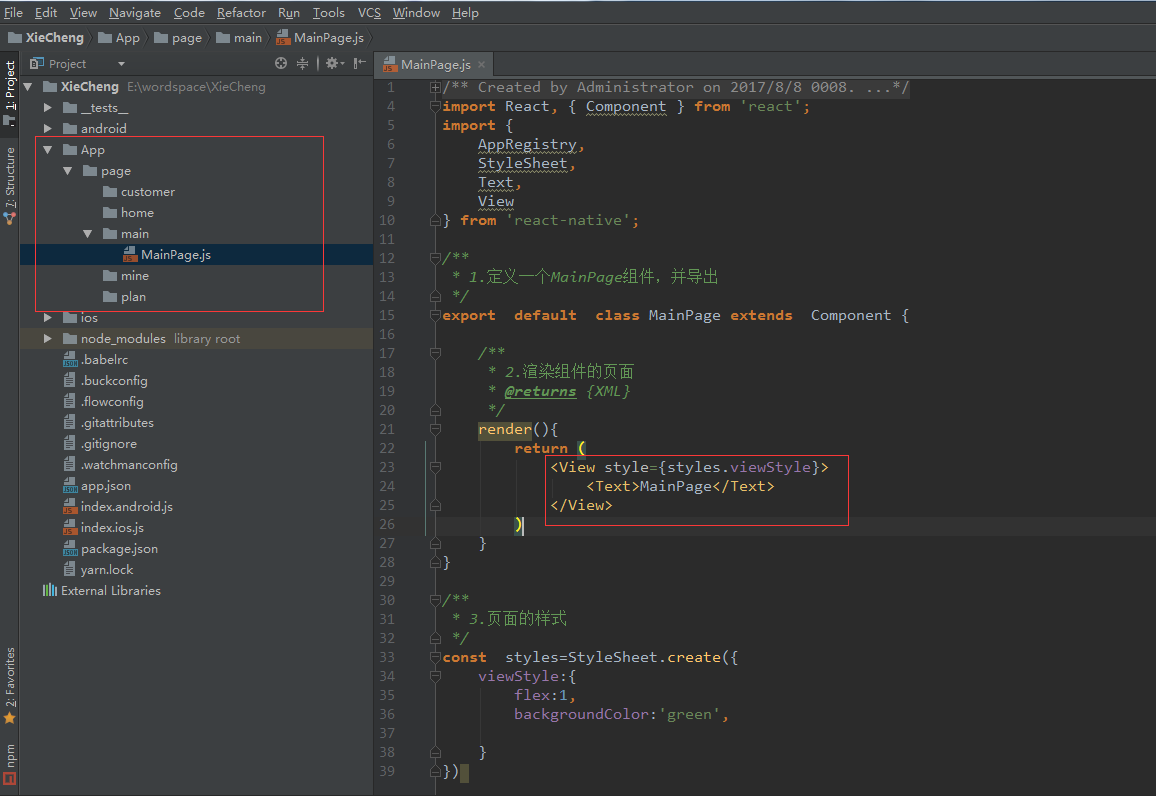
2. Designing Home Page
MainPage as the main page, modify the index.android.js and index.ios.js files
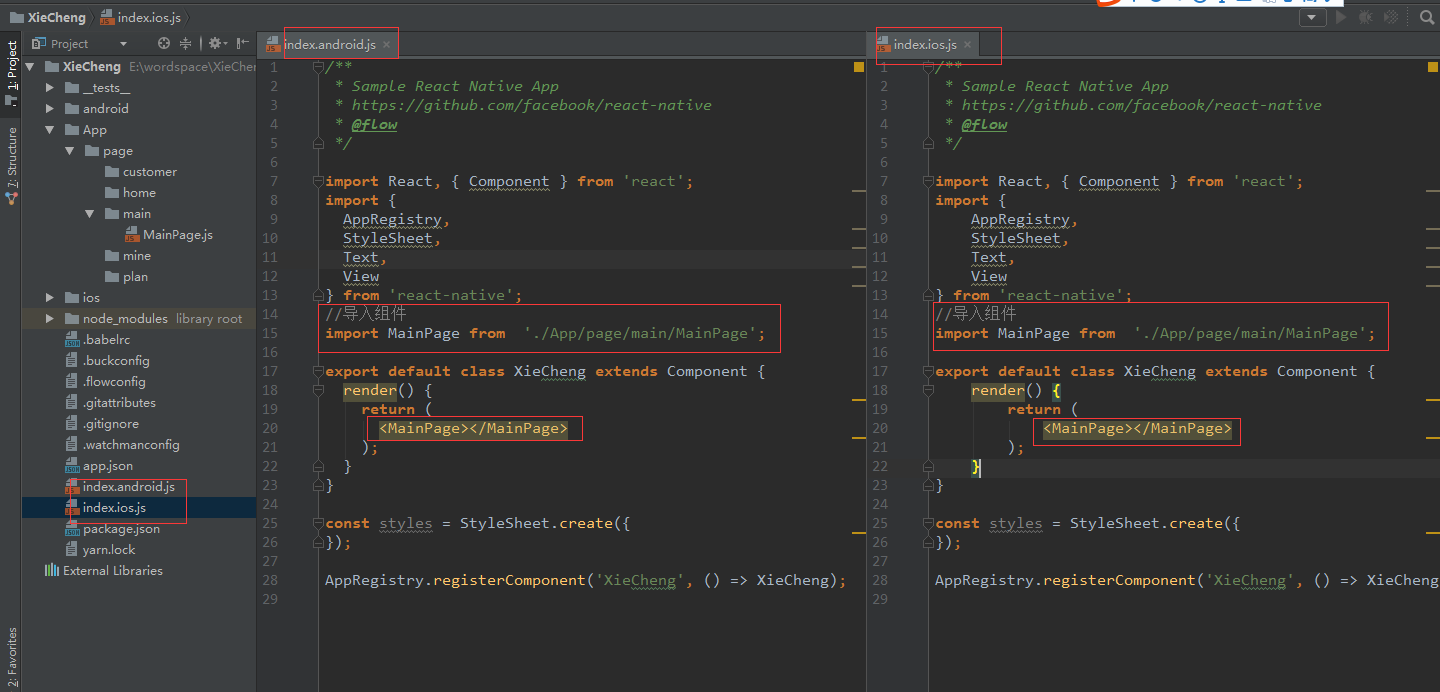
Implementation effect:
5. Build the bottom navigation bar
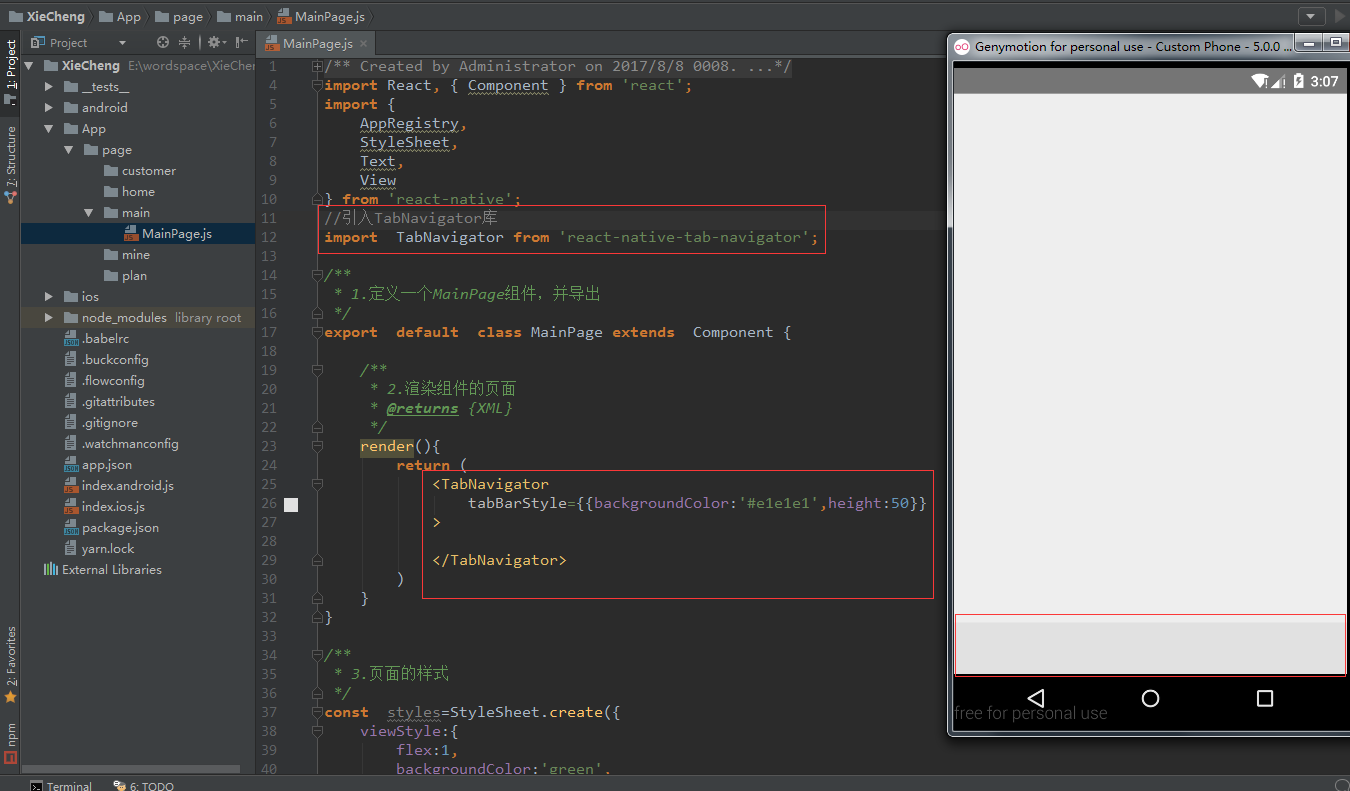
1. Import TabNavigator Library
TabNavigator Github address
Execute the following commands in the console under the root directory of the project:
npm install react-native-tab-navigator --saveIf you make an error, please execute it many times.

3. Introduce this component in MainPage
4. Add Item to the bottom navigation bar
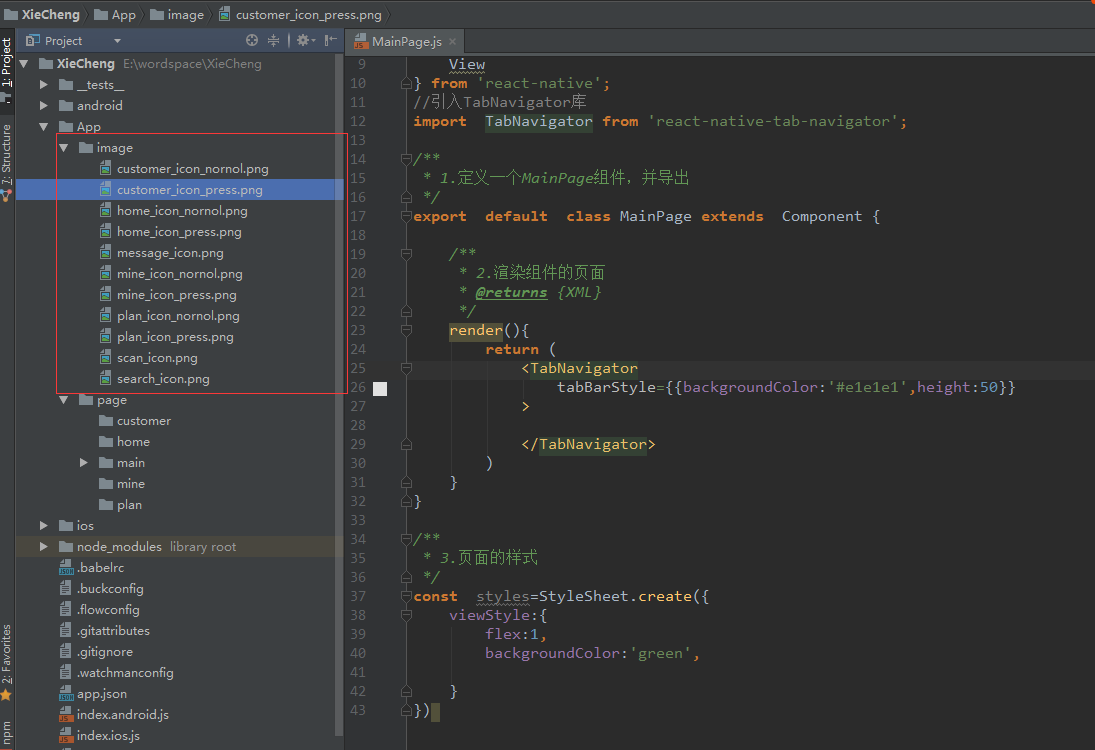
1. Introducing image resources to store in image directory
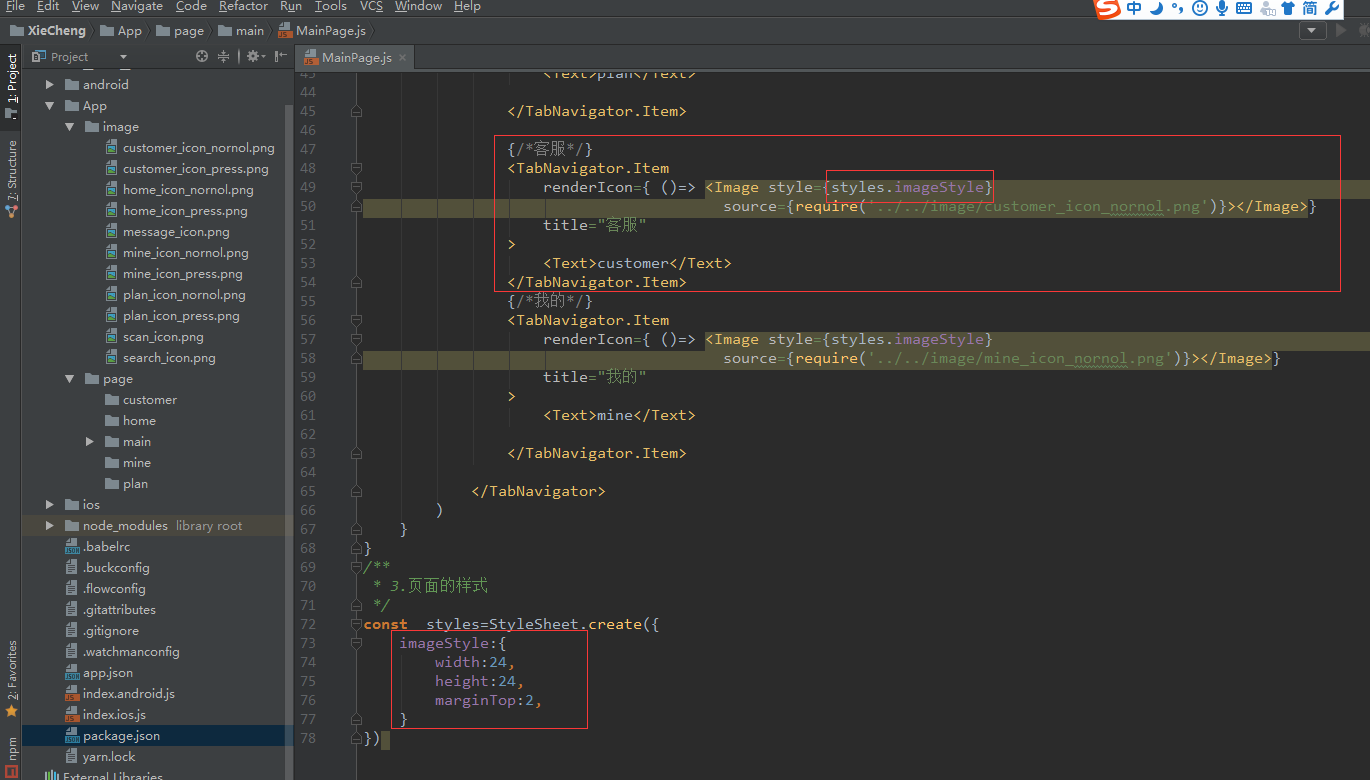
2. Add TabNavigator.Item, each Item corresponding to the navigation bar
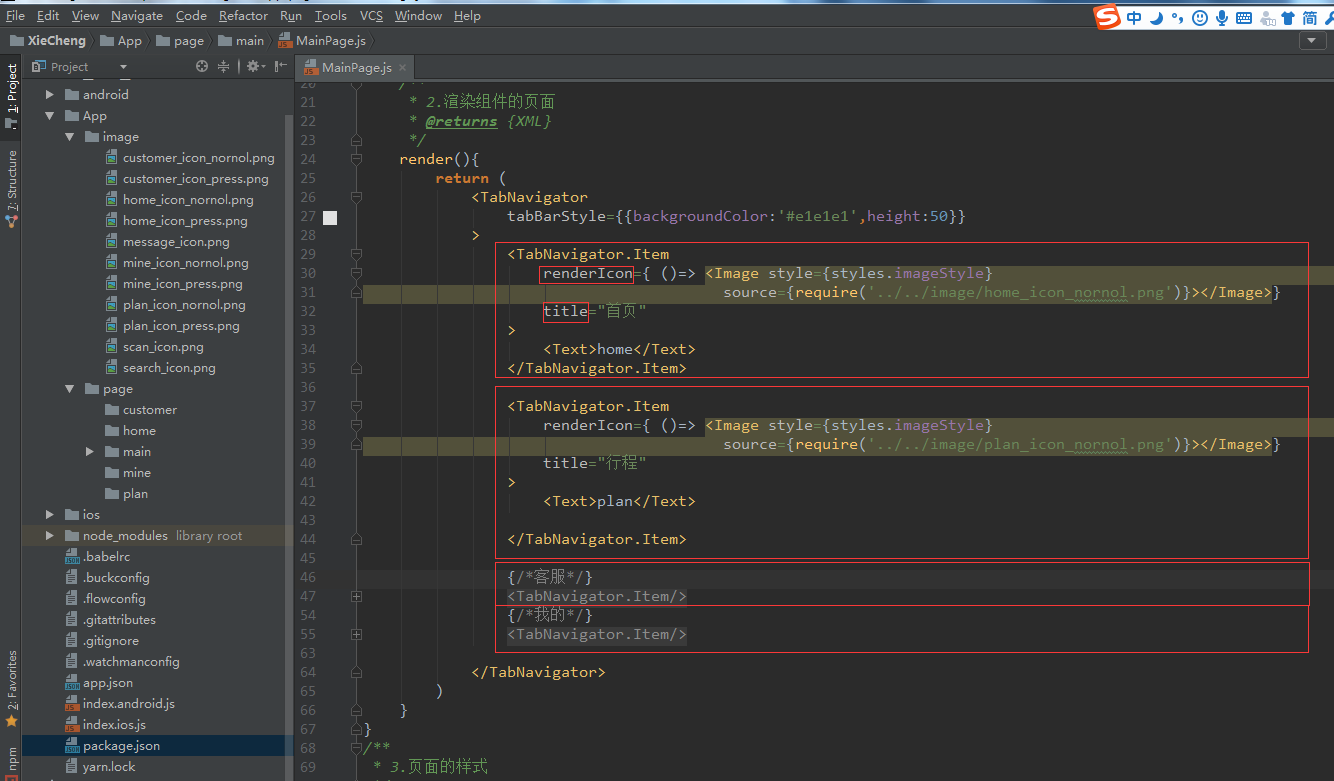
Set the renderSelected Icon and default ** renderIcon**Item styles and corresponding pictures
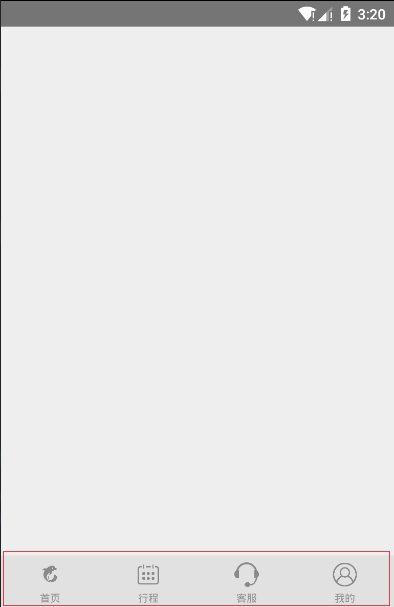
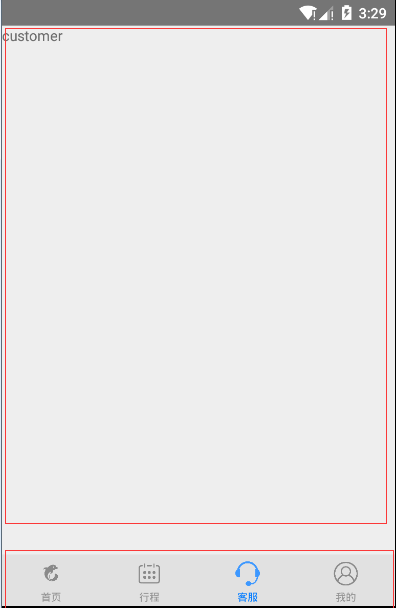
The effect of implementation:
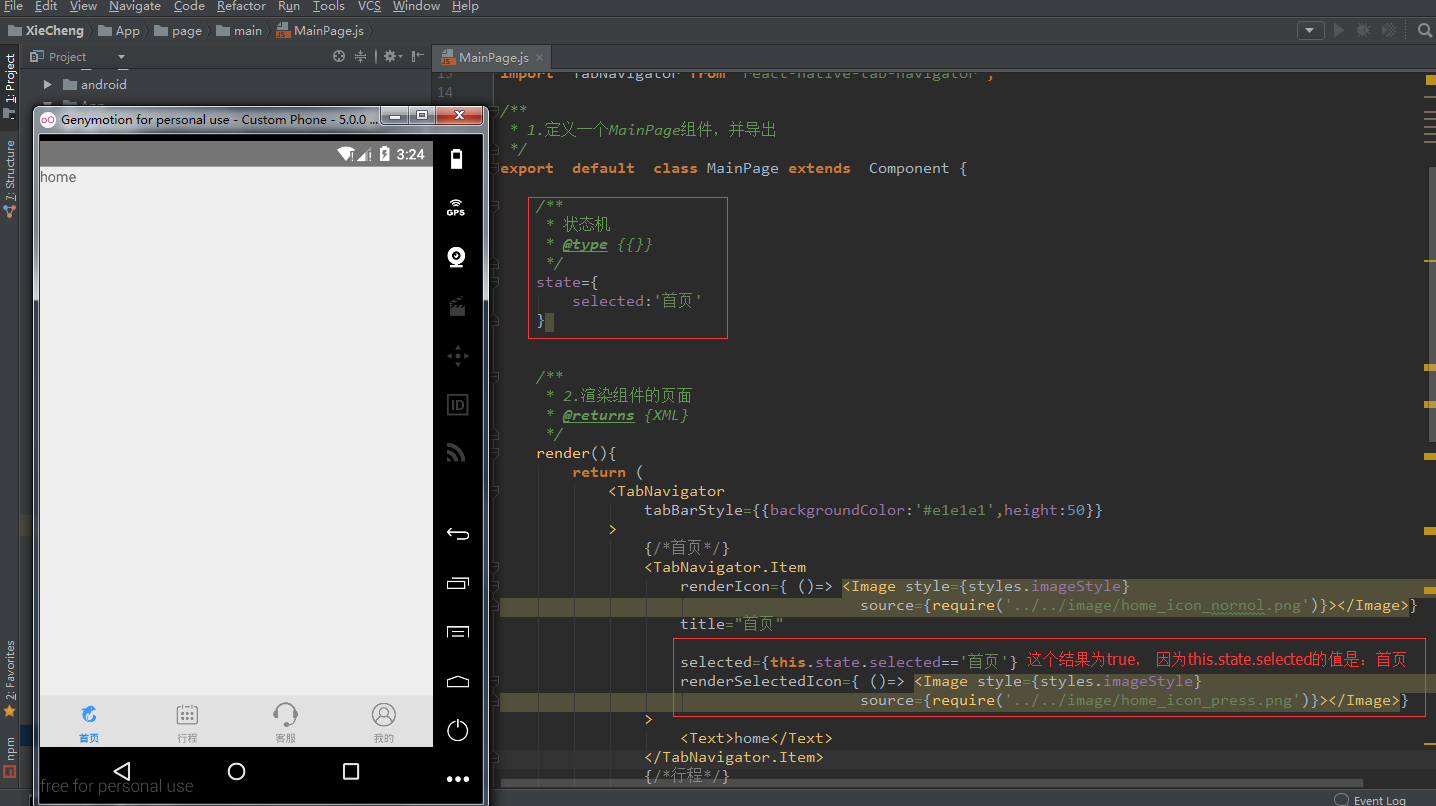
5. Select the home page by default
The value of selected in the initialization state (state machine) is `home page'. The attribute selected in TabNavigator.Item is used to determine whether the current item is selected or not.
6. Switching between Item s at the bottom
Write other TabNavigator Item s, ibid.
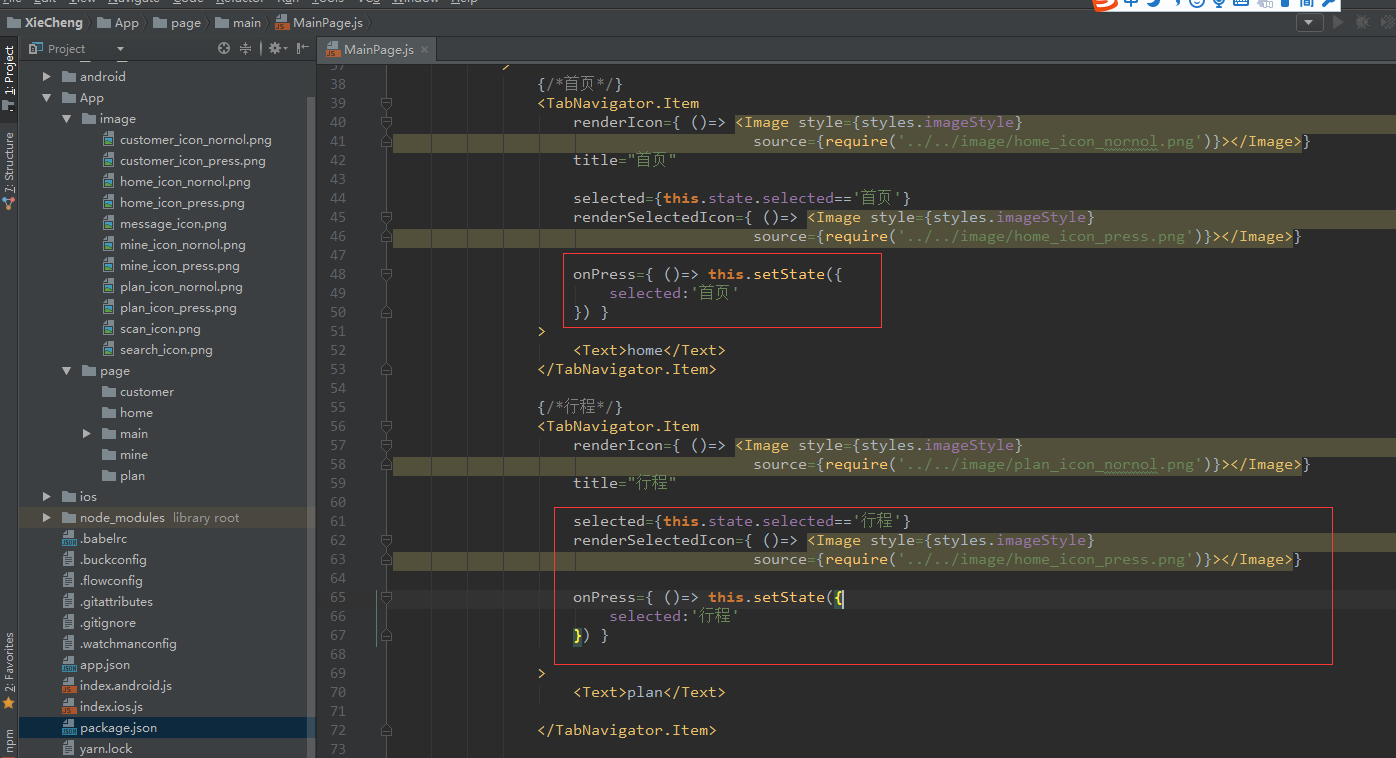
Complete MainPage.js code
/**
 * Created by Administrator on 2017/8/8 0008.
 */
import React, { Component } from 'react';
import {
    AppRegistry,
    StyleSheet,
    Text,
    View,
    Image
} from 'react-native';
//Introducing TabNavigator Library
import  TabNavigator from 'react-native-tab-navigator';

/**
 * 1.Define a MainPage component and export it
 */
export  default  class MainPage extends  Component {

    /**
     * state machine
     * @type {{}}
     */
    state={
        selected:'home page'
    }


    /**
     * 2.Render Component Pages
     * @returns {XML}
     */
    render(){
        return (
            <TabNavigator
                tabBarStyle={{backgroundColor:'#e1e1e1',height:50}}
            >
                {/*home page*/}
                <TabNavigator.Item
                    renderIcon={ ()=> <Image style={styles.imageStyle}
                                        source={require('../../image/home_icon_nornol.png')}></Image>}
                    title="home page"

                    selected={this.state.selected=='home page'}
                    renderSelectedIcon={ ()=> <Image style={styles.imageStyle}
                                        source={require('../../image/home_icon_press.png')}></Image>}

                    onPress={ ()=> this.setState({
                        selected:'home page'
                    }) }
                >
                    <Text>home</Text>
                </TabNavigator.Item>

                {/*Trip*/}
                <TabNavigator.Item
                    renderIcon={ ()=> <Image style={styles.imageStyle}
                                        source={require('../../image/plan_icon_nornol.png')}></Image>}
                    title="Trip"

                    selected={this.state.selected=='Trip'}
                    renderSelectedIcon={ ()=> <Image style={styles.imageStyle}
                                        source={require('../../image/plan_icon_press.png')}></Image>}

                    onPress={ ()=> this.setState({
                        selected:'Trip'
                    }) }

                >
                    <Text>plan</Text>

                </TabNavigator.Item>

                {/*Customer service*/}
                <TabNavigator.Item
                    renderIcon={ ()=> <Image style={styles.imageStyle}
                                        source={require('../../image/customer_icon_nornol.png')}></Image>}
                    title="Customer service"

                    selected={this.state.selected=='Customer service'}
                    renderSelectedIcon={ ()=> <Image style={styles.imageStyle}
                                        source={require('../../image/customer_icon_press.png')}></Image>}

                    onPress={ ()=> this.setState({
                        selected:'Customer service'
                    }) }
                >
                    <Text>customer</Text>
                </TabNavigator.Item>
                {/*My*/}
                <TabNavigator.Item
                    renderIcon={ ()=> <Image style={styles.imageStyle}
                                        source={require('../../image/mine_icon_nornol.png')}></Image>}
                    title="My"

                    selected={this.state.selected=='My'}
                    renderSelectedIcon={ ()=> <Image style={styles.imageStyle}
                                        source={require('../../image/mine_icon_press.png')}></Image>}

                    onPress={ ()=> this.setState({
                        selected:'My'
                    }) }
                >
                    <Text>mine</Text>

                </TabNavigator.Item>

            </TabNavigator>
        )
    }
}
/**
 * 3.Page style
 */
const  styles=StyleSheet.create({
    imageStyle:{
        width:24,
        height:24,
        marginTop:2,
    }
})
Implementation effect:
6. Build the top navigation bar of the home page
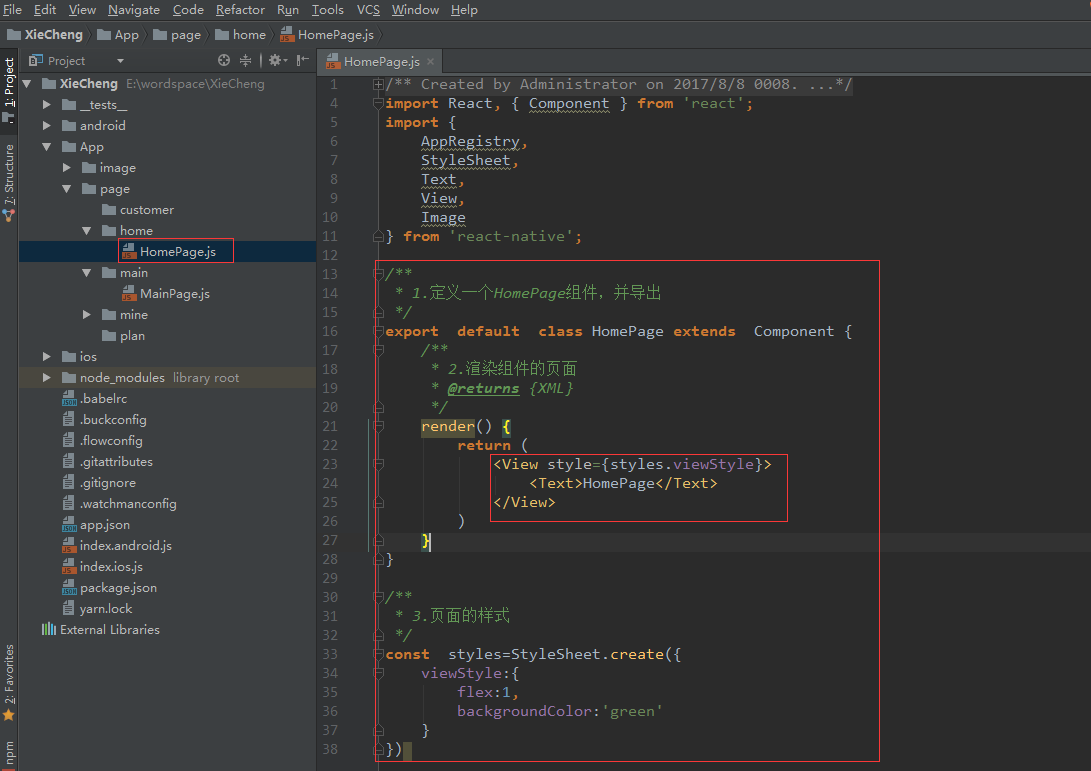
1. New HomePage Component
Click the page corresponding to Item on the home page.
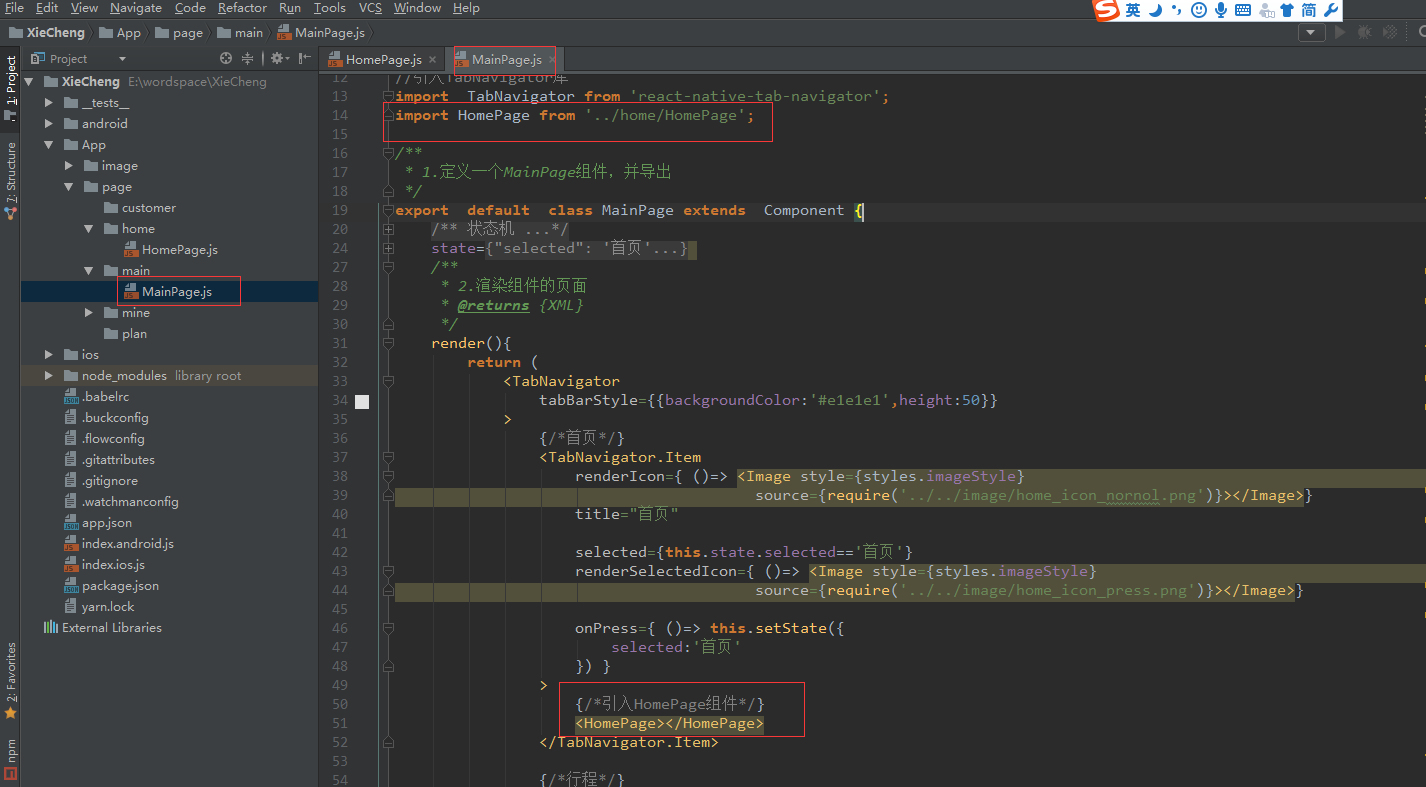
2. Reference to HomePage Components on Home Page
Back to the MainPage component, in the TabNavigator.Item on the home page, replace Text with the HomePage component written above
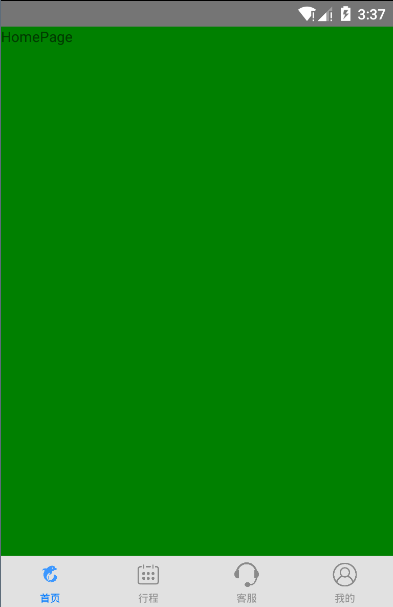
Implementation effect:
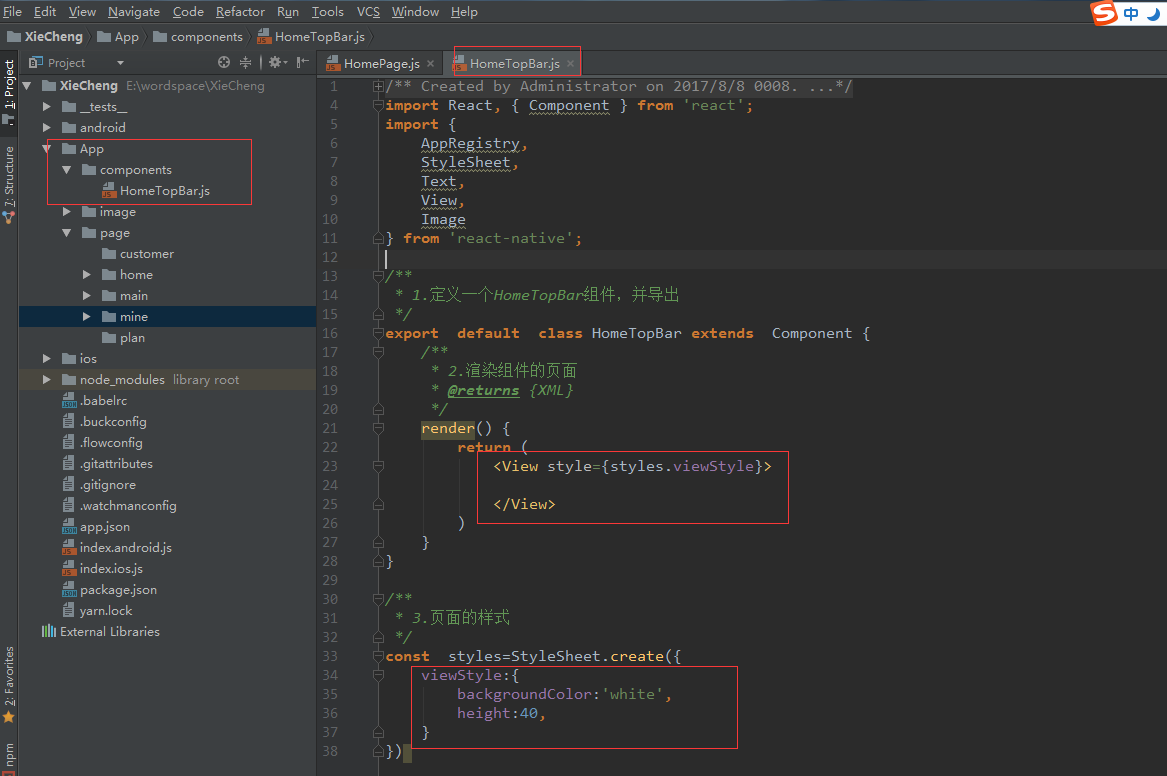
3. Create a new HomeTopBar component
Write Search Box Components at the Top of Home Page
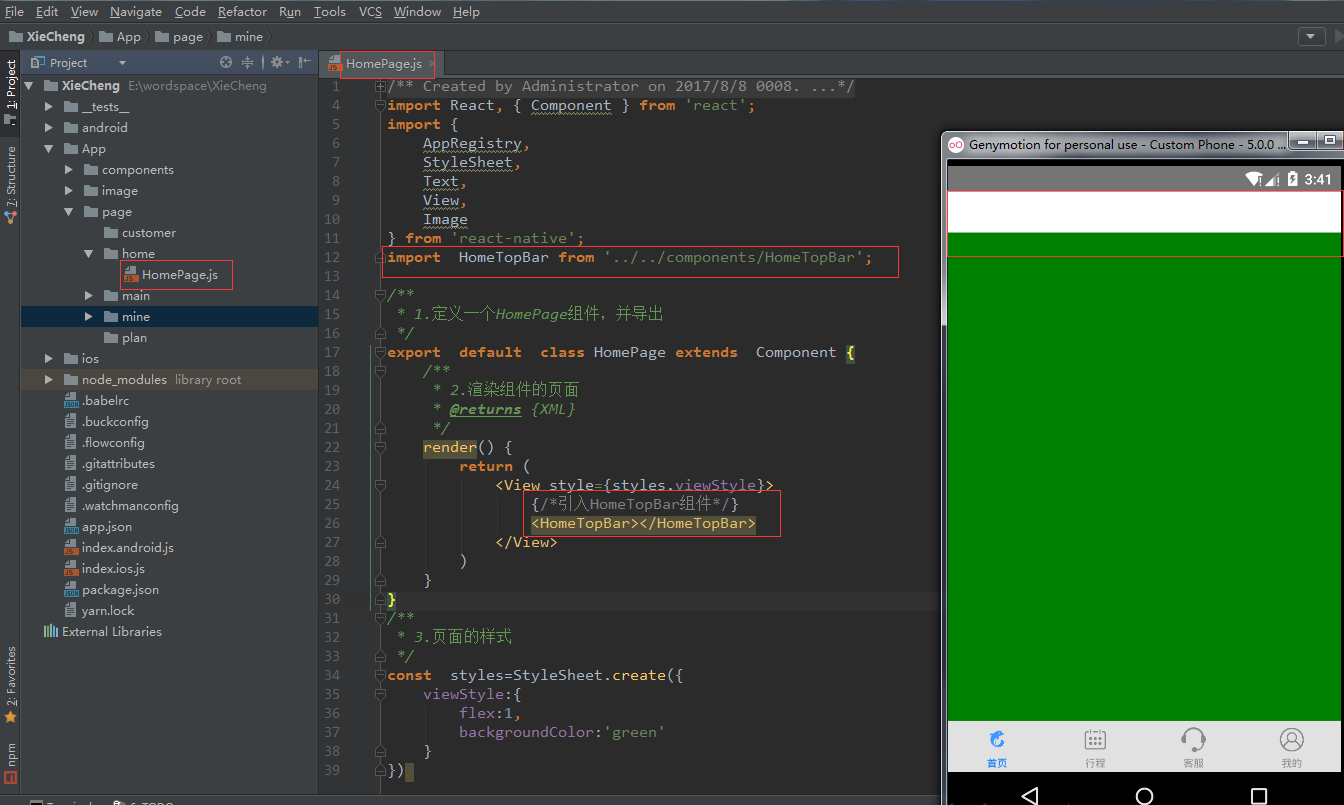
4. Reference to the HomeTopBar component
Introduce the HomeTopBar component (top search box) into the HomePage component
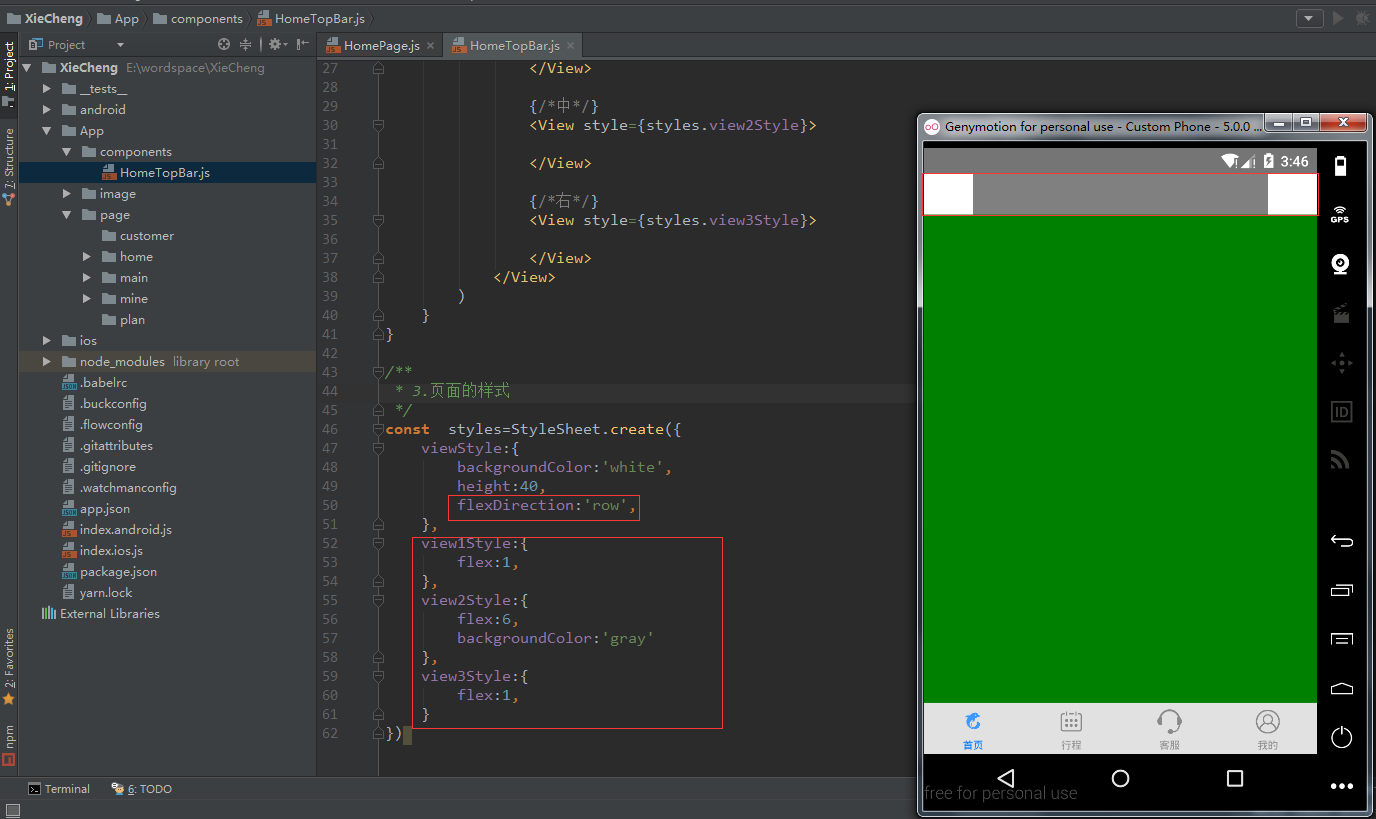
5. Improving HomeTopBar Layout
1. Layout by weight
Component placement
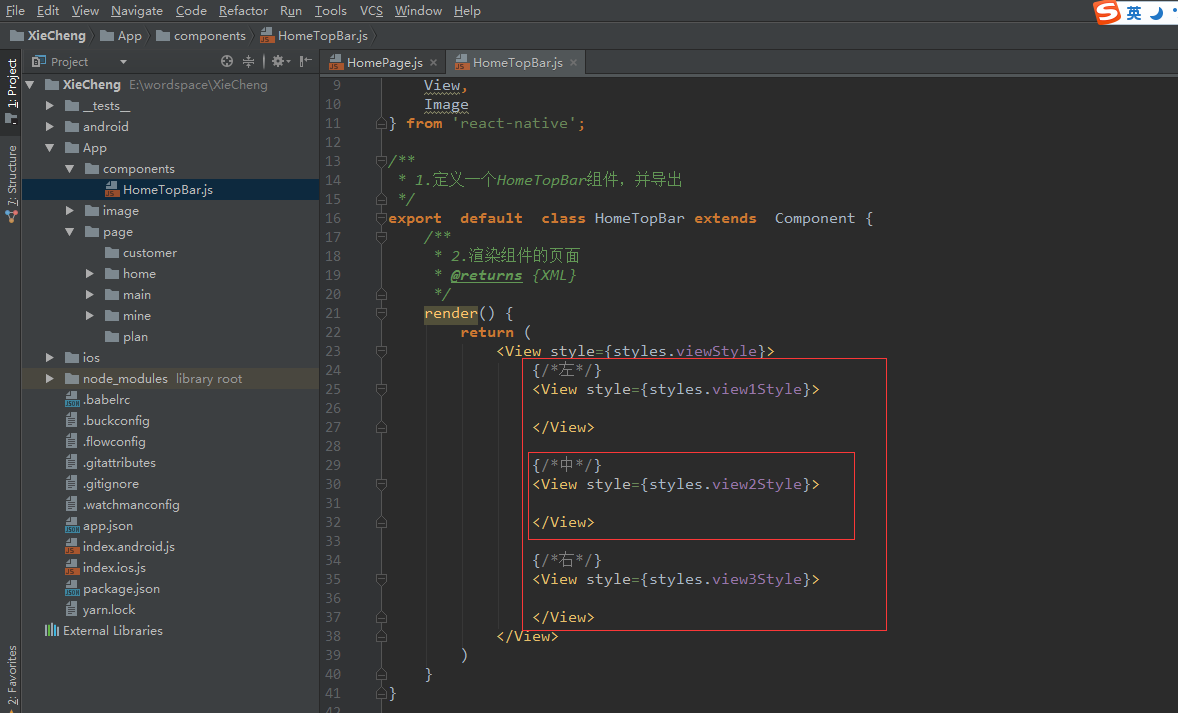
Corresponding Style: Use flexDirection to specify the direction of component placement, and use flex attribute to define the weight of each component.
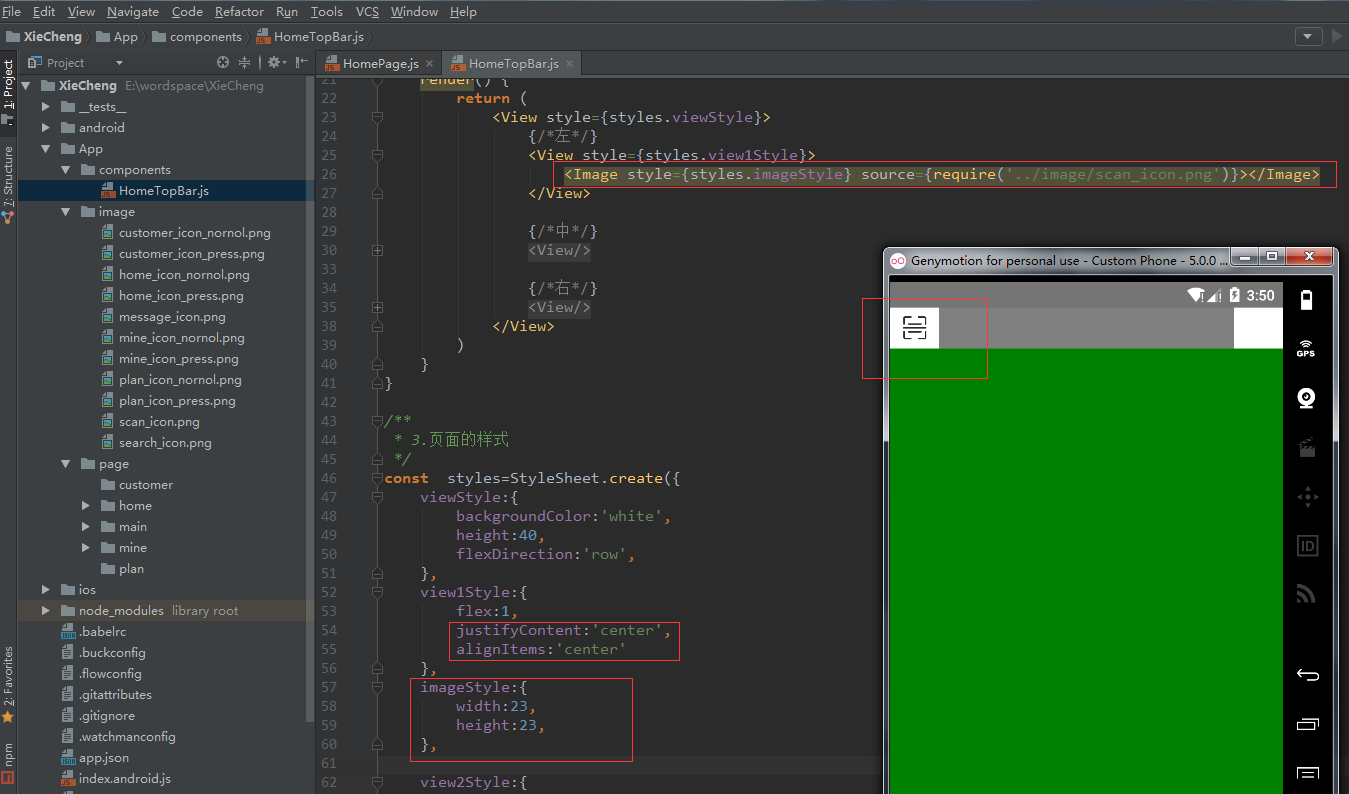
2. Left layout
Place Image Components and Introduce Corresponding Pictures
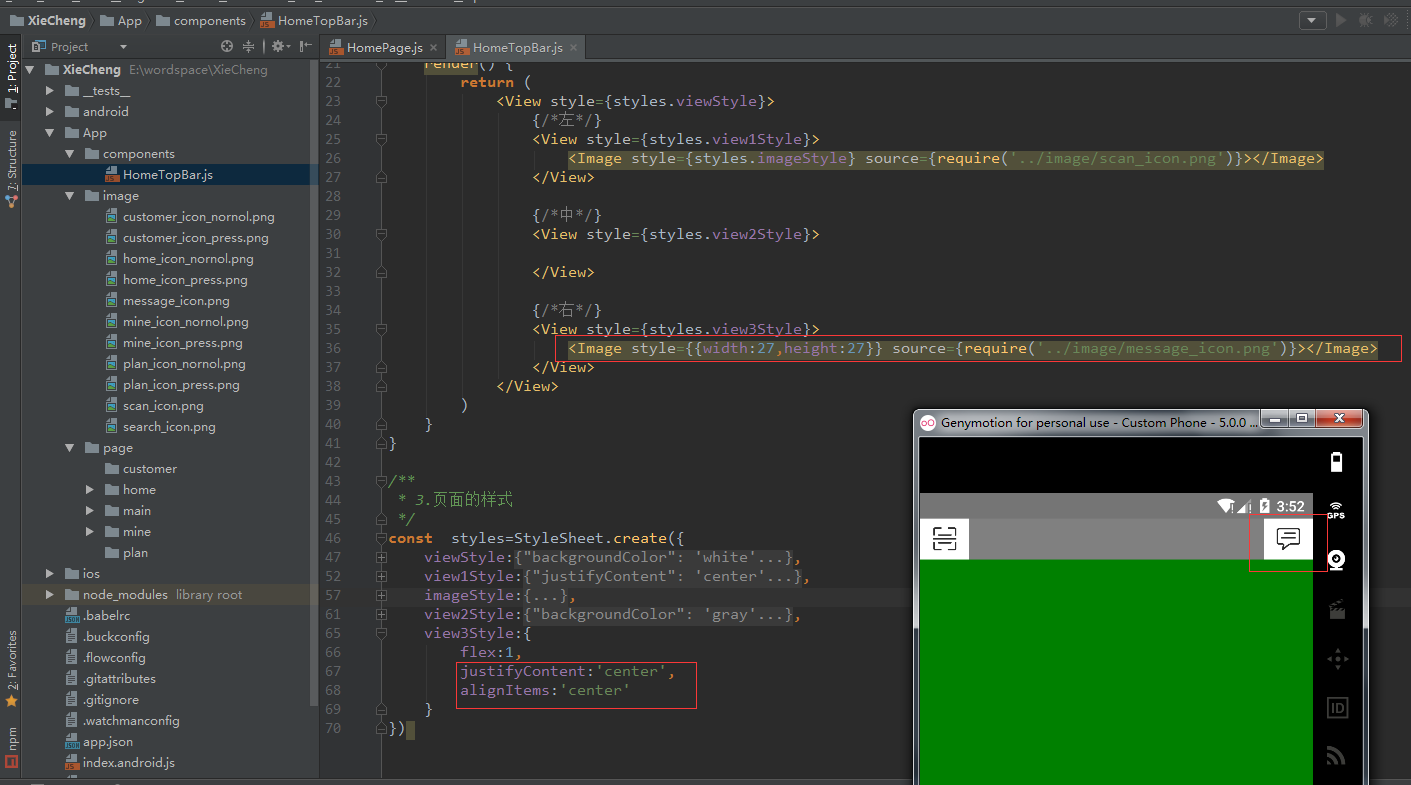
3. Right Layout
It's also about placing Image components and introducing corresponding pictures.
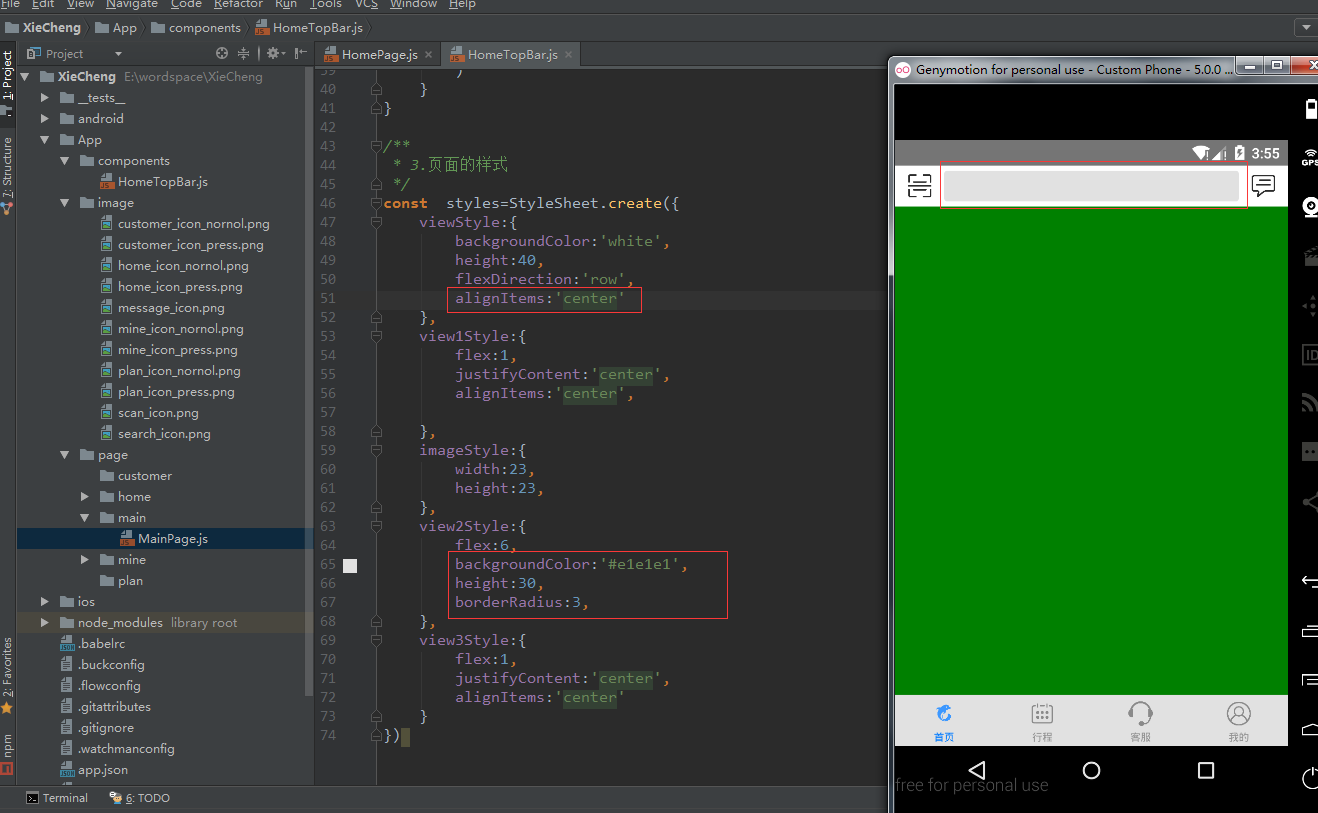
4. Intermediate Layout
Use input box TextInput component and Image component
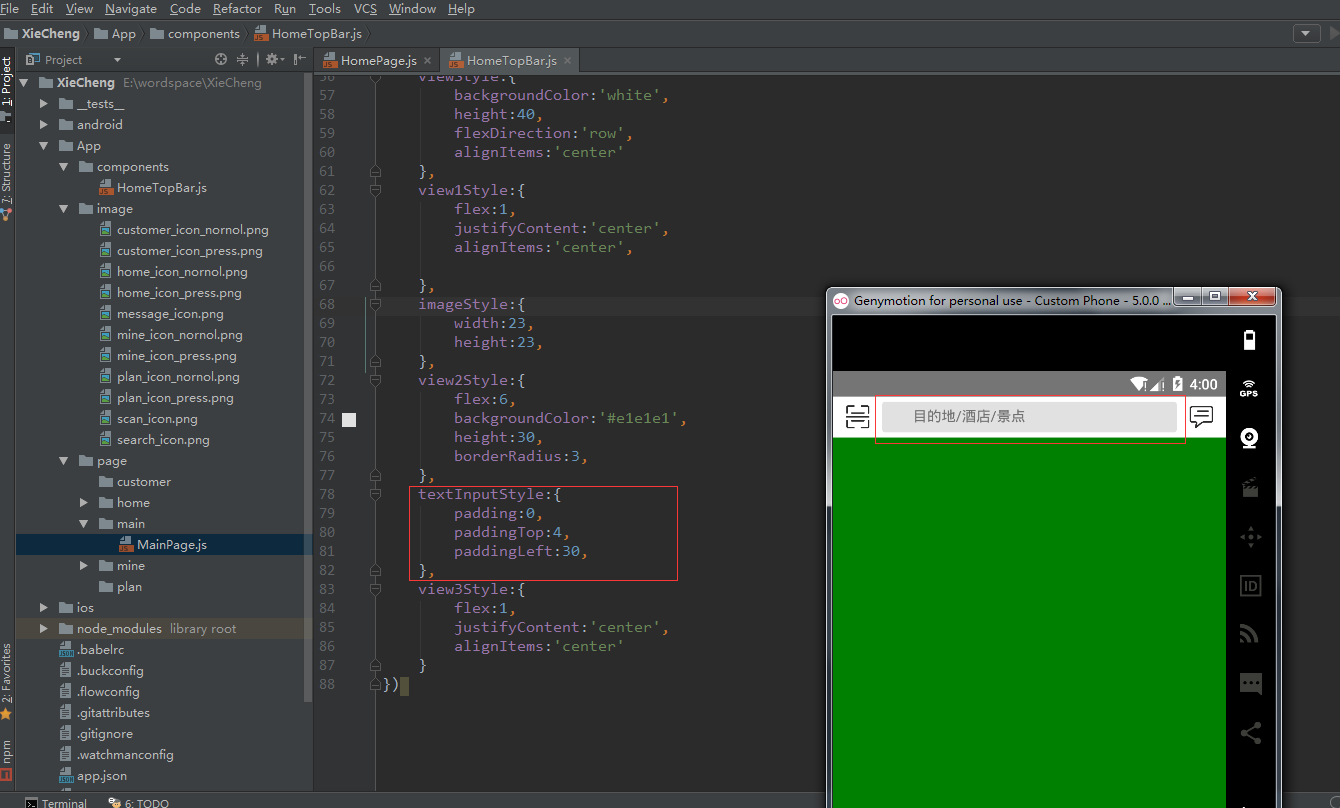
1. Modify Background: Set Background Colors, Rounded Rectangles, Width and Height
2. Add input box TextInput
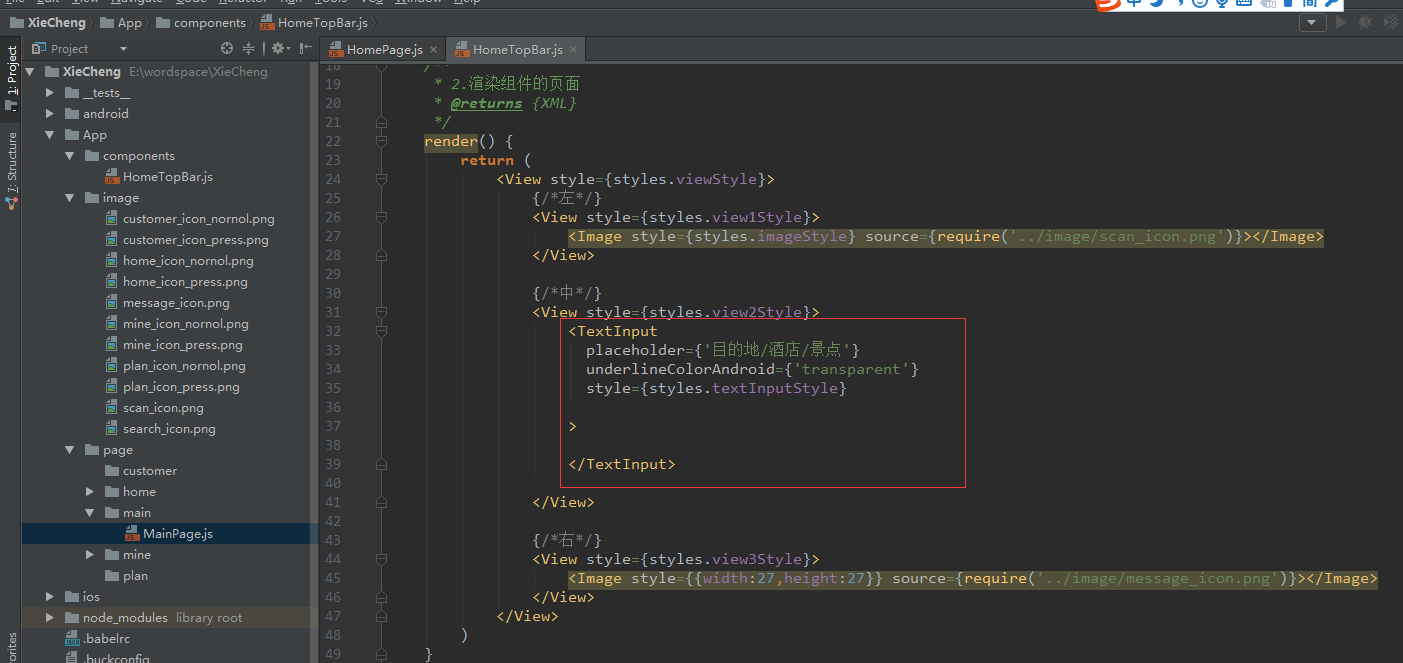
Corresponding Style: Set the Spacing, Set the Left Spacing 30 is waiting for the picture to be displayed.
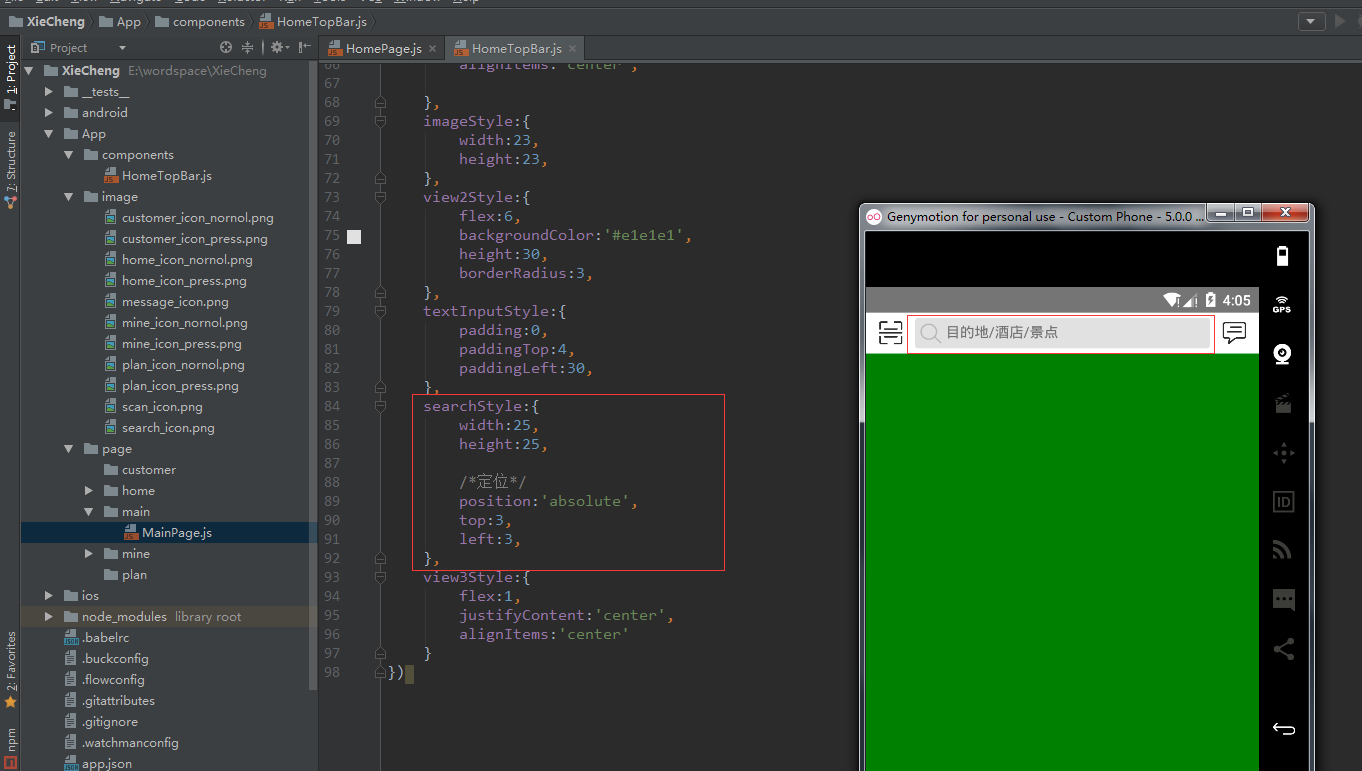
3. Add Search Icon (Image)
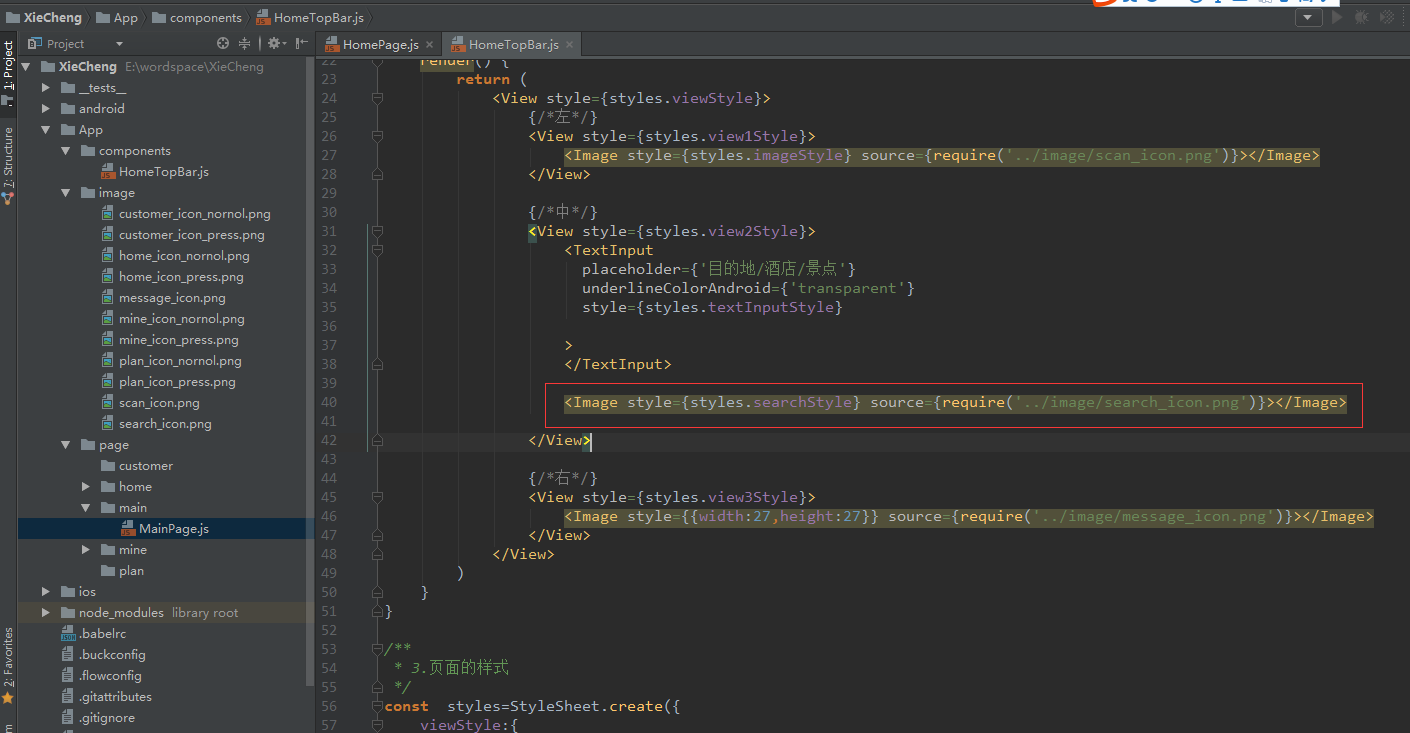
Corresponding Style: Position the picture by setting absolute position
Interested students can see the source code: click here