(1) What is SLAM?
in short, slam is to locate and pose the robot where GPS cannot be used, build incremental maps, and realize the autonomous positioning and navigation of the robot. Like a blind man, he explores the environment with his own hands in the unknown environment, and constantly corrects the map built by his heart to the external environment. This is the main process of SLAM algorithm.
(2) Sensor information
for lidar, ROS is on the sensor_ The msgs function package defines a special data structure - LaserScan, which is used to store laser messages. Lidar has some specific definitions of messages (see page 217).
if there is no lidar, RGB-D depth camera is OK, but the data obtained by the depth camera is 3D point cloud data, and the input required by many ROS function packages is 2D laser data. We need to call relevant function packages to convert the data.
(3) Create robot simulation environment (GAZEBO)
(1) Open the simulation platform GAZEBO:
roscore
rosrun gazebo_ros gazebo
(2) Verify successful connection to ROS system:
rostopic list
If successful, the following code appears:
~$ rostopic list
/clock
/gazebo/link_states
/gazebo/model_states
/gazebo/parameter_descriptions
/gazebo/parameter_updates
/gazebo/set_link_state
/gazebo/set_model_state
/rosout
/rosout_agg
(3) Insert model directly
Model download address:
https://bitbucket.org/osrf/gazebo_models/downloads/
https://github.com/osrf/gazebo_models
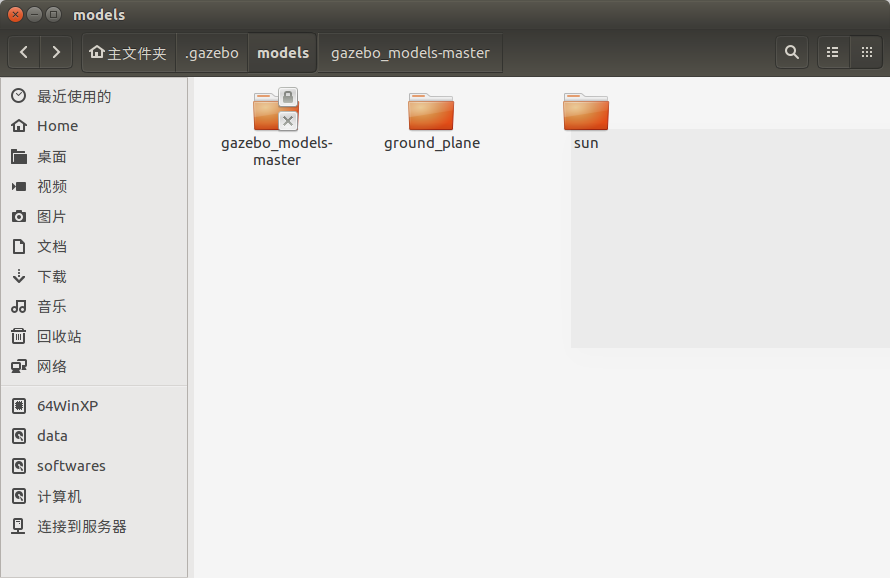
Put the downloaded model in the local folder ~ / gazebo/models/
sudo cp -r gazebo_models-master /home/wmj/.gazebo/models
We found that the model folder was copied to the target path, but the model folder was not found in GAZEBO. We entered the target path and noticed that the hidden files can be displayed by using the control + h key.
 This is the permission problem we have been to before. Just give him permission. Remember to obtain ROOT permission:
chmod +x gazebo_models-master
We found that this command is not valid. This command should give permissions to files. The following command gives permissions to folders:
chmod 777 gazebo_models-master
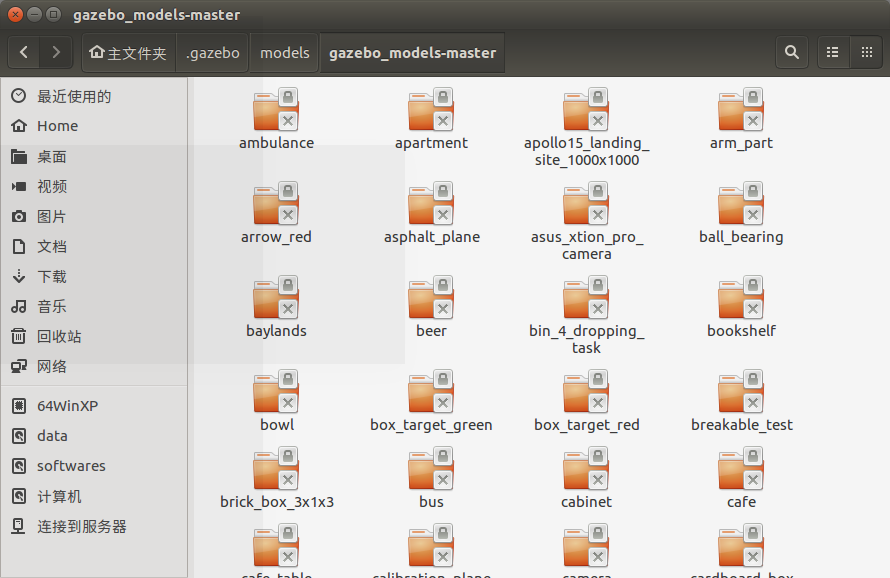 We found that you can enter the model folder now, but the model subfolder is still unavailable. Is there any way to give permissions in batch?
Enter the command after entering the file first: sudo chmod 777 -R *
(Among them-R Recursive processing,*(for all documents)
or sudo chmod 777 -R /home/abc/file/*
This command does not need to be processed in the folder“/home/abc/file/"Is the folder path.
Let's introduce it again linux Permission settings for:
sudo chmod 600 ××× ((only the owner has read and write permissions)
sudo chmod 644 ××× (The owner has read and write permission, while the group user has read permission only)
sudo chmod 700 ××× ((only the owner has read, write and execute permissions)
sudo chmod 666 ××× (Everyone has read and write permission)
sudo chmod 777 ××× (Everyone has read, write and execute permissions)

among×××Refers to the file name (or folder name, but in chmod Post addition-ld).
The form of the whole command is
sudo chmod -(Representative type)×××((owner)×××(Group (user)×××((other users)

Each of the three digits represents the permission setting of a user type. The value is 0~7,Binary[000]~[111].

Each bit of this three bit binary number represents read, write and execute permissions respectively.

For example, 000 means none of the three permissions, while 100 means read-only. In this way, we have the following correspondence:
0 [000] No permission
4 [100] Read-only rights
6 [110] read-write permission
7 [111] Read / write execution permission

some more  chmod Command help (input from terminal) chmod --help Then you can go to help):
-c, --changes similar --verbose,However, the results are displayed only when there are changes
--no-preserve-root No special treatment will be given to the root directory (default)
--preserve-root Recursive operations on the root directory fail
-f, --silent, --quiet Remove most error messages
-v, --verbose Details are displayed when processing any file
--reference=Use of reference documents<Reference documents>Instead of specifying the permission mode
-R, --recursive Change all files and subdirectories recursively
--help Show this help message and leave
--version Display version information and leave
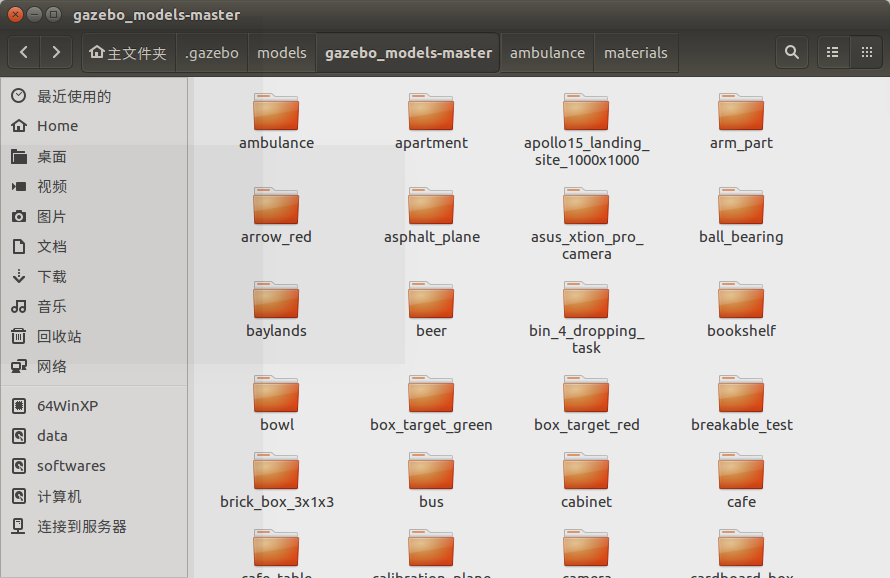 Here, we have successfully obtained the permissions of all folders under this folder.
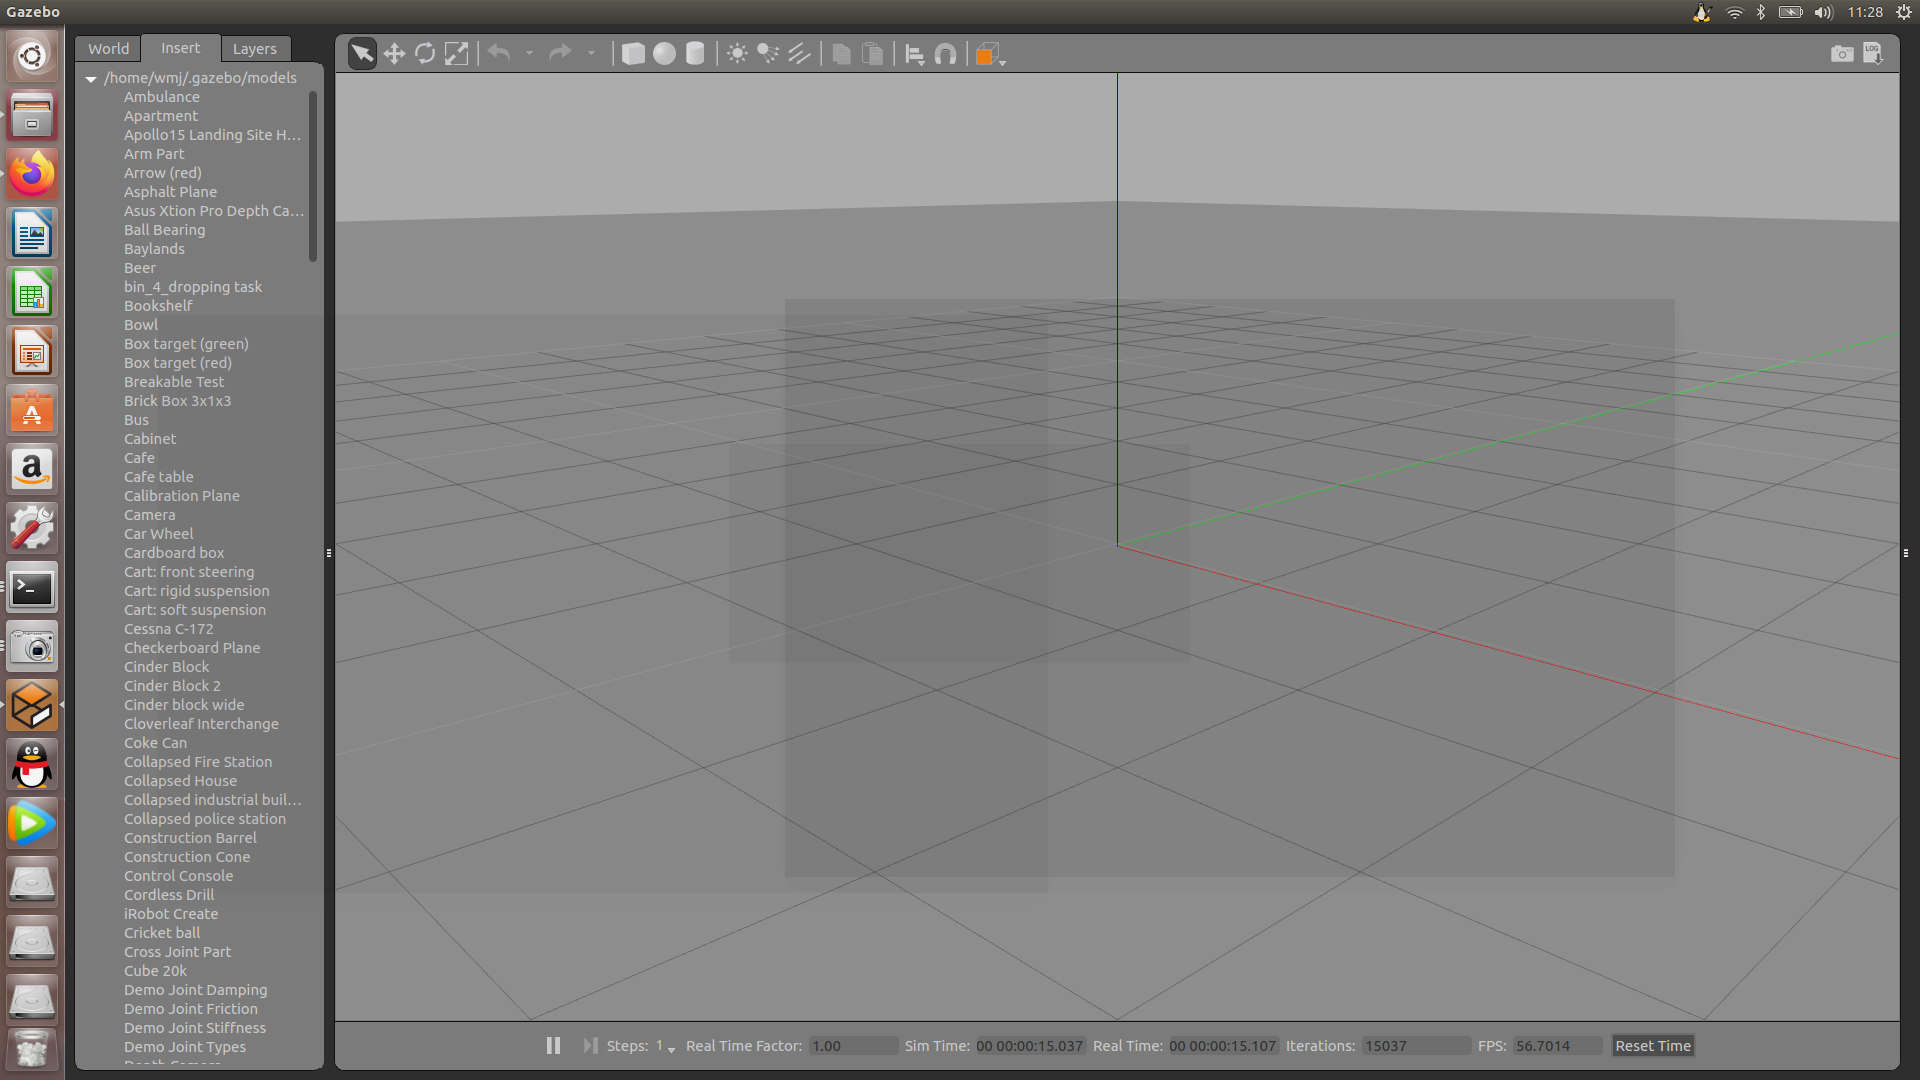
It should be noted that the whole model folder cannot be put directly into it, otherwise the system will not recognize these models. Similar to the function package, the model files cannot be nested and placed in parallel under the root directory of the model file.
We can see that all the model files we downloaded successfully appear here:
(4)Building Editor
Draw the map by hand and select Edit = = Building Editor
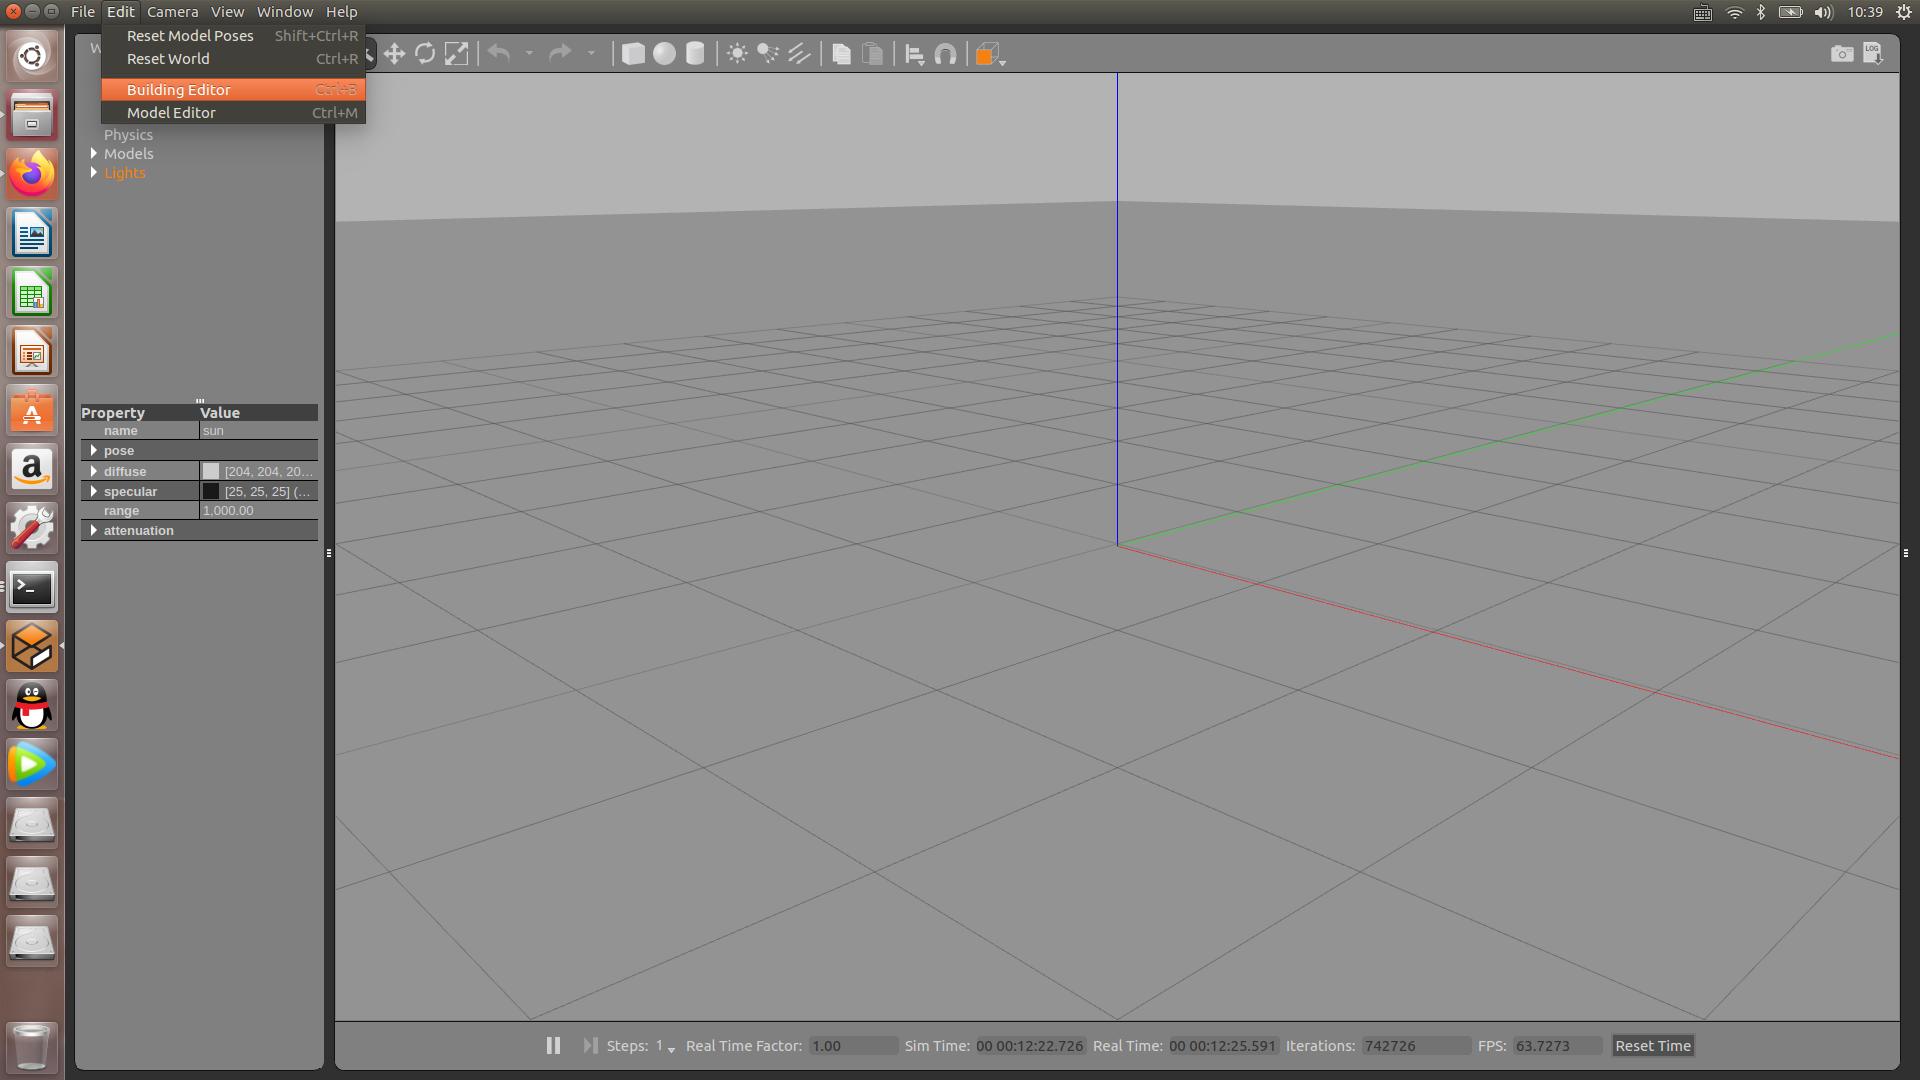 Find the Building Editor in Edit or directly Ctrl+B to open the interface
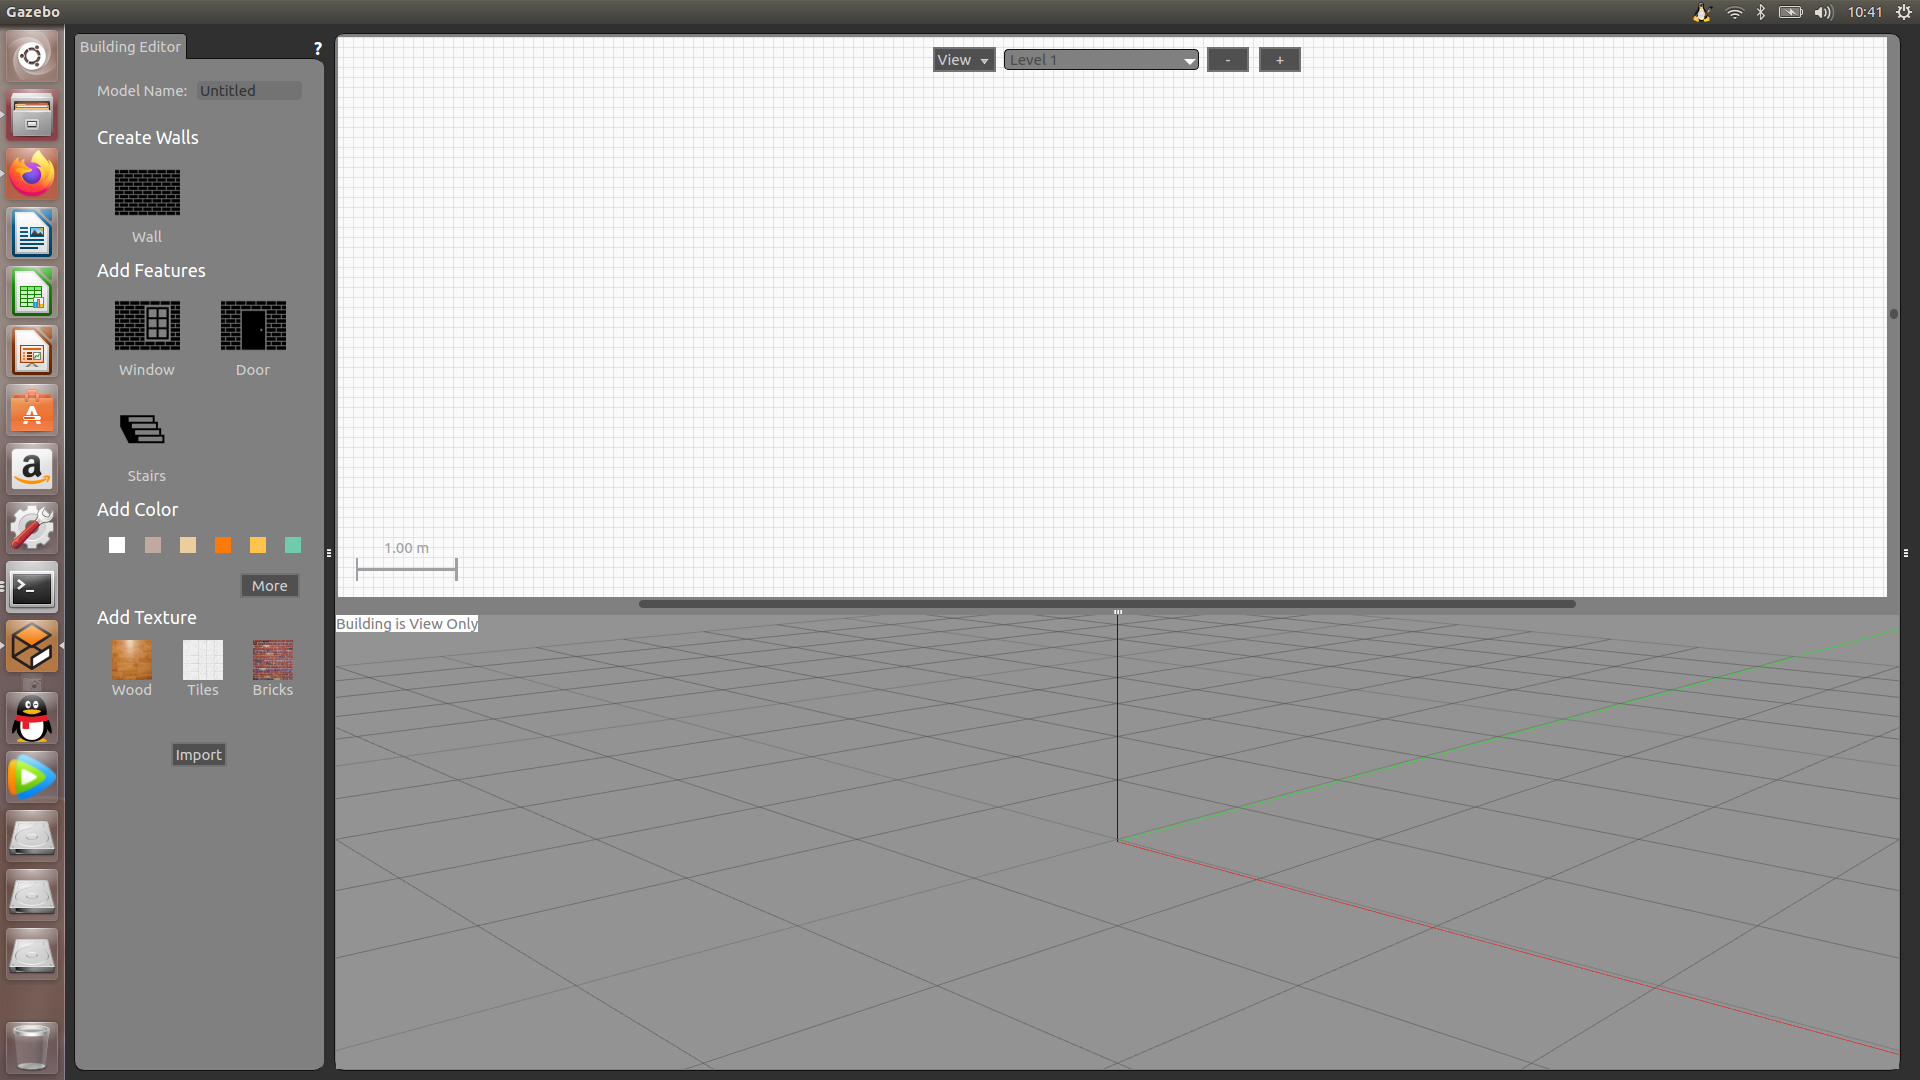 There are drawing options on the left, where we can draw graphics:
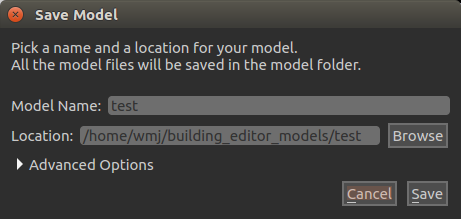
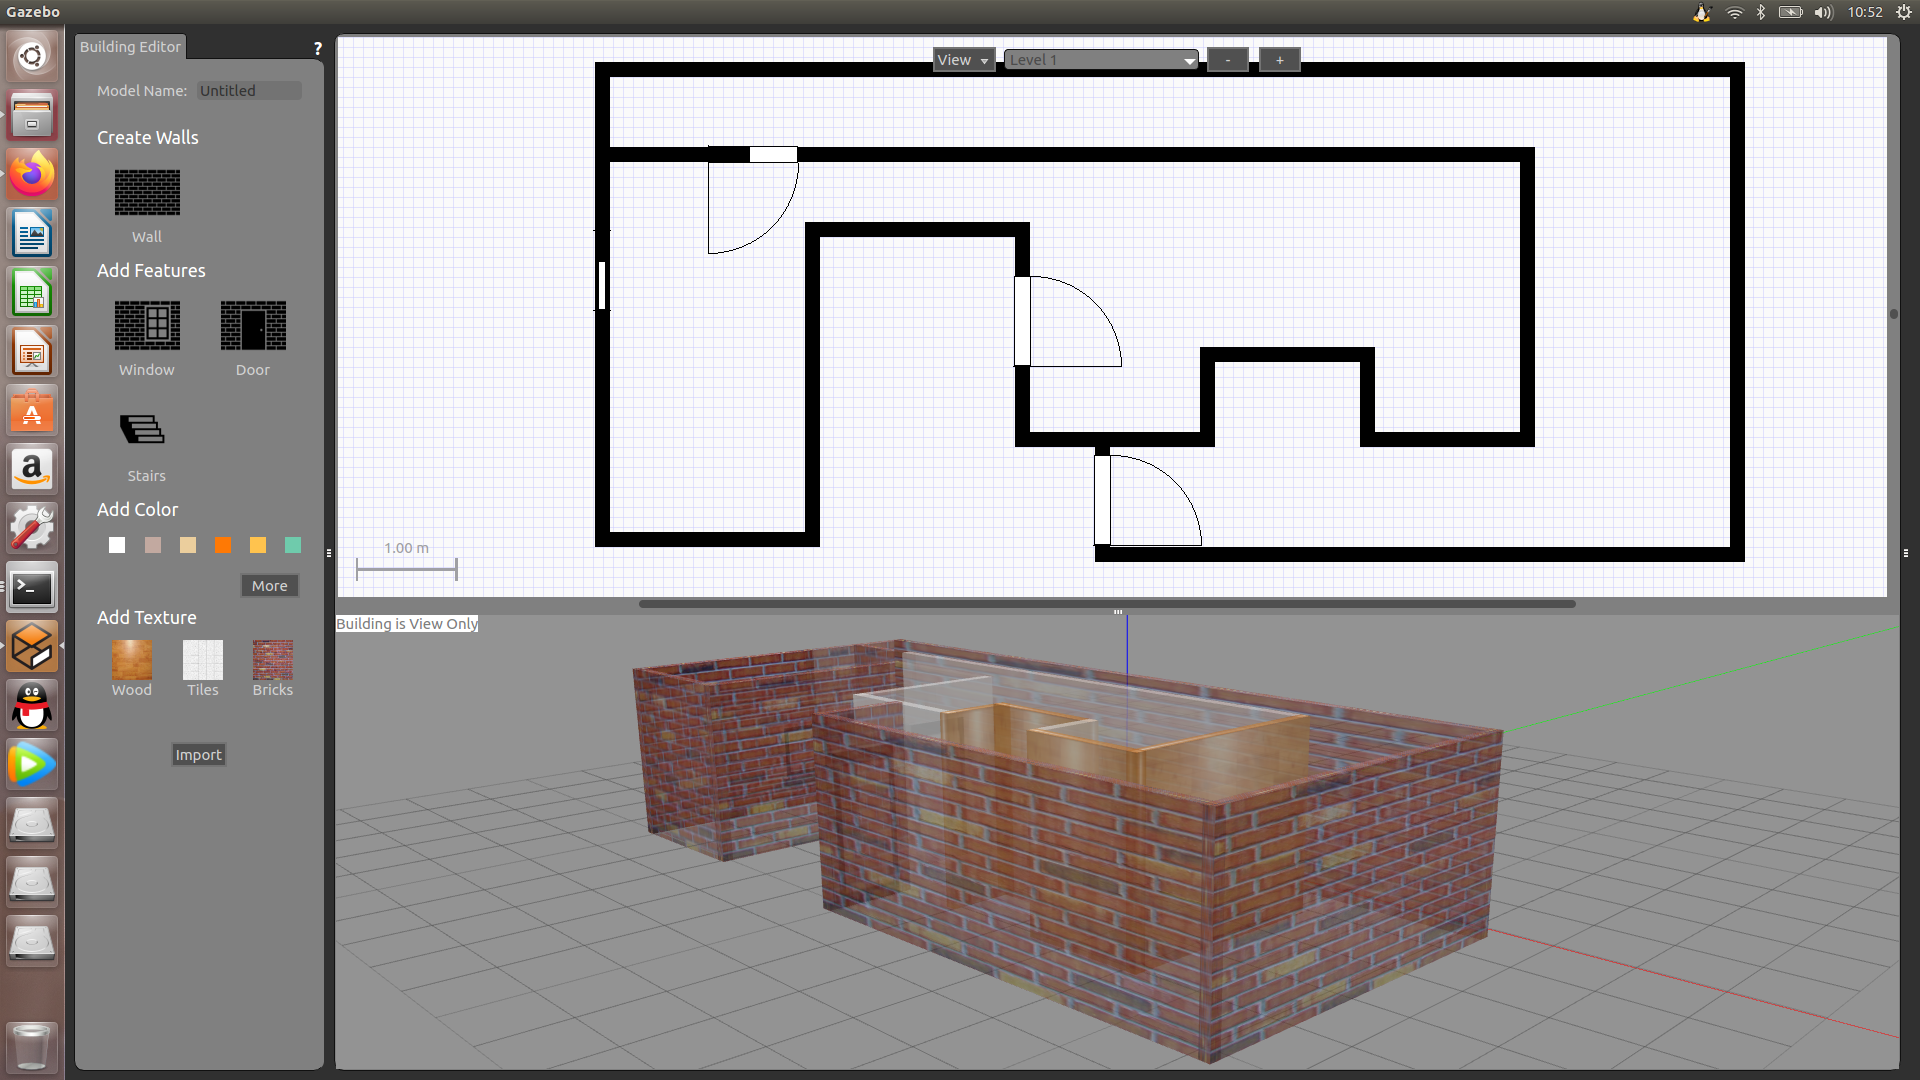 After that, click File in the upper left corner to save and select the path by yourself. After saving, a room1 folder will be generated at the location of the path.
We'll turn gazebo off and on again. Select the downloaded model in Insert and add it to the environment to save it.
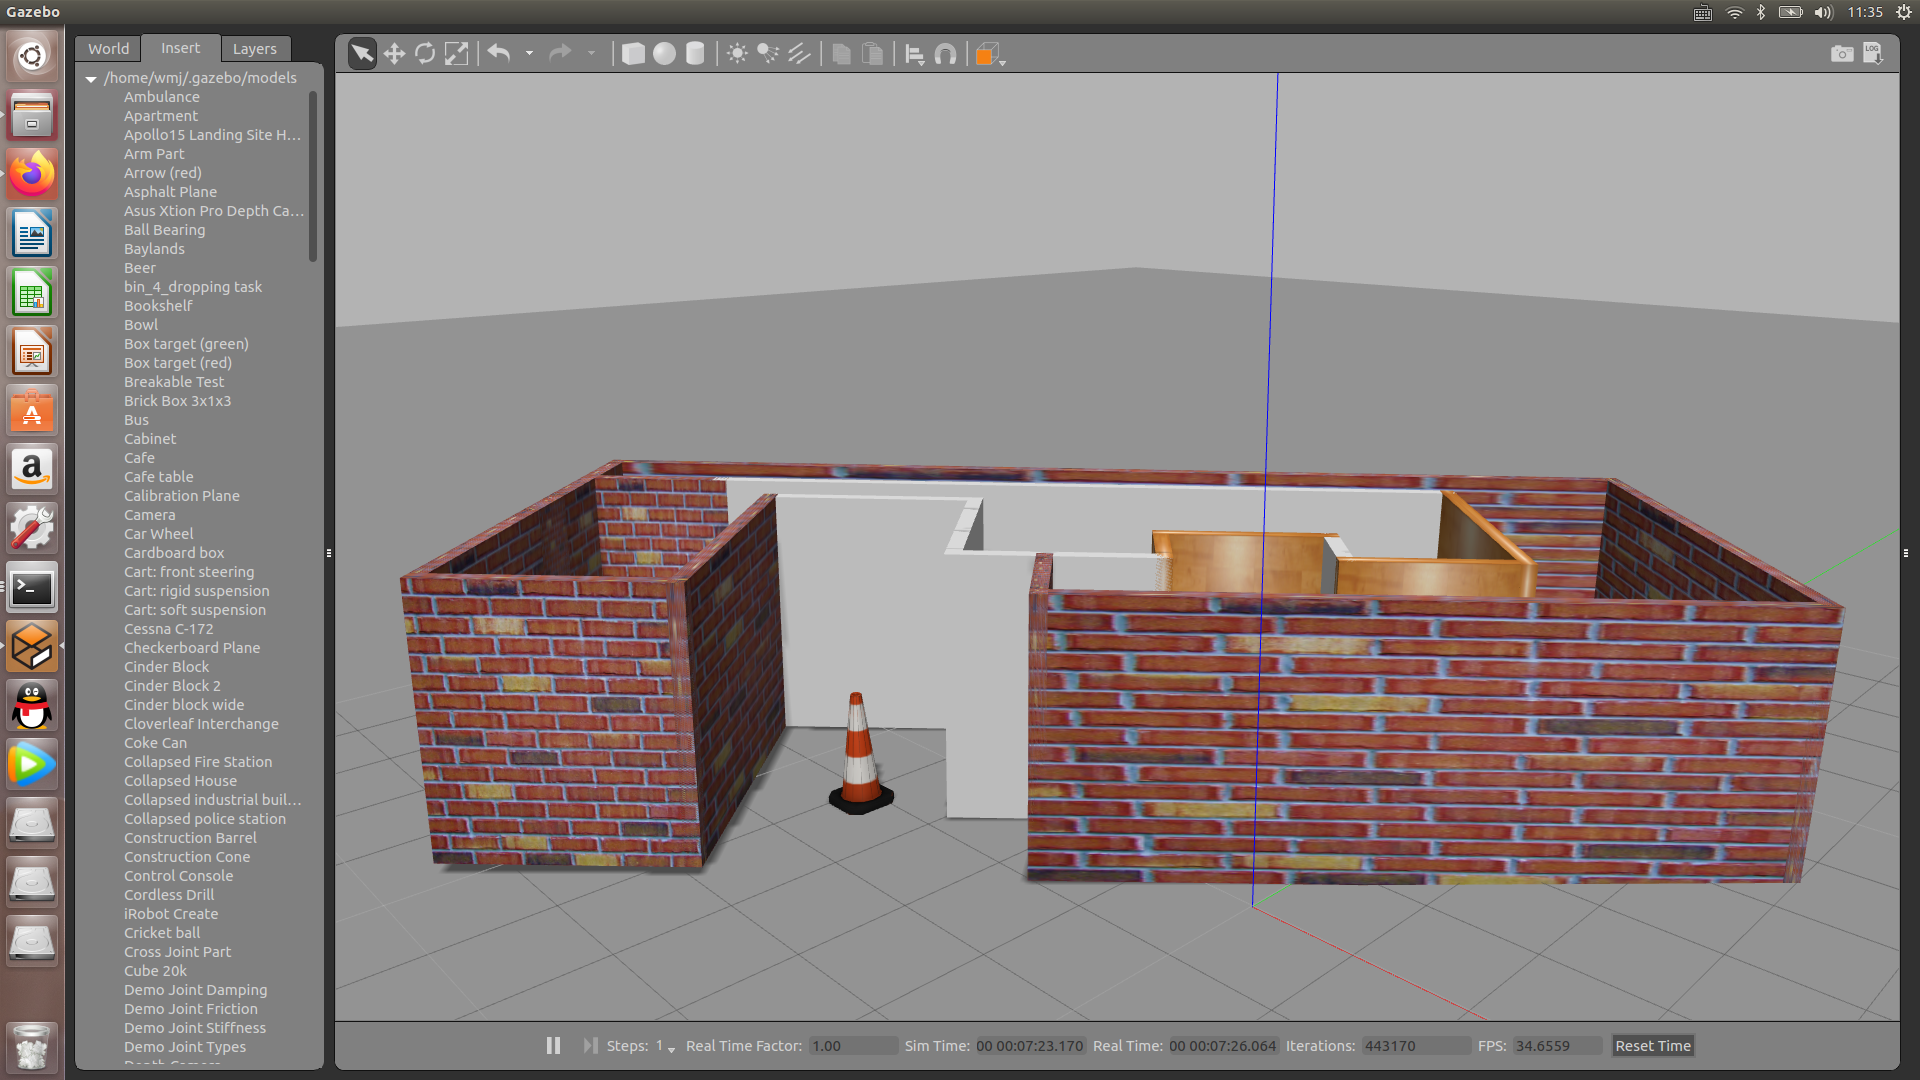
As shown in the figure, we added a barricade next to the house and changed the file suffix to when saving After selecting the path of world, you can load and open the map environment in roslaunch. World path:
building_editor_models/worlds/cloister.world
###We use the launch file to log in to the newly built simulation environment:
roslaunch pkg-name launch-file-name
(4) Robot loading
Here we need the code file we downloaded earlier. Path:
mrobot_gazebo/launch/mrobot_laser_nav_gazebo.launch
(1) Use the following command to start the above launch file and start the simulation environment
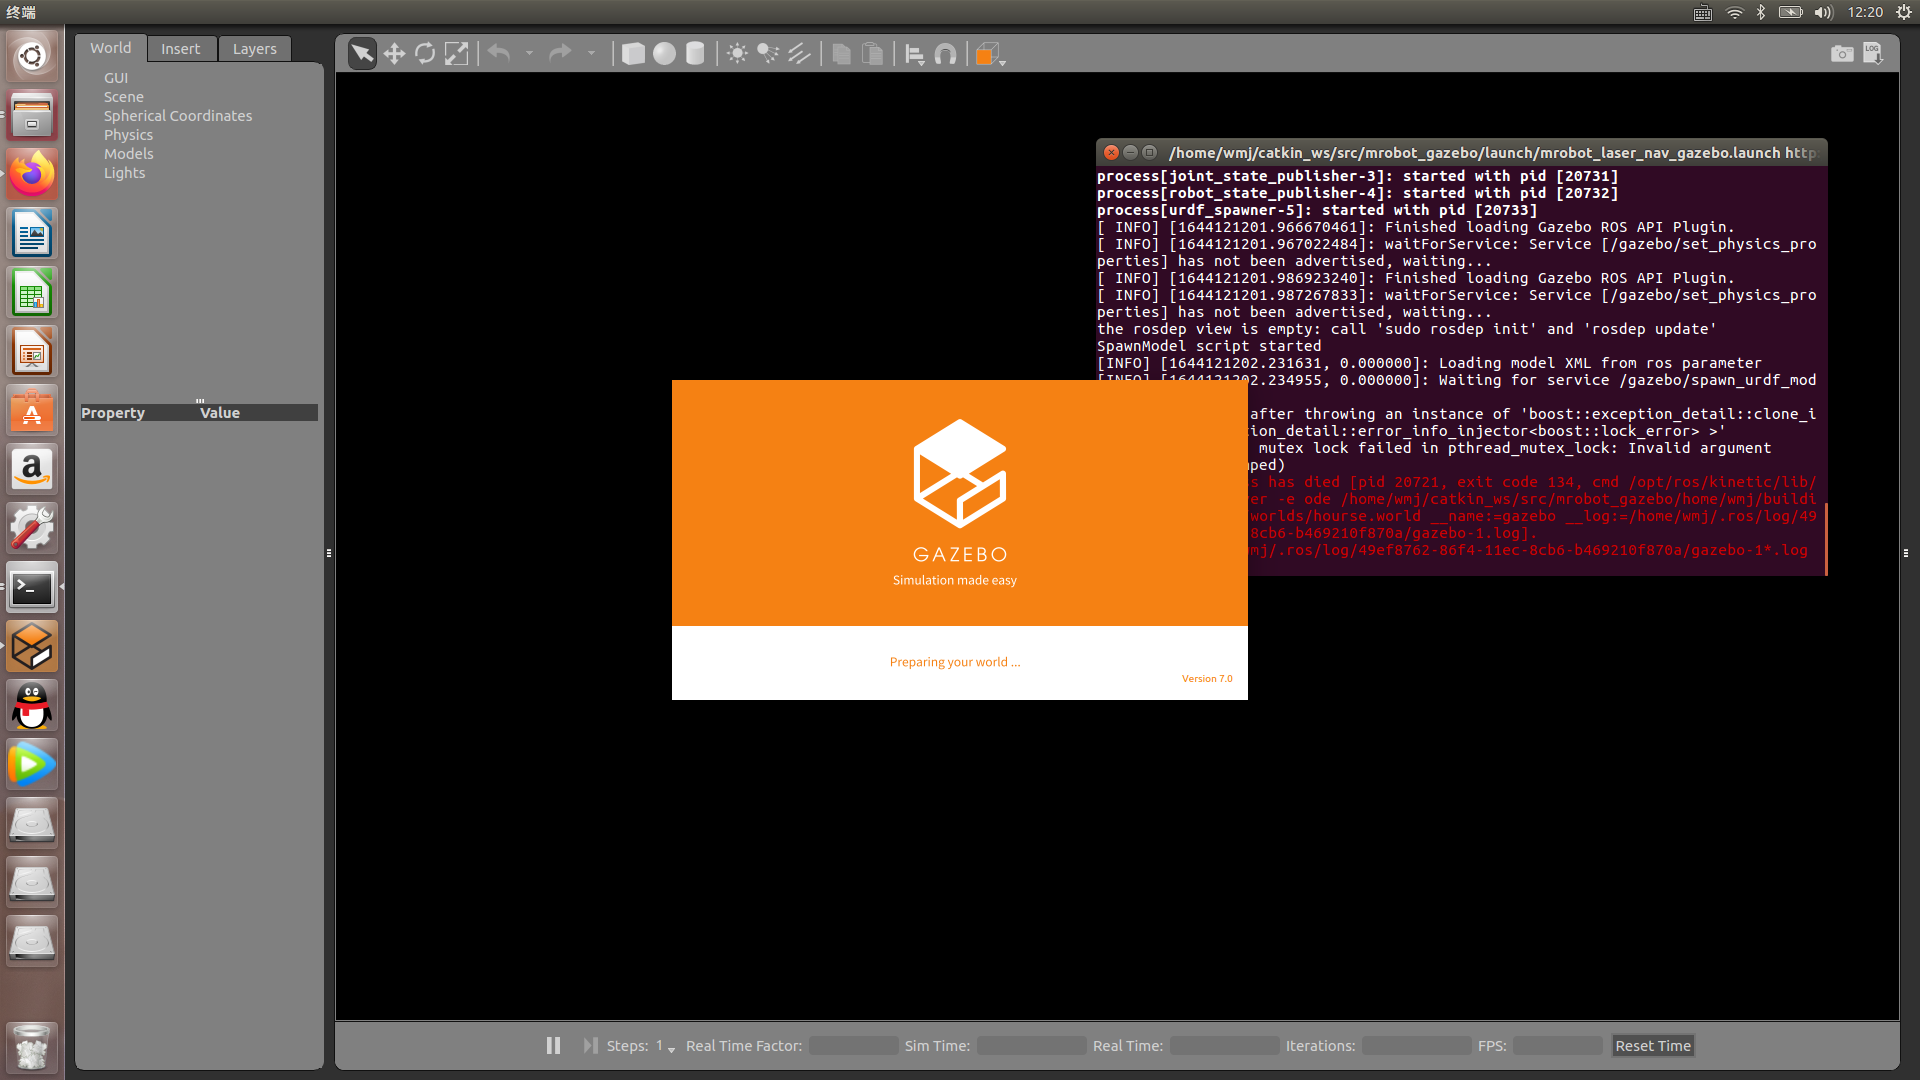
roslaunch mrobot_gazebo mrobot_laser_nav_gazebo.launch
There is a problem here: change the model file path in the launch file to the model path we created, and the startup failed.
After I changed the way, I forgot to compile. The problem should be here. Let's change it again and compile it for a try:
 Still not.
I probably know what's going on. There is a world folder in the code space, in which the world model files are placed. We didn't put the files we created into it for compilation. We put the files into it and then compile:
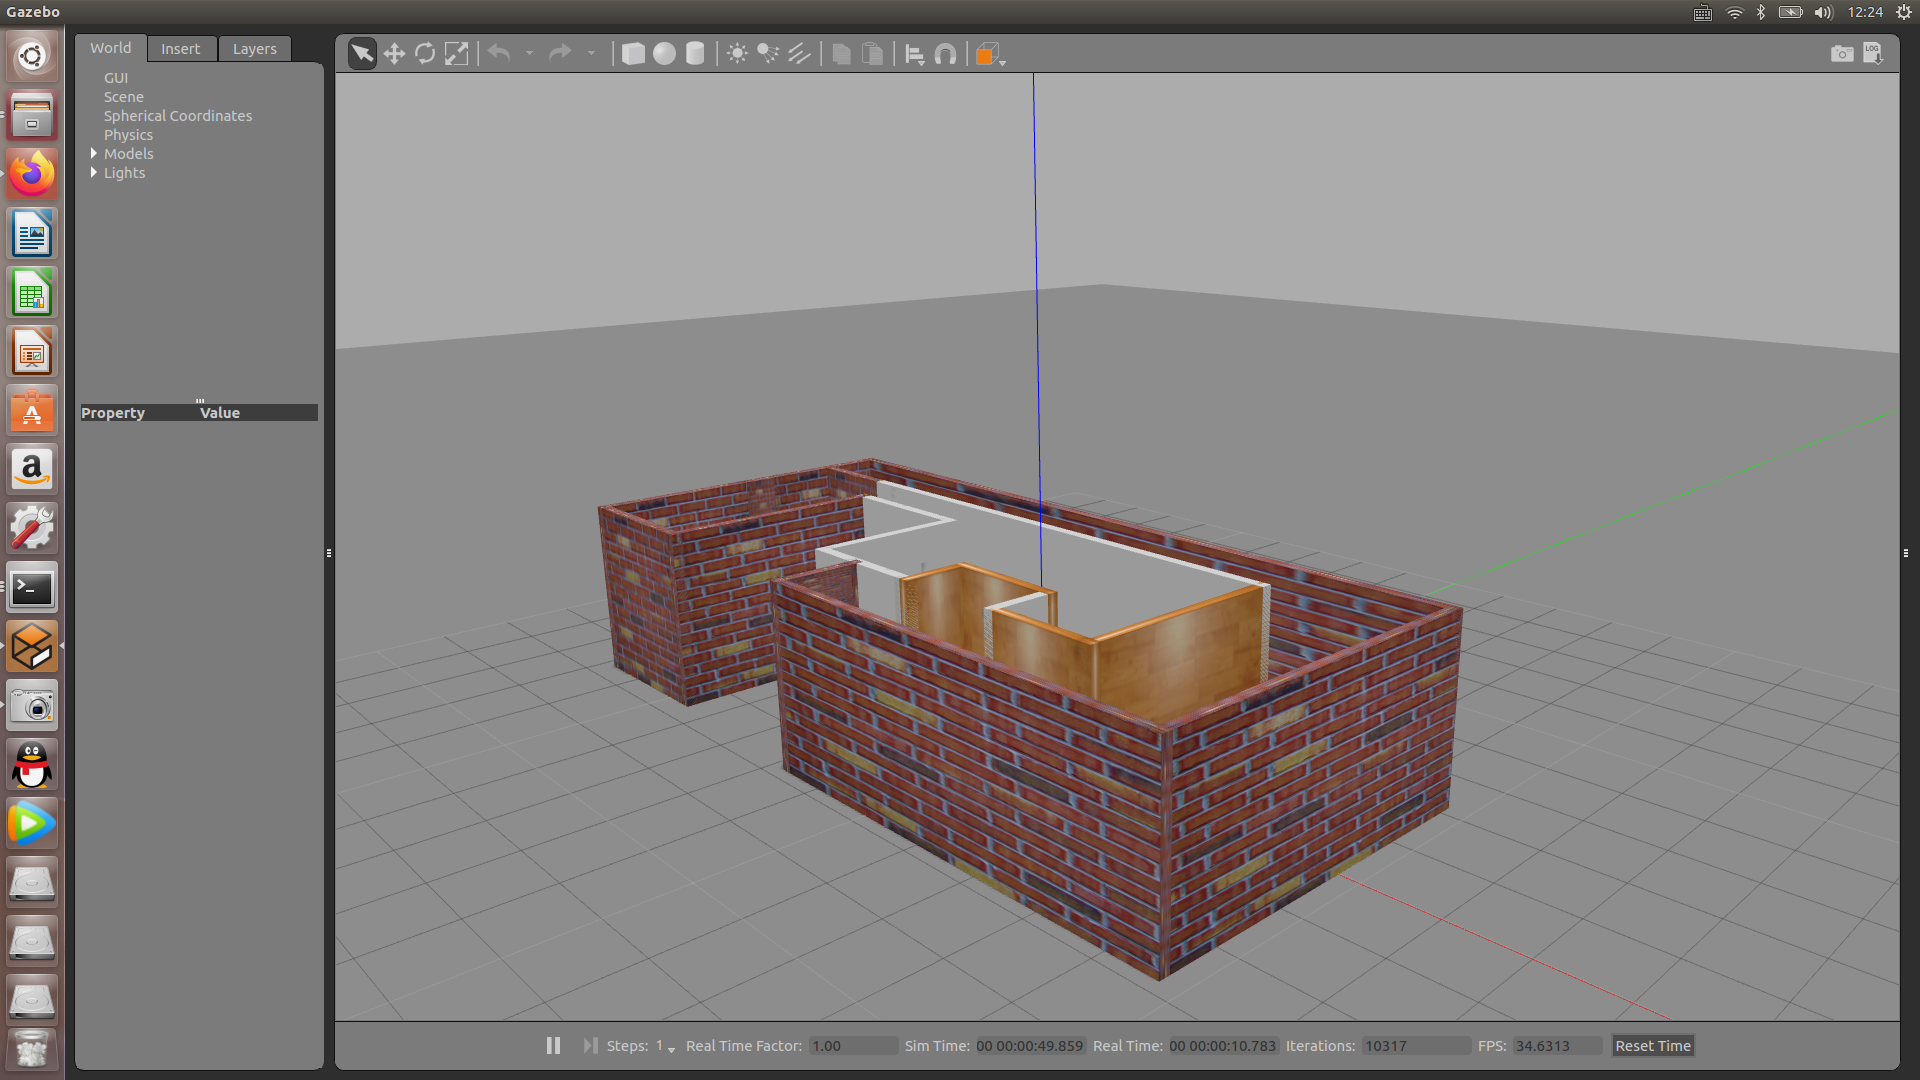 Sure enough, the file was opened successfully, and the basic understanding stage came to an end. We will study later.