catalogue
By default, Anaconda and pycham are installed and everyone knows the basic operation.
1, Create a new environment
Open the cmd window, enter conda create -n yolov5 python=3.7, and press enter

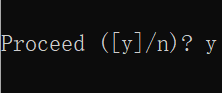
Wait a minute, y enter
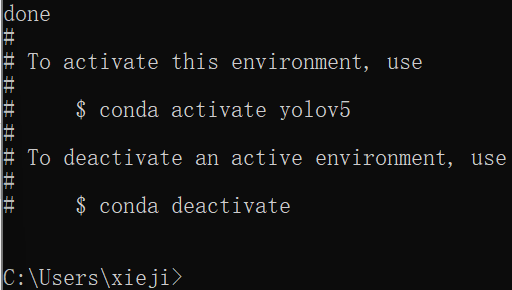
Wait a little longer, and done appears, indicating that the new environment has been created successfully!
You can choose any name, but it is recommended to choose the same one as me. It is recommended that all subsequent operations be consistent with me, so as to facilitate you to start for the first time; Choose 3.7 for the Python interpreter version, because I have encountered unknown problems before choosing 3.10
2, Import Python Library
My computer is a Thinkbook14p of R7-5800H, and there is no unique display, so I use PyTorch of CPU version
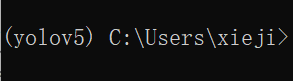
First, enter conda activate yolov5 in the cmd window and press enter to activate the new environment just created

If it appears in front of the path (yolov5), it indicates that the activation is successful!
Then go to PyTorch's official website PyTorch , select the following configuration:
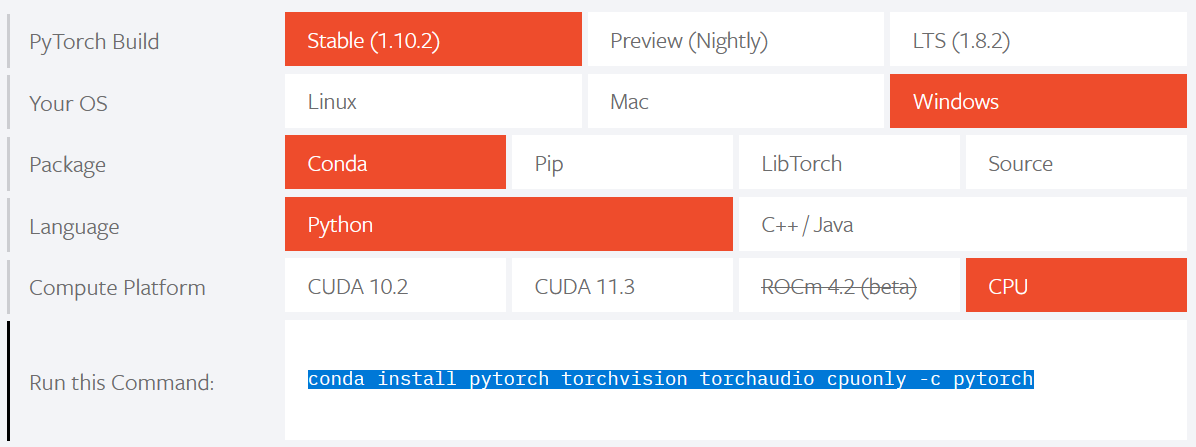
Copy the last line of code into the cmd window and press enter

Wait for a while, enter y and enter; Wait a little longer, and a done message appears, indicating that the import of pytoch library is successful!
3, New project
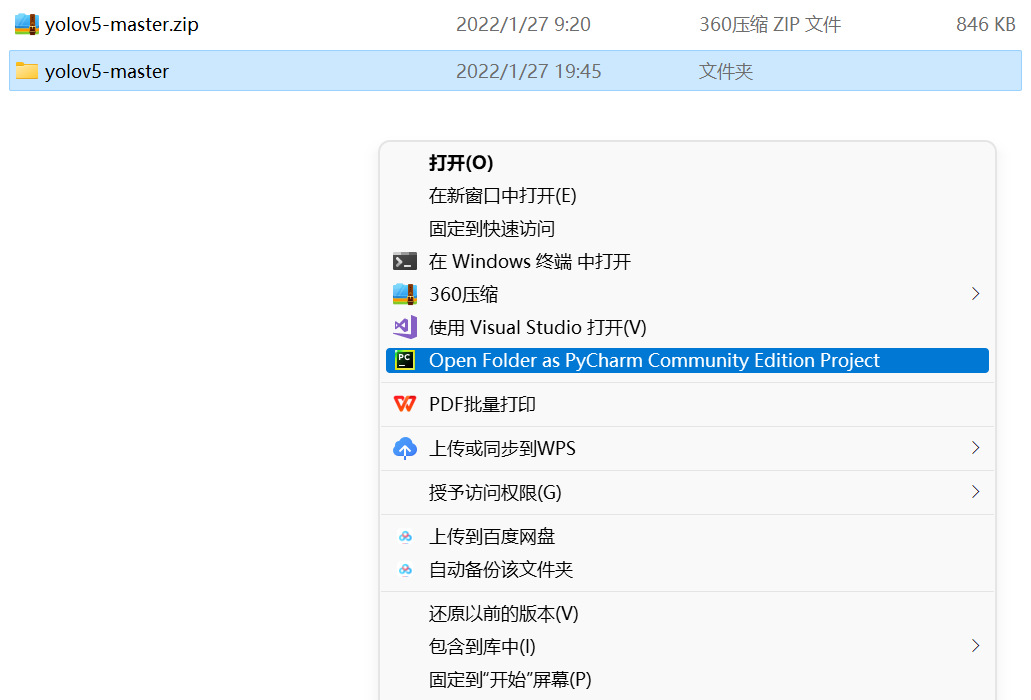
First download the yolov5 installation package from this website mirrors / ultralytics / yolov5 · GitCode
After downloading, unzip, right-click the unzipped folder and select open as pychart project
The pychar interface after opening is as follows:
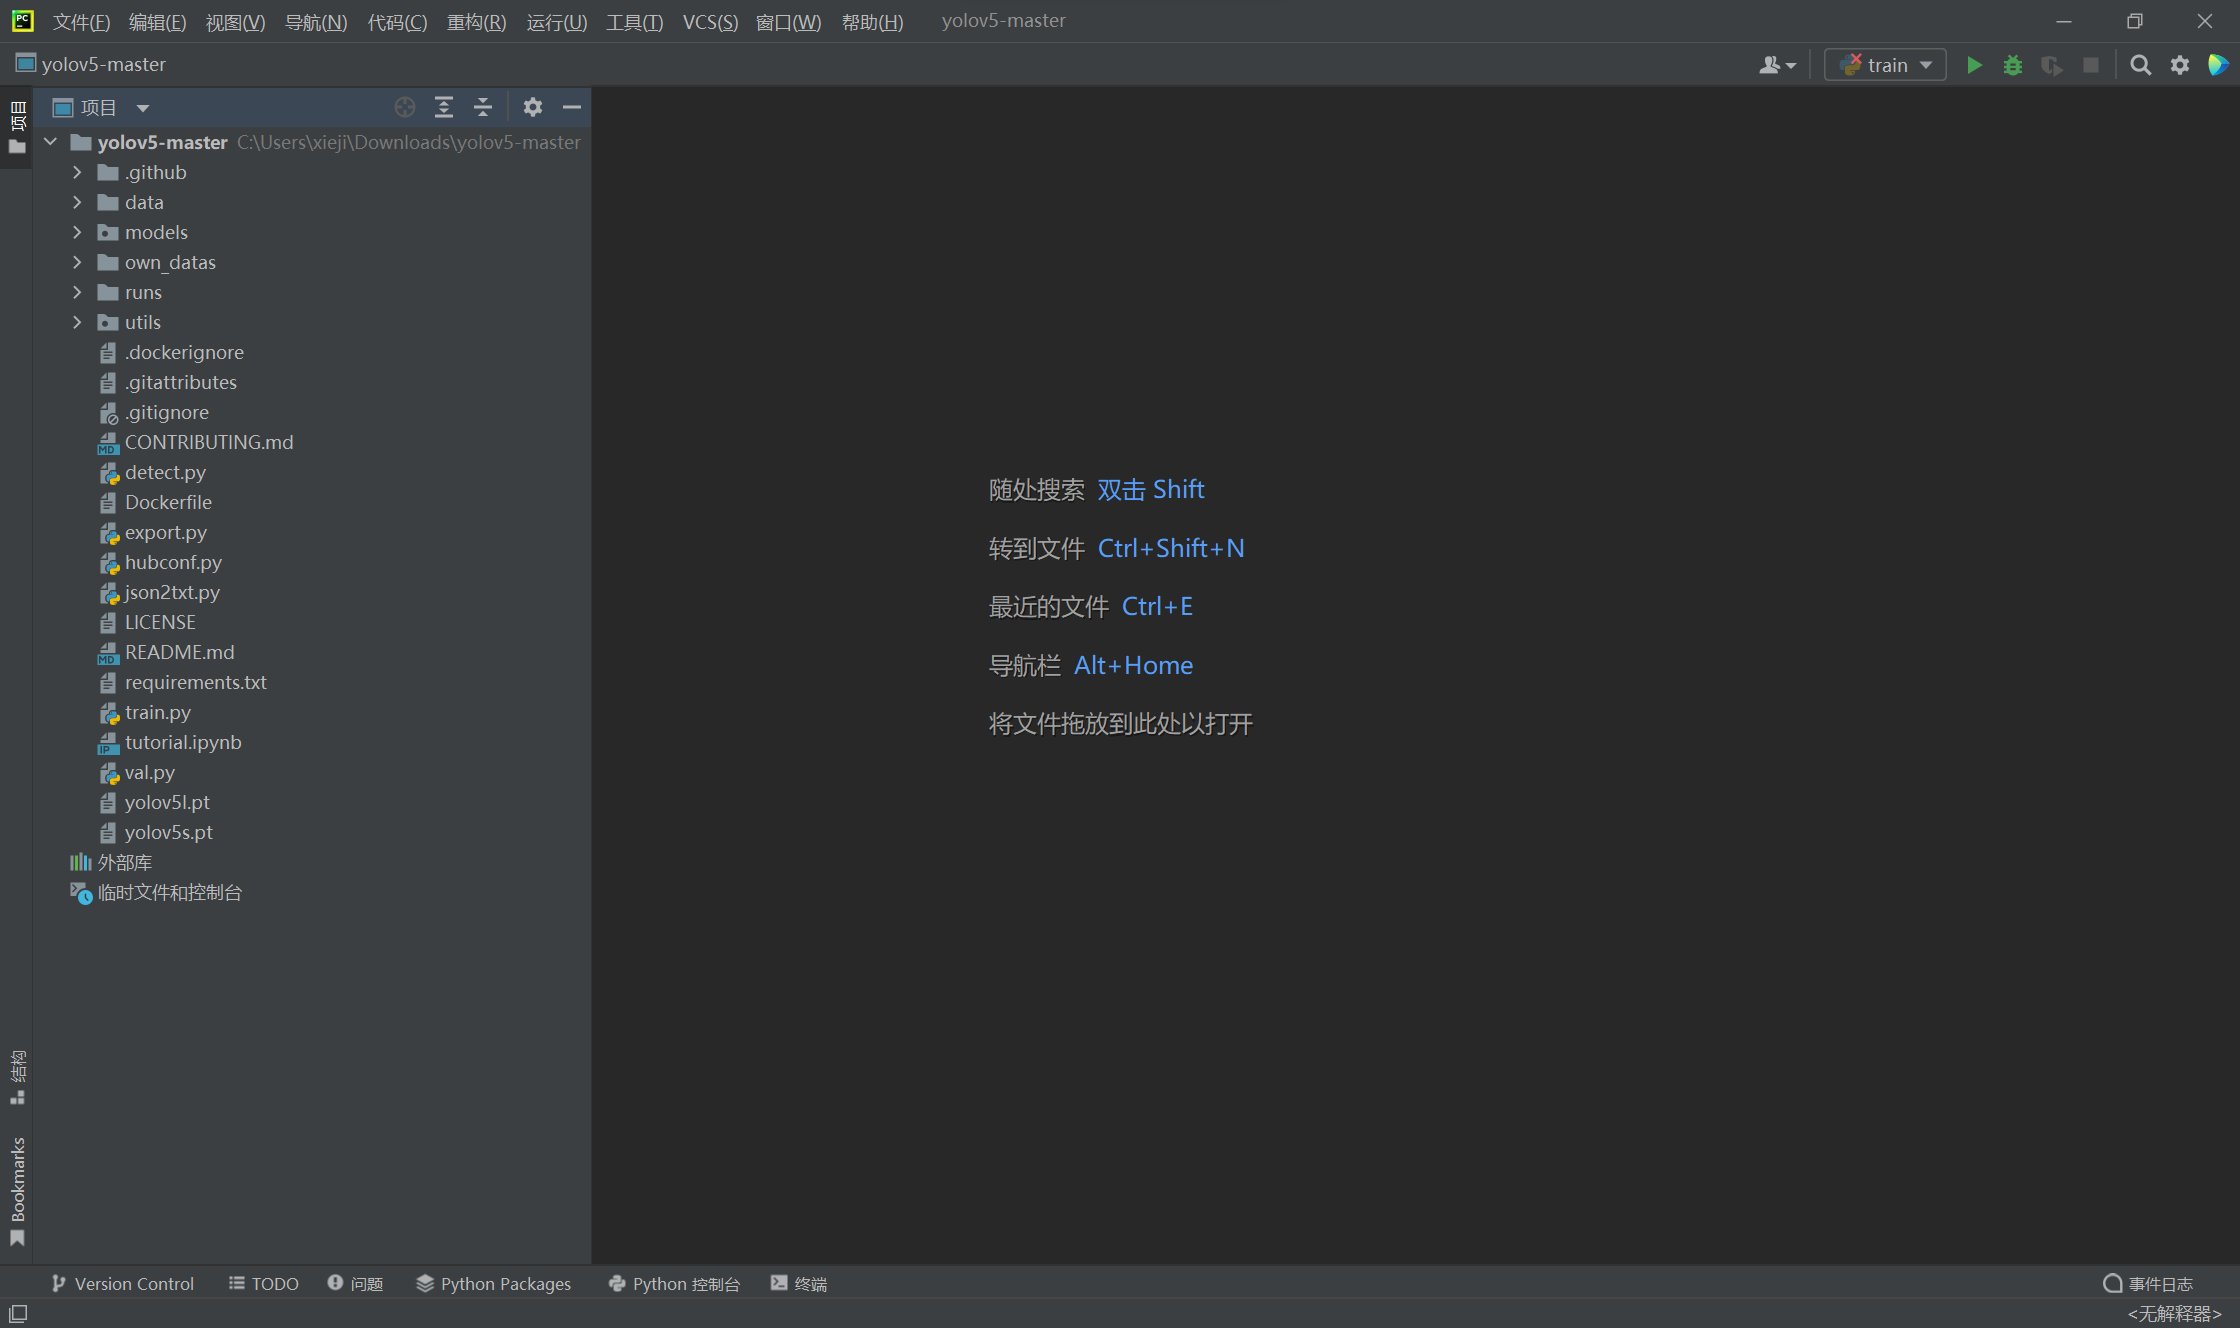
Click < no interpreter > > in the lower right corner and select Add interpreter
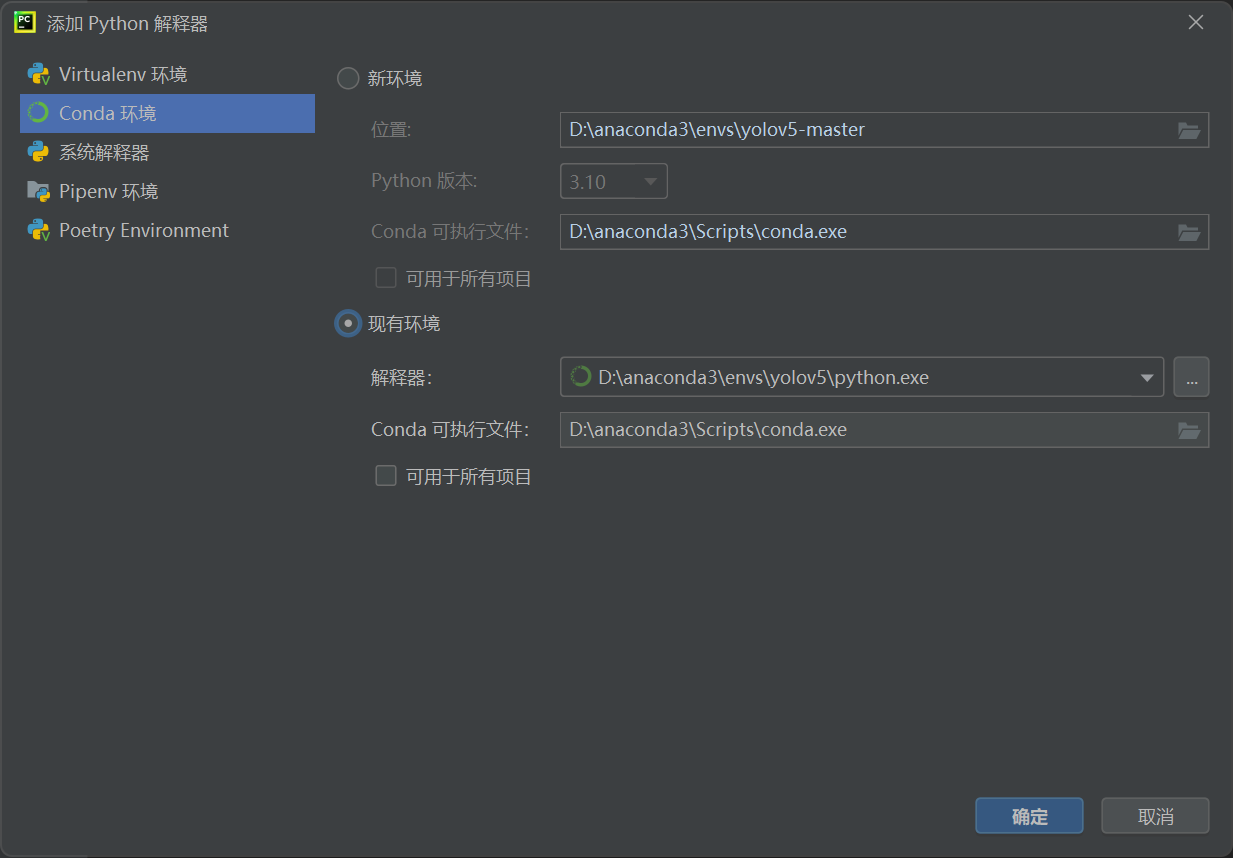
On the left side of the pop-up interface, click Conda environment, click the existing environment, select the python executable file under the new environment created before by the interpreter, and click OK
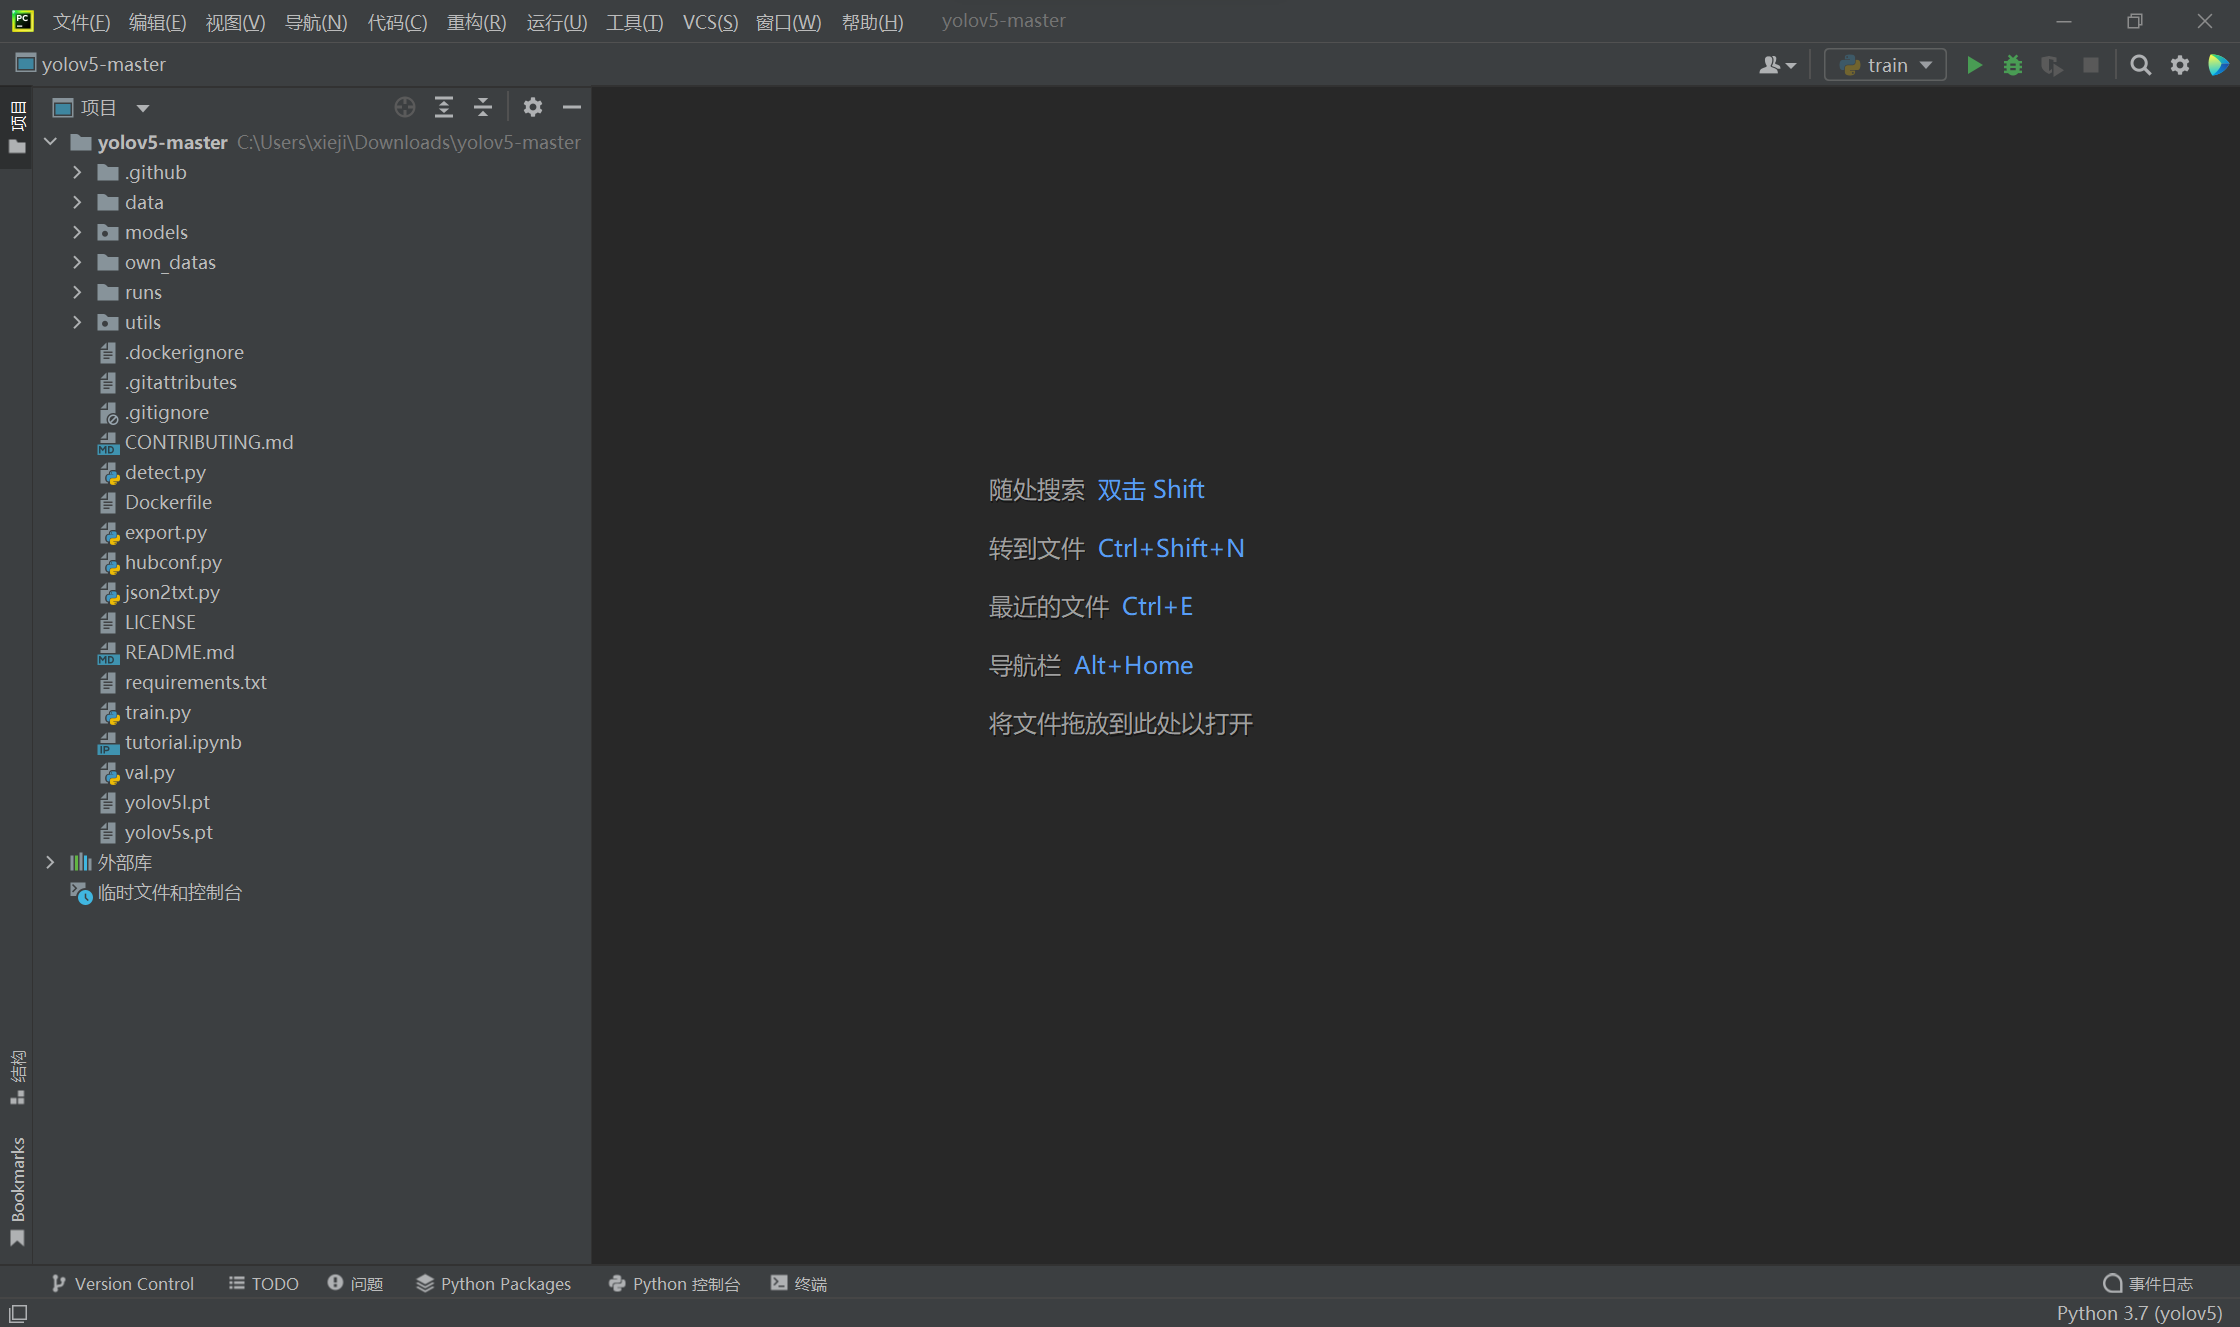
You can see that the bottom right corner of the pychar interface has become Python 3 7(yolov5)
4, Testing
Open requirements Txt file, which contains various packages required for yolov5 operation. Copy the command in the first line to the terminal and run it

This process can be fast or slow. Look at the network speed and wait quietly ~ there may be problems with the installation of several packages. It doesn't matter. Search the error information on CSDN to find a solution!
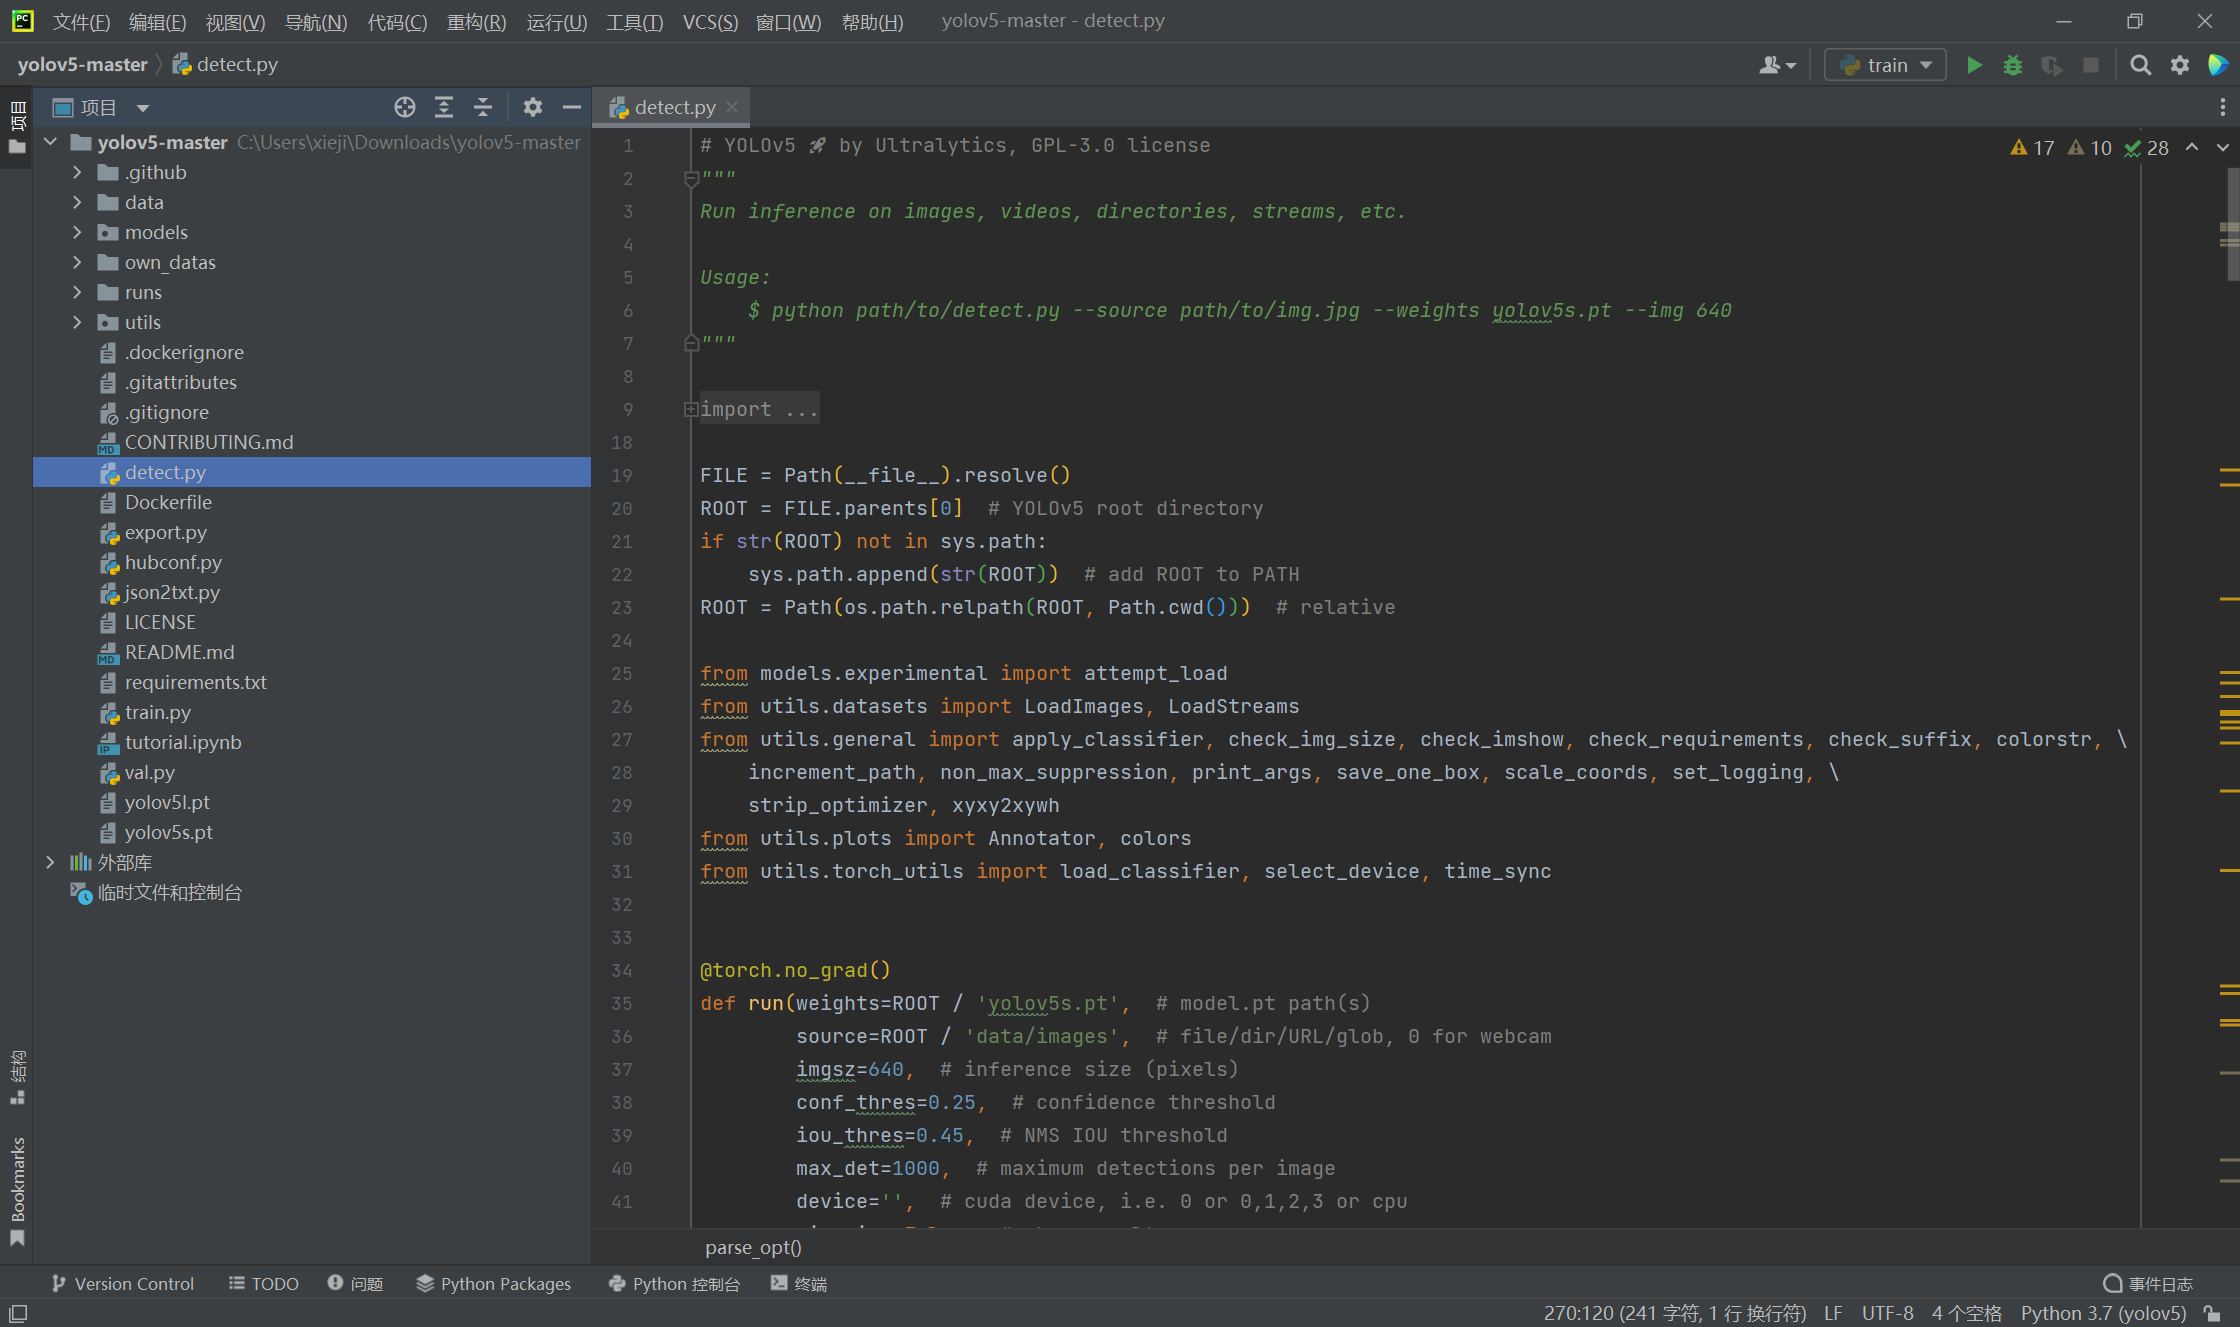
After all are installed, run detect on the left Py file
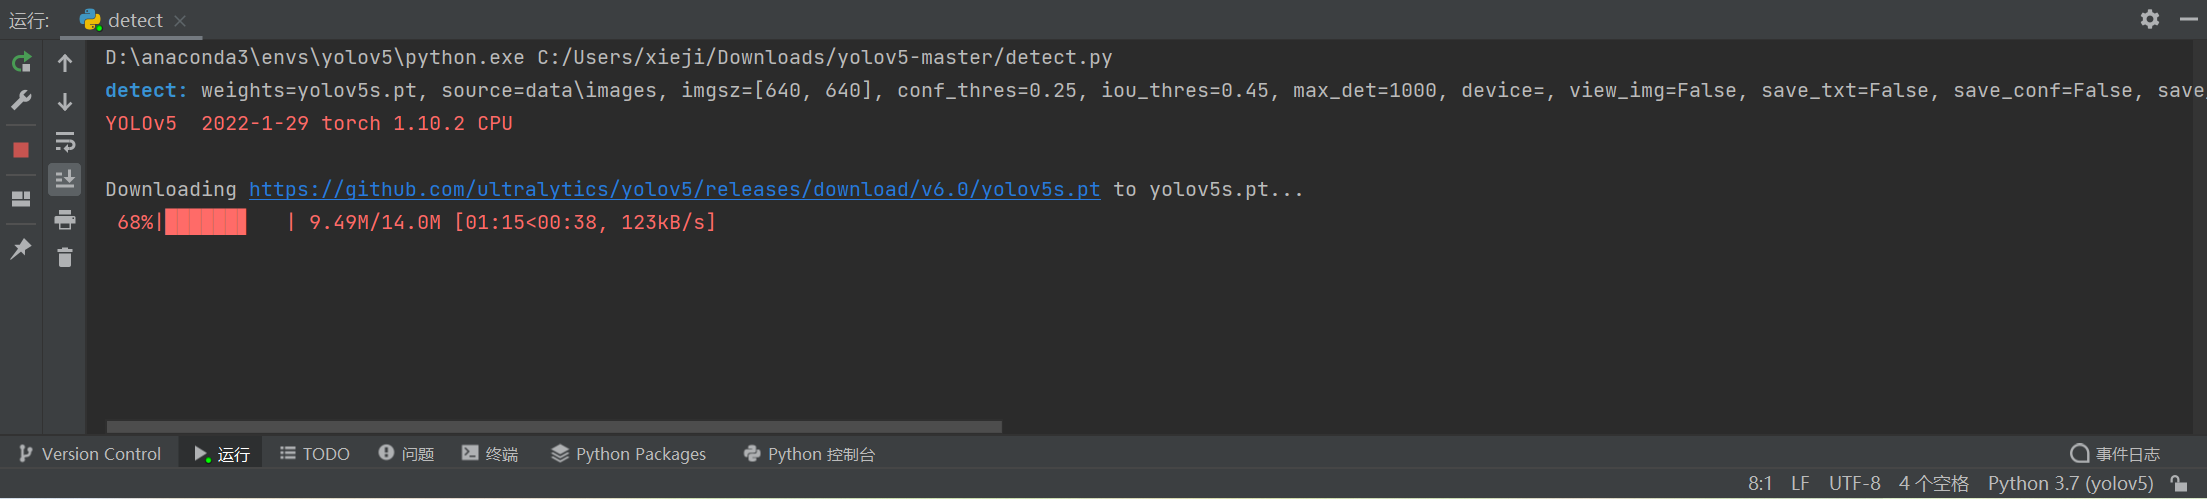
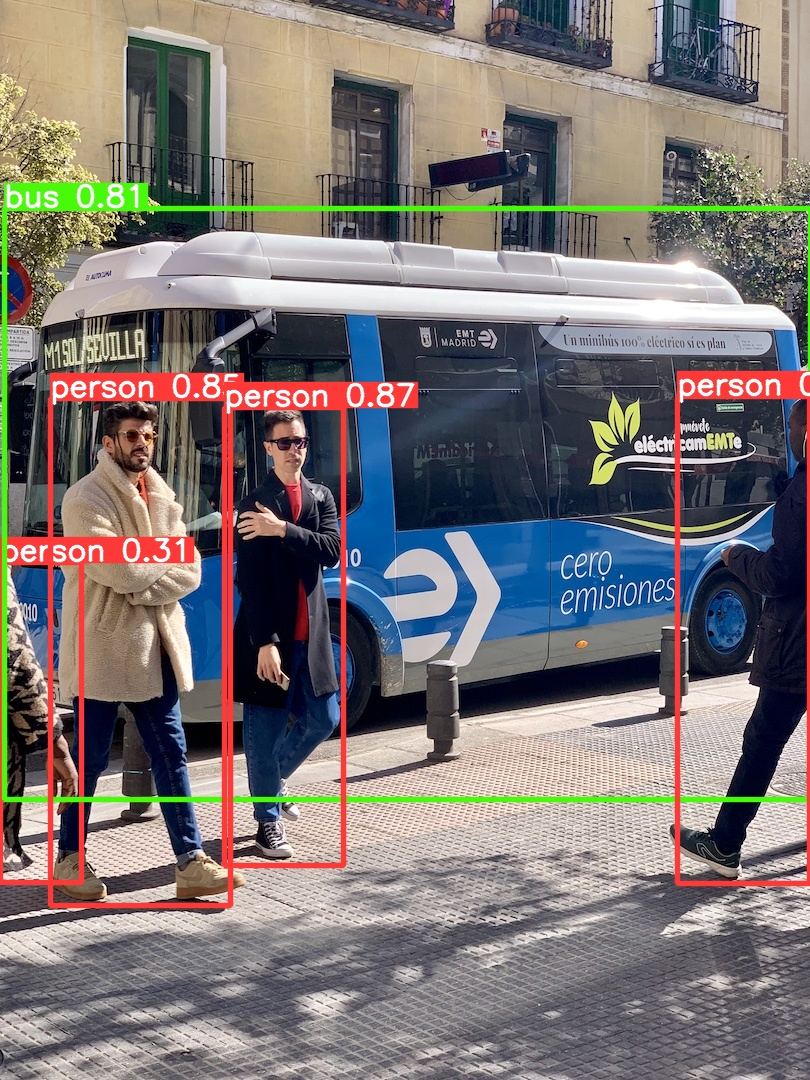
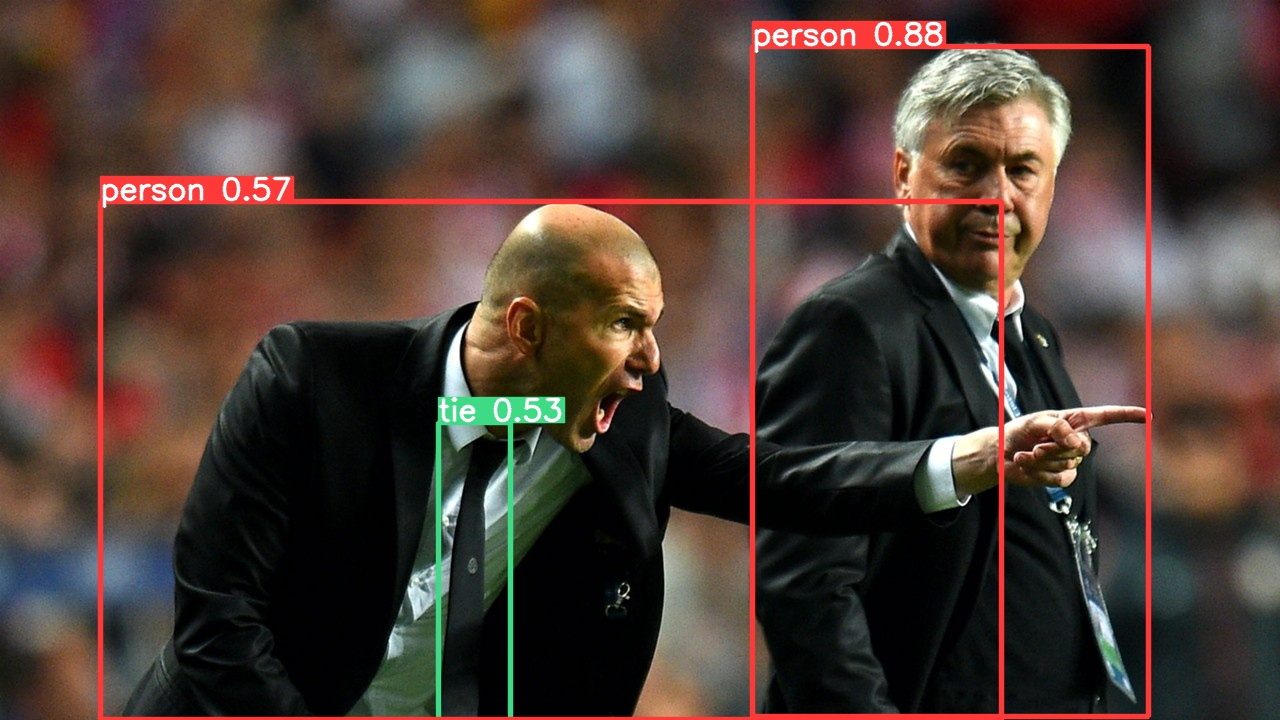
If there is no error after running, and the following two processed pictures appear in the runs\detect\exp directory on the left, it indicates that there are problems in the previous operations. Congratulations! End of preparatory work
5, Prepare dataset
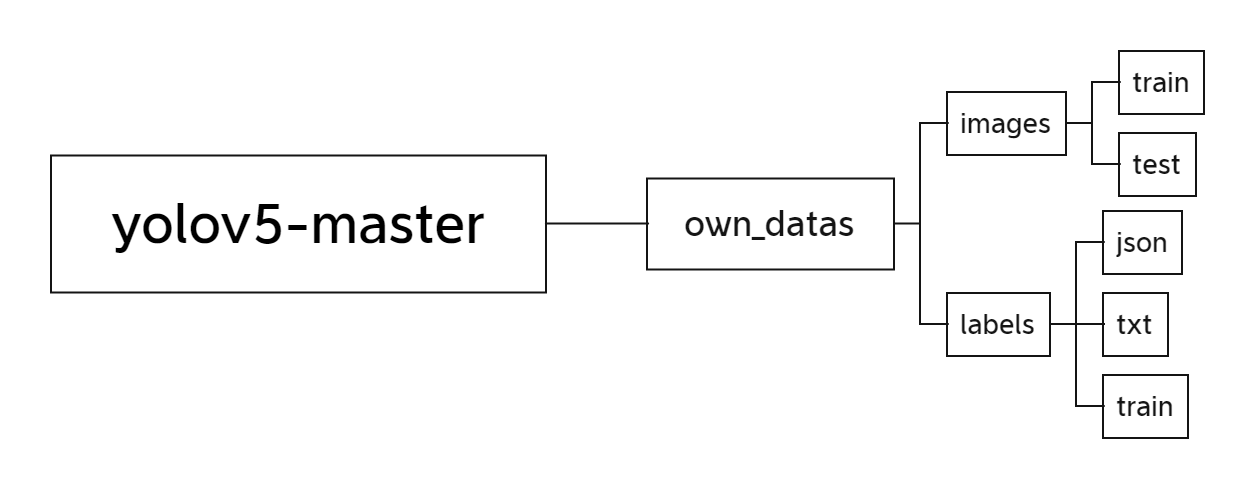
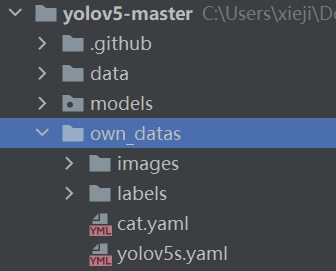
First, create the following empty folders under the yolov5 master path in my way to facilitate subsequent management
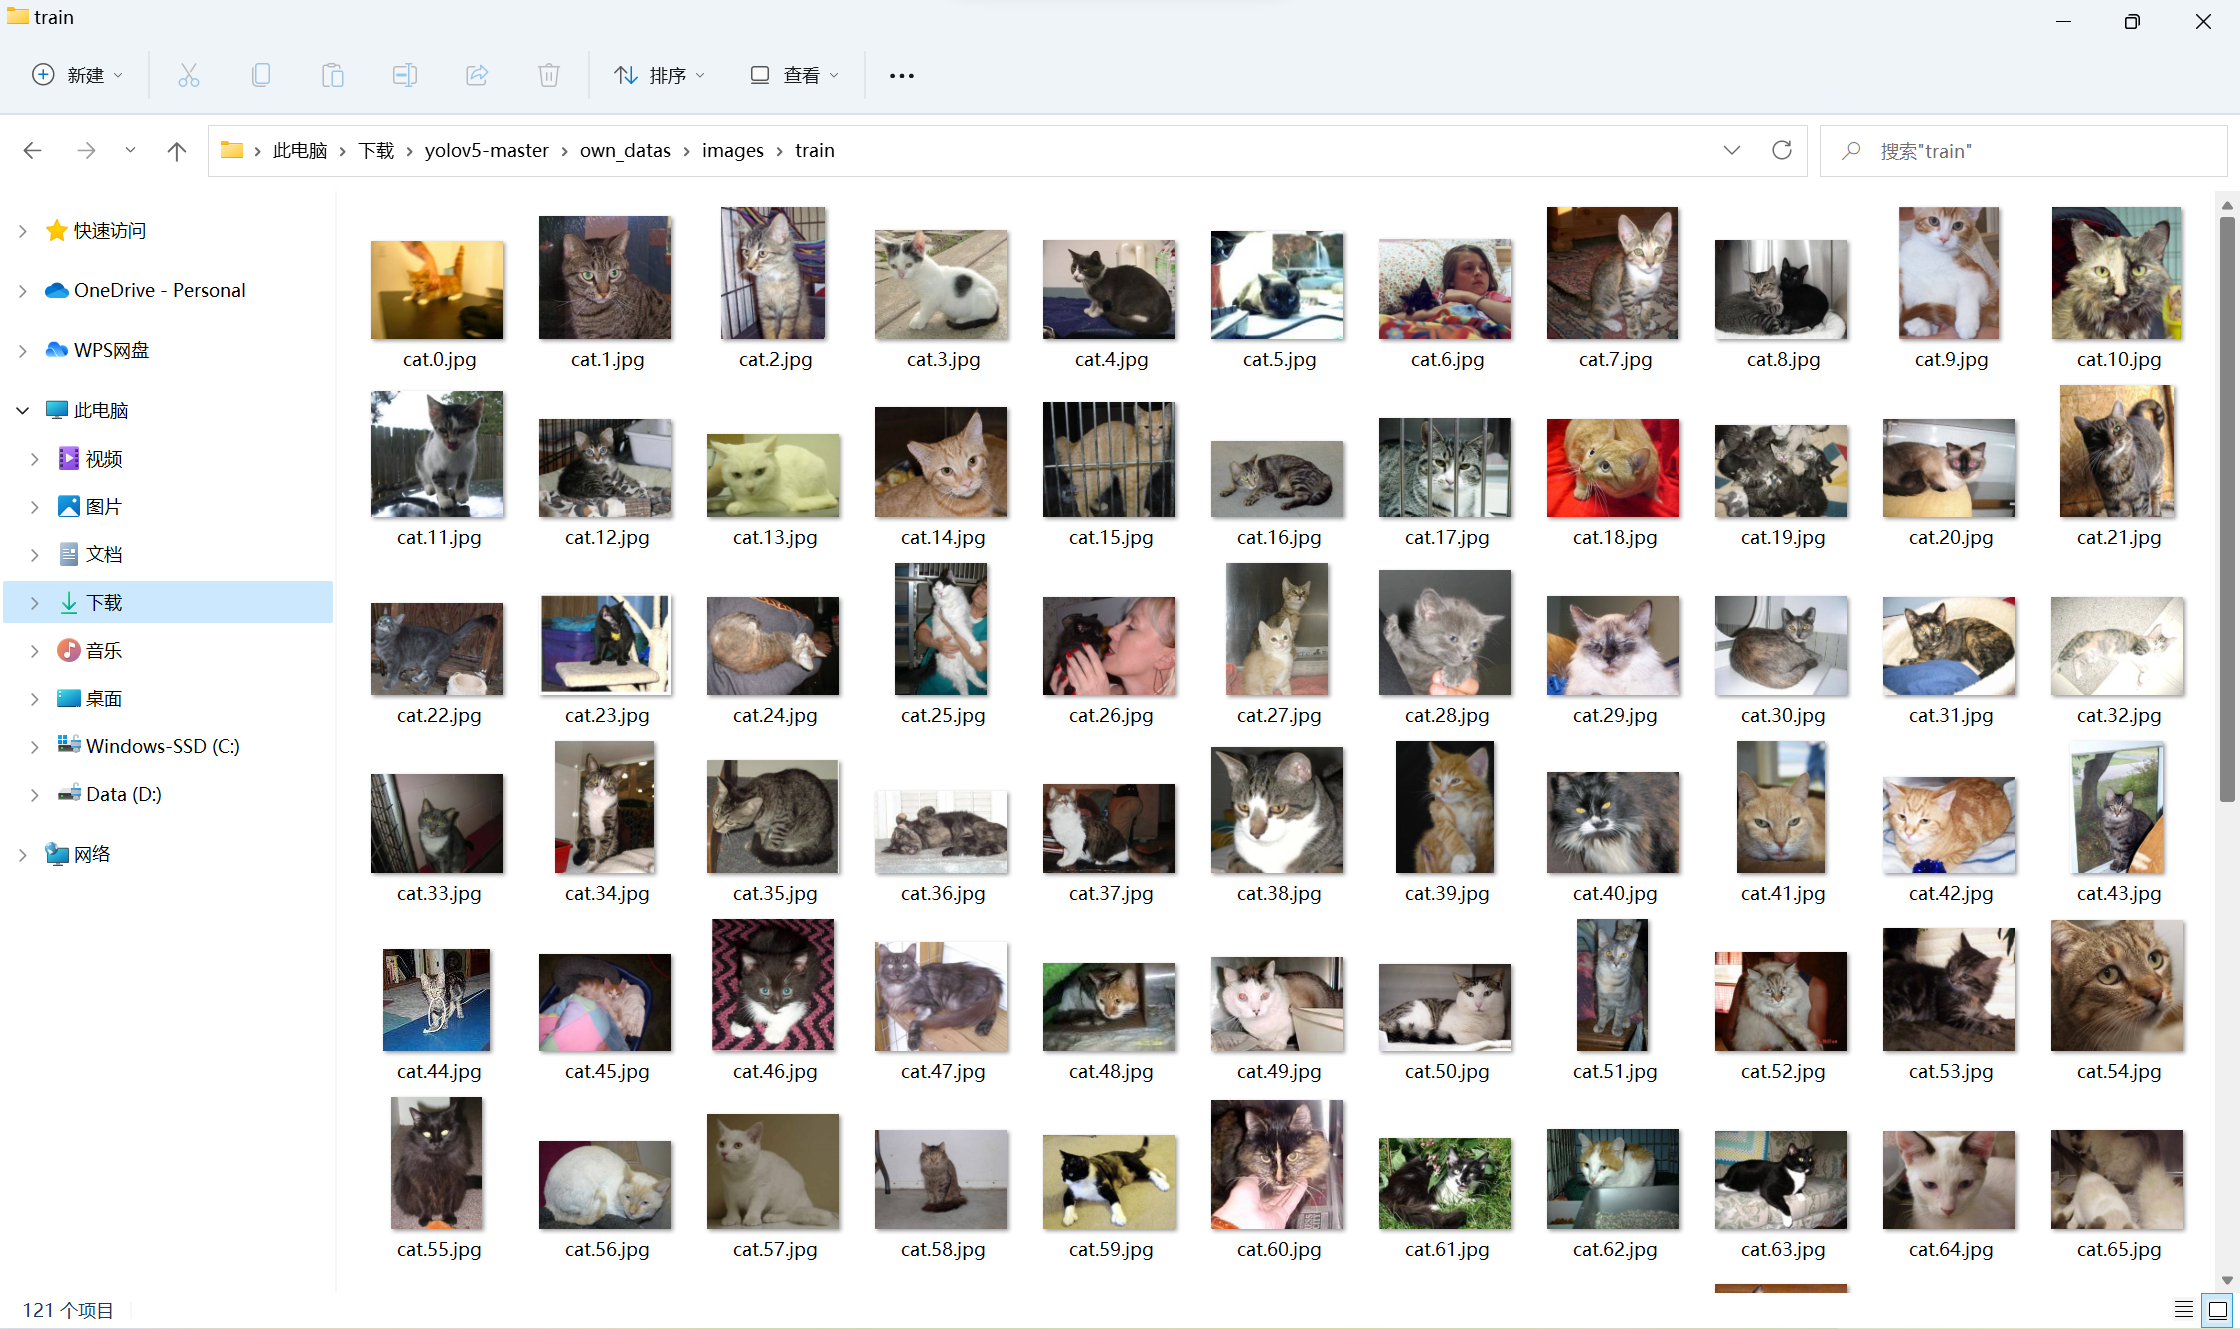
I downloaded the training data provided by the blogger in this article Preparation data set for cat and dog recognition - Zhihu , there are 25000 pictures after decompression, which is obviously impossible to use all of them. I selected the first 121 pictures of cats and copied them to yolov5 master \ own_ Data \ images \ train folder as training set
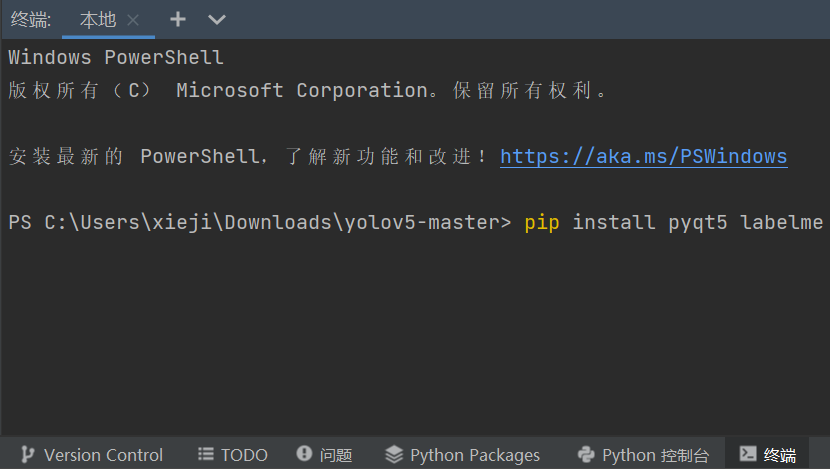
Then enter pip install pyqt5 labelme in pychar terminal and press enter. These two libraries are used to label data sets
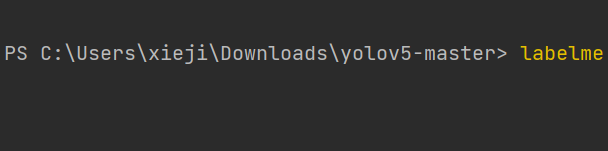
After installation, enter labelme in the terminal and press enter
A window will pop up, in which you can label the training set
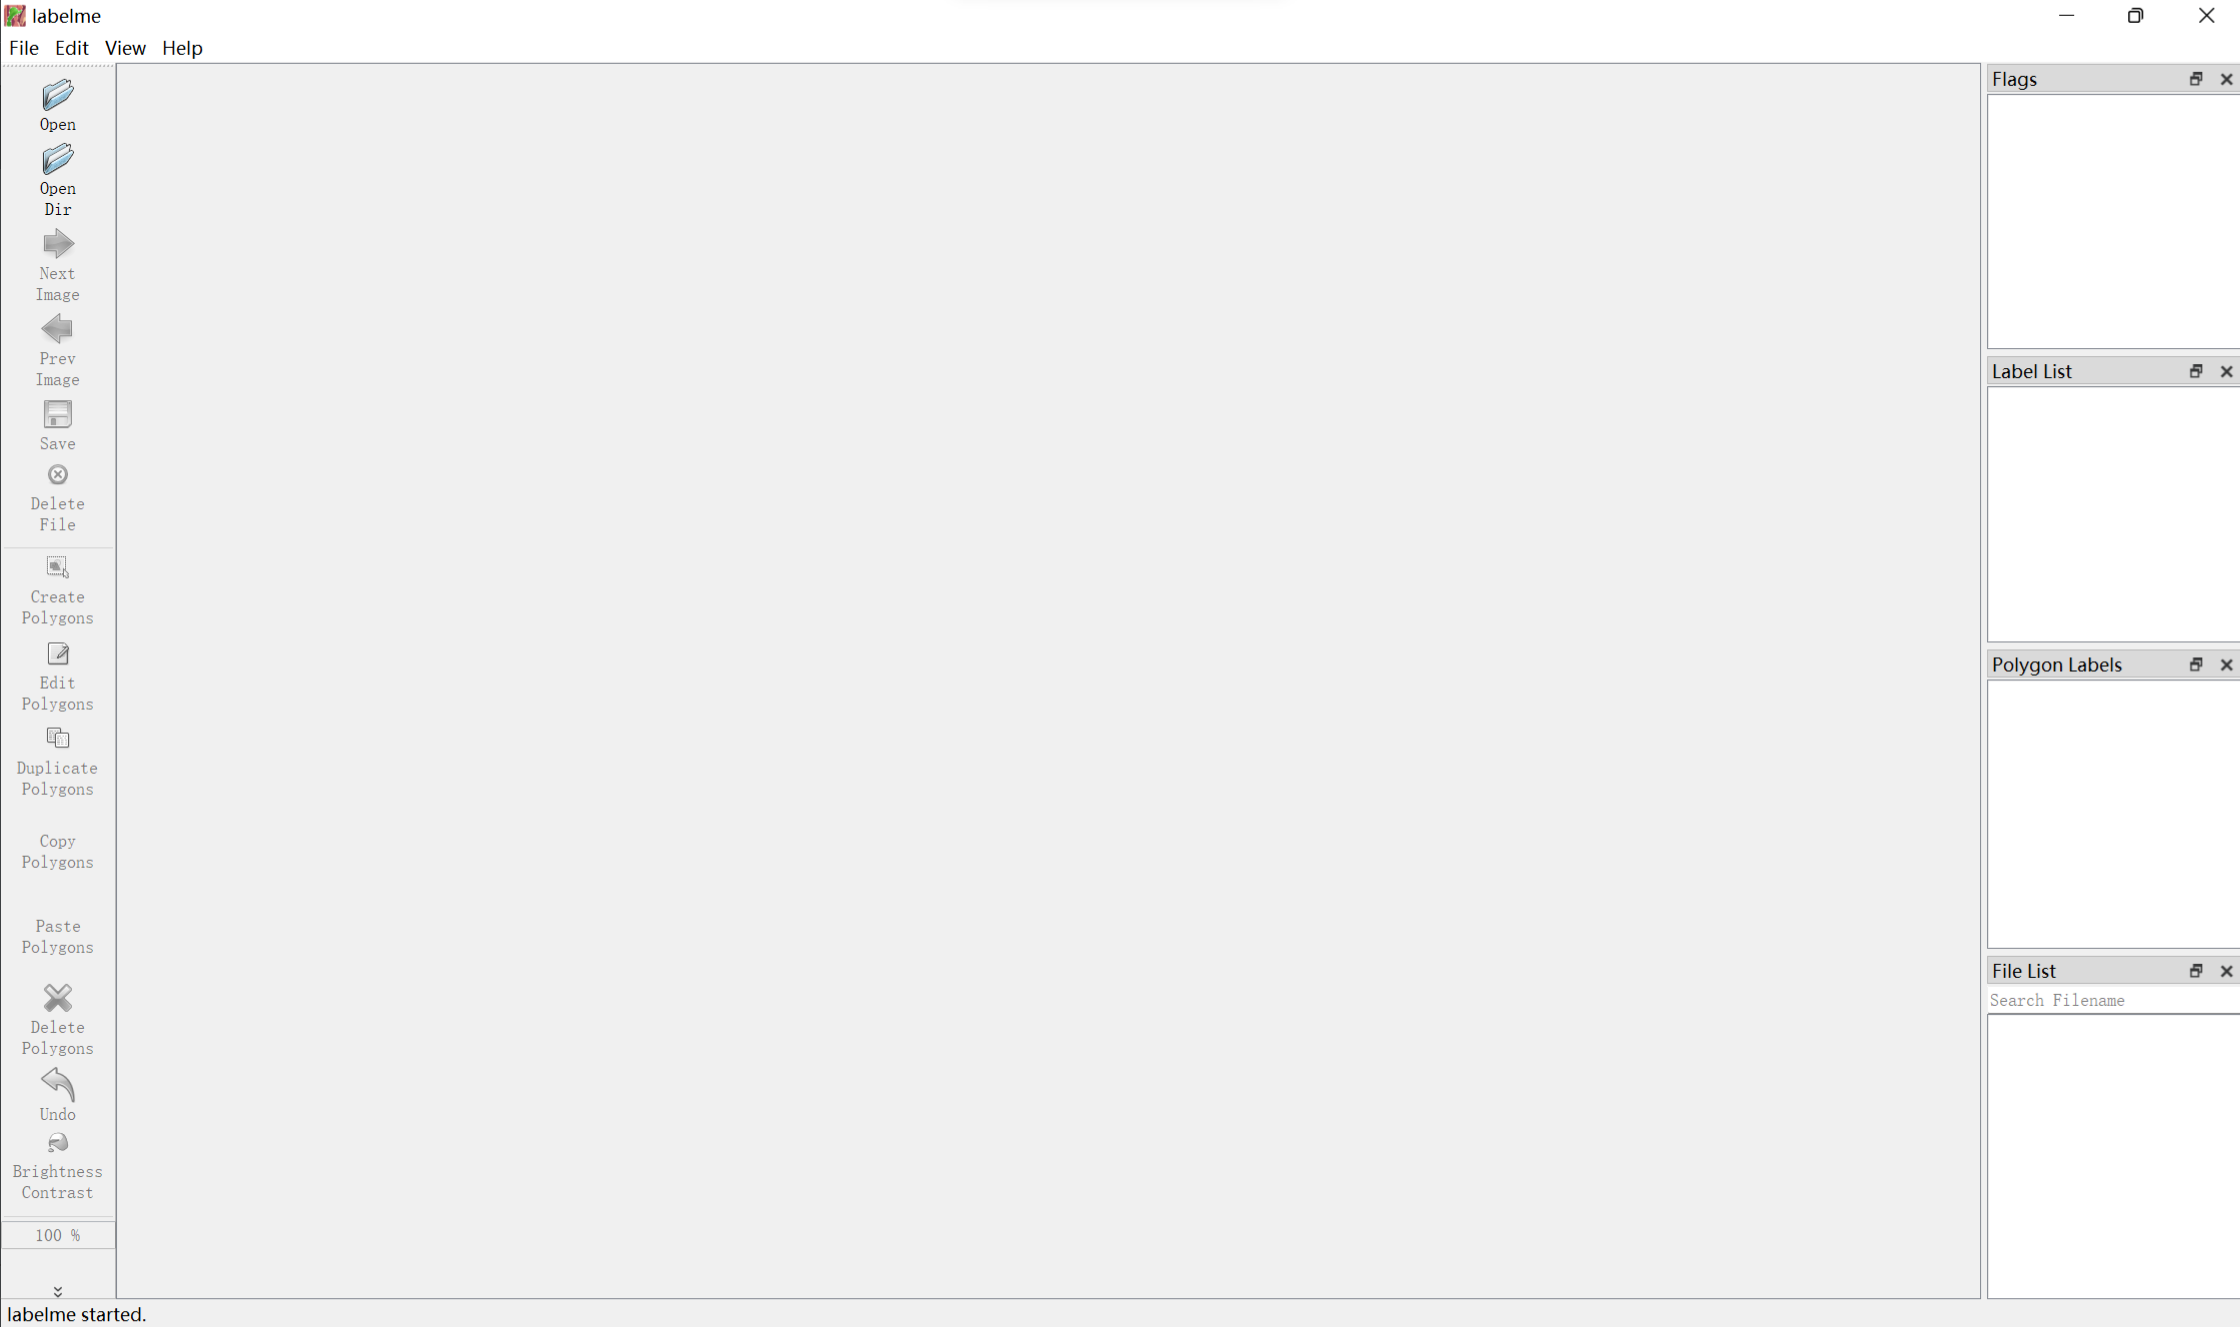
Click Open Dir in the upper left corner and select yolov5 master \ own_ The pictures in the training set will appear in the folder of data \ images \ train. Right click and select Create Rectangle to frame the cat in the picture
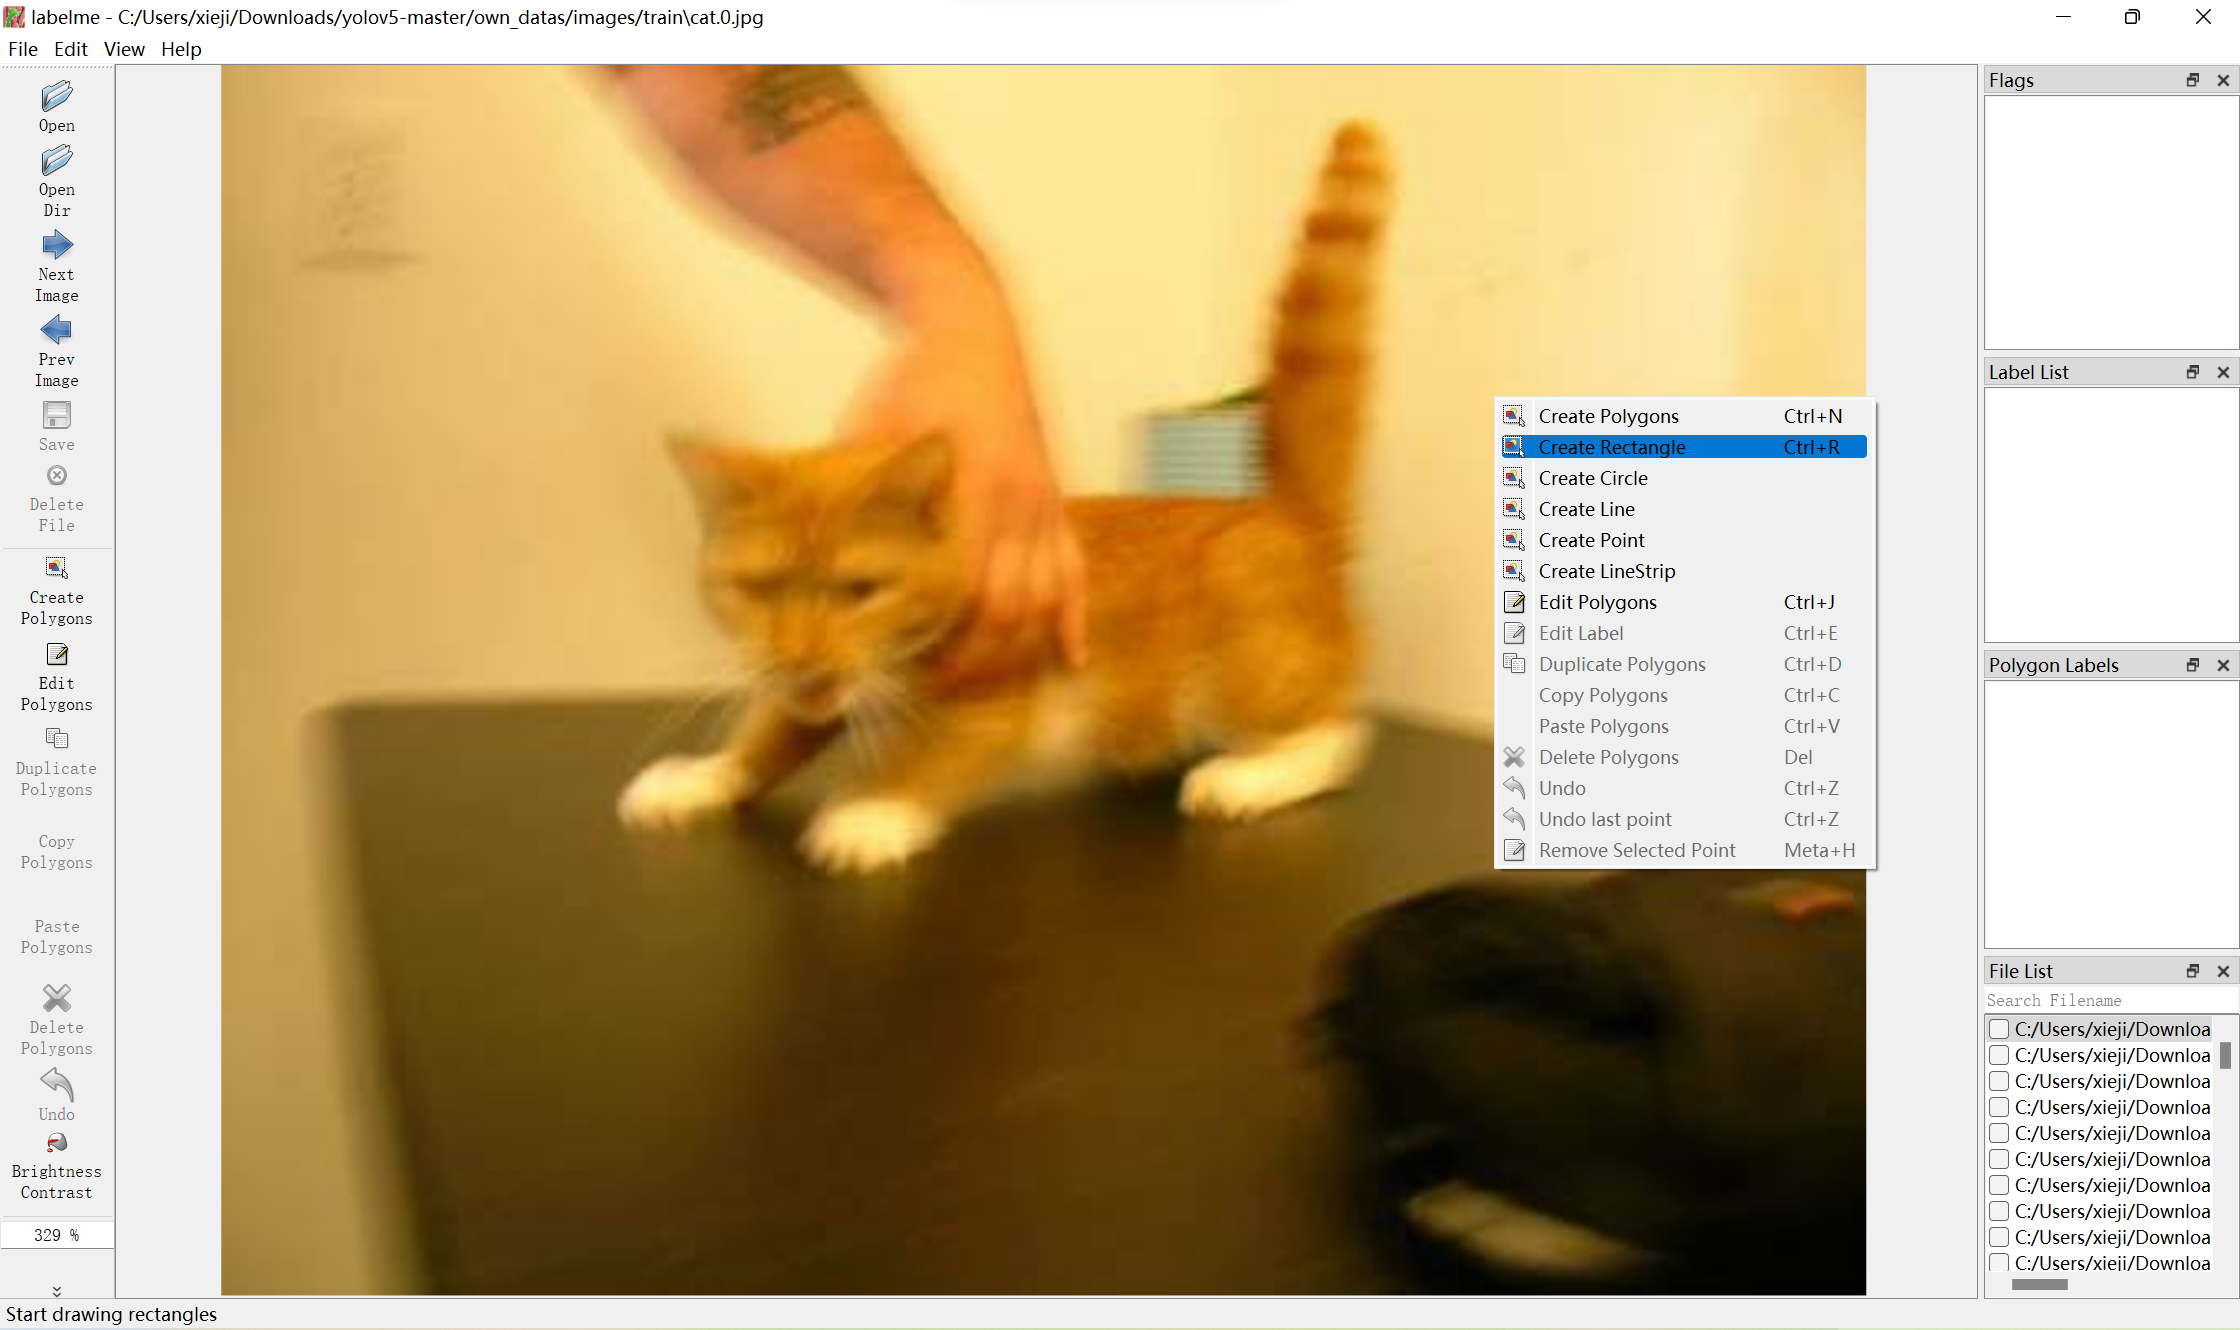
After the box selection, enter the tag name cat and click ok to save the tag. If there are more than one cat, continue the box selection
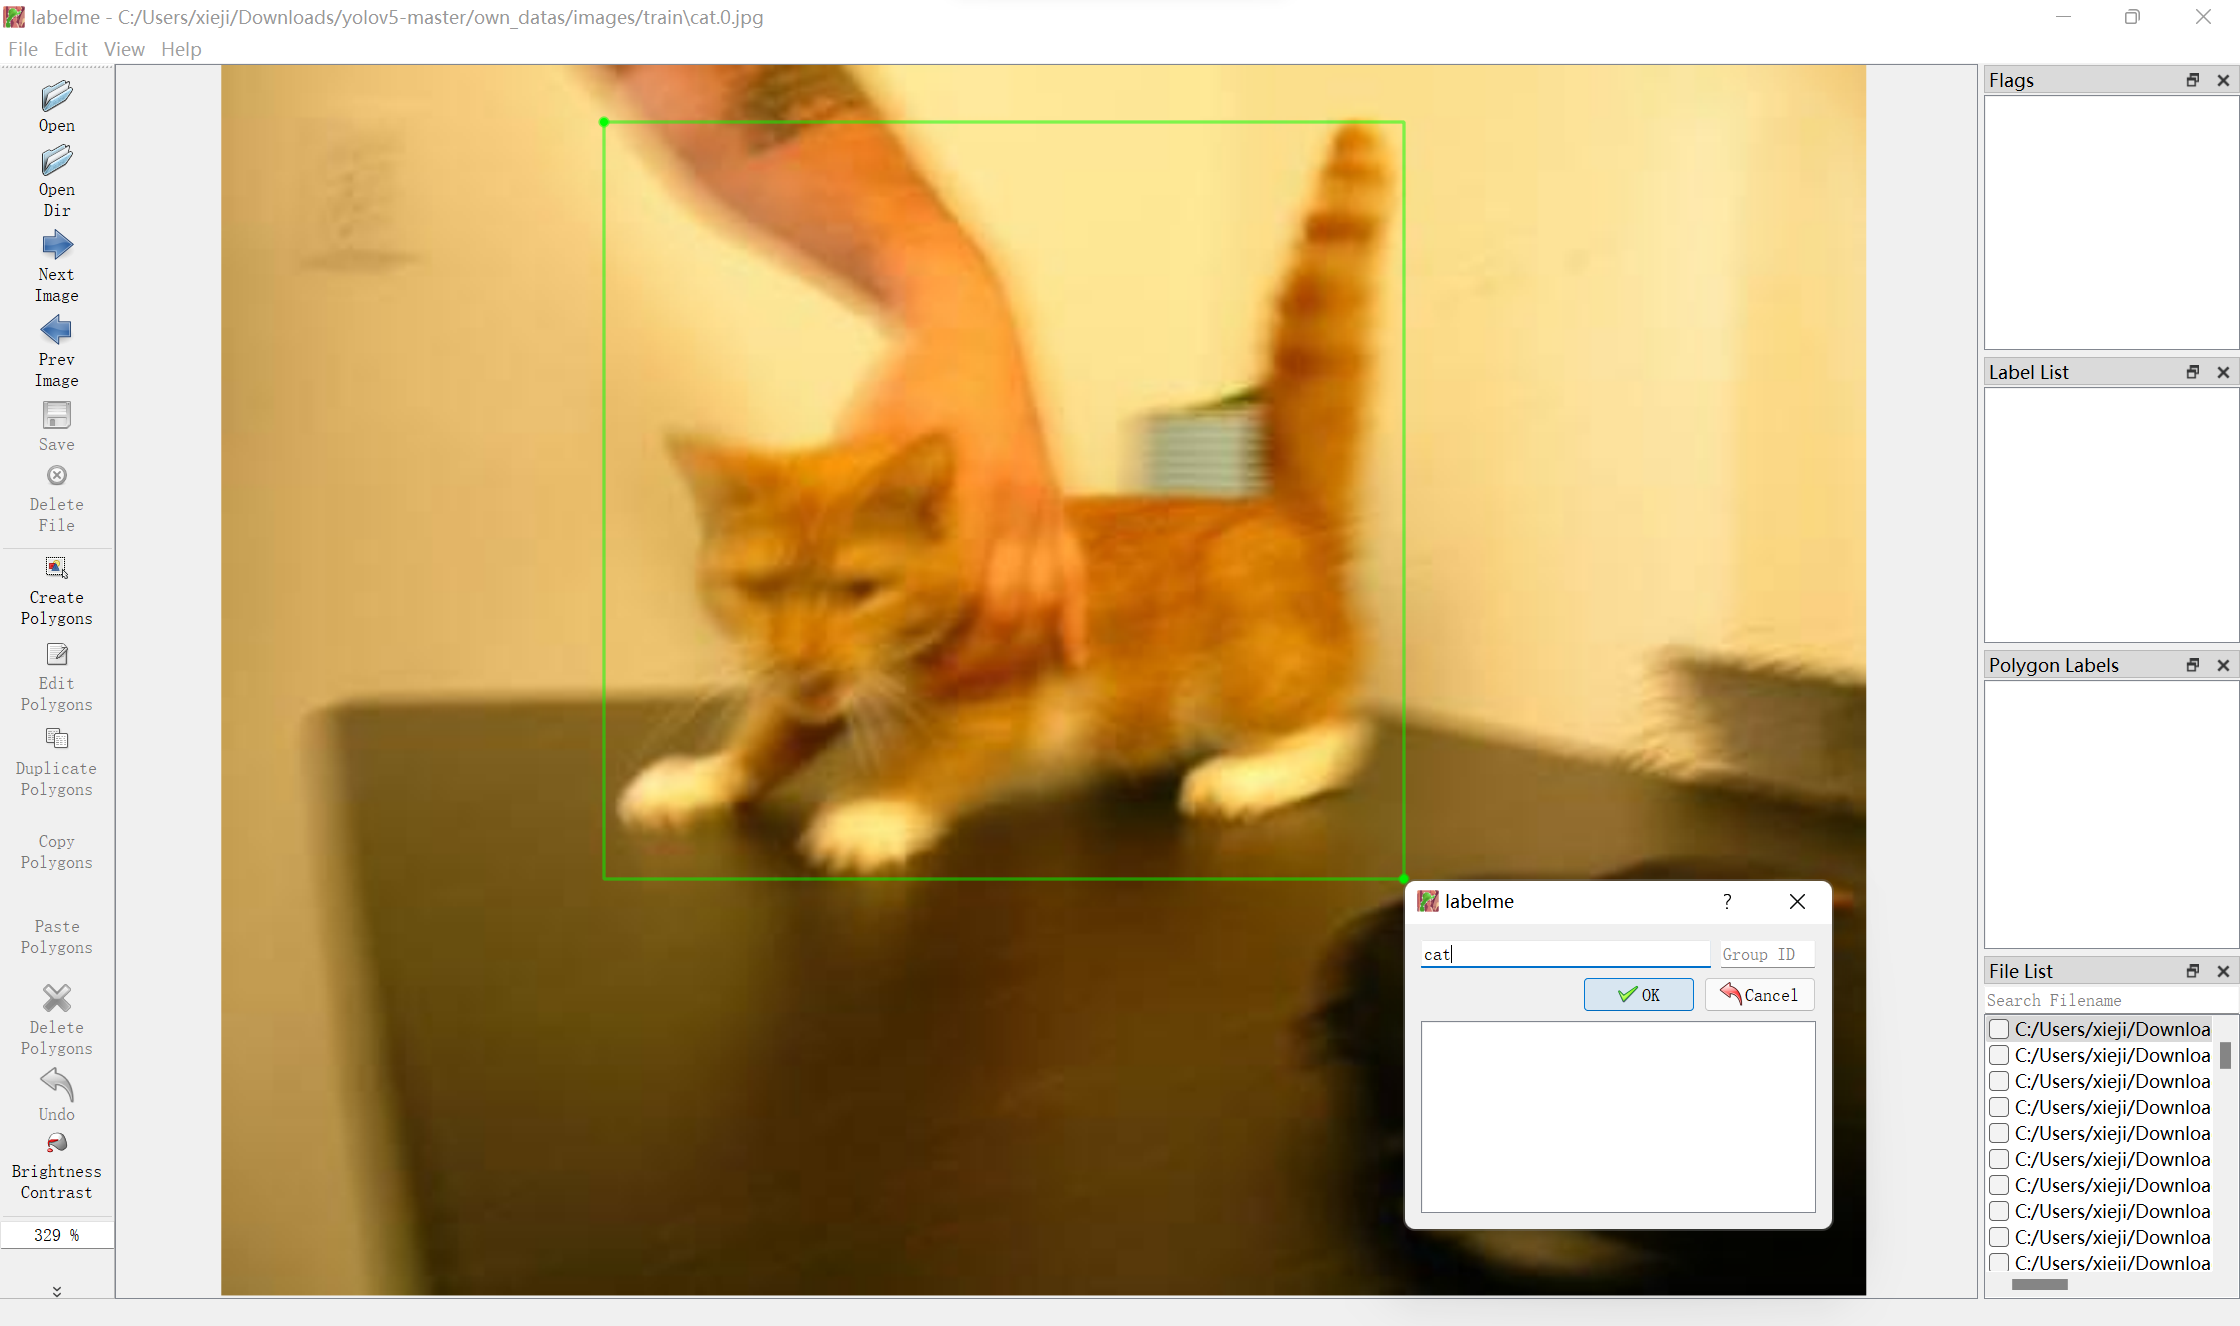
After selecting the whole picture box, click Next Image on the left and save the annotation file to the path yolov5 master \ own according to the prompt_ In data \ labels \ JSON, the file format is json
About half an hour later
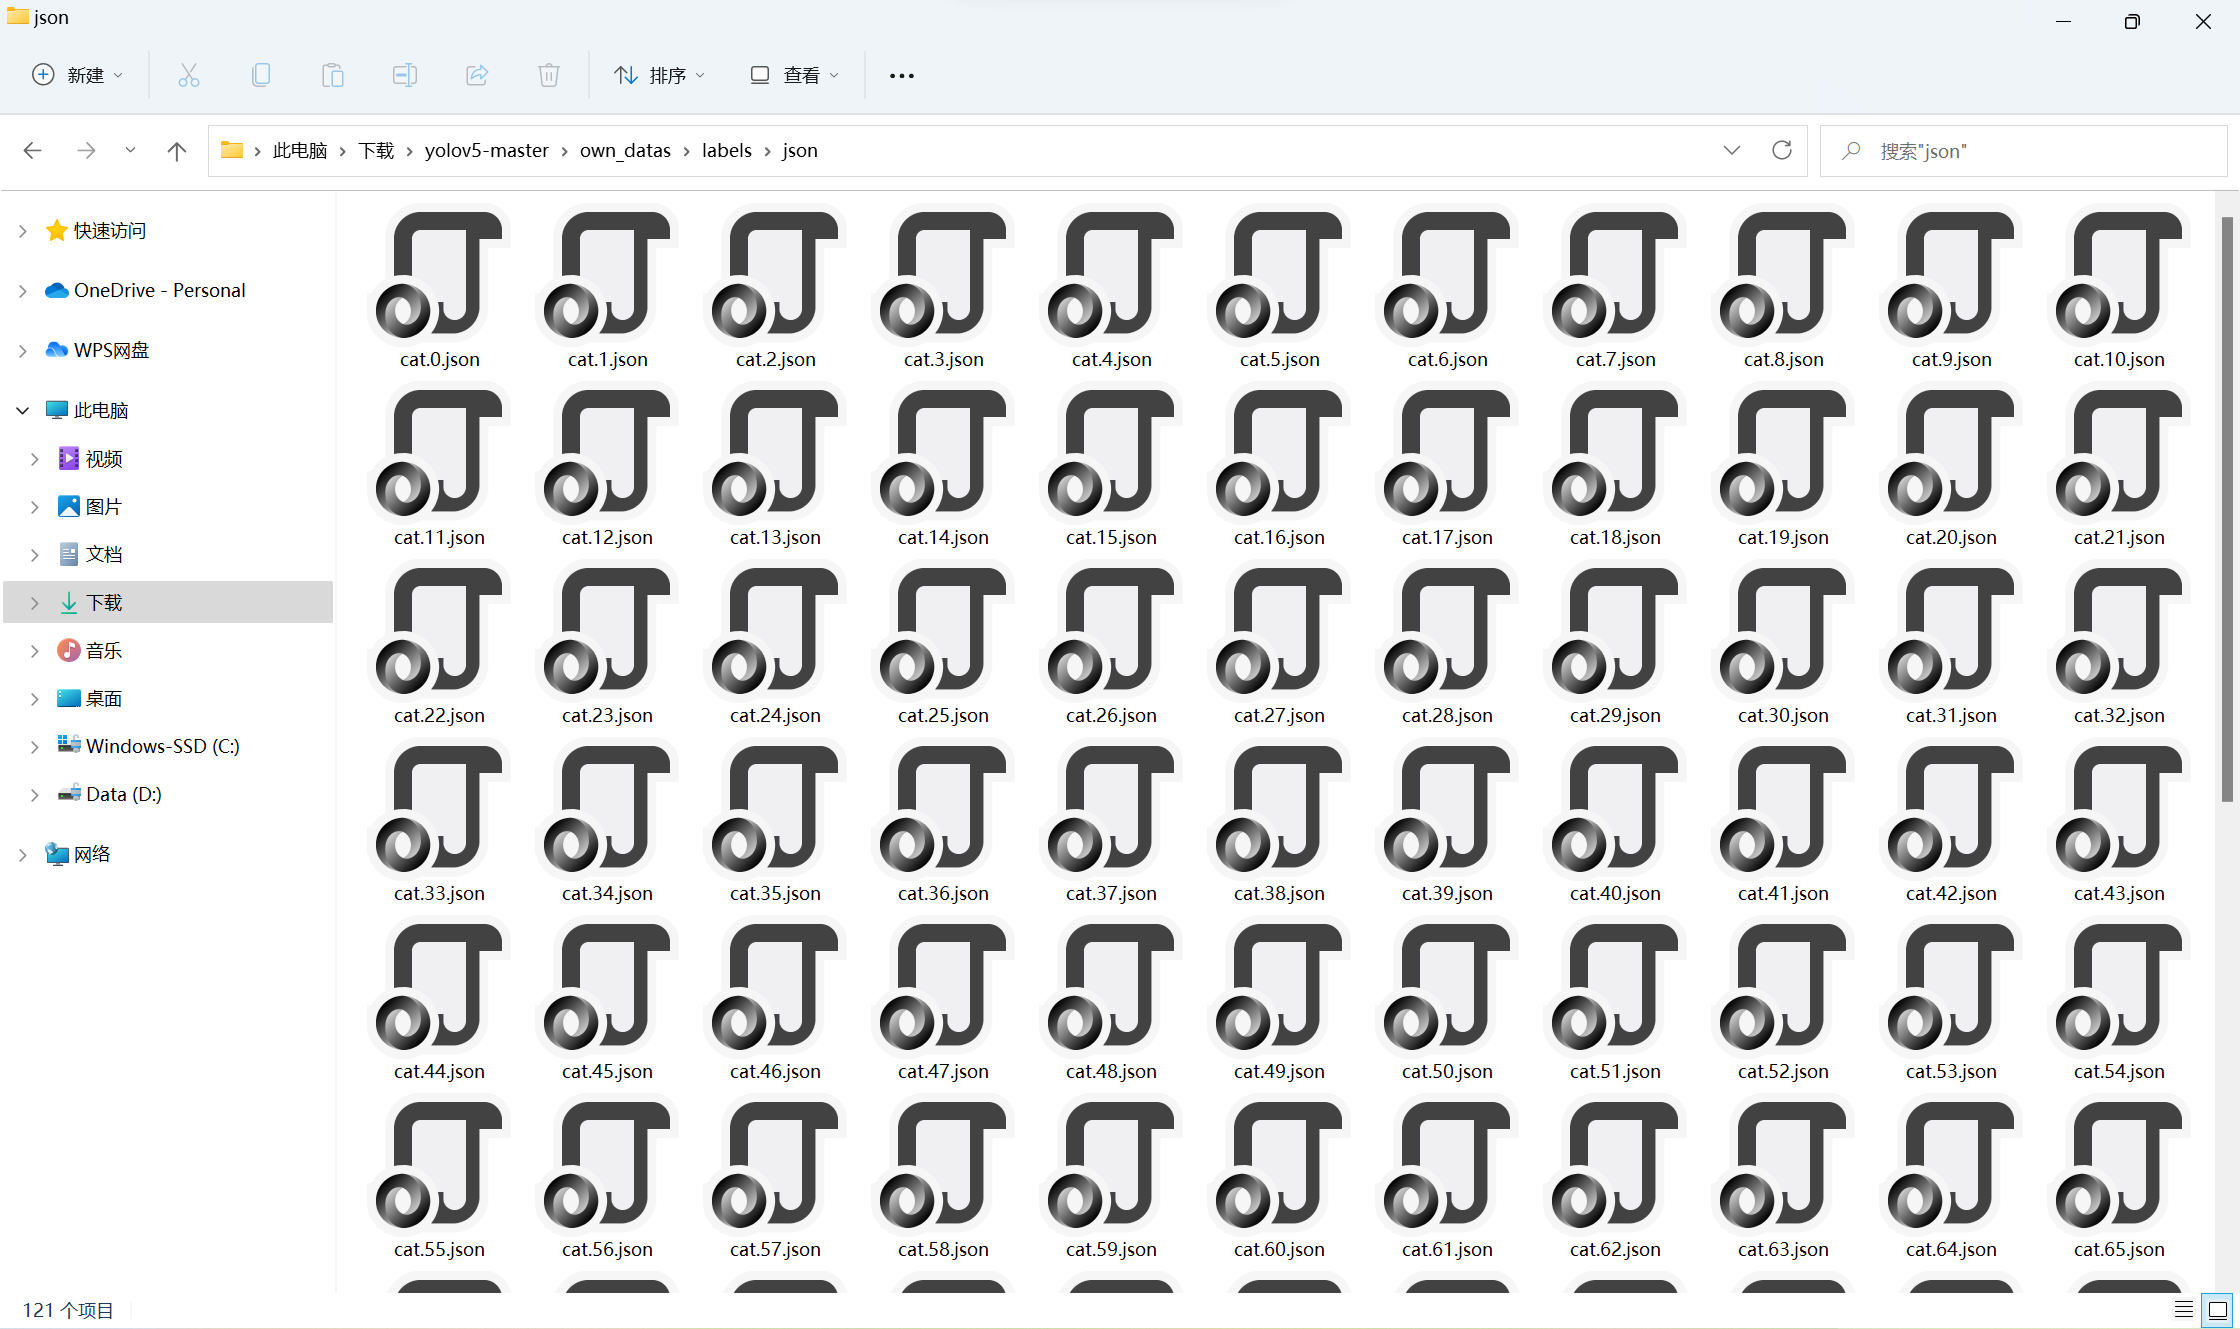
All pictures can be marked in yolov5 master \ own_ In the data \ labels \ json folder, you can see 121 pictures with the same number as the training set json file
Not yet, because yolov5 can only identify txt format label, also need to put Convert json file to txt file
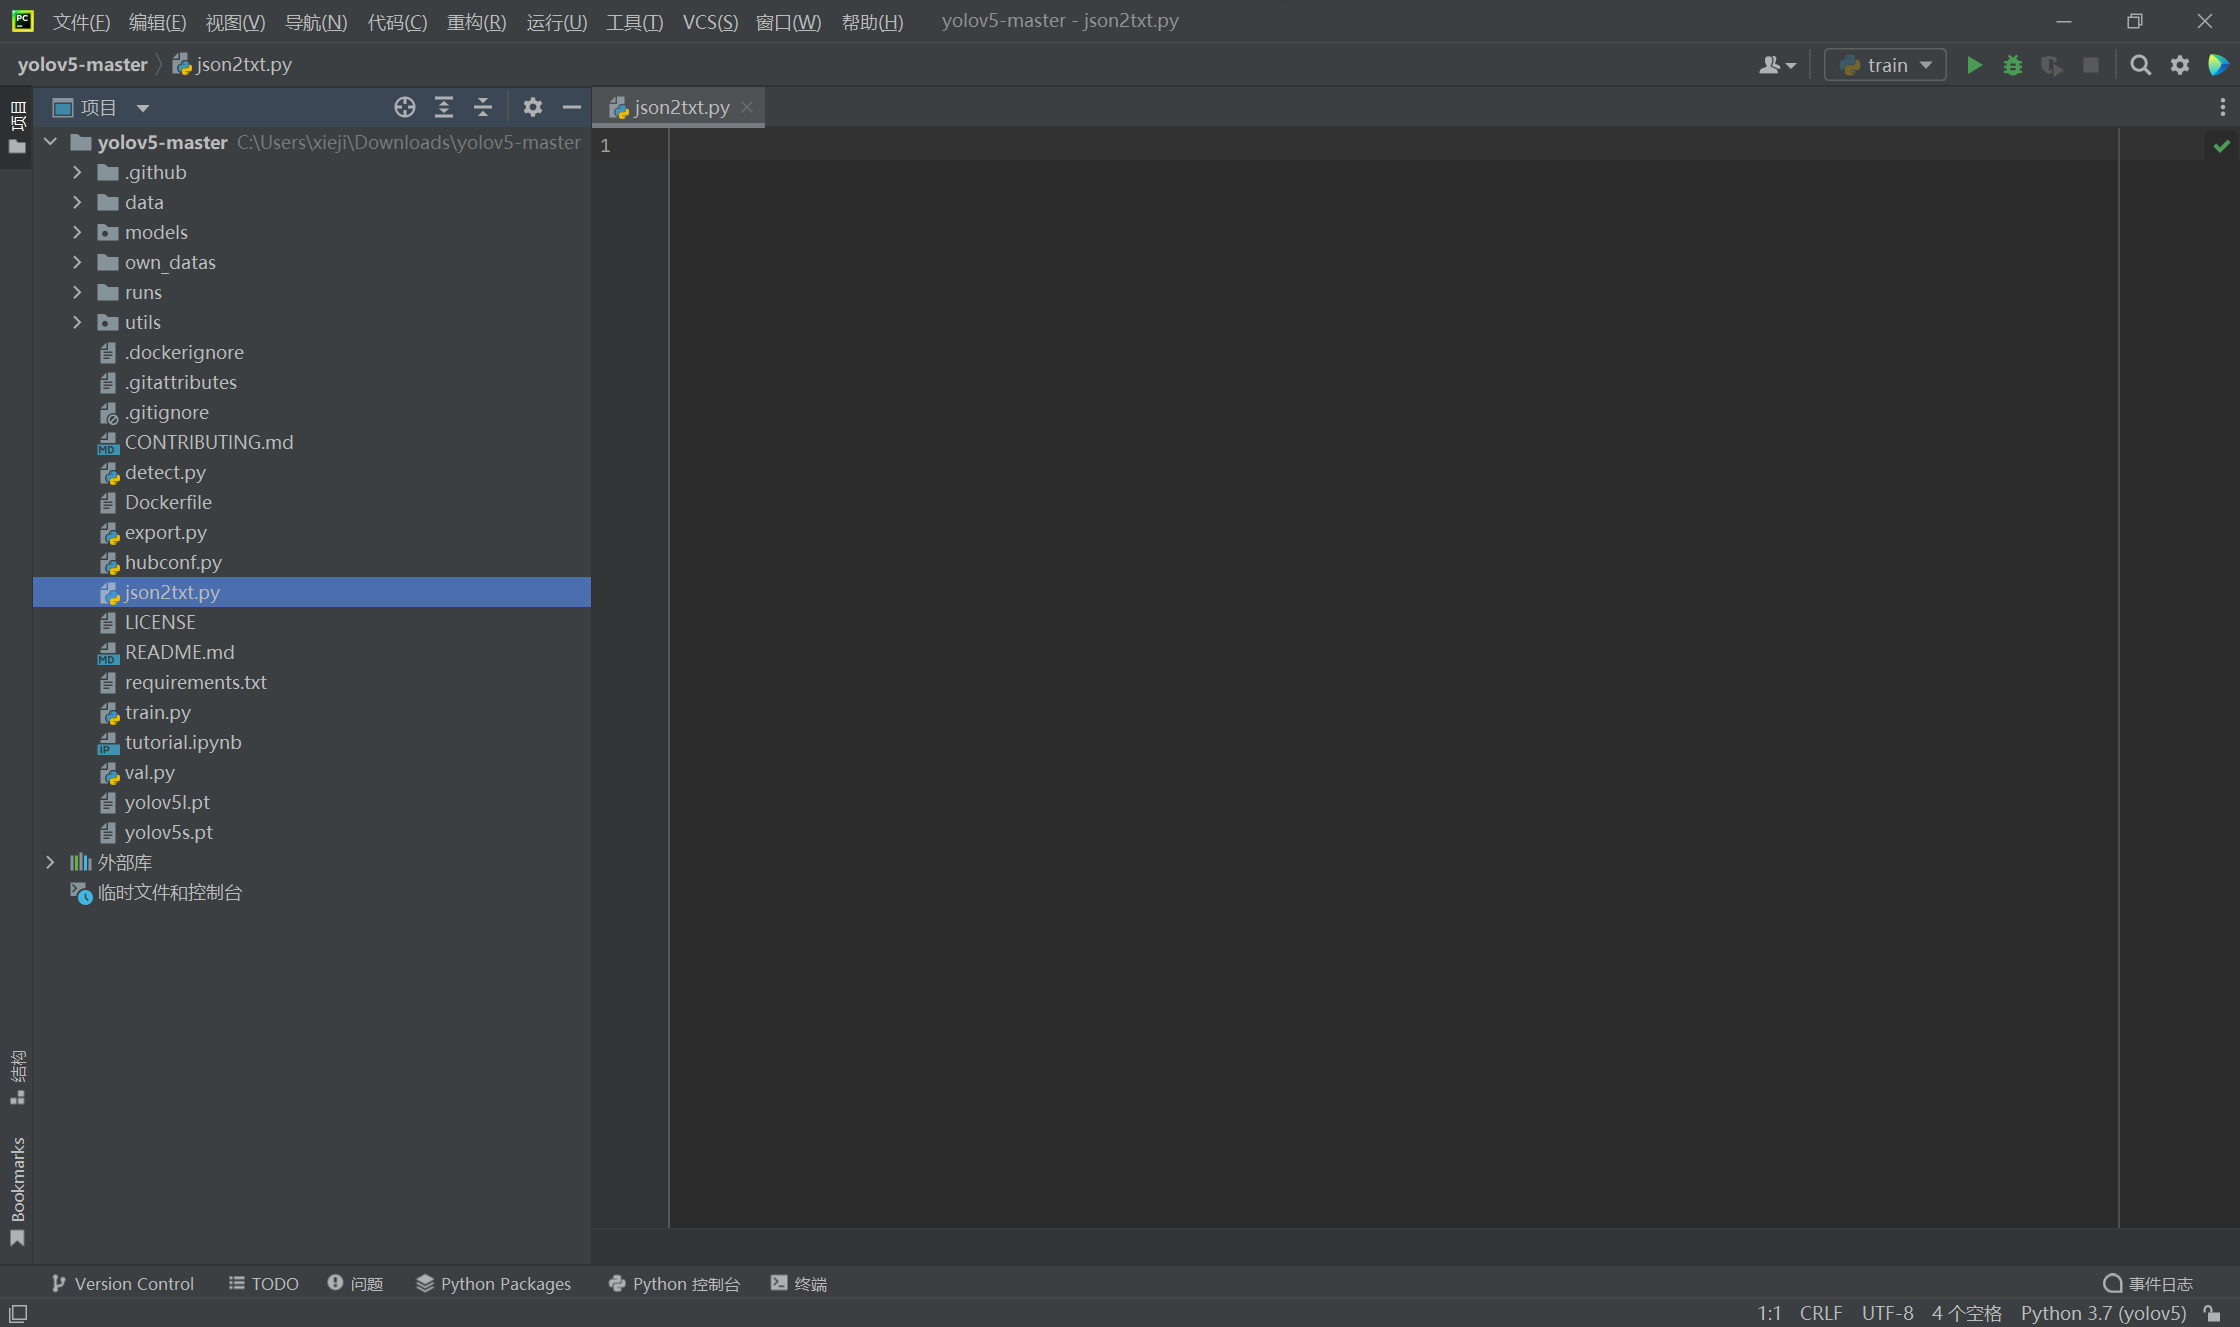
Create a new json2txt. In the yolov5 master folder Py file
Copy the following code:
import json
import os

name2id = {'cat': 0}  # Label name


def convert(img_size, box):
    dw = 1. / (img_size[0])
    dh = 1. / (img_size[1])
    x = (box[0] + box[2]) / 2.0 - 1
    y = (box[1] + box[3]) / 2.0 - 1
    w = box[2] - box[0]
    h = box[3] - box[1]
    x = x * dw
    w = w * dw
    y = y * dh
    h = h * dh
    return (x, y, w, h)


def decode_json(json_floder_path, json_name):
    txt_name = 'C:/Users/xieji/Downloads/yolov5-master/own_datas/labels/txt/' + json_name[0:-5] + '.txt'
    # Absolute path of txt folder
    txt_file = open(txt_name, 'w')

    json_path = os.path.join(json_floder_path, json_name)
    data = json.load(open(json_path, 'r', encoding='gb2312', errors='ignore'))

    img_w = data['imageWidth']
    img_h = data['imageHeight']

    for i in data['shapes']:

        label_name = i['label']
        if (i['shape_type'] == 'rectangle'):
            x1 = int(i['points'][0][0])
            y1 = int(i['points'][0][1])
            x2 = int(i['points'][1][0])
            y2 = int(i['points'][1][1])

            bb = (x1, y1, x2, y2)
            bbox = convert((img_w, img_h), bb)
            txt_file.write(str(name2id[label_name]) + " " + " ".join([str(a) for a in bbox]) + '\n')


if __name__ == "__main__":

    json_floder_path = 'C:/Users/xieji/Downloads/yolov5-master/own_datas/labels/json/'
    # Absolute path of json folder
    json_names = os.listdir(json_floder_path)
    for json_name in json_names:
        decode_json(json_floder_path, json_name)
Three annotated areas are where adjustments may need to be made. If everyone follows me as like as two peas, I will just change C:/Users/xieji/Downloads/ into my own path.
Run json2txt Py, which can be found in yolov5 master \ own_ See the corresponding 121 in the data \ labels \ TXT folder Txt file
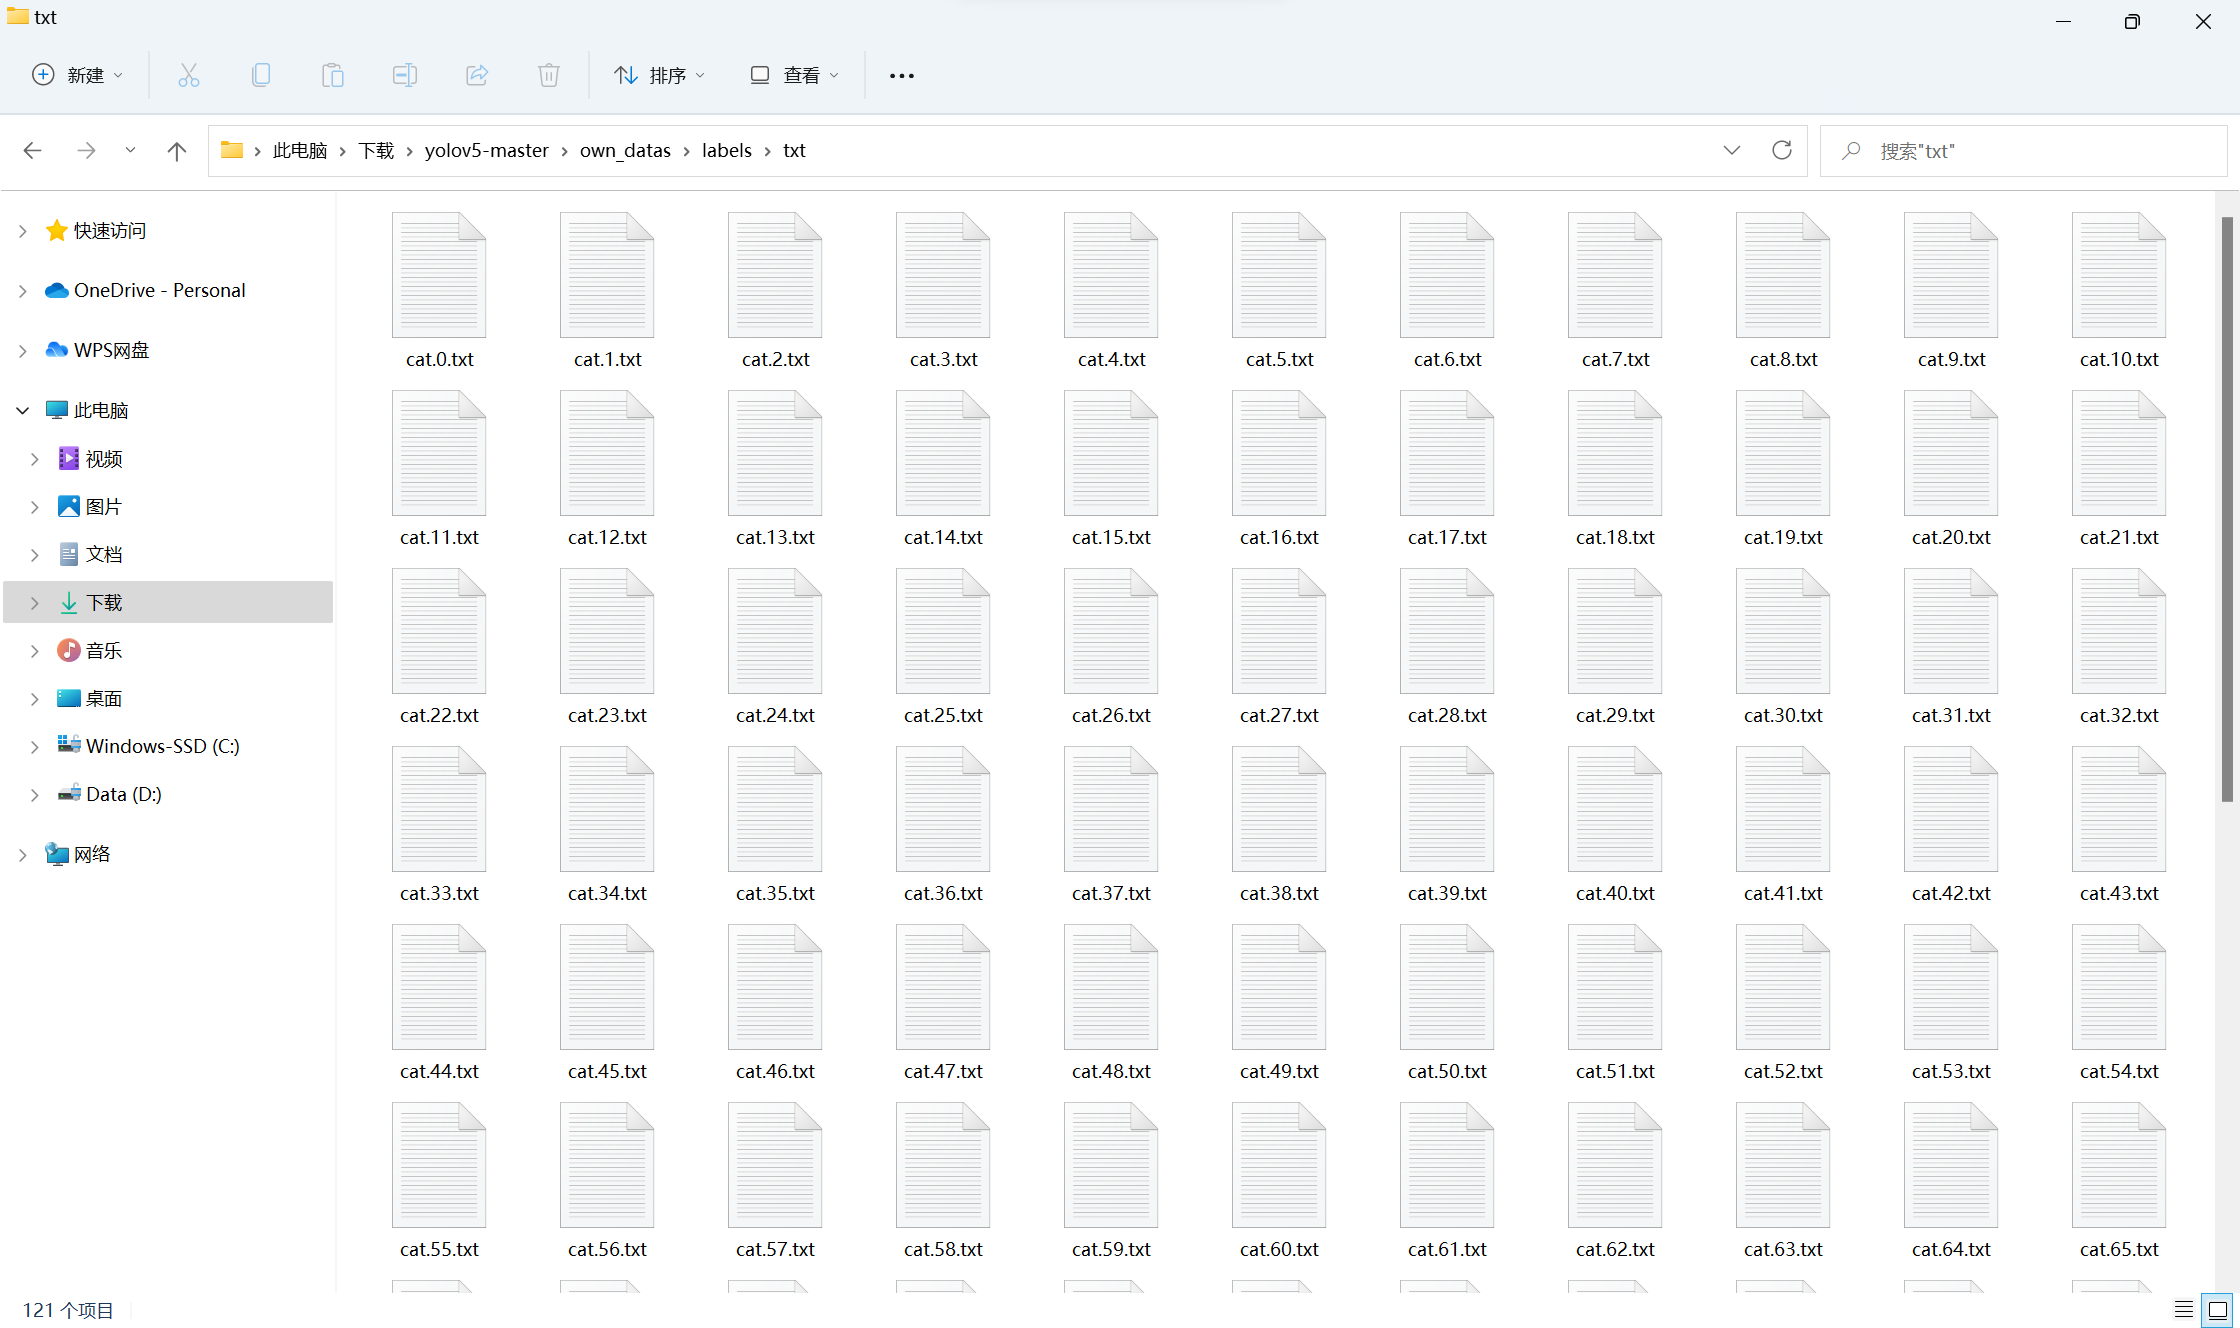
Finally, copy all the files in the txt folder to yolov5 master \ own_ Data \ labels \ train folder. Don't forget this step! Otherwise, you will report an error during training and can't find the label
6, Modify profile
First copy two files
Find coco128 in the yolov5 master \ data path Yaml file, copy to yolov5 master \ own_ Under the data path, rename it cat yaml
Because we are not using the coco128 dataset, but our own cat dataset. In fact, it's OK not to change it, but it's easier to understand
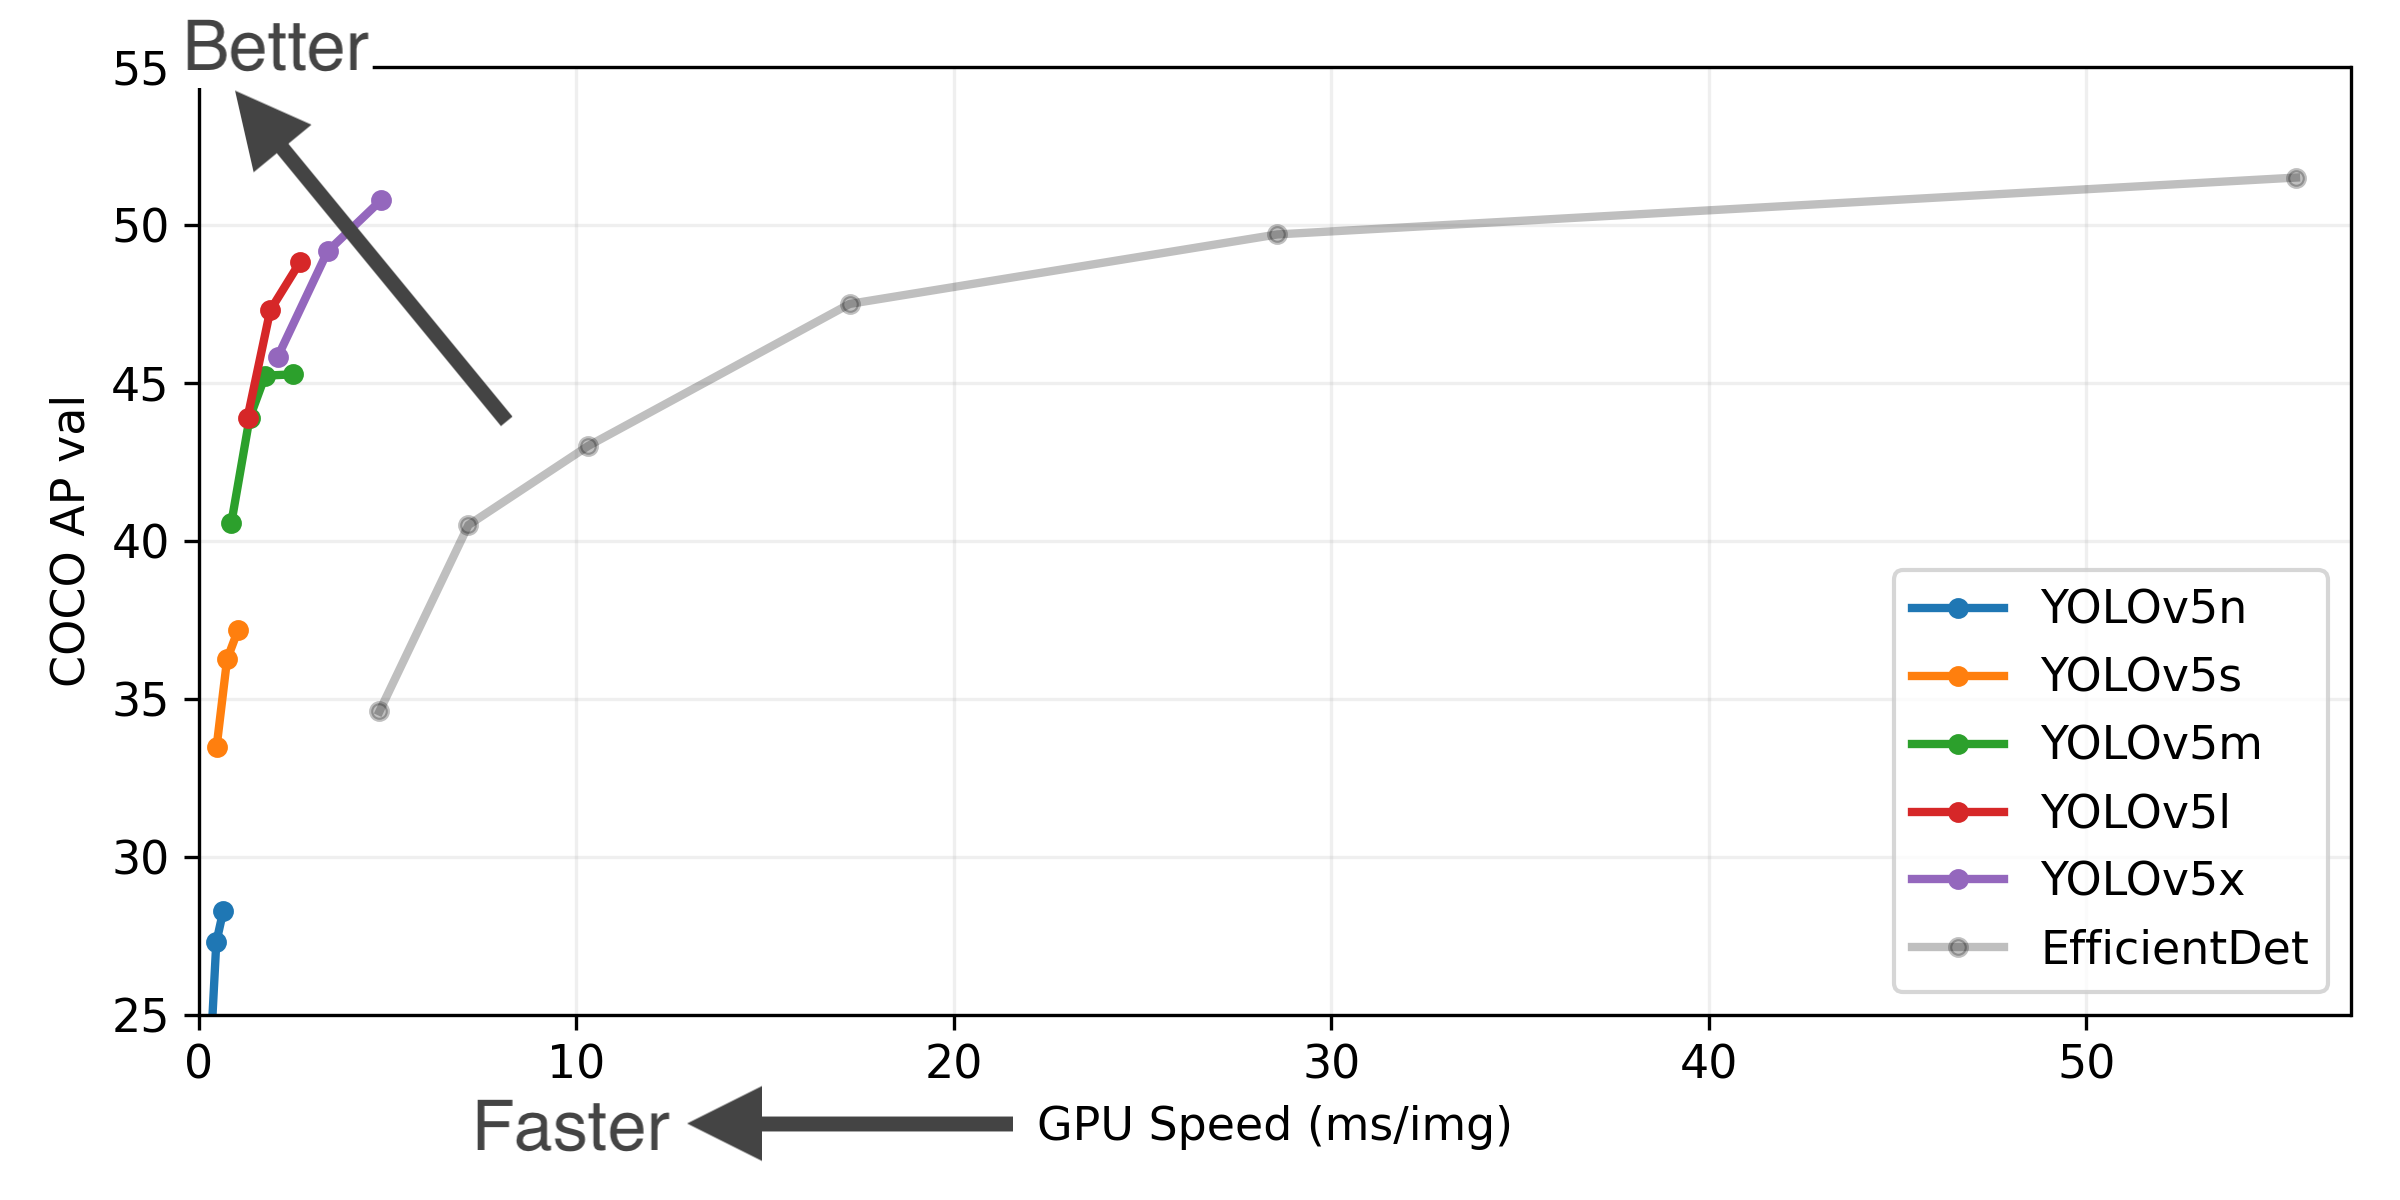
Find yolov5s in the path yolov5 master \ models Yaml file, also copy to yolov5 master \ own_ Data path. Choose yolov5s because, although its effect is not very good, but the speed is relatively fast. I have used yolov5l before and have to run all night
Open cat Yaml file, the first three lines to be modified are:
# path: ../datasets/coco128  # dataset root dir
train: own_datas/images/train  # train images (relative to 'path') 128 images
val: own_datas/images/train  # val images (relative to 'path') 128 images
The first line needs to be commented out
If as like as two peas and third lines, follow the same path, follow me, and second lines and the following lines will be able to follow.
Then modify the two lines:
nc: 1  # number of classes
names: ['cat']  # class names
nc is the number of categories and names is the category name. If you follow me as like as two peas, you can just press me.
Finally, comment out this line because we don't use the coco128 dataset. It's OK not to comment. It doesn't matter. It's just that I have OCD
# download: https://github.com/ultralytics/yolov5/releases/download/v1.0/coco128.zip
Open yolov5s Yaml file, this line needs to be modified:
nc: 1 # number of classes
7, Training
Open train Py file
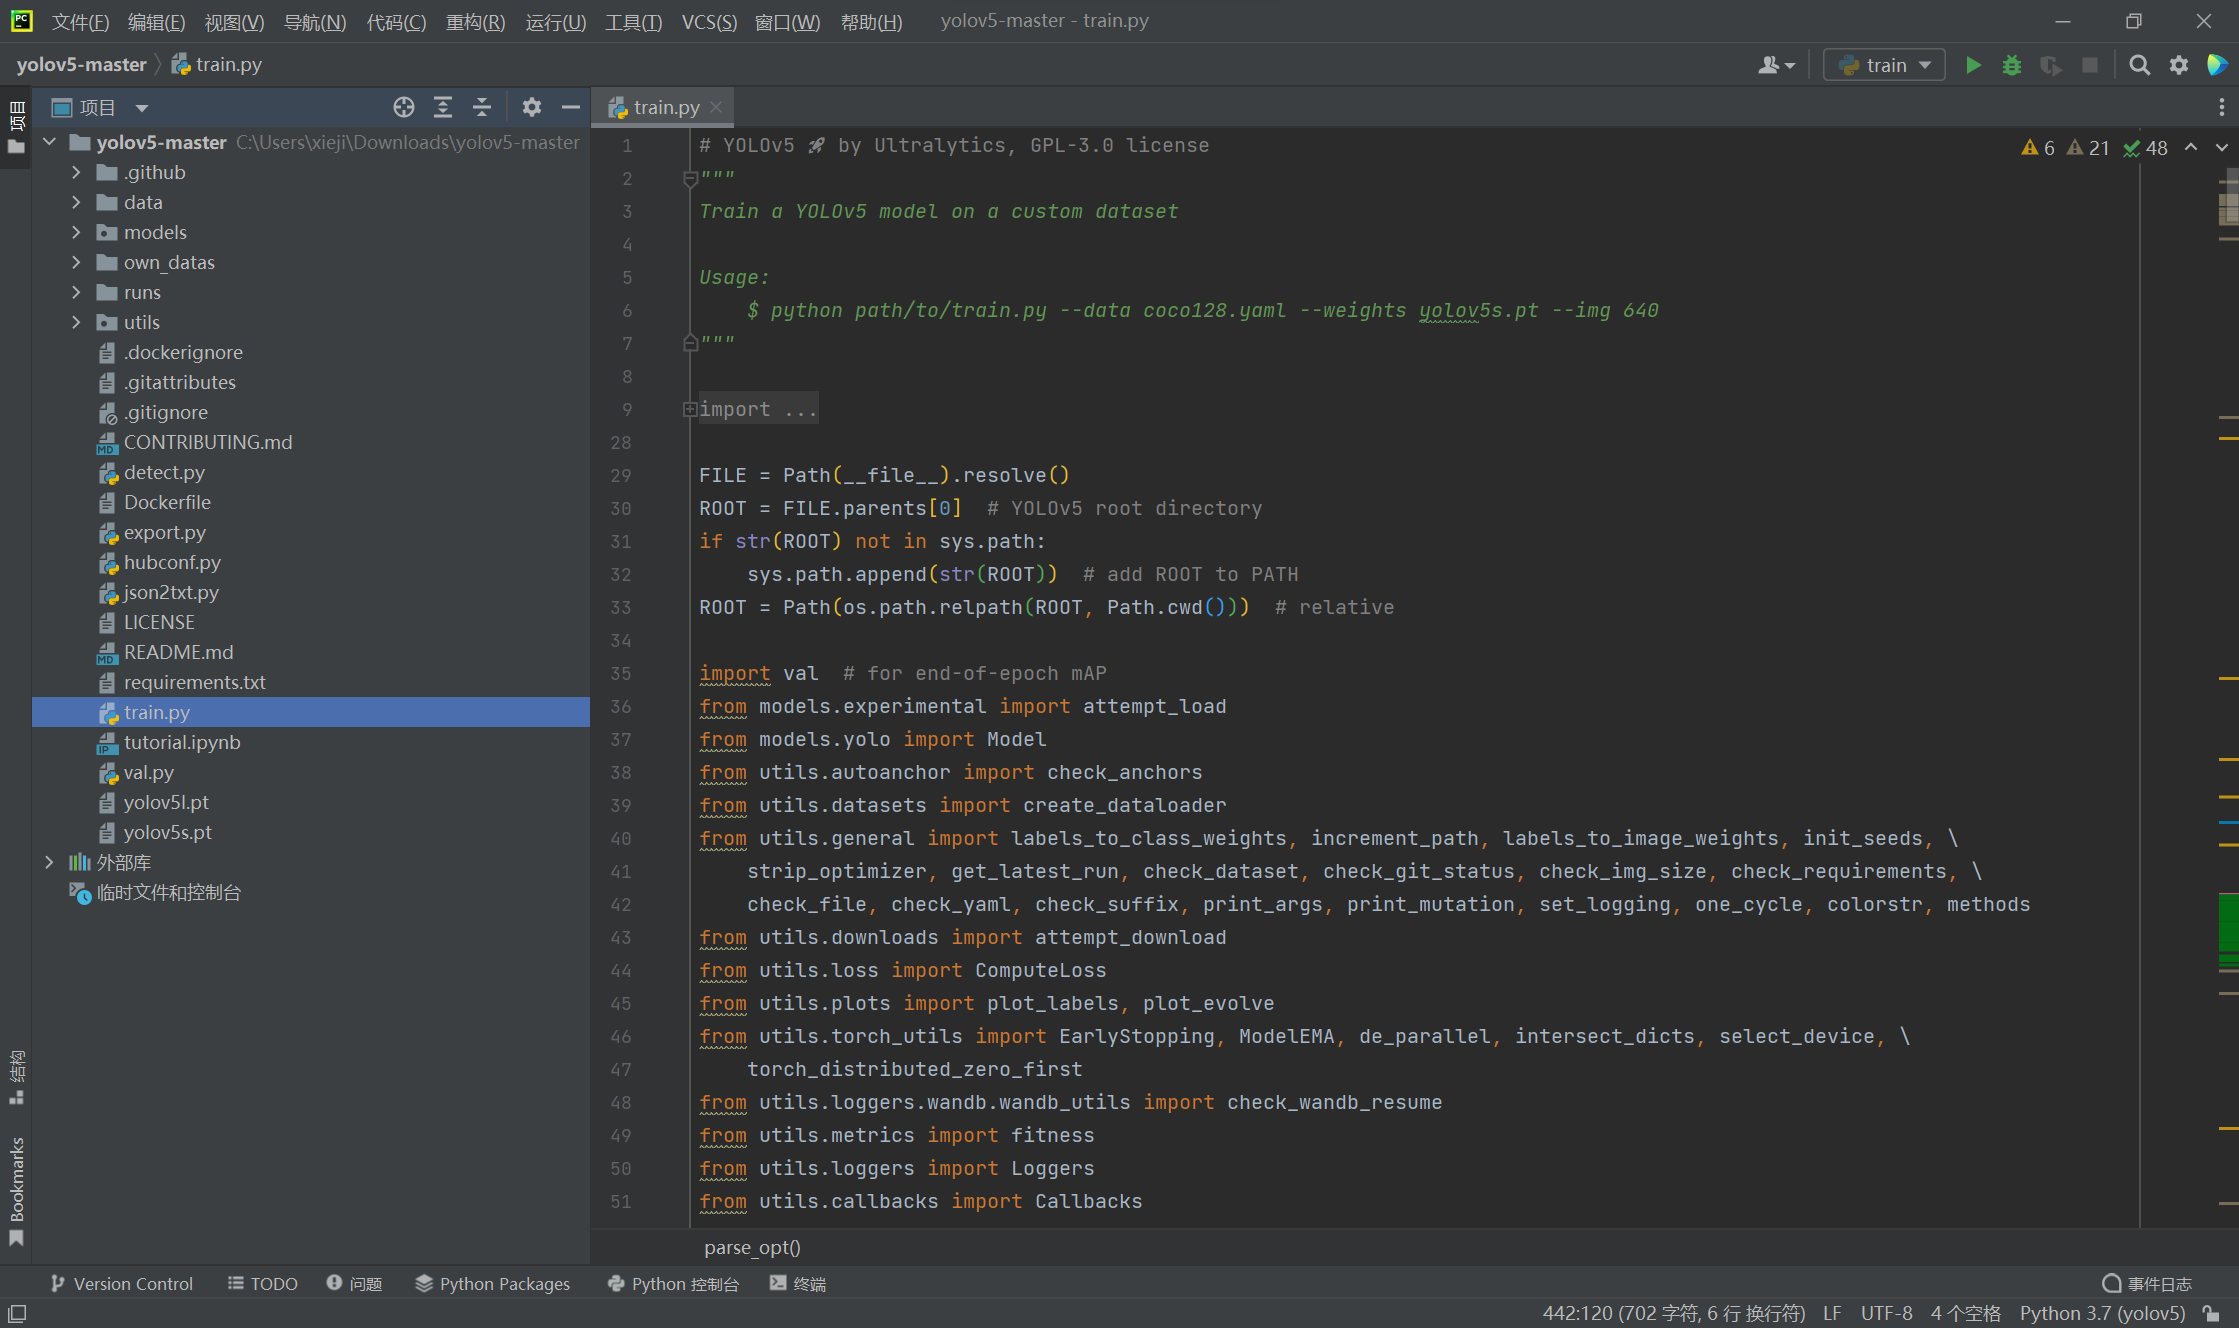
First modify the default of these lines:
    parser.add_argument('--weights', type=str, default='yolov5s.pt', help='initial weights path')
    parser.add_argument('--cfg', type=str, default='own_datas/yolov5s.yaml', help='model.yaml path')
    parser.add_argument('--data', type=str, default='own_datas/cat.yaml', help='dataset.yaml path')
If you follow me as like as two peas, you can just press me.
Then modify the default of this line:
parser.add_argument('--epochs', type=int, default=150)The default value is 300, but the training time will be relatively long. I changed it to 150 here
The last one to modify is the default of this line:
parser.add_argument('--workers', type=int, default=0, help='maximum number of dataloader workers')At first, I used the default value of 8, because my CPU has 8 cores and 16 threads. I see that if this value is set to the number of CPU cores of my computer, the training speed is the fastest. As a result, an error is reported during training, which probably means that the memory burst, and then I changed it to 0
OK, start training!
Run train Py, then wait quietly The fan will keep turning
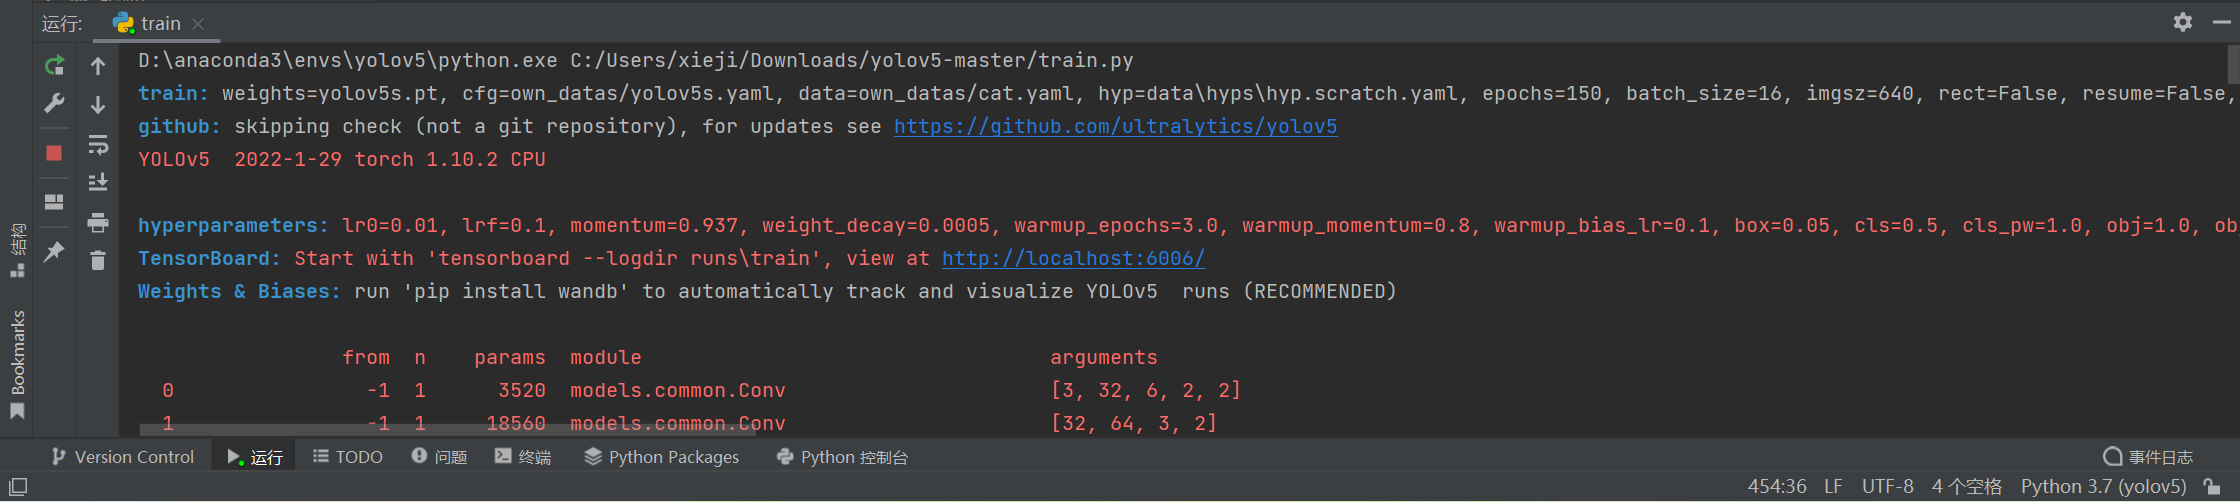
I trained for three hours Using CPU is really slow After the last epoch, mAP@0.5 Stopped at 0.995, mAP@0.5:0.95 stopped at 0.904, very good
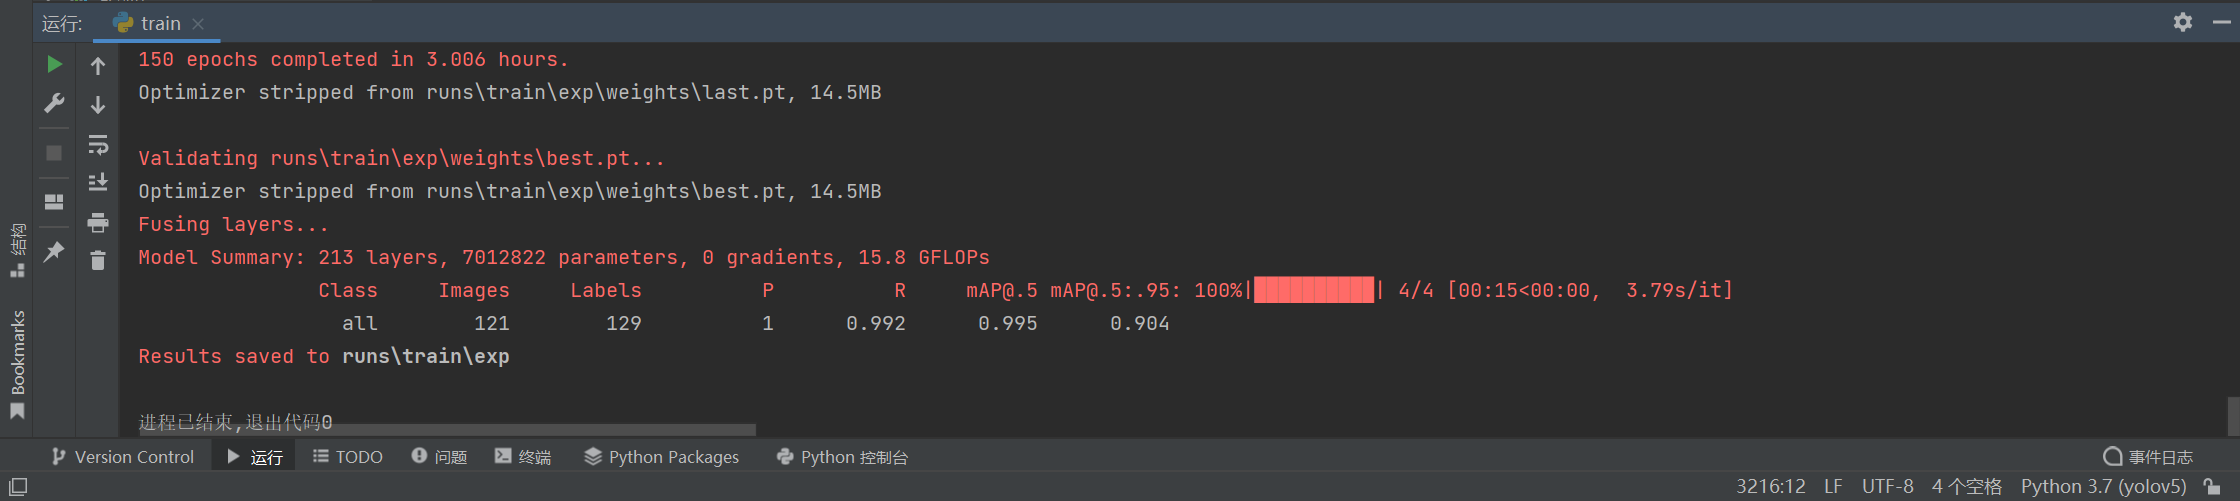
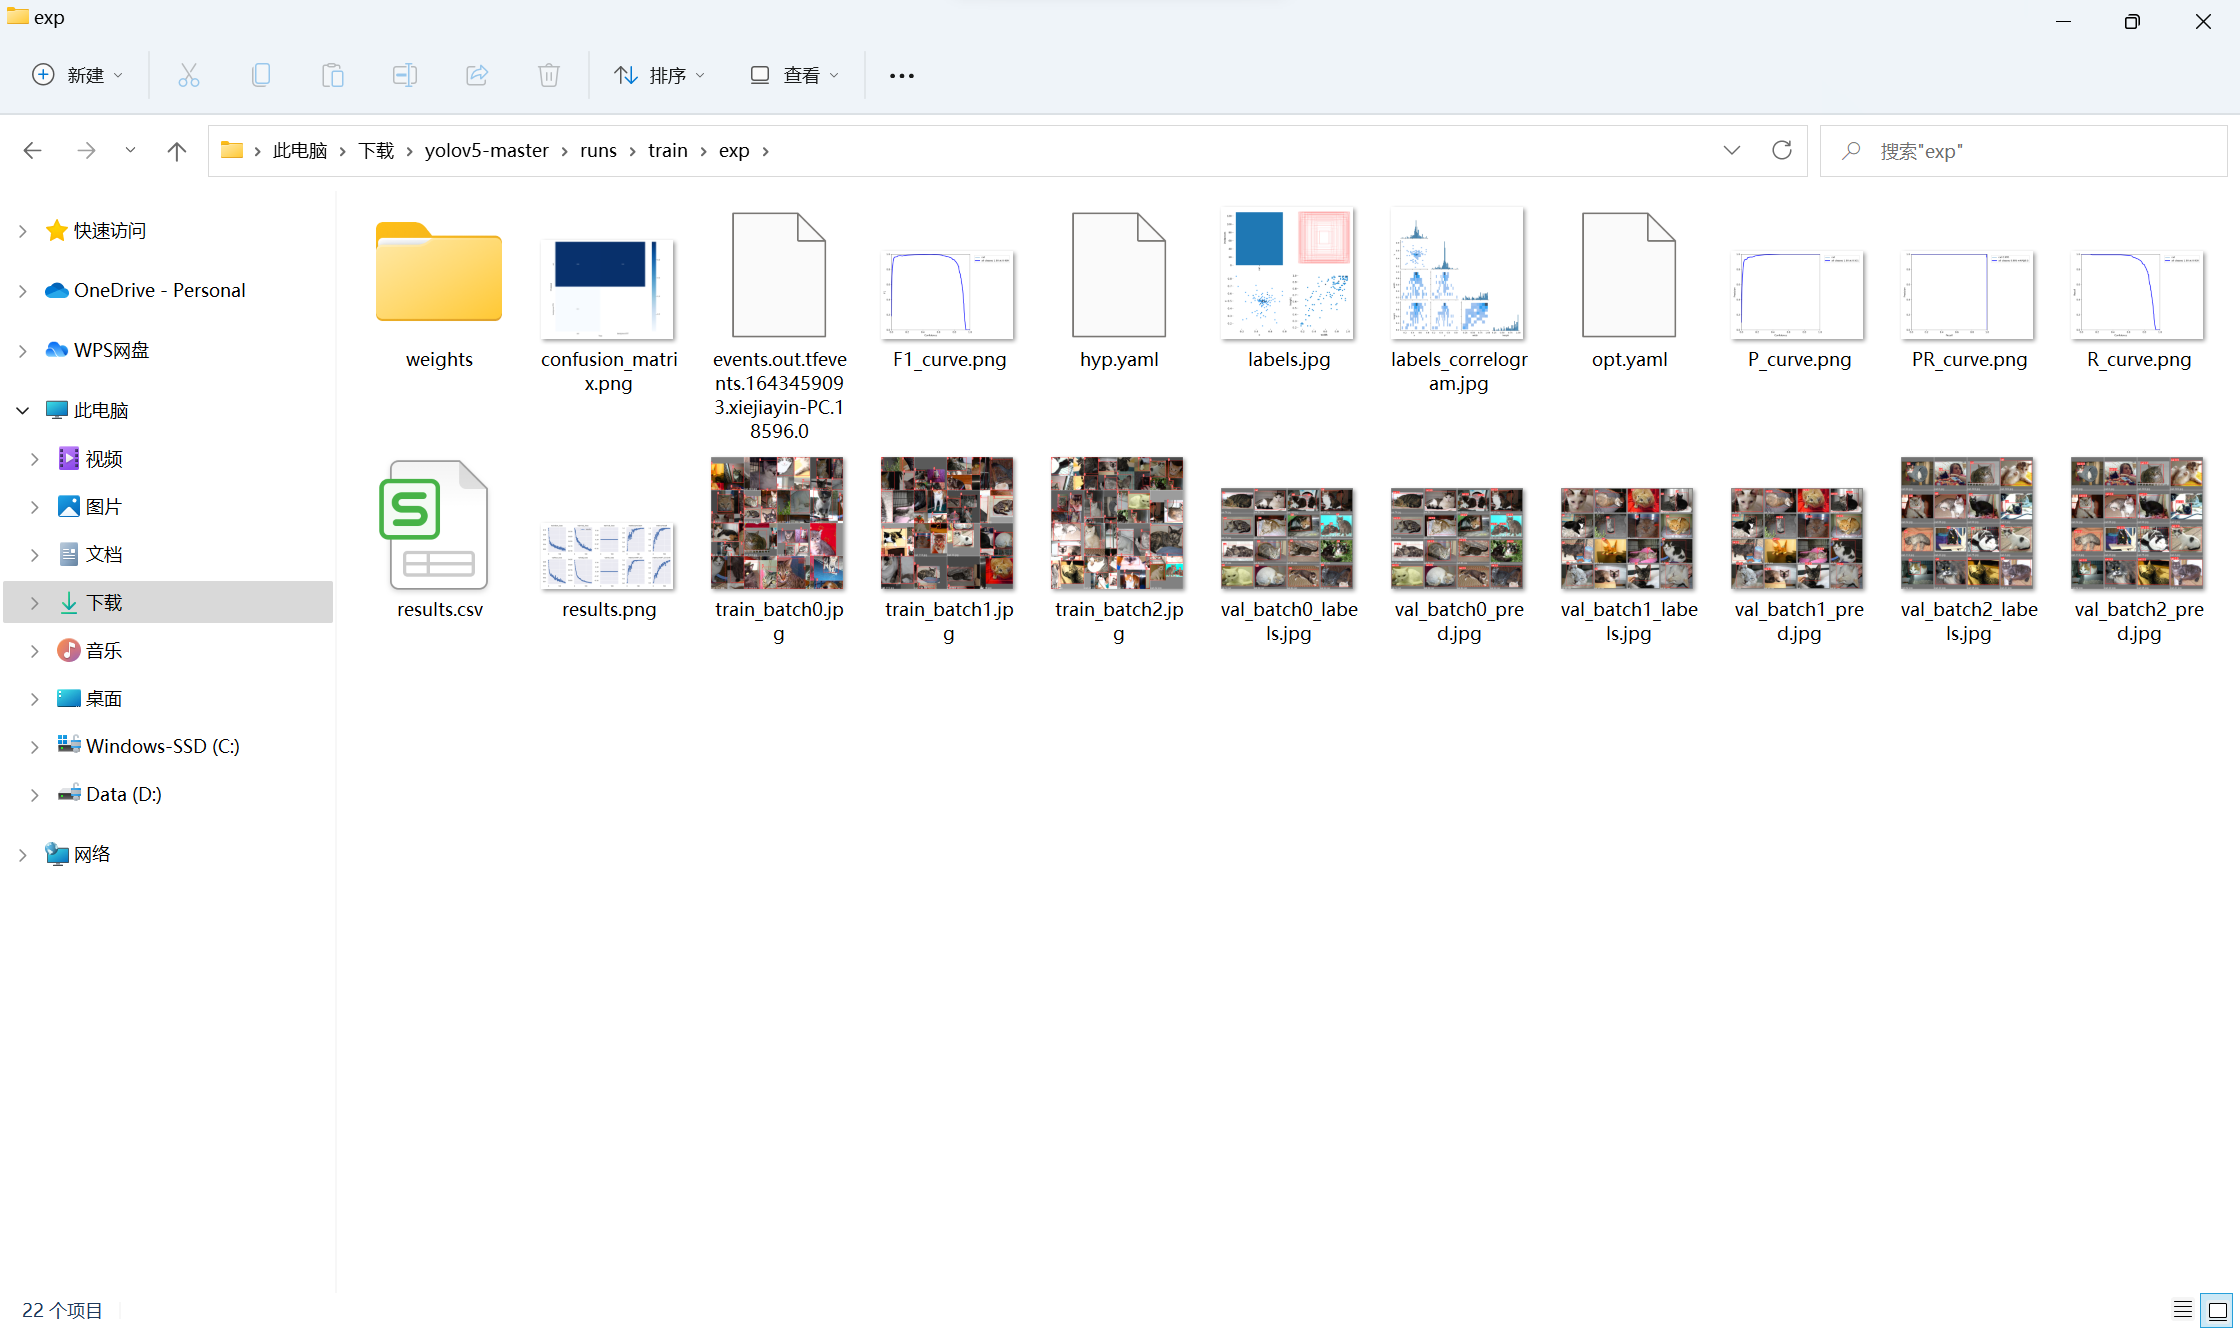
You can view training related information in the yolov5 master \ runs \ train \ exp folder
Best in the weights folder PT file is a trained model, which will be used when testing
8, Example test
It took three hours to train the model. Now let's see its effect!
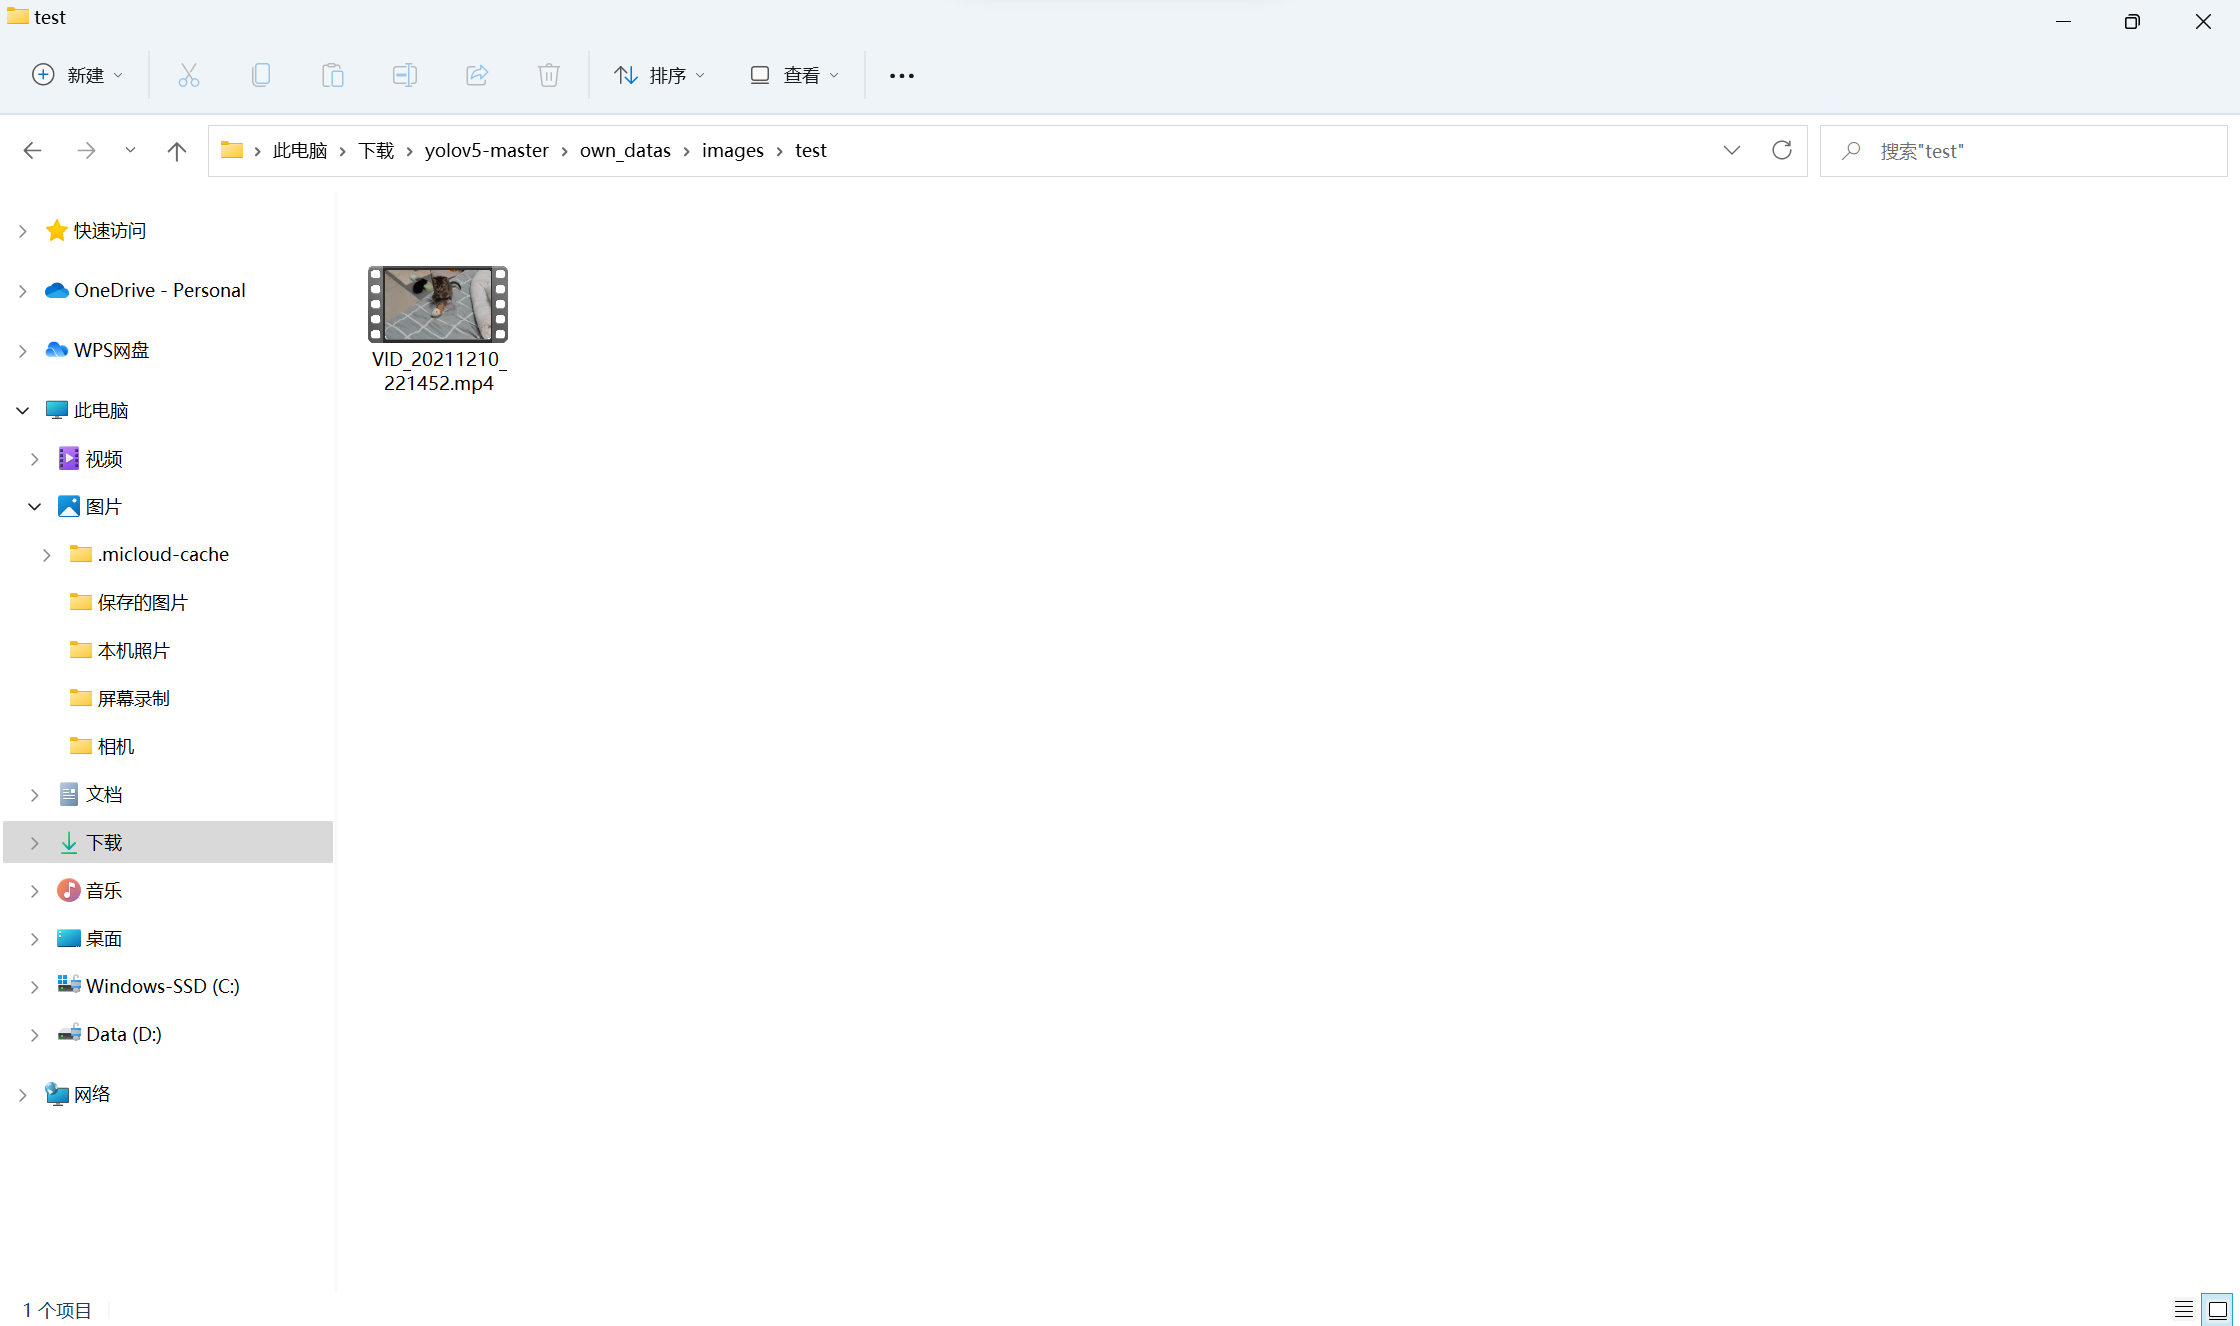
I use my own cat videos for testing. You can use your own photos as well (in fact, you can directly use more than 20000 photos from the previously downloaded data set)
Put the test file in yolov5 master \ own_ Data \ images \ test folder
Open detect Py file
Modify the default of the following two lines:
    parser.add_argument('--weights', nargs='+', type=str, default='runs/train/exp/weights/best.pt', help='model path(s)')
    parser.add_argument('--source', type=str, default='own_datas/images/test', help='file/dir/URL/glob, 0 for webcam')
The first default is the relative path of the trained model file mentioned earlier
The second default is the relative path of the folder where the test files are stored
If you follow me as like as two peas, you can just press me.
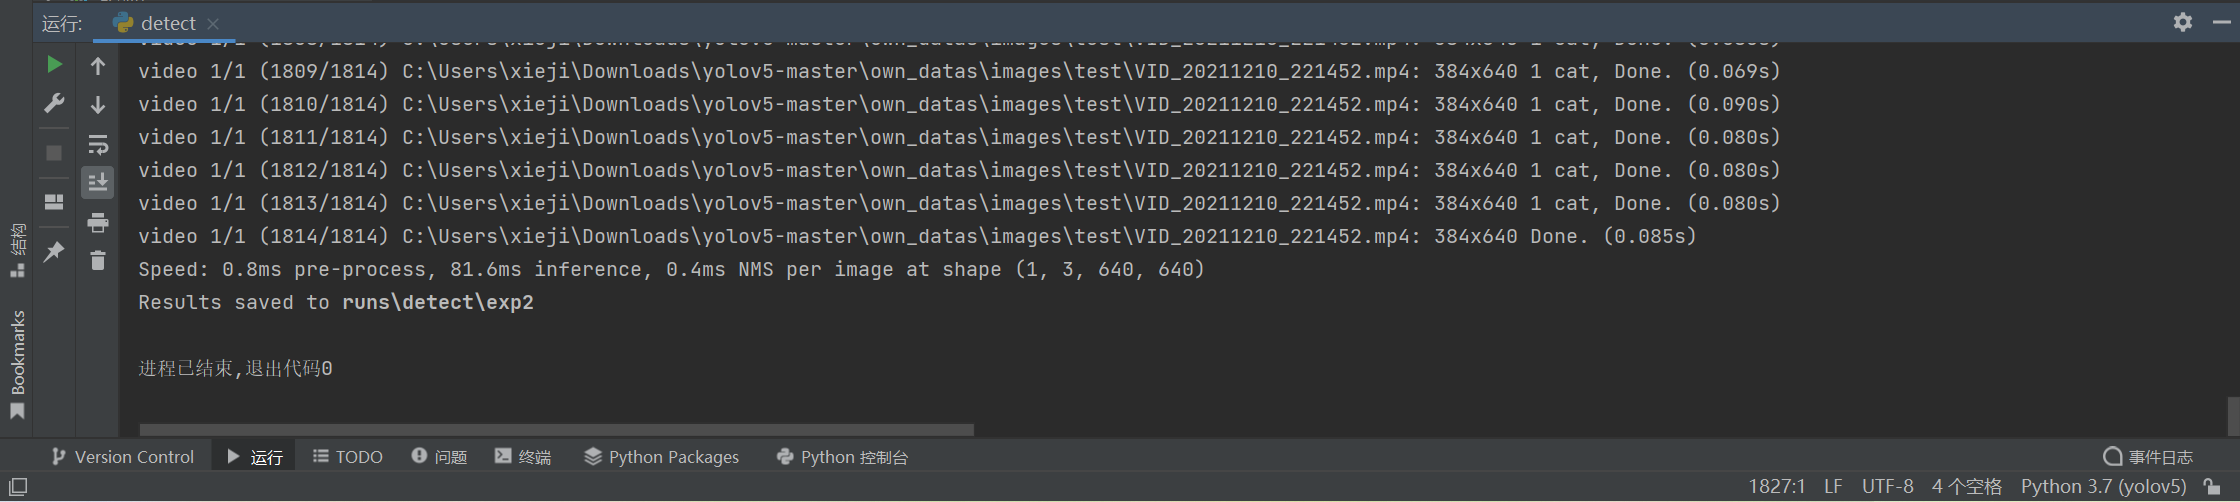
Run detect Py, wait a minute
After that, you can view the results in the yolov5 master \ runs \ detect \ exp2 folder
I can't upload the video directly. I'll take some pictures from the video and show you:
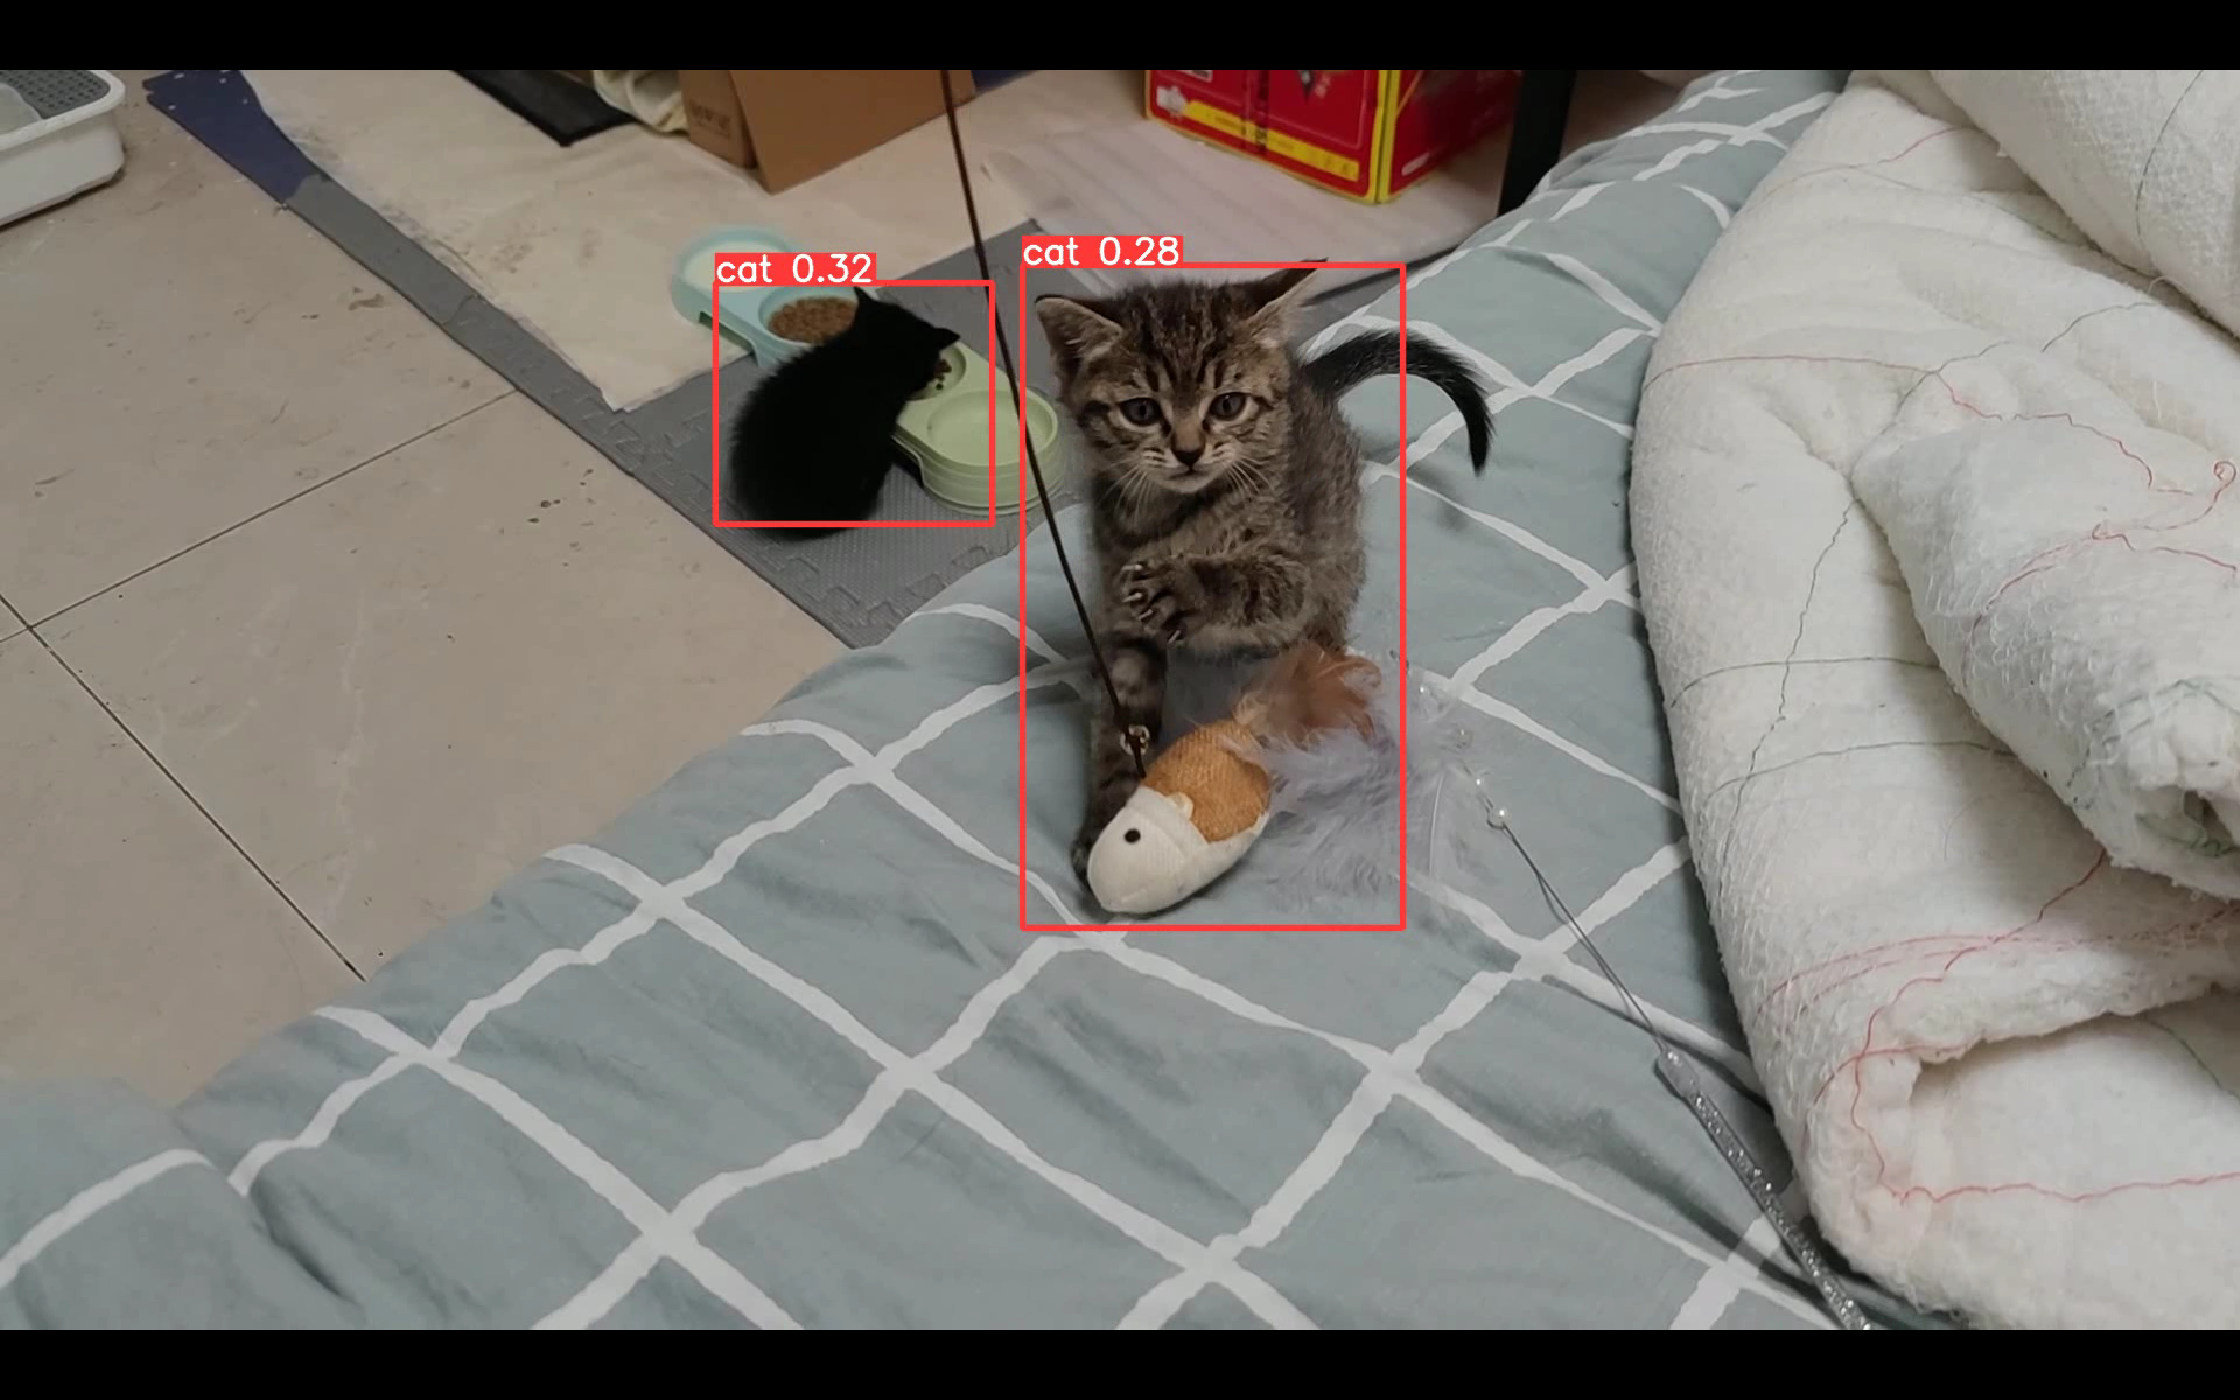
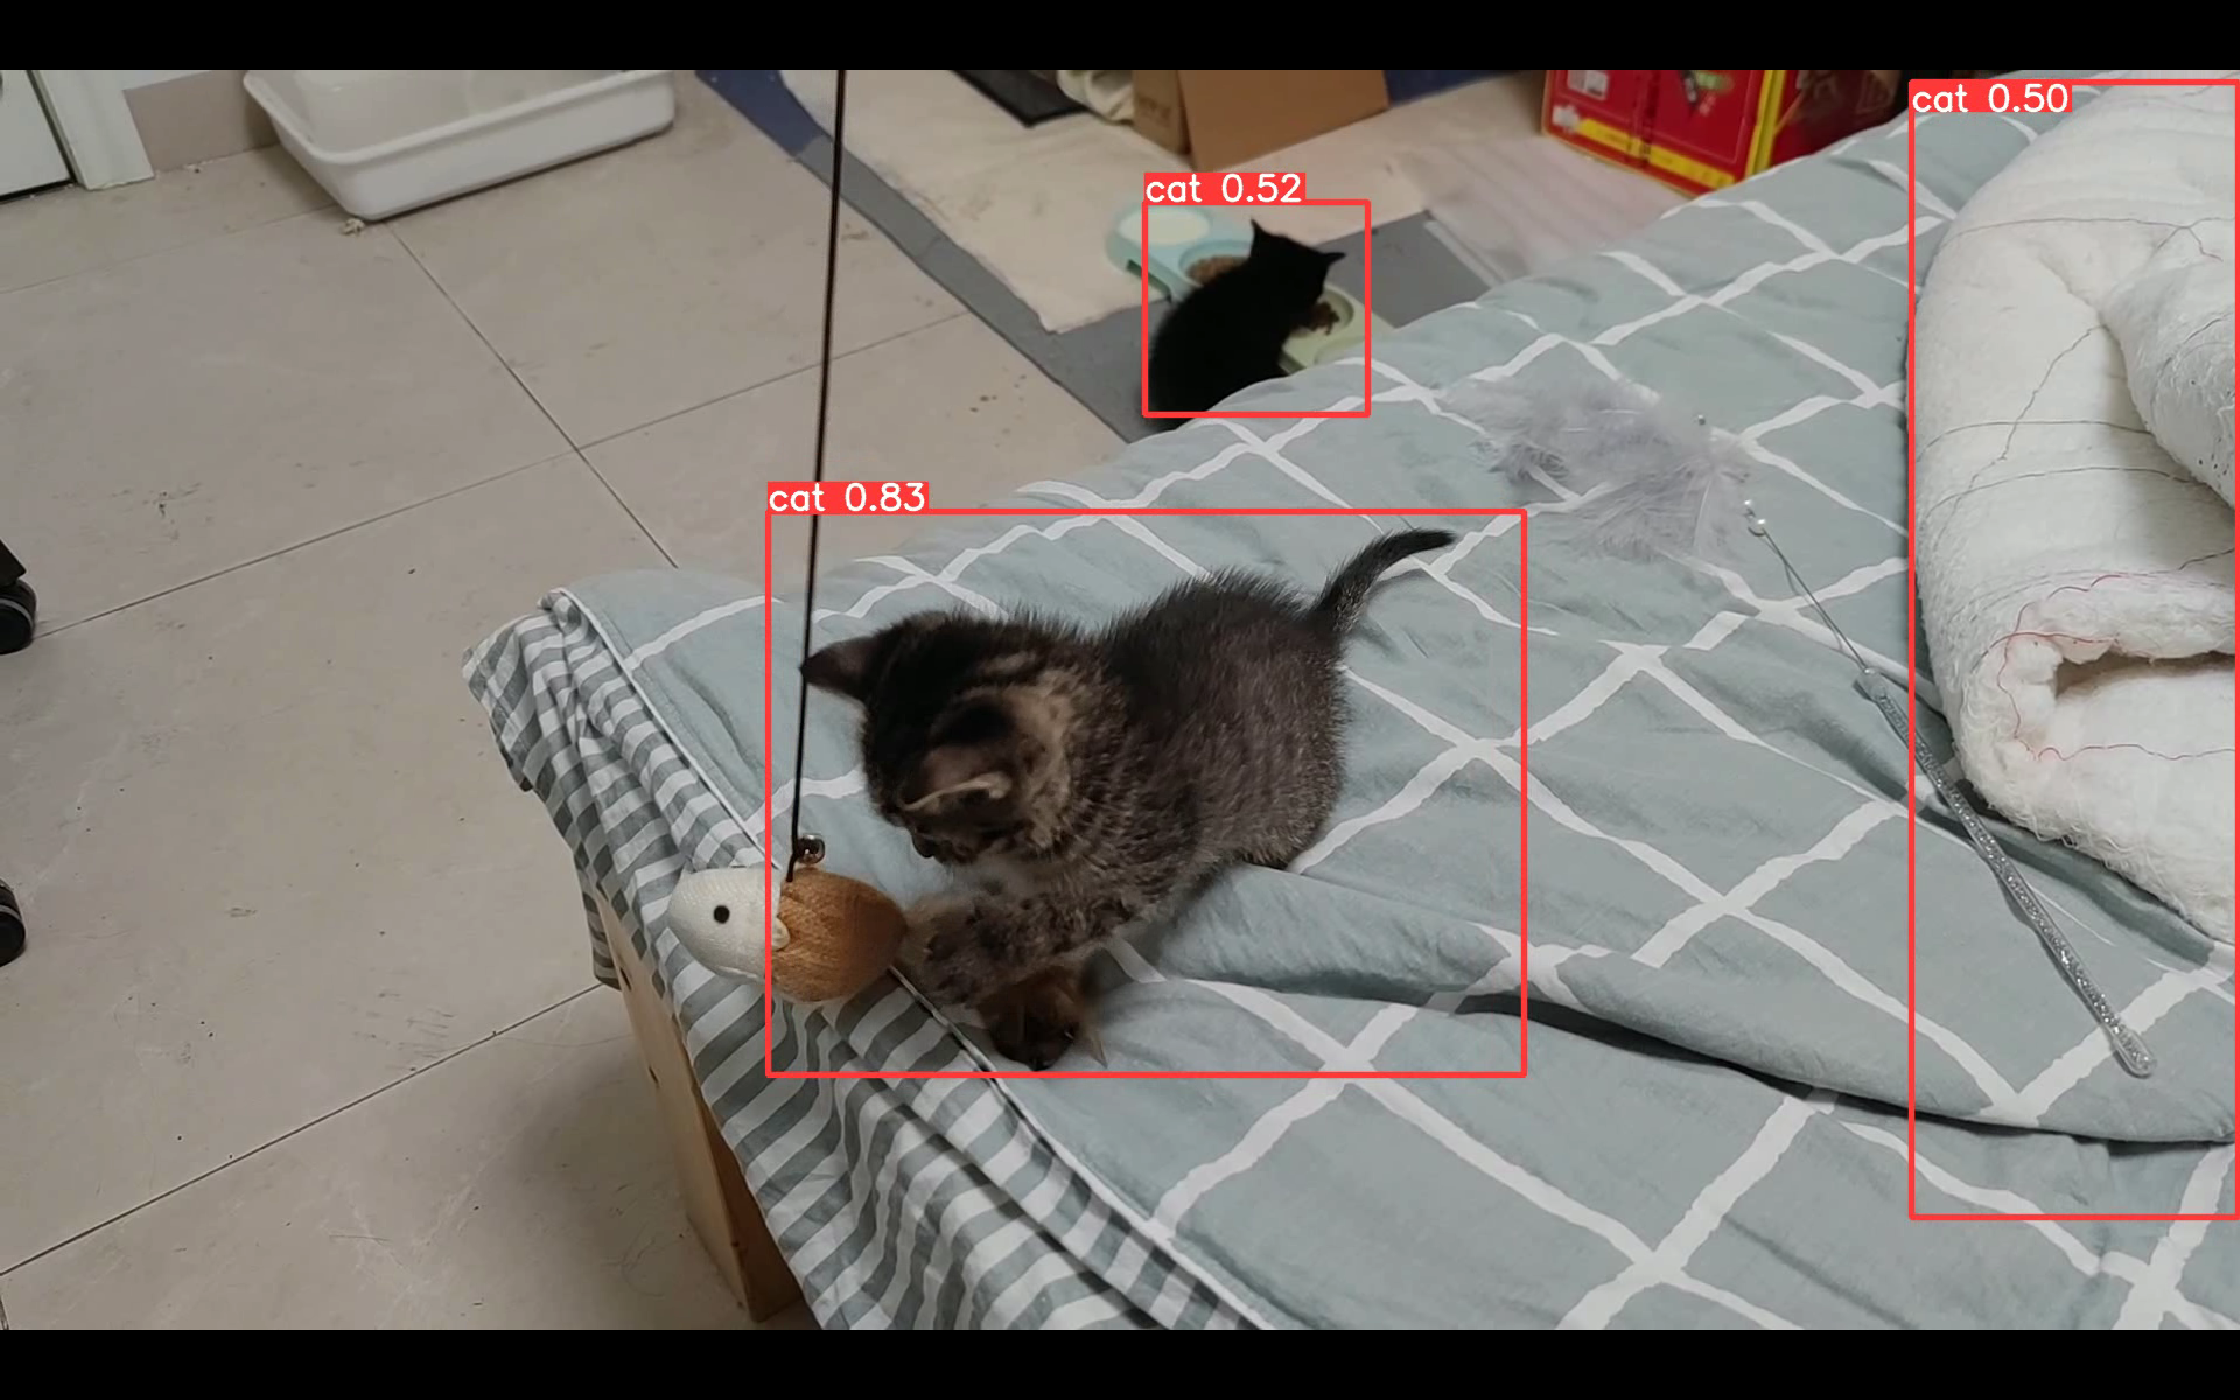

The effect was OK and not satisfactory. After all, only more than 100 pictures were trained and the yolov5s network was used
9, Concluding remarks
I am also a novice. I have just come into contact with in-depth learning. I have done this project for several days and made up a lot of knowledge
After writing the draft, I deleted what I had done before, and then ran it again according to the steps I wrote. It was very smooth and there was no problem!
You can follow my process and not finish it in a day (if there is a better unique display, it will be faster to run with GPU)
If you encounter problems, search CSDN, and then combine your own wisdom. I believe you can solve them!
Mainly refer to this blog, thank you!