
I. Overview
In actual business development, we may encounter many common module management problems. Maybe we don't want to re build corresponding modules every time we pack them, which will liberate our development efficiency to a certain extent. Similarly, because of the existence of walls, sometimes packaging is always a long-term waiting process.
At this time, if only there were a free Maven warehouse! (Of course, Github also welcomes your wheels)
This article introduces and passes through. Artifactory Build Maven Warehouse quickly and foolishly.
After a few short steps, there is a running Maven library. And configure your own jcenter mirror server, so you don't have to wait every time to pack up and turn over the wall.~
Configuration and use of Maven warehouse
2.1 Java environment initialization
Before the installation starts, make sure that Java 8 is installed on the local computer or server, otherwise Artifactory will not run.
C:\Users\Administrator>java -vsersion
java version "1.8.0_111"
Java(TM) SE Runtime Environment (build 1.8.0_111-b14)
Java HotSpot(TM) 64-Bit Server VM (build 25.111-b14, mixed mode)
If the output version is less than 1.8. *, you need to download and install the latest Java SDK first.( Download link ).
2.2 Installation Configuration Artifactory
2.2.1 Installation
Download the latest version of Artifactory from the official website( Download link After decompressing the file, run the instruction set corresponding to the platform.
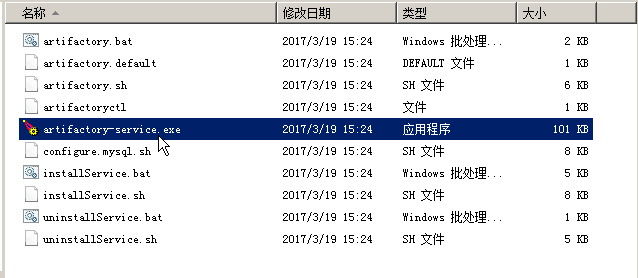
Since the server operating system is Windows, I just need to double-click to run artifactory.bat.
Access http://localhost:8081/artifactory/, log in with the default administrator account password (user name: admin, password: password), and enter the management interface to experience Artifactory.
Potential pits:
When running artifactory.bat, make sure that the system has JAVA_HOME environment variable configured, otherwise the following error will be reported:

2.2.2 Project Configuration
Add Gradle tasks to the project and upload files to the maven repository already built in Section 2.2.1.
2.2.2.1 Add References
In build.gradle in the project root directory, add a reference to the Artifactory Gradle plug-in:
buildscript {
    dependencies {
        ...

        // NOTE: Do not place your application dependencies here; they belong
        // in the individual module build.gradle files
        classpath "org.jfrog.buildinfo:build-info-extractor-gradle:4.4.13"
    }
}
2.2.2.2 Reference Plug-ins
Then add the plug-in needed to upload to the module of maven warehouse:
apply plugin: 'maven-publish'
apply plugin: 'com.jfrog.artifactory'
The uploaded library is determined by the following three parameters:
- groupId: The package name of the library
- artifactId: The name of the library
- version: version number, used to distinguish different versions
In this test, the configuration is as follows:
groupId = "com.burjal.testaar"
artifactId = "test"
version = "0.0.1"
Note: argifactId needs to match the file name of the assembleRelease task output.
2.2.2.3 Add the maven-publish task
Publish the ***-release.aar file generated by the assembleRelease task to the Artifactory.
publishing {
    publications {
        aar(MavenPublication) {
            groupId = "com.burjal.testaar"
            artifactId = "test"
            version = "0.0.1"

            // Tell maven to prepare the generated "* .aar" file for publishing
            artifact("$buildDir/outputs/aar/${project.getName()}-release.aar")
        }
    }
}
2.2.2.4 Add Publishing Tasks
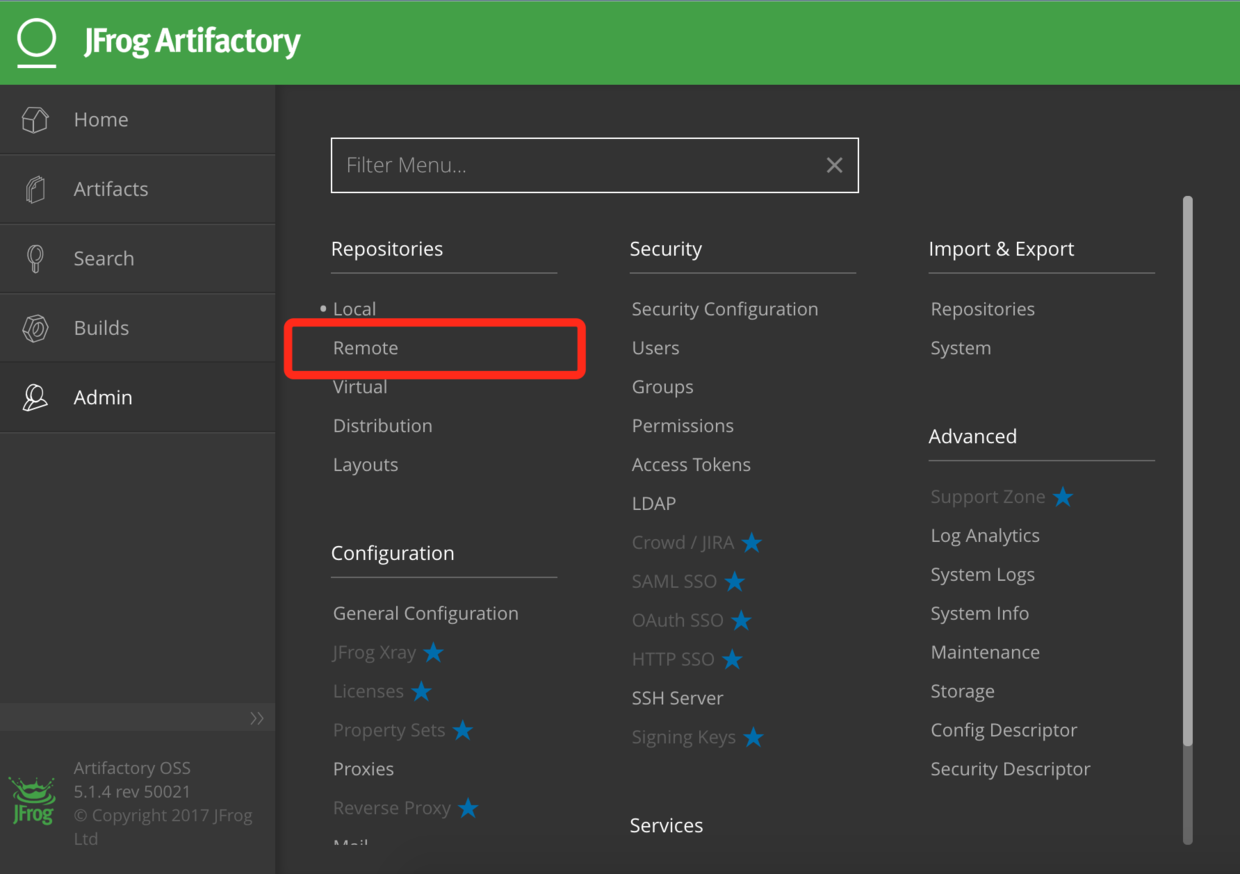
Configure the com.jfrog.artifactory plug-in to specify publication to the corresponding library. The examples provided in this article are placed in the libs-release-local library by default.
artifactory {
    contextUrl = 'http://zixigou.com:8081/artifactory'
    publish {
        repository {
            // The Artifactory repository key to publish to
            repoKey = 'libs-release-local'

            def loginInfo = getArtifactoryLoginInfo() //For security reasons, read user login information from configuration files
            username = loginInfo[0]
            password = loginInfo[1]
        }

        defaults {
            // Tell the Artifactory Plugin which artifacts should be published to Artifactory.
            publications('aar')
            publishArtifacts = true

            // Properties to be attached to the published artifacts.
            properties = ['qa.level': 'basic', 'dev.team': 'core']
            // Publish generated POM files to Artifactory (true by default)
            publishPom = true
        }
    }
}
2.2.2.5
As follows, you can easily publish it to Artifactory through the Gradle task:
gradle assembleRelease generatePomFileForAarPublication artifactoryPublish
2.2.3 Project References to Modules Published to Artifactory
When you need to use the artifact, add the private maven warehouse information to the warehouse list in the build.gradle file of the project root directory.
buildscript {
    repositories {

        maven {
            url "http://zixigou.com:8081/artifactory/libs-release-local"
        }

        jcenter()
    }
    dependencies {
        ...
    }
}

allprojects {
    repositories {
        maven {
            url "http://zixigou.com:8081/artifactory/libs-release-local"
        }

        jcenter()
    }
}
Then add artifact as a dependency to the build.gradle file that is used to the module in the project.
compile "com.burjal.testaar:test:$rootProject.test_aar"
3. Using jcenter cache
3.1 Configuration
Artifact caches the jecnter library into a private maven repository by default.
Therefore, we can configure the jcenter repository information list in the project, and all the packages needed for subsequent compilation are read directly from the private maven repository, so as to speed up the compilation of the project.
We refer to the example by adding okhttp( Github).
In the build.gradle file of the project root directory, add the private maven warehouse information to the warehouse list:
buildscript {
    repositories {
        maven {
            url "http://zixigou.com:8081/artifactory/jcenter"//configure private service jcenter warehouse information
        }

        maven {
            url "http://zixigou.com:8081/artifactory/libs-release-local"
        }

        jcenter()
    }
    dependencies {
       ...
    }
}

allprojects {
    repositories {
        maven {
            url "http://zixigou.com:8081/artifactory/jcenter"//configure private service jcenter warehouse information
        }

        maven {
            url "http://zixigou.com:8081/artifactory/libs-release-local"
        }

        jcenter()
    }
}
In this way, in the subsequent compilation process, we will first read the reference file from the private service maven repository. When the file does not exist in the private service, the first reading will be cached in the server. This speeds up compilation of network requests for reference packages.
3.2 Example
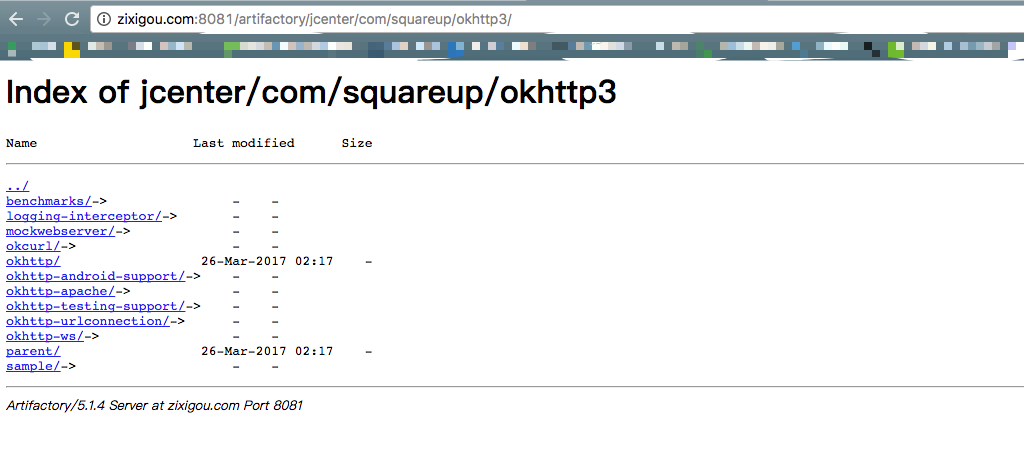
We refer to okhttp in our project( Github ) As an example.
Add an okhttp reference to the module:
compile "com.squareup.okhttp3:okhttp:$rootProject.okhttp"
After the first compilation, we can see the file directory in the maven repository as follows:
3.3 Note
Of course, we can also set up more custom cache directories.
Support settings include proxy, network connection timeout, etc. More functions are waiting to be discovered.
IV. Explanation
This article has uploaded the sample project MavenRepository Go to Github for reference.
This is the end of the analysis of the self-built maven warehouse. Please correct the mistakes.~
Attachment: