preface
The project uses springboot as the back-end and vue as the front-end development. Briefly describe the deployment mode of the project. The operating system is CentOS7
1, Installing Nginx
Nginx is a widely used and very popular server, which can be used as load balancing, reverse proxy and so on
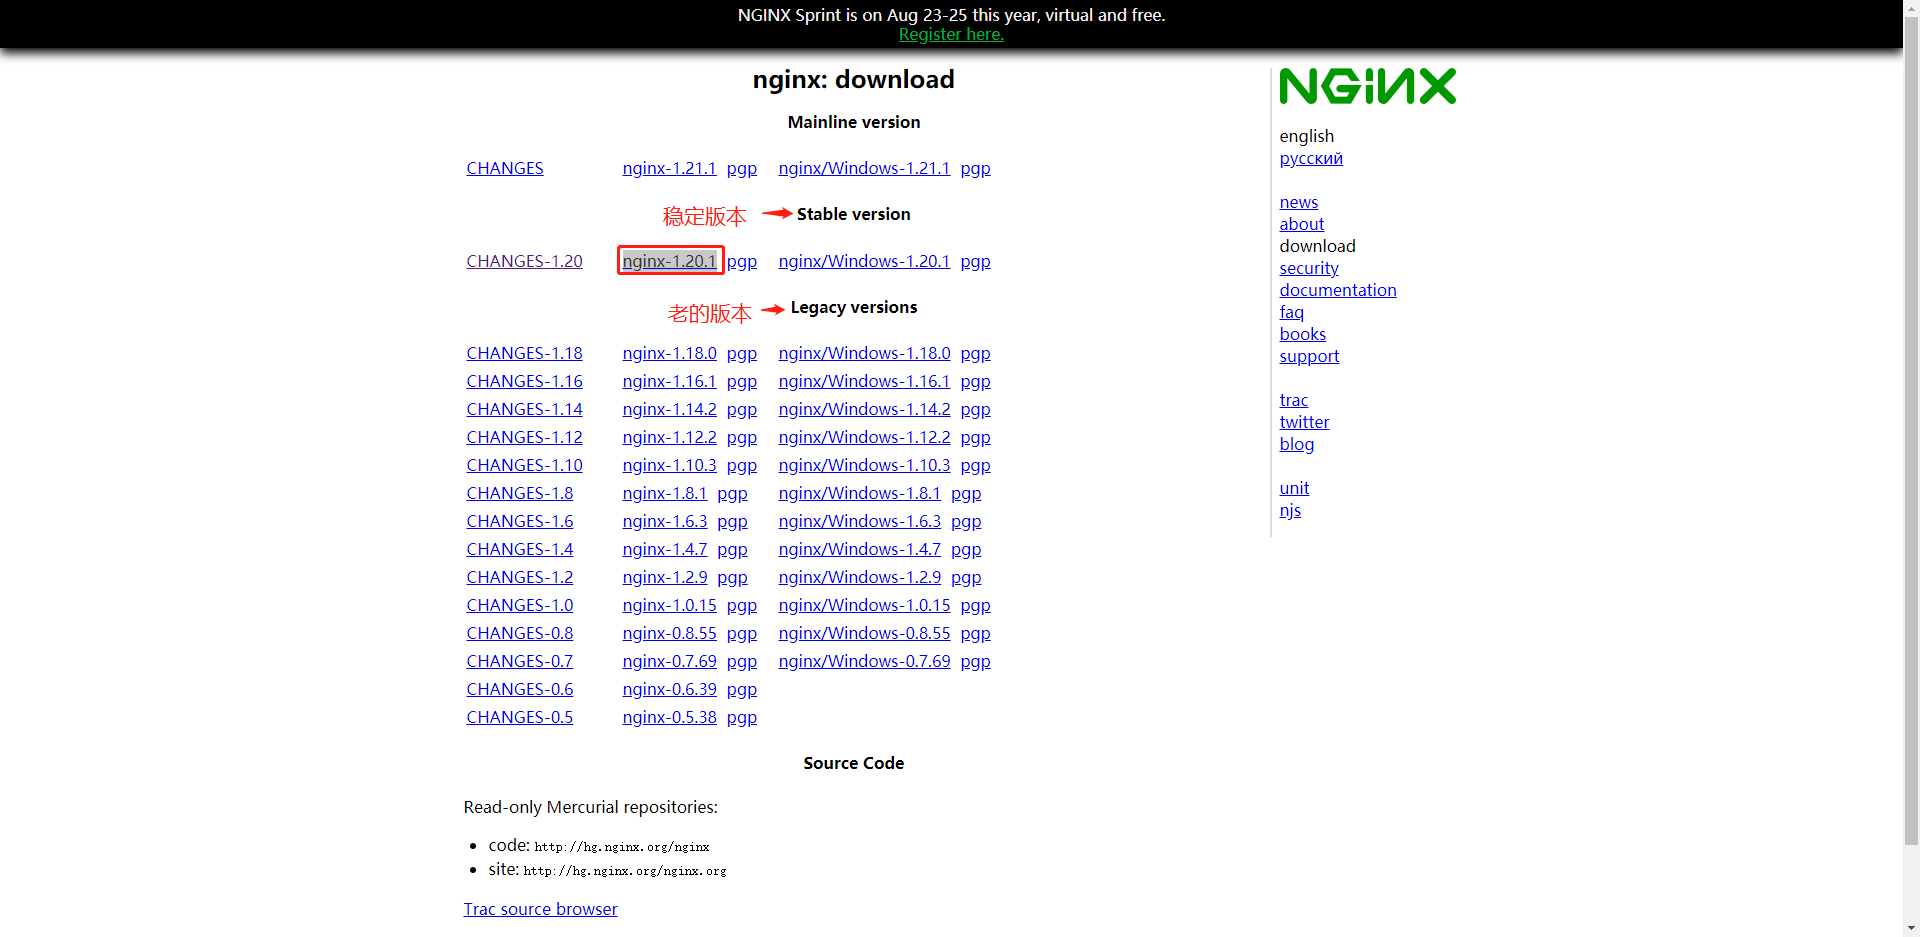
1. Download source code
Download the stable version through the official website of NGINX NGINX official website
2. Install Nginx compilation dependent Libraries
yum -y install gcc gcc-c++ make libtool zlib zlib-devel openssl openssl-devel pcre pcre-devel
If Yum is not installed or there is no corresponding package for yum, you can manually download the above package and compile and install it yourself
3. Compile and install
- Create the nginx directory in the / usr/local / directory, and move the downloaded source file to / usr/local/nginx
mkdir /usr/local/nginx
- Decompress configuration, compile and install
tar /usr/local/nginx/nginx-1.20.1.tar.gz
cd /usr/local/nginx/nginx-1.20.1
./config --prefix=/usr/local/webserver/nginx --with-http_stub_status_module --with-http_ssl_module --with-pcre
#wait a moment
make
#Wait a minute
make install
#complete
4. Supplement
Other modules of nginx can be added later as needed
- For example, append nginx_upstream_check_module-0.3.0 check backend server status module
nginx -V get the configuration information of installing nginx

- Find the source file (if it is lost, you can download it again online according to the above information) and enter the source directory for reconfiguration
./config --prefix=/usr/local/webserver/nginx --with-http_stub_status_module --with-http_ssl_module --with-pcre --add-module = nginx_upstream_check_module-0.3.0 - Compile again (remember not to make install)
make
The compiled nginx is in the objs folder of the current directory. Replace the previous nginx file and restart to complete the addition of the module
2, Configure WebApi service
1. Start the springboot project
- Package the developed webapi project jar
- Then move to the current server or another server
- Start webapi service
I won't explain more here. Just open the port or close the firewall to ensure that the service can be accessed
2. Configure nginx conf
- Back up the original nginx conf
cd /usr/local/nginx/conf
cp nginx.conf nginx.conf.bak
vim nginx.conf
- content
#user  nobody;
worker_processes  1; #The number of work processes is consistent with the number of CPU cores of the server

#error_log  logs/error.log;
#error_log  logs/error.log  notice;
#error_log  logs/error.log  info;

#pid        logs/nginx.pid;


events {
    worker_connections  1024; #Maximum number of connections per process
    #use epoll; #The event driven model of Nginx supports select, poll, epoll, rtsig, kqueue, / dev/poll, eventport, etc—— How Nginx handles request events using non blocking communication
    #client_header_buffer_size 4k; #The buffer size of the client request header can be set according to your system page size. Generally, the size of a request header will not exceed 1k. However, since the general system page size should be greater than 1k, it is set as the system page size here. To view system pages, you can use the getconf PAGESIZE command
    #open_file_cache max=2000 inactive=60s; #Specifies the cache for opening files. It is not enabled by default. max specifies the maximum number of caches. It is recommended to be consistent with the number of open files. inactive refers to how long the file has not been requested before deleting the cache. The maximum number of open files is the worker we configure in main_ rlimit_ Nofile parameter
    #open_file_cache_valid 60s; #This refers to how often the cached valid information is checked. If a file is not used once in the inactive time, it will be removed
    #open_file_cache_min_uses 1; #open_ file_ The minimum number of times a file is used in the inactive parameter time in the cache instruction. If this number is exceeded, the file descriptor is always opened in the cache. If a file is not used once in the inactive time, it will be removed.
}


http {
    include       mime.types; #Define the network resource media types recognized by nginx (such as text, html, js, css, streaming media, cat conf/mime.types)
    default_type  application/octet-stream; #Define the default type. If no line change is defined, the default is text/plain

    #log_format  main  '$remote_addr - $remote_user [$time_local] "$request" '
    #                  '$status $body_bytes_sent "$http_referer" '
    #                  '"$http_user_agent" "$http_x_forwarded_for"';

    #access_log  logs/access.log  main;

    sendfile        on; #Whether to call sendfile function to transfer files. The default is off. Using sendfile function to transfer files can reduce the switching between user mode and kernel mode, so as to improve server performance. For common applications, set it to on. If it is used for downloading and other applications, it can be set to off to balance the processing speed of disk and network I/O and reduce the load of the system.
    #sendfile_max_chunk 128k; #This parameter limits the maximum value of data transmitted by Nginx worker process every time it calls sendfile() function. The default value is 0. If it is set to 0, there is no limit. Used in conjunction with the sendfile option above.
    #tcp_nopush     on; #When TCP_ When nopush is set to on, TCP is called_ Cork method for data transmission. Using this method will produce such an effect: when the application generates data, the kernel will not package the package immediately, but when the amount of data accumulates to a certain amount, it will package and then transmit. This will help solve the problem of network congestion. The default value is on. For example: couriers receive and send express, and packages will not be delivered until a certain amount is accumulated, so as to save transportation costs.
    #keepalive_timeout  0; #This parameter has two values. The first value sets the maximum time that the nginx server remains connected to the client after the session ends. The unit is seconds. The default is 75s. The second value can be omitted. It is set for the browser of the client. You can see through curl -I that there is an item keep alive: timeout = 60 in the header information. If it is not set, there is no such item. After the second value is set, the browser will decide when to actively close the connection according to this value, and the nginx server will not worry. However, some browsers do not accept this parameter.
    keepalive_timeout  65;
	#send_timeout #This timeout is the timeout for sending a response, that is, the Nginx server sent a packet to the client, but the client has not received the packet.
	#client_max_body_size 10m; #When the browser sends a request with a large HTTP package, its header will have a content length field, client_max_body_size is used to limit the size of the value indicated by content length. This restricted packet configuration can tell the user that the request is too large to be accepted without waiting for Nginx to receive all HTTP packets. A 413 status code is returned. For example, when a user tries to upload a 1GB file, Nginx finds that the content length exceeds the client after receiving the header_ max_ body_ The value defined by size directly sends a 413(Request Entity Too Large) response to the client. If a connection exceeds send_timeout, then Nginx will close the connection.

    #gzip  on; #Whether to enable gzip compression.
    #gzip_min_length 1k; #Set the minimum number of bytes allowed to compress the page. The page bytes are obtained from the content length of the header header. The default value is 20. It is recommended to set the number of bytes greater than 1k. If it is less than 1k, the pressure may increase.
    #gzip_buffers 4 16k; #Set the system to obtain several units of buffer to store gzip compression result data stream. 4 16k means that four 16k buffers are allocated.
    #gzip_http_version 1.1; #It is used to identify the version of HTTP protocol. Early browsers do not support Gzip compression, and users will see garbled code. Therefore, this option is added to support the previous version. If you use Nginx reverse proxy and expect to enable Gzip compression, please set it to 1.1 because the end communication is http/1.1.
    #gzip_comp_level 6; #gzip compression ratio: 1 compression ratio is the smallest, the processing speed is the fastest, and 9 compression ratio is the largest but the processing speed is the slowest (fast transmission but CPU consumption)
    #gzip_types mime-type ... ; #Match the MIME type for compression, and the "text / HTML" type will always be compressed whether specified or not. In conf / mime Check the corresponding type in conf. Example: gzip_types text/plain application/x-javascript text/css text/html application/xml;
    #gzip_proxied any; #When Nginx is enabled as a reverse proxy, it determines whether the results returned by the back-end server are compressed when it is turned on or off. The matching premise is that the back-end server must return the header containing "Via". The following values are available: off - turn off the compression of all agent result data; expired - enable compression if the header contains "Expires" header information; No cache - enable compression if the header contains "cache control: no cache" header information; No store - enable compression if the header contains "cache control: no store" header information; Private - enable compression, if the header contains "cache control: private" header information; no_last_modified - enable compression, if the header does not contain "last modified" header information; no_etag - enable compression if the header does not contain "ETag" header information; auth - enable compression if the header contains "Authorization" header information; any - enable compression unconditionally
    #gzip_vary on; It is related to the http header. A variable: accept encoding will be added to the response header to allow the front-end cache server to cache gzip compressed pages. For example, Squid is used to cache Nginx compressed data.

    server {
        listen       80; #The listening port is 80. You can customize other ports or add an IP address, such as listen 127.0 0.1:8080;
        server_name  localhost; #Define the website domain name. You can write multiple domain names separated by spaces

        #charset koi8-r; #Define the character set of the website, which is generally not set, but set in the web page code.

        #access_log  logs/host.access.log  main; #Define access logs. You can set their own access logs for each server (i.e. each site).

        #location / {
        #    root   html; #Define the website root directory. The directory can be a relative path or an absolute path.
        #    index  index.html index.htm; #Define the default page for the site.
        #}

        #error_page  404              /404.html; #Define 404 pages

        # redirect server error pages to the static page /50x.html
        #
        error_page   500 502 503 504  /50x.html; #When the status codes are 500, 502, 503 and 504, access 50x html
        location = /50x.html {
            root   html; #Definition 50x HTML path
        }

        location ^~/api/{
            proxy_pass http://192.168. 1.64:8888;  # The results of the dynamic request matching ^ ~ / api / are submitted to http://192.168.1.64:8888 ; Service processing
           # proxy_set_header X-real-ip $remote_addr;
           # proxy_set_header Host $http_host;
           # proxy_set_header X-NginX-Proxy true;
           # proxy_cookie_path /two/ /;
        }

        # proxy the PHP scripts to Apache listening on 127.0.0.1:80
        #
        #location ~ \.php$ {
        #    proxy_pass   http://127.0.0.1;
        #}

        # pass the PHP scripts to FastCGI server listening on 127.0.0.1:9000
        #
        #location ~ \.php$ {
        #    root           html;
        #    fastcgi_pass   127.0.0.1:9000;
        #    fastcgi_index  index.php;
        #    fastcgi_param  SCRIPT_FILENAME  /scripts$fastcgi_script_name;
        #    include        fastcgi_params;
        #}

        # deny access to .htaccess files, if Apache's document root
        # concurs with nginx's one
        #
        #location ~ /\.ht {
        #    deny  all;
        #}
    }
}
1. Global block: configure instructions that affect nginx global. Generally, there are user groups running nginx server, pid storage path of nginx process, log storage path, introduction of configuration file, and generation of worker is allowed
Number of process es, etc.
2. events block: the configuration affects the nginx server or the network connection with the user. There is the maximum number of connections per process, which event driven model is selected to process connection requests, whether multiple network connections are allowed to be accepted at the same time, and starting multiple network connection serialization.
3. http block: it can nest multiple server s, configure most functions such as proxy, cache and log definition, and configure third-party modules. Such as file import, MIME type definition, log customization, whether to use sendfile to transfer files, connection timeout, number of single connection requests, etc.
4. server block: configure the relevant parameters of the virtual host. There can be multiple servers in one http.
5. location block: configure the routing of requests and the processing of various pages.
3. Start test
Configure nginx After conf, enter the sbin directory and start nginx
cd /usr/local/nginx/sbin
#start nginx
./nginx
If you don't modify the HTML file, the default home page address of the system is index html
http://192.168.1.67/ Default port 80

Access the api provided by the springboot project to get the returned data
http://192.168.1.67/api/sys/getArgosStates
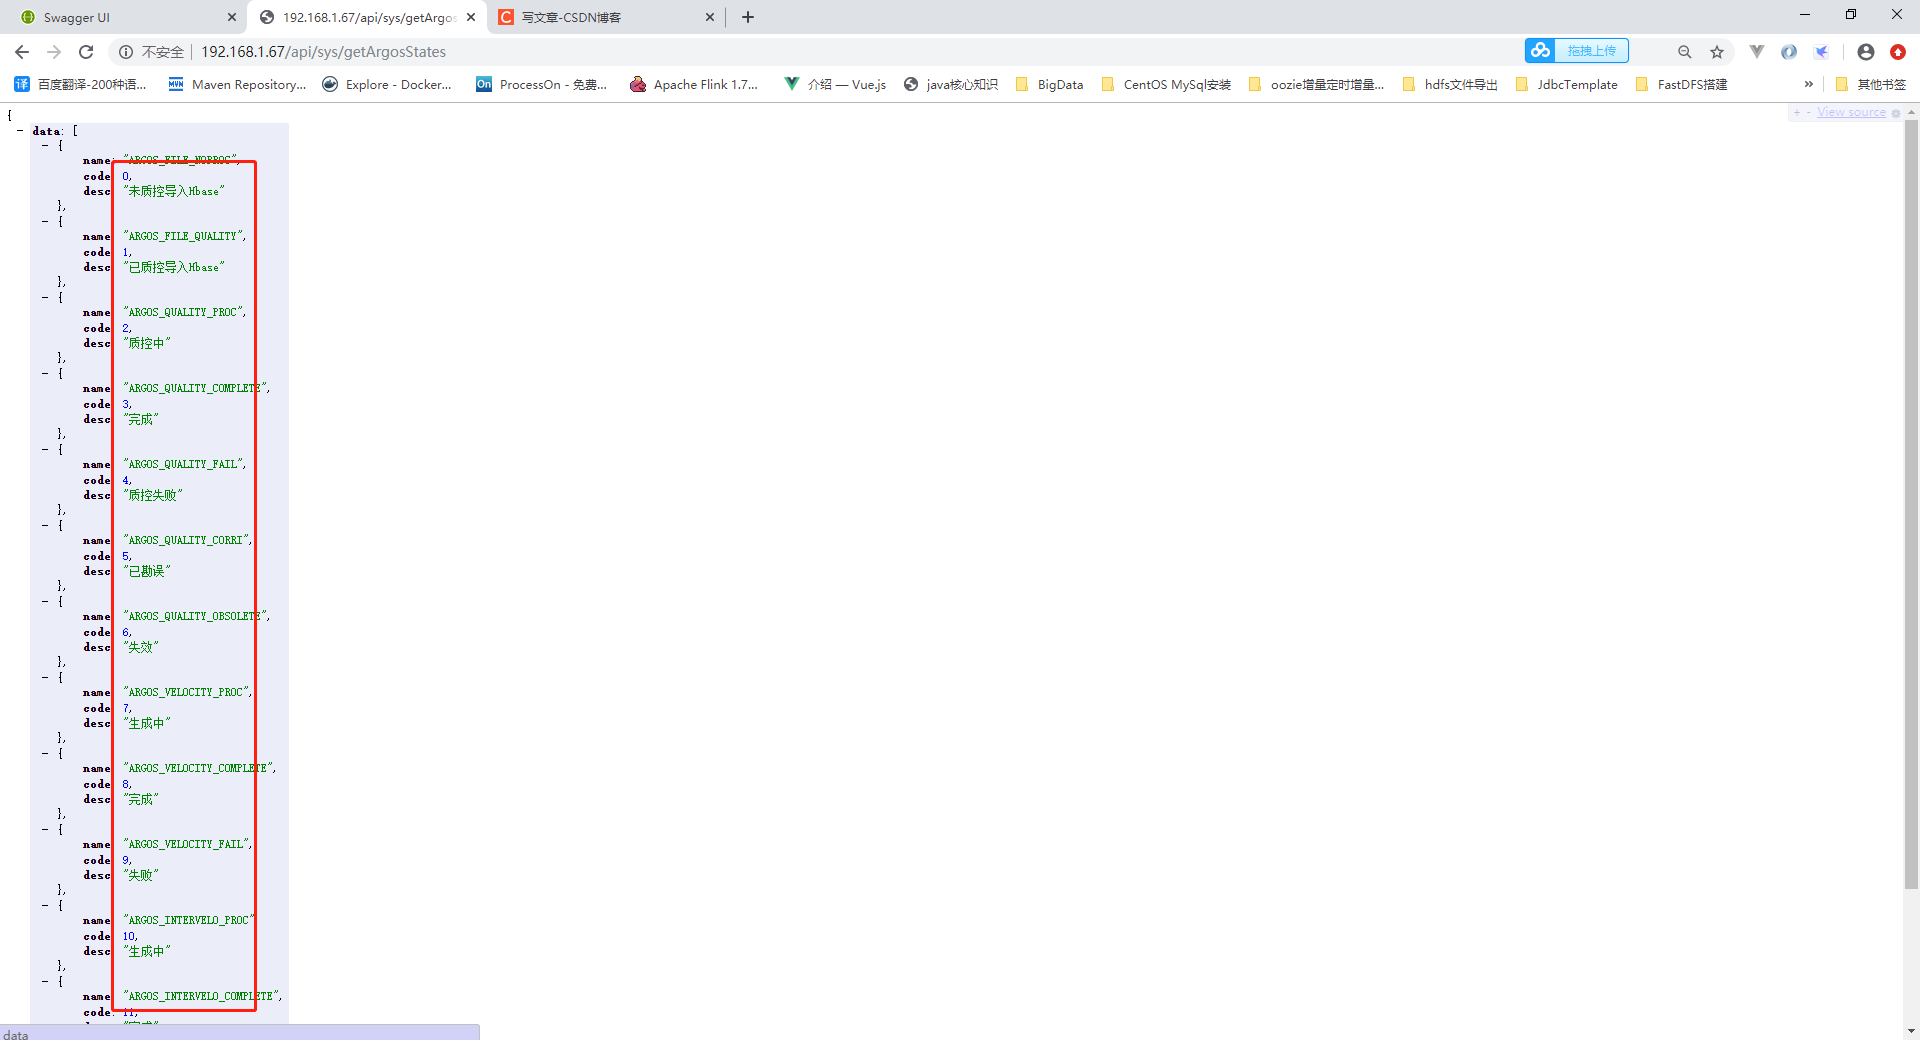
The above description successfully deployed the api service
3, Package and upload Vue projects to Nginx
1. Package upload
The api service deployment of the system is completed. For the static files (html,css,js, etc.) of the web page, you only need to copy the packaged files to the HTML directory of the default web page of nginx, and change the HTML of the entry to index.hml instead of the original index.html. The vue project is packaged as follows:

Copy to html directory

2. Supplement
If you don't want to use the html directory, you can also create a new directory to put the vue packaged content in it, but you need to configure the access address of the nginx server:
        location / {
            root   xxx; #The user-defined website root directory xxx can be either a relative path or an absolute path.
            index  index.html index.htm; #Define the default page for the site.
        }
summary
With the complexity of project functions, we should constantly improve nginx configuration, module update and other operations