Reference article from: https://blog.csdn.net/shakespeare001/article/details/51657795
The article talks about five ways of rolling, and there's nothing wrong with it. But the OnTouchEvent method didn't make it clear. I thought about it for a while and then understood why.
 @Override
    public boolean onTouchEvent(MotionEvent ev) {
        int x = (int) ev.getX();
        int y = (int) ev.getY();
        switch (ev.getAction()){
            case MotionEvent.ACTION_DOWN:
                mLastX = x;
                mLastY = y;
                break;
            case MotionEvent.ACTION_MOVE:
                int offsetX = x - mLastX;
                int offsetY = y - mLastY;
                //Adjust the four coordinates of the layout
                layout(getLeft() + offsetX, getTop() + offsetY, getRight() + offsetX, getBottom() + offsetY);

                int left=getLeft();
                Log.v("xhw","left:"+left+" x:"+x  +" mLastX:"+mLastX+ " offsetX:"+offsetX);
                break;
        }
        return true;
    }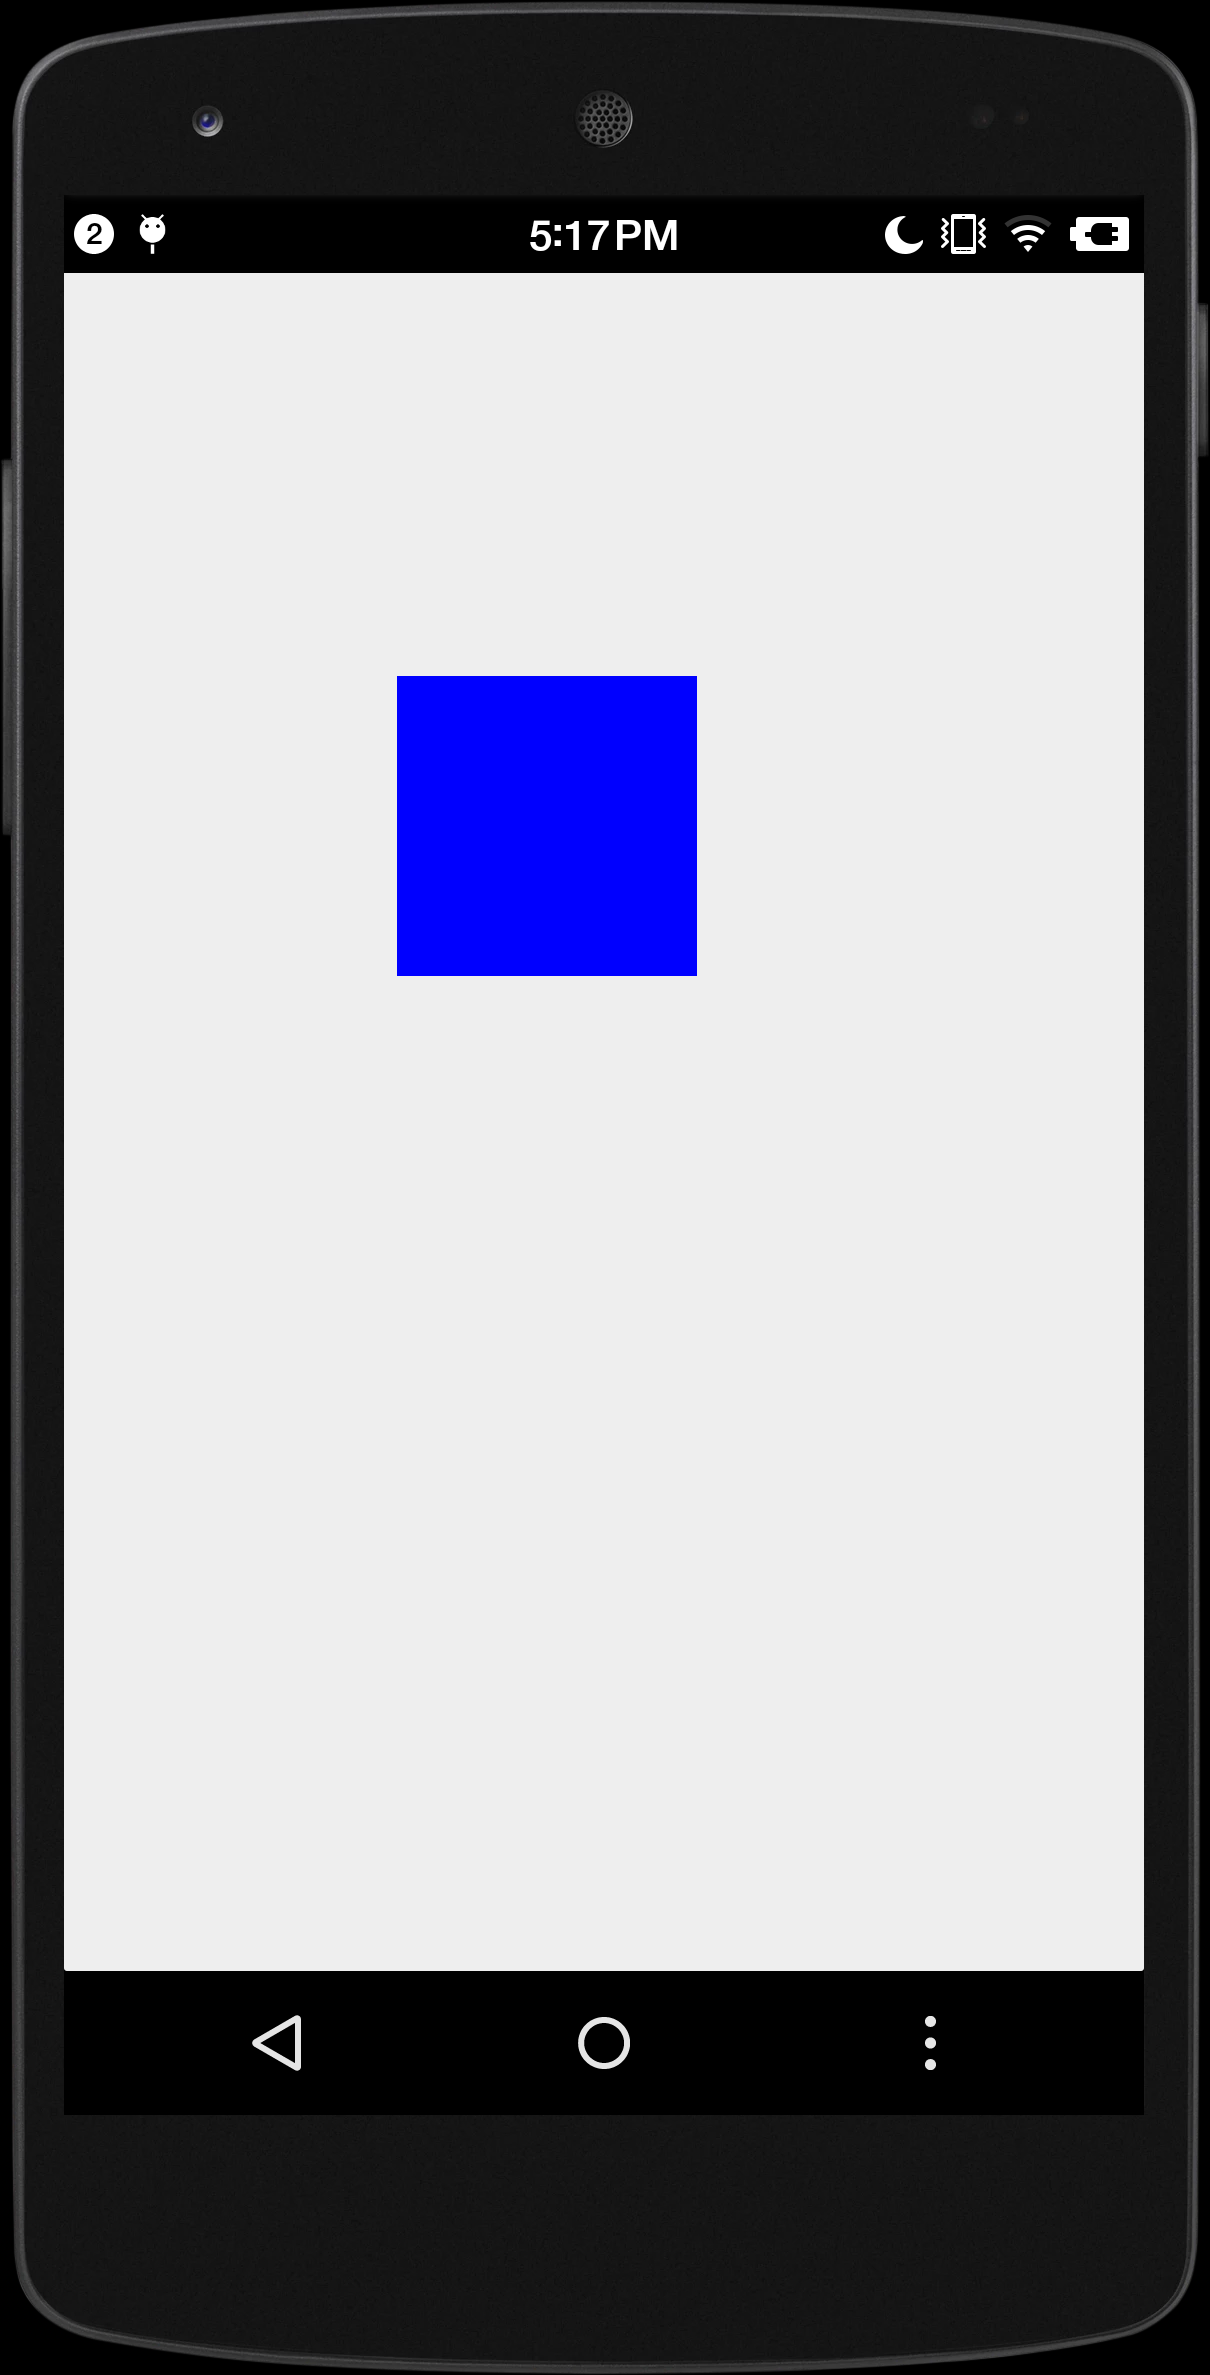
The style of our view is shown in the diagram. When we click on this view, the OnTouchEvent method will be triggered. And this coordinate
int x = (int) ev.getX();
int y = (int) ev.getY();
It refers to the coordinates in our blue view, (0, 0) is the position of the upper left corner of the blue view. When you click View, start ACTION_DOWN as follows
 case MotionEvent.ACTION_DOWN:
                mLastX = x;
                mLastY = y;
The x and y are coordinates above the blue view, not on the screen.
When starting a sliding event:
Method 1. layout
int offsetX = x - mLastX;
int offsetY = y - mLastY;
//Adjust the four coordinates of the layout
layout(getLeft() + offsetX, getTop() + offsetY, getRight() + offsetX, getBottom() + offsetY);
Here's the key. When we slide our fingers, we slide on the blue view, and there's a slip distance. After calculating the sliding distance, we set the position by layout method, and add the displacement to the position. So our blue view moves with the finger, and the position where the finger clicks returns to our mLastX and mLastY positions. Let's put it in perspective that our view is catching up!
It should be noted that our layout method changes the getLeft, getRight and other attributes of this view.
Method 2, offsetLeft AndRight and offsetTopAndBottom
  int offsetX = x - mLastX;
                int offsetY = y - mLastY;
                //Adjust the four coordinates of the layout
                //layout(getLeft() + offsetX, getTop() + offsetY, getRight() + offsetX, getBottom() + offsetY);
                //Use abbreviations
                offsetLeftAndRight(offsetX);
                offsetTopAndBottom(offsetY);
They all change the left, right, top, and bottom attributes of the view. Our second method of moving is the same as this one.
Method 3. margin value
case MotionEvent.ACTION_MOVE:
                int offsetX = x - mLastX;
                int offsetY = y - mLastY;
                ViewGroup.MarginLayoutParams  lp = (ViewGroup.MarginLayoutParams ) getLayoutParams();
                lp.leftMargin = getLeft() + offsetX;
                lp.topMargin = getTop() + offsetY;
                setLayoutParams(lp);
                break;
Setting the distance of view can also be influenced by margin
Method 4. scroll By
case MotionEvent.ACTION_MOVE:
                //int offsetX = x - mLastX;
                //int offsetY = y - mLastY;
                //At this point, the calculated coordinates are reversed.
                int offsetX = mLastX - x;
                int offsetY = mLastY - y;
                //Let the ViewGroup where the View is located move
                ((View)getParent()).scrollBy(offsetX,offsetY);
                break;
This is our attempt to move through the scrollBy method of the parent container, which does not change the properties of the view itself, but by sliding the window.
Method 5. Scroller
This seems to be useless. Scroller is for computing slides, and ultimately it's through scrollBy or scrollTo methods.
This article has introduced all these ways, but forgot another way of setTranslateX and setTranslateY, our attribute animation is through changing the way of translatX.
The coordinate X of our view is left + translateX. Our animation above already uses the way of left, so we can also translate X.
Method 6: setTranslateX
public class DragView5 extends View {

    private int mLastX;
    private int mLastY;

    private int cumulativeX;
    private int cumulativeY;

    public DragView5(Context context) {
        super(context);
        init();
    }

    public DragView5(Context context, AttributeSet attrs) {
        super(context, attrs);
        init();
    }

    public DragView5(Context context, AttributeSet attrs, int defStyleAttr) {
        super(context, attrs, defStyleAttr);
        init();
    }

    private void init(){
        setBackgroundColor(Color.BLUE);
    }

    @Override
    public boolean onTouchEvent(MotionEvent ev) {
        int x = (int) ev.getX();
        int y = (int) ev.getY();
        switch (ev.getAction()){
            case MotionEvent.ACTION_DOWN:
                mLastX = x;
                mLastY = y;
                break;
            case MotionEvent.ACTION_MOVE:
                int offsetX = x - mLastX;
                int offsetY = y - mLastY;
                cumulativeX+=offsetX;
                cumulativeY+=offsetY;

                setTranslationX(cumulativeX);
                setTranslationY(cumulativeY);

                int left=getLeft();
                float translateX=getTranslationX();
                Log.v("xhw","left:"+left+" translateX:"+translateX);
                break;
        }
        return true;
    }
}
Each time our parameter values are set, the previous distance is covered, so I use cumulative X and cumulative Y to accumulate the distance we move.