Github: https://github.com/WXinlong/SOLO
My operating system is Ubuntu 18 04. This paper will be divided into the following parts:
- Create dataset
- Modify config
- model training
- Visual Mask results
- Model evaluation
- Inference prediction
- Reasoning optimization
First, install some basic libraries. Please refer to the official installation instructions
$ git clone https://github.com/WXinlong/SOLO.git
$ cd SOLO
$ pip install -r requirements/build.txt
$ pip install "git+https://github.com/cocodataset/cocoapi.git#subdirectory=PythonAPI"
$ pip install -v -e .
1. Create dataset
- Prepare the training data set, label the data set with labelme and convert it to coco format. For labeling operations, refer to: Semantic segmentation and instance segmentation Labelme annotation Teaching
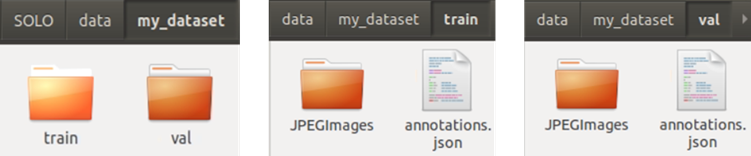
- Establish a training set and a verification set, as shown below
- Create custom data in mmdet/datasets. Establish my_dataset.py, write the training category. If there is only one tag, add another null category.
from .coco import CocoDataset
from .registry import DATASETS
@DATASETS.register_module
class MyDataset(CocoDataset):
    CLASSES = ['null', 'raccoon']
- In mmdet/datasets/__init__.py add the data set just defined

2. Modify config
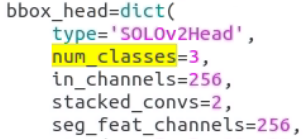
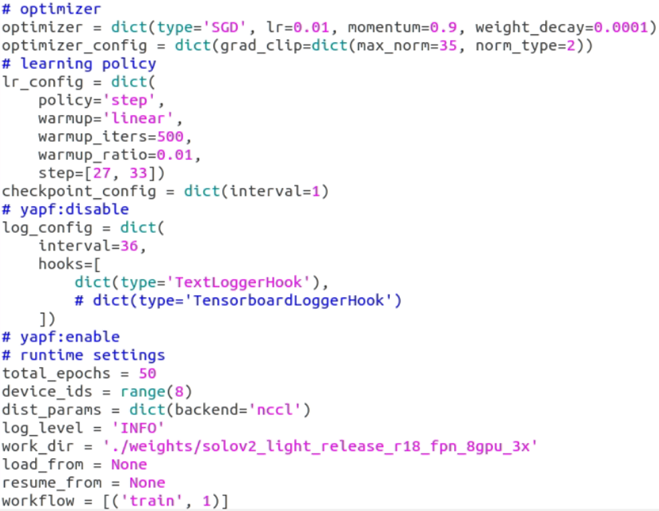
Select the model architecture to be trained, and all models are located in the configs folder. I use the lightest model of SOLOv2, and then open configurations / SOLOv2 / SOLOv2_ light_ 448_ r18_ fpn_ 8gpu_ 3x. Py modify the following:
- num_classes is set to the number of categories + 1
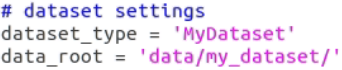
- Change dataset_type and data_root path
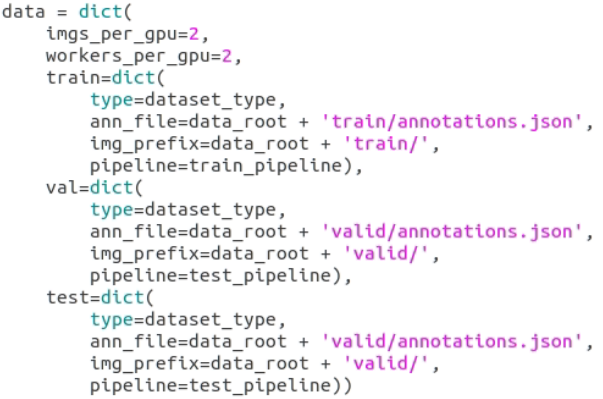
- Change the ANN of train, val and test in data = dict()_ file,img_prefix path
- optimizer, learning rate and total can be modified_ Epochs and other super parameters, where work_dir is the path where the training model is stored.
3. Model training
Next, let's start model training...
python tools/train.py configs/solov2/solov2_light_448_r18_fpn_8gpu_3x.py
If multiple GPUs are used (in case of 8 GPUs), the following instructions can be used:
./tools/dist_train.sh configs/solov2/solov2_light_448_r18_fpn_8gpu_3x.py 8
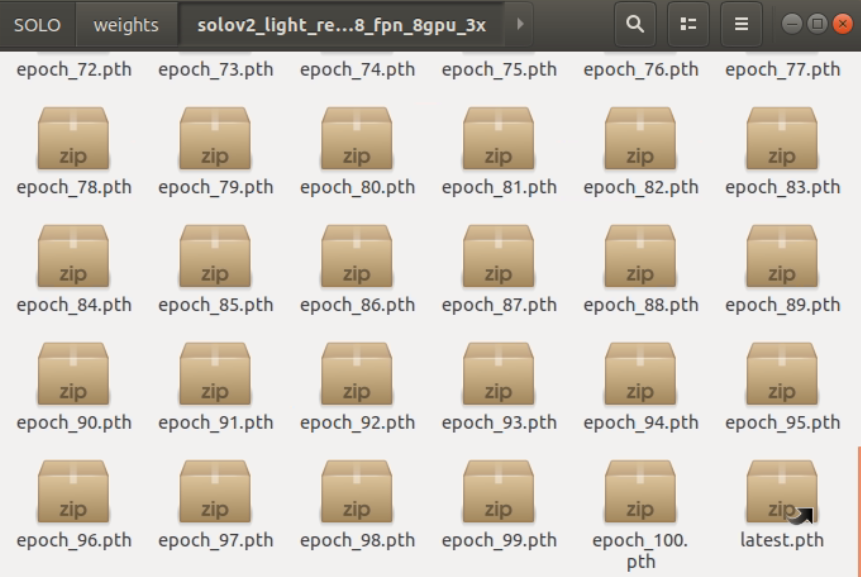
After training, the trained model will be placed in work_ Under the folder path set by dir.
4. Visual Mask results
- Modify tools / test_ ins_ vis. Class in PY_ Names is a custom category

python tools/test_ins_vis.py configs/solov2/solov2_light_448_r18_fpn_8gpu_3x.py weights/solov2_light_release_r18_fpn_8gpu_3x/latest.pth --show --save_dir work_dirs/vis_solo
- Visual Mask results will be stored in work_ dirs/vis_ In the solo folder

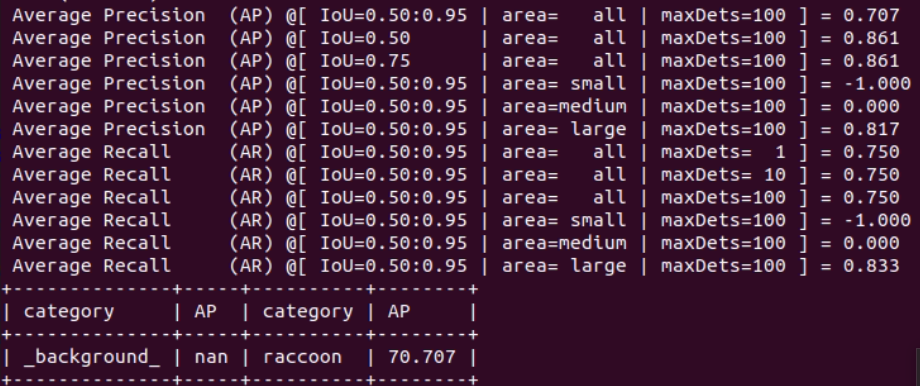
5. Model evaluation
- Evaluation model AP
--The eval parameter allows you to select which AP to display
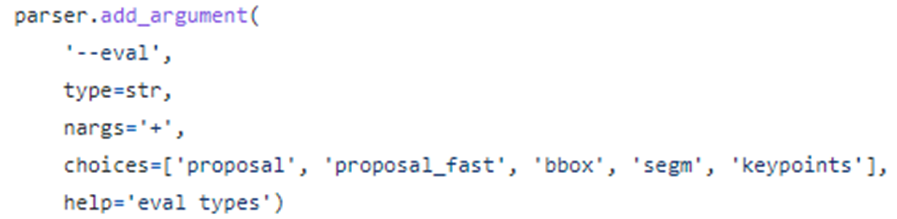
python tools/test_ins.py configs/solov2/solov2_light_448_r18_fpn_8gpu_3x.py weights/solov2_light_release_r18_fpn_8gpu_3x/latest.pth --show --out results_solo.pkl --eval segm

If you want to display AP of each category, you can set mmdet / core / evaluation / coco_ utils. After classwise in py is changed to True, execute the command again
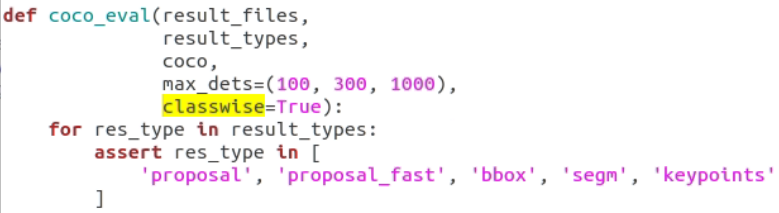
python tools/test_ins.py configs/solov2/solov2_light_448_r18_fpn_8gpu_3x.py weights/solov2_light_release_r18_fpn_8gpu_3x/latest.pth --show --out results_solo.pkl --eval segm
6. Inference and prediction
After training, you can predict. Demo / information_ demo. Py config_file and checkpoint_ Change file to the newly trained model path:
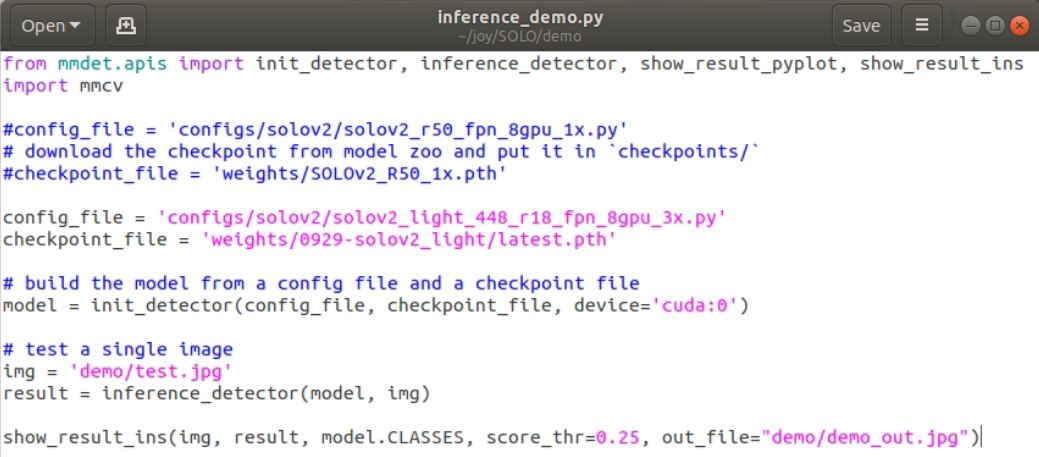
- Execute forecast
python demo/inference_demo.py
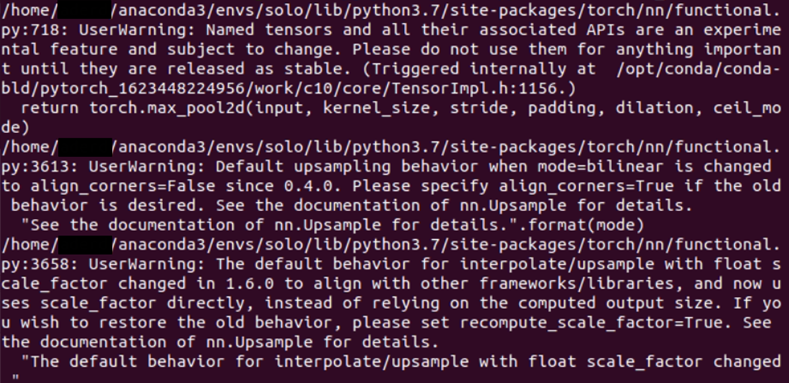
The following warnings will appear when you run the demo, but the output will not be affected
- Prediction results

7. Reasoning optimization
If you want to optimize reasoning, you can use ncnn and TensorRT.
NCNN
- The ncnn implementation and optimization of solov2 are recorded in detail
- https://github.com/DayBreak-u/SOLOV2_ncnn
- How to convert solov2 model to NCNN
TensorRT - SOLOv2.tensorRT
- TensorRT realizes solov2 acceleration
- Solov2 tensorrt acceleration 1: it may be the first real-time high-precision instance segmentation model
complete Code address
Reference catalogue
https://medium.com/ching-i/solov2-%E8%A8%93%E7%B7%B4%E6%95%99%E5%AD%B8-90591960b5c7