1. Get started HelloWorld
1.1 system requirements
-
Java 8 uses java -version to view
-
Maven 3.3 + viewing with mvn -v
-
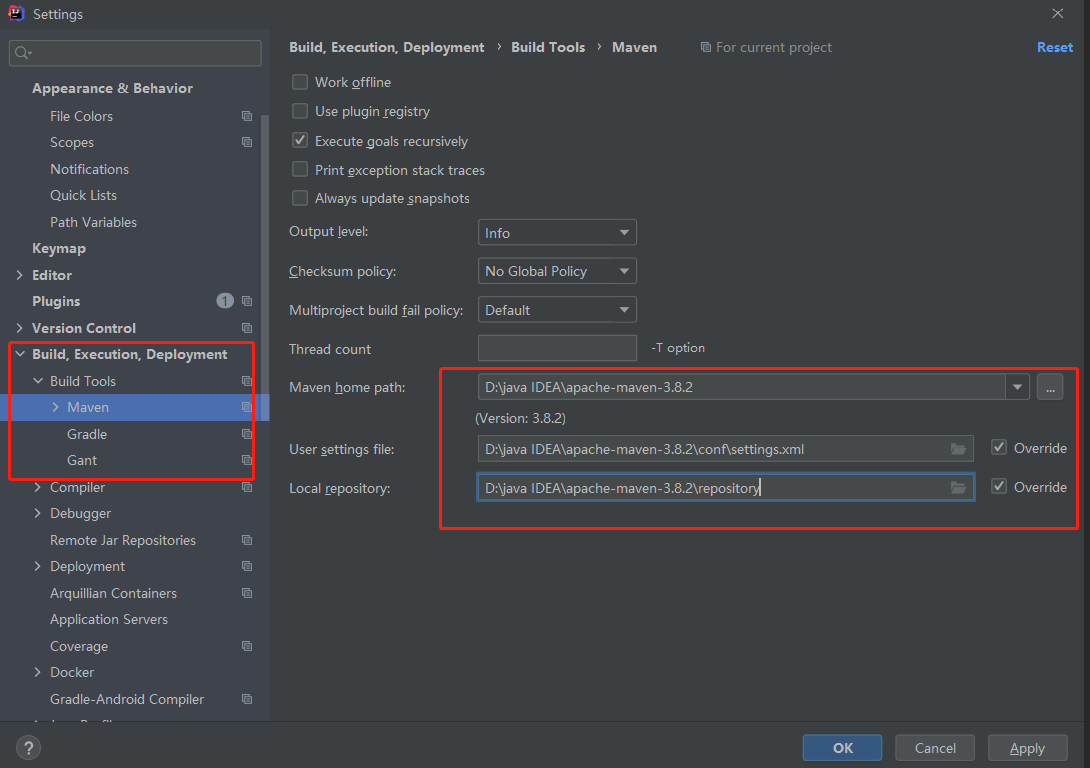
You must check the Maven version used in the idea, because the idea binds a maven 3 by default
1.2 create maven project and introduce dependency
<!--Introduce parent project for version control-->
<parent>
    <groupId>org.springframework.boot</groupId>
    <artifactId>spring-boot-starter-parent</artifactId>
    <version>2.3.4.RELEASE</version>
</parent>
<!--Just introduce starter,There is no need to import related dependencies separately
Starter for building web, including RESTful, applications using Spring MVC. Uses Tomcat as the default embedded container
-->
<dependencies>
        <dependency>
            <groupId>org.springframework.boot</groupId>
            <artifactId>spring-boot-starter-web</artifactId>
            <version>2.5.3</version>
        </dependency>
</dependencies>
1.3 create main program
//This is a SpringBoot application
@SpringBootApplication
public class MainApplication {
    public static void main(String[] args)
    {
        SpringApplication.run(MainApplication.class,args);
    }
}
1.4 create Controller
//Identify all methods of this class and write out the return values directly through responseBody
@RestController
public class HelloController {
    @RequestMapping("/hello")
    public String Hello(){
        return "Hello SpringBoot";
    }
}
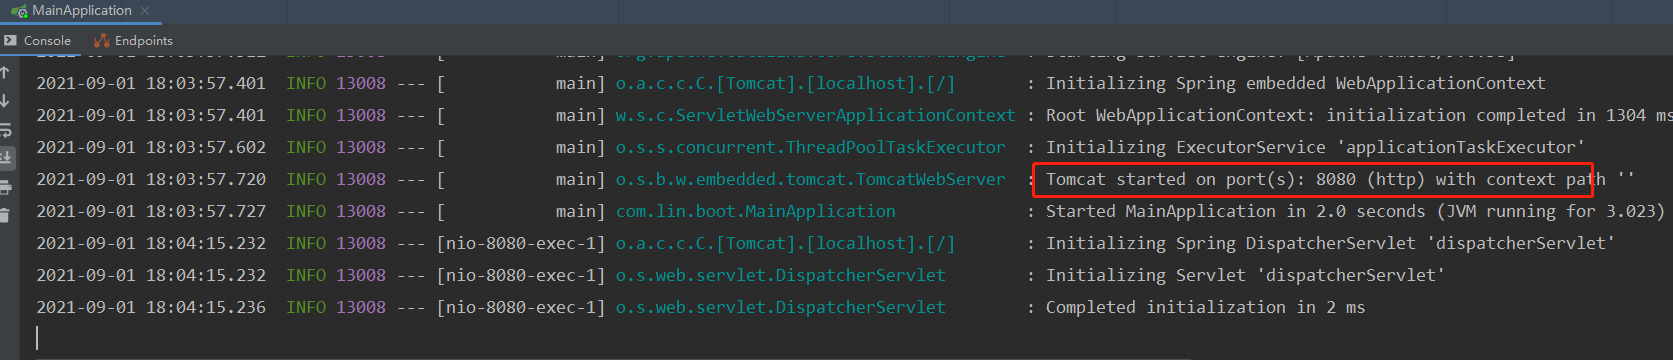
1.5 main method of direct operation
Visit localhost:8080/hello, and the web page successfully displays "Hello SpringBoot"
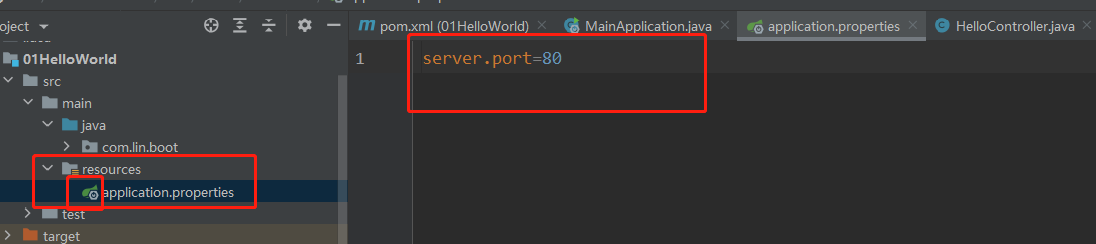
1.6 modify default configuration
If you want to modify the default port, you can create a new application.properties file in resources. The name must be fixed to application.properties, and then the file will be read when SpringBoot starts.
1.7 deploy to server
When using the SSM framework, if you want to package and deploy, you must package the project into a war package and then put it in the Tomcat directory. However, you can directly type the jar package in SpringBoot, which contains the runtime environment. You can run it through the Java jar package name on the command line.
First install the plug-in for packaging. If the installation plug-in is popular (Plugin 'org. Springframework. Boot: spring boot Maven Plugin:' not found), you must add the version number and restart idea
<build>
    <plugins>
        <plugin>
            <groupId>org.springframework.boot</groupId>
            <artifactId>spring-boot-maven-plugin</artifactId>
            <version>2.3.4.RELEASE</version>
        </plugin>
    </plugins>
</build>
Then execute the package command to generate the corresponding jar package at the target
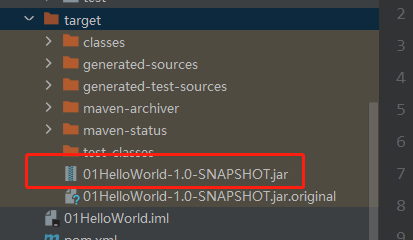
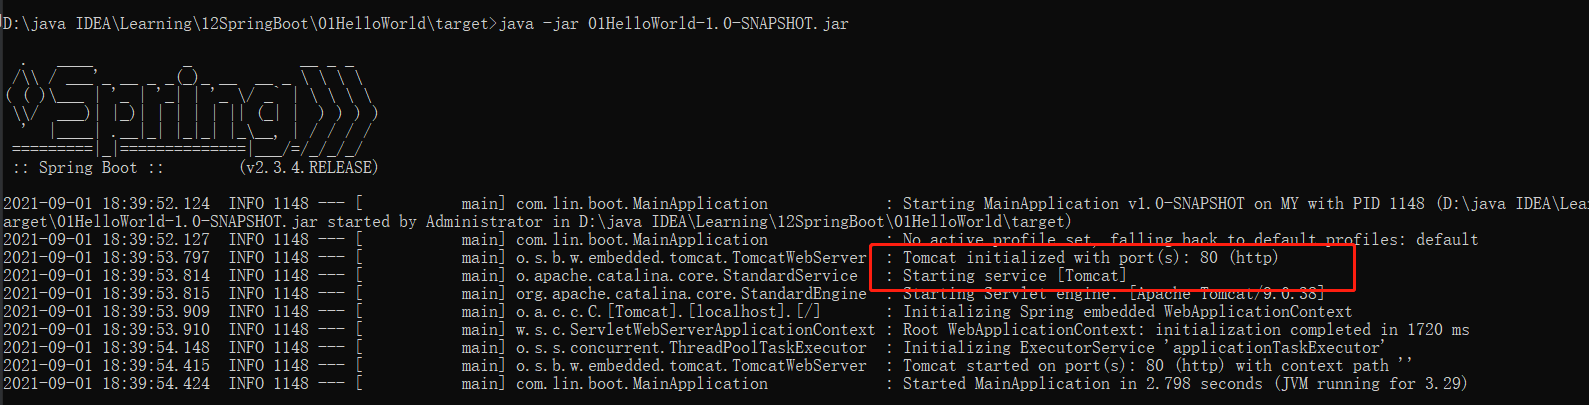
Enter the folder, execute java -jar 01HelloWorld-1.0-SNAPSHOT.jar on the command line, and open the browser to access it successfully
1.8 explain the starter in pom.xml in detail
SpringBoot divides the development into scenarios and encapsulates the dependencies used in each scenario into a starter. For example, for web development, spring boot starter web is used, and all spring MVC, json, tomecat and other dependencies used in web development will be imported, as shown in the dependency diagram below
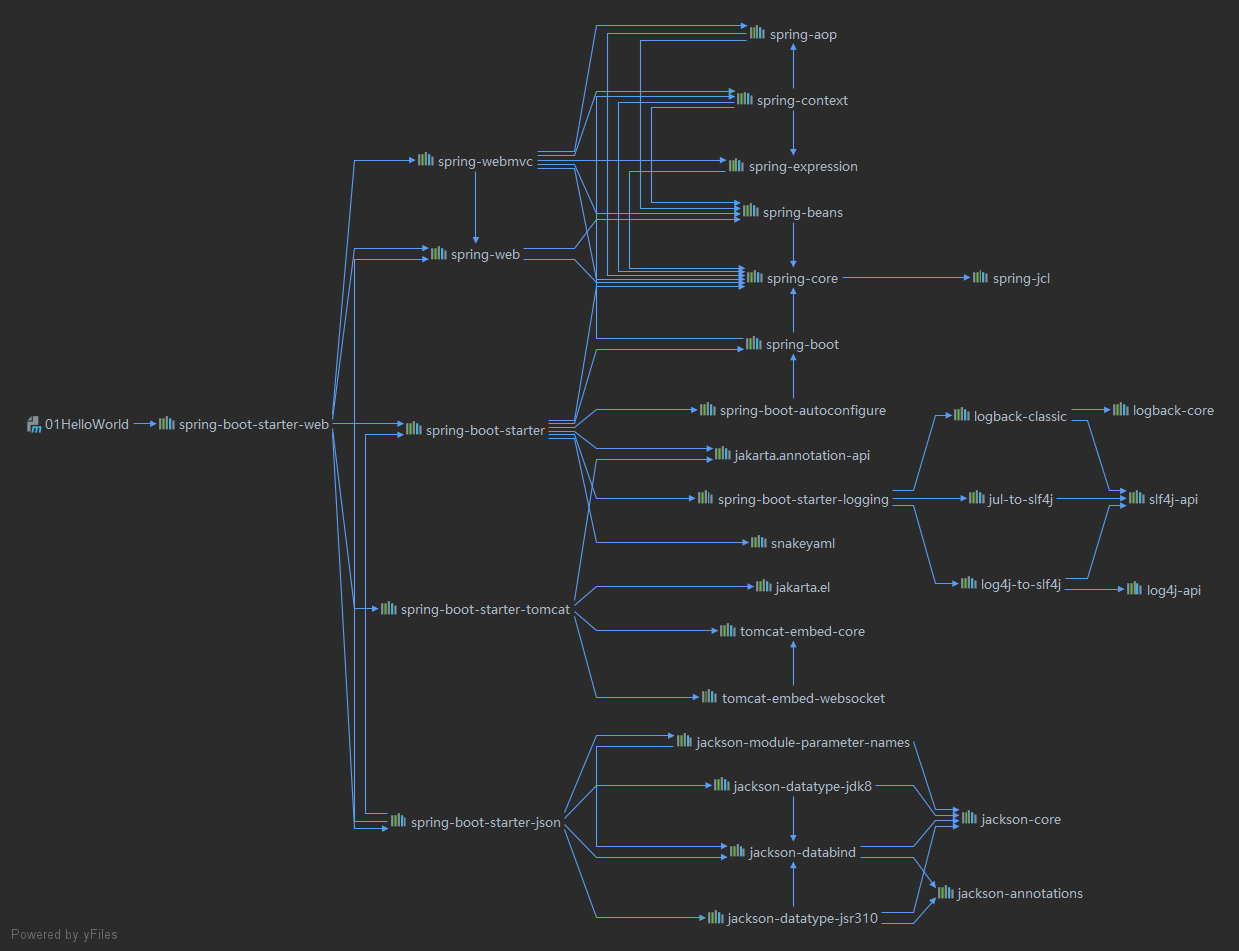
Therefore, in the future, you only need to introduce relevant starters. For example, if you want to use spring's apo, you can introduce spring boot starter AOP. All starters can be Official documents Found in
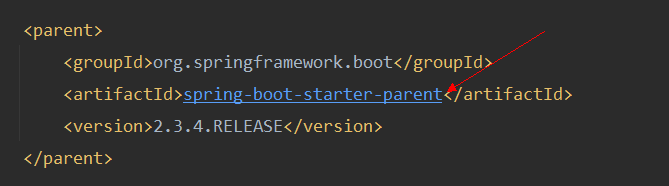
1.9 explain the parent in pom.xml in detail
Here, Maven's features are used. Click spring boot starter parent to enter his parent project
Found parent project and parent project. Enter again
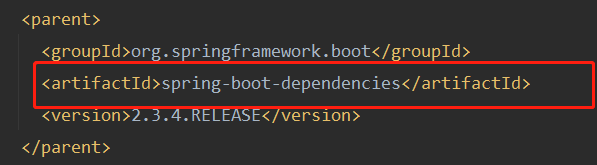
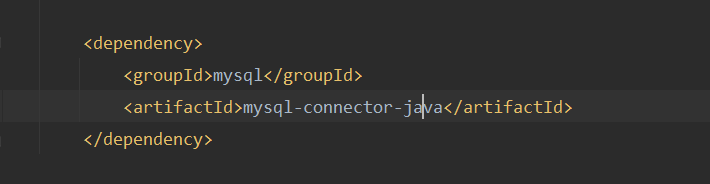
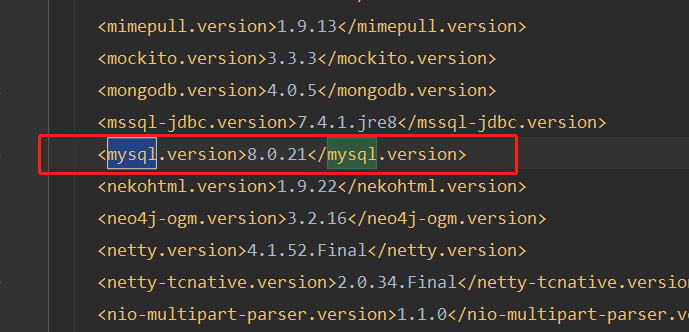
Finally, we found a management dependency version pom. It is precisely because of this pom that we can import dependencies in our own project without writing the version number. For example, import MySQL Java conector, which is 8.0.21 by default
1.9.1 change dependent default version
What if you want to use MySQL Java conector version 5. X.x?
① In pom.xml of the project, < mysql. Verson > is overwritten in the configuration item
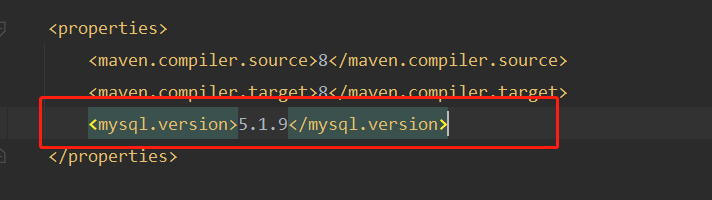
② If dependency is introduced, now 5.1.9 is introduced