1, Do not use spring boot start parent
Although spring boot starter parent is convenient, readers generally need to use the company's own parent when developing micro service projects or multi module projects in the company. At this time, if they want to uniformly manage the project dependent versions, they need to use dependency management. Add the following code to POM In XM file
<dependencyManagement>
   <dependencies>
      <dependency>
         <groupId>org.springframework.boot</groupId>
         <artifactId>spring-boot-depedencies</artifactId>
         <version>2.0.4.RELEASE</version>
         <type>pom</type>
         <scope>import</scope>
      </dependency>
   </dependencies>
</dependencyManagement>
At this time, you don't need to inherit spring Bo ot starter parent, but the Java version and coding format need to be manually configured by the developer. The configuration of the Java version is very simple. You can add a plugin:
<plugin>
   <groupId>org.apache.maven.plugins</groupId>
   <artifactId>maven-compiler-plugin</artifactId>
   <version>3.1</version>
   <configuration>
       <source>1.8</source>
       <target>1.8</target>
   </configuration>
</plugin>
Coding format:
 <properties>
     <project.build.sourceEncoding>UTF-8</project.build.sourceEncoding>
     <project.reporting.outputEncodin>UTF-8</project.reporting.outputEncodin>
 </properties>
2, @ SpringBootApplication
@Target(ElementType.TYPE)
@Retention(RetentionPolicy.RUNTIME)
@Documented
@Inherited
@SpringBootConfiguration
@EnableAutoConfiguration
@ComponentScan(excludeFilters = { @Filter(type = FilterType.CUSTOM, classes = TypeExcludeFilter.class),
		@Filter(type = FilterType.CUSTOM, classes = AutoConfigurationExcludeFilter.class) })
public @interface SpringBootApplication {
}
@Spring boot application consists of three annotations
- @SpringBootConfiguration
@Configuration
public @interface SpringBootConfiguration {
}
It was originally a Configuration, so the function of SpringBootConfiguration is to indicate that it is a Configuration class in which developers can configure beans. From this point of view, the role of this class is somewhat similar to that of the ApplicationContext in Spring The role of the XML file.
- @EnableAutoConfiguration
Indicates that automatic configuration is turned on. The automatic configuration in Spring Boot is non intrusive. At any time, developers can use custom configuration to replace a configuration in the automatic configuration. - @ComponentScan
Complete package scanning, which is also a function in Spring. Since the default scanned classes of the @ ComponentScan annotation are located under the package of the current class, it is recommended that the project startup class be placed in the root package in the actual project development.
Although the startup class of the project also contains the @ Configuration annotation, developers can create a new class specifically for configuring beans to facilitate Configuration management. This type only needs to be annotated with Configuration.
@Configuration
public Class MyConfig {
}
In addition to scanning @ Service, @ Repository, @ Component, @ Controller, @ RestController, etc., the @ ComponentScan annotation in the project startup class will also scan the @ Configuration annotation class.
3, Custom banner

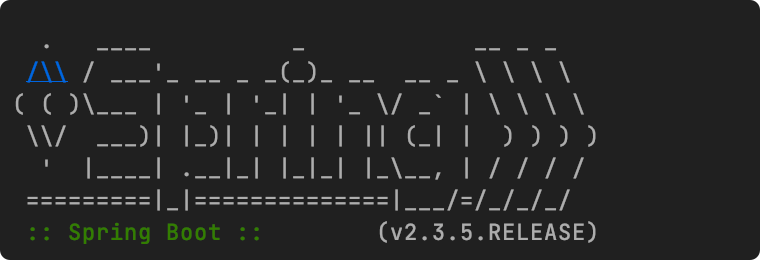
When the Spring Boot project starts, a banner will be printed. This banner can be customized and created in the sources directory Txt file. The text written in this file will be printed when the project starts. If you want to set TXT text as artistic font, there are the following online websites for reference
- https://devops.datenkollektiv.de/banner.txt/index.html
- http://www.kammerl.de/ascii/AsciiSignature.php
- http://patorjk.com/software/taag
If you want to close banner, you can modify the main method of the project startup class,
 public static void main(String[] args) {
 	SpringApplicationBuilder builder = new  SpringApplicationBuilder(SpringbootWebApplication.class);
    builder.bannerMode(Banner.Mode.OFF).run(args);
 }
4, Web container configuration
4.1 Tomcat configuration
4.1.1 general configuration
In sprint boot, containers such as tomcat, Jetty, Undertow and Netty can be built in. When developers add the spring boot starter Web dependency, they will use Tomcat as the Web container. If you need to further configure tomcat, you can do so in application Properties or application Configure in YML
server:
  port: 8081
  error:
    path: /error
  servlet:
    session:
      timeout: 30m
    context-path: /start
  tomcat:
    uri-encoding: utf-8
    threads:
      max: 500
    basedir: /home/tmp
Code interpretation
- server.port matches the port number of the Web server.
- error.path aligns the page to jump to when an item goes wrong
- session .timeout is configured with a session expiration time of 30m, which means 30 minutes. If the unit is not written, the default unit is seconds. Because the session expiration time configured in Tomcat is in minutes, if the unit here is seconds, the time will be converted to a large number of minutes that does not exceed the configured seconds. For example, 119 is configured here, and the default unit is seconds, The actual session expiration time is 1 minute
- Context path indicates the name of the project. If it is not configured, it defaults to /. If configured, add the configured path to the access path.
- Uri encoding means configuring Tomcat request encoding.
- max threads indicates the maximum number of threads in Tomcat.
- basedir is a directory for storing Tomcat running logs and temporary files. If it is not configured, the temporary directory of the system will be used by default
4.1.2 https configuration
Because of the good security of HTTPS, it has been applied more and more widely in the development. The development of WeChat official account and small program should be completed by HTTPS. For individual developers, the price of an HTTPS certificate is still a little expensive. Some domestic cloud server manufacturers provide free TTPS certificates, and one account can apply for several. However, the Java certificate management tool keytool is provided in jdk. Under the \ jdk\bin record, the tool can generate a digital certificate by itself. The generation command is as follows:
keytool -genkey -alias tomcathttps -keyalg RSA -keysize 2048 -keystore sang.p12 -validity 365
Command interpretation
• - genkey means to create a new key.
• alias indicates the alias of the keystore.
• keyalg indicates that the encryption algorithm used is RSA asymmetric encryption algorithm
• - keysize indicates the length of the key
• - keystore indicates the storage location of the generated key
• validity refers to the effective time of the key, in days
Directly execute the above command in the cmd window. During execution, you need to enter the key, password and other information, and enter it according to the prompt. After the command is executed, a file named sang. Will be generated in the current user directory Pl2 file, copy this file to the root directory of the project, and then in application YML is configured as follows:
 server:
 	ssl:
	   key-store: sang.pl2
	   key-alias: tomcathttps
	   key-store-password: 123456
Code interpretation:
- Key store indicates the key file name
- Key alias indicates the key alias
- Key store password is the password entered during cmd command execution
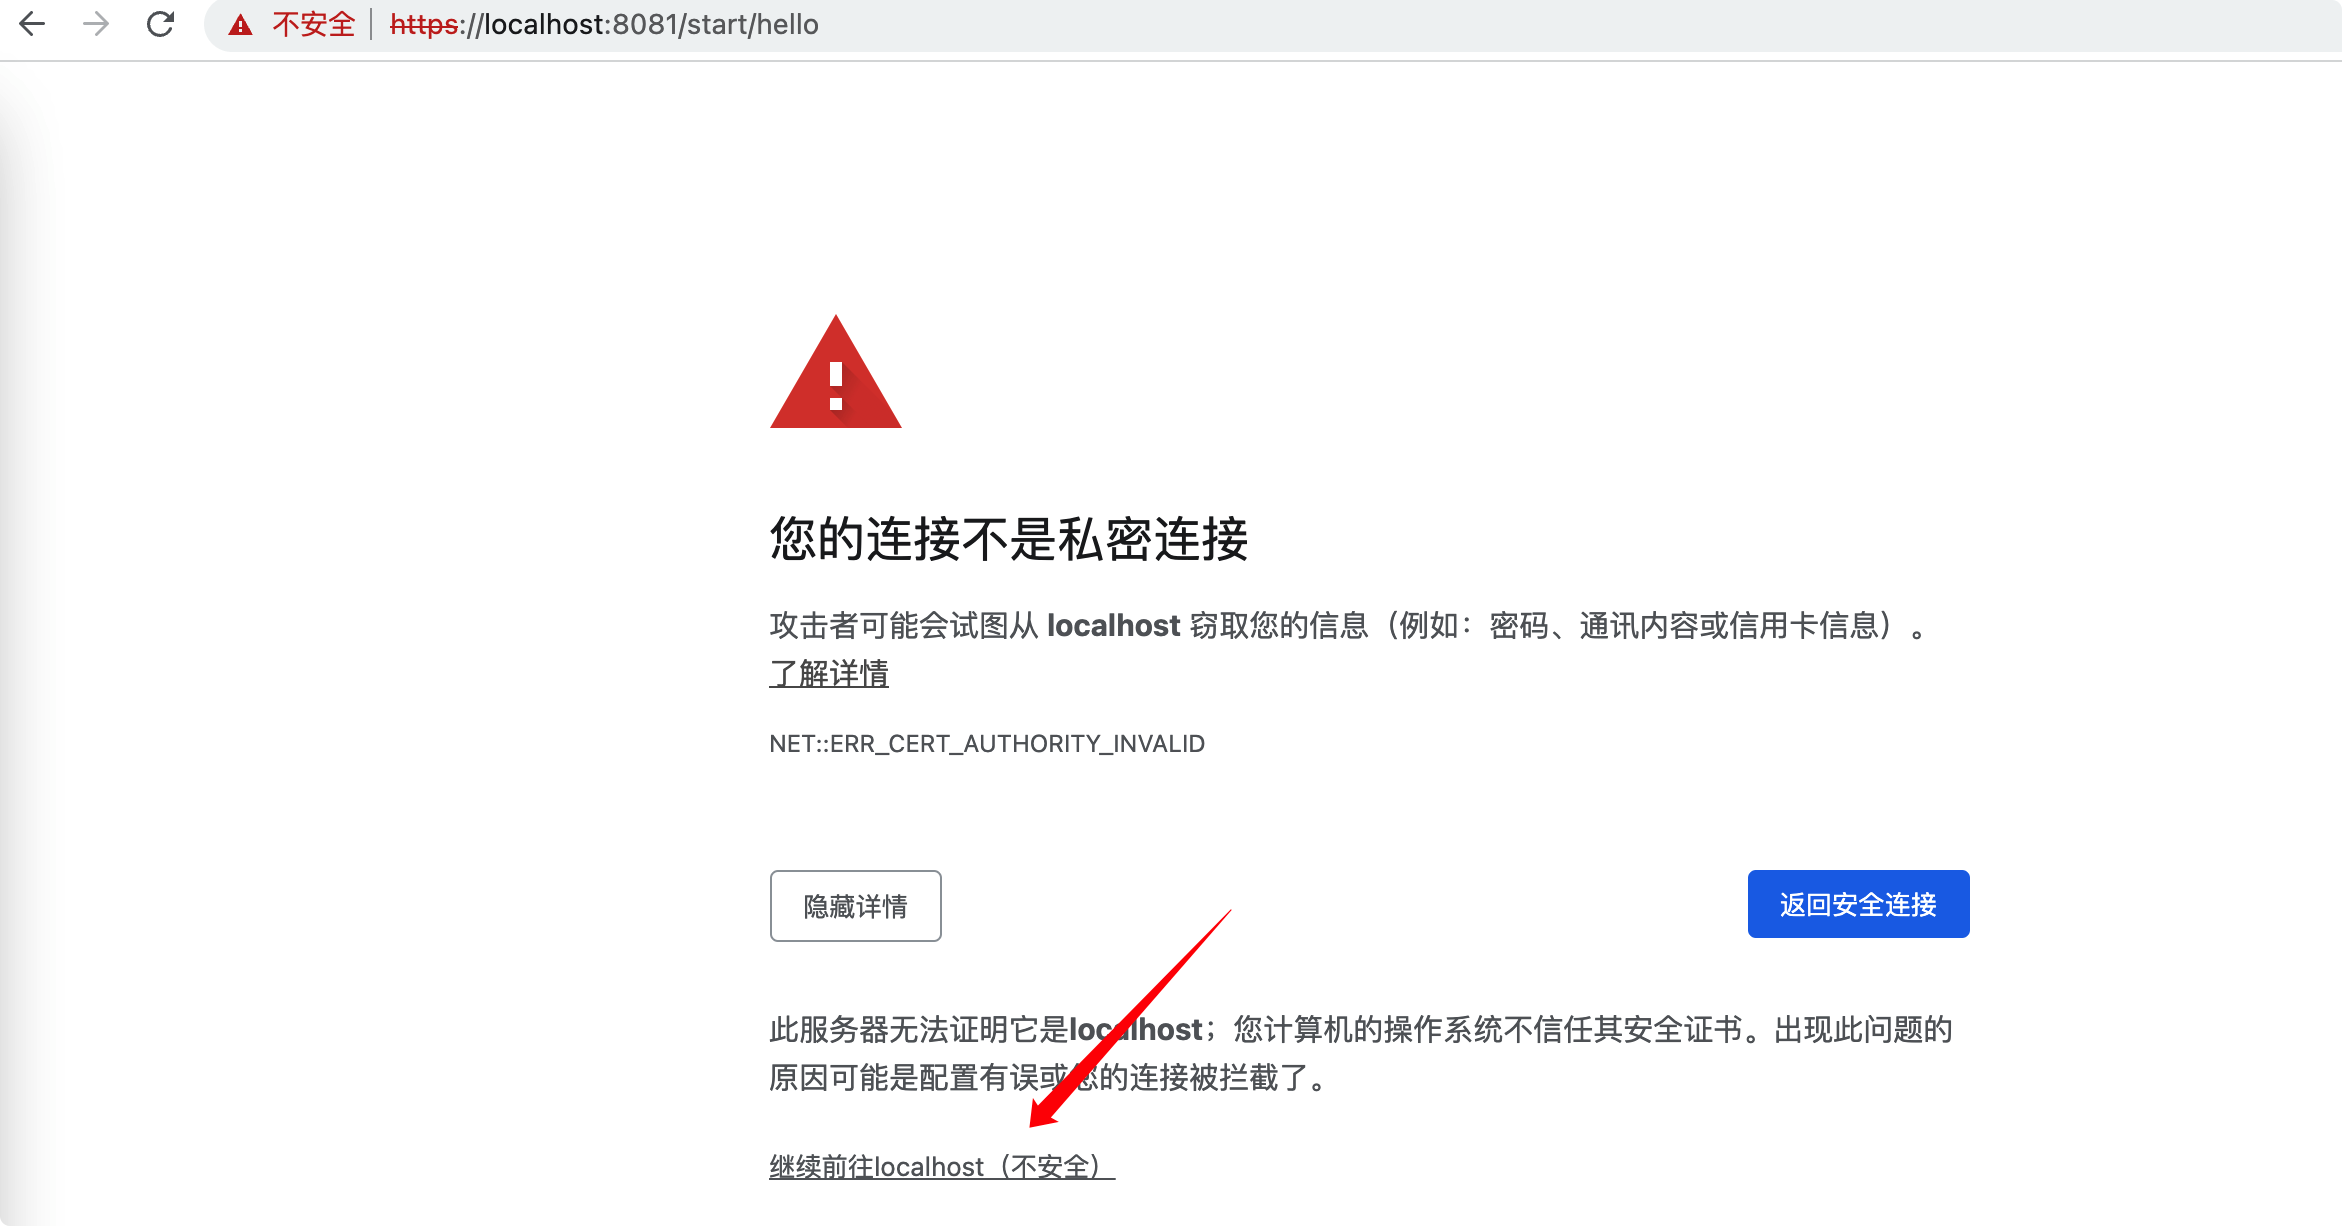
After the configuration is successful, start the project and enter it in the browser“ https://localhost:8081/start/hello ”To see the results. Note that the certificate is self generated and is not recognized by the browser. At this time, you can add trust or continue.


At this time, if the interface is accessed through HTTP, the access will fail.

This is because Spring Boot does not support starting HTTP and HTTPS in the configuration at the same time. At this time, request redirection can be configured to redirect HTTP requests to HTTPS requests. The configuration method is as follows:
import org.apache.catalina.Context;
import org.apache.catalina.connector.Connector;
import org.apache.tomcat.util.descriptor.web.SecurityCollection;
import org.apache.tomcat.util.descriptor.web.SecurityConstraint;
import org.springframework.boot.web.embedded.tomcat.TomcatServletWebServerFactory;
import org.springframework.context.annotation.Bean;
import org.springframework.context.annotation.Configuration;


@Configuration
public class TomcatConfig {
    @Bean
    TomcatServletWebServerFactory tomcatServletWebServerFactory() {
        TomcatServletWebServerFactory factory = new TomcatServletWebServerFactory(){
            @Override
            protected void postProcessContext(Context context) {
                SecurityConstraint constraint = new SecurityConstraint();
                constraint.setUserConstraint("CONFIDENTIAL");
                SecurityCollection collection = new SecurityCollection();
                collection.addPattern("/*");
                constraint.addCollection(collection);
                context.addConstraint(constraint);
            }
        };
        factory.addAdditionalTomcatConnectors(createTomcatConnector());
        return factory;
    }
    private Connector createTomcatConnector() {
        Connector connector = new Connector("org.apache.coyote.http11.Http11NioProtocol");
        connector.setScheme("http");
        connector.setPort(8080);
        connector.setSecure(false);
        connector.setRedirectPort(8081);
        return connector;
    }
}
Here, first configure a tomcatservlet webserverfactory, and then add a Connector in Tomca (listening to port 8080) to forward the request to 8081.
When the configuration is complete, enter in the browser“ http://localhost:8080/start/hello ”Will automatically redirect to https://localhost:8081/start/hello Come on.
4.2 Jetty configuration
In addition to Tomcat, Jetty can also be embedded in Spring Boot. The configuration method is as follows:
<dependency>
   <groupId>org.springframework.boot</groupId>
    <artifactId>spring-boot-starter-web</artifactId>
    <exclusions>
        <exclusion>
            <groupId>org.springframework.boot</groupId>
            <artifactId>spring-boot-starter-tomcat</artifactId>
        </exclusion>
    </exclusions>
</dependency>
<dependency>
    <groupId>org.springframework.boot</groupId>
    <artifactId>spring-boot-starter-jetty</artifactId>
</dependency>
It is mainly to remove the default Tomcat from spring boot starter web, and then add Jeety's dependency. At this time, start the project and view the startup log.

5, YAML configuration
5.1 configuration file
SpringBoot uses a global configuration file with a fixed name
- application.properties
- application.yml
Function of configuration file: modify the default value of SpringBoot automatic configuration; SpringBoot is automatically configured at the bottom
5.2 profile attribute injection
5.2.1 application.yml configuration
person:
  lastName: hello
  age: 18
  boss: false
  birth: 2017/12/12
  maps: {k1: v1,k2: 12}
  lists:
    - music
    - code
    - games
  dogList[0]:
    name: puppy
    age: 12
  dogList[1]:
    name: Puppy 2
    age: 122
  dog:
    name: puppy
    age: 12
5.2.2 defining entity classes
/**
 * Map the value of each attribute configured in the configuration file to this component
 * @ConfigurationProperties: Tell SpringBoot to bind all the properties in this class to the relevant configuration in the configuration file;
 *      prefix = "person": Which of the following attributes in the configuration file is mapped one by one
 * The @ ConfigurationProperties function provided by the container can only be used if this component is a component in the container;
 **/
@Component
@ConfigurationProperties(prefix = "person")
public class Person {
    private String lastName;
    private Integer age;
    private Boolean boss;
    private Date birth;
    private Map<String, Object> maps;
    private List<String> lists;
    private List<Dog> dogList;
    private Dog dog;
    //Provide get/set methods
}

@Component
class Dog{
    private String name;
    private Integer age;
    //Provide get/set methods
}
5.2.3 inject attributes using @ Resource or @ Autowired
@RestController
public class HelloController {
    @Resource
    Person person;

    @GetMapping("/hello1")
    public Person hello1() {
        return person;
    }
}
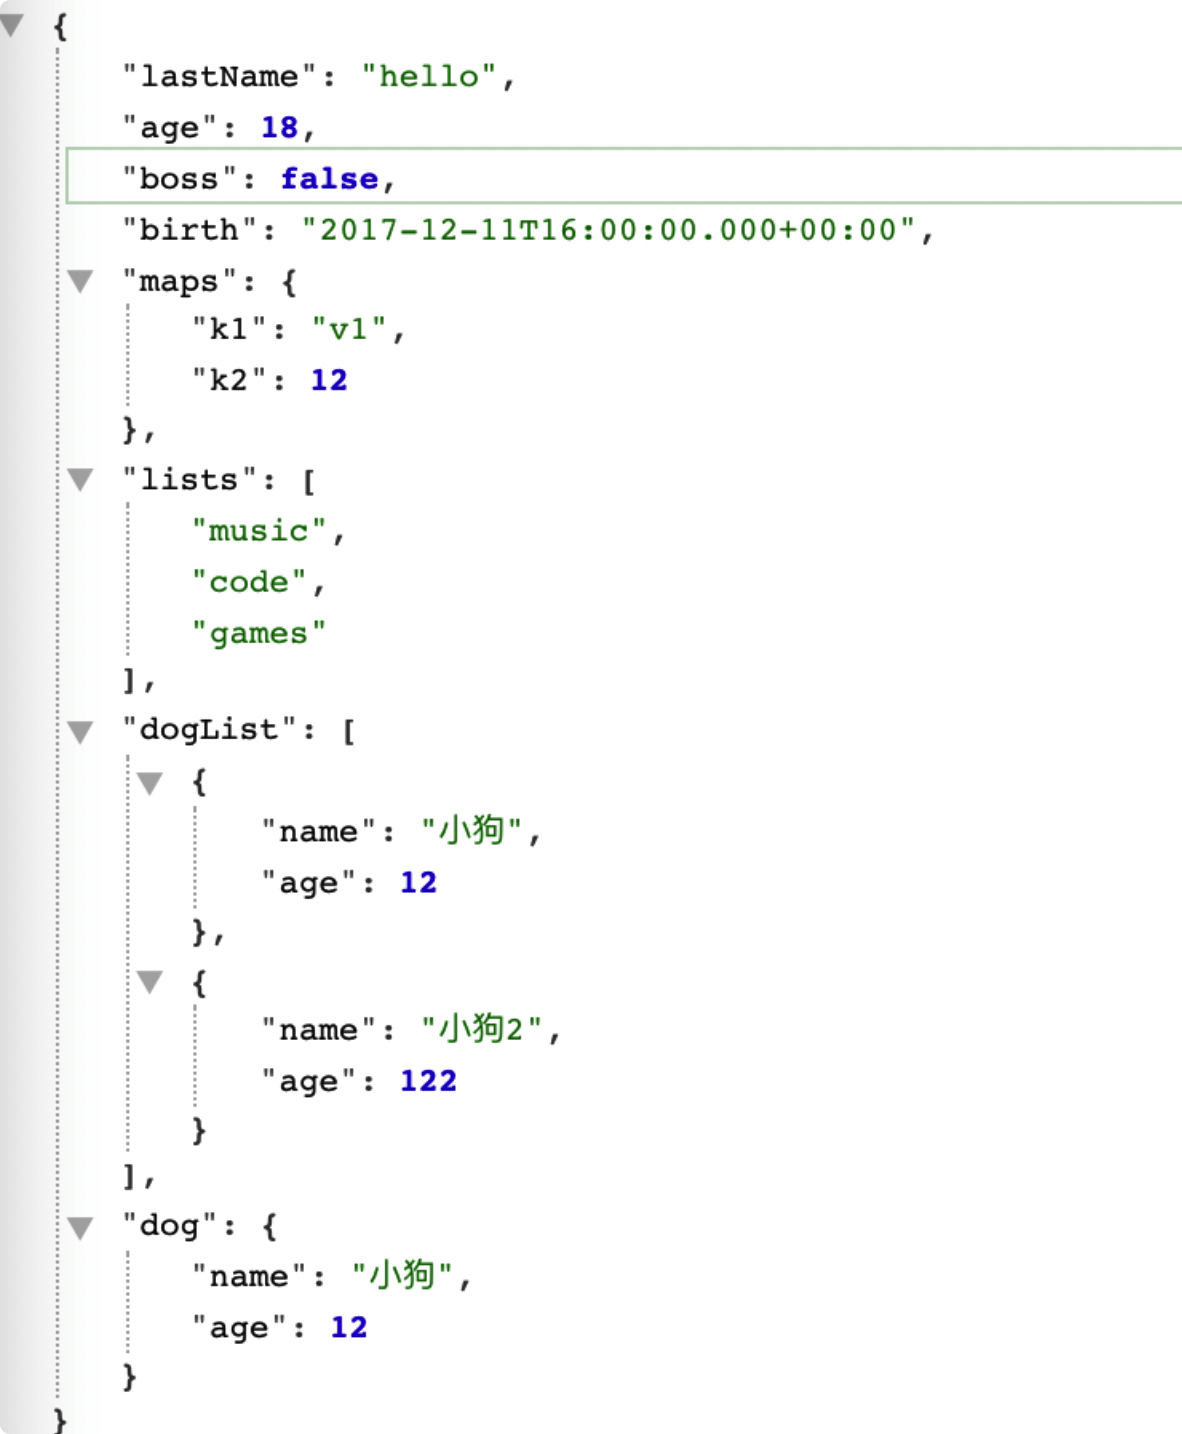
Execution return result:

You can import dependent packages, and there will be a prompt when binding the configuration file
<dependency>
    <groupId>org.springframework.boot</groupId>
    <artifactId>spring-boot-configuration-processor</artifactId>
    <optional>true</optional>
</dependency>
