1, The main features of Spring Boot are:
Create an independent Spring application to provide a very fast and widely accepted entry experience for all Spring developers
Directly embedded in application servers, such as tomcat, jetty, underow, etc; There is no need to deploy the war package
Provide fixed initiator dependency to simplify component configuration; The starter is actually a jar provided by Spring Boot
Package), which can be used quickly by setting parameters (. properties or. yml configuration file).
Automatically configure Spring and other required third-party dependencies
It provides some common non functional features in large projects, such as embedded server, security, indicators, health detection, external configuration, etc
There is absolutely no code generation and no XML configuration.
2, Spring Boot builds a web project
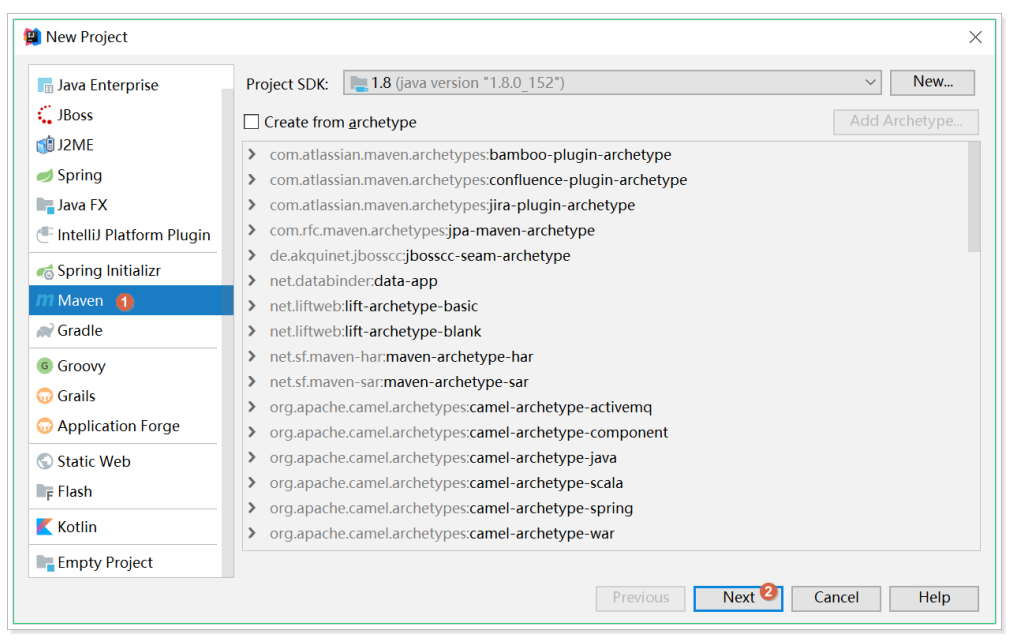
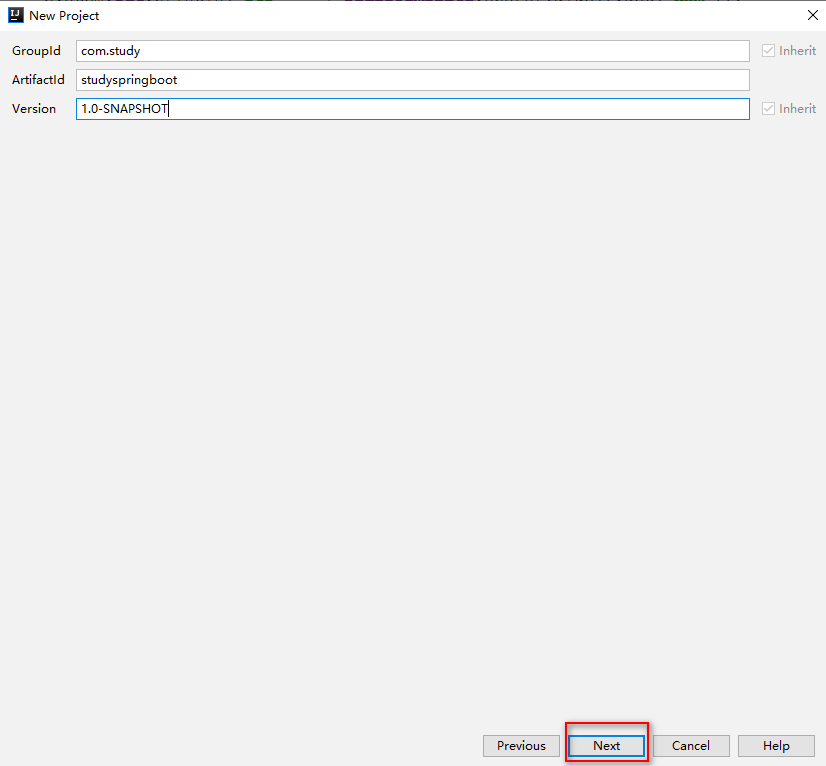
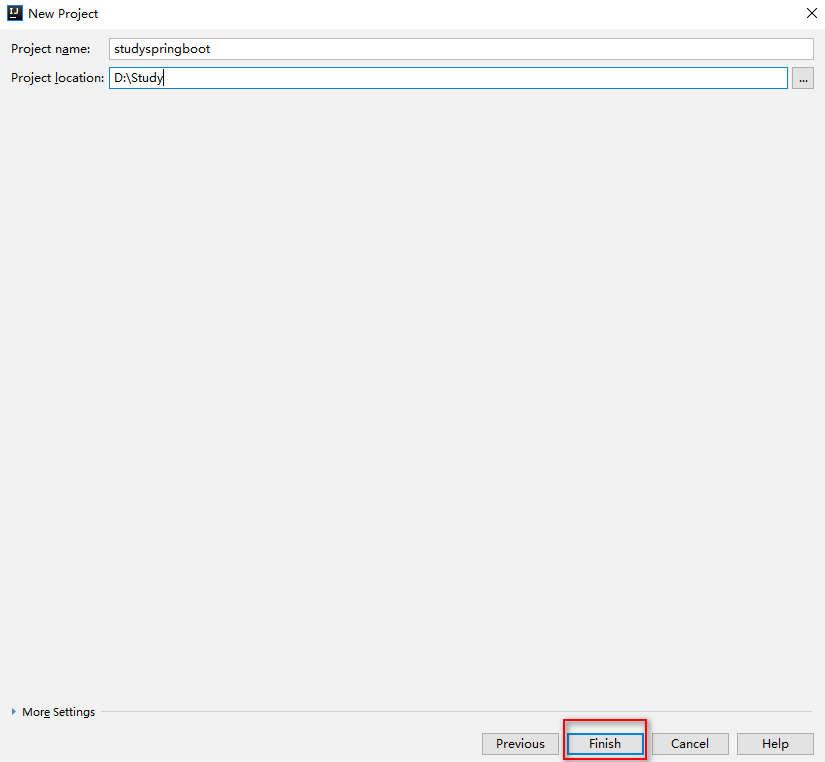
1. Create a maven jar project:
2. Add dependency
Now our project has nothing to do with Spring Boot. Spring Boot provides a project called Spring Boot starter parent, which has managed the versions of various common dependencies (not all). Our project needs to take this project as the parent project, so we don't have to worry about the version of dependencies. We can directly introduce the coordinates of dependencies.
2.1. Add dependency
Add parent project coordinates
<parent>
	<groupId>org.springframework.boot</groupId>
	<artifactId>spring-boot-starter-parent</artifactId>
	<version>2.1.5.RELEASE</version>
</parent>
2.2. Add dependency web initiator
In order for Spring Boot to help us complete various automatic configurations, we must introduce the automatic configuration dependency provided by Spring Boot, which is called initiator. because
As we are a web project, we introduce a web launcher in POM Add the following dependencies to the XML file:
<dependencies>
	<dependency>
		<groupId>org.springframework.boot</groupId>
		<artifactId>spring-boot-starter-web</artifactId>
	</dependency>
</dependencies>
It should be noted that we do not specify the version information here. Because the parent project of Spring Boot has managed the version.
At this time, we will find a lot of dependencies in the project.
Those dependencies are automatically introduced by Spring Boot according to the dependency Spring Boot starter web, and all versions have been managed. No
There will be conflicts.
2.3. Manage jdk version
If we want to modify the jdk version of the Spring Boot project, we simply need to add the following attributes. If there are no requirements, we will not add them. alike
In POM Add the following to the XML file:
<properties>
	<java.version>1.8</java.version>
</properties>
2.4. Complete pom documents
<?xml version="1.0" encoding="UTF-8"?>
<project xmlns="http://maven.apache.org/POM/4.0.0"
         xmlns:xsi="http://www.w3.org/2001/XMLSchema-instance"
         xsi:schemaLocation="http://maven.apache.org/POM/4.0.0
		 http://maven.apache.org/xsd/maven-4.0.0.xsd">
    <modelVersion>4.0.0</modelVersion>
    <groupId>com.leyou.demo</groupId>
    <artifactId>springboot-demo</artifactId>
    <version>1.0-SNAPSHOT</version>
    <properties>
        <java.version>1.8</java.version>
    </properties>
    <parent>
        <groupId>org.springframework.boot</groupId>
        <artifactId>spring-boot-starter-parent</artifactId>
        <version>2.1.5.RELEASE</version>
    </parent>
    <dependencies>
        <dependency>
            <groupId>org.springframework.boot</groupId>
            <artifactId>spring-boot-starter-web</artifactId>
        </dependency>
    </dependencies>
</project>
2.3. Startup class
The Spring Boot project can be started through the main function. We need to create a startup class:
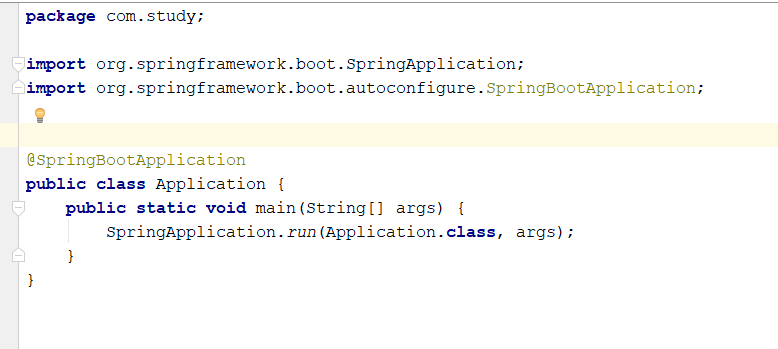
@SpringBootApplication
public class Application {
	public static void main(String[] args) {
		SpringApplication.run(Application.class, args);
	}
}
2.4. Write controller
Next, you can develop the spring MVC project as before!
Write com study. controller. HellowController
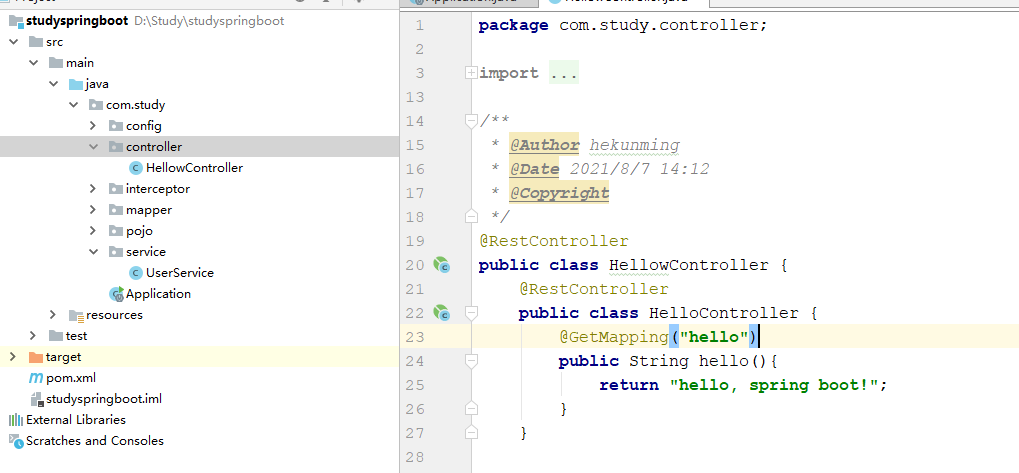
@RestController
public class HelloController {
	    @GetMapping("hello")
		public String hello(){
			return "hello, spring boot!";
		}
}
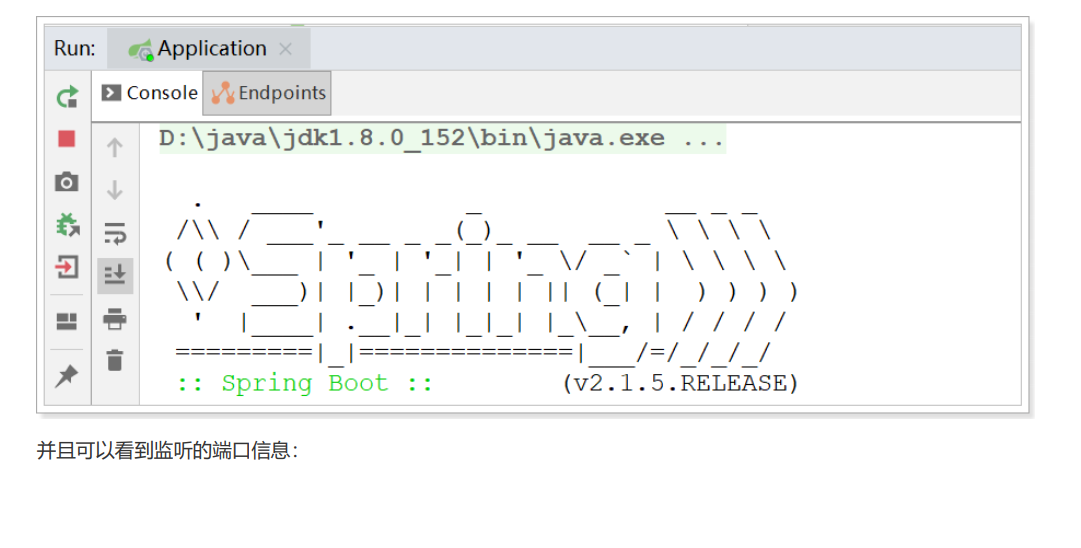
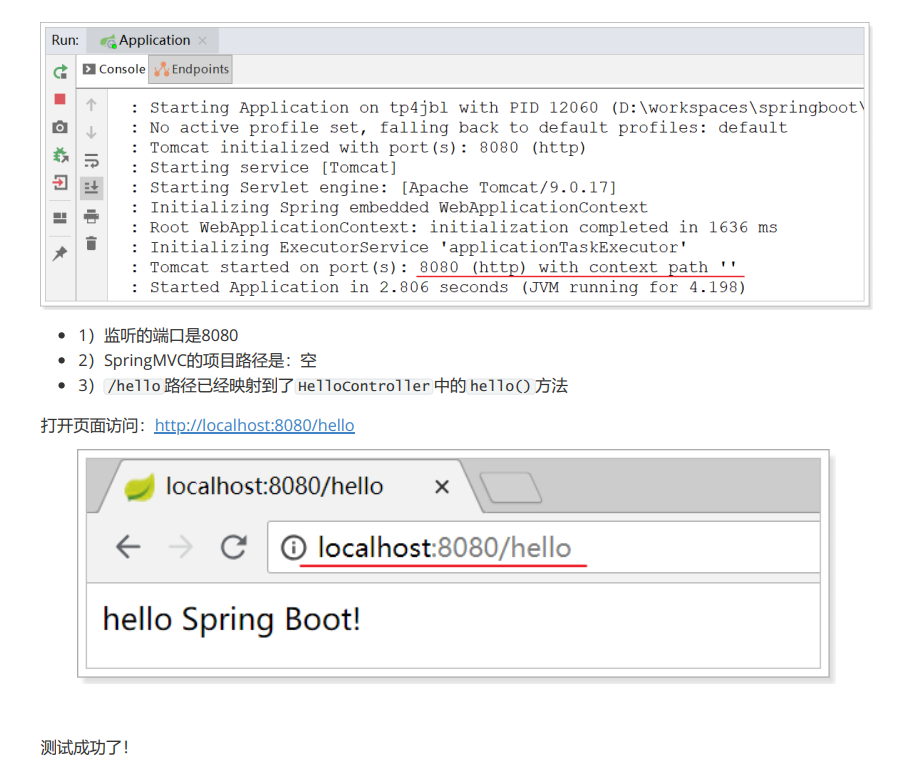
2.5. Start test
Next, run the main function to view the console: