Original title: Spring certified China Education Management Center - learn how to use spring to perform form verification (spring China Education Management Center)

This guide will guide you through the process of configuring Web application forms to support validation.
What will you build
You will build a simple Spring MVC application that accepts user input and checks the input using standard validation comments. You will also see how to display an error message on the screen so that the user can re-enter the input to make it valid.
What do you need?
- About 15 minutes
- Favorite text editor or IDE
- JDK 1.8 or later
- Gradle 4 + or Maven 3.2+
- You can also import the code directly into the IDE: spring tool kit (STS)IntelliJ IDEA
How to complete this guide
Like most Spring getting started guides, you can start from scratch and complete each step, or you can bypass the basic setup steps you are already familiar with. Either way, you'll end up with working code.
To start from scratch, continue with Spring Initializr.
To skip the basics:
- Download and unzip the source code base of this guide, or clone it with Git: git clone https://github.com/spring-guides/gs-validating-form-input.git
- The CD enters GS validating form input / initial
- Jump to creating the PersonForm object.
When you are finished, you can check the results against the code in
gs-validating-form-input/complete.
Start with Spring Initializr
You can use this pre initialized project and click Generate to download the ZIP file. This project is configured to fit the examples in this tutorial.
Manually initialize the project:
- Navigate to https://start.spring.io . The service extracts all the dependencies required by the application and completes most of the settings for you.
- Select Gradle or Maven and the language you want to use. This guide assumes that you have chosen Java.
- Click Dependencies and select Spring Web, Thymeleaf, and Validation.
- Click generate.
- Download the generated ZIP file, which is an archive of the Web application configured according to your choice.
If your IDE has spring initializer integration, you can complete this process from your IDE.
You can also fork the project from Github and open it in your IDE or other editor.
Create a PersonForm object
The application involves verifying the user's name and age, so you first need to create a class that supports forms for creating people. The following list (from
src/main/java/com/example/validatingforminput/PersonForm.java) shows how to do this:
package com.example.validatingforminput;

import javax.validation.constraints.Min;
import javax.validation.constraints.NotNull;
import javax.validation.constraints.Size;

public class PersonForm {

	@NotNull
	@Size(min=2, max=30)
	private String name;

	@NotNull
	@Min(18)
	private Integer age;

	public String getName() {
		return this.name;
	}

	public void setName(String name) {
		this.name = name;
	}

	public Integer getAge() {
		return age;
	}

	public void setAge(Integer age) {
		this.age = age;
	}

	public String toString() {
		return "Person(Name: " + this.name + ", Age: " + this.age + ")";
	}
}copy
This class of PersonForm has two properties: name and age. It comes with some standard validation notes:
- @Size(min=2, max=30): the length of the name is allowed to be between 2 and 30 characters.
- @NotNull: null value is not allowed. This is the value generated by Spring MVC when the entry is empty.
- @Min(18): age below 18 is not allowed.
In addition, you can also view the getter and settername of and and a convenient toString() method of age.
Create Web controller
Now that you have defined the form support object, it's time to create a simple Web controller. The following list (from
src/main/java/com/example/validatingforminput/WebController.java) shows how to do this:
package com.example.validatingforminput;

import javax.validation.Valid;

import org.springframework.stereotype.Controller;
import org.springframework.validation.BindingResult;
import org.springframework.web.bind.annotation.GetMapping;
import org.springframework.web.bind.annotation.PostMapping;
import org.springframework.web.servlet.config.annotation.ViewControllerRegistry;
import org.springframework.web.servlet.config.annotation.WebMvcConfigurer;


@Controller
public class WebController implements WebMvcConfigurer {

	@Override
	public void addViewControllers(ViewControllerRegistry registry) {
		registry.addViewController("/results").setViewName("results");
	}

	@GetMapping("/")
	public String showForm(PersonForm personForm) {
		return "form";
	}

	@PostMapping("/")
	public String checkPersonInfo(@Valid PersonForm personForm, BindingResult bindingResult) {

		if (bindingResult.hasErrors()) {
			return "form";
		}

		return "redirect:/results";
	}
}
The controller has a GET method and a POST method. Both methods map to /
The showForm method returns the form template. It includes a # PersonForm in its method signature so that the template can associate form properties with PersonForm
The checkPersonInfo method accepts two parameters:
- An object marked with personForm, @ Valid is used to collect the attributes filled in the form.
- A bindingResult object so that you can test and retrieve validation errors.
You can retrieve all properties from the form bound to the PersonForm object. In the code, you test for errors. If you encounter an error, you can send the user back to the original form template. In this case, all error attributes are displayed.
If all the attributes of the person are valid, it redirects the browser to the final results template.
Build HTML front end
Now build the "main" page, as shown in the following listing (from
src/main/resources/templates/form.html):
<!DOCTYPE HTML>
<html xmlns:th="http://www.thymeleaf.org">
    <body>
        <form action="#" th:action="@{/}" th:object="${personForm}" method="post">
            <table>
                <tr>
                    <td>Name:</td>
                    <td><input type="text" th:field="*{name}" /></td>
                    <td th:if="${#fields.hasErrors('name')}" th:errors="*{name}">Name Error</td>
                </tr>
                <tr>
                    <td>Age:</td>
                    <td><input type="text" th:field="*{age}" /></td>
                    <td th:if="${#fields.hasErrors('age')}" th:errors="*{age}">Age Error</td>
                </tr>
                <tr>
                    <td><button type="submit">Submit</button></td>
                </tr>
            </table>
        </form>
    </body>
</html>
This page contains a simple form with each field in a separate cell in the table. This form is suitable for publishing to / It is marked as being backed up by the object you see in the method of the Web controller personform. GET this is called "bean backed form". There are two fields in the bean, personform. You can see that they are marked with th:field="*{name}" and th:field="*{age}". Next to each field is a secondary element that displays any validation errors.
Finally, you have a button to submit the form. Typically, if a user enters a name or age that violates the @ Valid limit, it will pop back to the page with an error message. If a Valid name and age are entered, the user will be routed to the next page.
The following example (from
src/main/resources/templates/results.html) displays the result page:
<html>
	<body>
		Congratulations! You are old enough to sign up for this site.
	</body>
</html>
In this simple example, these pages do not have any complex CSS or JavaScript.
Run the application
For this application, you are using Thymeleaf's template language. This application requires more than raw HTML. Spring Initializr creates an application class for you. The following list (from
src/main/java/com/example/validatingforminput/ValidatingFormInputApplication.java) shows this class:
package com.example.validatingforminput;

import org.springframework.boot.SpringApplication;
import org.springframework.boot.autoconfigure.SpringBootApplication;

@SpringBootApplication
public class ValidatingFormInputApplication {

	public static void main(String[] args) throws Exception {
		SpringApplication.run(ValidatingFormInputApplication.class, args);
	}

}
To activate Spring MVC, you usually add @ EnableWebMvc to the Application class. But when Spring Boot detects @ SpringBootApplication on your classpath, it has added this annotation spring webmvc. The same annotation allows it to find the annotated @ Controller class and its methods.
Thymeleaf is also configured by @ SpringBootApplication By default, the template is located under the classpath templates /, and is resolved to a view by removing the ". html" suffix from the file name. (thymeleaf settings can be changed and overwritten in many ways, depending on what you need to achieve, but the details are not related to this guide.)
Build an executable JAR
You can run the application from the command line using Gradle or Maven. You can also build and run a single executable jar file that contains all the necessary dependencies, classes, and resources. Building executable jars can easily deliver, versione and deploy services as applications throughout the development life cycle, across different environments, and so on.
If you use Gradle, you can use/ gradlew bootRun. Alternatively, you can use to build JAR files/ gradlew build, and then run the} JAR file as follows:
java -jar build/libs/gs-validating-form-input-0.1.0.jar
If you use Maven, you can use/ mvnw spring-boot:run. Alternatively, you can use the build JAR file/ mvnw clean package and run the JAR file as follows:
java -jar target/gs-validating-form-input-0.1.0.jar
The steps described here create a runnable JAR. You can also build classic WAR files.
The application should start and run in a few seconds.
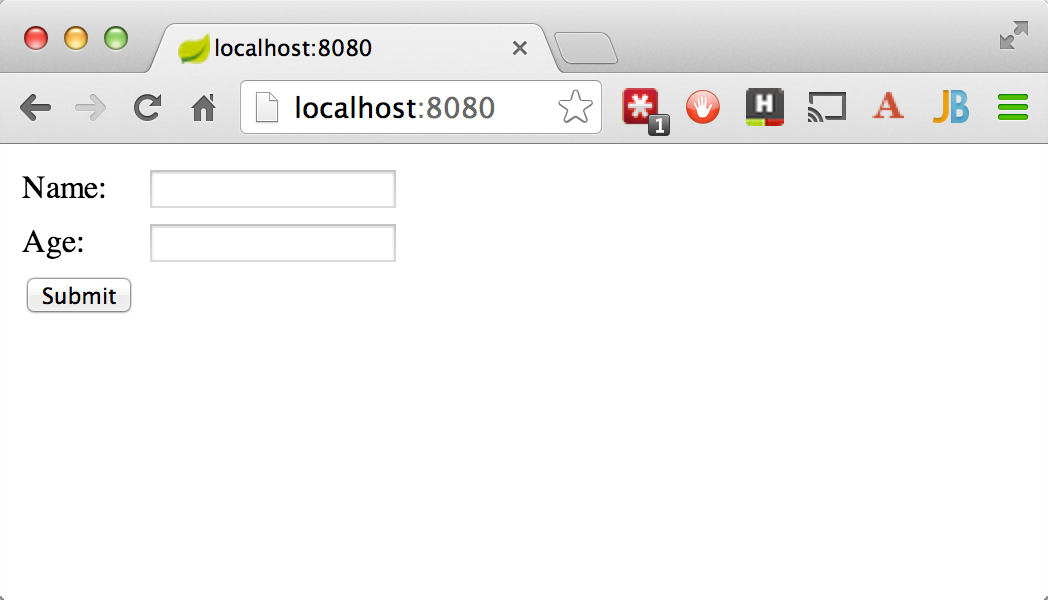
If you visit http://localhost:8080/ , you should see something similar to the following figure:
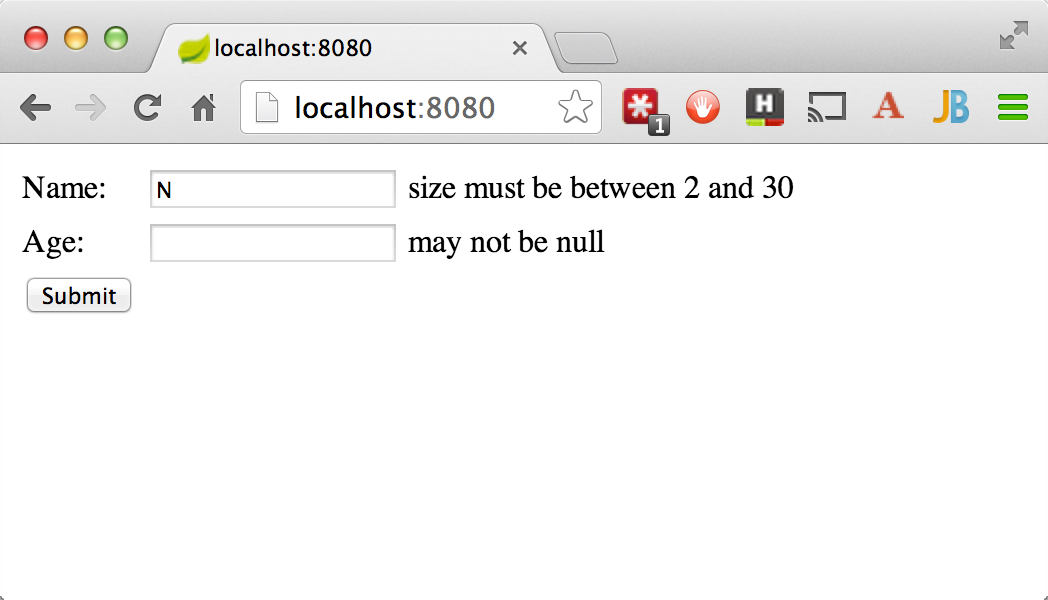
The following pair of images shows what happens if you enter N name and 15 age and click submit:


The previous image shows that you will be bounced back to the "main" page because the value violates the constraint in the PersonForm class. Please note that if you click submit without any content in the input box, you will receive different errors, as shown in the following figure:
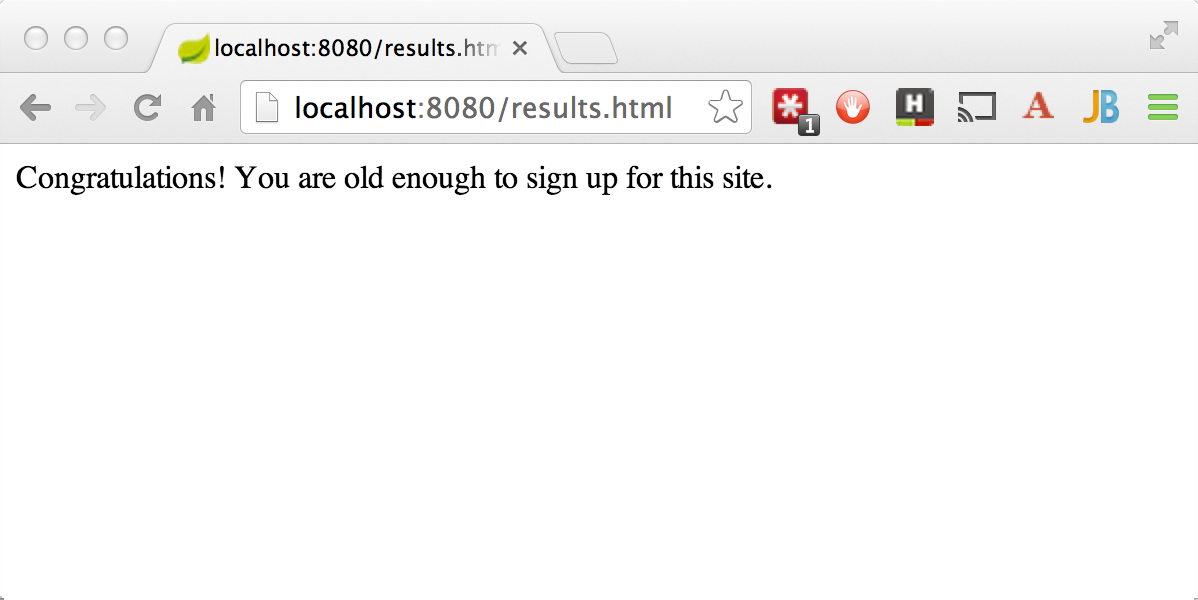
If you enter a valid name and age, you will eventually enter the results page, as shown in the following figure:
summary
congratulations! You have written a simple Web application with built-in validation in the domain object. In this way, you can ensure that the data meets specific standards and that the user enters the data correctly.