I wrote some yesterday. Basic operation of spring security Today, let's share how to customize your own login page.
Project preparation
Based on yesterday's project, the pom dependency remains unchanged, with spring boot version 2.1.7.RELEASE
<dependency>
	<groupId>org.springframework.boot</groupId>
	<artifactId>spring-boot-starter-security</artifactId>
</dependency>
<dependency>
	<groupId>org.springframework.boot</groupId>
	<artifactId>spring-boot-starter-web</artifactId>
</dependency>
<dependency>
	<groupId>org.springframework.boot</groupId>
	<artifactId>spring-boot-starter-test</artifactId>
	<scope>test</scope>
</dependency>
start
In fact, there is not much work to do with this requirement, but there are some spring security mechanisms that may be perplexed by some problems if you are not clear about them. Let's work it out one by one.
To implement the requirement of custom login page, we need to do the following two things:
- Implementing a login page
- Configure spring security to default on our own login page
Implementing a landing page
Here I will simply write a form, according to their actual situation to write their own login page.
<!DOCTYPE html>
<html lang="en" xmlns:th="http://www.thymeleaf.org">
<head>
	<meta charset="UTF-8">
	<title>Sign in</title>
</head>
<body>
<!--Here action Write a random address first, and then we configure it.-->
<form action="/demo-login" method="post">
	<input type="text" name="username" />
	<input type="password" name="password">
	<button type="submit">Sign in</button>
</form>
</body>
</html>
This page is named demo-login.html and needs to be placed in the path of srcmainresources\resources\\ (note that there are two resources folders). Under this path, we can access our HTML file directly after the project starts, which is the default configuration of spring boot. If you don't want to put it under this folder, just change the configuration of spring boot. How to change it? There are many changes on the Internet, so I won't go into too much detail.
Configure spring security
To configure spring security, we need to write a class, inherit WebSecurity Configurer Adapter, and then rewrite some methods according to our needs. We just need to rewrite the method of void configure(HttpSecurity http) to customize the login page. Let's write about the configuration.
//Configuration does not take effect without writing this comment
@Configuration
public class SecurityConfig extends WebSecurityConfigurerAdapter {

	@Override
	protected void configure(HttpSecurity http) throws Exception {

		http.formLogin()
		    .loginPage("/demo-login.html")
		    .loginProcessingUrl("/demo-login");
	}
}
The configuration described above is very simple. Let's explain it briefly.
The first line indicates that spring security uses form form login (another way to login is Basic login)
The second line indicates that the default login page path for spring security is / demo-login.html, which is the name of the HTML file we wrote above.
The third line indicates that the interface for processing login requests is / demo-login, which is the value of the form action attribute we wrote above.
Write down here, let's start the project and try it out to see what the result is.

We found that we could access the interface directly without login. This is because we override the method of void configure(HttpSecurity http), which covers the default access control configuration of spring security. Let's write these configurations for ourselves.
@Configuration
public class SecurityConfig extends WebSecurityConfigurerAdapter {

	@Override
	protected void configure(HttpSecurity http) throws Exception {

		http.formLogin()
		    .loginPage("/demo-login.html")
		    .loginProcessingUrl("/demo-login")
		    .and()
		    .authorizeRequests()
		    .anyRequest().authenticated();
	}
}
Three new lines of configuration have been added. As literally indicated, these three-line configurations indicate that all requests require authentication. Now let's start the project and visit the interface.
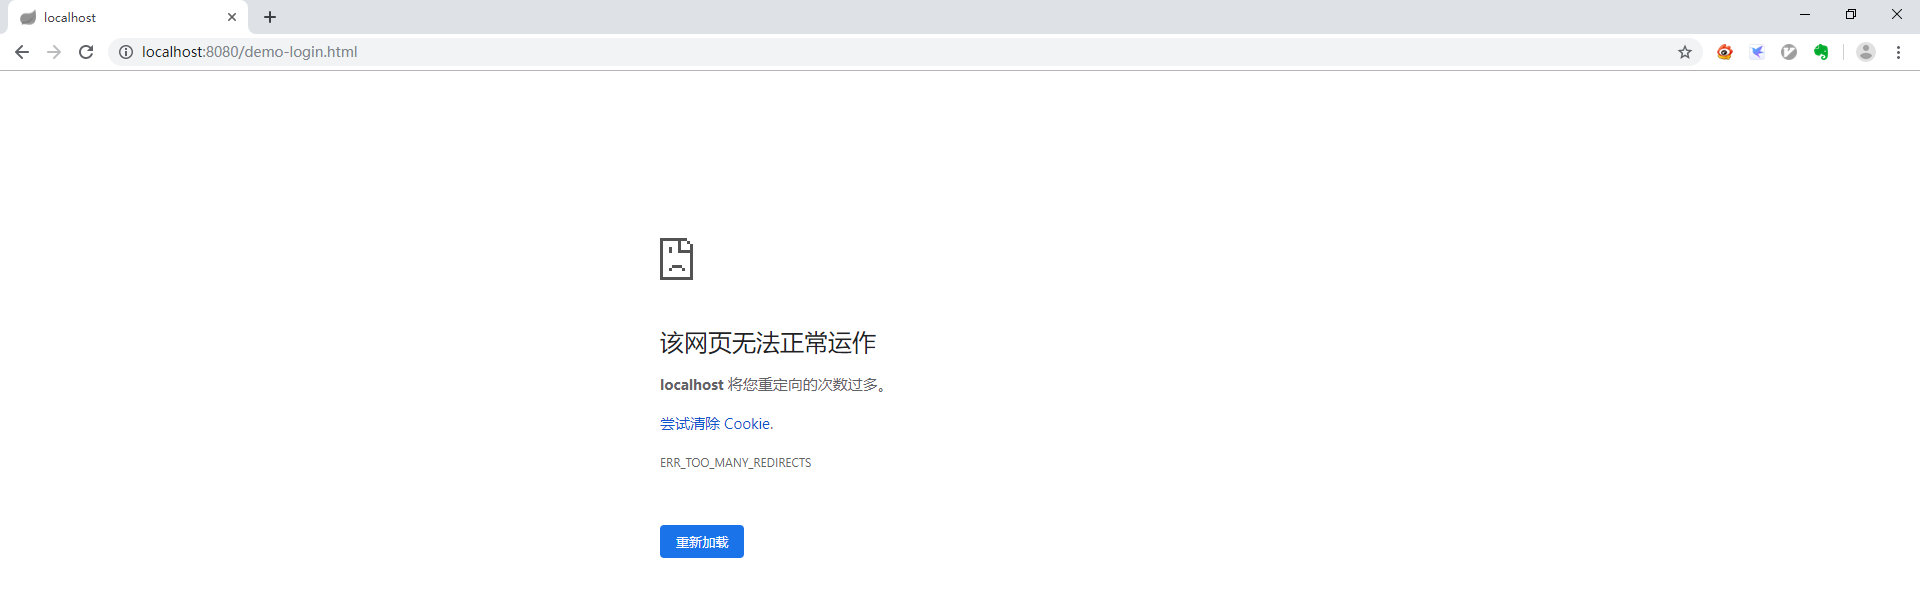
At this time, it was found that the browser prompted the redirection too many times. Why? Let's analyze what happens when we enter our interface address in the browser address bar and press Enter.
Access / hello interface, because we just configure all requests need authentication, now we do not log in, then naturally jump to log in page, jump / demo-login. html. But/demo-login.html also needs identity authentication, so jump/demo-login.html again, so repeat the round trip and then go back and forth.
Once the problem is clear, the solution is clear: configure / demo-login.html and / demo-login (the value of the form action attribute) to be unauthorized and released.
@Configuration
public class SecurityConfig extends WebSecurityConfigurerAdapter {

	@Override
	protected void configure(HttpSecurity http) throws Exception {

		http.formLogin()
		    .loginPage("/demo-login.html")
		    .loginProcessingUrl("/demo-login")
		    .and()
		    .authorizeRequests()
		    .antMatchers("/demo-login.html", "/demo-login").permitAll()
		    .anyRequest().authenticated();
	}
}
Add a row configuration to release / demo-login.html and / demo-login. Now let's restart the project.

Now our login page is displayed properly. We enter the correct username and password to try to login.
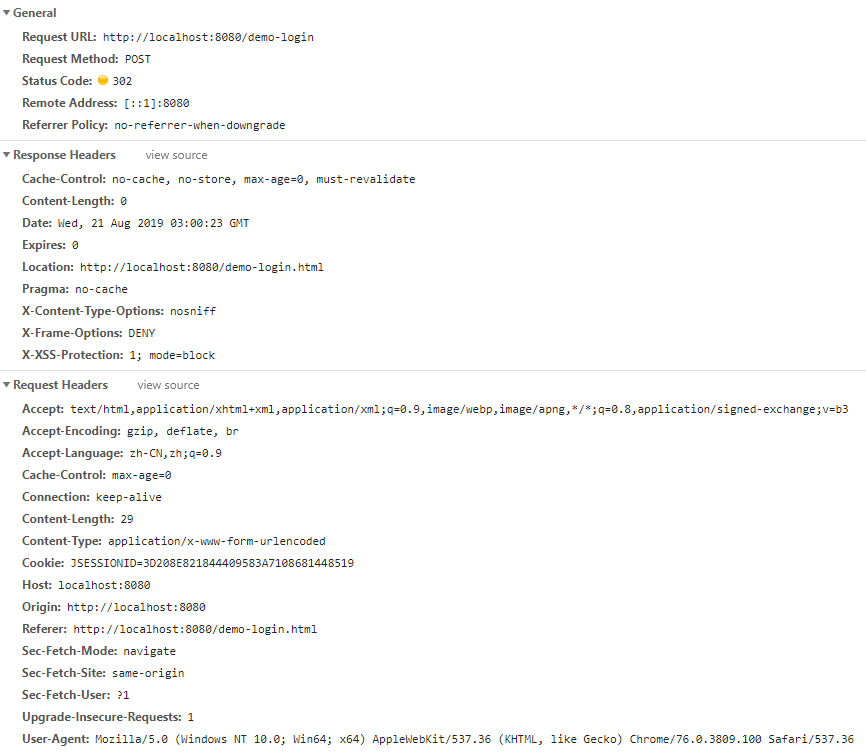
We found that we clicked login and went back to the login page. Look at the network request and see that the login request just returned 302 status code. No exception was found after looking at Java console. Let's try to look at the debug log to see what's wrong.
Change the log level of spring boot, add configuration logging.level.root=debug, restart the project, retry the previous operation, and check console.
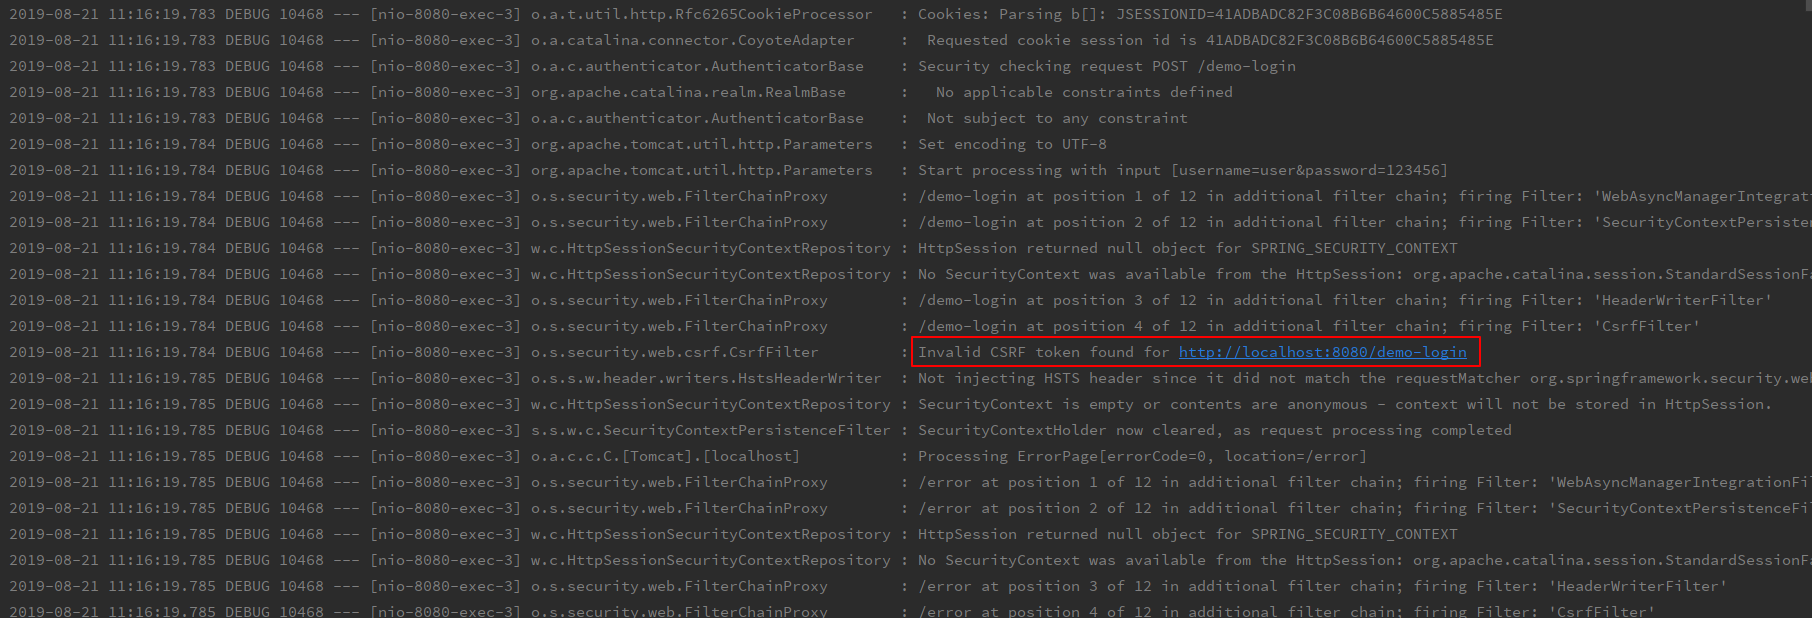
We found an error and showed invalid csrf token. This is because spring security turns on csrf protection by default, as long as you bring csrf token in the request. This token was ready for us when we returned to the login page, but we didn't use the template engine, so it's difficult to get token. Let's turn off csrf here. You can figure out how to get this token and bring it with you. Rewrite the configuration.
@Configuration
public class SecurityConfig extends WebSecurityConfigurerAdapter {

	@Override
	protected void configure(HttpSecurity http) throws Exception {

		http.formLogin()
		    .loginPage("/demo-login.html")
		    .loginProcessingUrl("/demo-login")
		    .and()
		    .authorizeRequests()
		    .antMatchers("/demo-login.html", "/demo-login").permitAll()
		    .anyRequest().authenticated()
		    .and()
		    .csrf().disable();
	}
}
Configuration has been written so far that it's really all finished. Now we can restart the project and log in to the access interface.

epilogue
Requirements are implemented, and generally there is not much code. But in the process will encounter many problems, we need to be patient to find. Some of the techniques involved, such as checking debug logs, require you to calm down and slowly see where the problem lies. It's also addictive to solve problems by thinking independently.
Don't say much. Bye-bye.