1. Creating Engineering
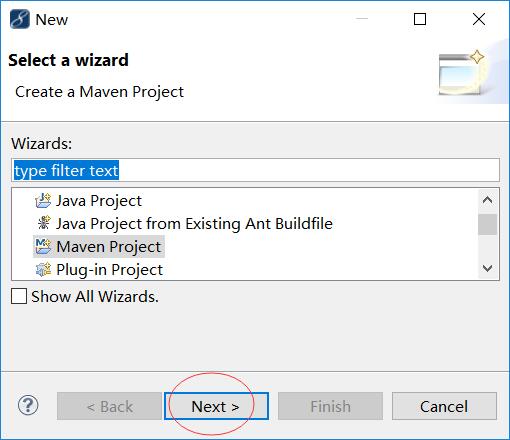
First we open MyEclipse and create a Maven project:
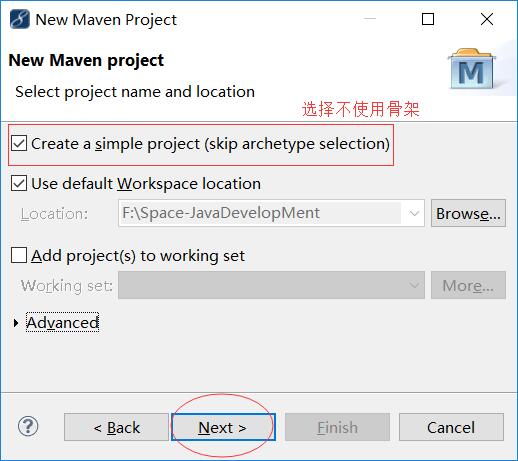
Then we choose the Creation Mode, where we choose not to need the skeleton:
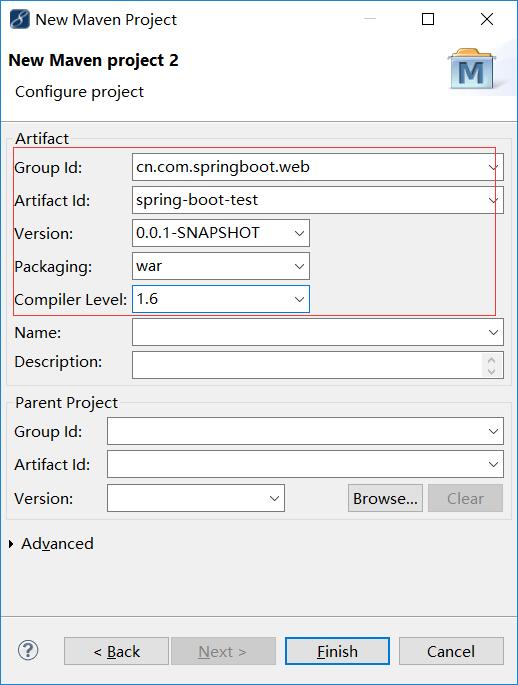
Finally, fill in the relevant parameters of the project:
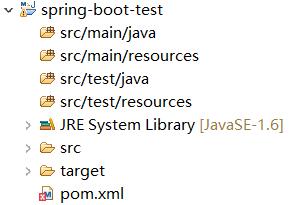
After the project is created, the project catalogue is as follows:
There are some errors in the pom.xml file. Let's configure it first and add SpringBook dependencies to the POM file. The configuration is as follows:
<project xmlns="http://maven.apache.org/POM/4.0.0"
	xmlns:xsi="http://www.w3.org/2001/XMLSchema-instance"
	xsi:schemaLocation="http://maven.apache.org/POM/4.0.0
	http://maven.apache.org/xsd/maven-4.0.0.xsd">
  <modelVersion>4.0.0</modelVersion>
  <groupId>cn.com.springboot.web</groupId>
  <artifactId>spring-boot-test</artifactId>
  <version>0.0.1-SNAPSHOT</version>
  <packaging>war</packaging>

  <parent>
       <groupId>org.springframework.boot</groupId>
       <artifactId>spring-boot-starter-parent</artifactId>
       <version>1.5.4.RELEASE</version>
       <relativePath/> <!-- lookup parent from repository -->
   </parent>


   <properties>
       <project.build.sourceEncoding>UTF-8</project.build.sourceEncoding>
       <project.reporting.outputEncoding>UTF-8</project.reporting.outputEncoding>
       <java.version>1.8</java.version>
   </properties>

  <dependencies>
       <dependency>
           <groupId>org.springframework.boot</groupId>
           <artifactId>spring-boot-starter-web</artifactId>
       </dependency>


       <dependency>
           <groupId>org.springframework.boot</groupId>
           <artifactId>spring-boot-starter-test</artifactId>
           <scope>test</scope>
       </dependency>

       <dependency>
	      <groupId>mysql</groupId>
	      <artifactId>mysql-connector-java</artifactId>
	   </dependency>
   </dependencies>


   <build>
       <plugins>
           <plugin>
               <groupId>org.springframework.boot</groupId>
               <artifactId>spring-boot-maven-plugin</artifactId>
           </plugin>
       </plugins>
   </build>
</project>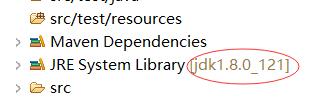
Then we save the pom.xml file, and when the compiler loads and updates, we will see that maven dependencies are successfully loaded into the project:

When we turn on the details of "Maven Dependencies" dependencies, we can see that the following dependencies are introduced:
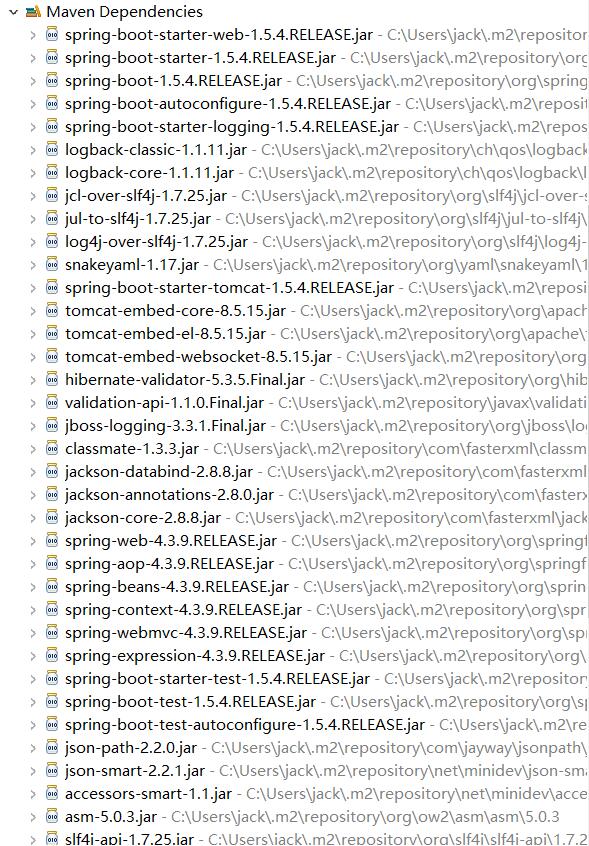
We can see that common web dependencies are introduced, and as mentioned in the previous overview, SpringBoot's core dependencies contain many common jar package dependencies for development.
There are two jar dependencies that we want to explain:
(1)spring-boot-starter-parent
This dependency is the parent dependency of Spring Book, which is used to provide the relevant Maven default dependency. After introducing this dependency, the commonly used package dependency can omit the version tag.
To see which jar package dependencies Spring Book provides, go to the following path in your local maven repository:
xxx\repository\org\springframework\boot\spring-boot-dependencies\1.5.4.RELEASE\spring-boot-dependencies-1.5.1.RELEASE.pom
View in the pom file. If some of the dependency versions provided by SpringBoot are not needed in development, you can choose to declare other versions of dependency override dependencies.
(2)spring-boot-starter-web
This dependency is one of the "out-of-the-box" dependency modules of Spring Boot, and the "out-of-the-box" dependencies are basically named after spring-boot-starter-xx. About out-of-the-box use,
It automatically encapsulates the required functional dependencies, does not need to do a lot of configuration and introduce a variety of required dependencies, and does not have the problem of dependency version mismatch.
Then we create a user request response Controller layer to respond to a RESTful-style request:
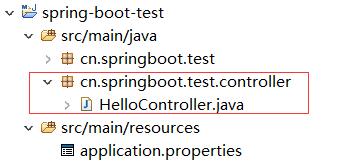
The code is as follows:
package cn.springboot.test.controller;

import java.util.HashMap;
import java.util.Map;

import org.springframework.web.bind.annotation.PathVariable;
import org.springframework.web.bind.annotation.RequestMapping;
import org.springframework.web.bind.annotation.RestController;

@RestController
//The annotation is equivalent to a combination of @Controller+@ResponseBody, and the methods in the class using the annotation are all output in json format.
public class HelloController {
  private static Map<Integer,String> userMap = new HashMap<Integer,String>();
  private void initUserMap(){
	  userMap.put(1, "Zhang San");userMap.put(2, "Li Si");
	  userMap.put(3, "Wang Wu");userMap.put(4, "Zhao er");
  }

  @RequestMapping("/hello/{id}")
  public String findById(@PathVariable Integer id) {
	  initUserMap();
      return "Hello, User:" + userMap.get(id);
  }
}
SpringBoot starts in three ways:
1. main method startup
2. Start the application on the command line using the maven command mvn spring-boot:run
3. The Java-jar command starts and needs to be packaged by running "mvn package"
Let's choose the first way. Create a core startup class for SpringBoot:

The code is as follows:
package cn.springboot.test;
import org.springframework.boot.SpringApplication;
import org.springframework.boot.autoconfigure.SpringBootApplication;
@SpringBootApplication
//The core annotations for the Sprnig Book project are designed to turn on automatic configuration
public class SpringbootTestSimpleApplication {
//The main method acts as the entry point for project startup
public static void main(String[] args) {
SpringApplication.run(SpringbootTestSimpleApplication.class, args);
}
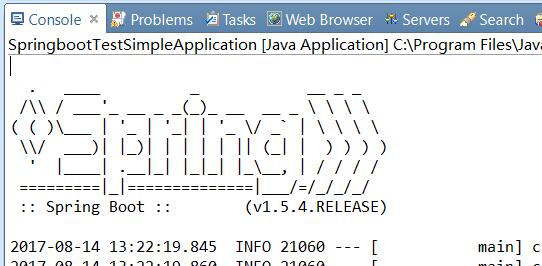
}We run Springboot Test Simple Application, waiting for the console to load:
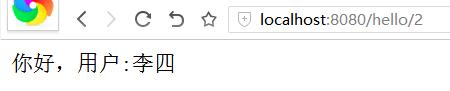
After loading, we access the hello service just written in the browser, and access user information with IDs of 1 and 2.
When the path is "http://localhost:8080/hello/1", the browser results are as follows: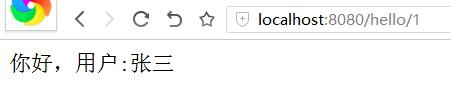
When the path is "http://localhost:8080/hello/2", the browser results are as follows:
In this way, we implemented a simple SpringBoot service, which looks very simple and fast, which is the strength of SpringBoot.
The next article will explain why SpringBoot can quickly build and publish a service.
For reprinting, please indicate the source: http://blog.csdn.net/acmman/article/details/77161016