Springcloud (VI) - teach you how to build the SpringCloud Config configuration center
Reprint: Renaissance_
https://www.jianshu.com/p/f85733ef2819
When there are too many microservices, the configuration of each microservice is difficult to manage centrally. SpringCloud Config implements centralized configuration management through git/svn code hosting. Achieve the configuration center client to obtain remote configuration files, which can be refreshed dynamically and take effect immediately.
Series articles
Springcloud (first) - teach you how to create springcloud microservice parent-child project
Springcloud (II) - teach you how to build Eureka Server and Eureka Client
Spring cloud (III) - teach you how to achieve client load balancing through rinbon
Spring cloud (IV) - teach you how to use OpenFeign
Spring cloud (V) - teach you how to use the Hystrix configuration service, fuse and downgrade, and the Hystrix Dashboard
Springcloud (VI) - teach you how to build the SpringCloud Config configuration center
Spring cloud (VII) - teach you how to use message Bus bus to realize dynamic refresh
Spring cloud (8) - teach you how to use Stream message driven
brief introduction
1. Create a new springcloud-config-server-8600
Create a new springcloud-config-server-8600 subproject to manage configuration files

8600 project structure
1.1 pom.xml dependency
The POM of springcloud-config-server-8600 The XML configuration is as follows, which mainly introduces spring cloud config server.
<?xml version="1.0" encoding="UTF-8"?>
<project xmlns="http://maven.apache.org/POM/4.0.0"
         xmlns:xsi="http://www.w3.org/2001/XMLSchema-instance"
         xsi:schemaLocation="http://maven.apache.org/POM/4.0.0 http://maven.apache.org/xsd/maven-4.0.0.xsd">
    <parent>
        <artifactId>springcloudtest</artifactId>
        <groupId>com.elio.springcloud</groupId>
        <version>1.0-SNAPSHOT</version>
    </parent>
    <modelVersion>4.0.0</modelVersion>

    <artifactId>springcloud-config-server-8600</artifactId>

    <dependencies>
        <dependency>
            <groupId>org.springframework.cloud</groupId>
            <artifactId>spring-cloud-config-server</artifactId>
        </dependency>
        <dependency>
            <groupId>org.springframework.cloud</groupId>
            <artifactId>spring-cloud-starter-netflix-eureka-client</artifactId>
        </dependency>
        <dependency>
            <groupId>org.springframework.boot</groupId>
            <artifactId>spring-boot-starter-web</artifactId>
        </dependency>
    </dependencies>
</project>
1.2 application.yml configuration
application. The configuration contents of YML are as follows, in which git address, account number and password need to be configured according to their actual situation.
server:
 port: 8600 #Port number

spring:
 application:
   name: springcloud-config-server # apply name
 cloud:
   config:
     server:
       git:
         uri: https:  #git address
         username:  # git account name
         password: # git account password

eureka:
 instance:
   instance-id: ${spring.application.name}:${server.port}
 client:
   fetch-registry: true
   register-with-eureka: true
   service-url:
     defaultZone: http://localhost:8300/eureka/,http://localhost:8301/eureka/
1.3 ConfigServer8600 main startup class
The main content of the @ configserver startup class is the following
package com.elio.springcloud;

import org.springframework.boot.SpringApplication;
import org.springframework.boot.autoconfigure.SpringBootApplication;
import org.springframework.cloud.client.discovery.EnableDiscoveryClient;
import org.springframework.cloud.config.server.EnableConfigServer;

@SpringBootApplication
@EnableDiscoveryClient
@EnableConfigServer
public class ConfigServer8600 {
    public static void main(String[] args){
        SpringApplication.run(ConfigServer8600.class, args);
    }
}
2. Create a new springcloud config server warehouse
2.1 add springcloud config server warehouse
Login code cloud account, then click the new warehouse button in the menu bar, jump and enter the basic information of the warehouse.

New warehouse

Fill in warehouse information

Click create
Click New File > New confi gt est pro YML configuration file, the contents of which are as follows
hello from configtest-pro
Click New File > New confi gt est-dev.yml configuration file. The contents of the file are as follows
hello from configtest-dev
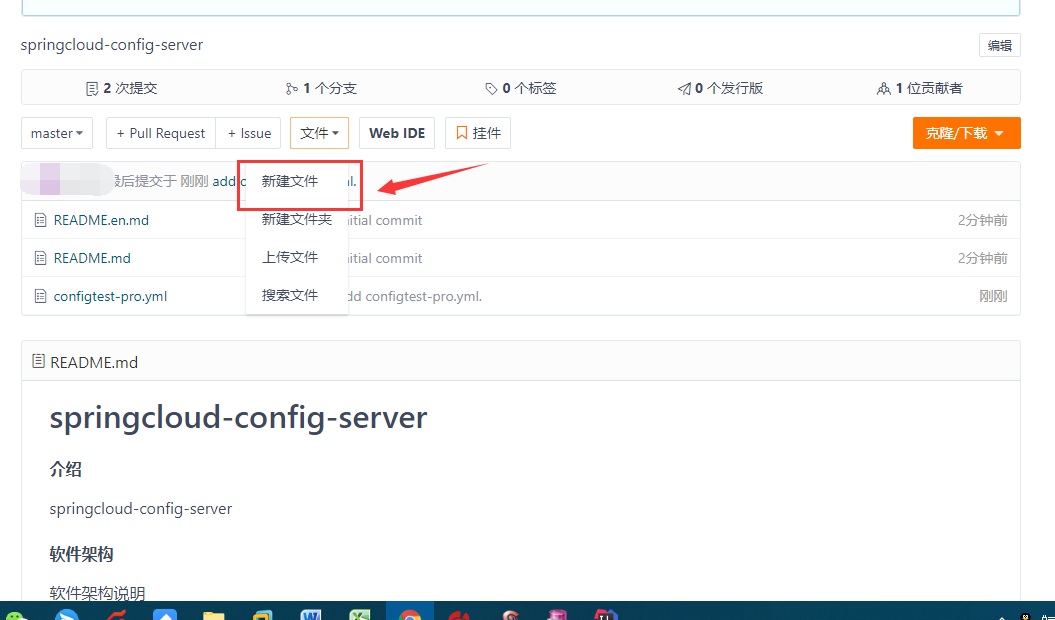
New profile
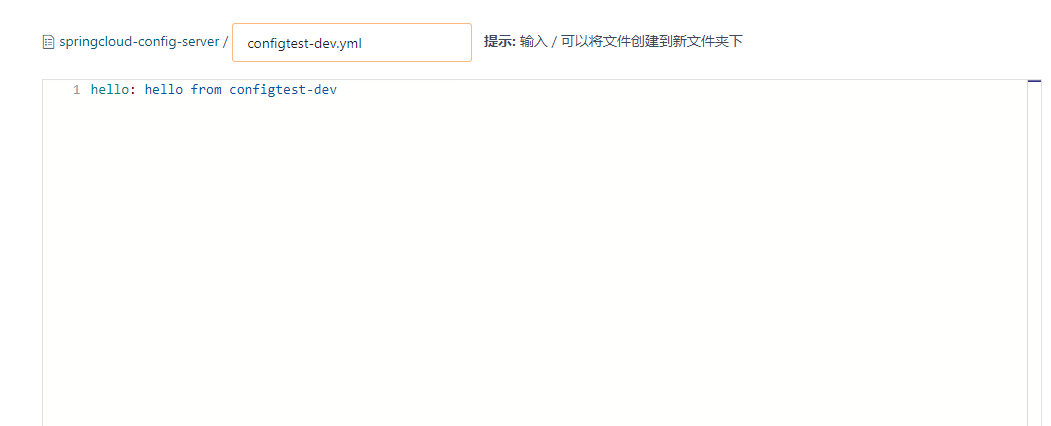
Added configtest-dev.yml

The final warehouse is as follows
2.2 modify configuration
Find the application. Of the springcloud-config-server-8600 project YML configuration, configure the path of the warehouse, git account, password and other information.
  cloud:
    config:
      server:
        git:
          uri:  #git address
          username: # git account name
          password:  # git account password
2.3 testing
Start eureka-server-8300, eureka-server-8301 and config-server-8600 successively, and enter the address in the browser
http://localhost:8600/configtest-pro.yml
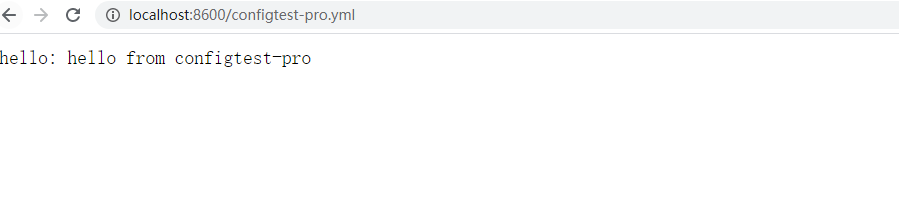
configtest-pro.yml
http://localhost:8600/configtest-dev.yml
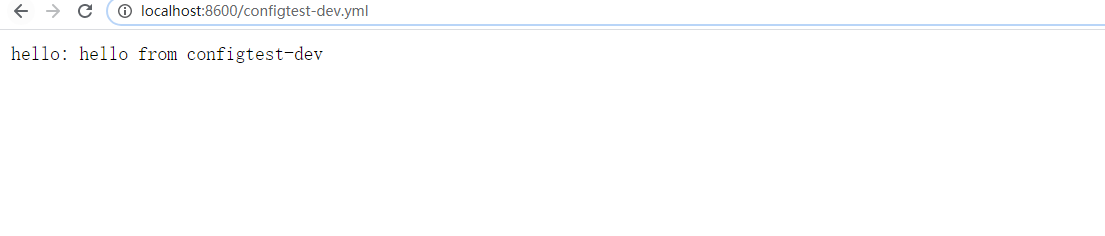
configtest-dev.yml
It can be seen that we have successfully accessed the configuration file content on git through the configuration center. The next step is to access our configuration file content through the config client.
3. config client configuration
3.1 product-provider-8100 modification
We reuse the sub project product-provider-8100 as the configuration client, so we don't add new sub projects.
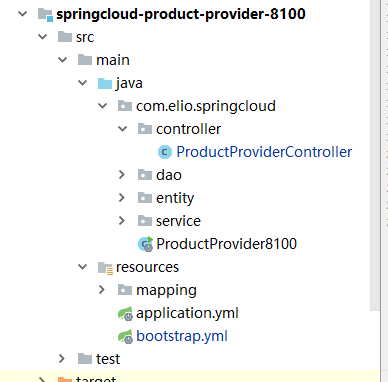
product-provider-8100 structure
3.1 add bootstrap YML configuration
bootstrap. The contents of the YML configuration file are as follows, in which eureka related configurations are not detailed here. among
- spring.cloud.config.name profile name
- spring. cloud. config. Policy of profile configuration pro production test test dev development
- spring.cloud.config. master branch
- spring.cloud.config. discovery.enabled enable configuration information discovery
- spring. cloud. config. discovery. Service ID specifies the service ID of the configuration center
spring:
  cloud:
    config:
      name: configtest # Gets the name of the configuration file
      profile: pro # Configuration strategy pro production test test dev development
      label: master # branch
      discovery:
        enabled: true # Enable configuration information discovery
        service-id: springcloud-config-server # Specify the service ID of the configuration center
eureka:
  instance:
    instance-id: ${spring.application.name}:${server.port}
  client:
    fetch-registry: true
    register-with-eureka: true
    service-url:
      defaultZone: http://localhost:8300/eureka/,http://localhost:8301/eureka/
3.2 pom.xml import dependency
pom.xml import spring cloud config client dependency
<!--config-client -->
        <dependency>
            <groupId>org.springframework.cloud</groupId>
            <artifactId>spring-cloud-config-client</artifactId>
        </dependency>
3.3 writing test methods
A new method is added in ProductProviderController, where hello is the key value in the configuration file.
    @Value("${hello}")
    private String hello;

    @GetMapping("product/provider/get/config/info")
    public Result getConfigInfo()throws Exception{
        return new Result(200,"",this.hello);
    }
3.4 start up test
Start eureka-server-8300, eureka-server-8301, config-server-8600 and product-provider-8100 successively, and enter the address in the browser
http://localhost:8100/product/provider/get/config/info
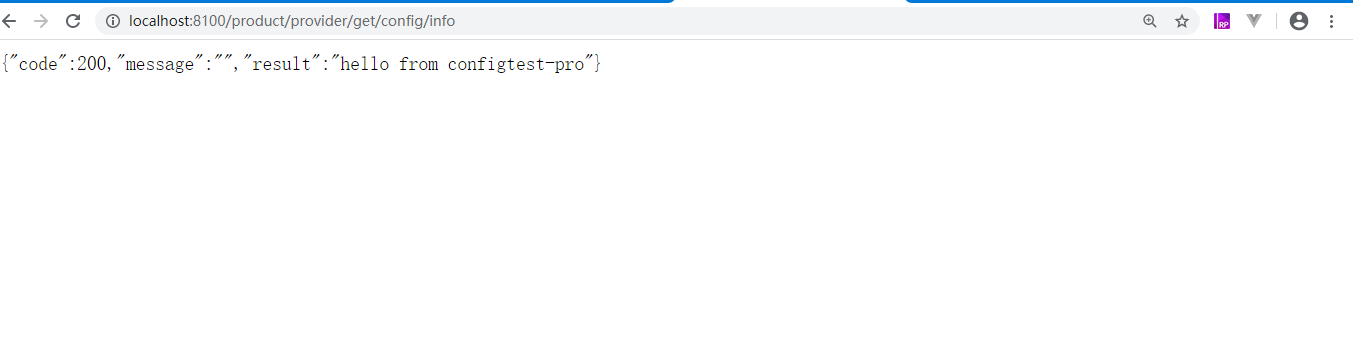
The result of configuration center is returned successfully
3.5 modifying remote configuration files
Now there are configuration files on the code cloud, but in actual production, we will often modify the configuration. Now, if the modified configuration is submitted, configtest pro The content of YML is modified as follows, indicating that it has been modified once.
hello: hello from configtest-pro modified once
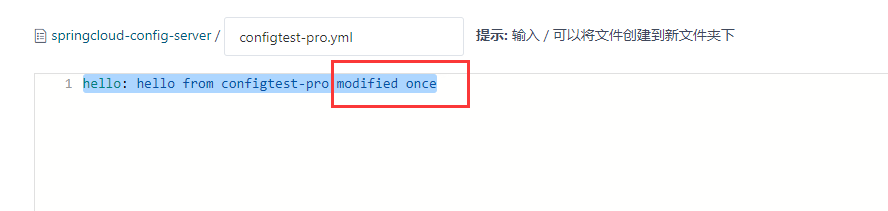
image.png
Then enter it in the browser again, and it is found that there is no dynamic refresh http://localhost:8100/product/provider/get/config/info

image.png
4. Realize manual refresh
Dynamic refresh means that the configuration obtained by the client can be refreshed in real time after the remote configuration file is modified.
4.1 add @ RefreshScope annotation
To achieve dynamic refresh, we need to add a new parameter in the ProductProviderController of the product-provider-8100 project
@RefreshScope annotation, indicating to refresh.
@RestController
@Slf4j
@RequestMapping("/")
@RefreshScope
public class ProductProviderController {
4.2 modify bootstrap YML configuration
Also, modify the bootstrap of the product-provider-8100 project Add the following to the YML configuration file
management:
  endpoints:
    web:
      exposure:
        include: refresh,health
4.2 pom.xml introduces monitoring dependency
Modify the POM of the product-provider-8100 project XML add the following configuration
 <!-- actuator Improvement of monitoring information -->
        <dependency>
            <groupId>org.springframework.boot</groupId>
            <artifactId>spring-boot-starter-actuator</artifactId>
        </dependency>
4.3 testing
We have completed the operation of the dependency and configuration related to dynamic refresh, and the next step is testing.
First, modify configtest pro For the configuration file of YML, modify the file content as follows
hello: hello from configtest-pro modified twice
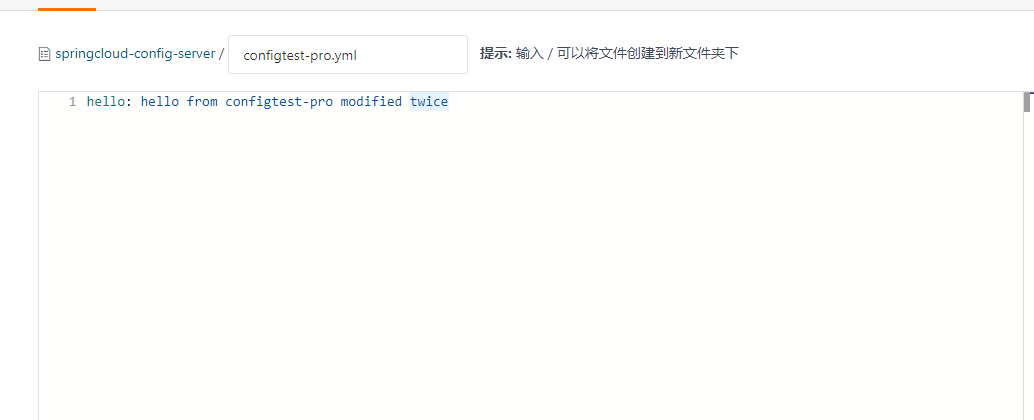
Modify configtest pro yml
Then visit the link, and there is still no refresh
http://localhost:8100/product/provider/get/config/info

Still not refreshed
We are still one step away. We need to access the api through post request[ http://localhost:8100/actuator/refresh] To refresh the configuration file, open cmd and use curl command to access
curl -X POST http://localhost:8100/actuator/refresh
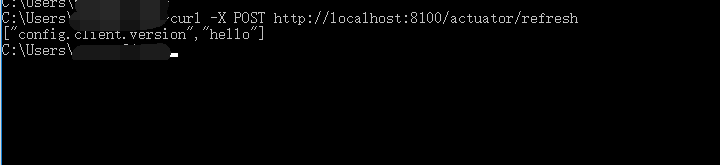
Access results
Then visit the link http://localhost:8100/product/provider/get/config/info
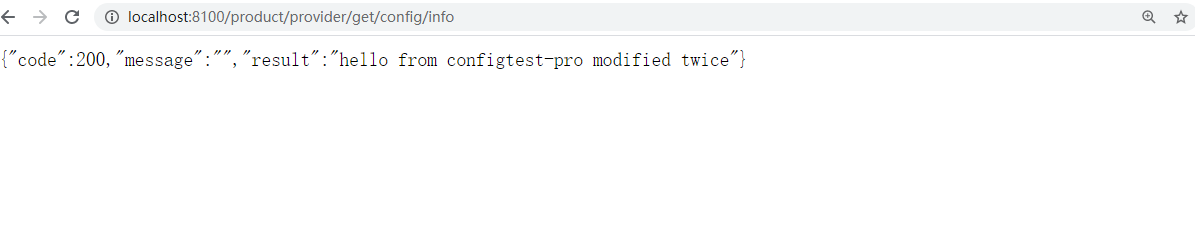
Found real-time refresh
The above is the basic content of dynamic refresh.
5 Summary
This article briefly introduces how to obtain the contents of remote configuration files by setting up the config configuration center, but the problem is that each time you modify the remote configuration file, you have to access it http://localhost:8100/actuator/refresh Refresh interface. It's OK to have fewer microservices. If there are too many microservices, it's difficult for us to refresh manually, so the next article will introduce how to realize automatic refresh through Bus.