Experimental schematic diagram
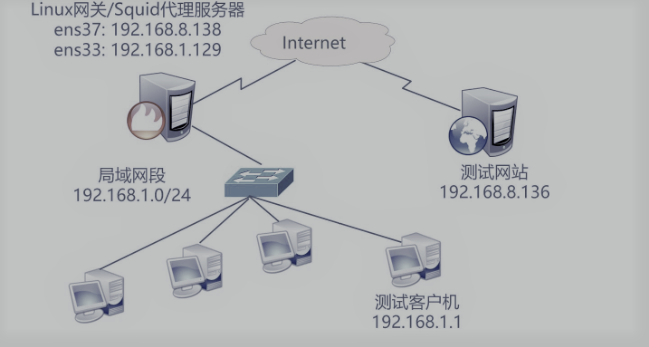
Step 1: configure the squid proxy server
#Remote share and mount source package
[root@squid ~]# smbclient -L //192.168.142.1
[root@squid ~]# mount.cifs //192.168.142.1/squid /mnt

#Decompress the source package
[root@squid ~]# cd /mnt
[root@squid mnt]# tar zxvf squid-3.4.6.tar.gz -C /opt

#Install build environment
[root@squid mnt]# yum install gcc gcc-c++ make -y

#Cut into the source package directory
[root@squid mnt]# cd /opt/squid-3.4.6/

#configure component item
[root@squid squid-3.4.6]# ./configure --prefix=/usr/local/squid \
>--sysconfdir=/etc \
>--enable-arp-acl \
>--enable-linux-netfilter \
>--enable-linux-tproxy \
>--enable-async-io=100 \
>--enable-err-language="Simplify_Chinese" \
>--enable-underscore \
>--enable-poll \
>--enable-gnuregex

#Compilation and installation
[root@squid squid-3.4.6]# make && make install

#Establish service command soft link to the system for easy management
[root@squid squid-3.4.6]# ln -s /usr/local/squid/sbin/* /usr/local/sbin

#Add program user
[root@squid squid-3.4.6]# useradd -M -s /sbin/nologin squid

#Modify the owner and group of the service directory
[root@squid squid-3.4.6]# chown -R squid.squid /usr/local/squid/var

#Modify the squid.conf configuration file
[root@squid squid-3.4.6]# vim /etc/squid.conf

http_port 3128
#Add the following entry under port 3128
#Specifies the size of memory space used by the cache function, which is recommended to be set to 1 / 4 of the physical memory
cache_mem 64 MB

#Allow users to download the maximum file size
reply_body_max_size 10 MB

#Size of site objects allowed to be saved to cache space
maximum_object_size 4096 KB
#Add program user
cache_effective_user squid

#Add user group
cache_effective_group squid

#Check configuration file syntax
[root@squid squid-3.4.6]# squid -k parse

#Initialize cache directory
[root@squid squid-3.4.6]# squid -z

#Startup service
[root@squid squid-3.4.6]# squid

#View service port status
[root@squid squid-3.4.6]# netstat -ntap | grep squid
tcp6       0      0 :::3128                 :::*                    LISTEN      31862/(squid-1)

#Switch start process directory
[root@squid squid-3.4.6]# cd /etc/init.d

#Create startup script
[root@squid init.d]# vim squid
#!/bin/bash
#chkconfig: 2345 90 25
PID="/usr/local/squid/var/run/squid.pid"
CONF="/etc/squid.conf"
CMD="/usr/local/squid/sbin/squid"

case "$1" in
start)
        netstat -ntap | grep squid &> /dev/null
        if [ $? -eq 0 ]
        then
         echo "squid is running"
         else
         echo "Starting up squid...."
         $CMD
        fi
        ;;
stop)
        $CMD -k kill &> /dev/null
        rm -rf $PID &> /dev/null
        ;;
status)
        [ -f $PID ] &> /dev/null
         if [ $? -eq 0 ]
                then
                 netstat -ntap | grep squid
                else
                 echo "squid is not running"
        fi
        ;;
restart)
        $0 stop &> /dev/null
        echo "Shutting down squid..."
        $0 start &> /dev/null
        echo "Starting up squid..."
        ;;
reload)
        $CMD -k reconfigure
        ;;
check)
        $CMD -k parse
        ;;
*)
        echo "usage:$0{start|stop|reload|status|check|restart}"
        ;;
esac

#Grant script execution permission
[root@squid init.d]# chmod +x squid

#Add script to service manager
[root@squid init.d]# chkconfig --add squid

#Add service startup
[root@squid init.d]# chkconfig --level 35 squid on

#Using scripts to manage the squid service
[root@squid init.d]# service squid stop
[root@squid init.d]# service squid start
//Starting squid
[root@squid init.d]# netstat -ntap | grep squid
tcp6       0      0 :::3128                 :::*                    LISTEN      48115/(squid-1)

#Clear all firewall rules
[root@squid init.d]# iptables -F

#Turn off enhanced security
[root@squid init.d]# setenforce 0

#Fire protection strategy is set to open port 3128
[root@squid init.d]# iptables -I INPUT -p tcp --dport 3128 -j ACCEPT
Step 2: configure the Web site server
[root@web ~]# systemctl stop firewalld.service
[root@web ~]# setenforce 0
[root@web ~]# yum install httpd -y
[root@web ~]# systemctl start httpd
Step 3: use the client to access the web page
Browse to 192.168.142.139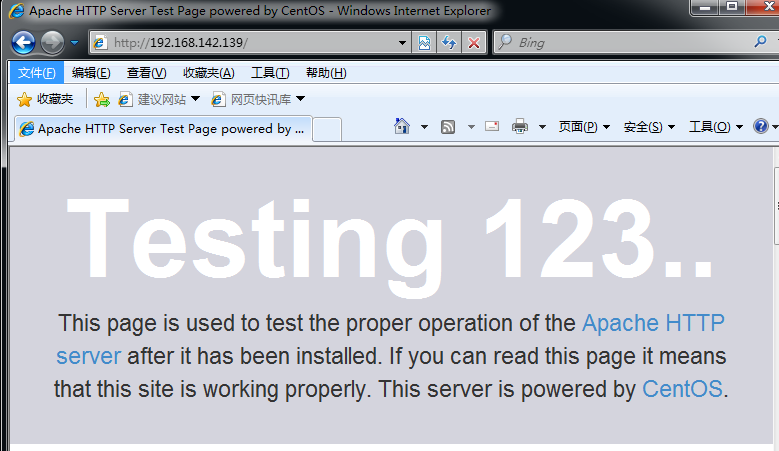
Step 4: configure the client to use the proxy server to verify the proxy service
1. Open the browser's work menu and select "Internet Options"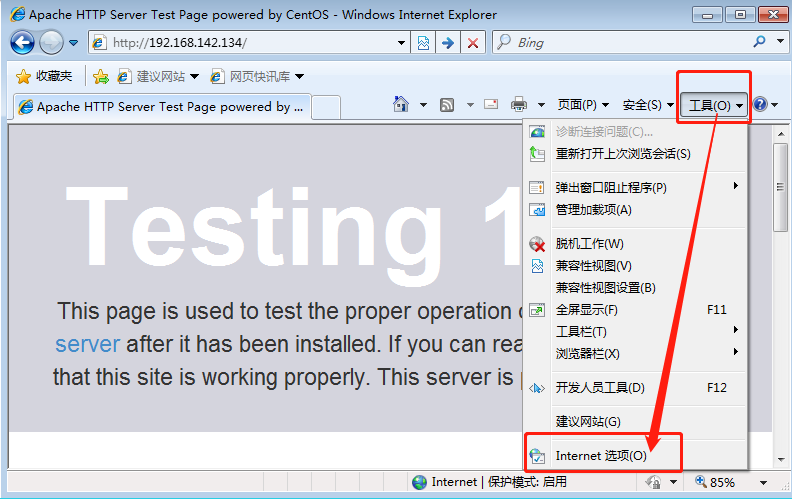 2. Select "LAN settings", select "use proxy server for LAN" and specify server address and port
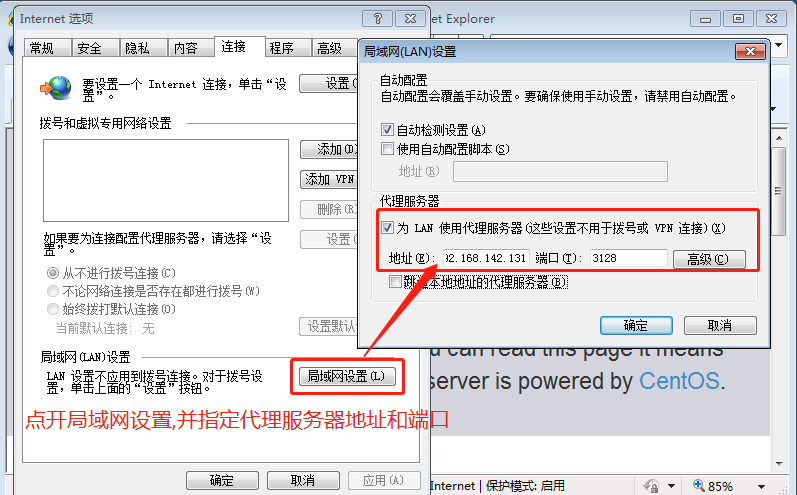
3. Visit 192.168.142.139 again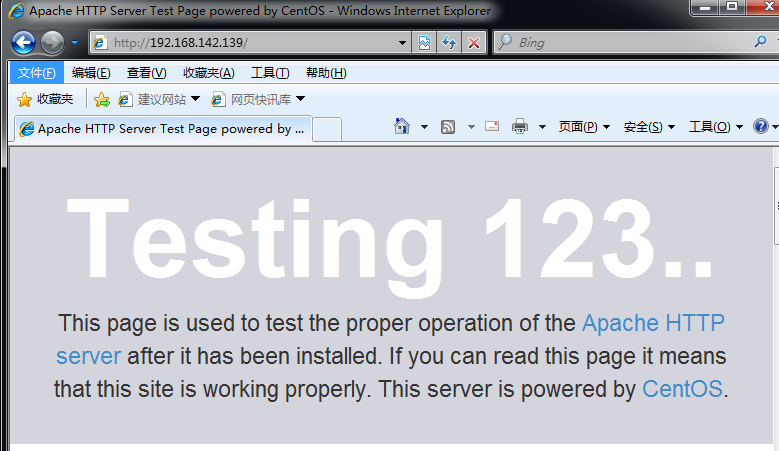
5. Go back to the web server and check the service log. It can be seen that the visit record is the address of the proxy server
[root@web ~]# vim /etc/httpd/logs/access_log
192.168.142.131 - - [04/Dec/2019:19:04:28 +0800] "GET /noindex/css/fonts/ExtraBold/OpenSans-ExtraBold.eot? HTTP/1.1" 404 248 "http://192.168.142.139/" "Mozilla/4.0 (compatible; MSIE 8.0; Windows NT 6.1; WOW64; Trident/4.0; SLCC2; .NET CLR 2.0.50727; .NET CLR 3.5.30729; .NET CLR 3.0.30729; Media Center PC 6.0)"
It can be seen that the traditional proxy uses the address of the proxy server to access the web service. It is suitable for the Internet, but the server is specified when the name is needed!
The above is Squid traditional agent service. Let's configure transparent agent service
Set up transparent proxy
Step 1: configure the proxy network card
1. Modify ens33 network card information
[root@squid ~]# vim /etc/sysconfig/network-scripts/ifcfg-ens33
#Modify dhcp to static
BOOTPROTO=static

#Add IP address, subnet mask and gateway to the last line
IPADDR=192.168.100.1
NETMASK=255.255.255.0

[root@squid ~]# service network restart
Restarting network (via systemctl):                        [  Determine  ]
2. Add the second network card and modify the ens36 network card information
[root@squid ~]# cd /etc/sysconfig/network-scripts/
[root@squid network-scripts]# cp -p ifcfg-ens33 ifcfg-ens36
[root@squid network-scripts]# vim ifcfg-ens36
#Replace 33 with 36 and delete UUID entry
IPADDR=12.0.0.1
NETMASK=255.255.255.0

[root@squid network-scripts]# service network restart
Restarting network (via systemctl):                        [  Determine  ]
3. Add the function of forwarding packets, and use the server as the gateway
[root@squid network-scripts]# echo "1" >/proc/sys/net/ipv4/ip_forward
4. Set firewall policy
#Open port 80 and redirect to port 3128
[root@squid network-scripts]# iptables -t nat -I PREROUTING -i ens33 -s 192.168.100.0/24 -p tcp --dport 80 -j REDIRECT --to 3128

##Open port 443 of https and redirect to port 3128
[root@squid network-scripts]# iptables -t nat -I PREROUTING -i ens33 -s 192.168.100.0/24 -p tcp --dport 443 -j REDIRECT --to 3128
5. Modify the squid.conf configuration file
[root@squid ~]# vim /etc/squid.conf
#Replace the original 3128 port entry with the following entry to support transparent mode
http_port 192.168.100.1:3128 transparent
6. Overload agent service
[root@squid network-scripts]# service squid reload
Step 2: Web server network card information
[root@web ~]# vim /etc/sysconfig/network-scripts/ifcfg-ens33

#Modify dhcp to static
BOOTPROTO=static

#Add IP address, subnet mask and gateway to the last line
IPADDR=12.0.0.12
NETMASK=255.255.255.0
GATEWAY=12.0.0.1

[root@web ~]# service network restart
Restarting network (via systemctl):                        [  Determine  ]
Step 3: use client access
1. Modify address
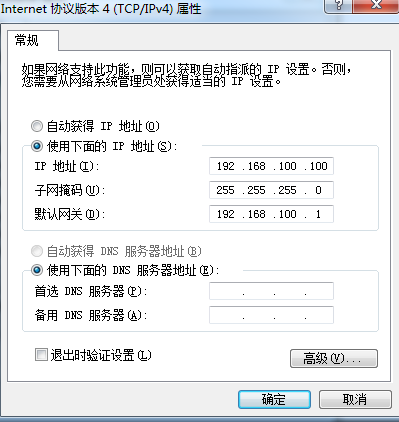
2. Cancel the previously set proxy service options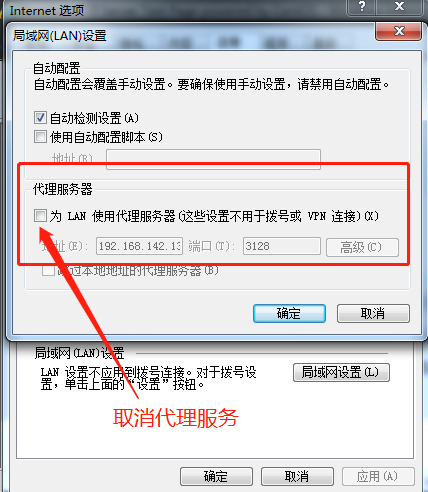
3. Use browser to access 12.0.0.12
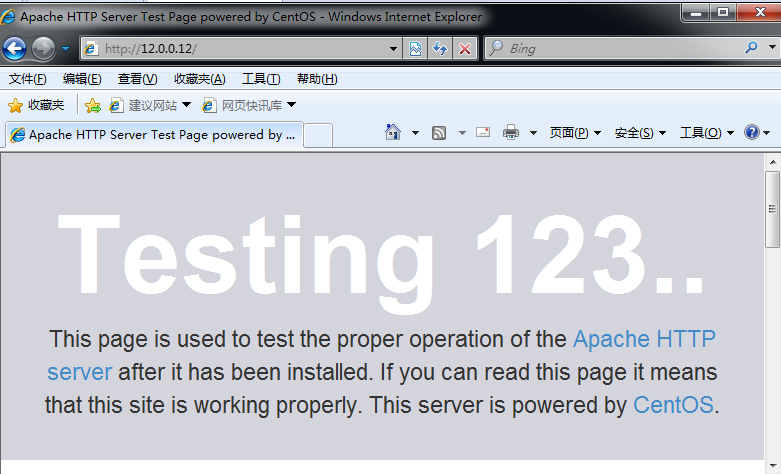
4. Go back to the web server and check the service log. It can be seen that the visit record is the address of the external network card
12.0.0.1 - - [04/Dec/2019:22:41:39 +0800] "GET /noindex/css/fonts/ExtraBold/OpenSans-ExtraBold.eot? HTTP/1.1" 404 248 "http://12.0.0.12/" "Mozilla/4.0 (compatible; MSIE 8.0; Windows NT 6.1; WOW64; Trident/4.0; SLCC2; .NET CLR 2.0.50727; .NET CLR 3.5.30729; .NET CLR 3.0.30729; Media Center PC 6.0)"
It can be seen that the transparent proxy uses the address of the external network card to access the web service, and directs the web access to the proxy server through the intermediary routing and firewall policy!