The first is related resources.
AndroidStudio 3.0 canary 1 Official Download Address
Click without ladder Baidu Cloud Download Address
Google provides demo clicks on new Android O features and Kotlin Kotlin Demo
Android Studio 3.0 already fully supports Kotlin, so now you can easily build a new Kotlin-based Android project or add Kotlin code to your existing project, and you can also convert your java code to Kotlin. With Kotlin development, you can fully use all the tools now available with Android Studio, such as autocomplete, lint, checker, refactoring, debugging, etc.
This article mainly shows how to use Kotlin to develop on Android Studio. If you want to know more about Kotlin language, refer to: Officially recommended kotlin resources
Create a new project that supports Kotlin
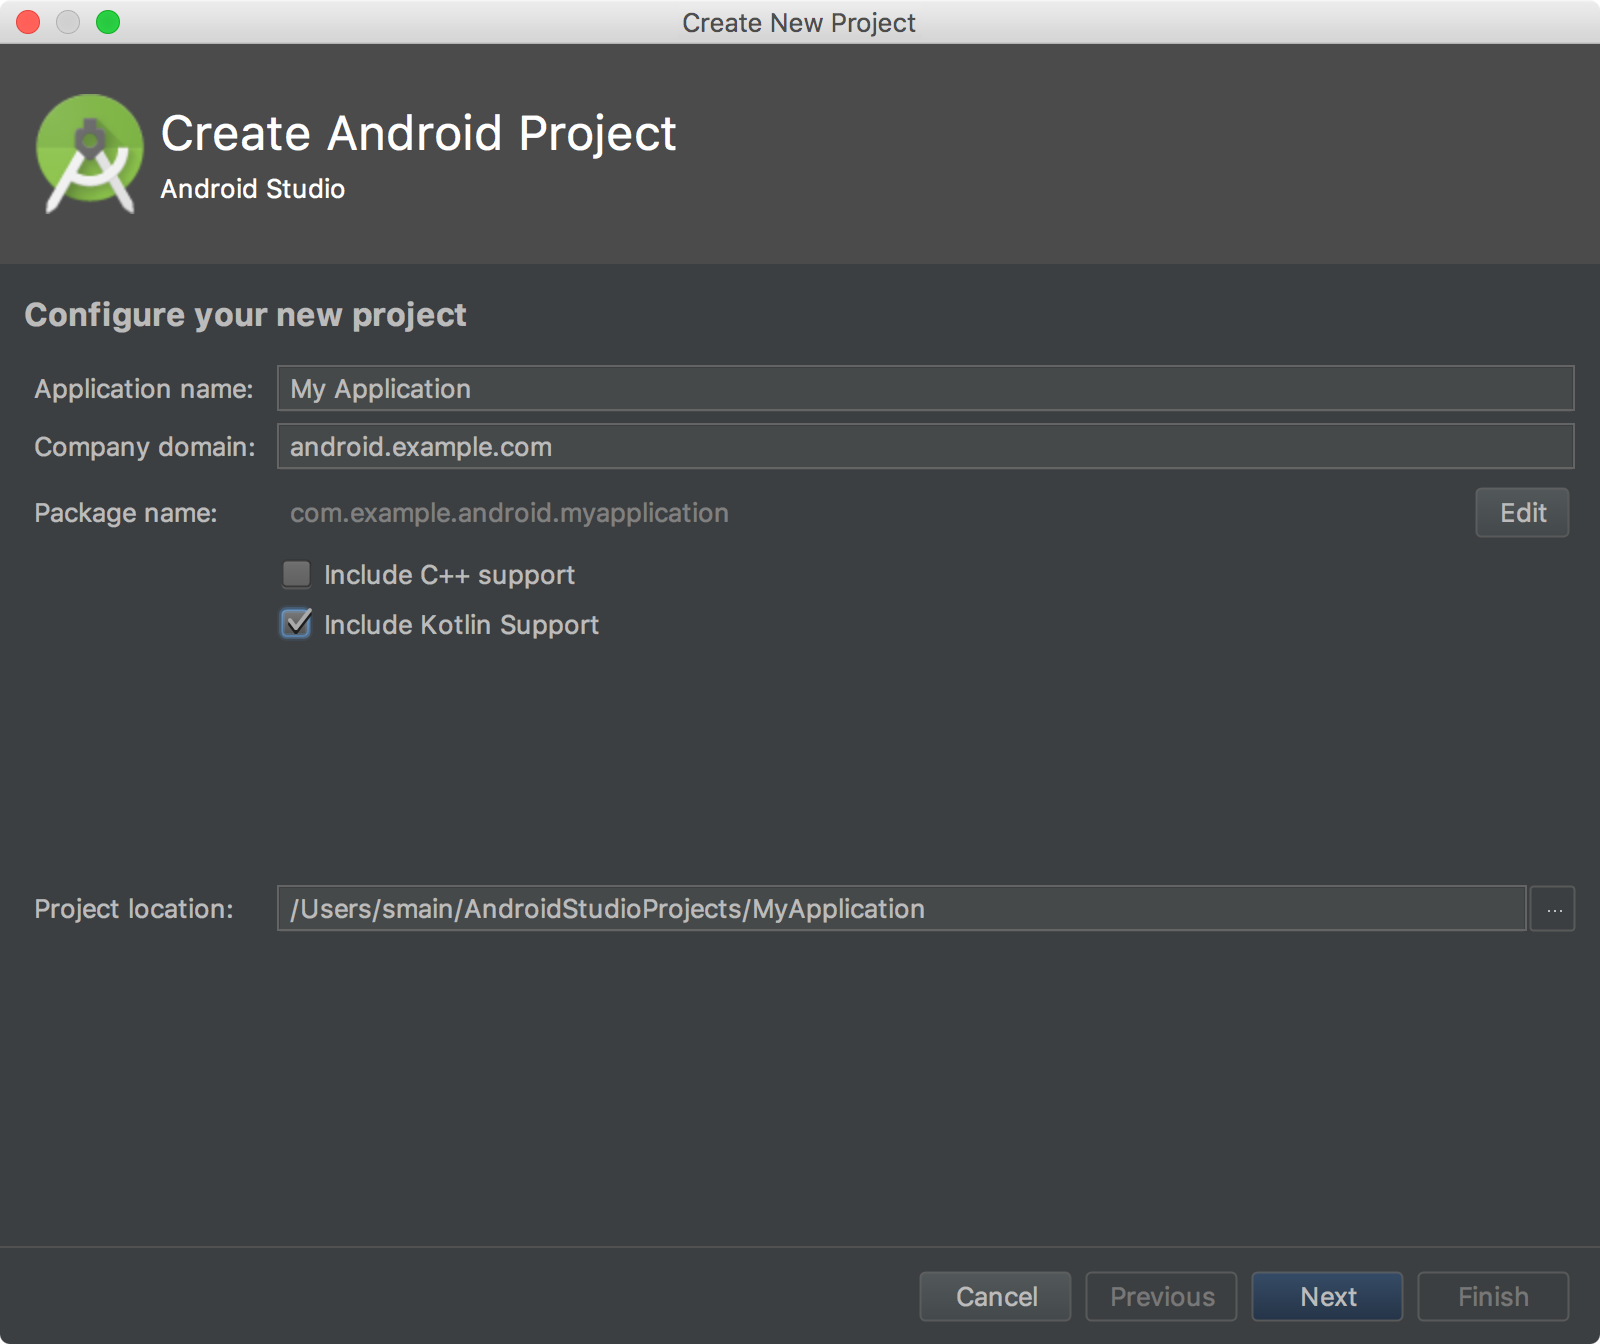
To create a project that supports Kotlin, you just need to check include Kotlin Support on the wizard page of the new project.

When you create a new activity, its code will be shown in the form of kotlin. However, some template classes that only support phone and tablet will be automatically converted from java code to kotlin code. Although Kotlin code is still shown, these converted Kotlin code may not conform to Kotlin language specification very well.
Add kotlin support to existing projects
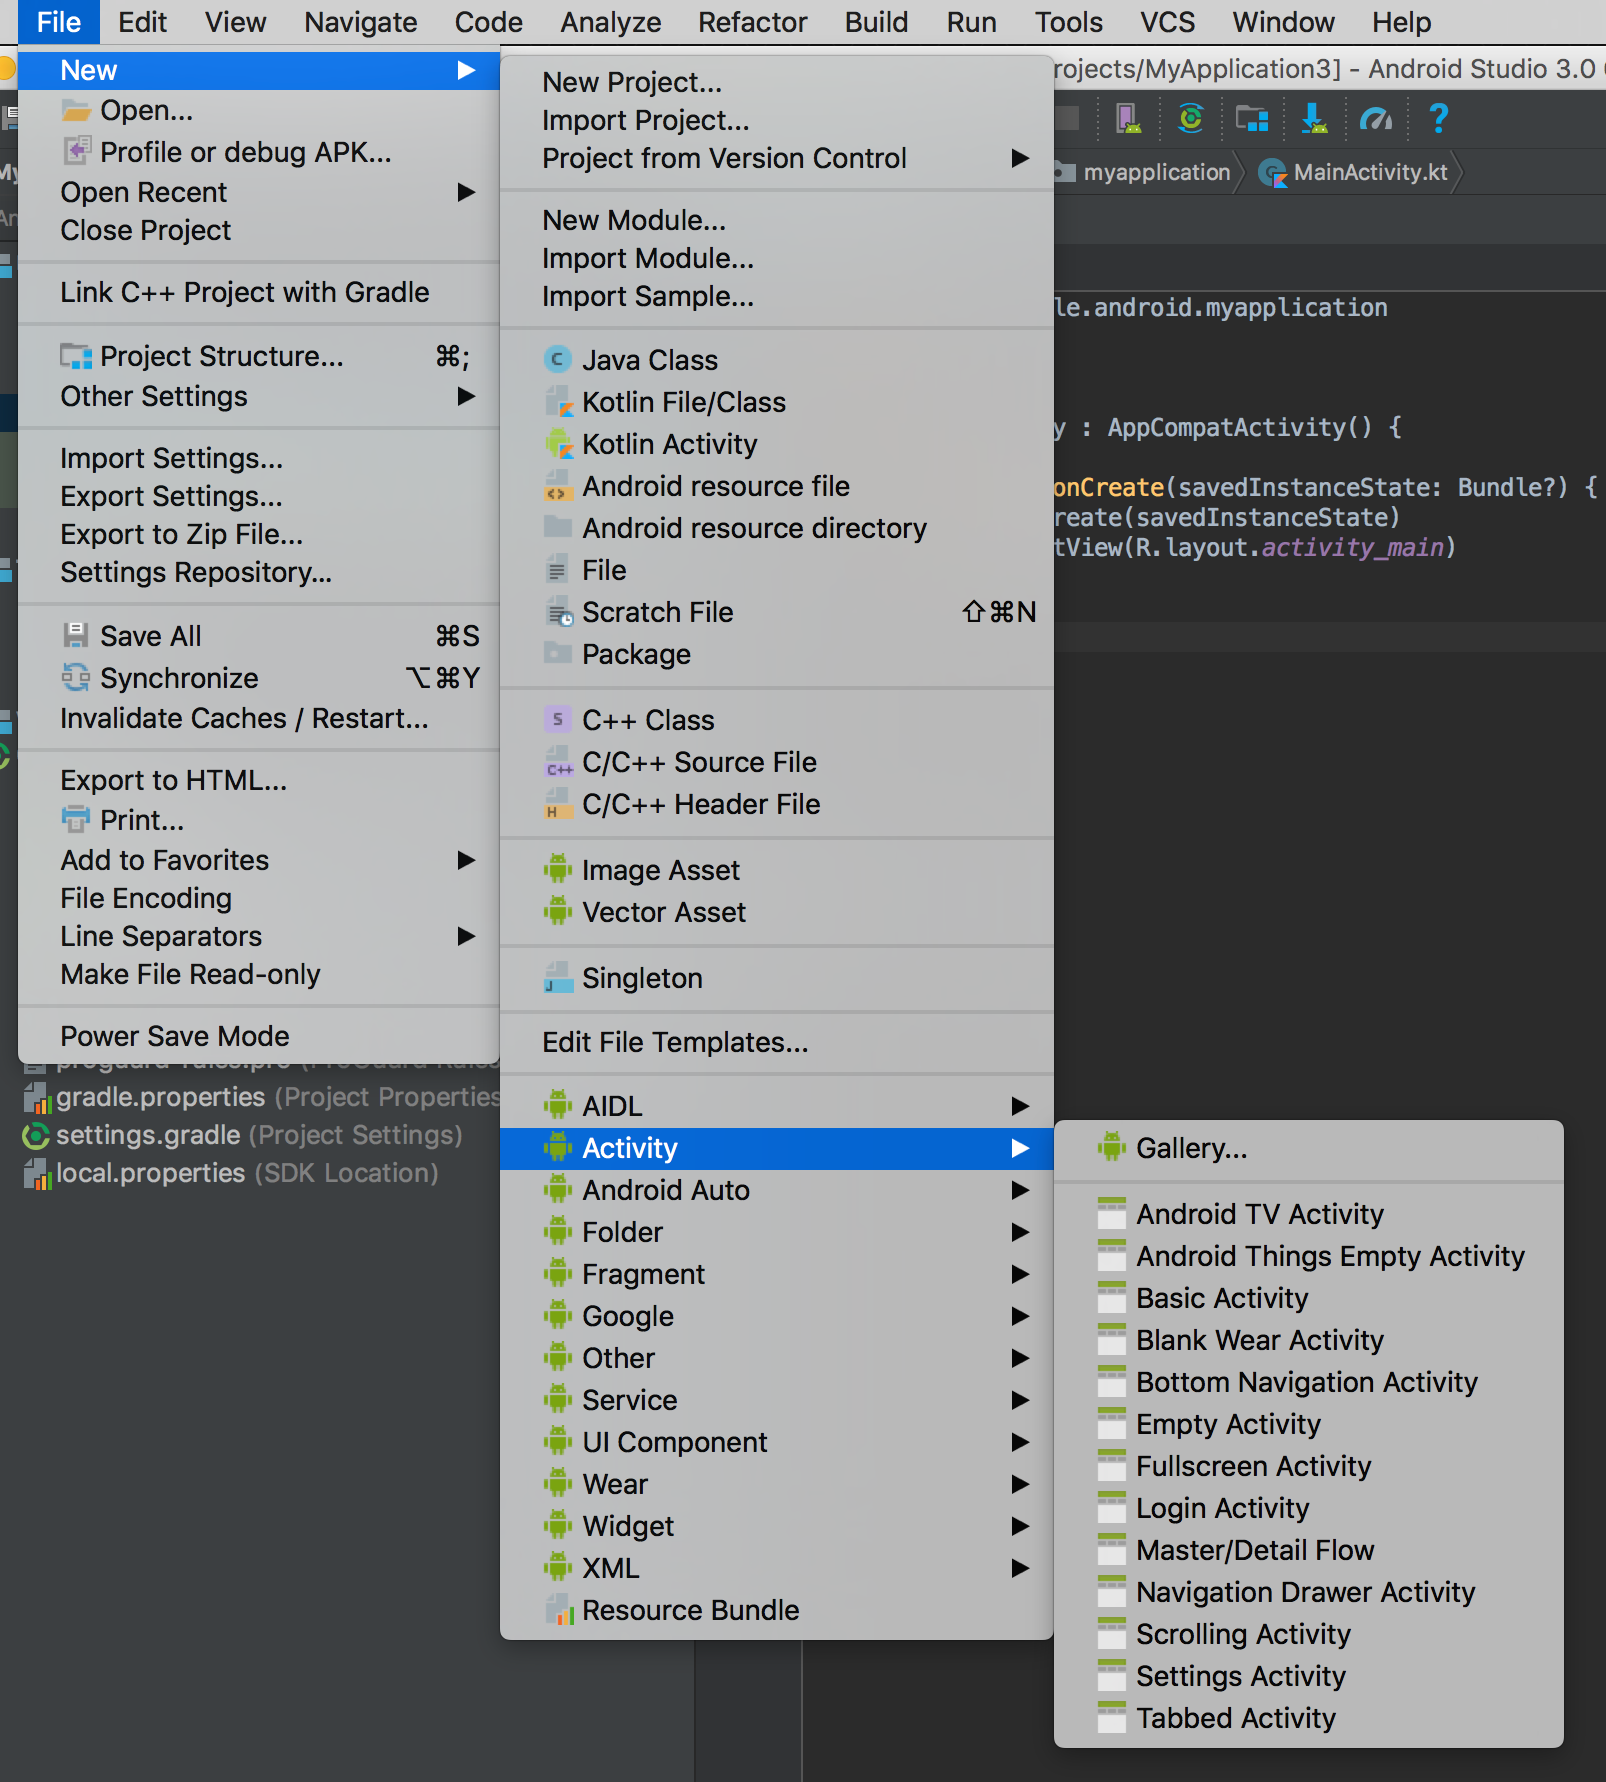
If you want to add Kotlin code to an existing project, click FIle > New to select a template provided by Android Studio

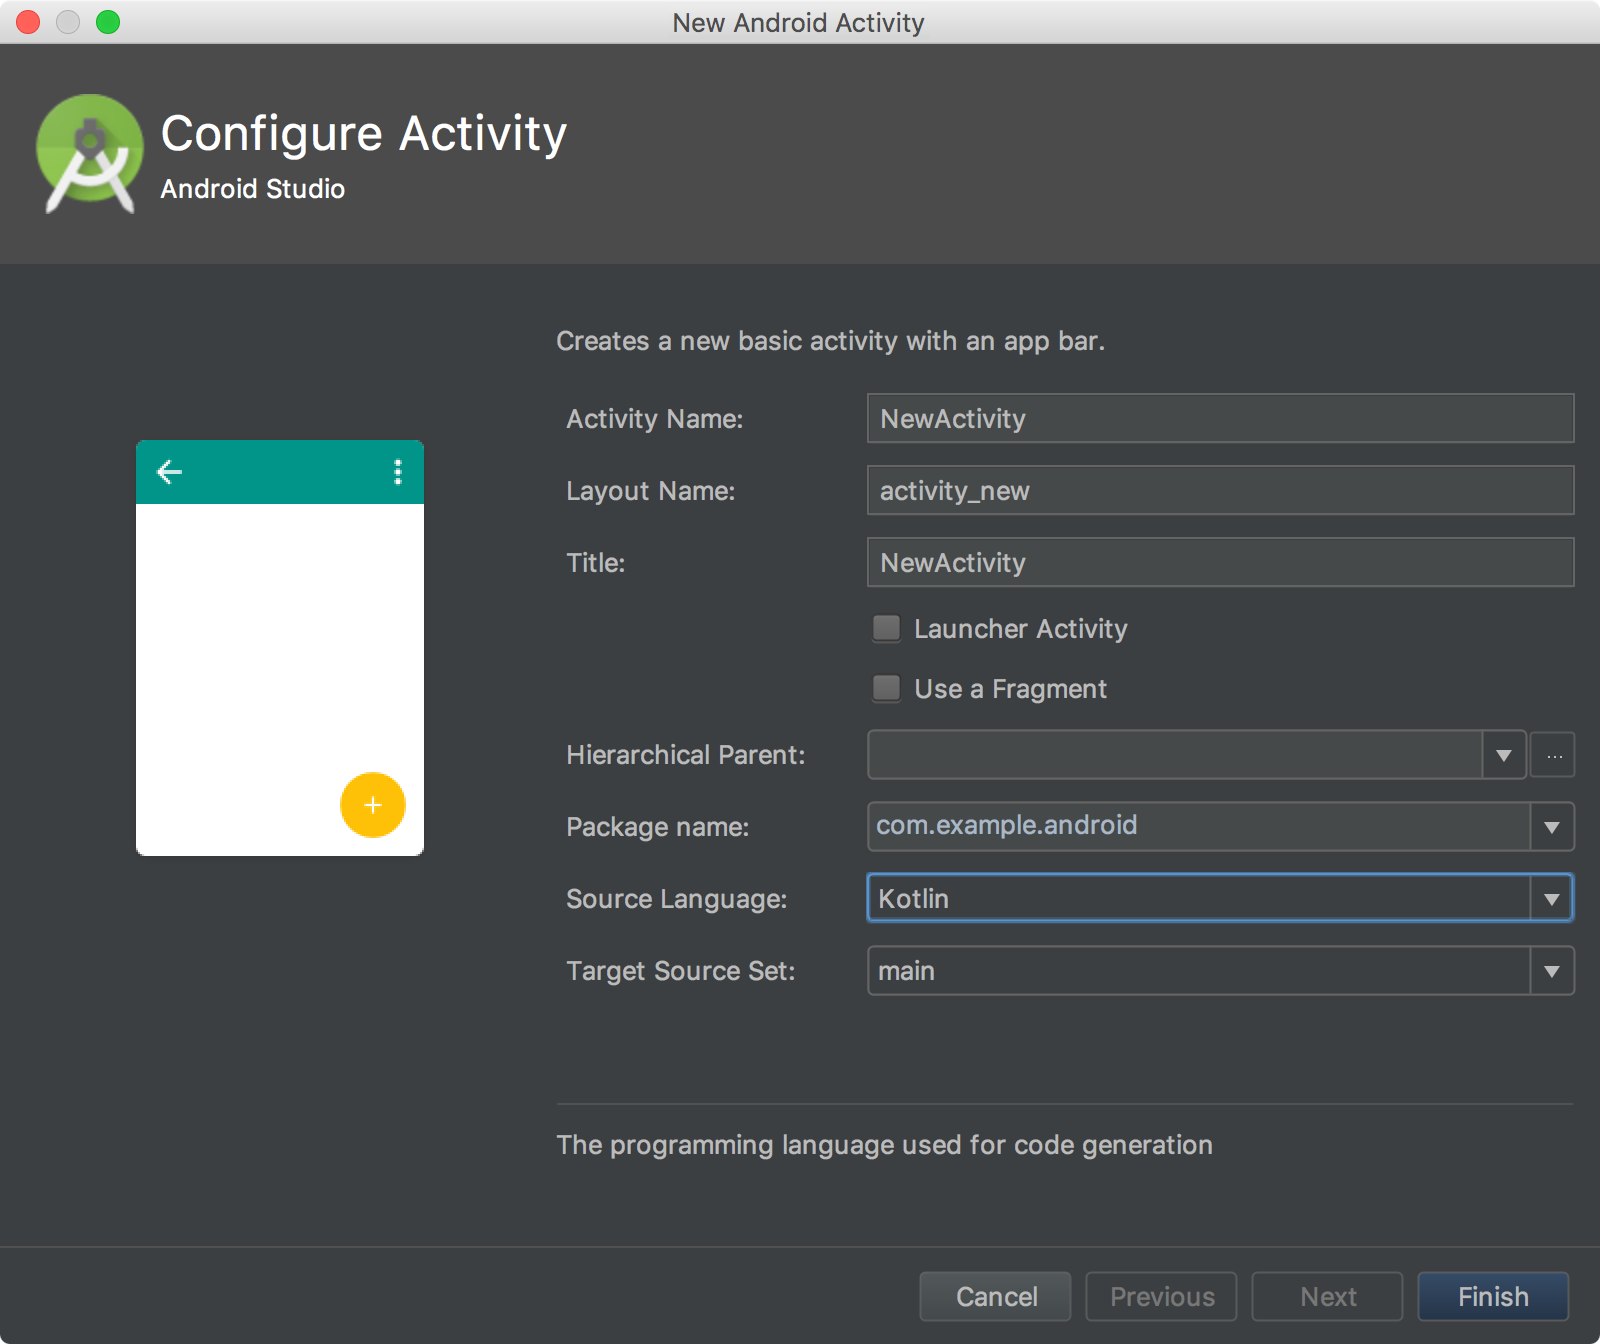
Then select kotlin as the source language

Click finish to do it.
Or you can click File > New > Kotlin File / Class to create a generic class. The New Kotlin File/Class page provides different selection types for different files, but Kotlin can automatically and conveniently switch file types, so even if you choose one type of file, you can easily modify it to other types.
By default, try to save Kotlin files under src/main/java/... so that you can easily find Kotlin files, but if you want to distinguish Kotlin from Java files, you can put kotlin files in src/main/kotlin/... instead. When you change Kotlin's file directory, you need to configure it in gradle as follows.
android {
   sourceSets {
       main.java.srcDirs += 'src/main/kotlin'
   }
}
Converting existing code to kotlin code
Using Android Studio 3.0, open a java file and select Code > Convert Java File to Kotlin File.
Or create a new kotlin file and paste your java code in. It will prompt you if you want to convert your java code to kotlin and select yes, but when you check Don't show this dialog next time, it will be automatically converted next time.
Using android API with Kotlin
Kotlin is well suited for Java to be completely generic, so calling API s through Kotlin is very similar to Java.
Declare Activity through Kotlin
class MyActivity : AppCompatActivity() {
  override fun onCreate(savedInstanceState: Bundle?) {
    super.onCreate(savedInstanceState)
    setContentView(R.layout.activity)
  }
}
Declare Activity through Java
public class MyActivity extends AppCompatActivity {
  @Override
  protected void onCreate(Bundle savedInstanceState) {
    super.onCreate(savedInstanceState);
    setContentView(R.layout.activity);
  }
}
Representing On-click listener through Kotlin
val fab = findViewById(R.id.fab) as FloatingActionButton
fab.setOnClickListener {
  ...
}
Representing On-click listener through Java
FloatingActionButton fab = (FloatingActionButton) findViewById(R.id.fab);
fab.setOnClickListener(new View.OnClickListener() {
  @Override
  public void onClick(View view) {

  }
});
Representing item click listener through Kotlin
private val mOnNavigationItemSelectedListener
    = BottomNavigationView.OnNavigationItemSelectedListener { item ->
  when (item.itemId) {
    R.id.navigation_home -> {
      mTextMessage.setText(R.string.title_home)
      return@OnNavigationItemSelectedListener true
    }
    R.id.navigation_dashboard -> {
      mTextMessage.setText(R.string.title_dashboard)
      return@OnNavigationItemSelectedListener true
    }
 }
 false
}
Represent item click listener through java
private BottomNavigationView.OnNavigationItemSelectedListener mOnNavigationItemSelectedListener
    = new BottomNavigationView.OnNavigationItemSelectedListener() {
  @Override
  public boolean onNavigationItemSelected(@NonNull MenuItem item) {
    switch (item.getItemId()) {
      case R.id.navigation_home:
        mTextMessage.setText(R.string.title_home);
        return true;
      case R.id.navigation_dashboard:
        mTextMessage.setText(R.string.title_dashboard);
        return true;
    }
    return false;
  }
};