This article was first published in: Walker AI
In their work, algorithm engineers often need to quickly write some demo, such as quickly demonstrating some algorithms, or writing tools for data annotation. The common implementation method is that algorithm engineers try to write APIs with flash and other frameworks, and then front-end engineers write relevant web pages to call APIs. This is undoubtedly very time-consuming and inefficient.
However, the demo page can be built quickly by using streamlit framework, and the algorithm engineer can write a more exquisite demo page only using python language. Streamlit framework is responsible for the rendering of web pages. Algorithm engineers should focus on the flow of the algorithm.
Frame installation
The installation of streamlit framework is very simple. You can install it using pip:
pip install streamlit
After the installation is completed, you can use the command to verify the version:
streamlit --version
In this article, I will briefly introduce the use process of streamlit framework with an example in practical work.
Project preparation
Collaborative-Distillation It is a high-resolution image stylization scheme. The input of the model is the stylized image and the image to be processed, and the output is the stylized image.
In this code warehouse, we need to use more complex command line commands for stylized operations:
# use original VGG-19, normal images
CUDA_VISIBLE_DEVICES=0 python WCT.py --debug --mode original

# use original VGG-19, ultra-res images
CUDA_VISIBLE_DEVICES=0 python WCT.py --debug --mode original --UHD

# use our pruned VGG-19, normal images
CUDA_VISIBLE_DEVICES=0 python WCT.py --debug --mode 16x

# use our pruned VGG-19, ultra-res images
CUDA_VISIBLE_DEVICES=0 python WCT.py --debug --mode 16x --UHD

# If your RAM cannot afford some large images, you can change the content and style size via '--content_size' and '--style_size'
CUDA_VISIBLE_DEVICES=0 python WCT.py --debug --mode 16x --UHD --content_size 3000 --style_size 2000
However, such operations are quite complex for users, so we can use streamlit to write a demo page for users' convenience.
In this demo page, the following components of streamlit will be used:
-
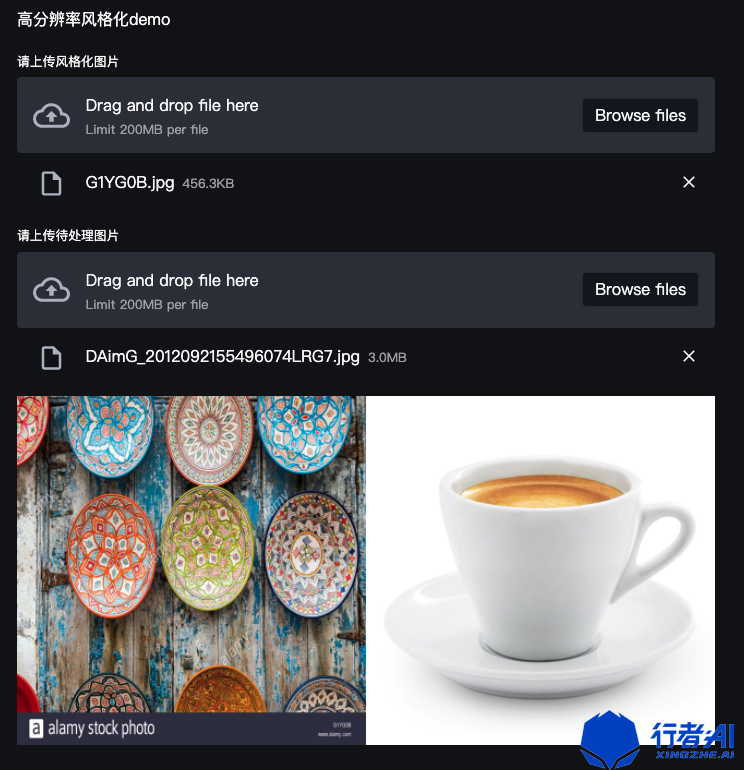
streamlit.file_uploader: file upload component, as shown in the figure below

This component supports dragging and uploading files and selecting files by file manager, which is relatively convenient. The use method is shown in the following code:
style_file = st.file_uploader("Please upload stylized pictures")

if style_file:
    stringio = style_file.getvalue()
    style_file_path = 'style_file/'+ style_file.name
    with open(style_file_path,'wb') as f:
        f.write(stringio)
After uploading a file using the file upload component, you can use the above code to save the file to a specific path for use.
-
streamlit.image: picture display component, as shown in the following figure:

This component can display pictures according to the picture path in the demo page.
style_file_path = 'style_file/'+ style_file.name
st.image(style_file_path)
-
streamlit.write: text display component, which can display some prompt information on the web page.
st.write('High resolution stylization demo') -
streamlit.button: button component. After clicking, you can perform some tasks.
if st.button('Start stylizing'): style_func() -
streamlit.progress: progress display component, which can be used to display the progress of tasks.

for i in range(0,100,10):
	st.progress(i + 1)
There are also some important components in streamlit, such as:
-
streamlit.cache: data cache component, which can be used as a decorator to cache data and speed up data loading. It can be used in functions that need to load data or calculate repeatedly.
@st.cache def load_dataset(data_link): dataset = pd.read_csv(data_link) return dataset -
streamlit.audio: audio display component, which can play audio according to the audio address.

with open('audio.mp3','rb') as f:
	st.audio(f,format="audio/mp3")
-
streamlit.audio: select a component that allows the user to select one of multiple options.
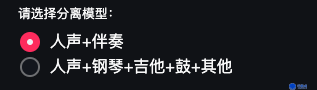
model_choose = st.radio('Please select a separation model:',['voice+accompaniment','voice+piano+guitar+drum+other'],0)
The parameter 0 indicates that the first item is selected by default.
There are still many components supported by streamlit. If you are interested, please refer to Official documents.
Project preparation
The main function of this demo page is to allow users to upload style pictures and content pictures respectively, and then conduct stylization operation in the background. After the stylization operation is completed, the result picture is displayed. In this way, users can quickly carry out stylized operations and know the results.
Streamlit applications are written in Python. At the beginning of the python file, you need to import the streamlit package.
import streamlit as st
Then upload and preprocess the file:
style_file = st.file_uploader("Please upload stylized pictures")
content_file = st.file_uploader("Please upload pictures to be processed")
image_slot = st.empty()

if style_file:
    stringio = style_file.getvalue()
    style_file_path = 'style_file/'+ style_file.name
    with open(style_file_path,'wb') as f:
        f.write(stringio)
    image_slot.image(style_file_path)

if content_file:
    stringio = content_file.getvalue()
    content_file_path = 'content_file/'+ content_file.name
    with open(content_file_path,'wb') as f:
        f.write(stringio)

if content_file and style_file:
    img1 = Image.open( style_file_path)
    img1 = img1.resize((640, 640))

    img2 = Image.open( content_file_path)
    img2 = img2.resize((640, 640))
    new_img = Image.new('RGB', (1280, 640), 255)
    new_img.paste(img1,(0,0))
    new_img.paste(img2,(640,0))
    new_img.save('concrate_file/' + os.path.basename(style_file_path))
    image_slot.image('concrate_file/' + os.path.basename(style_file_path))
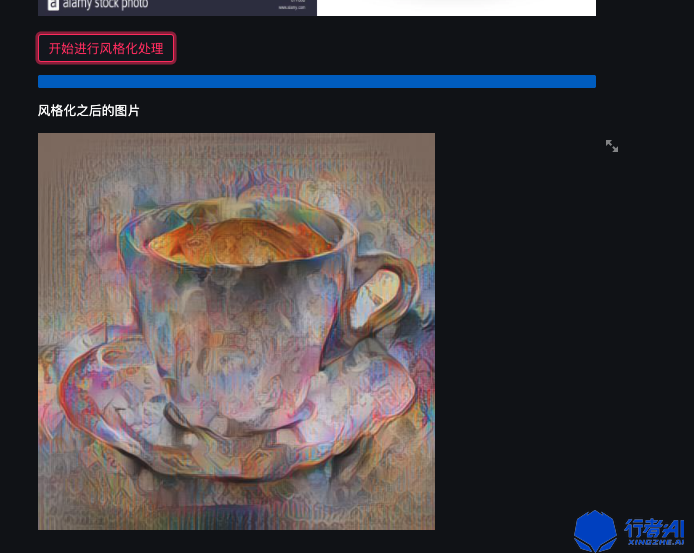
Finally, write a button to perform stylized operation, display the final result, and add a progress bar:
if st.button('Start stylizing'):
    my_bar = st.progress(10)

    UHD_content_folder_path = 'PytorchWCT/content/UHD_content'
    output_path = WCT_func.process(content_file_path,style_file_path)
    for i in range(0,100,10):
        my_bar.progress(i + 1)
    my_bar.progress(100)
    st.write('Stylized picture')
    st.image(output_path)
Project operation and deployment
The operation mode of the streamlit framework is very simple. It is executed directly on the command line:
$ streamlit run streamlit_demo.py
You can access it in the browser.

summary
streamlit framework is very suitable for quickly writing demos with less complex process and visual operation. The author takes less than half an hour from the beginning to the completion of the demo, and the code is less than 50 lines. Moreover, it is very convenient to run and deploy. The page looks much more beautiful than the web page rendered by using frameworks such as flash, which is actually a sharp tool for Algorithm Engineers.