1.vm virtual machine configuration
Host: real machine
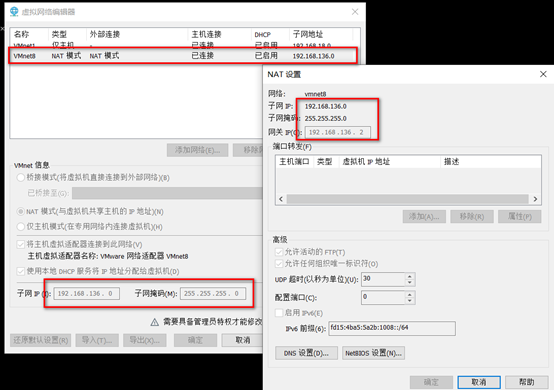
NAT mode: (set in VM virtual machine)
View: what are your NAT segments and gateways?
Network segment: 192.168.136.0/24
Gateway: 192.168.136.2
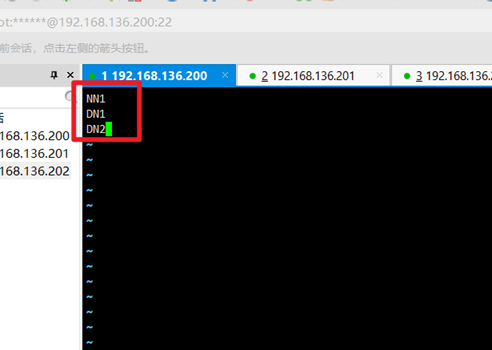
My plan:
NN1 192.168.136.200
DN1 192.168.136.201
DN2 192.168.136.202
Configure IP in CETNOS7 NN1
ifconfig view the name of the network card ---------- ens33
Run under root:
ifconfig ens33 192.168.136.200 netmask 255.255.255.0
2. Create hadoop sudu permission
The following commands can be operated under the root user:
Create hadoop user
useradd  hadoop
passwd  hadoop
vim   /etc/sudoers

Insert:
Hadoop ALL=(ALL) NOPASSWD:ALL
esc :wq! preservation
Switch to hadoop user
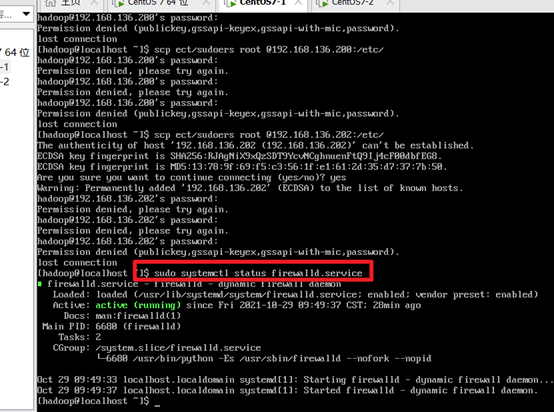
su - hadoop      ///"-" means that the user environment is switched together.
scp /etc/sudoers      root @192.168.136.201:/etc/
scp /etc/sudoers      root @192.168.136.202:/etc/

test
3. Turn off the firewall
sudo systemctl status firewalld.service //View firewall status
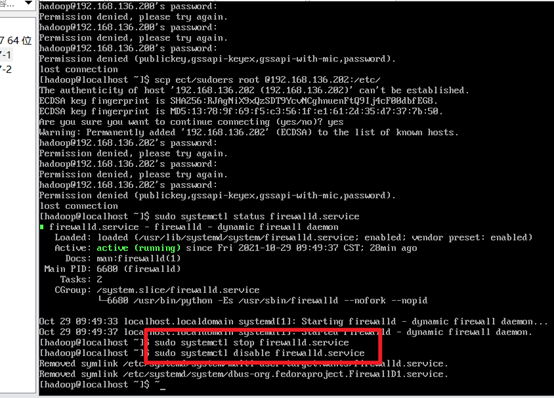
Turn off the firewall:
sudo systemctl stop firewalld.service
sudo systemctl disable firewalld.service
4. Configure static IP
su
vi /etc/sysconfig/network-scripts/ifcfg-ens33
As shown below
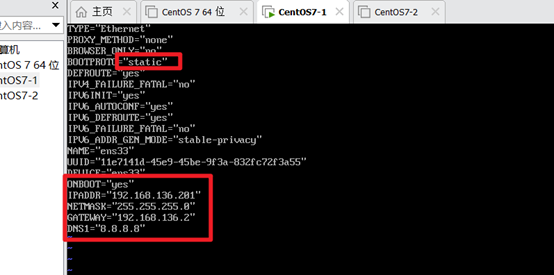 Similarly, change the static IP of DN1 and DN2 and sudo reboot to see if it takes effect (with IP)
5. Modify host name
NN1 192.168.136.200
DN1 192.168.136.201
DN2 192.168.136.202
View the name of the machine
hostname
Modify name
vim /etc/hostname
Modify the corresponding host name
view name
cat /etc/hostname
Similarly, change DN1 and DN2
6. Modify the mapping relationship between IP and host name. The host IP mapping is as follows:
192.168.78.200 NN1
192.168.78.201 DN1
192.168.78.202 DN2
Add the above content to the following file
vim /etc/hosts

Similarly, modify DN1 and DN2
Test: ping the host name ctl+z respectively to exit
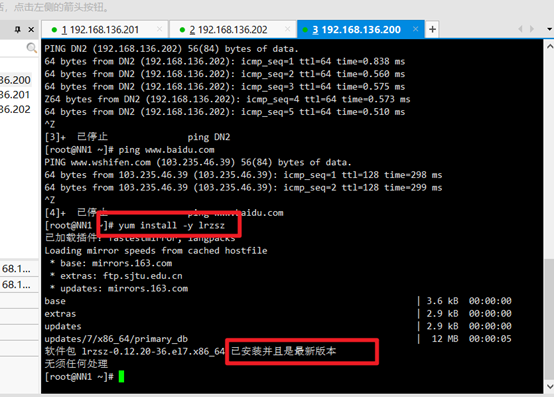
Install plug-ins:
yum install -y lrzsz
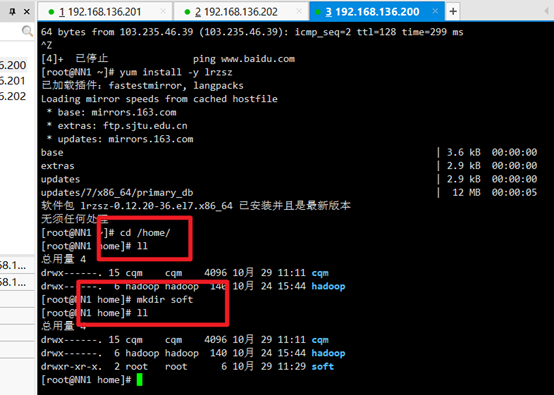
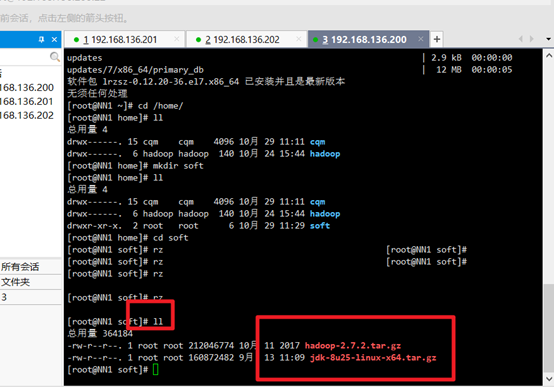
New resource directory:
cd /home/
ll
mkdir soft
ll
7. Uninstall OPENJDK and install the new version of JDK
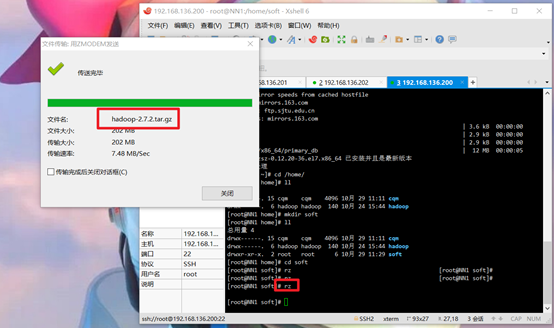
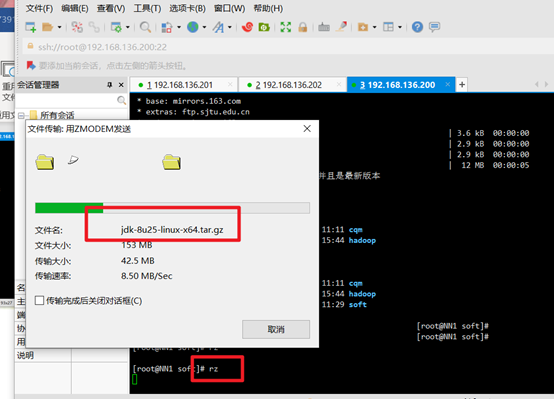
Upload jdk and hadoop commands:
rz
Check whether the upload is successful:
ll
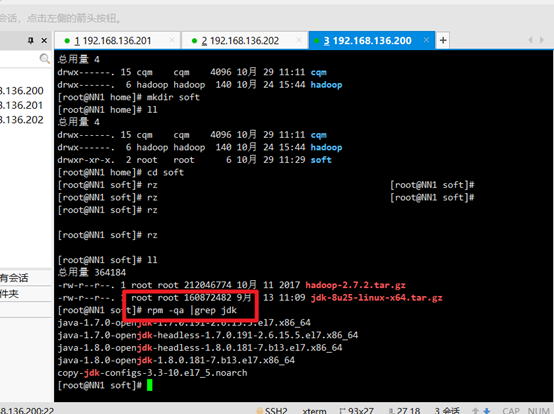
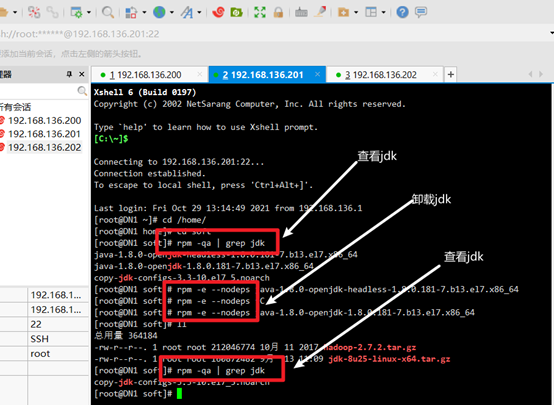
To view previously installed jdk s:
rpm -qa | grep jdk
Uninstall the original jdk, and then view:
rpm -e –nodeps +jdk name
Unzip jdk:
tar -zxvf +jdk name
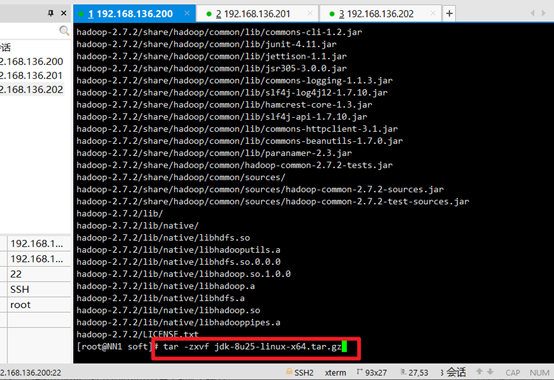
Unzip hadoop:
tar -zxvf +hadoop name

see:
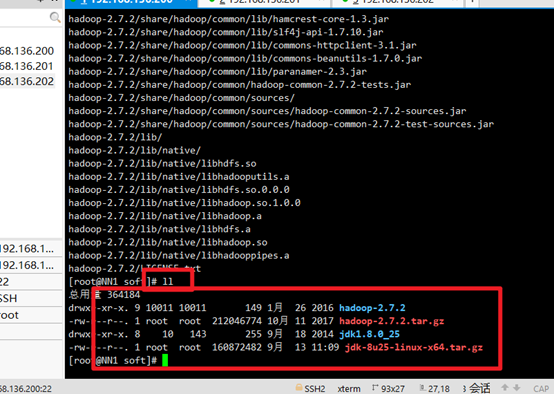
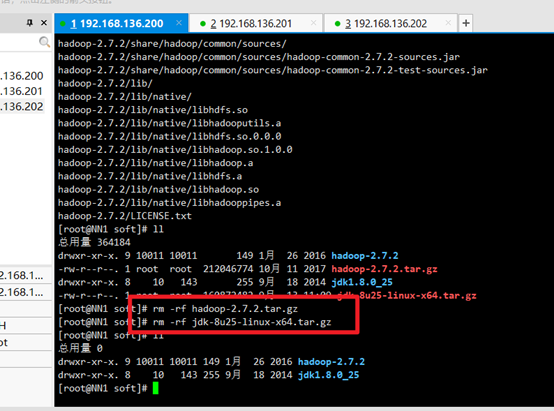
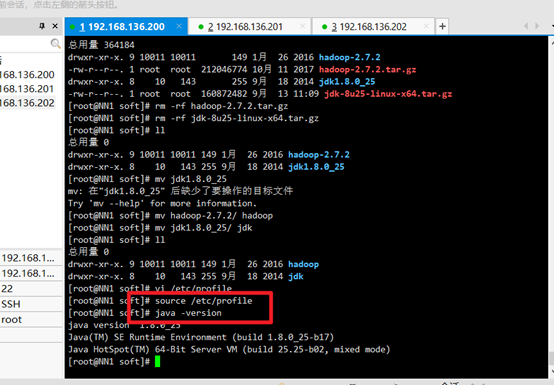
Delete the installation package and leave the extracted jdk and hadoop:
rm -rf +hadoop name
rm -rf +jdk name
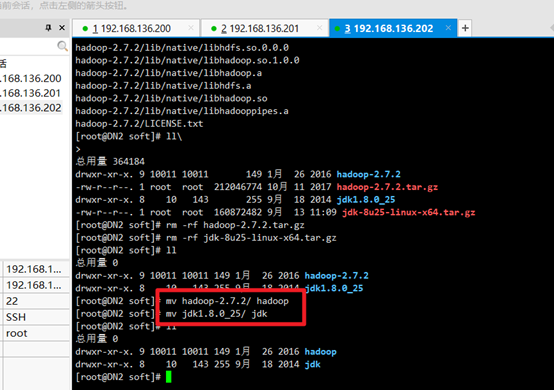
Modify hadoop and jdk names:
mv hadoop-2.7.2/ hadoop
mv jdk1.8.0_25/ jdk
8. Prepare three CENTOS
Completely clone the other two computers, change the IP and machine name, and then test them respectively. (novices are advised not to clone the three machines and configure them together to enhance memory)
9. Key free login configuration of each node (super simple)
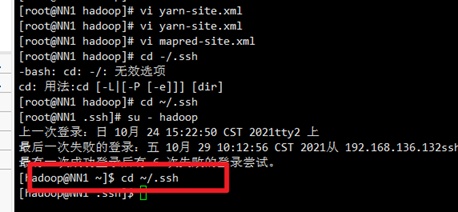
1 switch to hadoop user
su – hadoop
2. Generate a key pair and add the public key to the authorization file
Input:
cd ~/.ssh (If you don't have this directory, you execute it first ssh localhost Will generate.ssh Table of contents)
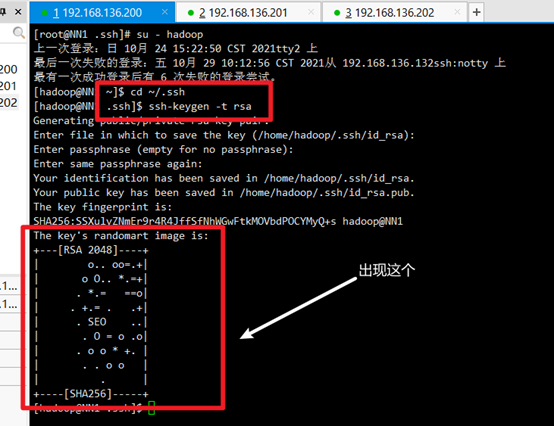
Input:
ssh-keygen -t rsa
Press enter three times:
1. Enter in hadoop Directory:
ll -a(View generated.ssh catalogue)
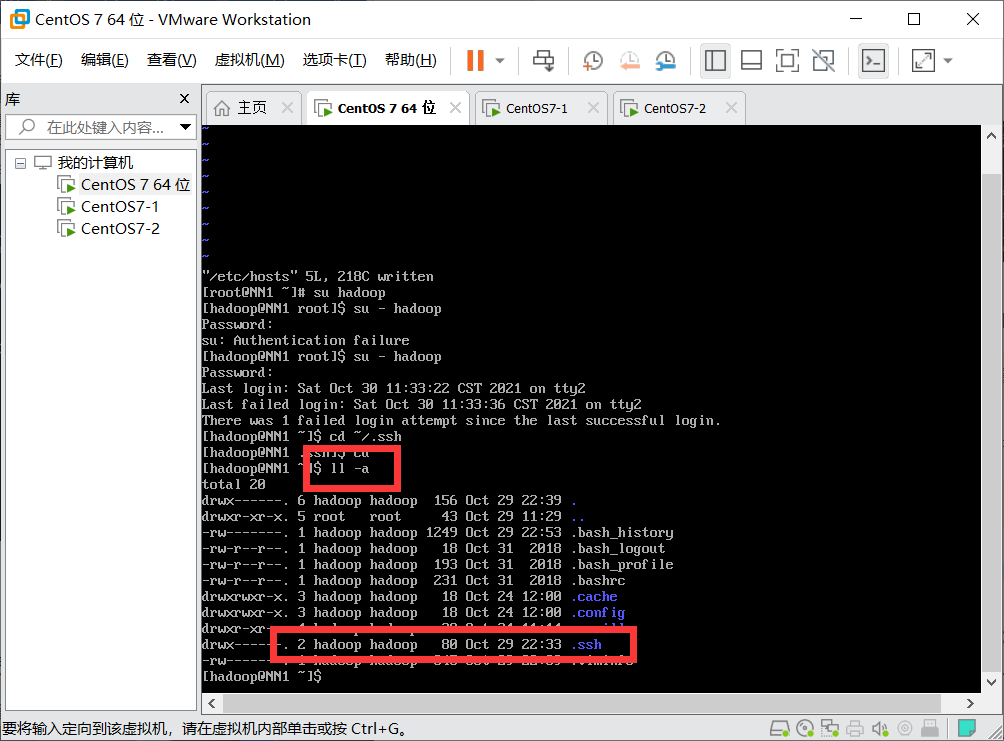
2. Enter the file directory
cd .ssh

You can see the id_rsa is the private key
id_rsa.pub is the public key (the private key is used by itself, the public key is given to other machines, and a public key corresponds to a private key)
3. Set ID_ Copy rsa.pub to the new file authorized_ In the keys file:
cat id_rsa.pub >> authorized_keys
4. Give this authrized_ The keys file is authorized as 600
chmod 600 authorized_keys
5. Perform the same operation on other nodes (dn1/dn2)
6. Authorize other nodes (DN1/DN2)_ The contents of keys are directly copied by right clicking to the authorized of NN1_ In the keys file
7. Authorize NN1_ The keys are directly copied to the hadoop user of each node
scp ~/.ssh/authorized_keys hadoop@DN1:~/.ssh
scp ~/.ssh/authorized_keys hadoop@DN2:~/.ssh
Configure JDK
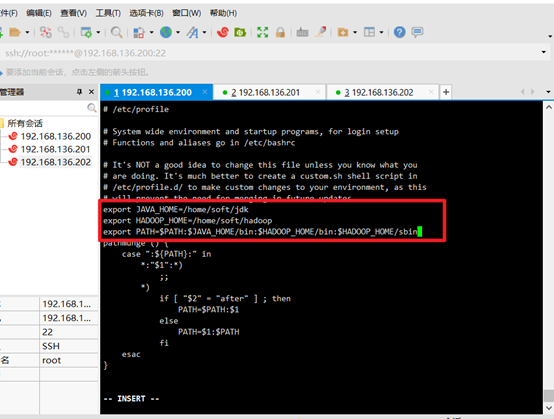
Configure environment variables:
vi /etc/profile
add to:
export JAVA_HOME=/home/soft/jdk
export HADOOP_HOME=/home/soft/hadoop
export PATH=$PATH:$JAVA_HOME/bin:$HADOOP_HOME/bin:$HADOOP_HOME/sbin
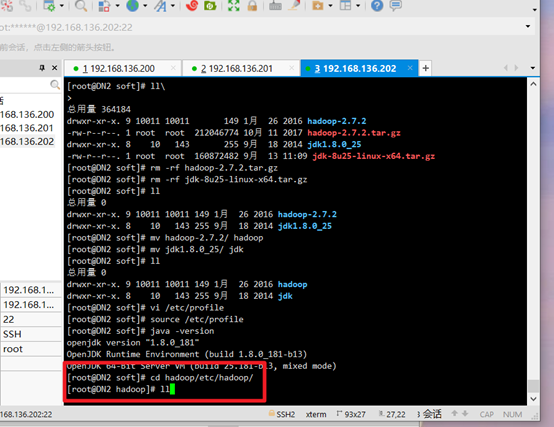
Execute file command:
source /etc/profile
View jdk version:
java -version
Configure HDFS
Enter the hadoop/etc/hadoop / Directory:
cd hadoop/etc/hadoop/
See which files are available:
ll
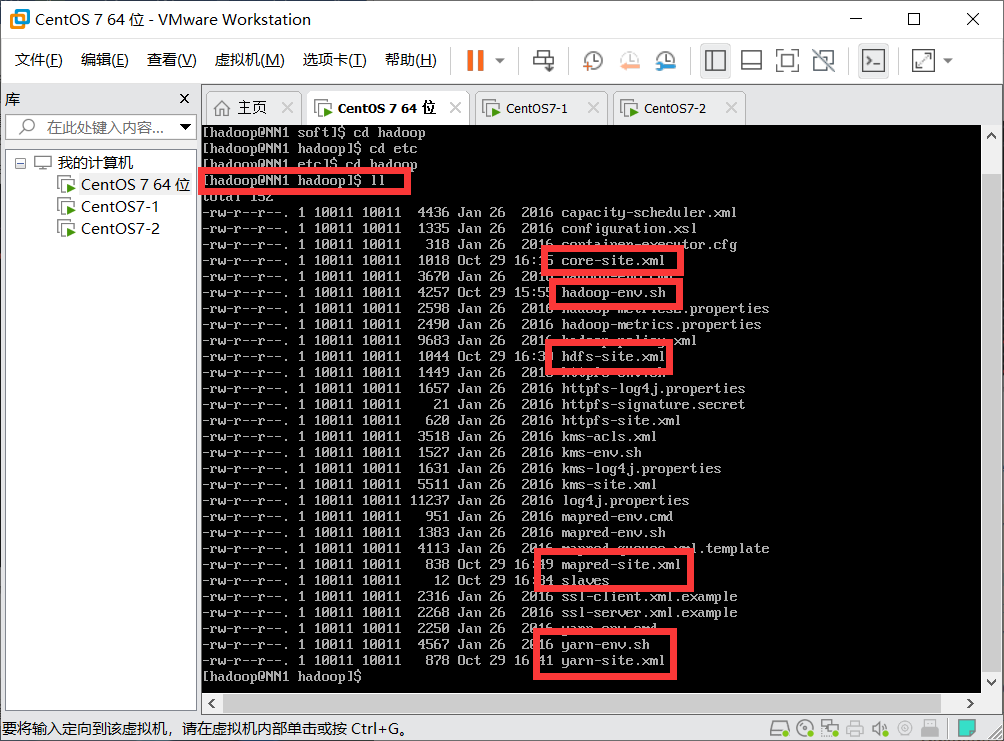
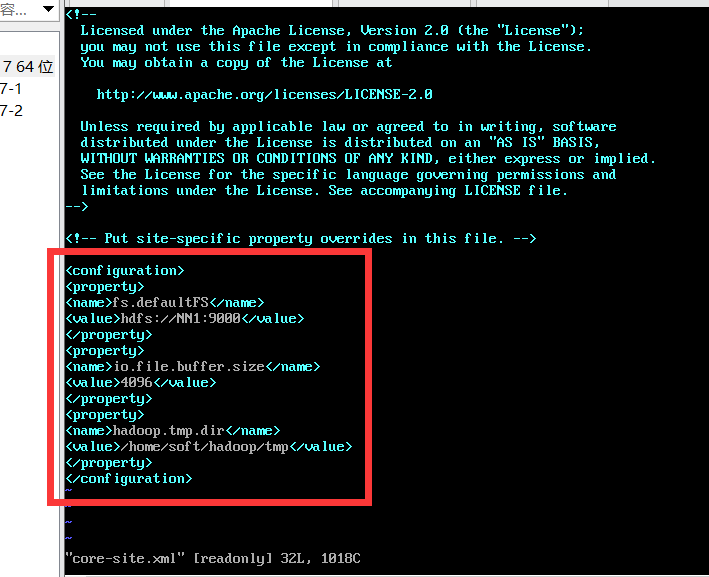
1. Modify the core-site.xml command: vi core-site.xml
<property>
<name>fs.defaultFS</name>
<value>hdfs://Nn1:9000 < / value > / / NN1 is the host name
</property>
<property>
<name>io.file.buffer.size</name>
<value>4096</value>
</property>
<property>
<name>hadoop.tmp.dir</name>
<value>/home/soft/hadoop/tmp</value>
</property>
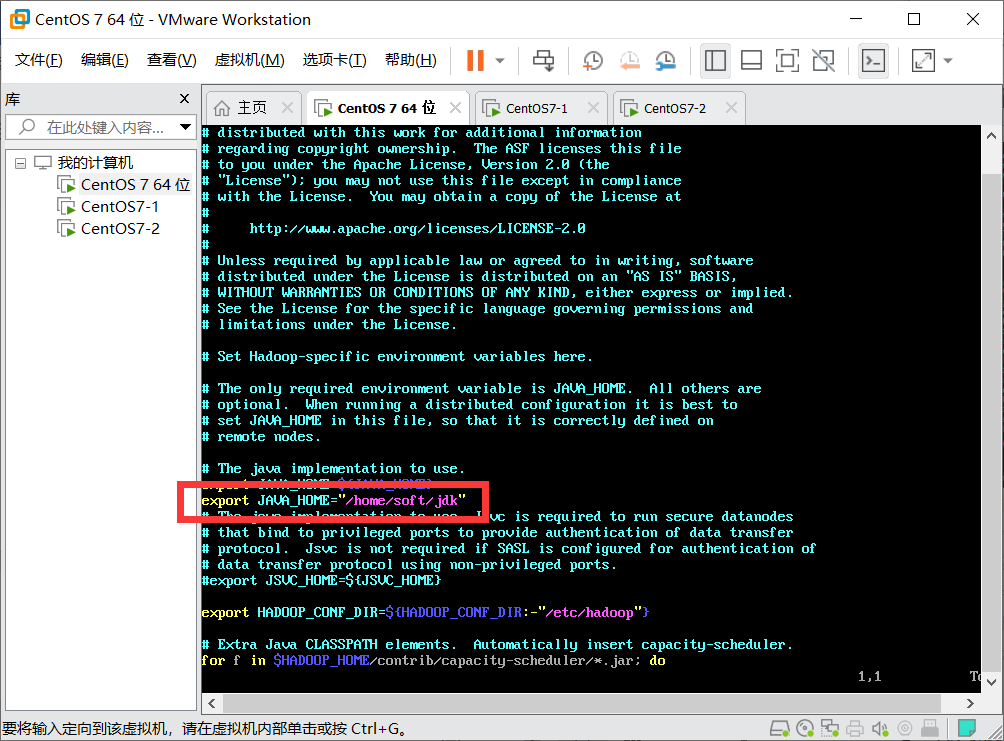
2. Modify hadoop-env.sh file: vi hadoop-env.sh
Add a sentence: export JAVA_HOME=”/home/soft/jdk”
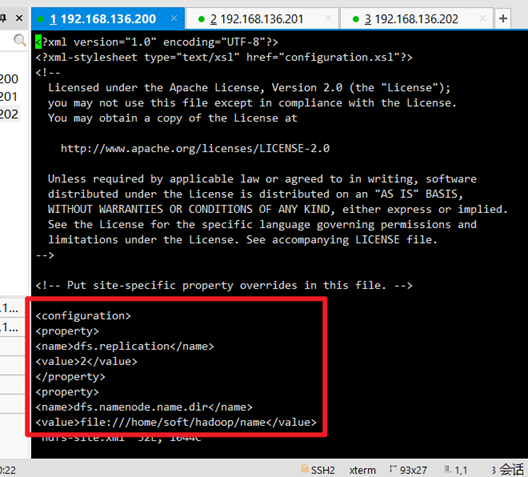
3. Modify hdfs-site.xml command: vi hdfs-site.xml
<property>
<name>dfs.replication</name>
<value>2</value>
</property>
<property>
<name>dfs.namenode.name.dir</name>
<value>file:///home/soft/hadoop/name</value>
</property>
<property>
<name>dfs.datanode.dir</name>
<value>file:///home/soft/hadoop/data</value>
</property>
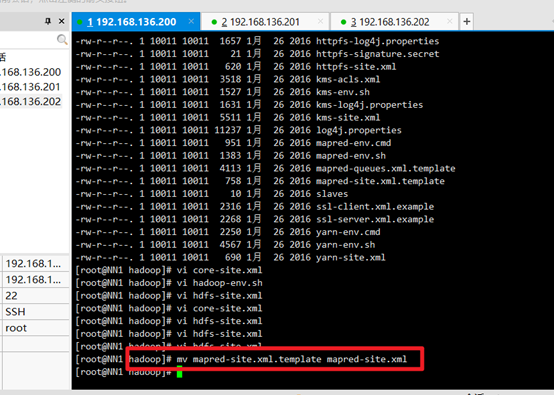
4. Rename mapred-site.xml.template to mapred-site.xml:
mv mapred-site.xml.template mapred-site.xml
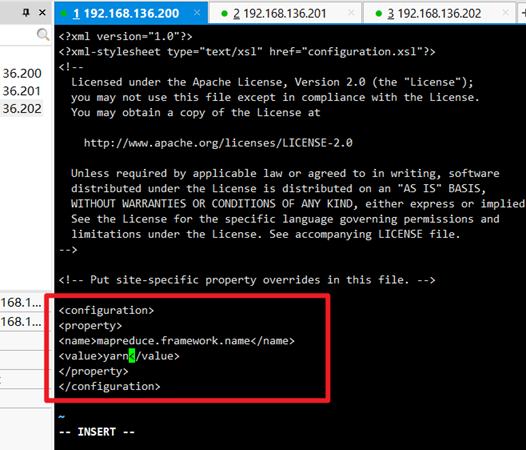
Modify mapred-site.xml: vi mapred-site.xml
<property>
<name>mapreduce.framework.name</name>
<value>yarn</value>
</property>
5. Modify the slave file:
vi slaves
Write in the host name
6. Modify the yarn-site.xml file: vi yarn-site.xml
<property>
<name>yarn.nodemanager.aux-services</name>
<value>mapreduce_shuffle</value>
</property>
<property>
<name>yarn.resourcemanager.address</name>
<value>NN1:8032</value>
</property>

So far, the virtual machine configuration has been configured
Novice found a problem, welcome to correct~~