preface
The very important work in operation and maintenance is: monitoring!
So what are the advantages and disadvantages of using third-party software, such as Zabbix, Nagios and open Falcon?
Advantages: low cost.
Disadvantages: it can't be completely customized, which is completely consistent with your company's business.
Tip: the following is the main content of this article. The following cases can be used for reference
1, Zabbix implementation principle and architecture
Working principle diagram: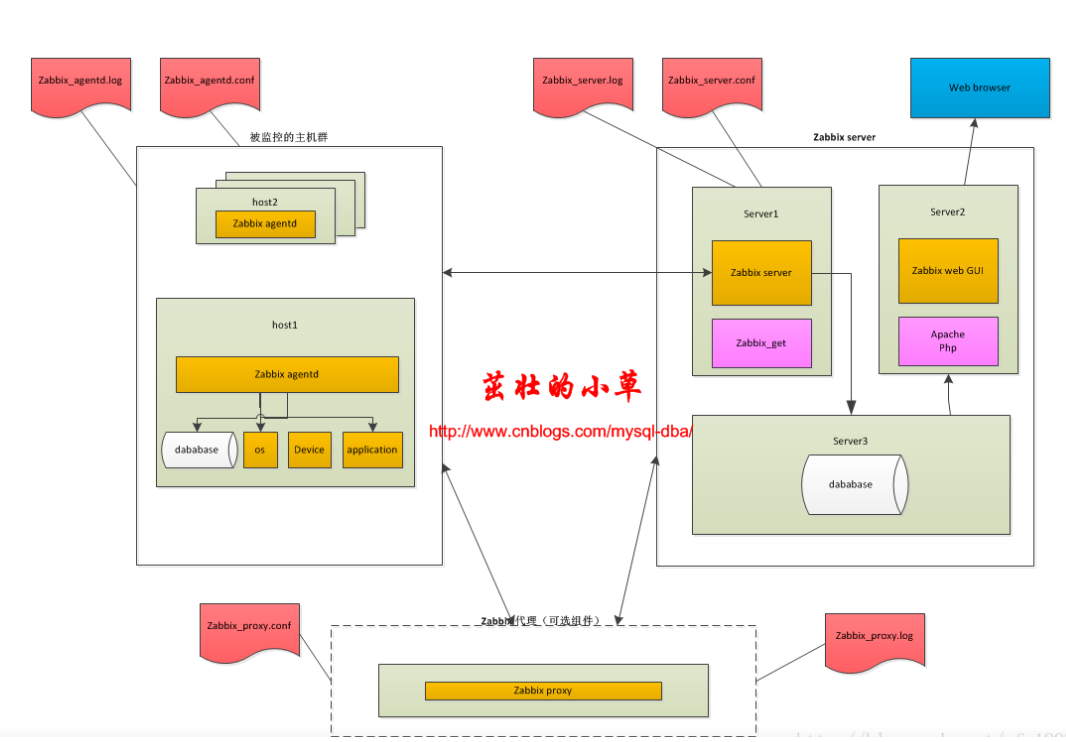
Description of important components:
zabbix server: Monitor
zabbix_get: the monitoring server notifies the agent (monitor) to report the collected information
A, zabbix_server.conf -- configuration file
B, zabbix_server.log -- log file
zabbix agentd: a program for spyware (agent) to collect data
A,zabbix_agentd.conf -- configuration file
B,zabbix_agentd.log -- log file
Common monitoring architecture platform
1. Server agentd mode:
This is the simplest architecture. It is often used when there are few monitoring hosts.
2. Server proxy agent mode:
This is commonly used for many machines. proxy is used for distributed monitoring to effectively reduce the pressure on the server side.
The general process of a monitoring system is as follows:
agentd needs to be installed on the monitored host. It is responsible for collecting various data regularly and sending it to the zabbix server. The zabbix server stores the data in the database, and the zabbix web displays and draws on the front end according to the data.
2, Installation steps
1. Preparation
Prepare a new CentOS 7 linux machine, open the official documentation of zabbix, and install it according to the prompts.
Official documents: https://www.zabbix.com/download
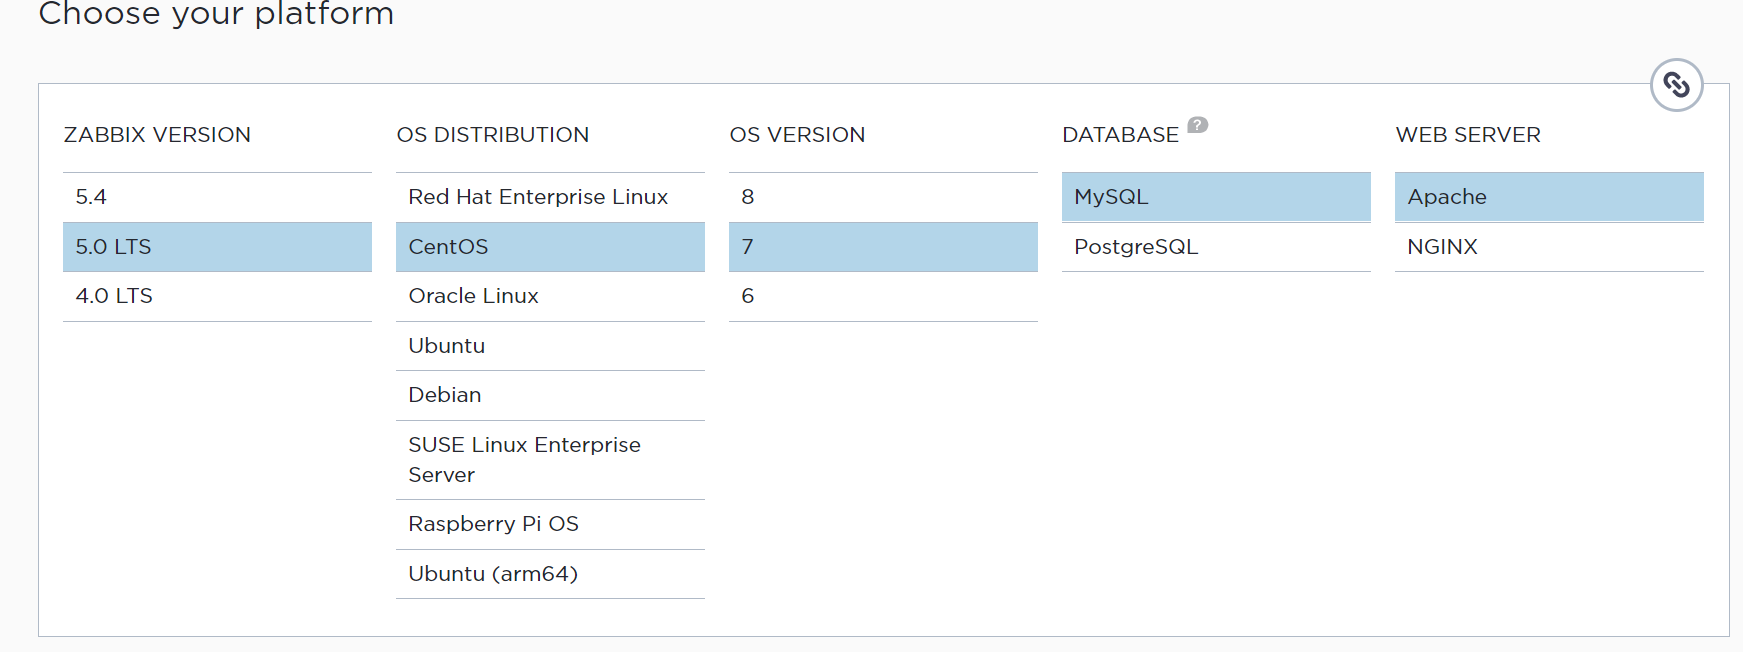
The above is the version I chose.
And modify the host name of this machine:
[root@zabbix-server ~]# hostnamectl set-hostname zabbix-server
2. Install and configure the zabbix server
(1) Get the yum source of zabbix
[root@zabbix-server ~]# rpm -Uvh https://repo.zabbix.com/zabbix/5.0/rhel/7/x86_64/zabbix-release-5.0-1.el7.noarch.rpm
(2) Install ZABBIX server MySQL and ZABBIX agent
[root@zabbix-server ~]# yum install zabbix-server-mysql zabbix-agent -y
(3) Installing the zabbix front end
[root@zabbix-server ~]# yum install centos-release-scl -y
(4) Modify the zabbix.repo file and enable the ZABBIX front-end library
[root@zabbix-server ~]# cd /etc/yum.repos.d/
[root@zabbix-server yum.repos.d]# vim zabbix.repo

Change enabled=0 to enabled=1
(5) Installing the zabbix front end package
[root@zabbix-server yum.repos.d]# yum install zabbix-web-mysql-scl zabbix-apache-conf-scl -y
3. Create initial database
(1) Install mariadb and start the database, and set the startup and self startup
[root@zabbix-server yum.repos.d]# yum install mariadb mariadb-server -y  #install
[root@zabbix-server yum.repos.d]# service mariadb start #start-up
Redirecting to /bin/systemctl start mariadb.service
[root@zabbix-server yum.repos.d]# systemctl enable mariadb #Set startup and self startup
Created symlink from /etc/systemd/system/multi-user.target.wants/mariadb.service to /usr/lib/systemd/system/mariadb.service.
#Check whether mysql is started successfully. You can see the process and port
[root@zabbix-server yum.repos.d]# ps aux|grep mysql
mysql     17253  0.0  0.1 113308  1624 ?        Ss   16:15   0:00 /bin/sh /usr/bin/mysqld_safe --basedir=/usr
mysql     17418  0.1  8.1 968800 80804 ?        Sl   16:15   0:00 /usr/libexec/mysqld --basedir=/usr --datadir=/var/lib/mysql --plugin-dir=/usr/lib64/mysql/plugin --log-error=/var/log/mariadb/mariadb.log --pid-file=/var/run/mariadb/mariadb.pid --socket=/var/lib/mysql/mysql.sock
root      17476  0.0  0.0 112724   988 pts/0    R+   16:16   0:00 grep --color=auto mysql
#See if the process starts successfully
Look at the startup of port 3306. The following figure shows that the startup is successful: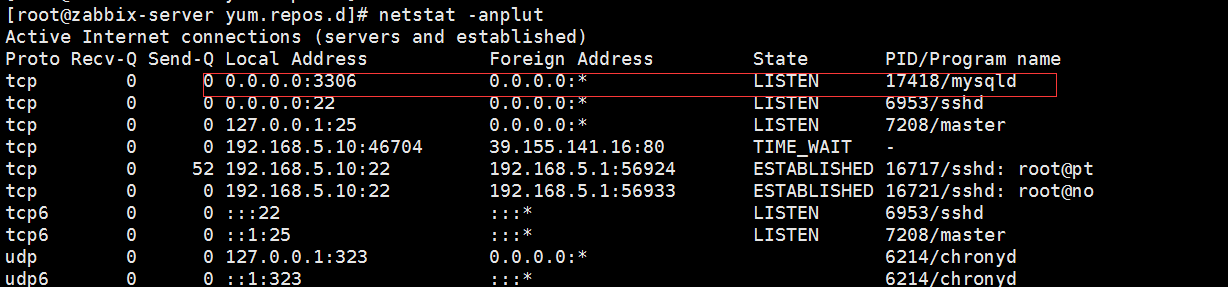
(2) Enter the database and create zabbix tables and database users
[root@zabbix-server yum.repos.d]# mysql -u root -p
Enter password:  #The initial database does not have a password. Press enter
Welcome to the MariaDB monitor.  Commands end with ; or \g.
Your MariaDB connection id is 2
Server version: 5.5.68-MariaDB MariaDB Server
Copyright (c) 2000, 2018, Oracle, MariaDB Corporation Ab and others.
Type 'help;' or '\h' for help. Type '\c' to clear the current input statement.
MariaDB [(none)]>create database zabbix character set utf8 collate utf8_bin;  #Build table
MariaDB [(none)]> create user zabbix@localhost identified by '123456'; #Build user, 123456 is the database password, which can be set at will and remembered by yourself
MariaDB [(none)]> grant all privileges on zabbix.* to zabbix@localhost;  #Give it all permissions
MariaDB [(none)]> quit; #sign out
(3) Import the initial tables and data on the zabbix server
[root@zabbix-server yum.repos.d]# cd /usr/share/doc/zabbix-server-mysql-5.0.14/
[root@zabbix-server zabbix-server-mysql-5.0.14]# ls
AUTHORS  ChangeLog  COPYING  create.sql.gz  double.sql  NEWS  README
[root@zabbix-server zabbix-server-mysql-5.0.14]# gunzip create.sql.gz
[root@zabbix-server zabbix-server-mysql-5.0.14]# ls
AUTHORS  ChangeLog  COPYING  create.sql  double.sql  NEWS  README
[root@zabbix-server zabbix-server-mysql-5.0.14]# cat create.sql|mysql -u zabbix -p zabbix
#Import the extracted database file into the newly created zbbix table
(4) Modify the configuration file of the zabbix database
[root@zabbix-server zabbix-server-mysql-5.0.14]# vim /etc/zabbix/zabbix_server.conf
#As shown below
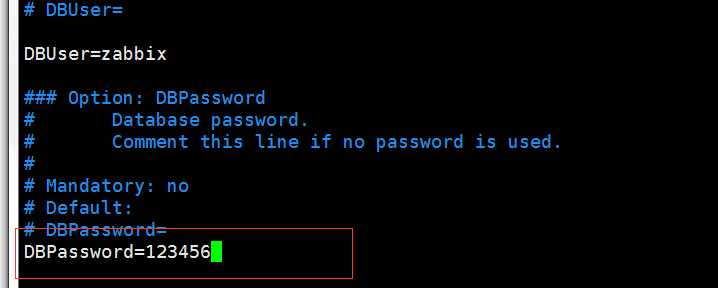
Just fill in the database password set by ourselves.
(5) Modify time zone for zabbix front end
[root@zabbix-server ~]# vim /etc/opt/rh/rh-php72/php-fpm.d/zabbix.conf
#As shown in the figure below, it is changed to Asian Shanghai

(6) Close the firewall and selinux!! be sure to close it, otherwise ZABBIX server will not work.
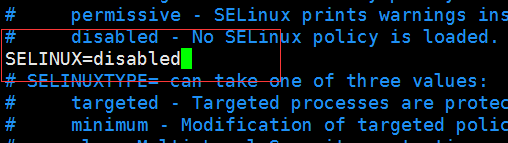
[root@zabbix-server ~]# service firewalld stop #Turn off firewall
Redirecting to /bin/systemctl stop firewalld.service
[root@zabbix-server ~]# systemctl disable firewalld #Permanent shutdown
Removed symlink /etc/systemd/system/multi-user.target.wants/firewalld.service.
Removed symlink /etc/systemd/system/dbus-org.fedoraproject.FirewallD1.service.
[root@zabbix-server ~]# getenforce #Viewing selinux status
Enforcing
[root@zabbix-server ~]# setenforce 0  #Temporarily shut down selinux
[root@zabbix-server ~]# vim /etc/sysconfig/selinux
#Modify the selinux configuration file and set it to permanently shut down, as shown in the figure below. It will take effect only after restarting the machine
4. Start the ZABBIX server and ZABBIX agent, and set the automatic startup
[root@zabbix-server ~]# systemctl restart zabbix-server zabbix-agent httpd rh-php72-php-fpm #start-up
[root@zabbix-server ~]# systemctl enable zabbix-server zabbix-agent httpd rh-php72-php-fpm #Startup and self start
#Check the port to see if the process starts successfully
[root@zabbix-server ~]# ps aux|grep zabbix
[root@zabbix-server ~]# netstat -anplut|grep zabbix
Look at the process. If there are all three pieces, it can be considered as a successful start.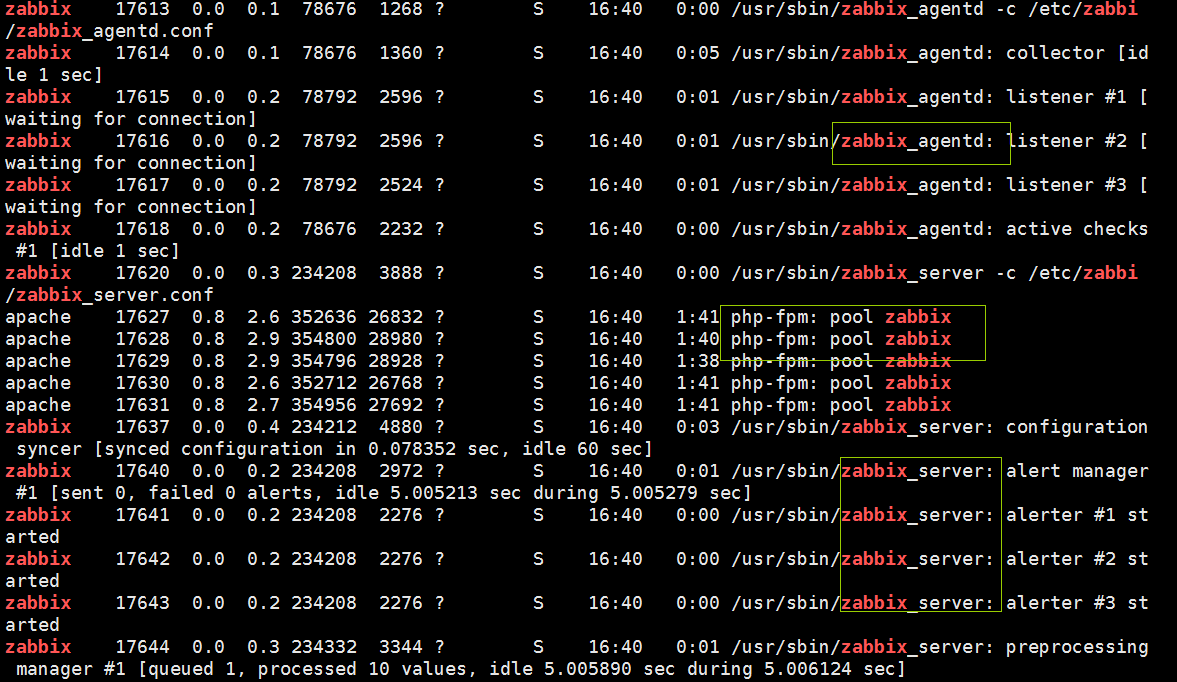
5. Configure zabbix front end
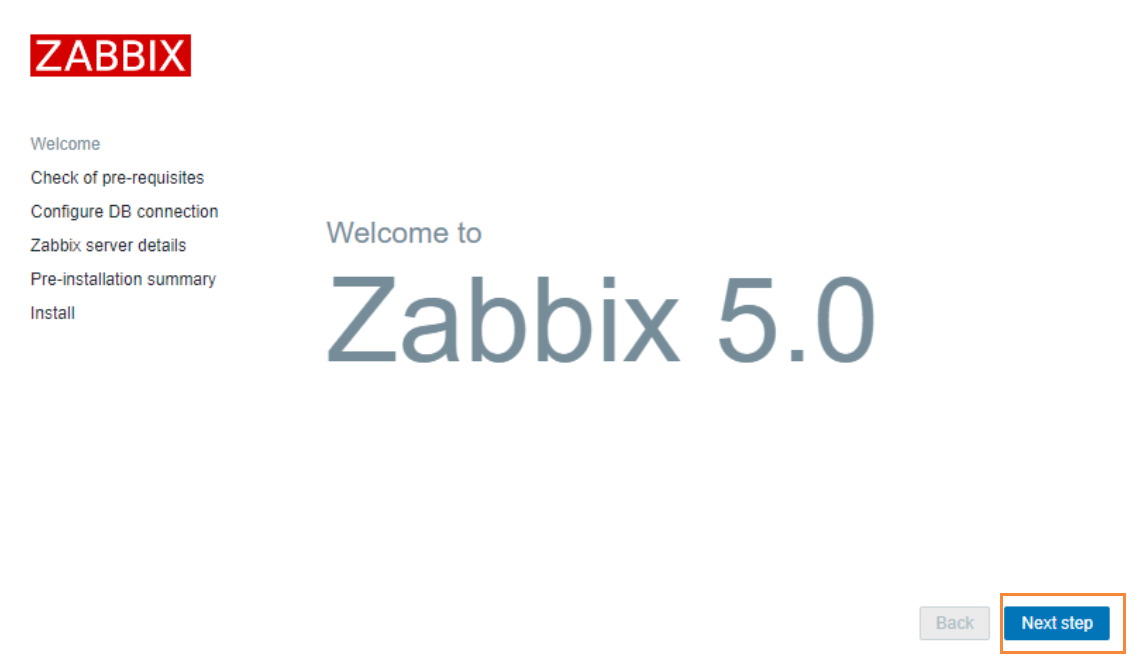
(1) Enter your own ip address / ZABBIX in the browser. For example, mine is 192.168.5.10/zabbix. The following interface will appear. Click next.
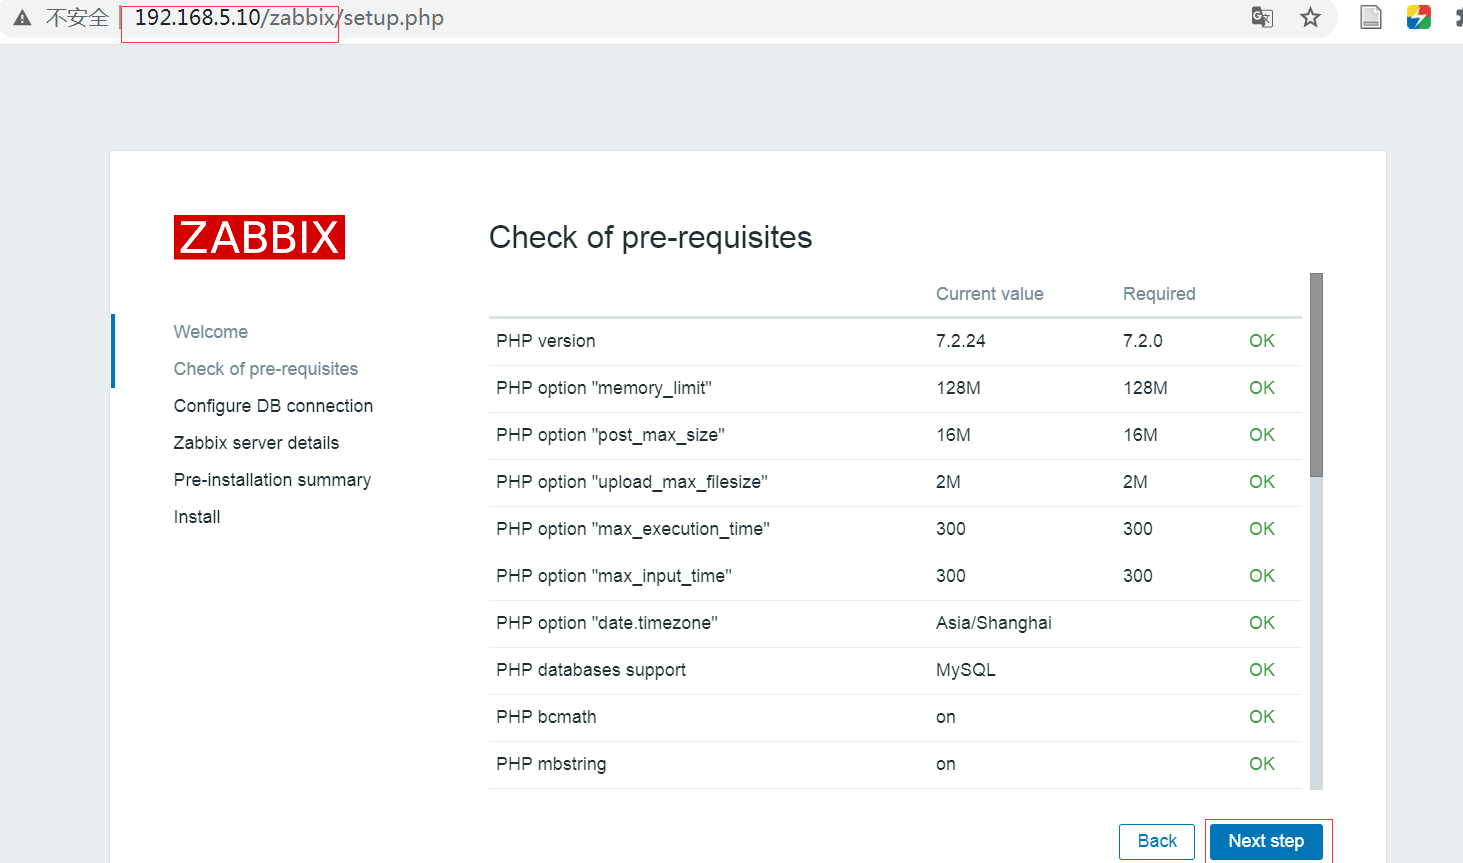
(2) Click next when the all ok interface appears.
(3) Configure the database and fill in the next step.
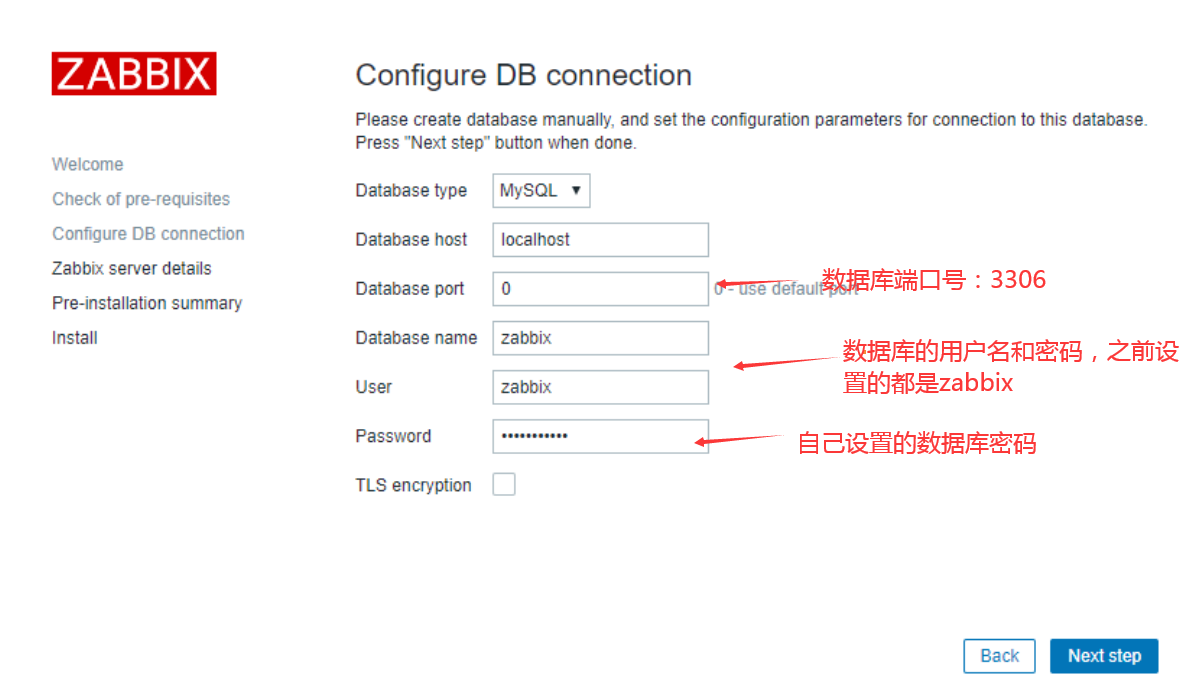
(4) Click next after configuration.
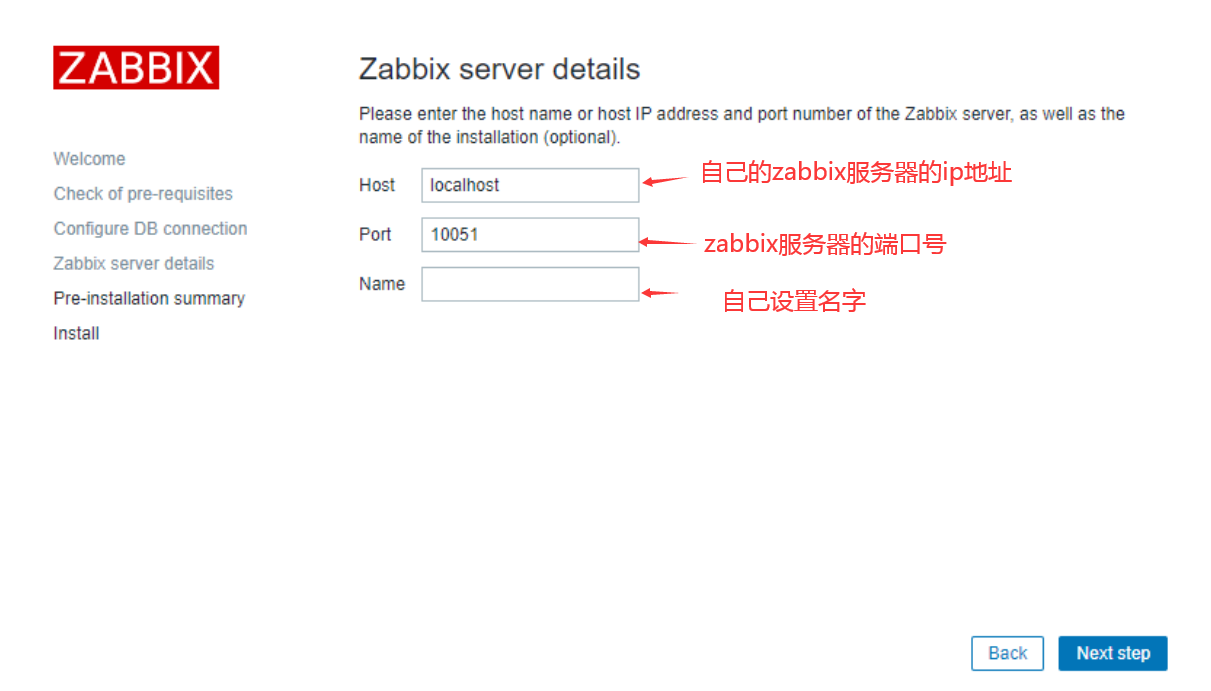
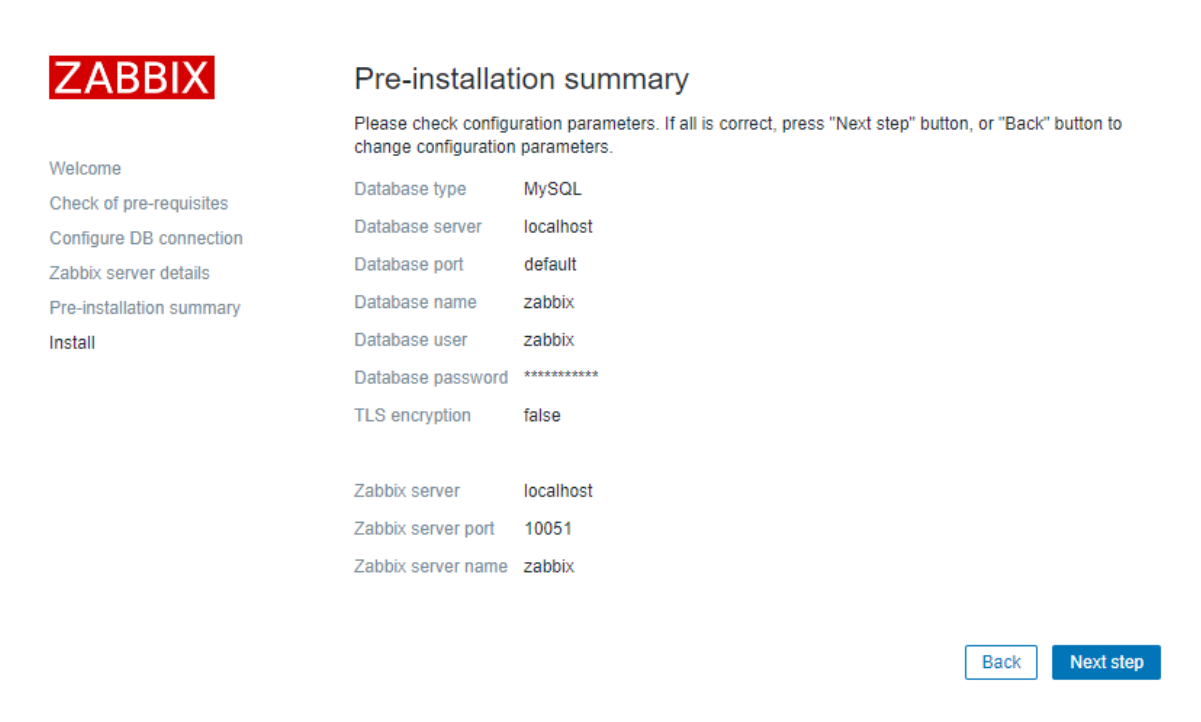
(5) Click next when you see this interface.
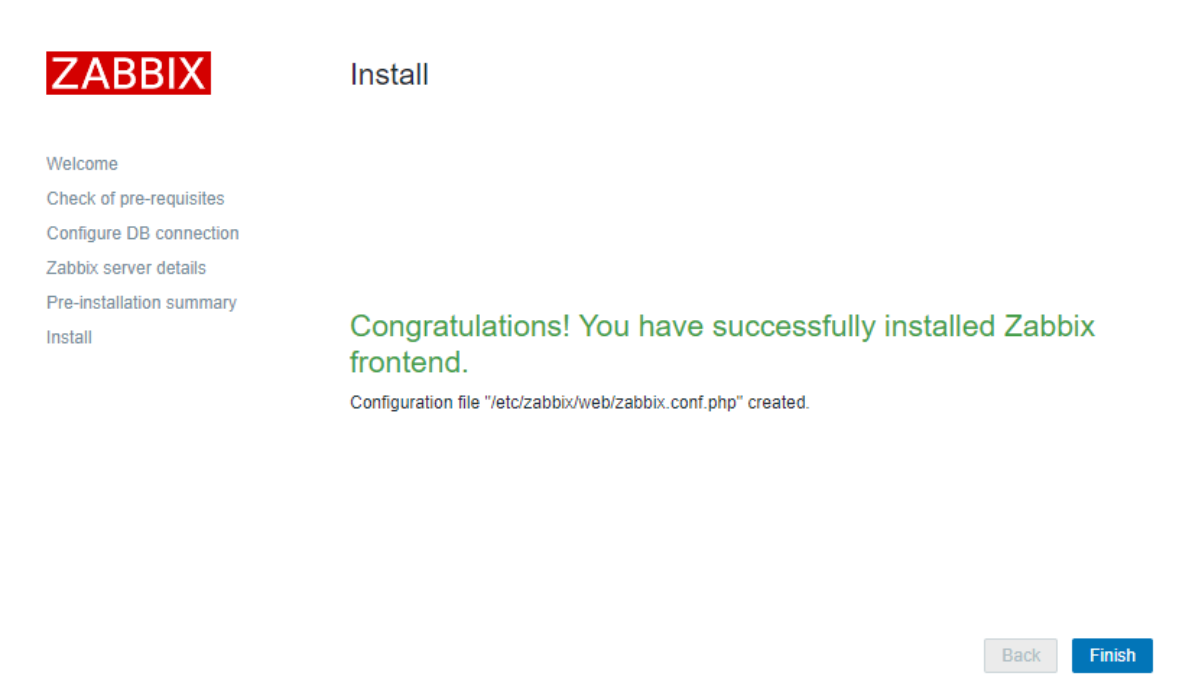
(6) Click finish.
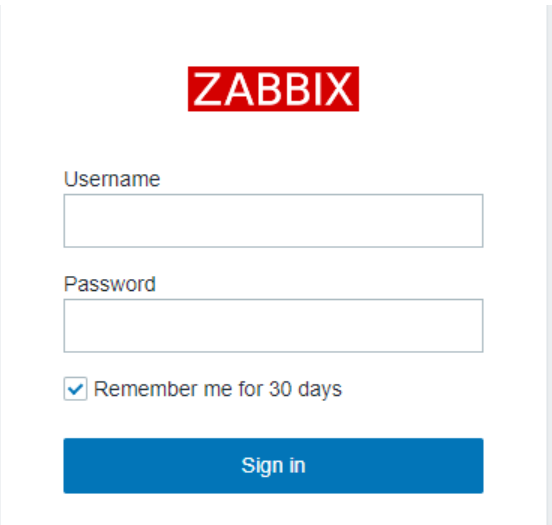
(7) Login, user name: Admin, password: zabbix
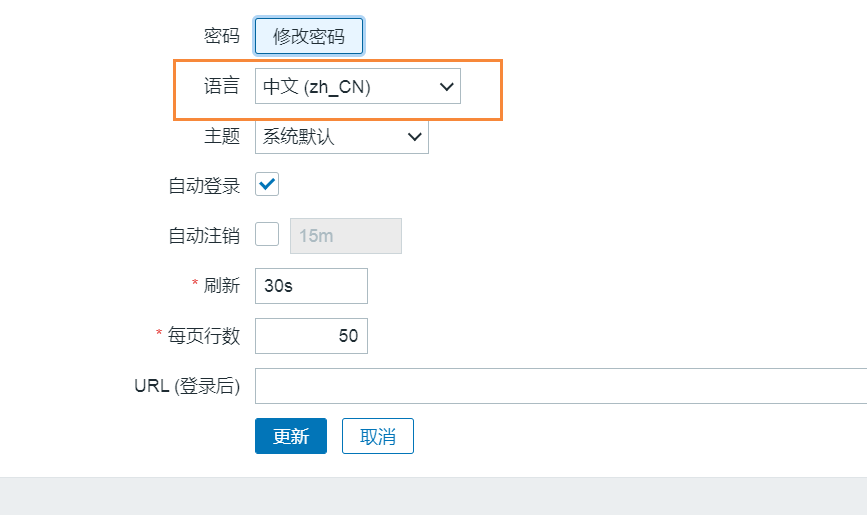
(8) Set the front-end interface to Chinese.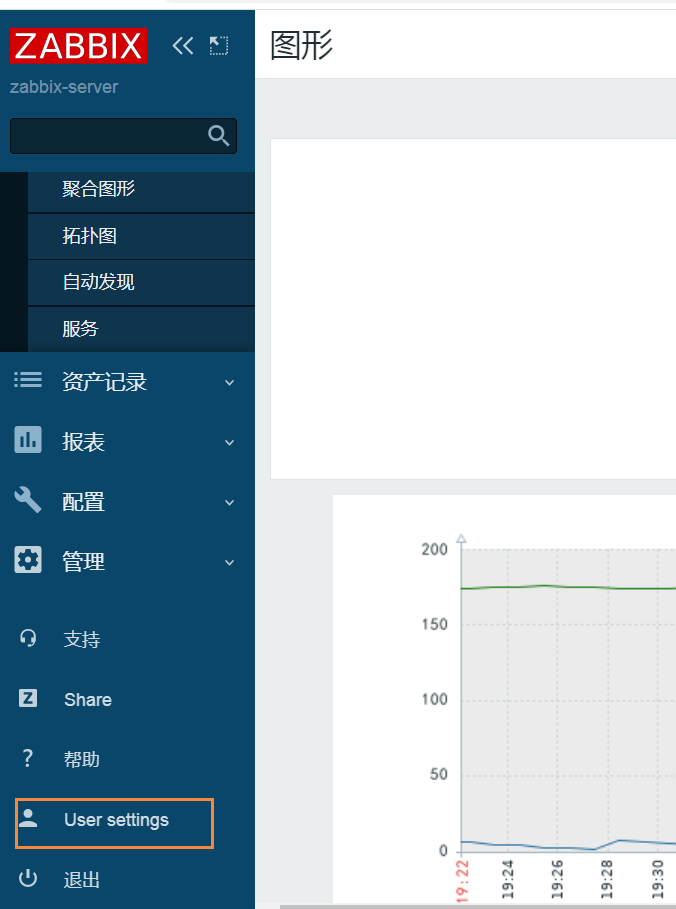
6. Solve the Chinese garbled code problem in the graphical interface of zabbix front end.
(1) Open disk C of windows machine, find the italics in the following path, and copy this file to the desktop.

(2) On a linux machine, do the following
[root@zabbix-server ~]# yum install lrzsz -y #Transfer the files in windows to the linux machine
[root@zabbix-server ~]# rz
#Select the font file just placed on the desktop and transfer it
[root@zabbix-server ~]# find / -name "*.ttf"
#Find the path of the font file used by the zabbix front end, as shown in the following figure
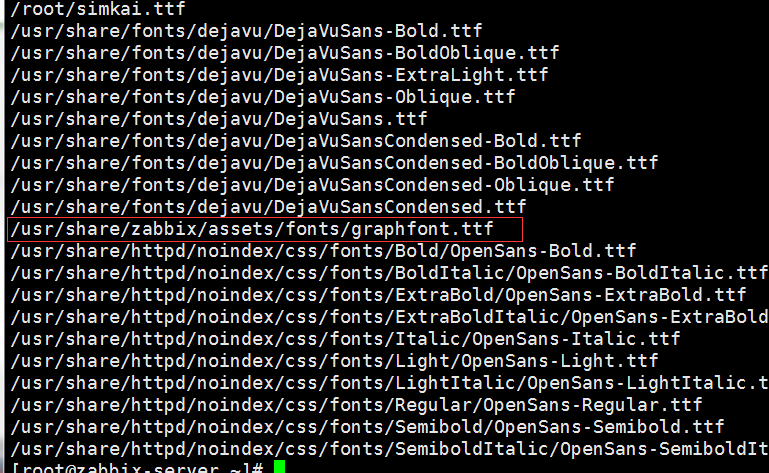
[root@zabbix-server fonts]# cp /root/simkai.ttf .
#Copy the just passed in italics file to the current path
[root@zabbix-server fonts]# pwd
/usr/share/zabbix/assets/fonts
[root@zabbix-server fonts]# vim /usr/share/zabbix/include/defines.inc.php
#Modify the configuration file, as shown in the figure below, and change it to simkai.

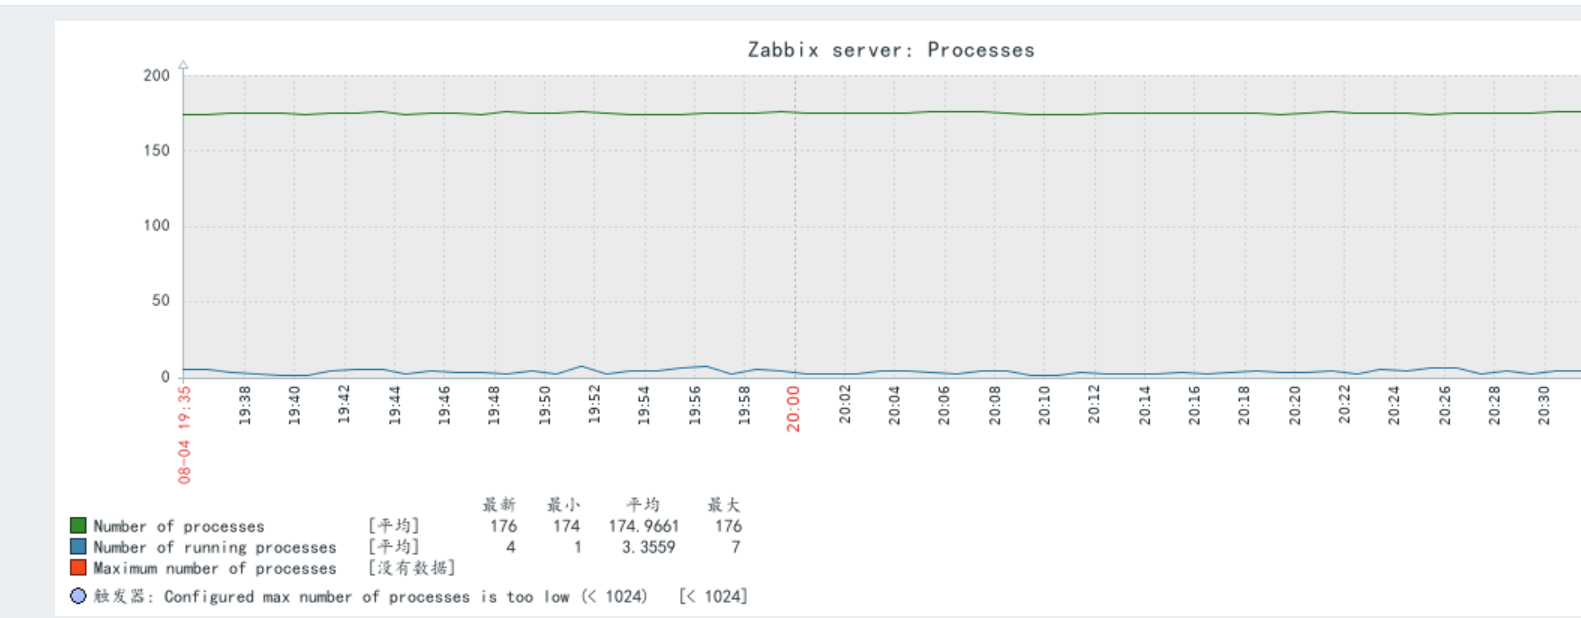
(3) Open the front page and click the selected one in the figure below to open the drawing.
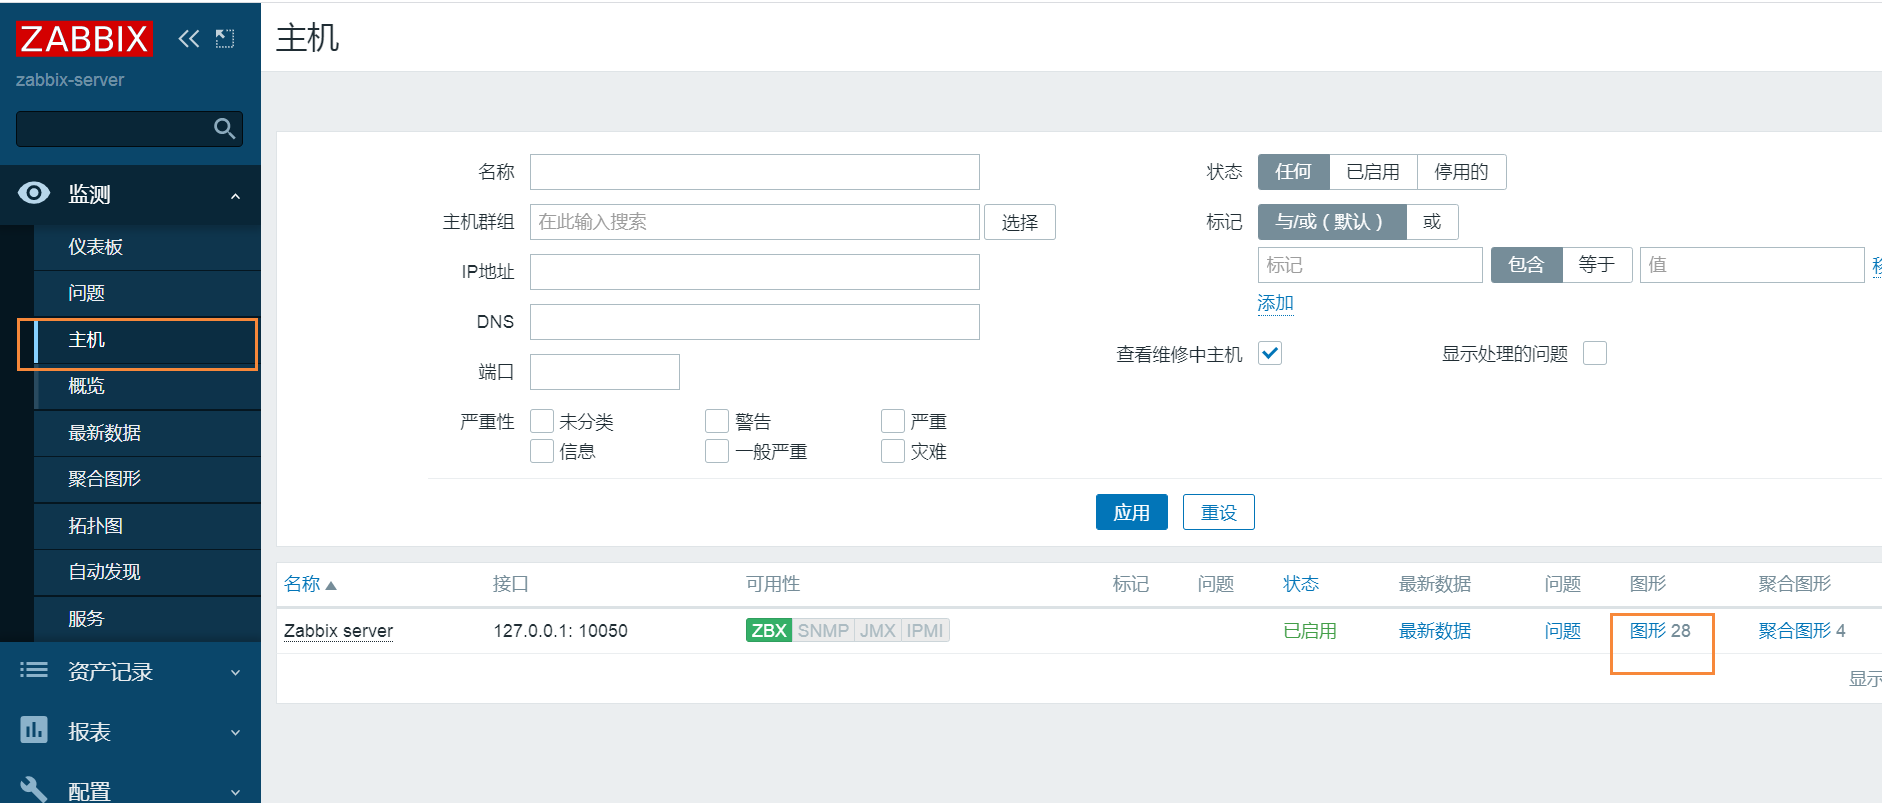
It can be displayed as follows.
summary
So far, zabbix5 0 installed successfully!