- 👏 About the author: Hello, I'm cabbage ~ ~, a sophomore in school, and a new star creator in the Java field.
- 📝 Personal homepage: Cabbage CSDN blog
- 📕 Series column: This article is written in the Java design pattern column: Spring5 knowledge record
- 📧 If there are mistakes in the knowledge points of the article, please correct them! Learn and make progress with you 👀
- 🔥 If you feel the blogger's article is good, please 👍 Three company support 👍 Check out the blogger
1, Foreword
This is the third article in the spring column, which is about the annotation development of spring, including full annotation and incomplete annotation development. I have sorted out my study notes. I hope you like them.
2, Basic introduction
In the previous two articles on spring, I explained the knowledge points step by step with xml configuration files, but spring is a light code and heavy configuration framework. xml configuration files are heavy and affect development efficiency. Therefore, annotation development is a trend. Annotation instead of xml configuration files can simplify configuration and improve development efficiency.
Therefore, before writing this article, I have been thinking about how to use a way to make my friends understand more deeply? Finally, I decided that when explaining the use of annotations, I should make a comparison with the way of using xml configuration files, and try to let my friends know why!
3, Incomplete annotation development
1. First set of notes
There is no functional difference between these annotations on the instantiation and creation of objects
@Component is used on a class to instantiate a Bean
@The Controller is used on the web layer class to instantiate the Bean
@Service is used on the service layer class to instantiate beans
@Repository is used on dao layer classes to instantiate beans
Next, let's analyze, understand and master them from the specific code!
First create a UserDao interface and write a sayHello() method
public interface UserDao {
    void sayHello();
}
Then write an interface implementation class UserDaoImpl class, implement the method of the interface, and output "Hello, I'm cabbage ~ ~"
//<bean id="userDao" class="com.sht.dao.impl.UserDaoImpl"></bean>
@Repository(value = "userDao")
public class UserDaoImpl implements UserDao {
    @Override
    public void sayHello() {
        System.out.println("Hello, I'm cabbage~~");
    }
}
Analysis: adding @ Repository(value = "userDao") to a class means that the instance of this class is put into the spring container. value = "userDao" is equivalent to the ID attribute value in < bean id = "userdao" class = "com. Sht. Dao. Impl. Userdaoimpl" > < / bean >. When we use annotations, we don't need to specify the package path of the class, so we omit the class attribute value
Note that using partial annotation development means configuring the spring file. Unlike before, we need to add a package scan to the configuration file to make the annotation take effect
<?xml version="1.0" encoding="UTF-8"?>
<beans xmlns="http://www.springframework.org/schema/beans"
       xmlns:xsi="http://www.w3.org/2001/XMLSchema-instance"
       xmlns:context="http://www.springframework.org/schema/context"
       xsi:schemaLocation="http://www.springframework.org/schema/beans
        http://www.springframework.org/schema/beans/spring-beans.xsd
        http://www.springframework.org/schema/context
        http://www.springframework.org/schema/context/spring-context.xsd">
    <!--Scan package and its sub packages-->
    <context:component-scan base-package="com.sht"/>
</beans>
Write a test code:
@Test
    public void test4() {
        ApplicationContext applicationContext =
                new ClassPathXmlApplicationContext("applicationContext.xml");
        UserService userService = applicationContext.getBean(UserService.class);
        userService.sayHello();
    }
Operation results:

2. Second set of notes
The function of this set of annotations is attribute injection. Let's write a code to see how they are used
@Autowired
@Resource
@Qulifier: used with @ Autowired
Create an interface UserService and write a method sayHello()
public interface UserService {
    void sayHello();
}
Create an interface implementation class and implement its method. We call the UserDaoImpl class method in the method. The code is as follows:
//<bean id="userService"  class="com.sht.service.impl.UserServiceImpl"></bean>
@Service(value = "userService")
public class UserServiceImpl implements UserService {
//    <property name="userDao" ref="userDao"></property>
    @Autowired
    @Qualifier(value = "userDao")
    private UserDao userDao;
    //It can be omitted
//    public void setUserDao(UserDao userDao) {
//        this.userDao = userDao;
//    }
    @Override
    public void sayHello() {
        userDao.sayHello();
    }
}
Analysis: the annotation @ Service(value = "userService") is not enough. The use method is the same as that of the first group of annotations. We have introduced private UserDao userDao; into the class;, How to inject attributes? You can use @ Autowired+@Qualifier(value = "userDao"), where the value attribute value is equivalent to the ref attribute value in < property name = "userDao" ref = "userDao" > < / property >. Happily, we also need to write the set method corresponding to the property by using the xml configuration file, but after using the annotation, we don't need to write the set method. Is it convenient@ Autowired+@Qualifier(value = "userDao") can be replaced with @ Resource(name = "userDao"), but it is not recommended@ Autowired+@Qualifier(value = "userDao") can also be replaced by a separate @ Autowired, which means that the attribute is injected according to the type. When there are multiple same types, an error will be reported. Use it with caution
3. Group 3 Notes
The function of this group of annotations is string injection, but it is not just ordinary string injection. Let's write a code to see how to use it
@Value: inject string
@PropertySource: import external properties file
@Bean: inject the return value of the method into the spring container
Add the following code to the UserServiceImp class and inject the required string content with the @ Value annotation
@Value("I am a cabbage")
    private String name;
    public void print() {
        System.out.println(name);
    }
Write a test code to verify the effect:
  @Test
    public void test4() {
        ApplicationContext applicationContext =
                new ClassPathXmlApplicationContext("applicationContext.xml");
        UserServiceImpl userService = applicationContext.getBean(UserServiceImpl.class);
        userService.print();
    }
Operation results:

This is just one way to use the @ Value annotation. Let's look at another way to use it
First, configure an xml file to configure the Druid data source and connect to the MySQL database. The content here is explained very clearly in my Spring column. If you don't understand it, you can learn it
<?xml version="1.0" encoding="UTF-8"?>
<beans xmlns="http://www.springframework.org/schema/beans"
       xmlns:xsi="http://www.w3.org/2001/XMLSchema-instance"
       xmlns:context="http://www.springframework.org/schema/context"
       xsi:schemaLocation="http://www.springframework.org/schema/beans
        http://www.springframework.org/schema/beans/spring-beans.xsd
        http://www.springframework.org/schema/context
        http://www.springframework.org/schema/context/spring-context.xsd">

    <context:property-placeholder location="classpath:jdbc.properties"/>

    <context:component-scan base-package="com.sht"/>
    <bean id="dataSource" class="com.alibaba.druid.pool.DruidDataSource">

    <property name="driverClassName" value="${jdbc.driver}"></property>
    <property name="url" value="${jdbc.url}"></property>
    <property name="username" value="${jdbc.username}"></property>
    <property name="password" value="${jdbc.password}"></property>
    </bean>
</beans>
Configure a JDBC under resources Properties file
jdbc.driver=com.mysql.cj.jdbc.Driver
jdbc.url=jdbc:mysql://localhost:3306/test
jdbc.username=root
jdbc.password=0315
Then, add the annotation @ PropertySource(value = {"classpath:jdbc.properties"}) on the UserServiceImp class. The < context: Property placeholder location = "classpath:jdbc.properties" / > in the spring configuration file can be omitted. It can be solved with an annotation. Is it convenient?

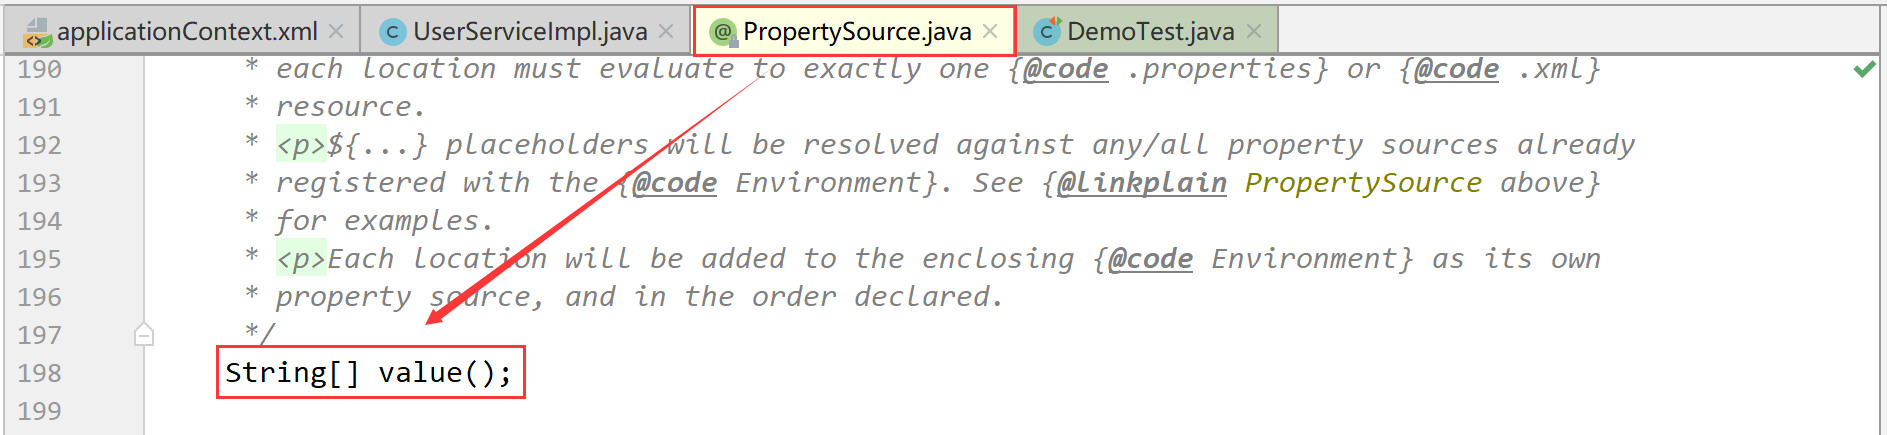
It should be noted that in the @ PropertySource annotation, it is found that its property value is an array type by entering the source code, which indicates that we can introduce multiple properties files
Then write a method in the UserServiceImp class to get the connection object
@Value("${jdbc.driver}")
    private String driverClassName;
    @Value("${jdbc.url}")
    private String url;
    @Value("${jdbc.username}")
    private String username;
    @Value("${jdbc.password}")
    private String password;

    @Bean("dataSource")
    public DataSource getDataSource() {
        DruidDataSource dataSource = new DruidDataSource();
        dataSource.setDriverClassName(driverClassName);
        dataSource.setUrl(url);
        dataSource.setUsername(username);
        dataSource.setPassword(password);
        return dataSource;
    }
Analysis: we use the annotation @ Value to get the Value of the properties file, and then configure the connection in the method. The annotation @ bean puts the obtained object into the spring container for future use. Its property Value is equivalent to the id in the bean tag
Is the configuration successful? Let's write a test code:
  @Test
    public void test5() throws SQLException {
        ApplicationContext context = new ClassPathXmlApplicationContext("applicationContext.xml");
        DataSource dataSource = (DataSource) context.getBean("dataSource");
        Connection connection = dataSource.getConnection();
        System.out.println(connection);
    }
Operation results:

Here, we find that there is another package scan in the spring configuration file, which is lonely; Can we not use the configuration file? The answer is yes. Next, let's take a look at full annotation development
4, Fully annotated development
1. First set of notes
These three notes are not very important. Just understand them
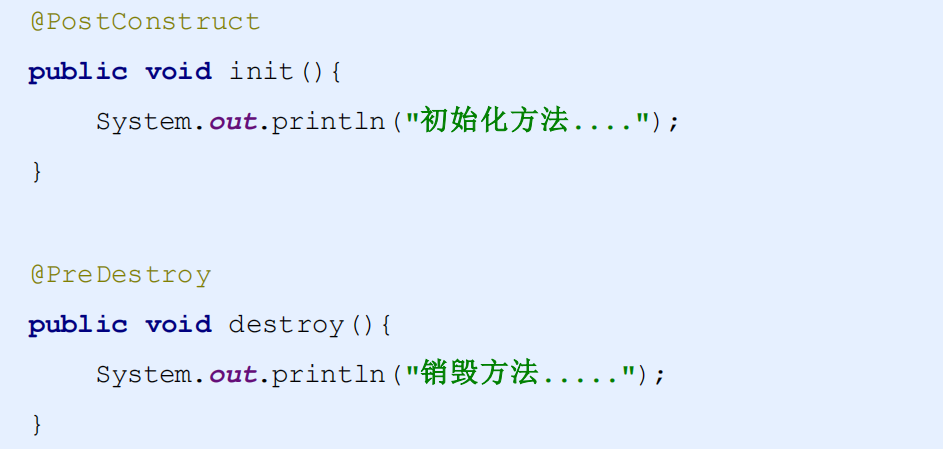
@Scope: determines whether the object is multi instance or single instance
@PostConstruct: Dimension initialization method
@PreDestroy: label destruction method

2. Second set of notes
This group of annotations began to open the door to our full annotation development
@Configuration is used to specify that the current class is a Spring configuration class. Annotations will be loaded from this class when creating a container
@ComponentScan is used to specify the packages to be scanned by Spring when initializing the container.
@PropertySource is used to load Configuration in the properties file
@Import is used to import other configuration classes
Using full annotation development, we first create a main class SpringConfig
@Configuration
//<context:component-scan base-package="com.sht"/>
@ComponentScan(value = {"com.sht"})
public class SpringConfig {
    private int age = 18;
    public void print() {
        System.out.println("My age is" + age + "year");
    }
}
Analysis: @ Configuration tells spring that this is a Configuration class, and the attribute value of @ ComponentScan needs to fill in the package scanning path. Its function is the same as < context: component scan base package = "com. Sht" / > here, we can completely eliminate the need for spring Configuration files
Next, test it with code:
@Test
    public void test6() {
        ApplicationContext context = new AnnotationConfigApplicationContext(SpringConfig.class);
        SpringConfig config = context.getBean(SpringConfig.class);
        config.print();
    }
Operation results:

Then the problem comes again. If I have other configuration classes, how can I put them into the spring container? The @ Import annotation is needed at this time
In the above content, I wrote a method in UserServiceImp class to obtain connection objects. Now I write them in a UtilGetDataSource class. The code is as follows:
@PropertySource(value = {"classpath:jdbc.properties"})
public class UtilGetDataSource {
    @Value("${jdbc.driver}")
    private String driverClassName;
    @Value("${jdbc.url}")
    private String url;
    @Value("${jdbc.username}")
    private String username;
    @Value("${jdbc.password}")
    private String password;

    @Bean("dataSource")
    public DataSource getDataSource() {
        DruidDataSource dataSource = new DruidDataSource();
        dataSource.setDriverClassName(driverClassName);
        dataSource.setUrl(url);
        dataSource.setUsername(username);
        dataSource.setPassword(password);
        return dataSource;
    }
}
If we want to use this method, we need to put it into the spring container; With @ Import annotation, its attribute value is also an array type, and multiple classes can be introduced
@Import(UtilGetDataSource.class)
public class SpringConfig{
}
Finally, write a test class to see if it is correct
@Test
    public void test6() throws SQLException {
        ApplicationContext context = new AnnotationConfigApplicationContext(SpringConfig.class);
        DataSource dataSource = (DataSource) context.getBean("dataSource");
        Connection connection = dataSource.getConnection();
        System.out.println(connection);
    }
Operation results:

5, Summary
The use of spring annotation development greatly simplifies the configuration of xml. There are many annotations. We should take notes in our daily study and find time to review, so that practice makes perfect!