Have you ever thought about implementing a third-party application login when you are doing your own project? Like this:
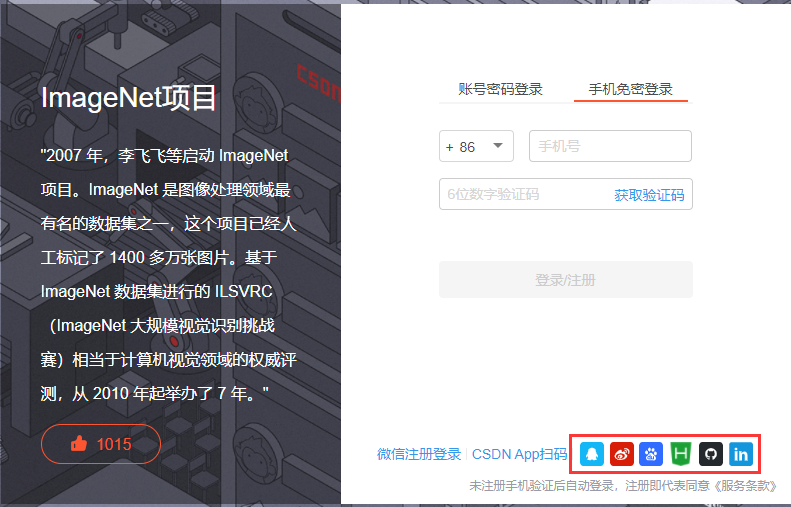
This article will talk about how to realize third-party application login.
What is oauth2 0
OAuth is a protocol, which provides a safe, open and simple standard for the authorization of user resources. OAuth authorization will not make the third party touch the user's account information (such as password), so OAuth is relatively secure. OAuth 2.0 is the continuation of OAuth, and no more than 2.0 pays more attention to the simplicity of client developers.
Apply for website access
Common third-party applications support third-party login, such as QQ, wechat, microblog, GitHub, Gitee, etc. to apply for third-party login permission, you need to go to the corresponding platform, such as QQ, and search the QQ open platform:

Enter application management and create an application:

However, for QQ, wechat, microblog and other website access, identity authentication is required, and the process is cumbersome, so we use Gitee as a third-party application for access.
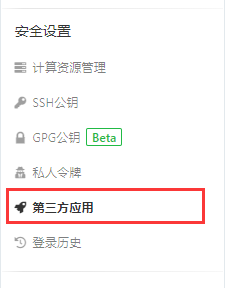
First open Gitee and select settings:
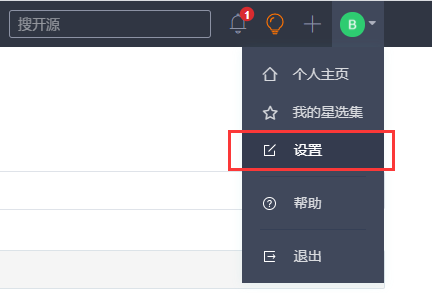
Select a third-party application in settings:
Click create application and fill in relevant information:
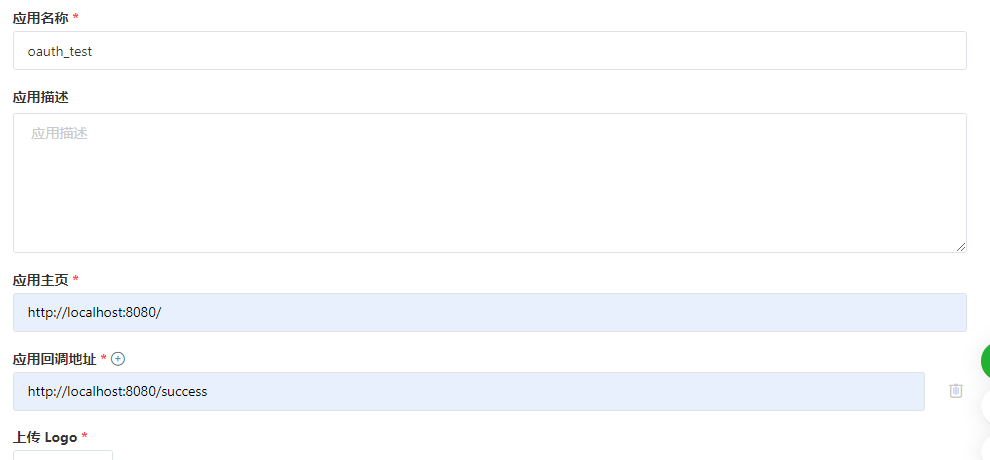
The application name can be filled in at will, but the following two addresses are useful. For the application home page, it needs to fill in the home page of the current application, while the application callback interface needs to fill in the page to jump to after successful login.
Create a SpringBoot application
After the application is completed, you can create a SpringBoot application and create a new index HTML page:
<!DOCTYPE html>
<html lang="en">
  <head>
    <meta charset="UTF-8">
    <title>Title</title>
  </head>
  <body>
    <form>
      user name:<input type="text"/><br/>
      password:<input type="password"/><br/>
      <a href="">Gitee Sign in</a>
      <input type="submit" value="Sign in"/><br/>
    </form>
  </body>
</html>
The effects are as follows:
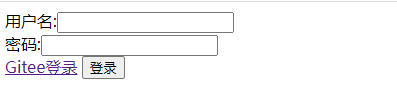
The page is ugly, but it's not important. Just realize the function.
Now we need to click the Gitee login link to jump to a third-party login page, like this:
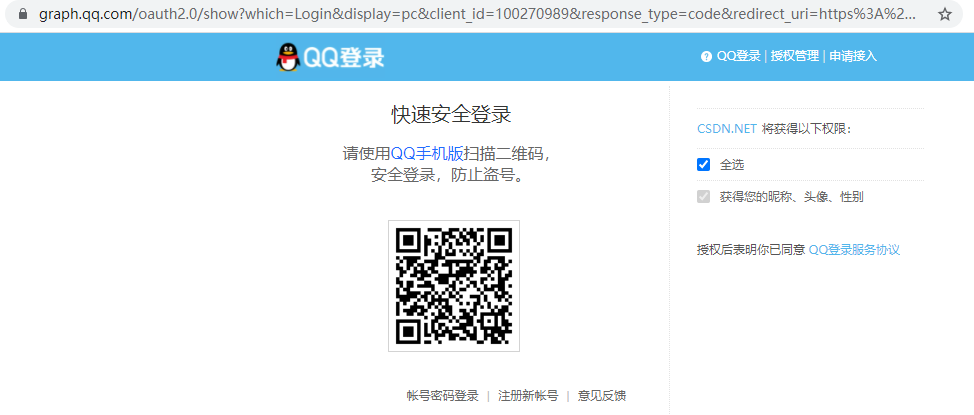
So how to achieve it?
Back to Gitee, after creating the application, drag the page to the bottom to see the simulation request button:
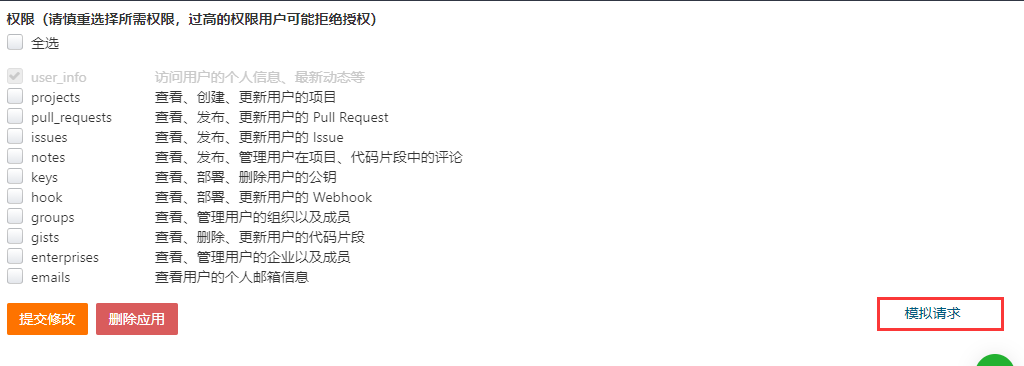
Click this button to conduct a simulated Login:
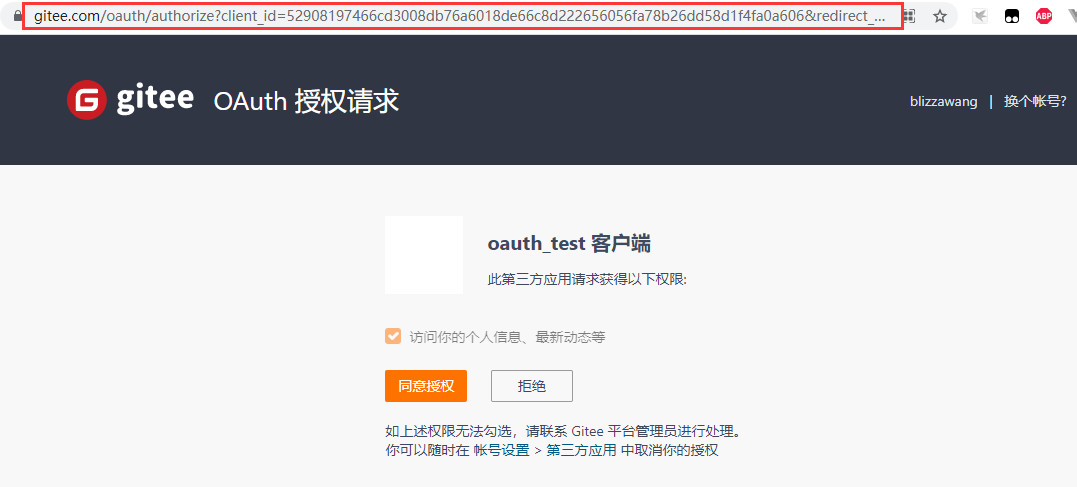
The address in the address bar is the page we need to jump to. Copy the address:
https://gitee.com/oauth/authorize?client_id=52908197466cd3008db76a6018de66c8d222656056fa78b26dd58d1f4fa0a606&redirect_uri=http%3A%2F%2Flocalhost%3A8080%2Fsuccess&response_type=code
There are three parameters in total:
- client_id
- redirect_uri
- response_type
Where client_ The ID will be provided to us after the application is created:
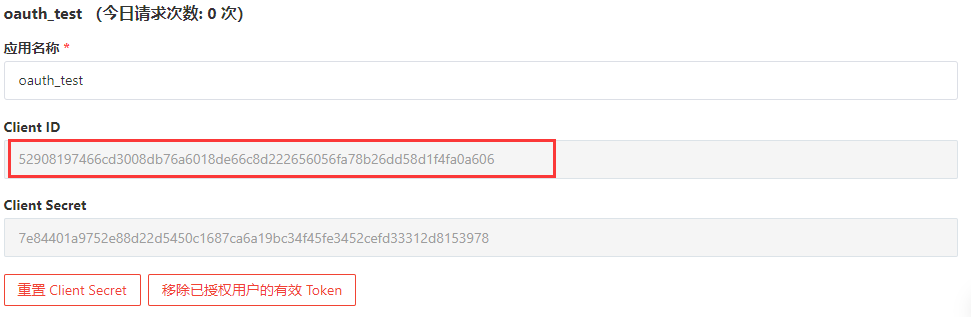
That is, the content of the address, and redirect_uri is the page to jump to after clicking the agree authorization button, that is, after successful login, you need to jump to the page after successful login, and finally response_type, which indicates that the response type is an authorization code.
Let's learn about the function of the authorization code. After the user clicks the agree authorization button, the Gitee server will give redirect_ The page pointed to by the URI passes an authorization code. At this time, you can receive the authorization code and exchange it for the AccessToken. Only after obtaining the AccessToken can you obtain some information of the current user in Gitee.
After clicking the agree authorization button:

After the authorization code is obtained, the AccessToken can be exchanged through this address:
https://gitee.com/oauth/token?grant_type=authorization_code&code={code}&client_id={client_id}&redirect_uri={redirect_uri}&client_secret={client_secret}
The address is required to be requested in the form of Post. Use PostMan to test and set the parameters as required:

The corresponding results are obtained:
{
  "access_token": "cd2c33c3fe548a23188159f87da70110",
  "token_type": "bearer",
  "expires_in": 86400,
  "refresh_token": "c95a38ab2357638ffc4dc6f09c623f2333e0930a37dec8e2f191a40d7afd3514",
  "scope": "user_info",
  "created_at": 1627974370
}
After getting the AccessToken, you can get any information that the user has authorized in Gitee.
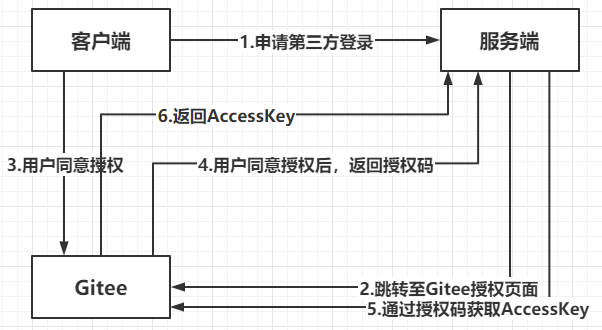
The whole process of authorization and authentication is shown in the figure below:
Implement login process
After we are familiar with the integration process, we use code to implement it. First, modify the page:
<!DOCTYPE html>
<html lang="en">
  <head>
    <meta charset="UTF-8">
    <title>Title</title>
  </head>
  <body>
    <form>
      user name:<input type="text"/><br/>
      password:<input type="password"/><br/>
      <a href="https://gitee. com/oauth/authorize? client_ id=52908197466cd3008db76a6018de66c8d222656056fa78b26dd58d1f4fa0a606&redirect_ uri=http%3A%2F%2Flocalhost%3A8080%2Fsuccess&response_ Type = code "> gitee login</a>
      <input type="submit" value="Sign in"/><br/>
    </form>
  </body>
</html>
Now, after the hyperlink address is modified, you can successfully jump to the Gitee authorization page, because the jump address after successful authorization is http://localhost:8080/success Therefore, you need to handle this request and create a controller:
@Controller
public class LoginController {

    @GetMapping("/success")
    public String login(@RequestParam("code") String code){
        System.out.println(code);
        return "success";
    }

    @GetMapping("/")
    public String index(){
        return "index";
    }
}
When the authorization is successful, we let it jump to success HTML page and receive the authorization code passed by Gitee, so create success html:
<!DOCTYPE html>
<html lang="en">
  <head>
    <meta charset="UTF-8">
    <title>Title</title>
  </head>
  <body>
    <h1>Login succeeded!</h1>
  </body>
</html>
Start the project to test:

After clicking agree authorization, the login is successful, and the console also outputs the authorization code:
e907fd92d8392ebcd72dff321da45115ff0fba2dec0e6918b233ec7d03b76e5d
In fact, the login process has not ended here, because if you log in with a third-party application, the platform will use some information of the third-party application, such as account and avatar, directly as the login name and avatar of the current platform, so we also need to obtain some information of the user in Gitee.
Refer to Gitee's API documentation here:
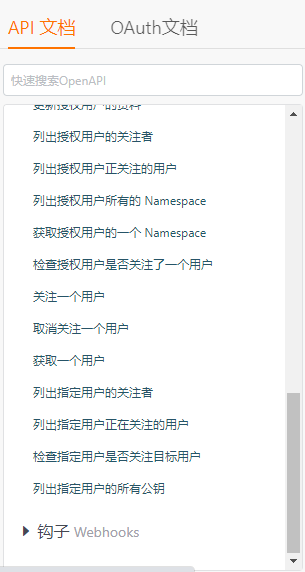
For example, obtain the data information of authorized users:
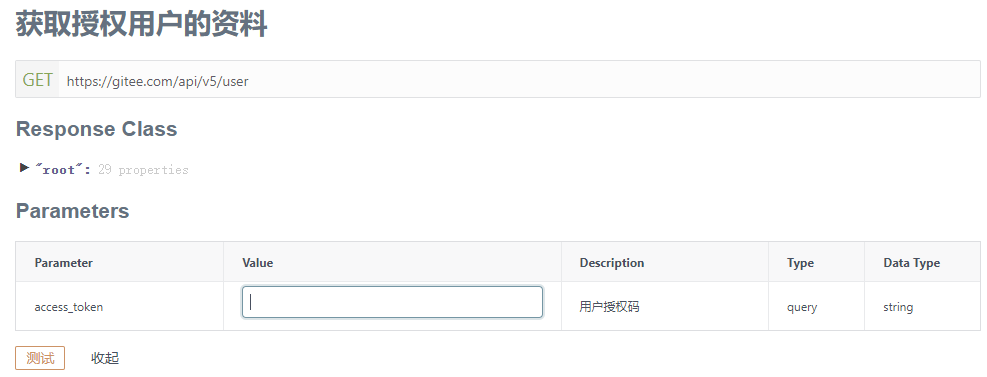
It needs to pass an access_token as a parameter, all we have to do is use the authorization code to get access_key:
@Controller
public class LoginController {

    @GetMapping("/success")
    public String login(@RequestParam("code") String code, Map<String,String> map) {
        // Get accesskey
        String accessKey = getAccessKey(code);
        System.out.println(accessKey);
        // Get user information through accessKey
        String userInfo = getUserInfo(accessKey);
        // Remove user name
        String name = (String) JSONObject.parseObject(userInfo).get("name");
        // Take out the avatar
        String avatar_url = (String) JSONObject.parseObject(userInfo).get("avatar_url");
        // Put in request domain
        map.put("name",name);
        map.put("avatar_url",avatar_url);
        return "success";
    }

    /**
     * Get user information
     */
    private String getUserInfo(String accessKey) {
        String json = "";
        OkHttpClient client = new OkHttpClient();
        // User information can be obtained through this address
        String url = "https://gitee.com/api/v5/user?access_token=" + accessKey;
        Request request = new Request.Builder()
                .get()
                .url(url).build();
        try {
            Response response = client.newCall(request).execute();
            json = response.body().string();
        } catch (IOException e) {
            e.printStackTrace();
        }
        return json;
    }

    /**
     * Get AccessKey
     */
    private String getAccessKey(String code) {
        OkHttpClient client = new OkHttpClient();
        // Access can be obtained through this address_ token
        String url = "https://gitee.com/oauth/token";
        // Encapsulation request parameters
        RequestBody requestBody = new FormBody.Builder()
                .add("grant_type", "authorization_code")
                .add("code", code)
                .add("client_id", "52908197466cd3008db76a6018de66c8d222656056fa78b26dd58d1f4fa0a606")
                .add("redirect_uri", "http://localhost:8080/success")
                .add("client_secret", "7e84401a9752e88d22d5450c1687ca6a19bc34f45fe3452cefd33312d8153978")
                .build();

        Request request = new Request.Builder()
                .post(requestBody)
                .url(url).build();
        String accessKey = "";
        try {
            Response response = client.newCall(request).execute();
            String json = response.body().string();
            // Get access in json string_ Token attribute
            accessKey = (String) JSONObject.parseObject(json).get("access_token");
        } catch (IOException e) {
            e.printStackTrace();
        }
        return accessKey;
    }

    @GetMapping("/")
    public String index() {
        return "index";
    }
}
success. The HTML page needs to display user information:
<!DOCTYPE html>
<html lang="en">
  <head>
    <meta charset="UTF-8">
    <title>Title</title>
  </head>
  <body>
    <h1>Login succeeded!</h1>
    <h1>user name:<span th:text="${#request.getAttribute('name')}"></span></h1>
    <img th:src="${#request.getAttribute('avatar_url')}">
  </body>
</html>
The effects are as follows:

In fact, the login process is far from so simple. When a user cancels his authorization, he can't log in. Such judgment has not been added in the program. For users who have never registered, this login is equivalent to one registration, so some information of users in Gitee needs to be used as registration information to log in. When registered users log in with a third party, To make it log in normally.